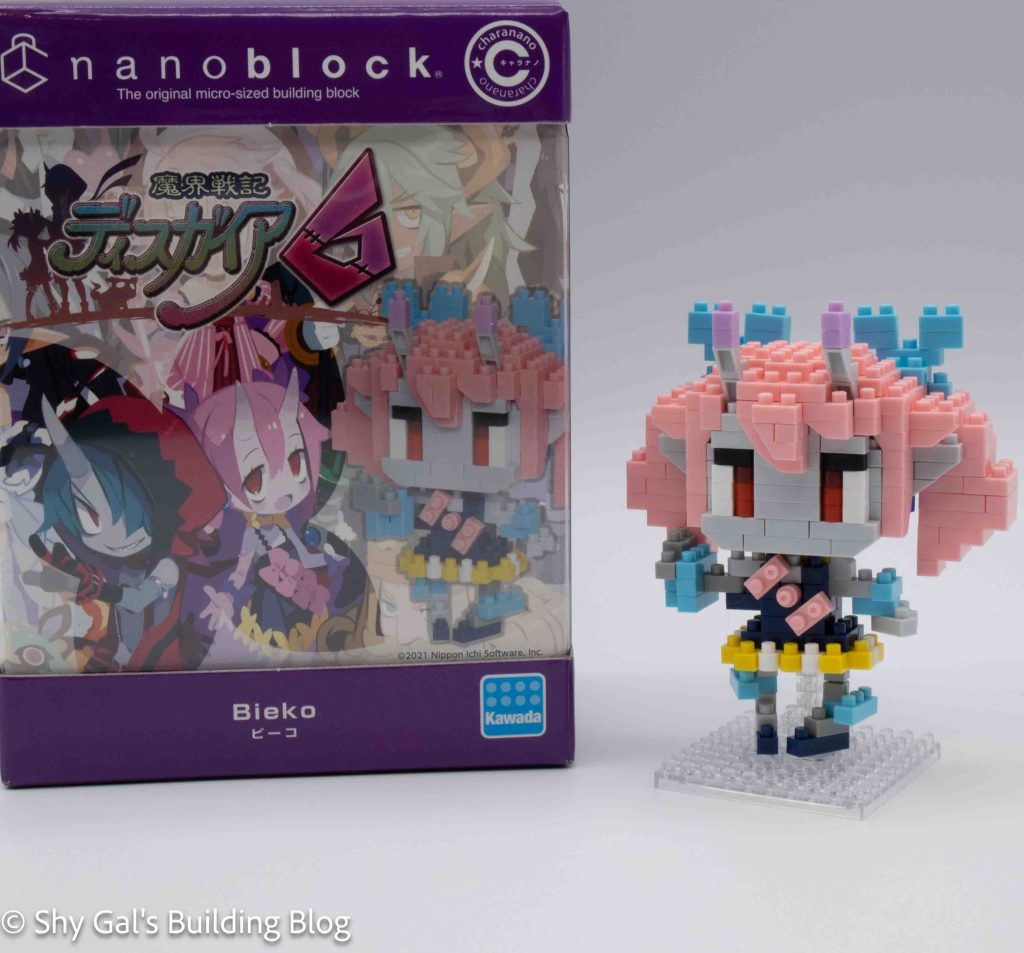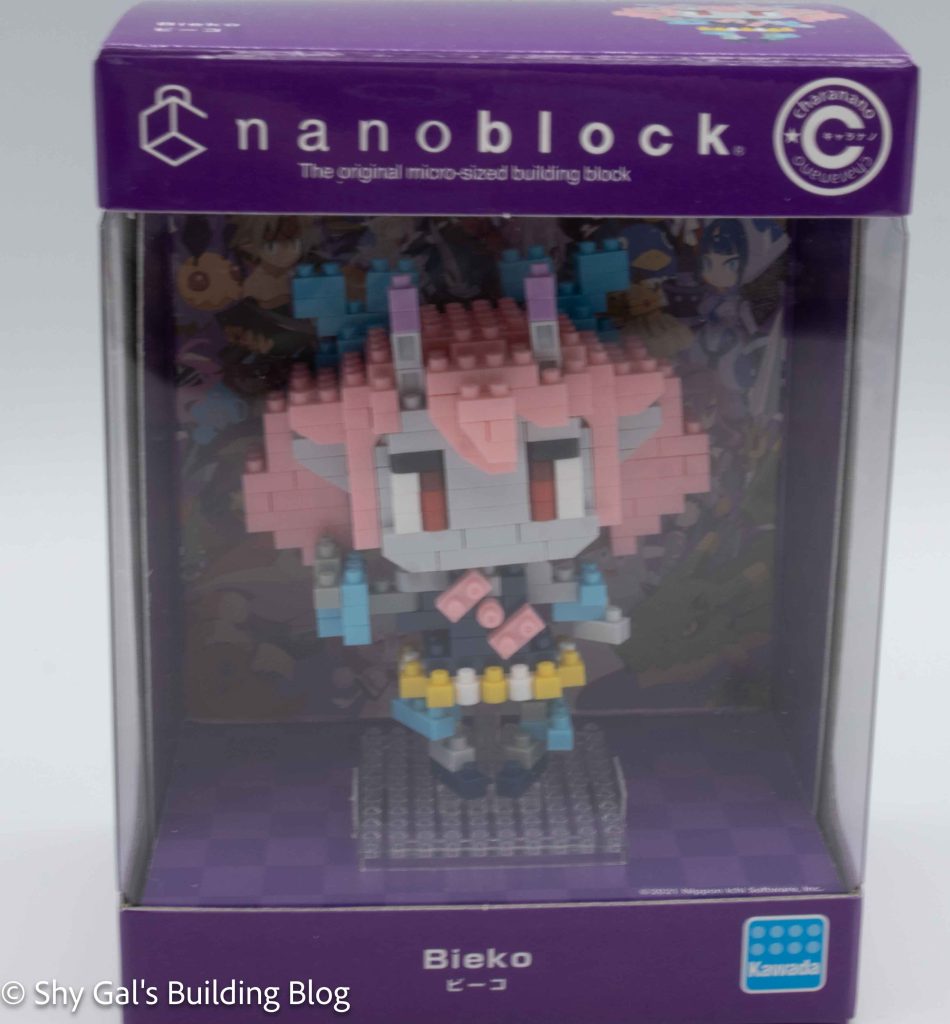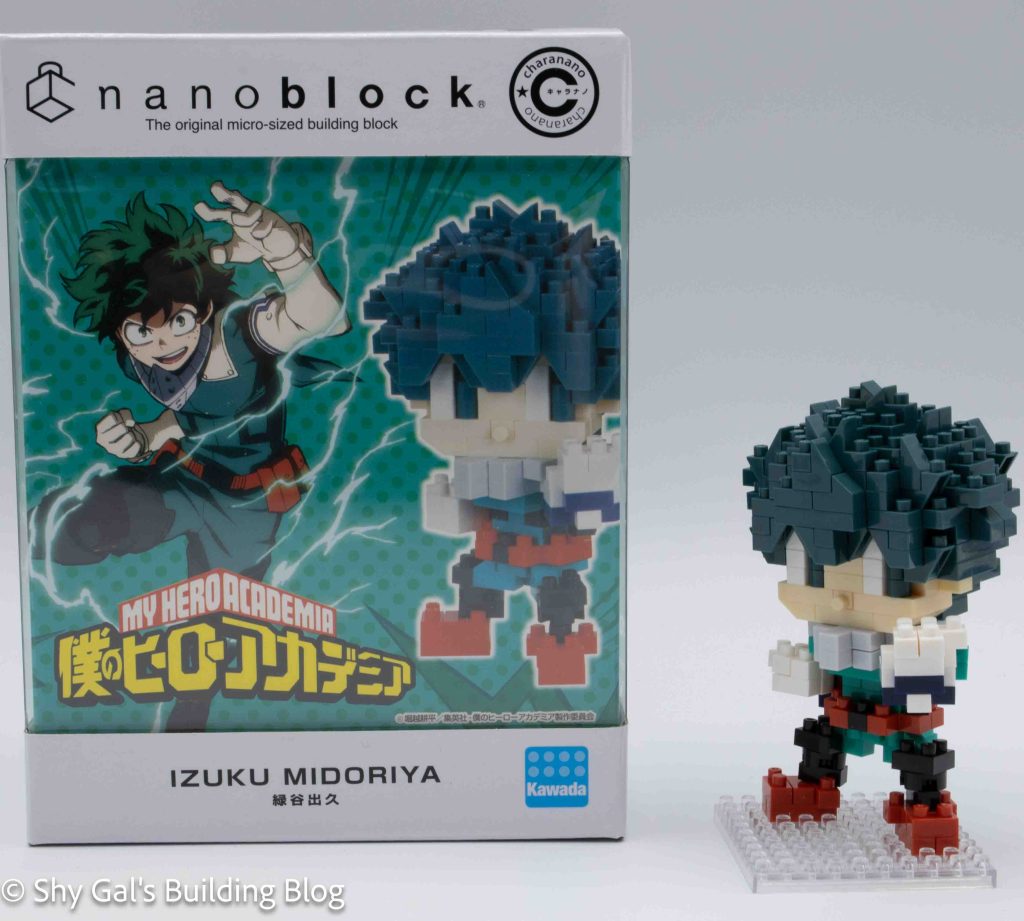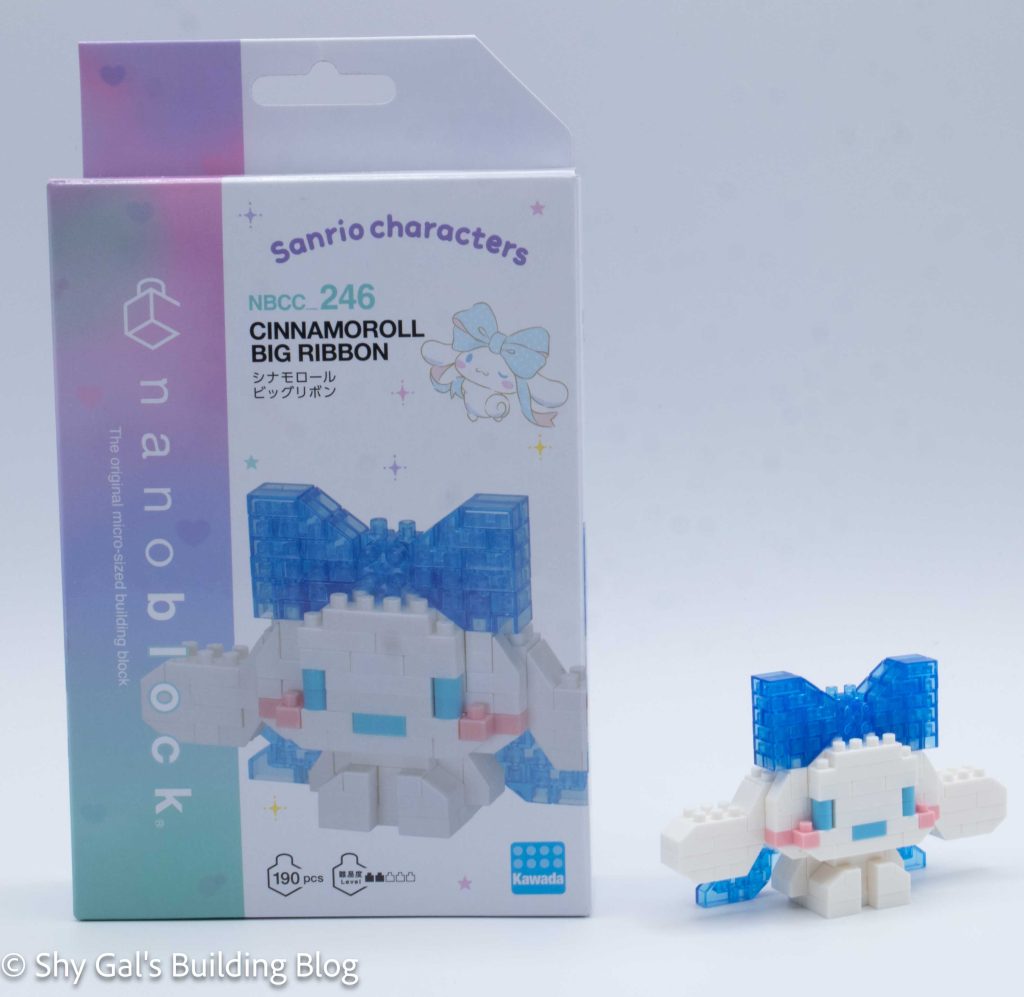
This post is a review of the nanoblock Cinnamoroll Big Ribbon build. Cinnamoroll Big Ribbon is part of the nanoblock Character collection. Wondering what else is part of the Character collection? Click here for a list.
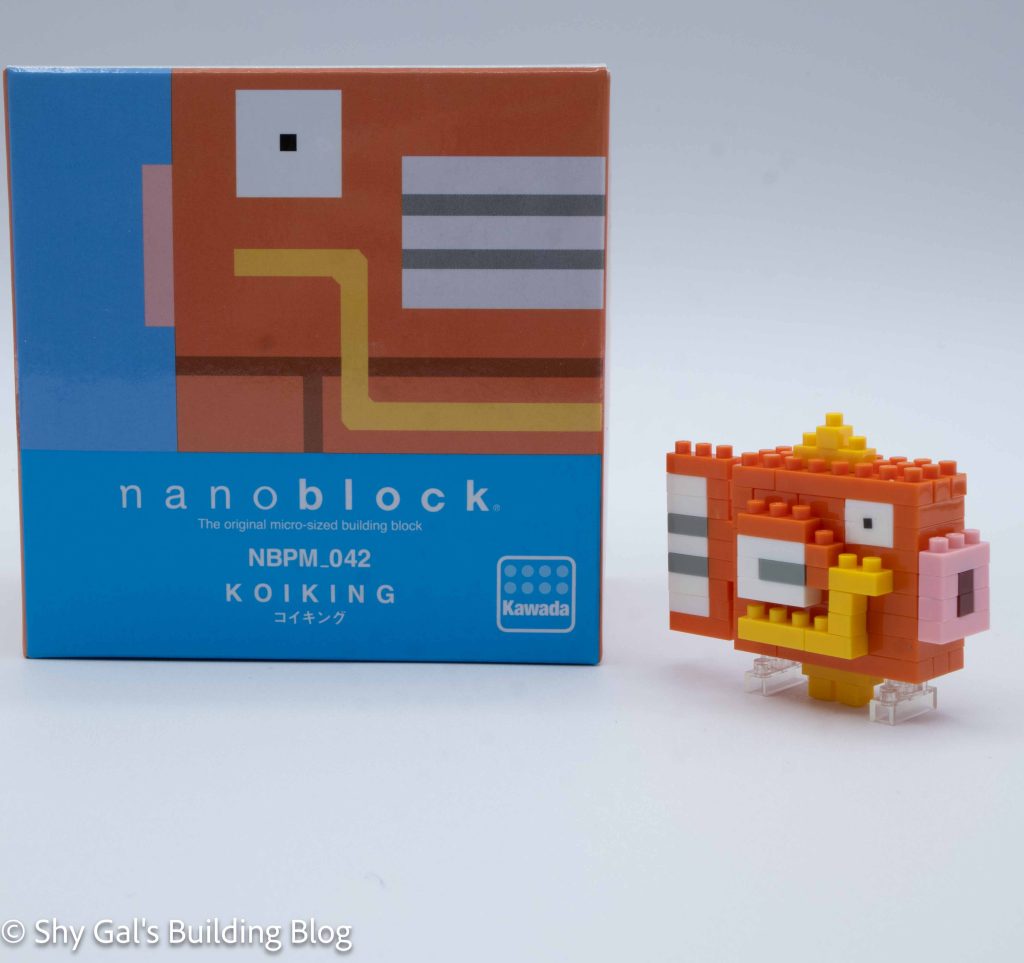
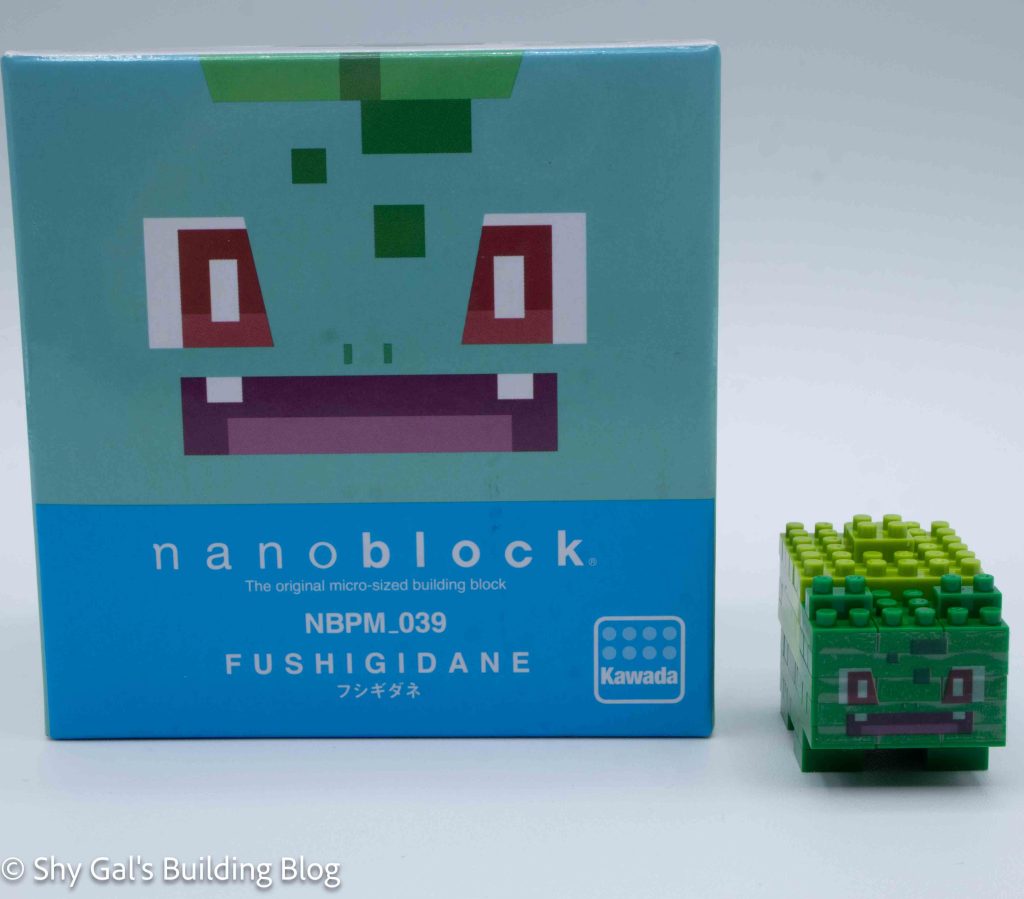
Number: NBCC_246
Number of Pieces: 190
Difficulty Rating: 2/5
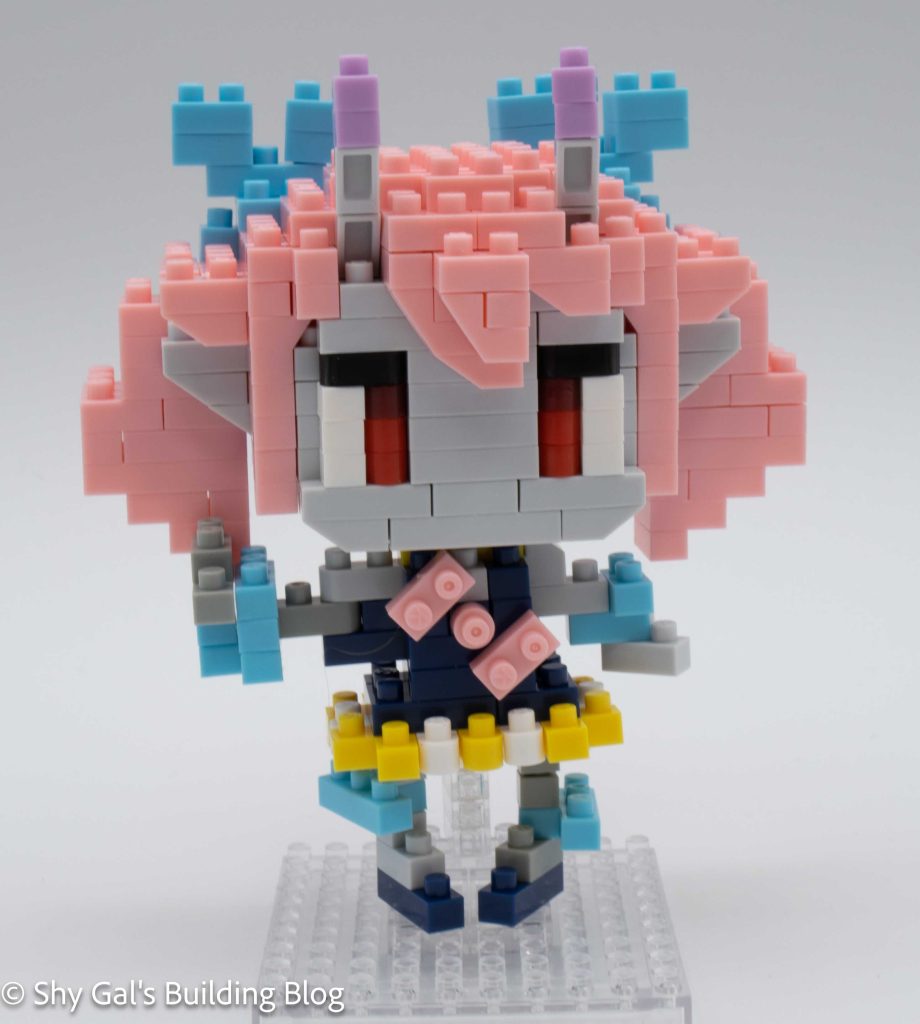
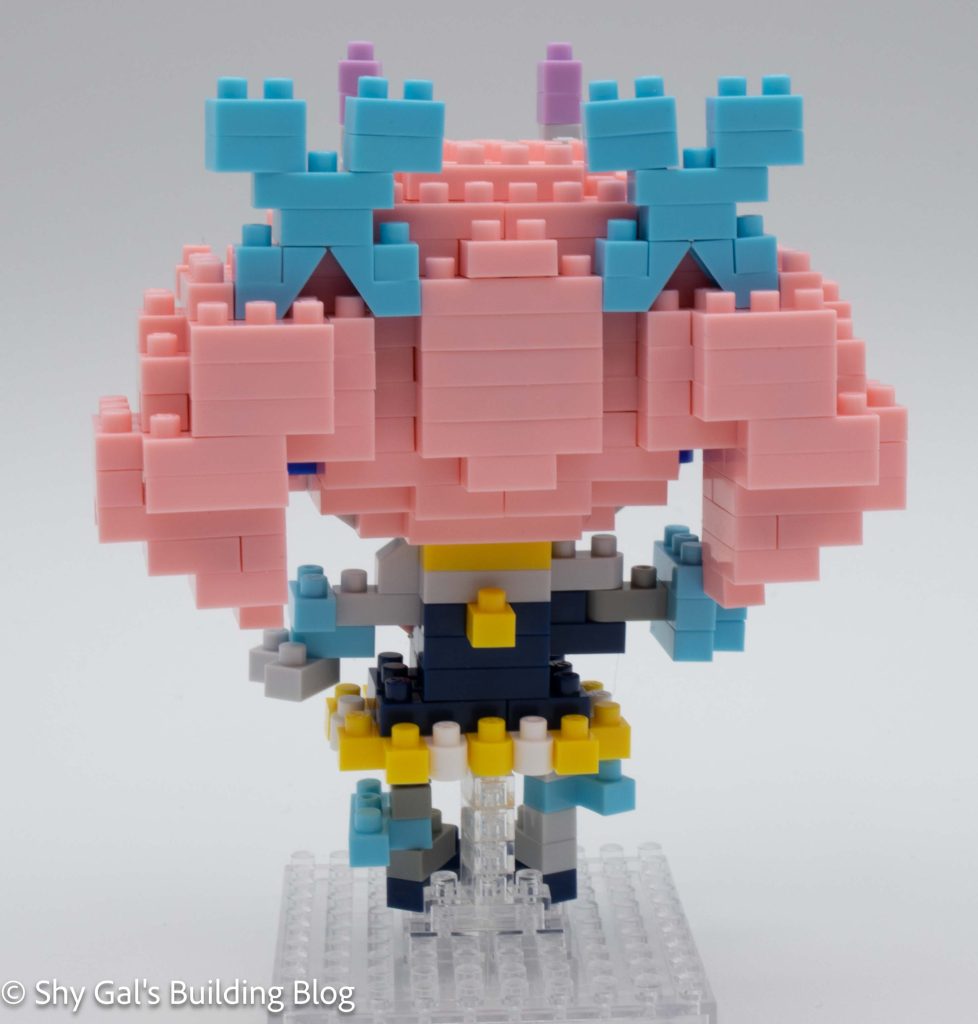
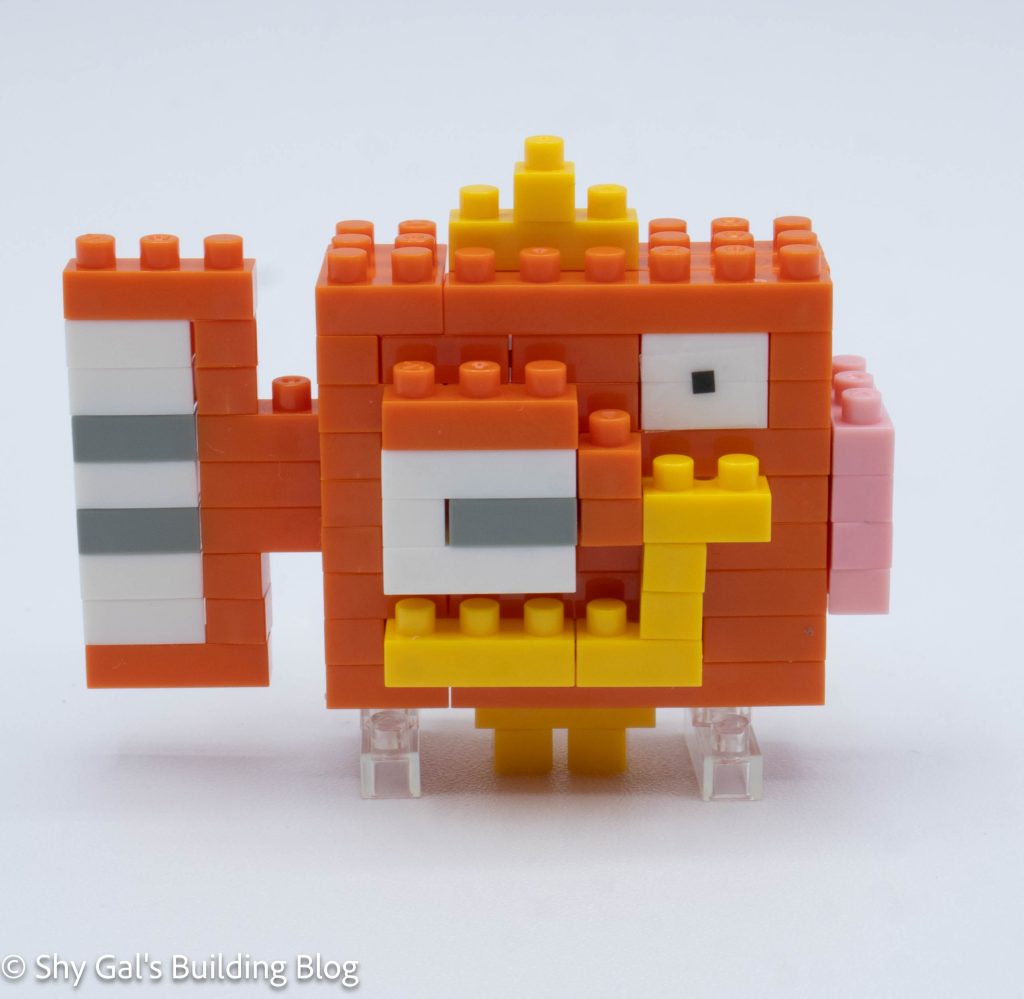
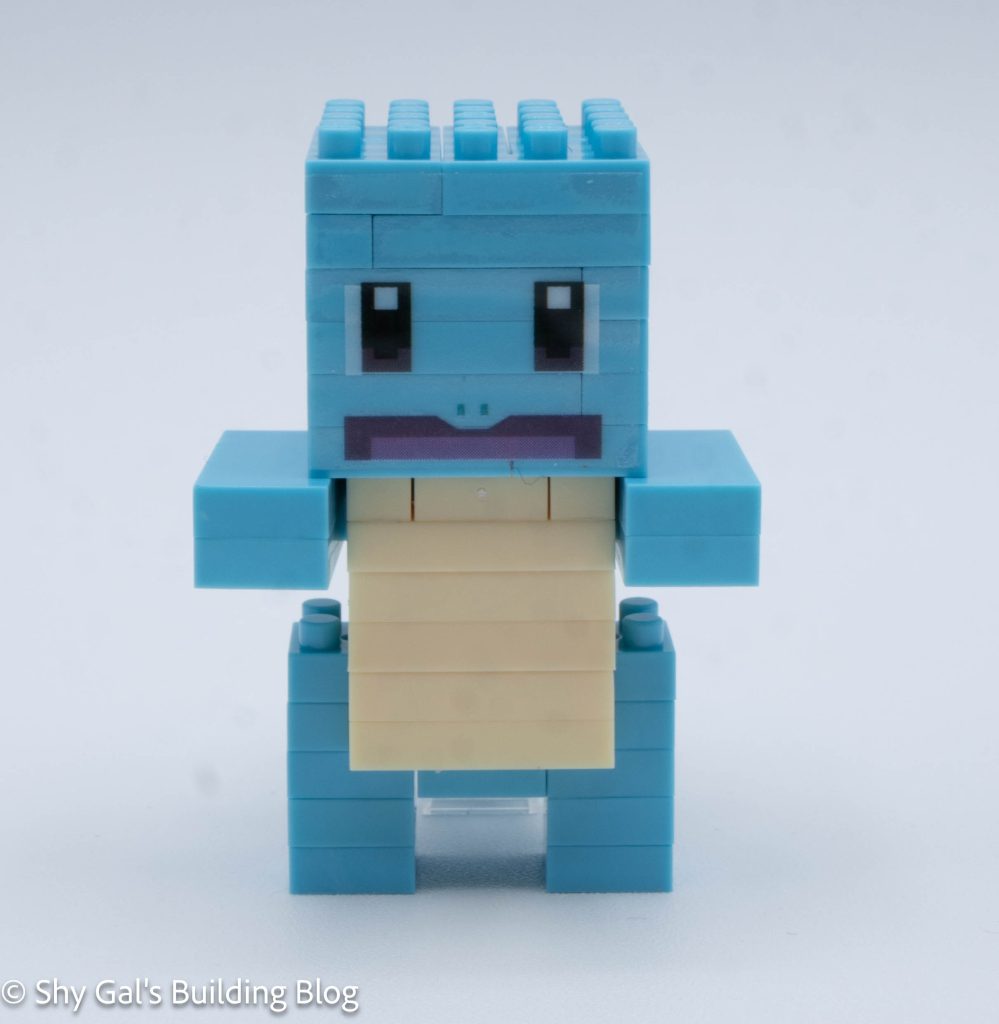
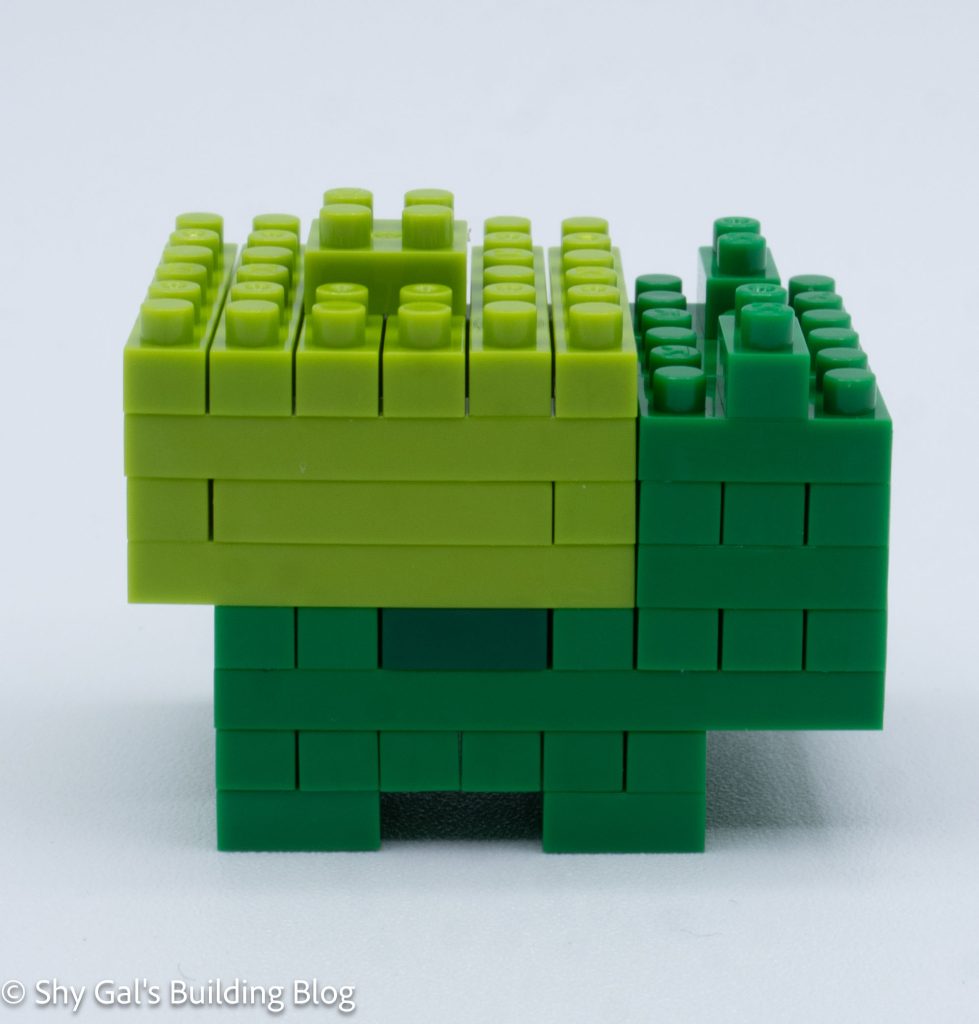
This build is created in 2 segments. There is the head and the body.
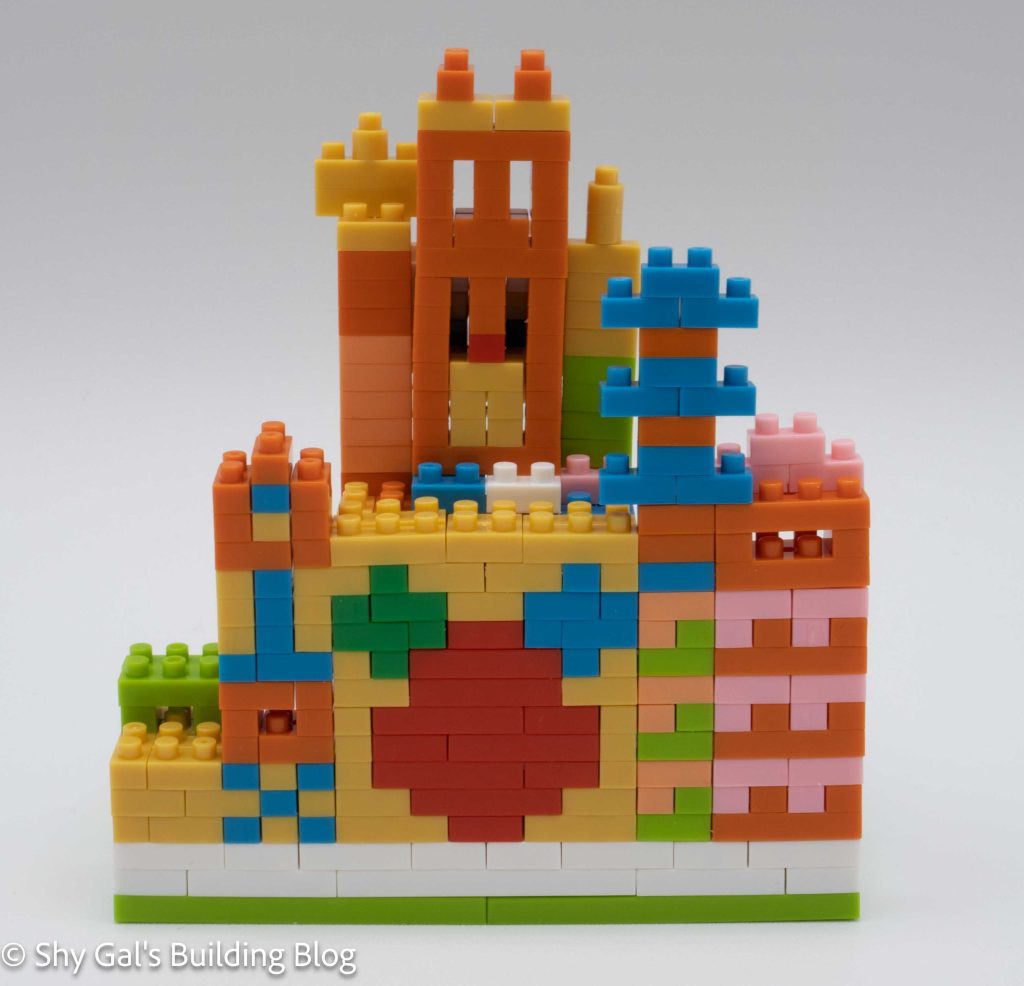
I began the head by laying the foundation out on my nanblock pad.
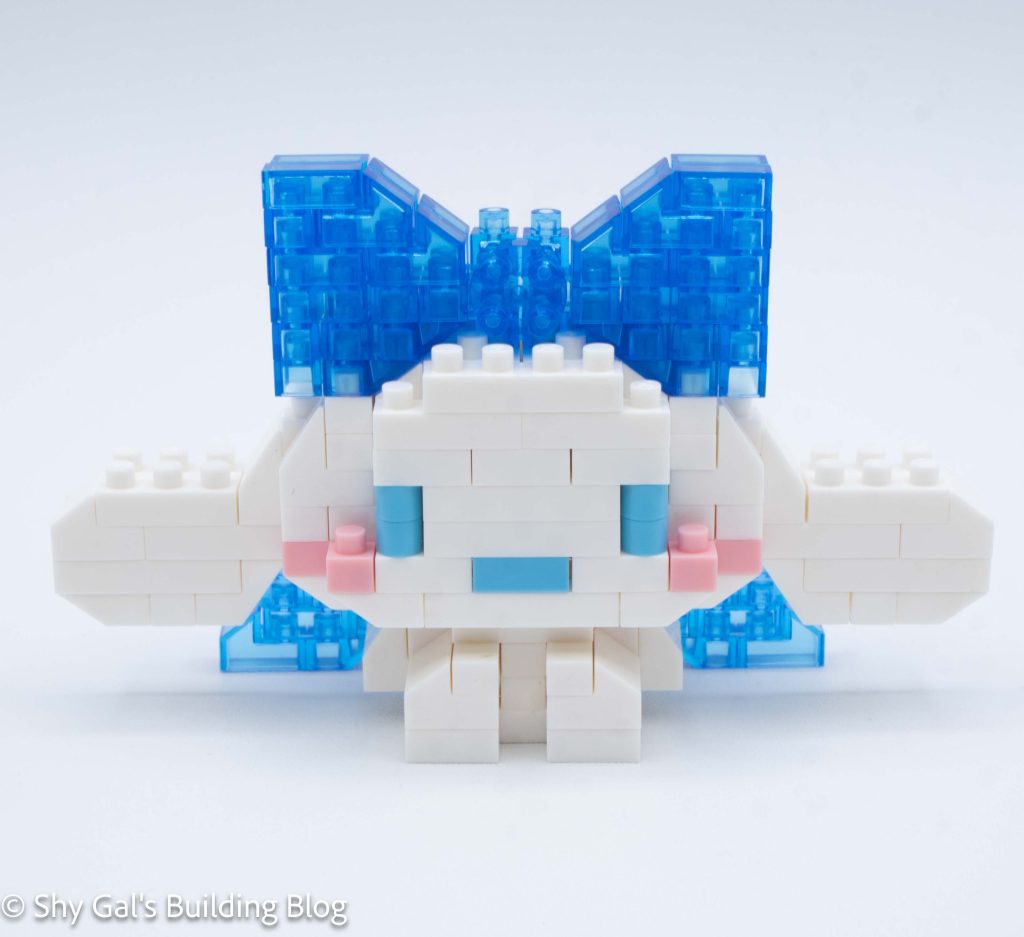
Over the next several steps, I added details and rounded out the head. I also added the mouth, cheeks, and eyes, and started to build the bow.
Then I added the foundation of the ears to the head.
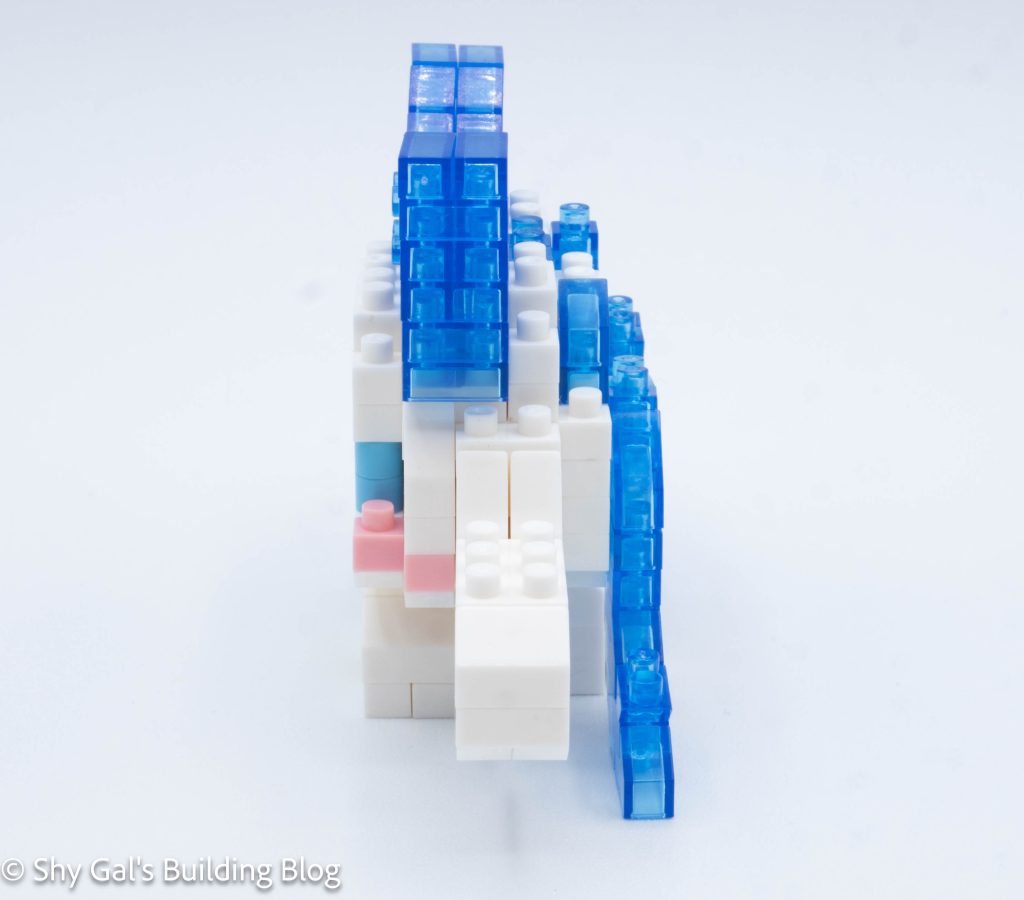
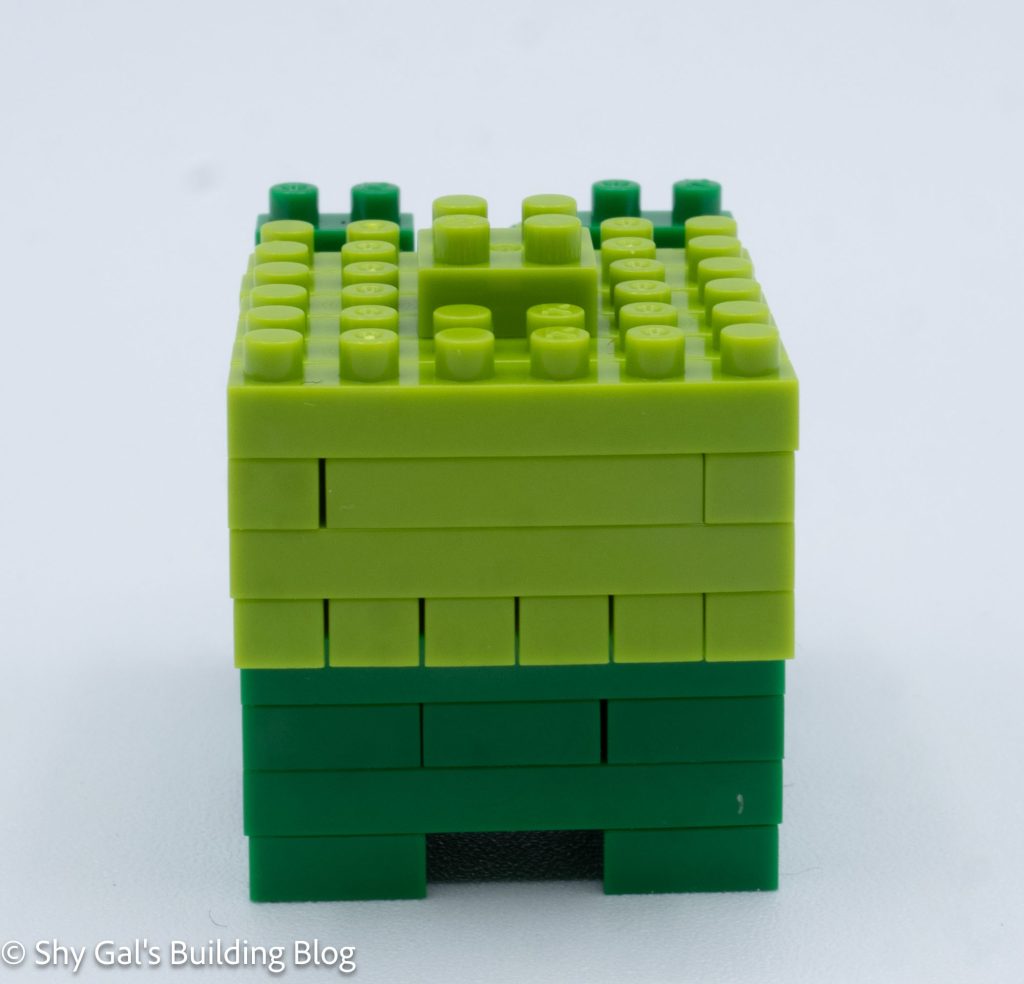
Next, I added several more layers to round off and close up the head.
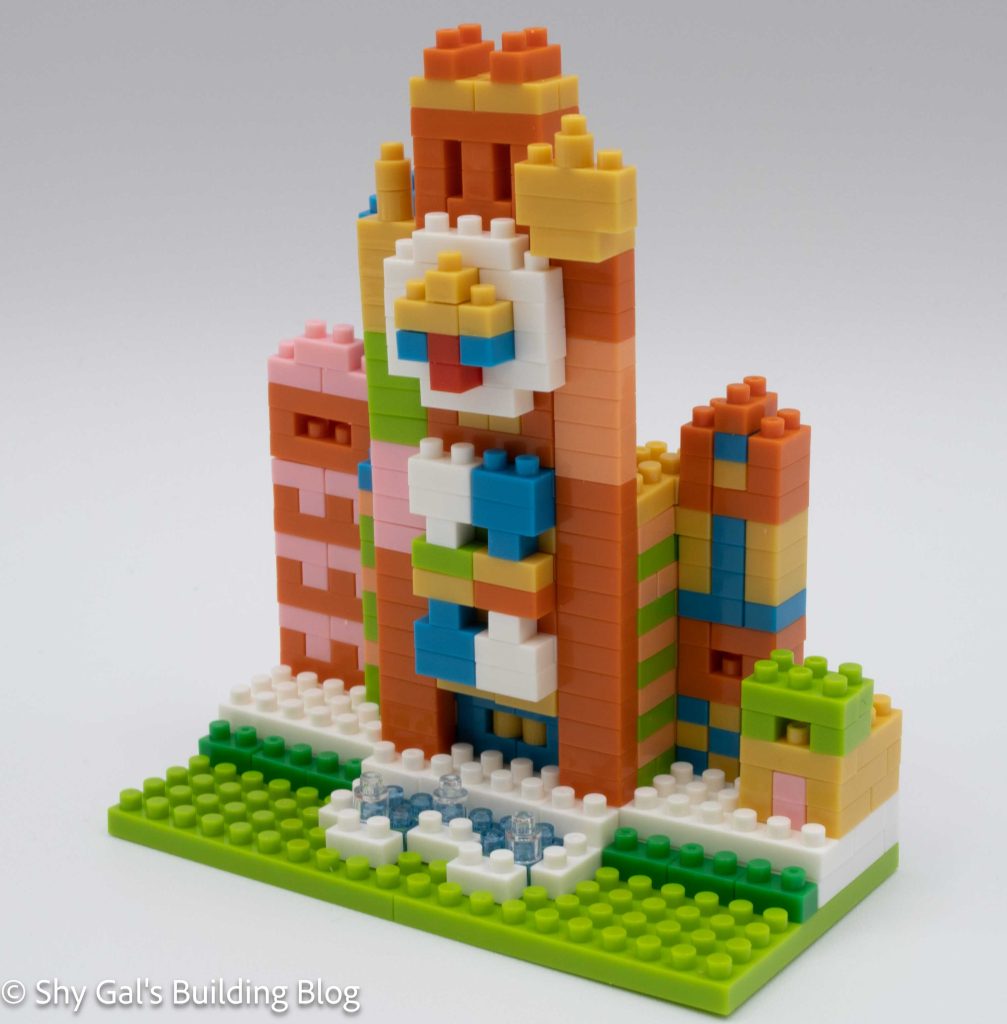
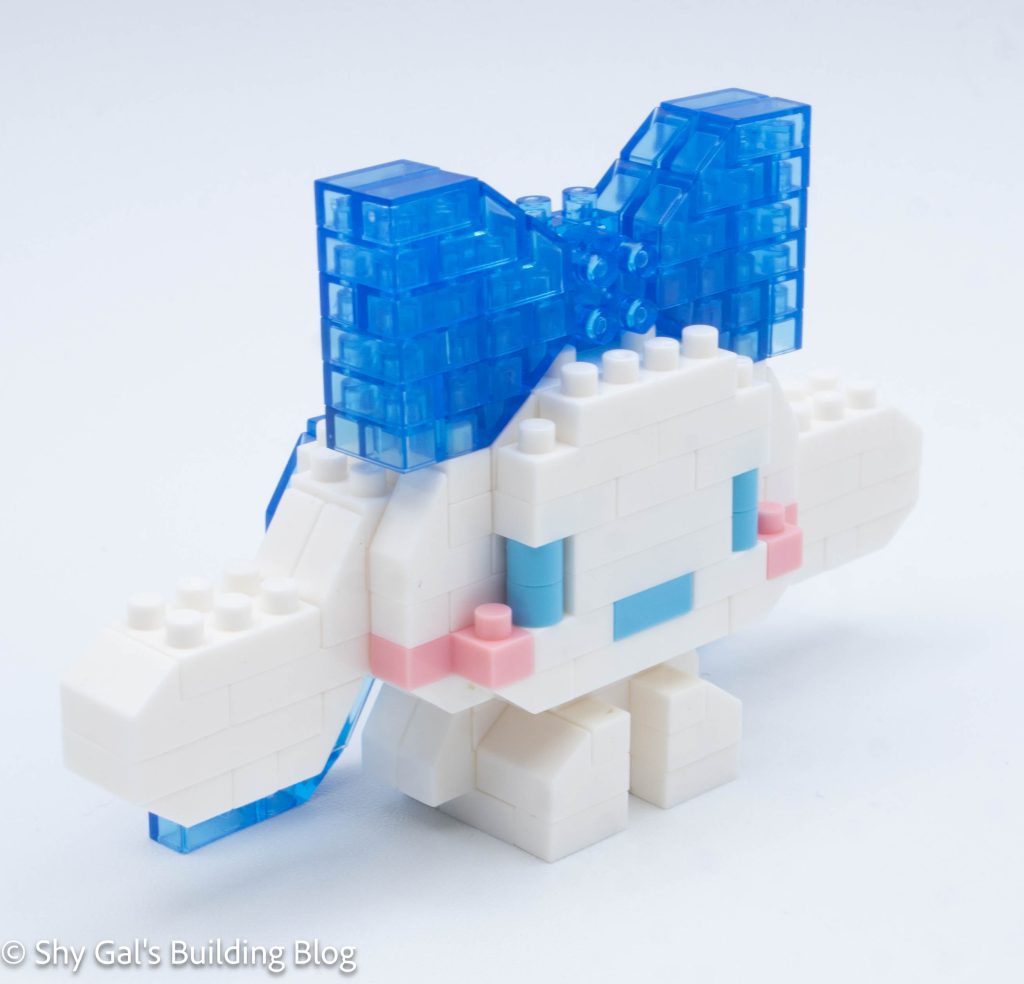
Then I built the bow in clear blue bricks. I like the use of flat bricks and the round 2×2 to create the detail.
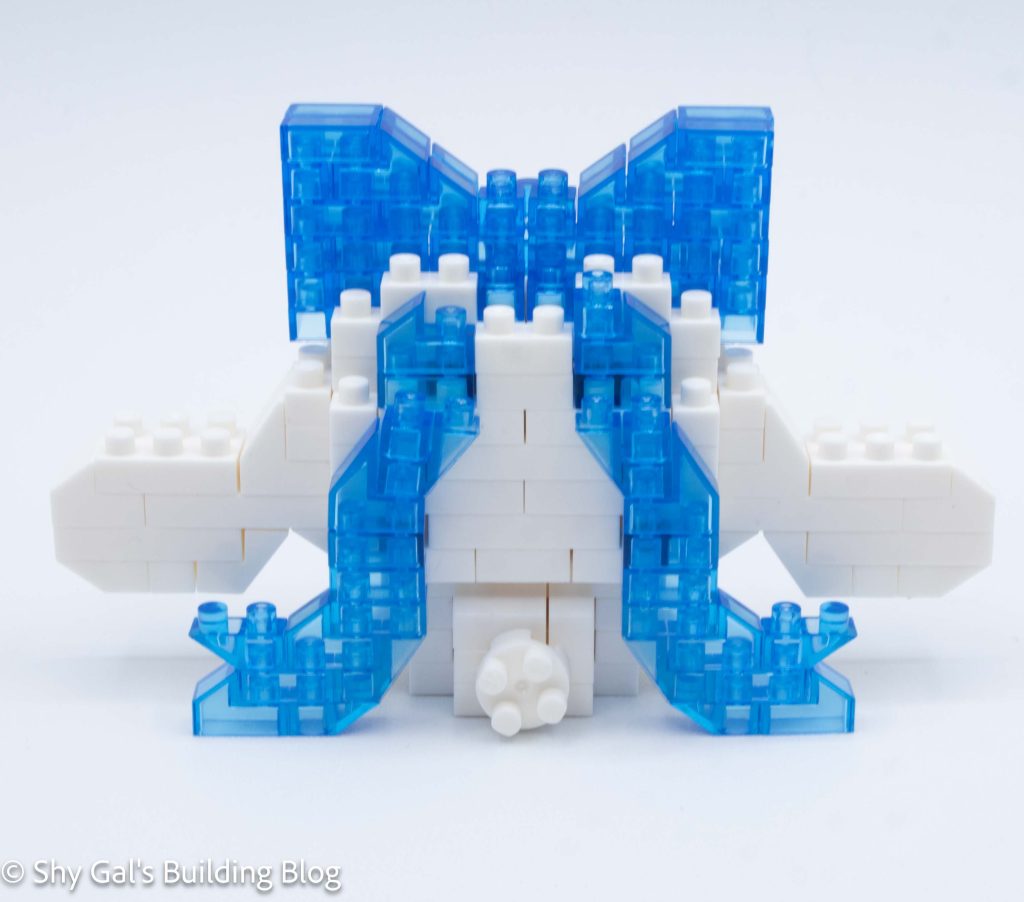
Then I added the bottom of Cinnamoroll’s ear and the back of the bow.
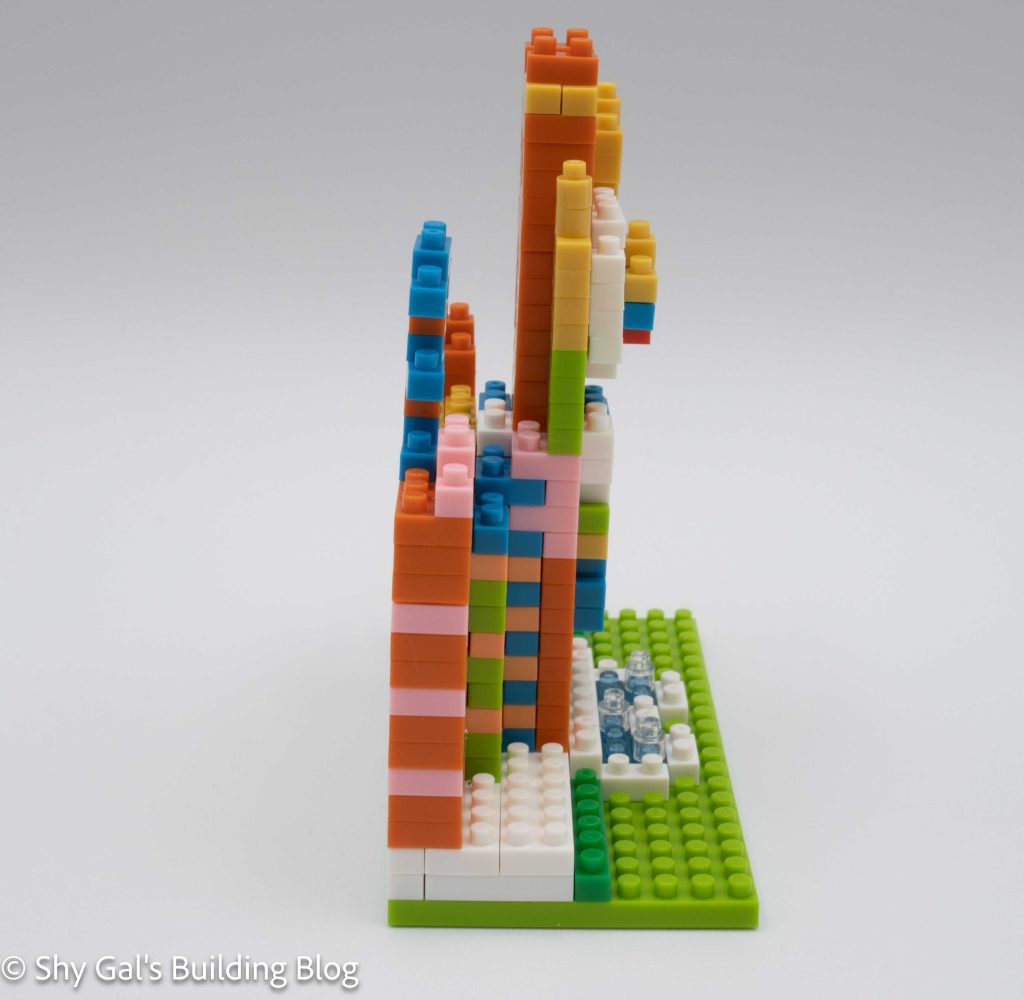
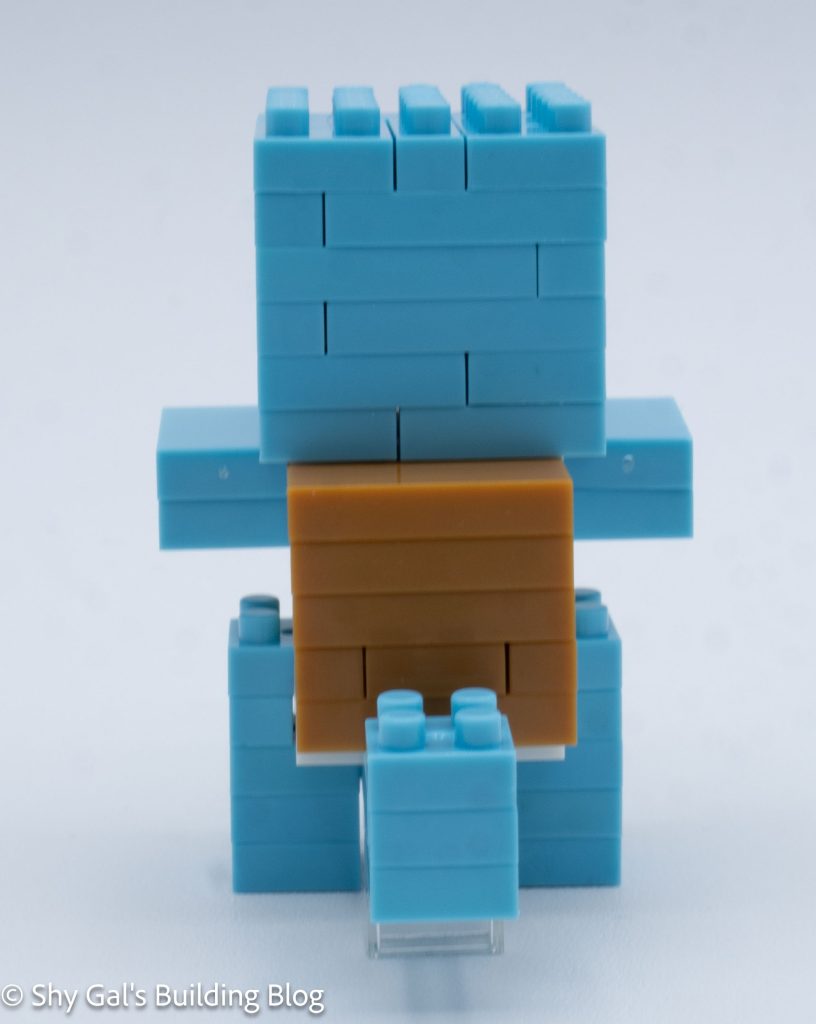
I started the body by laying the brick out on the nanoblock pad.
Then I added the bricks on the front to create the legs and added bricks for the arms.
Next, I added some layers to close up the body.
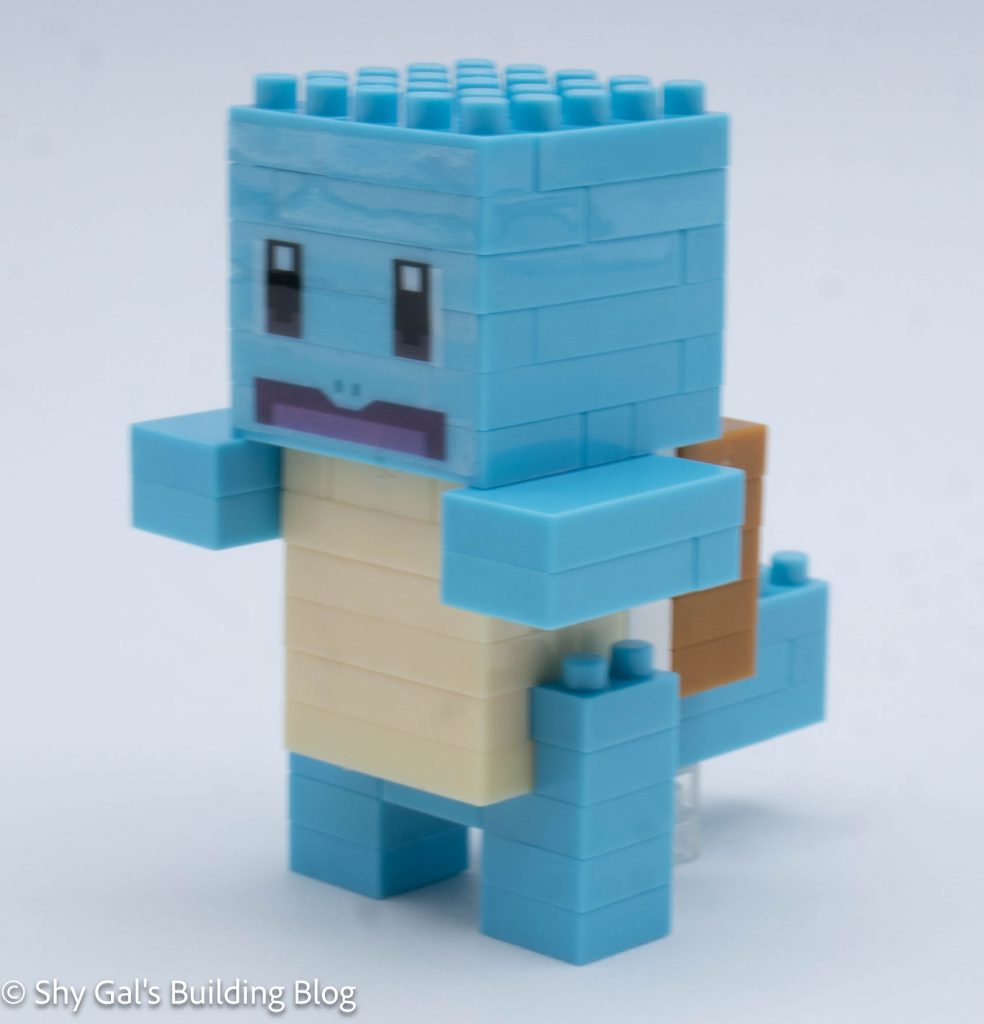
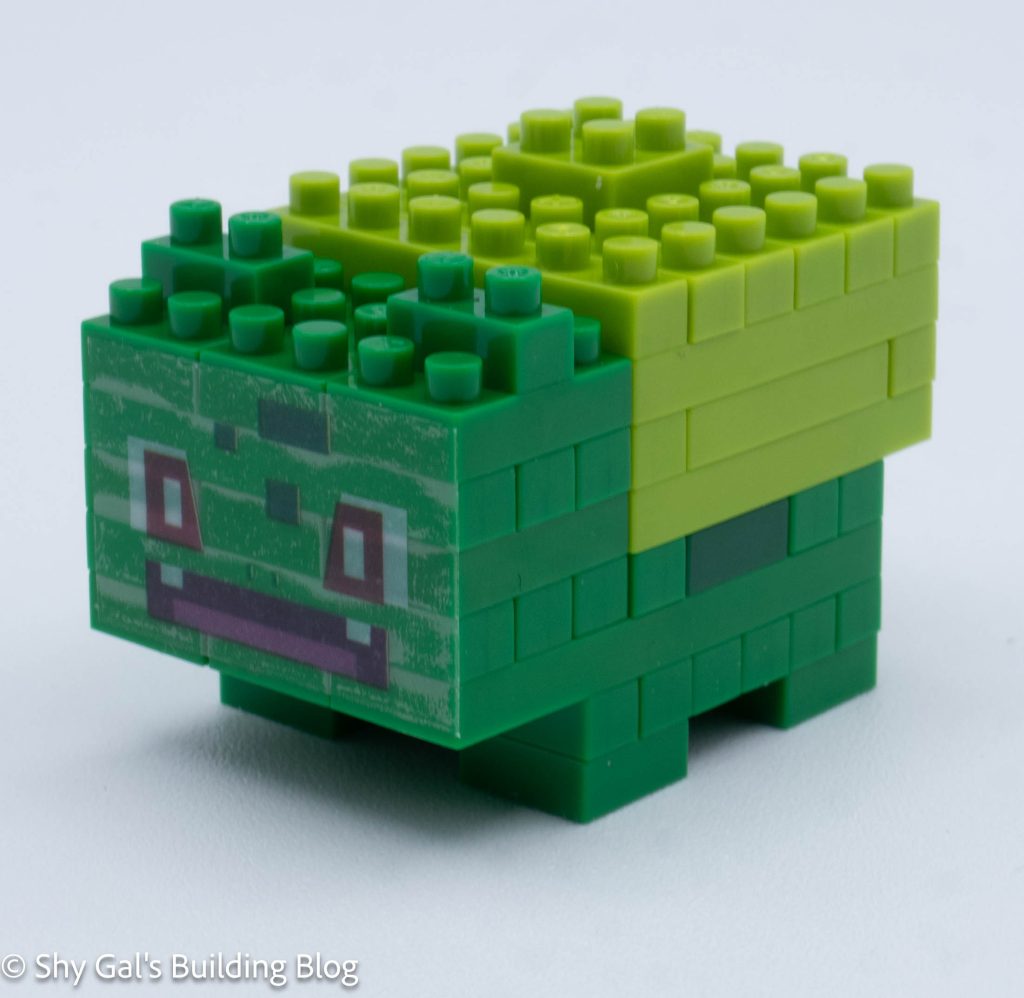
The final step is to attach the head to the body.
Things I liked:
- I like the use of the clear blue bricks to create the bow. I think it gives a good contrast to the all white body
Things I didn’t like:
- There were some points where it was a bit difficult to decide when to add the 1×1 bricks