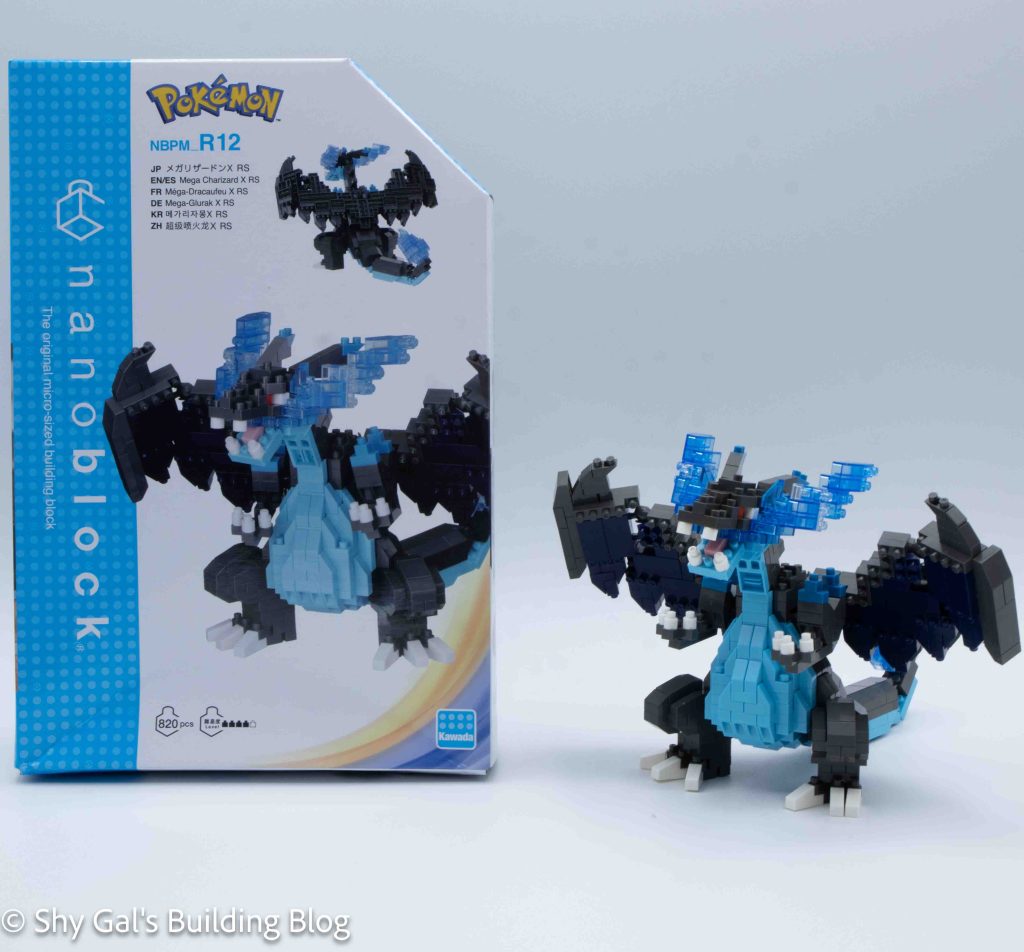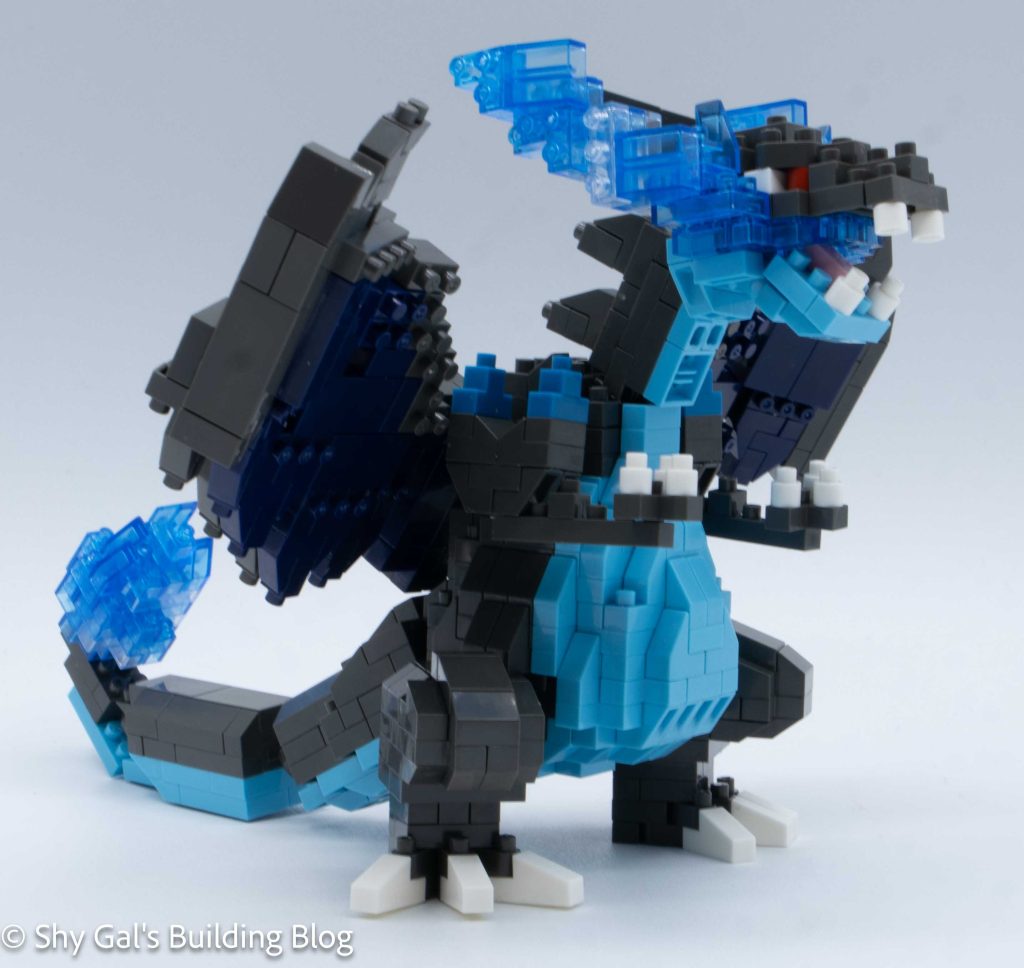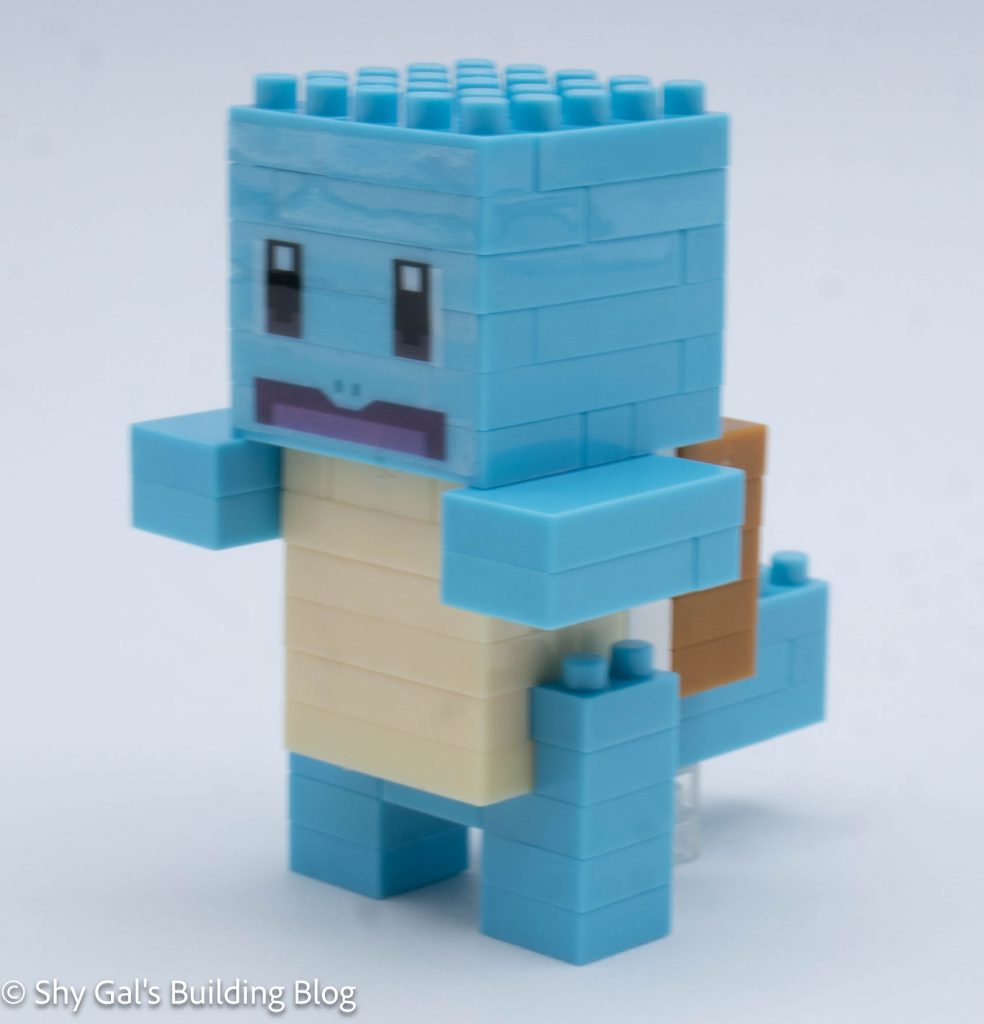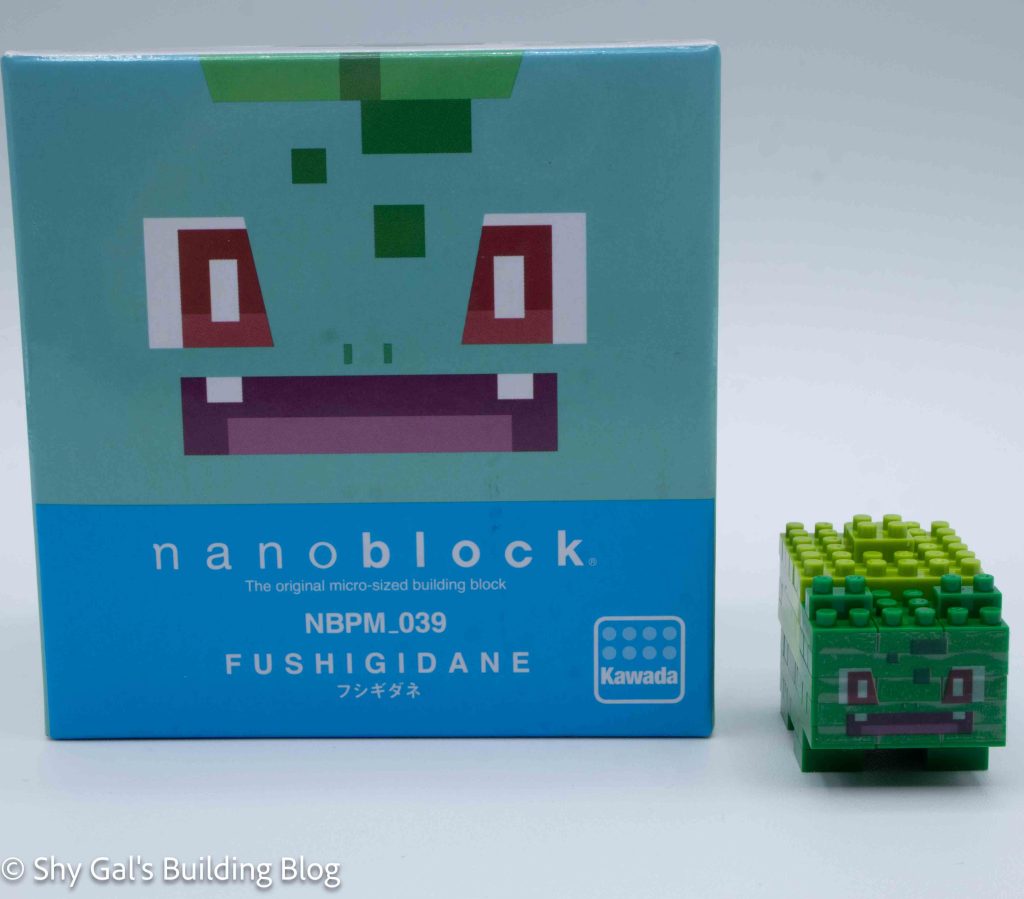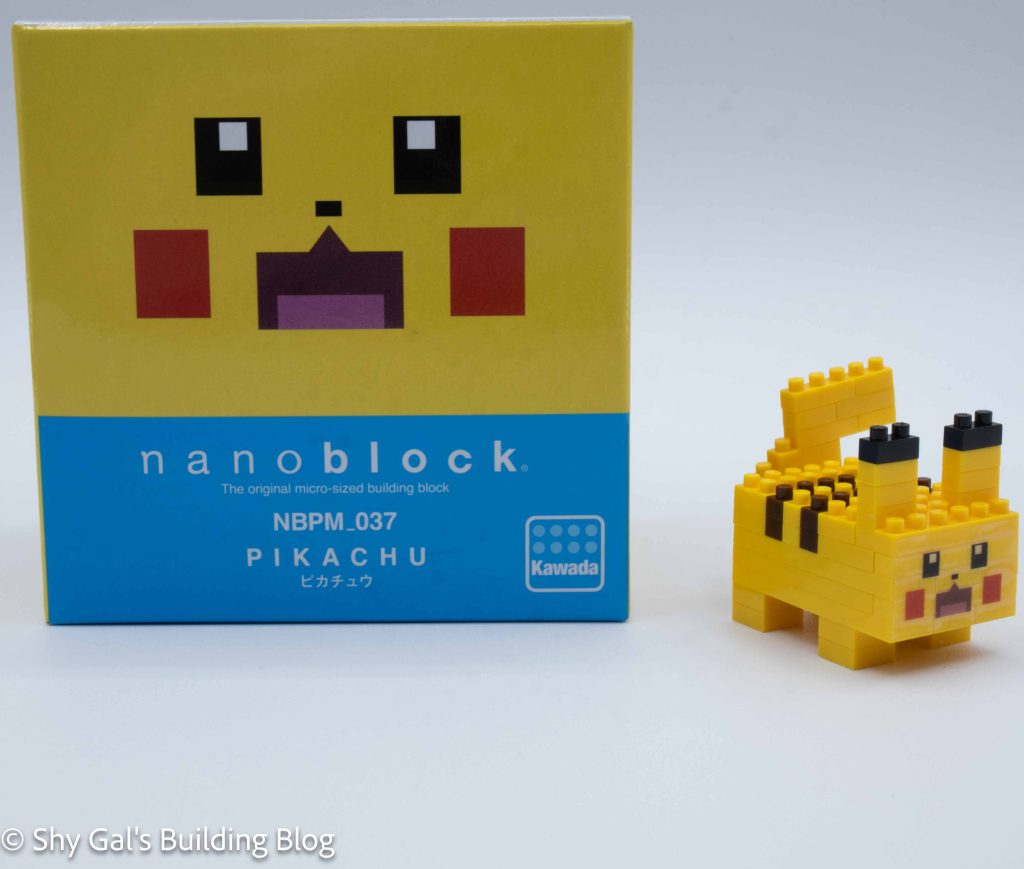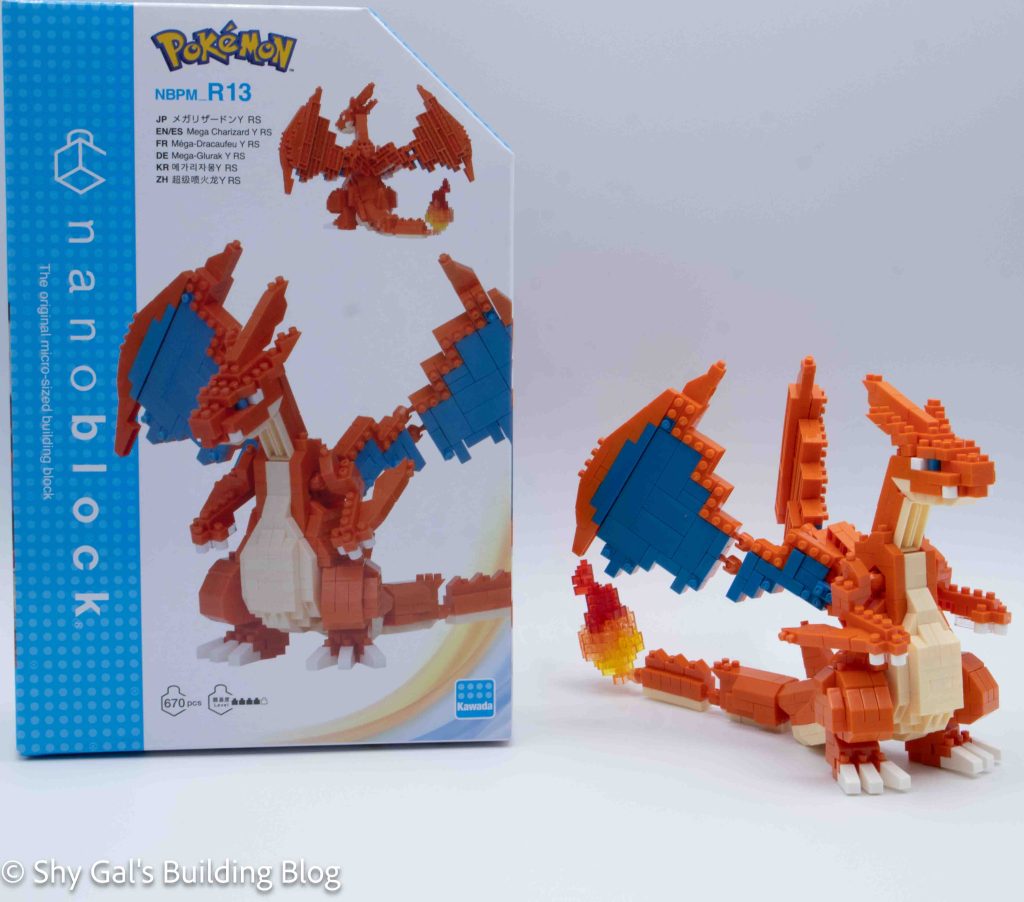
This post is a review of the nanoblock Mega Charizard Y RS build. Mega Charizard Y RS is part of the nanoblock Pokemon collection. Wondering what else is part of the Pokémon collection? Click here for a list.
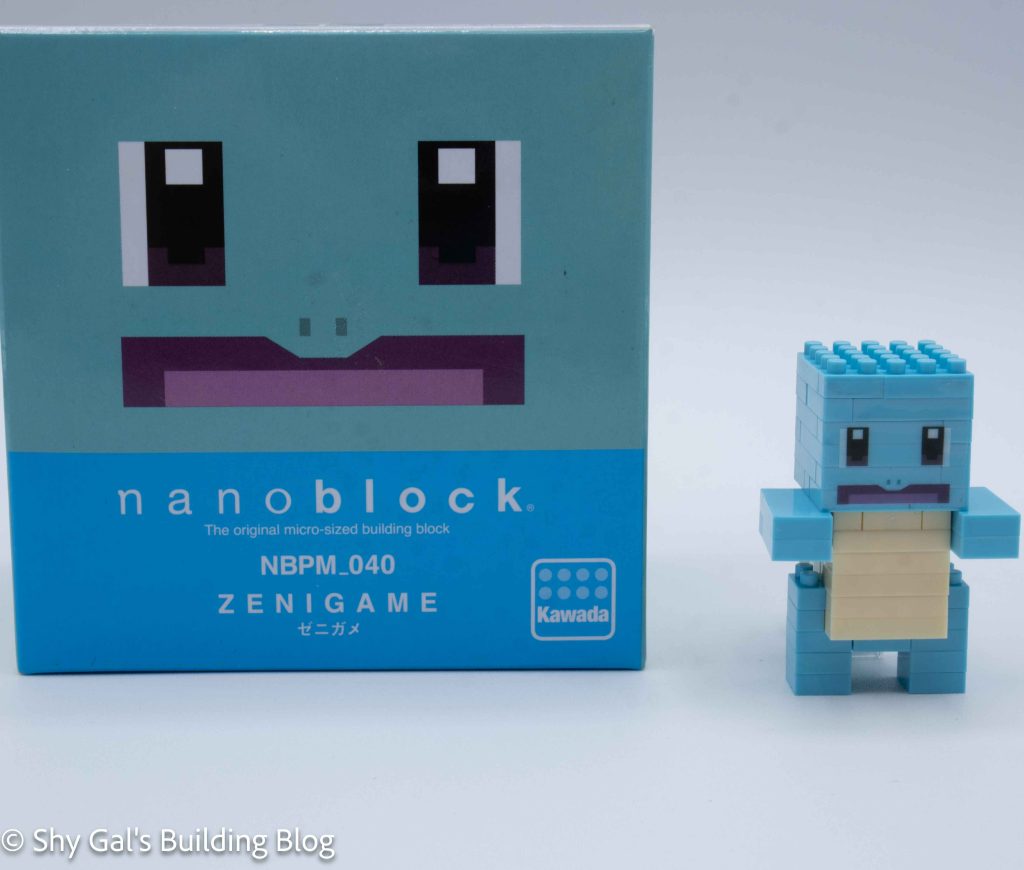
Number: NBPM_R13
Number of Pieces: 670
Difficulty Rating: 4/5
This is a new Mega Charizard Y model. The review for the original kit is here.
The kit is built by building the body as a foundation, then the arms, tail, head, and wings are built separately and then attached.
I began by laying the base layer out. I couldn’t use my nanoblock pad because the socket joints meant that things wouldn’t lie flat.
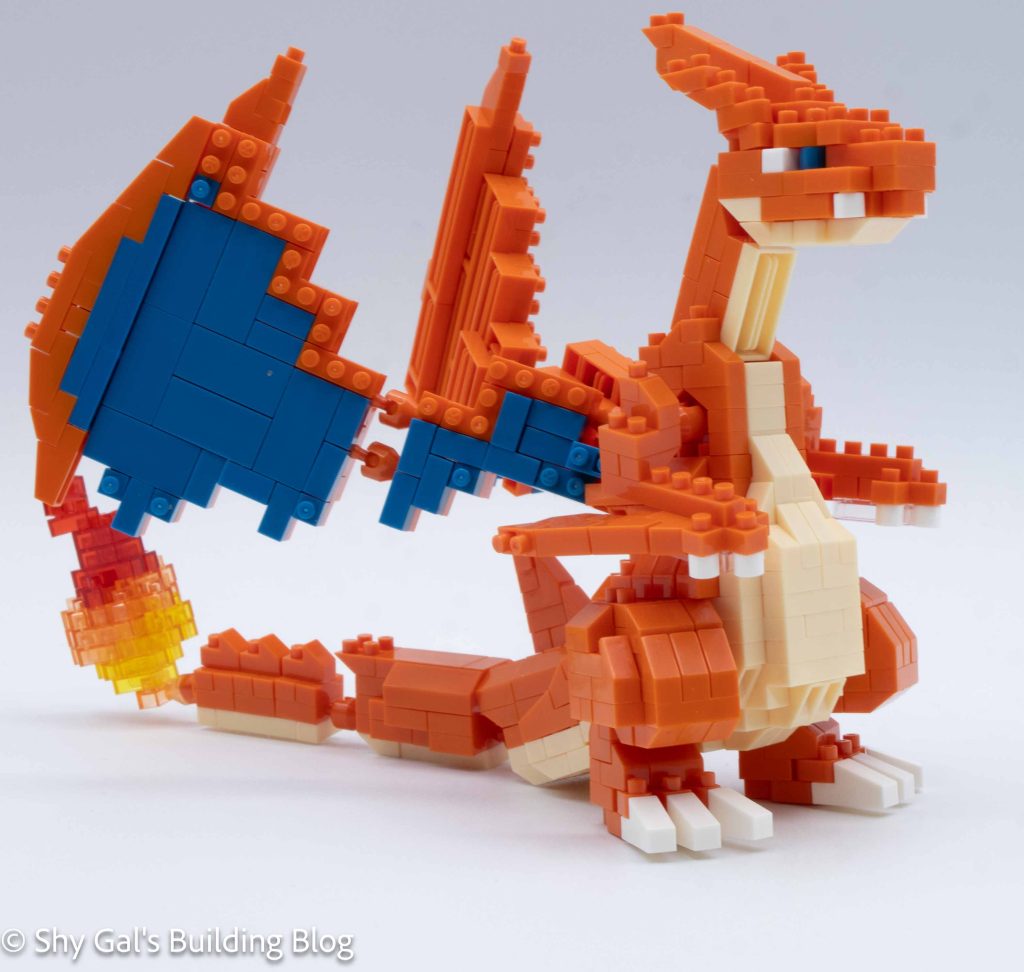
Next, I built the foundation of the 2 legs. These were straightforward. I attached the base legs to the body. The legs were posable.
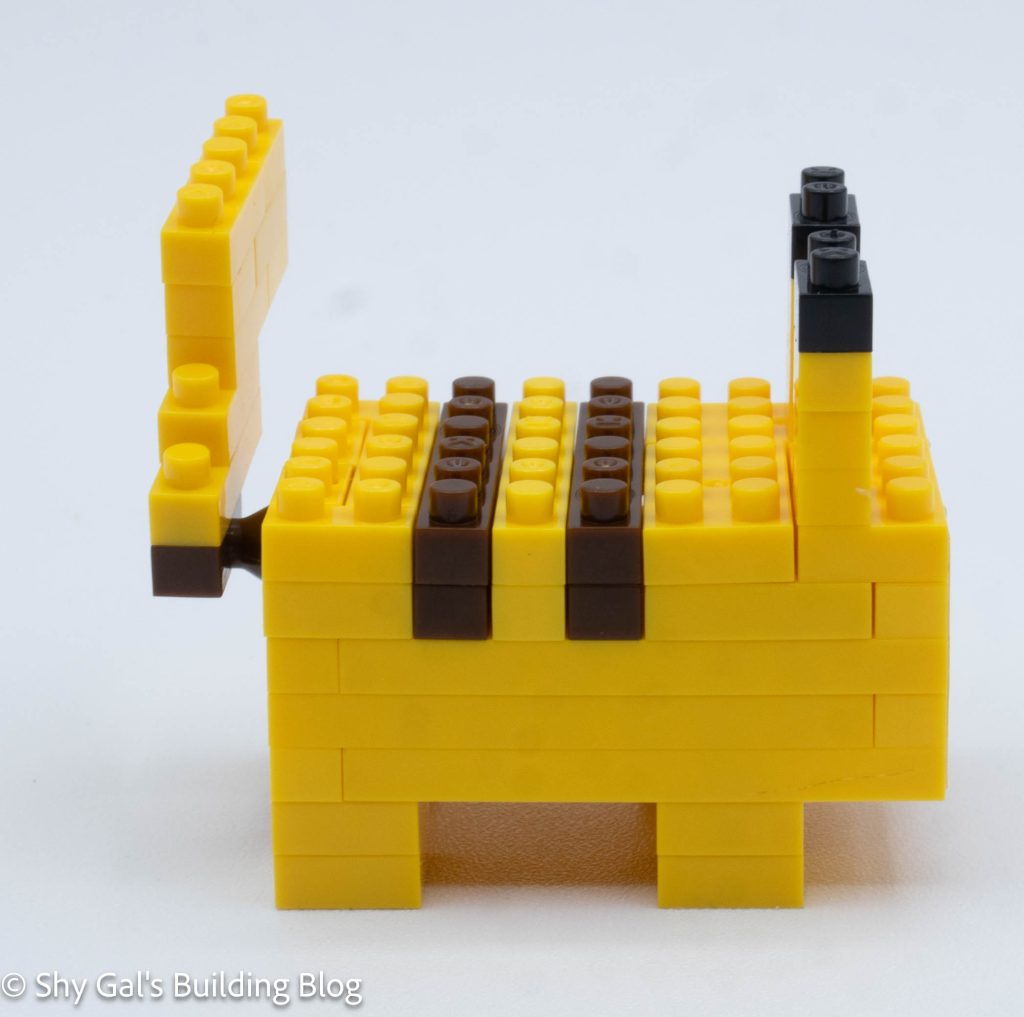
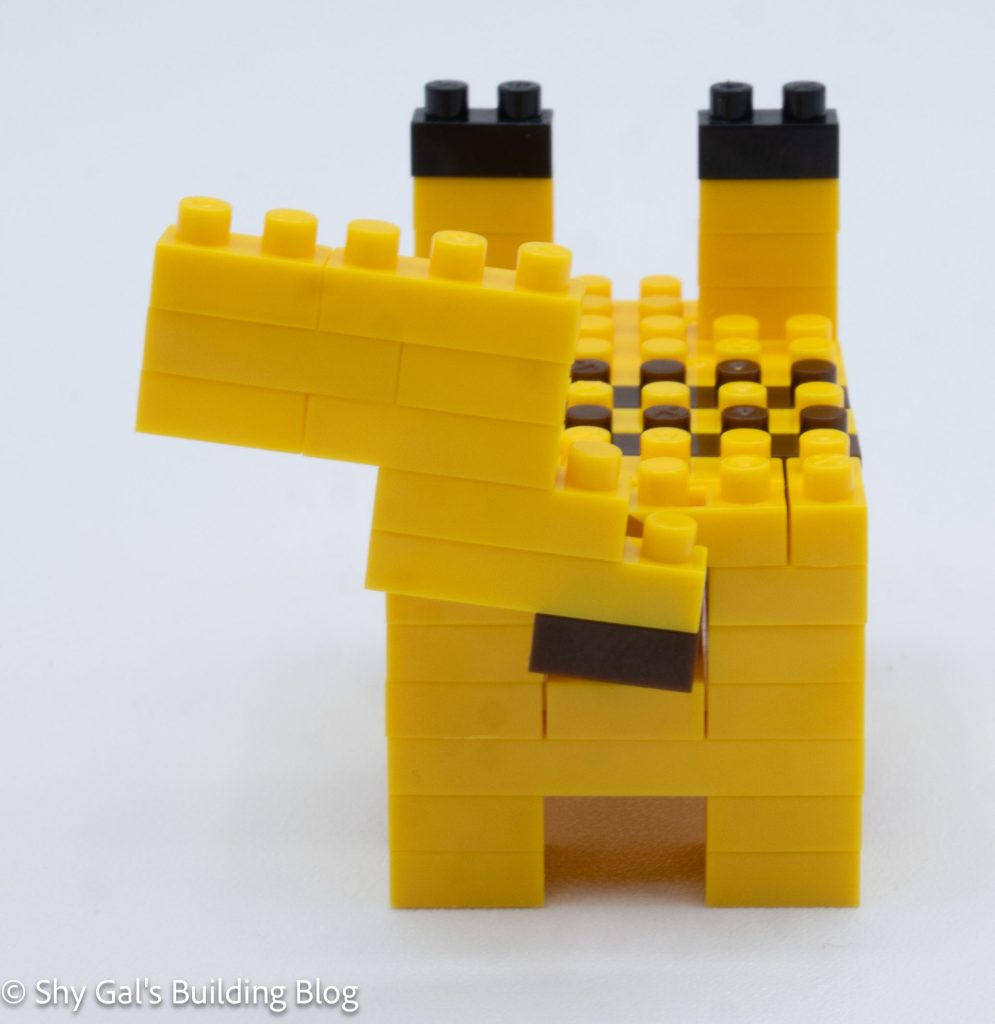
I built the body and legs up in layers. I had to watch the slanty pieces because both kinds were used in the body. Over the steps, I built the stomach panel and the sides and back.
Next, I built the feet and attached them to the body.
Then I built the arms and attached them one at a time.
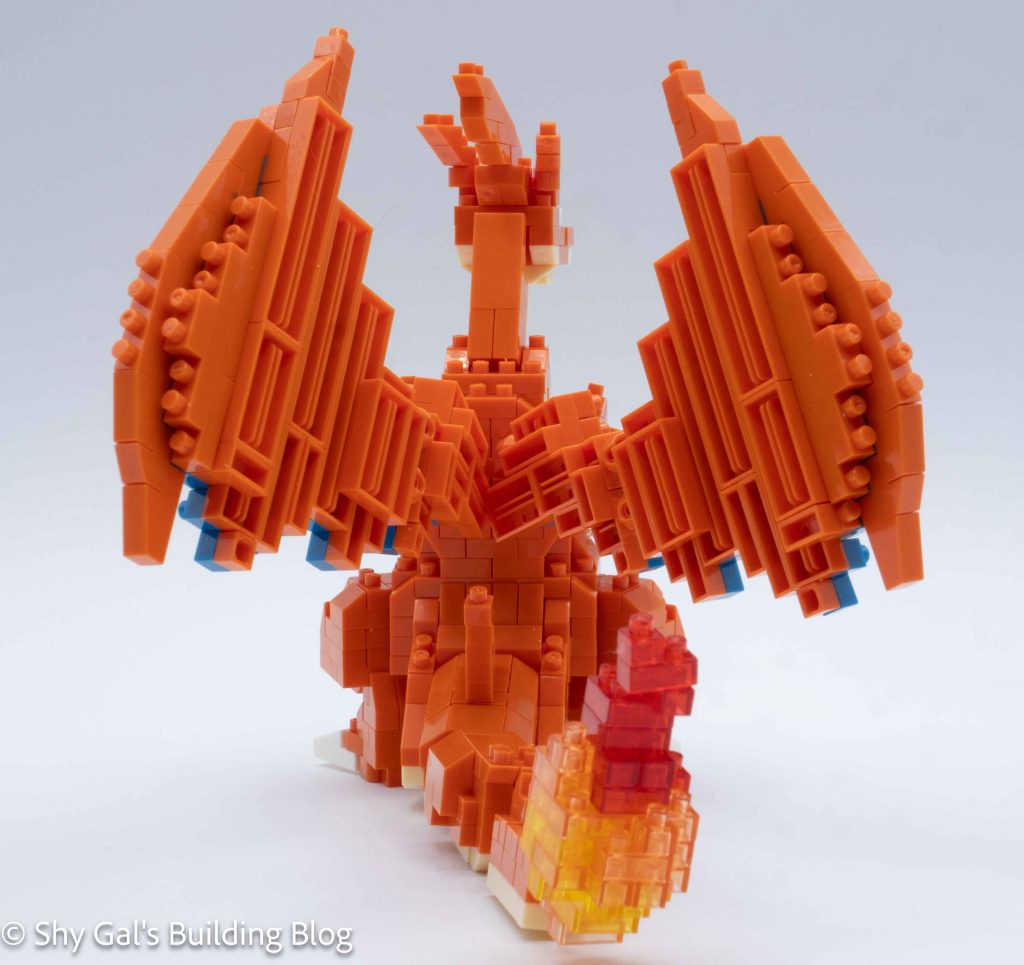
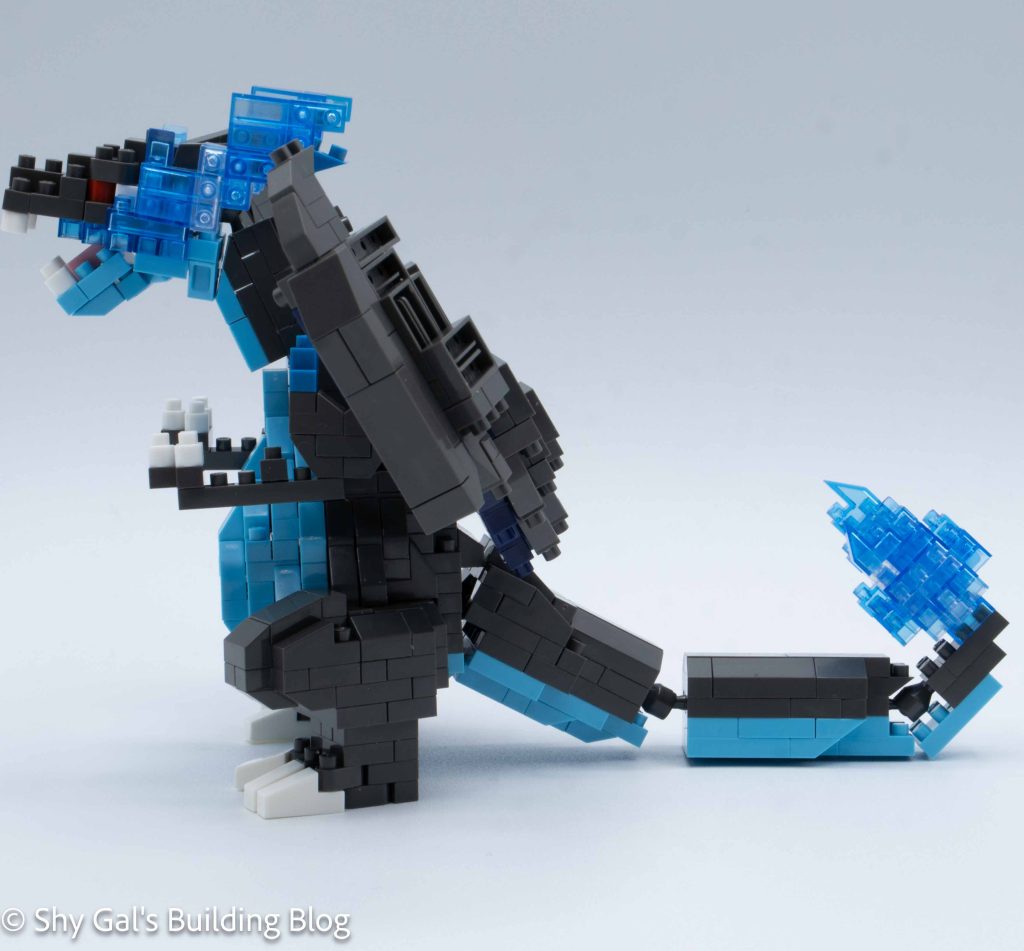
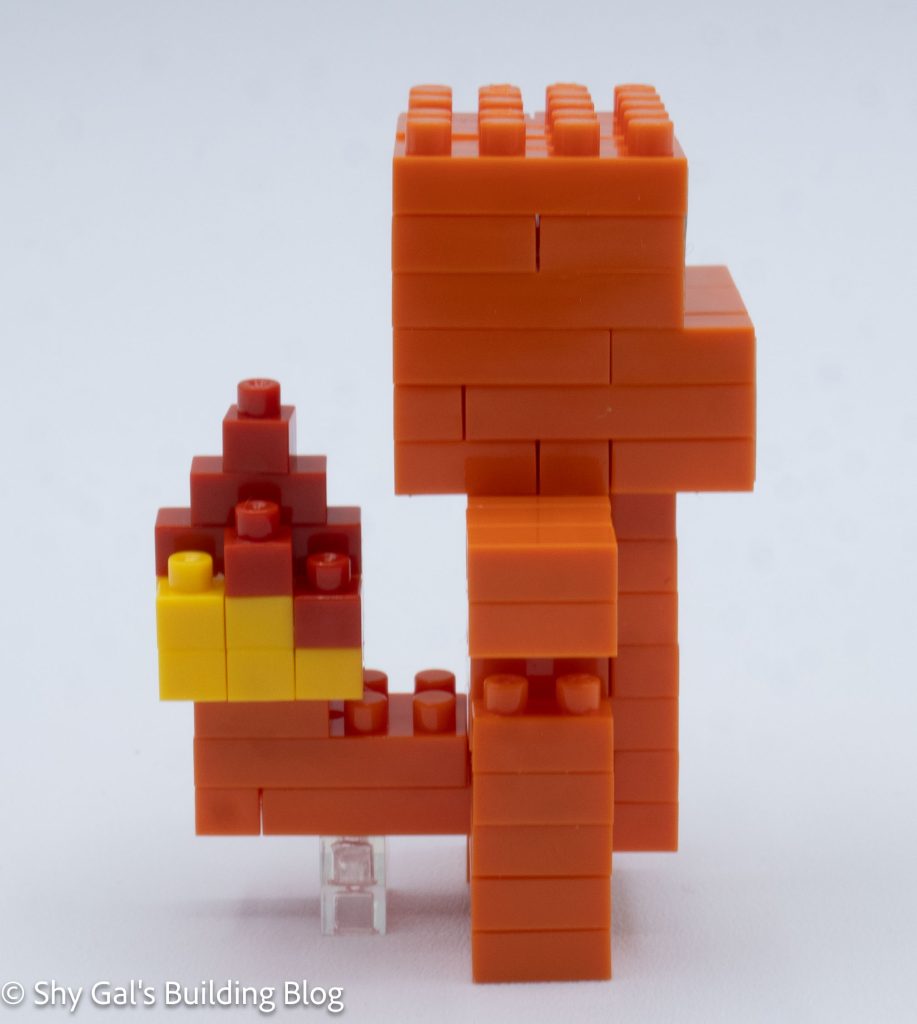
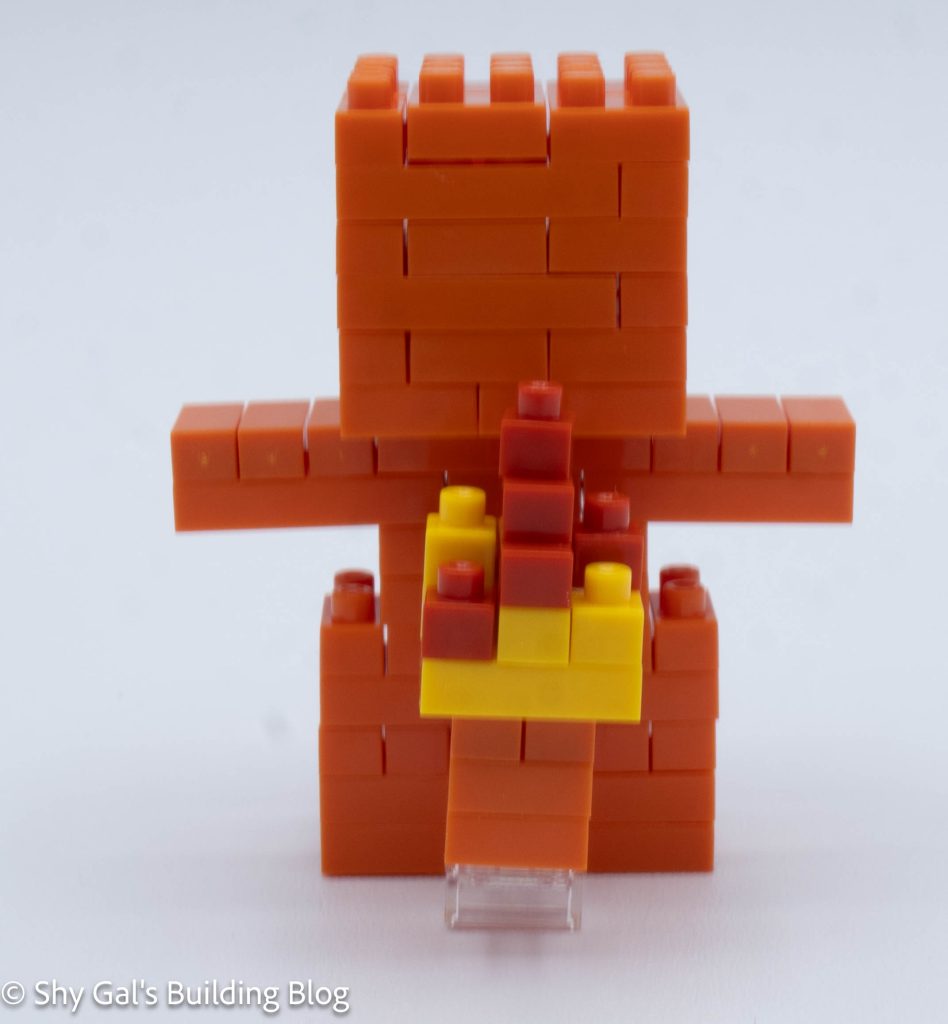
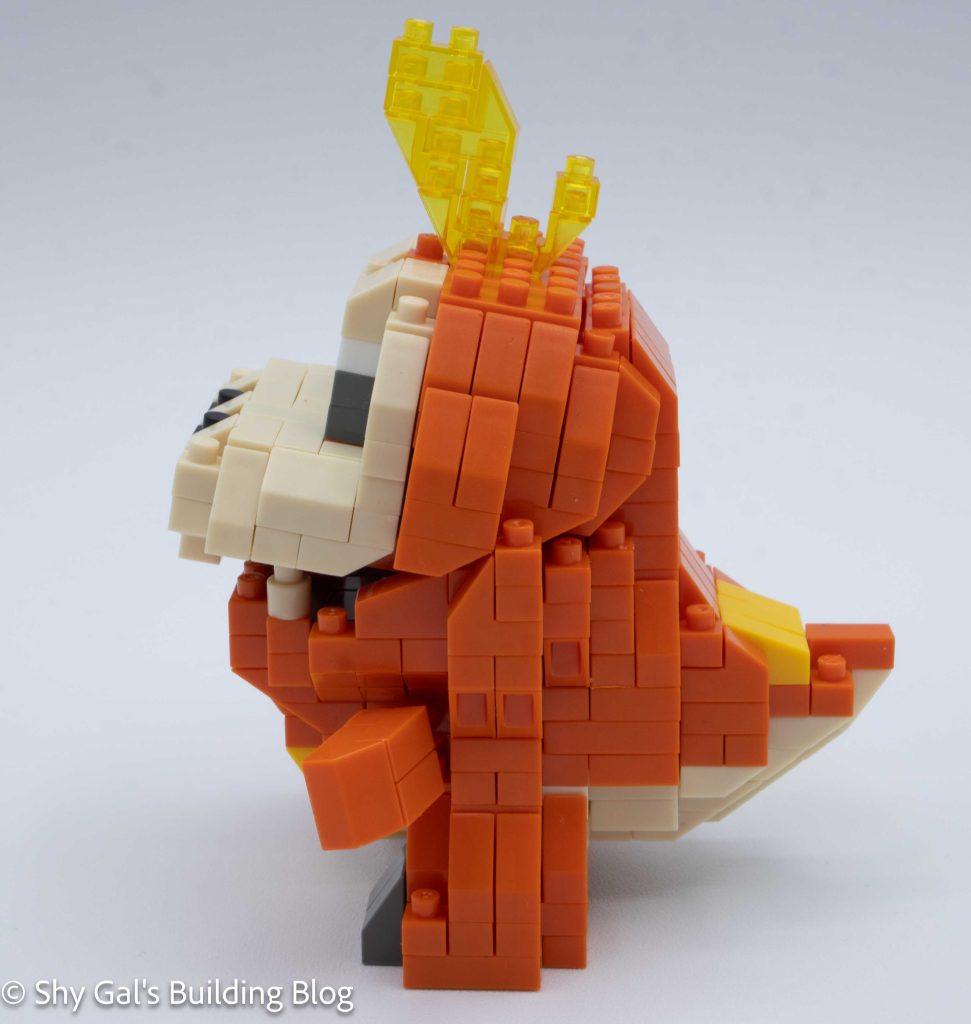
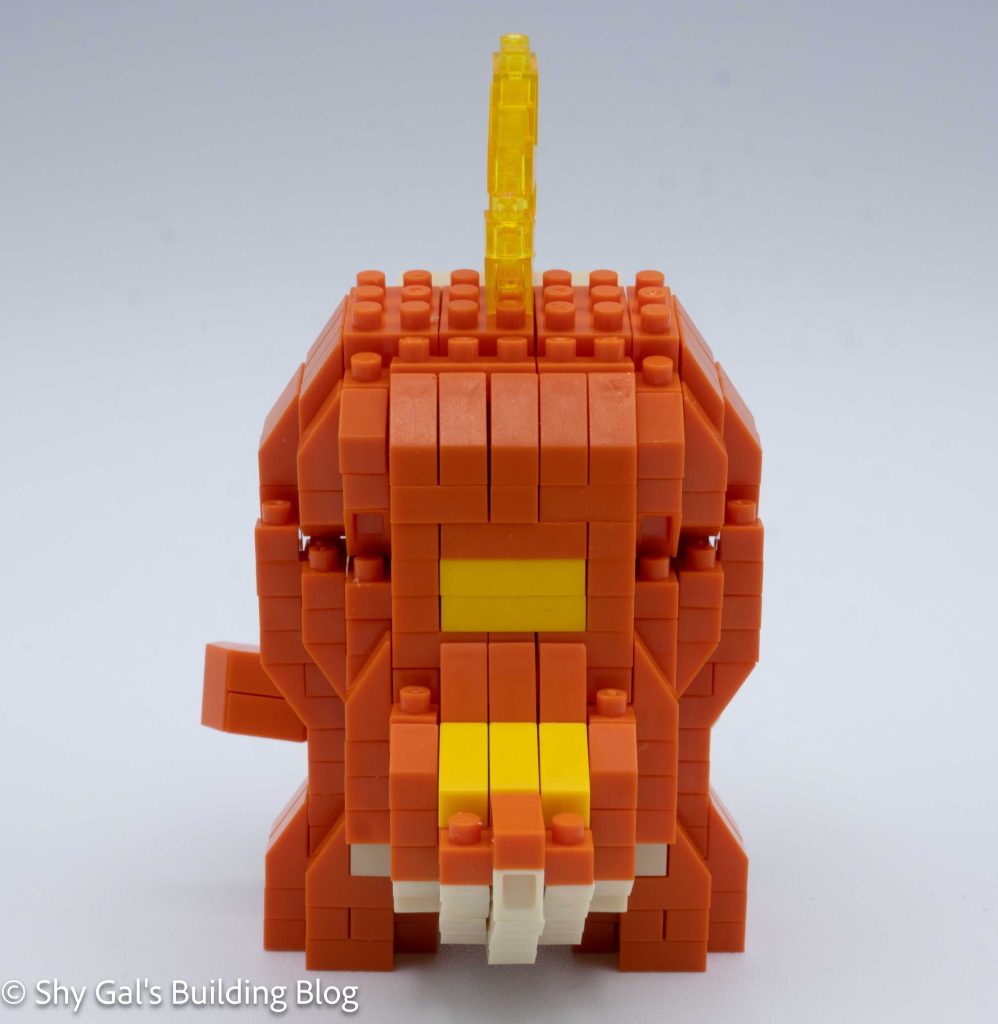
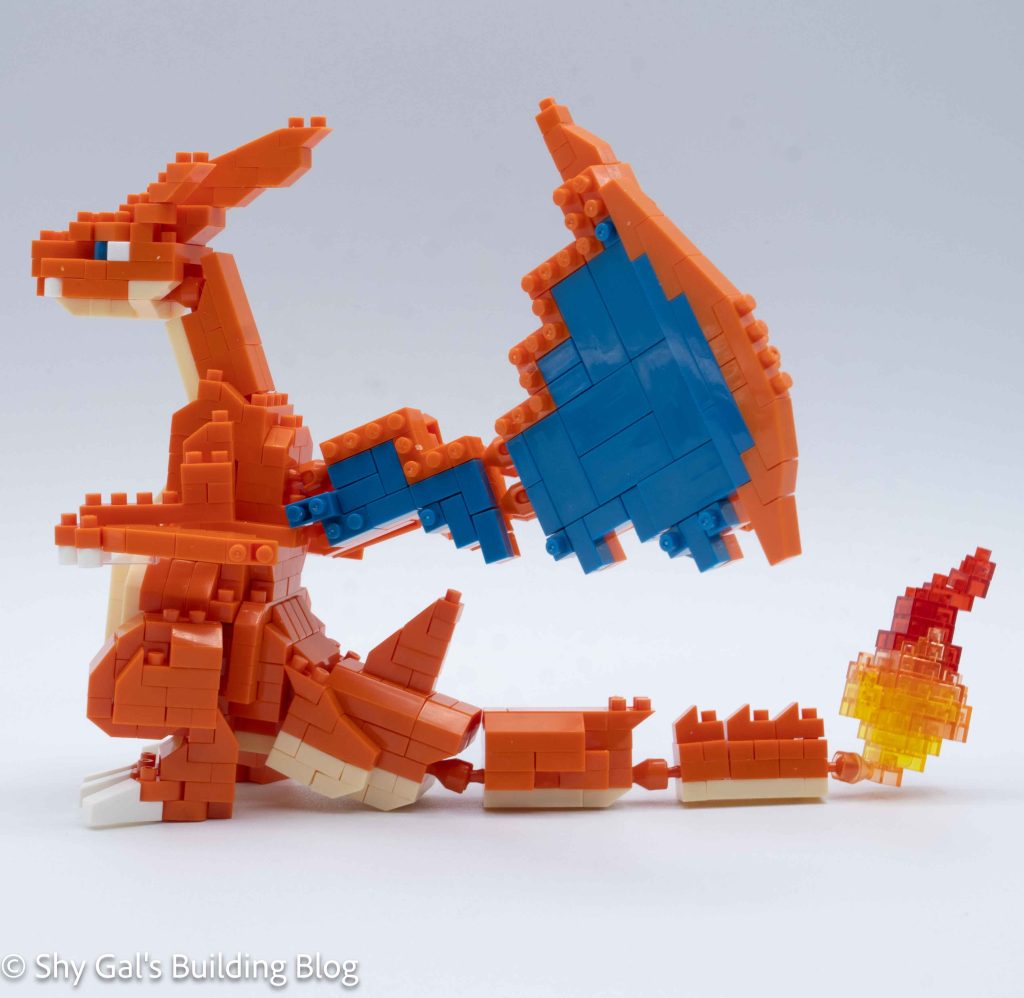
The next major segment was the tail. I built each segment, which had clear directions. I feel that the flame doesn’t quite look like the flame from the box, which is disappointing. After connecting the tail segments, I attached the tail to the body.
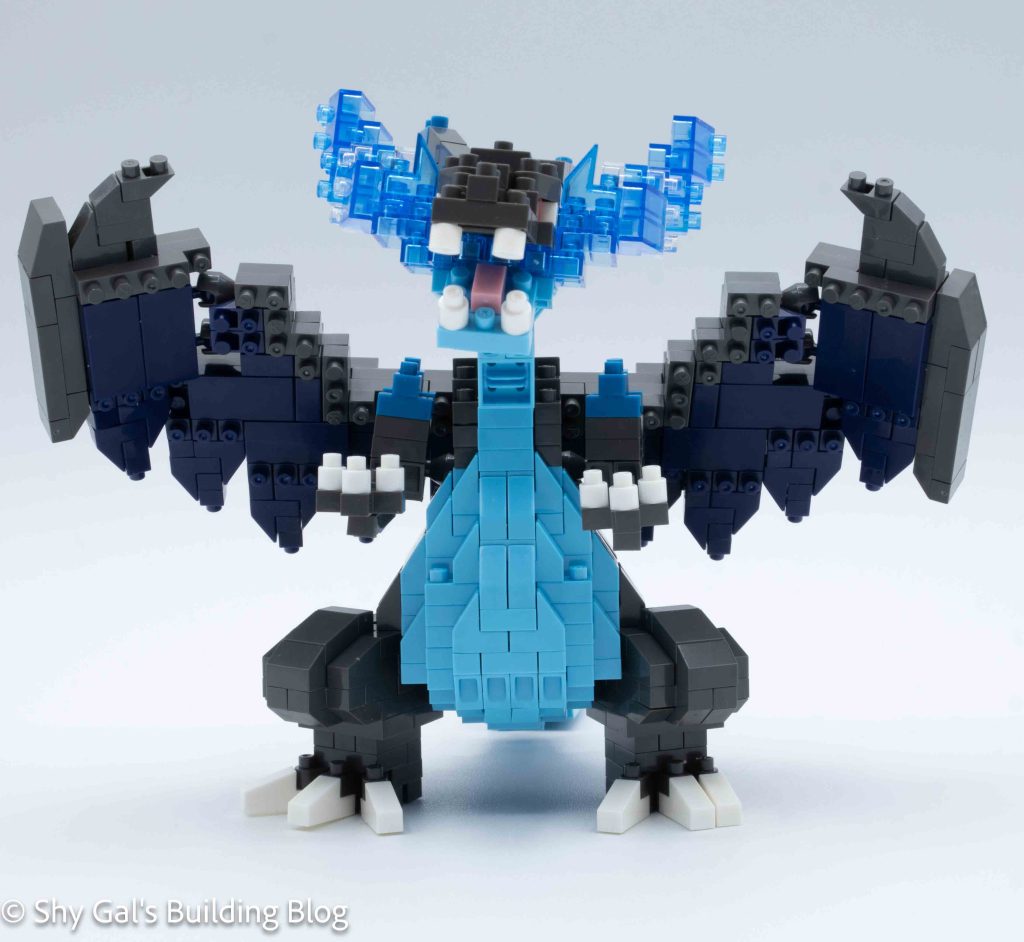
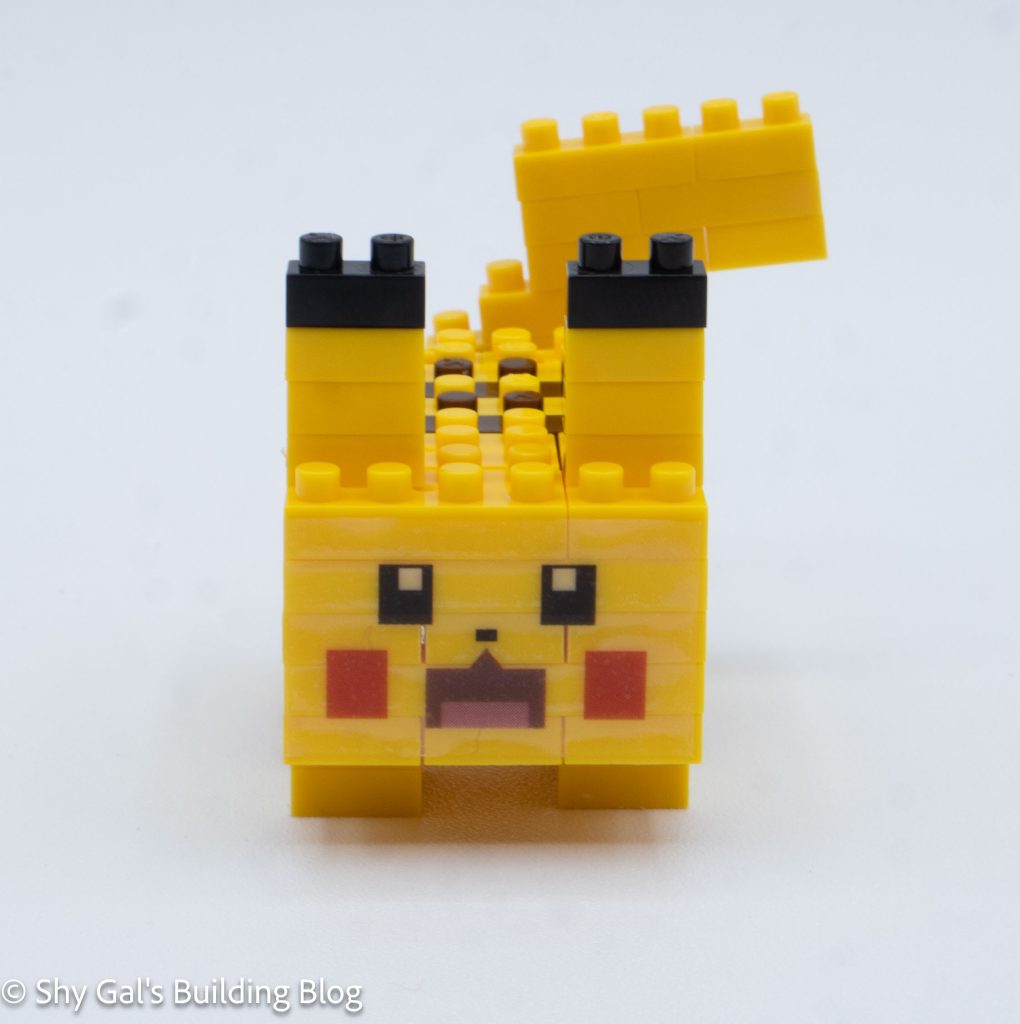
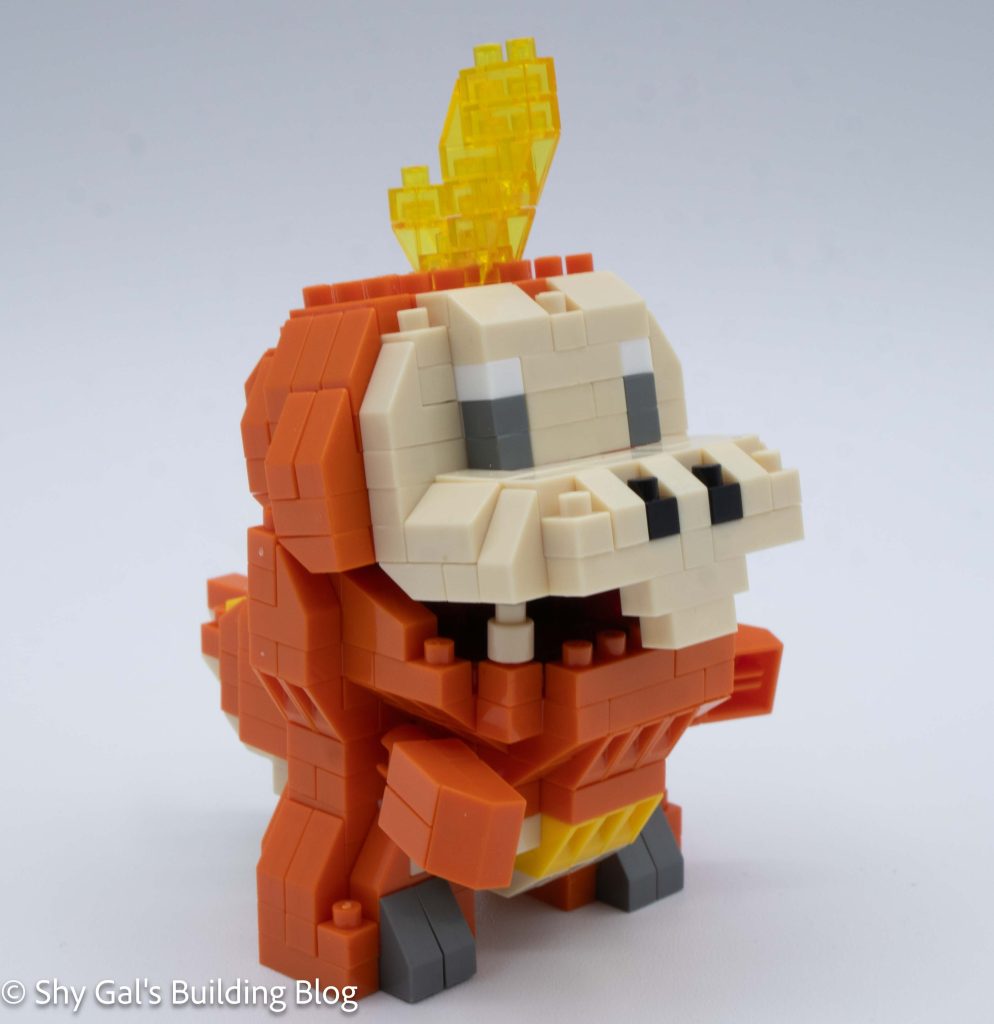
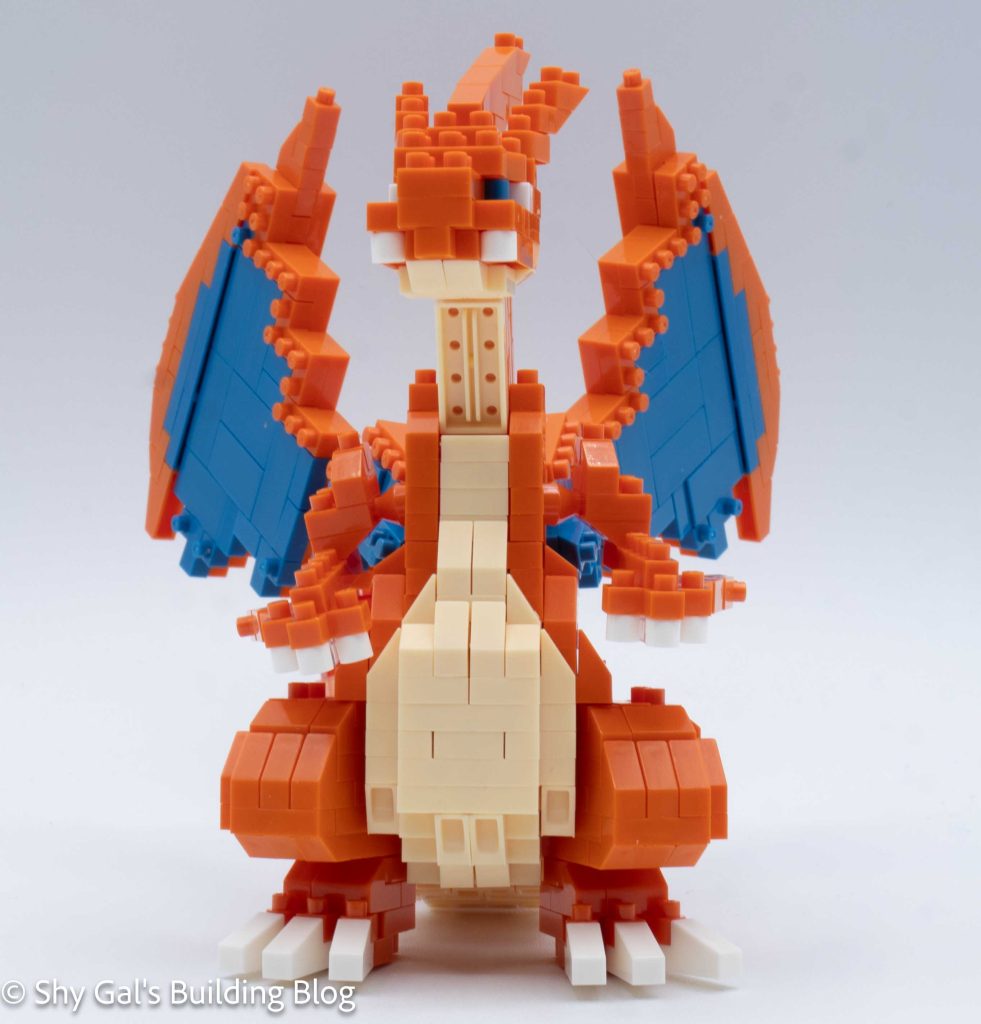
Next, I built the head. I really like the amount of detail in the head. After building the head, I built the neck and attached the entire thing to the body.
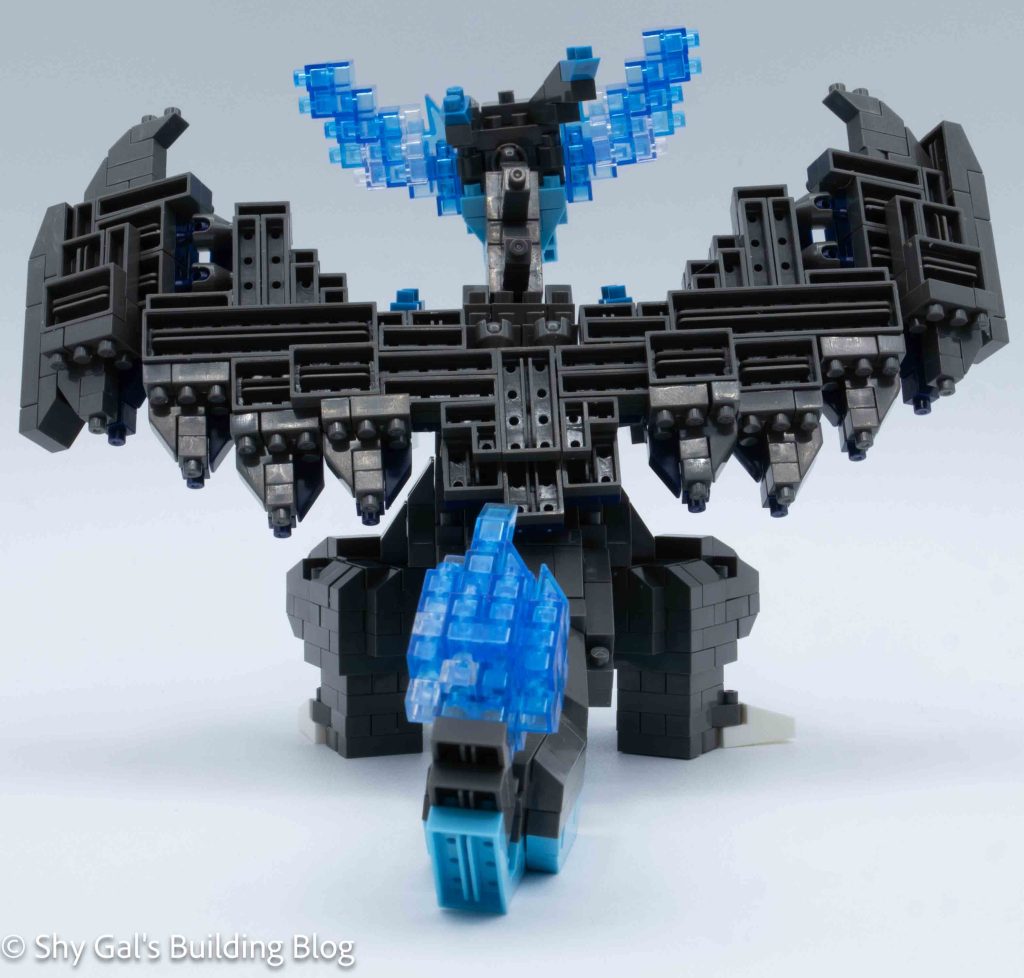
The final step was to build the wings. These were by far the most complicated part of the build. There were several points where I had to be super careful to make things right when flipped over. Finally, I attached the wings to the body
Things I liked:
- I like that the build wasn’t tippy, as I added segments onto the build, so I didn’t have to figure out how to place it each time I added a segment.
Things I didn’t like:
- I feel that the flame I got from following the instructions didn’t match the one on the box