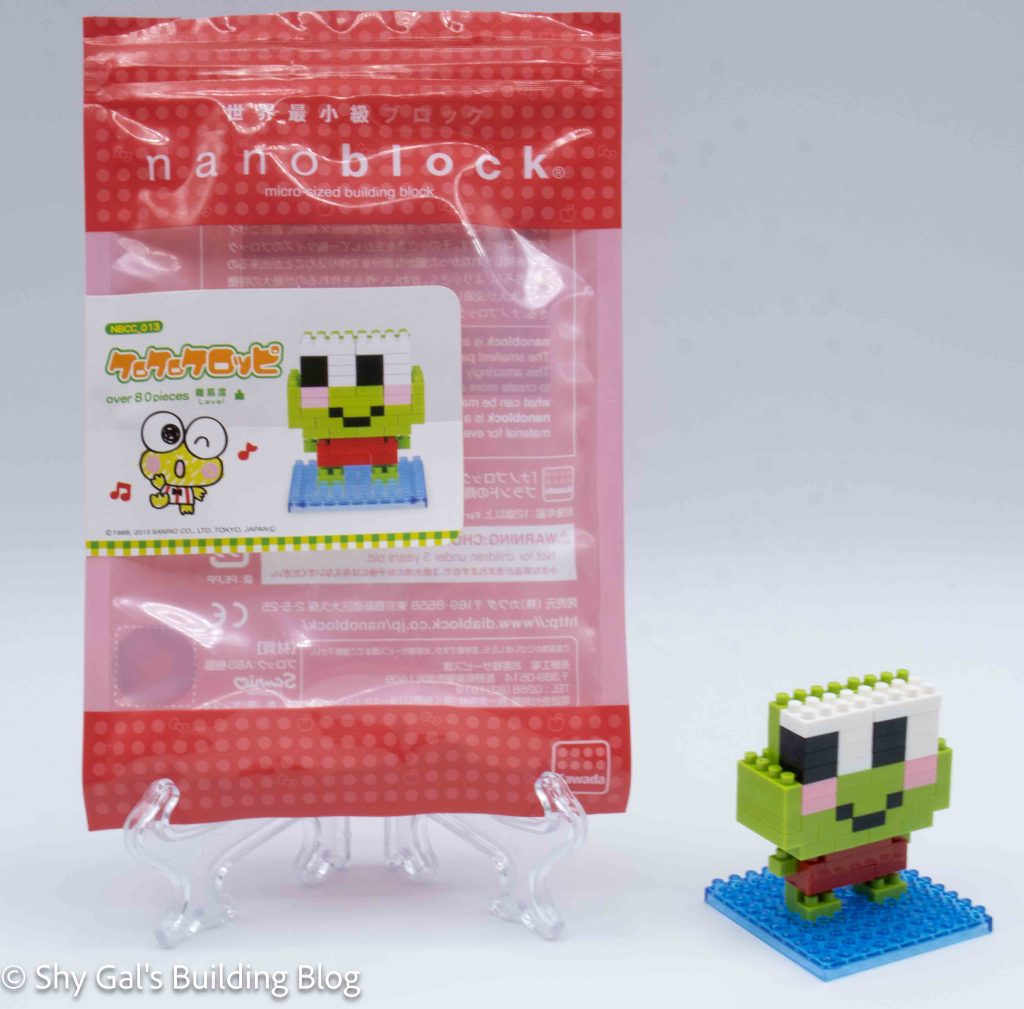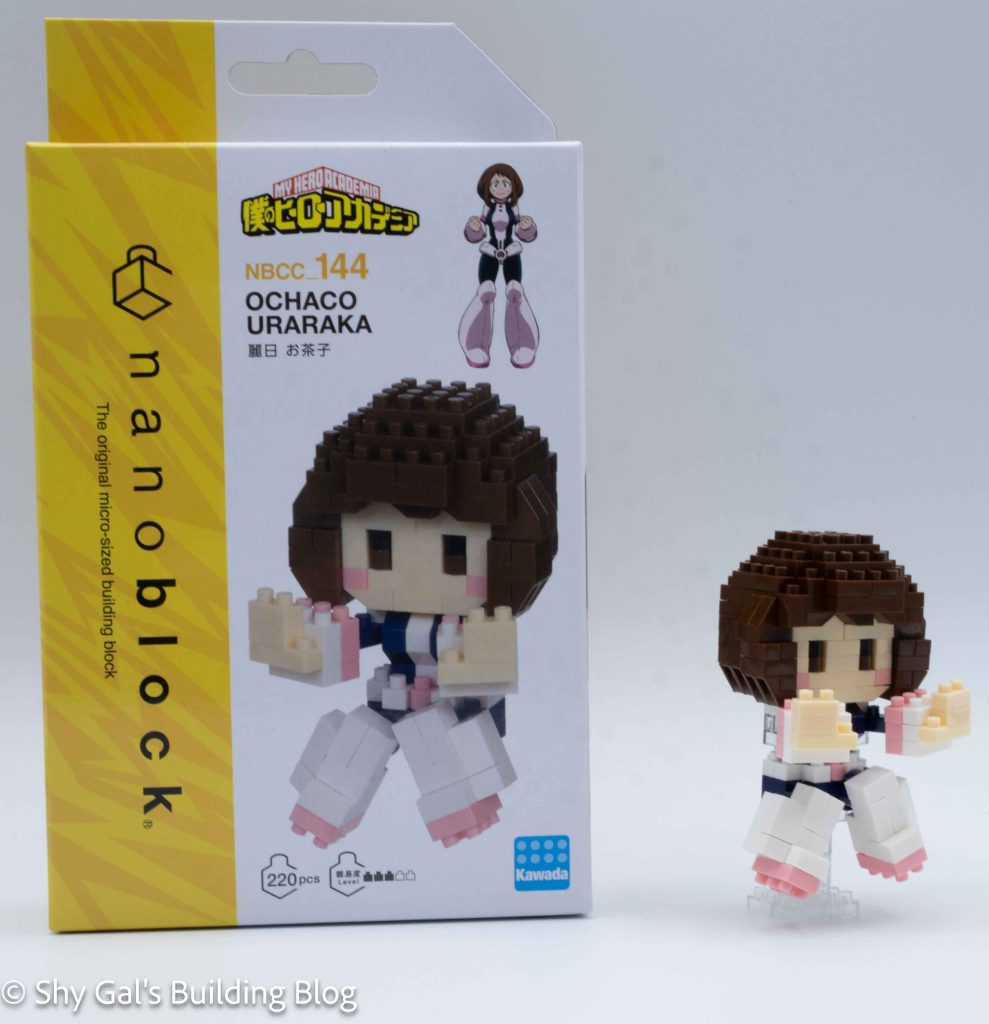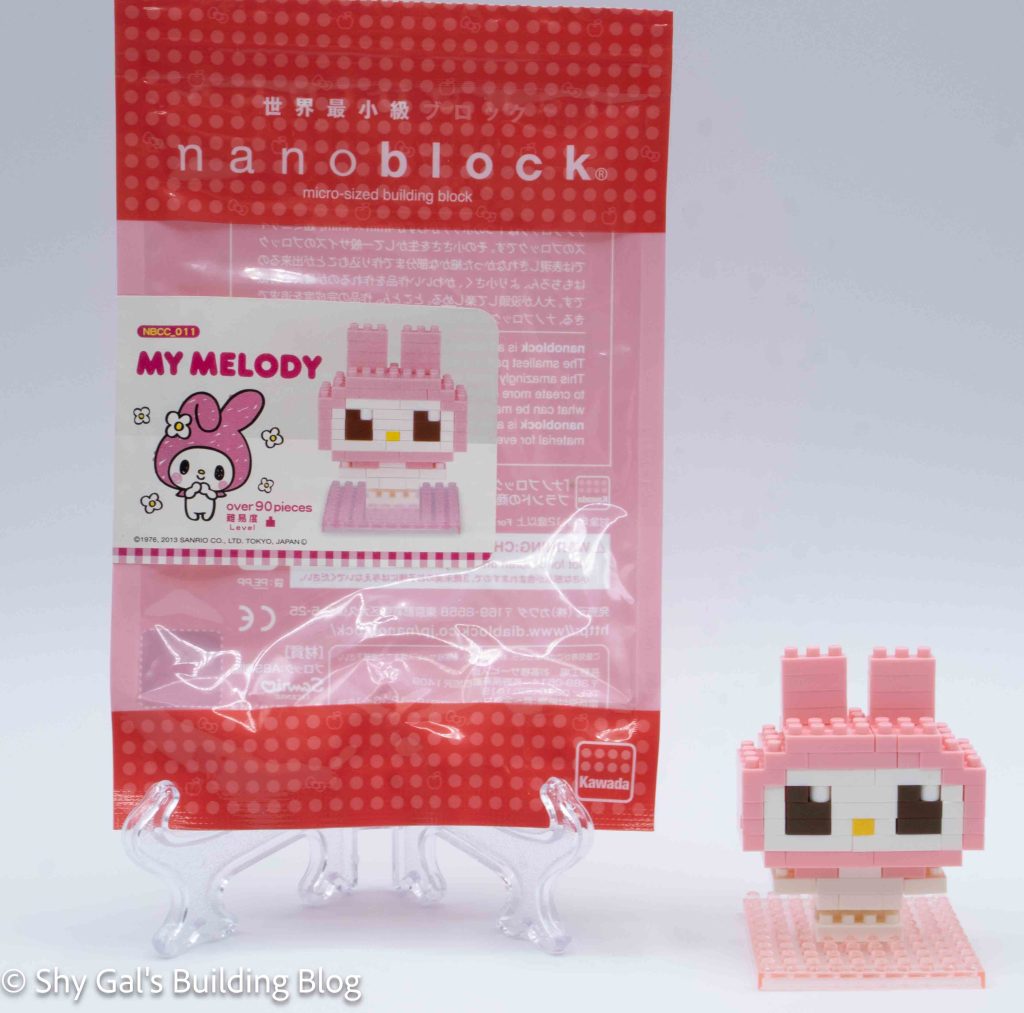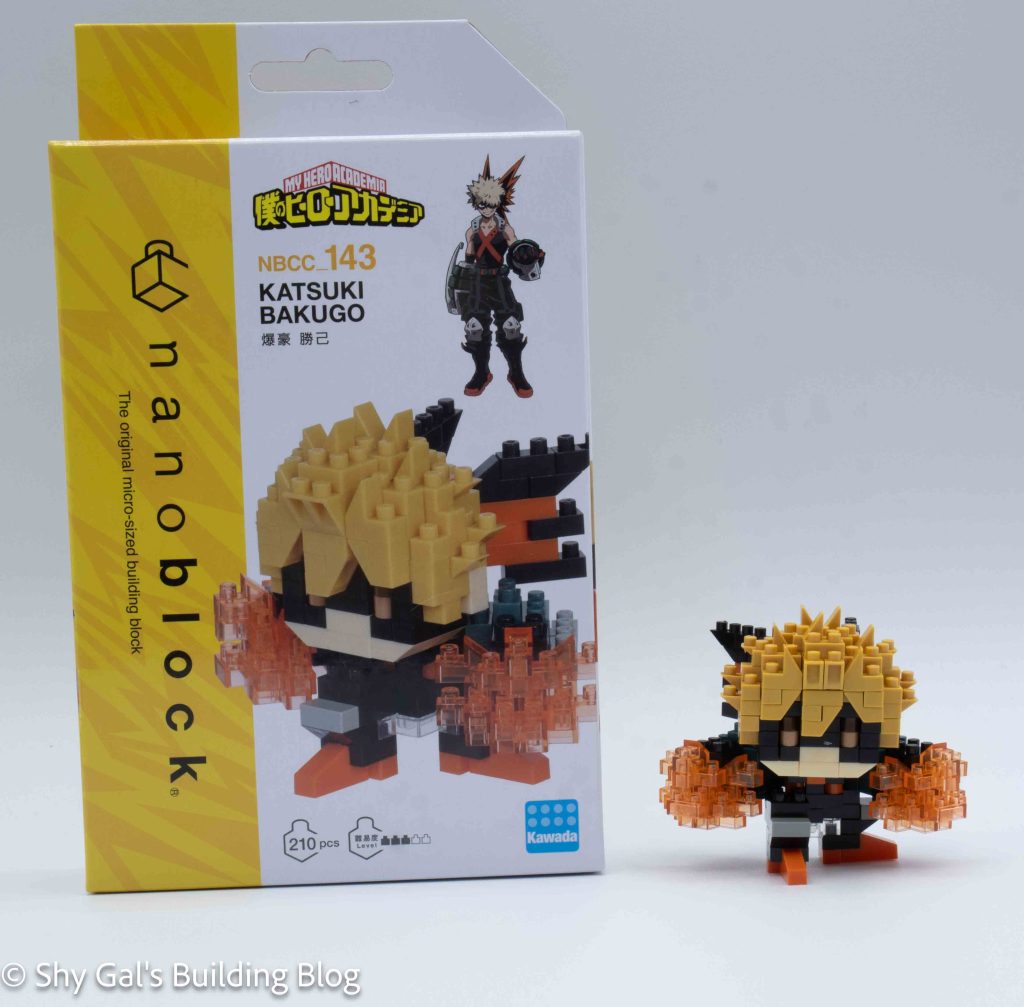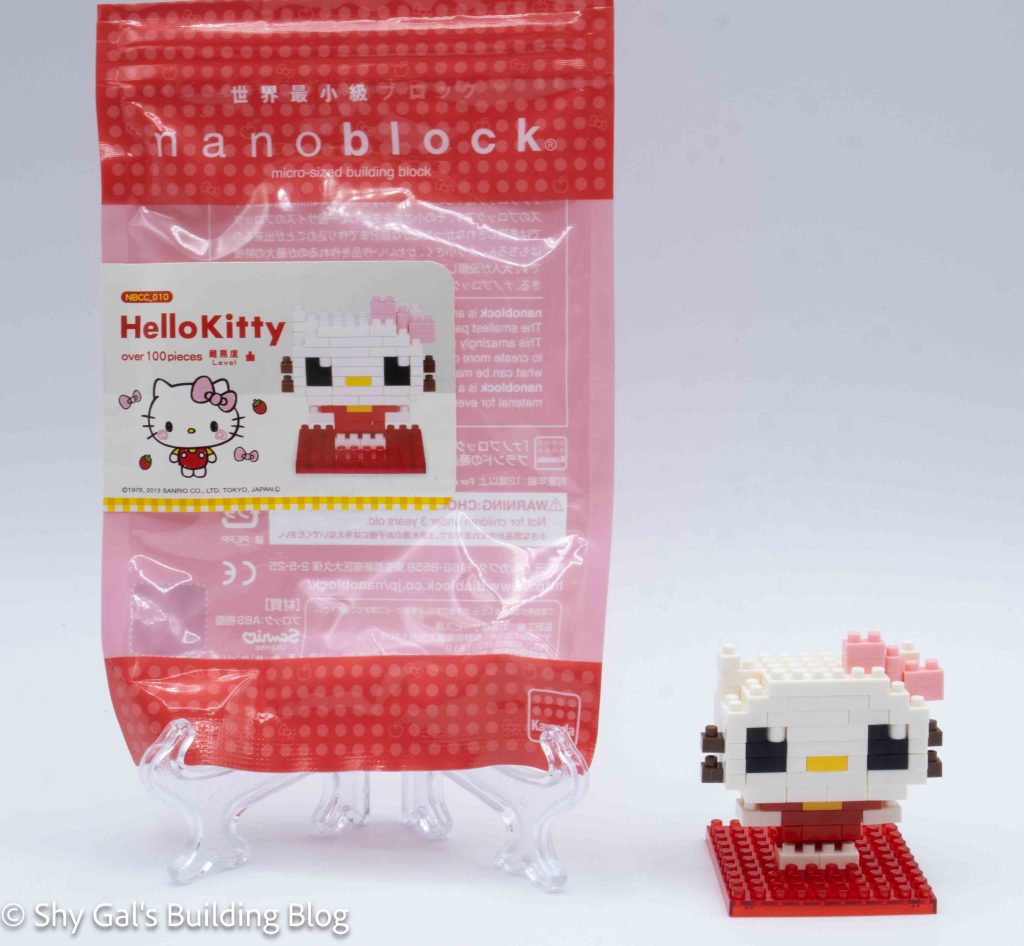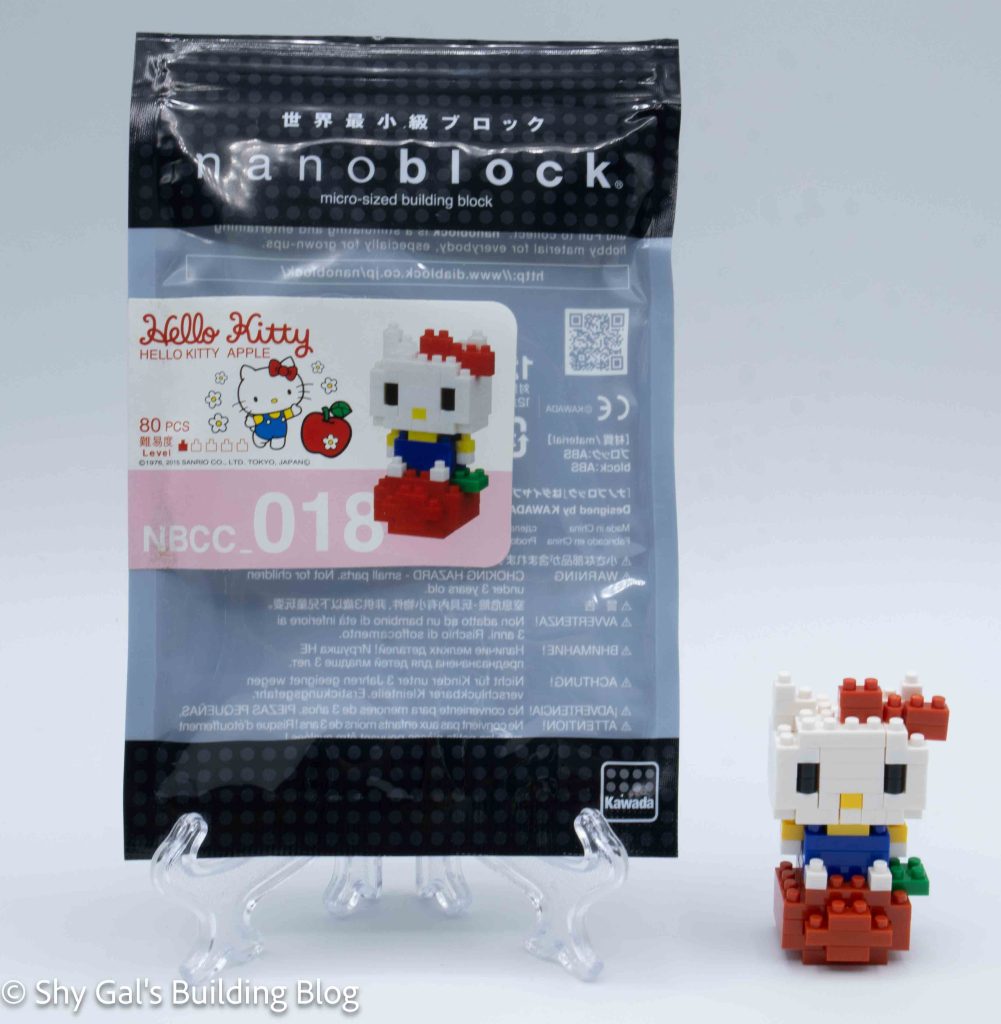
This post is a review of the nanoblock Hello Kitty Apple build. Hello Kitty Apple is part of the nanoblock Character collection. Wondering what else is part of the Character collection? Click here for a list.
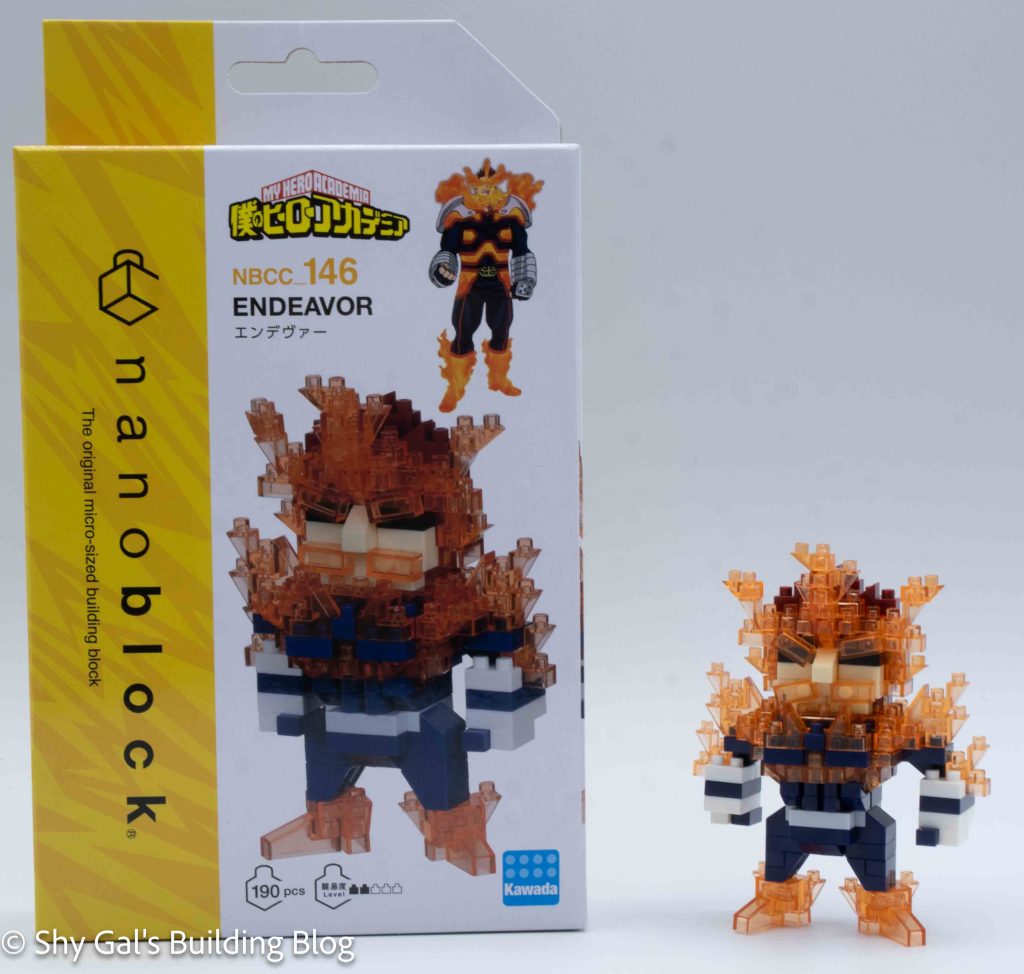
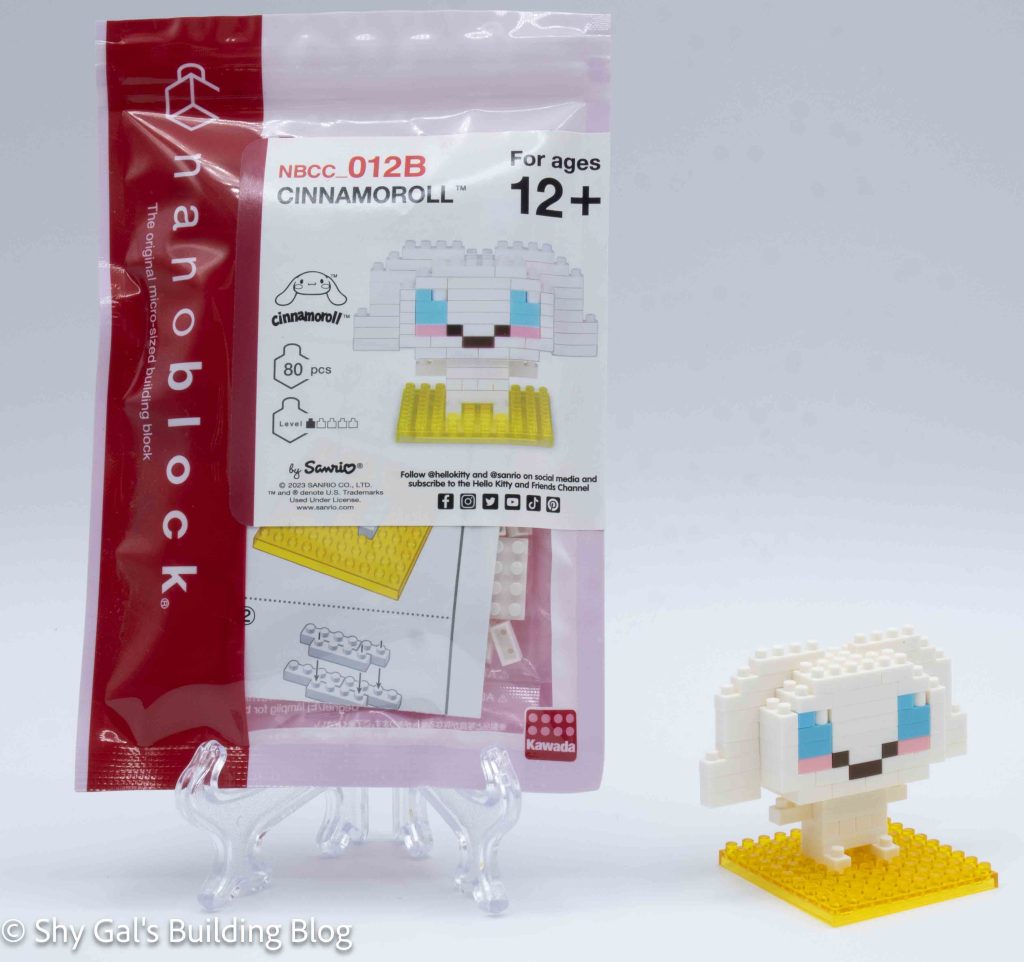
Number: NBCC_018
Number of Pieces: 80
Difficulty Rating: 1/5
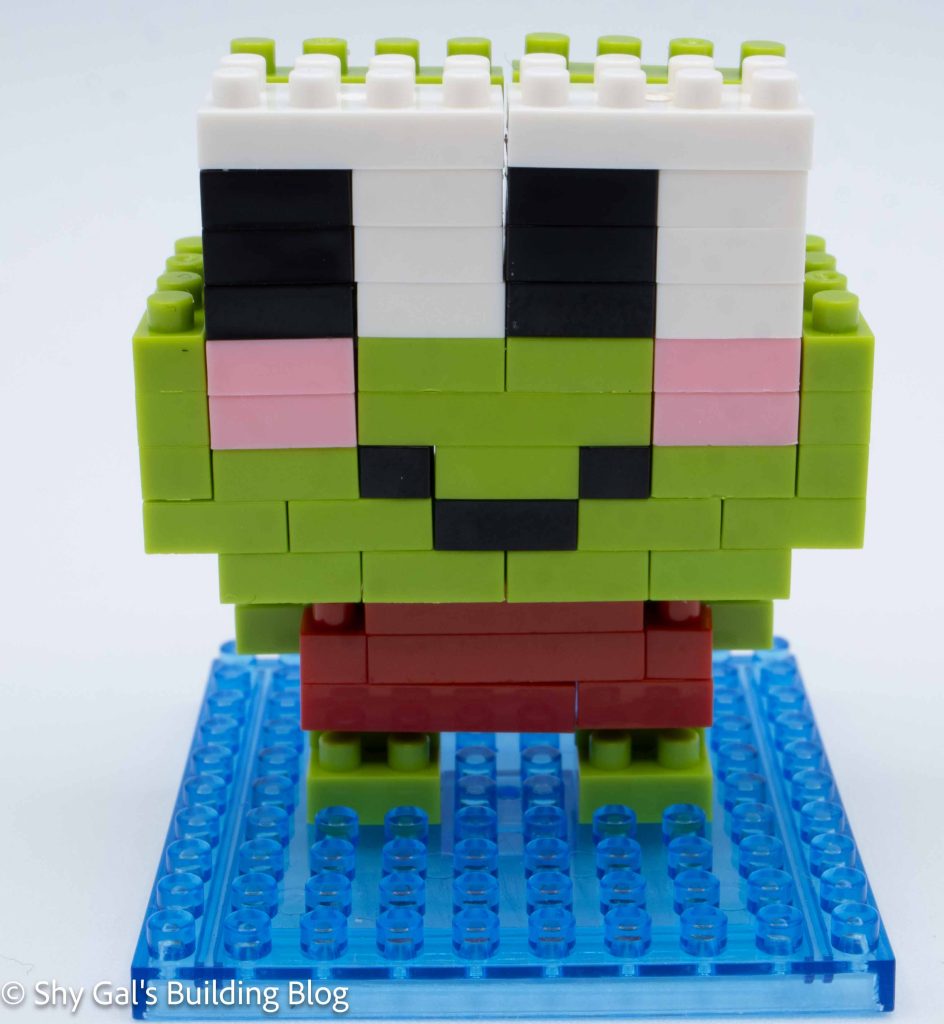
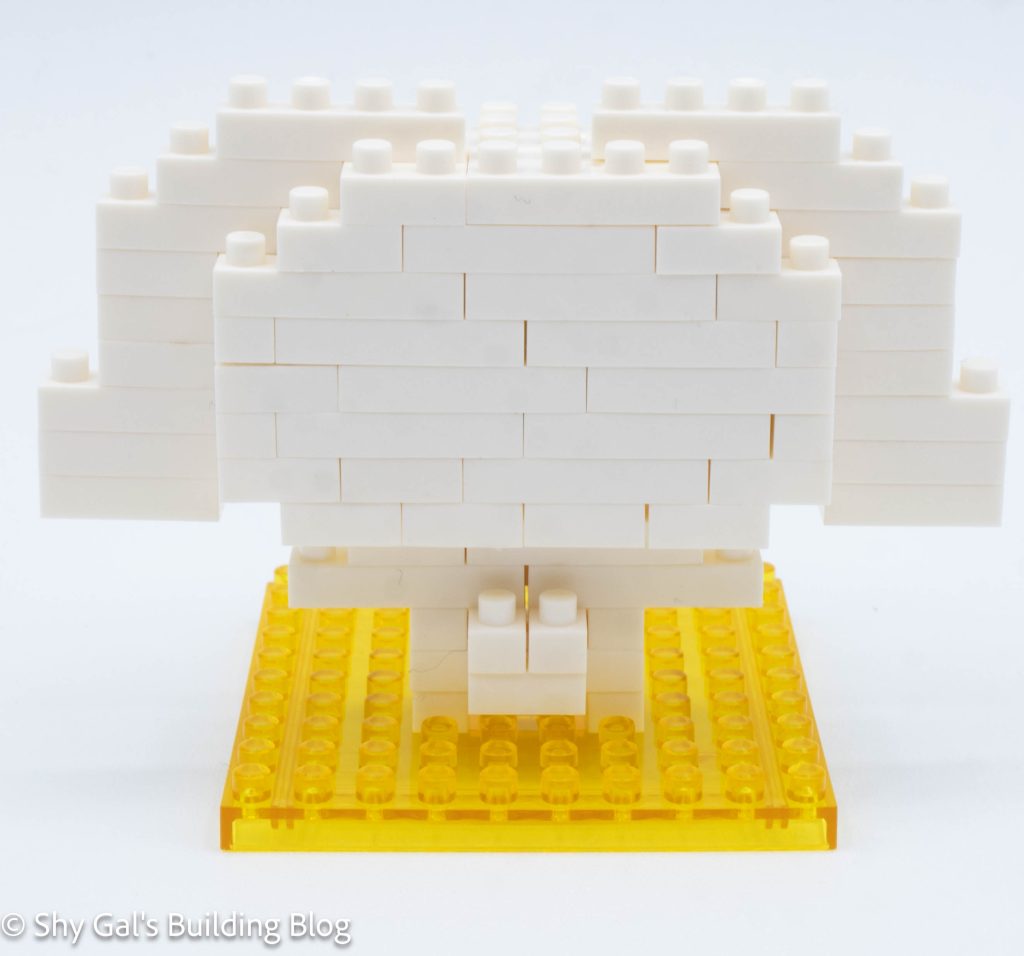
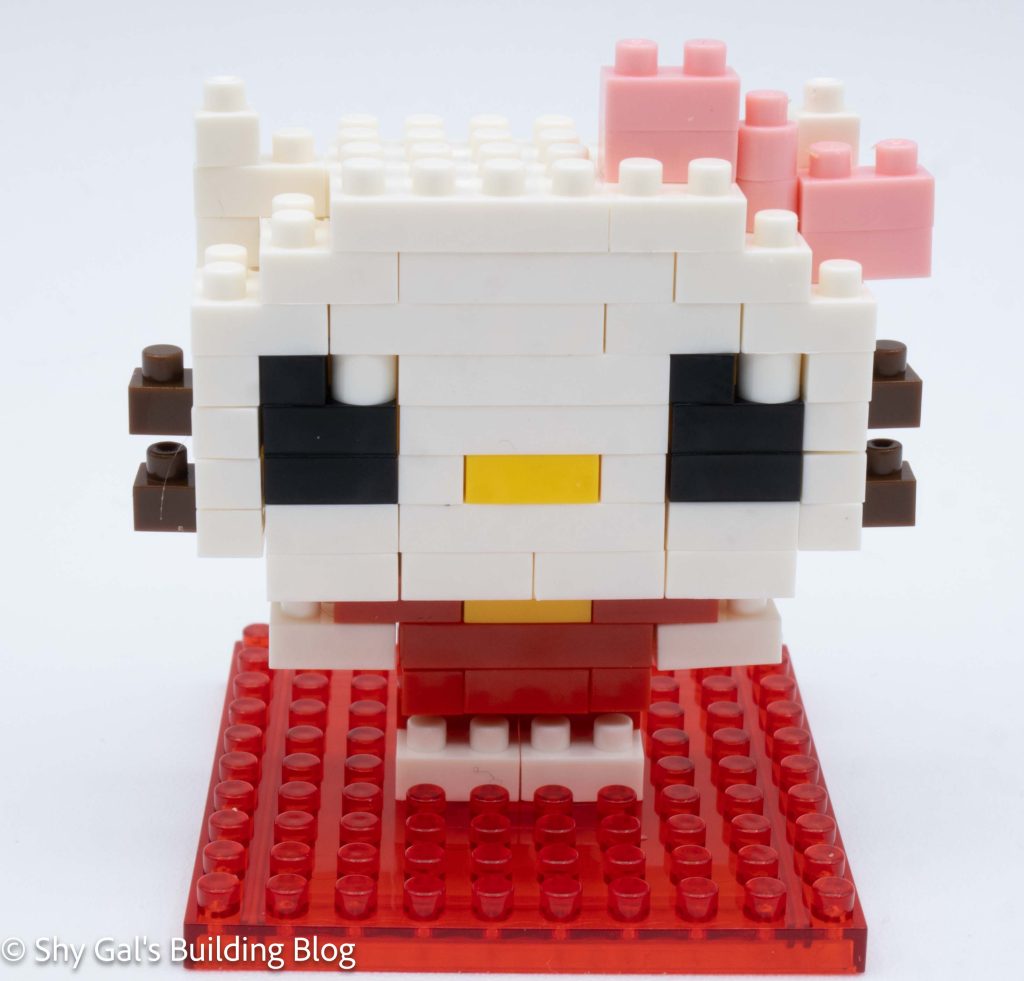
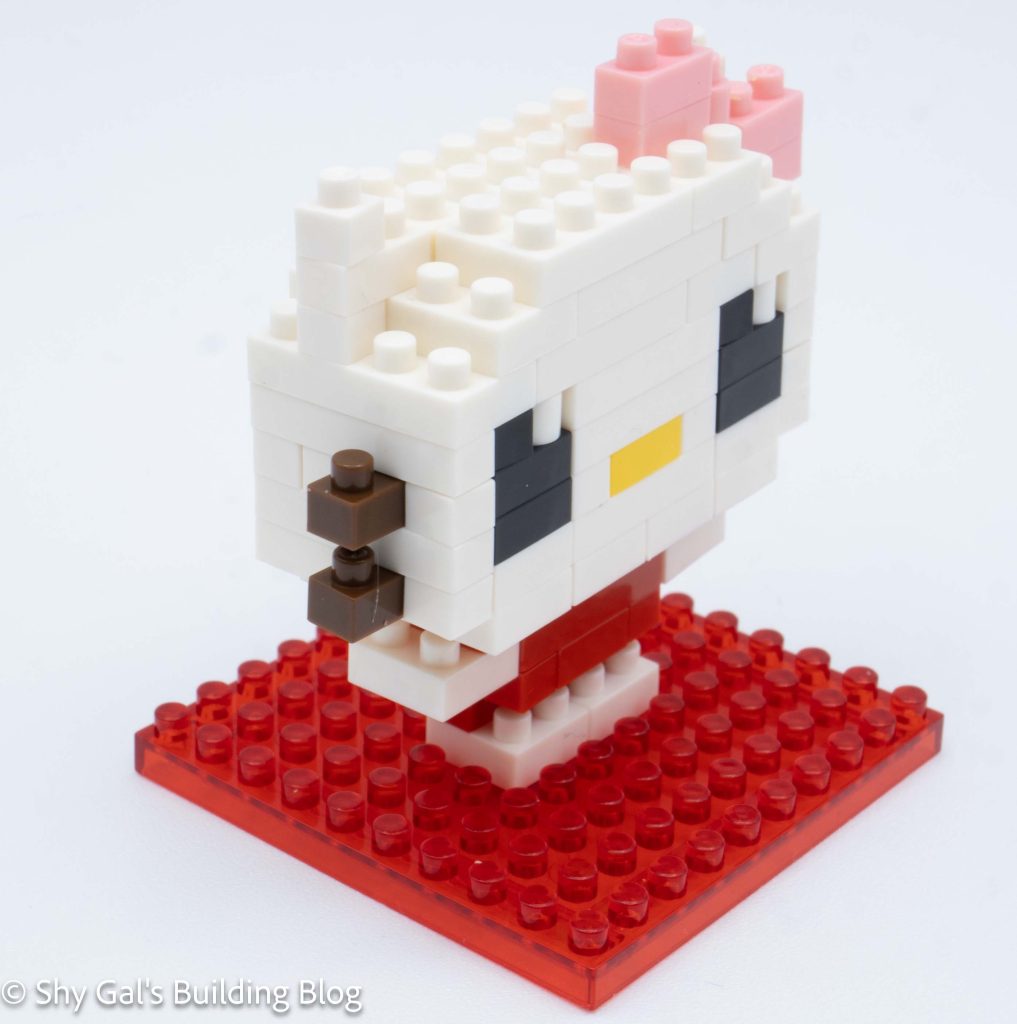
This build has 2 sections. There is the head and the body.
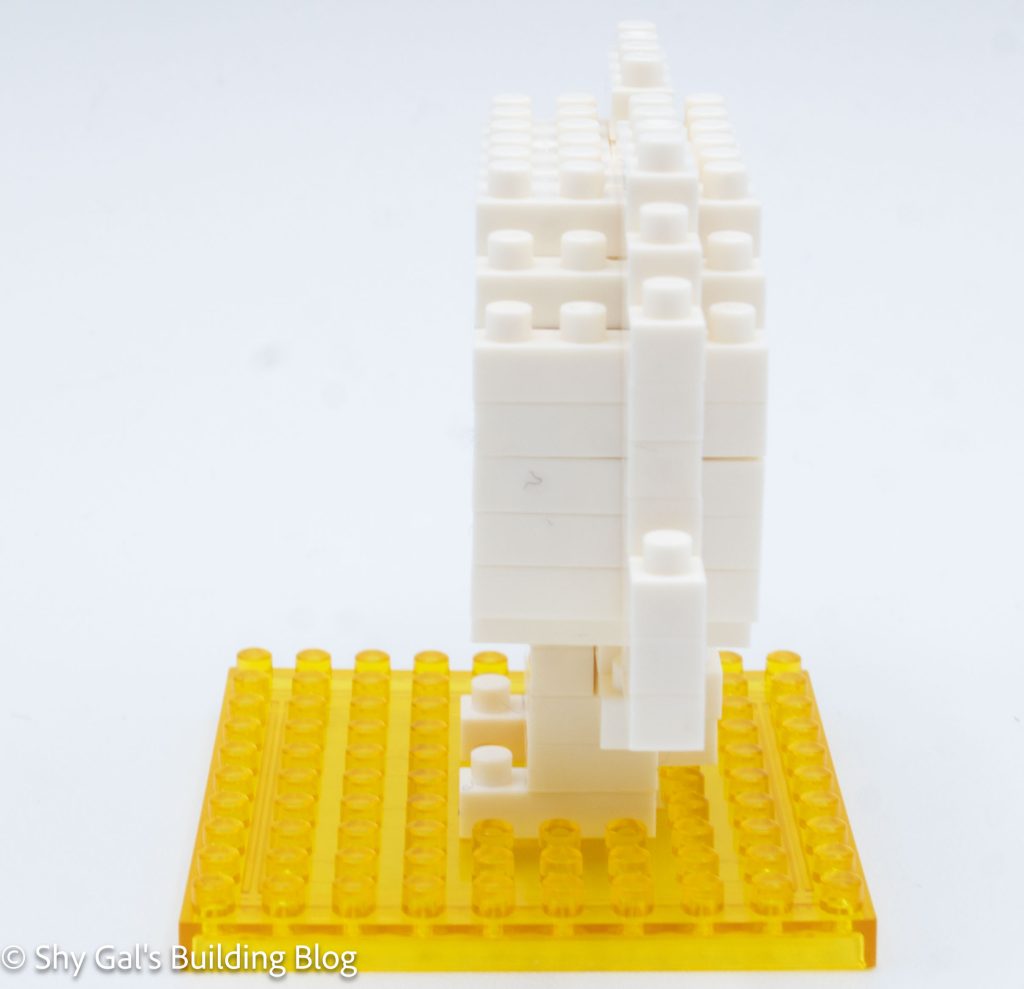
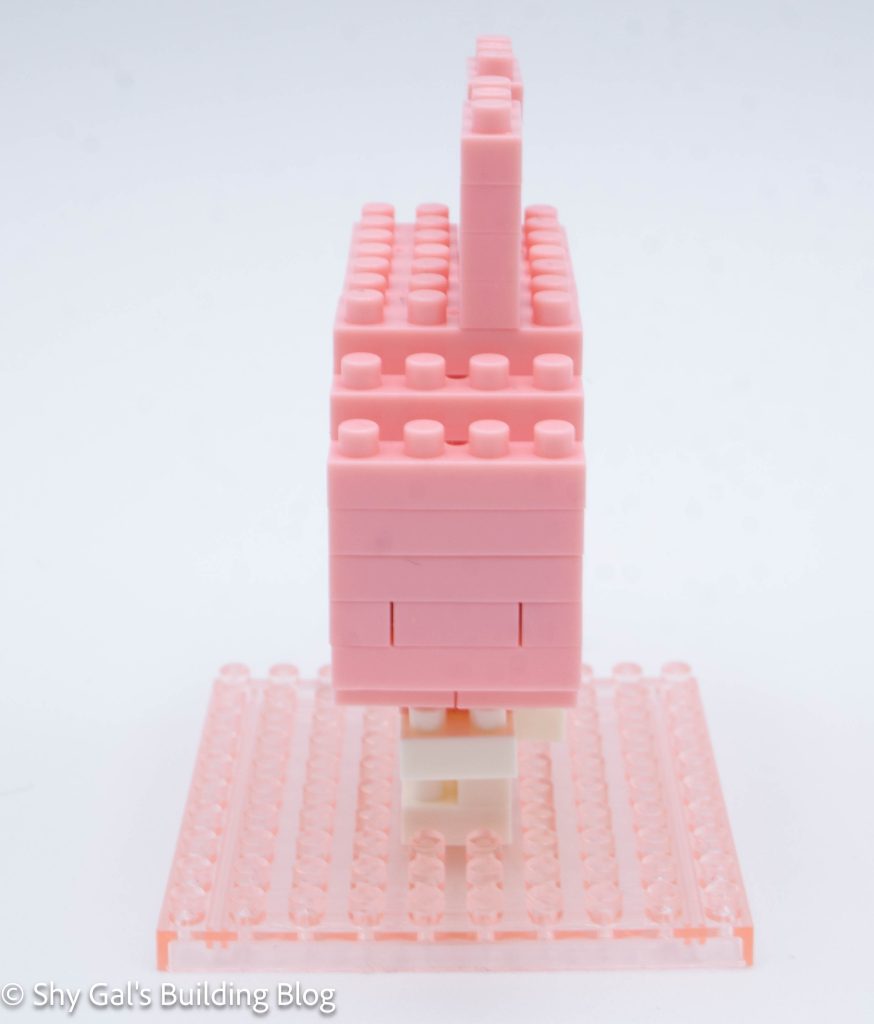
I began by laying out the base layer of the bricks. I wasn’t able to use my nanoblock pad because the side pieces were off-center.
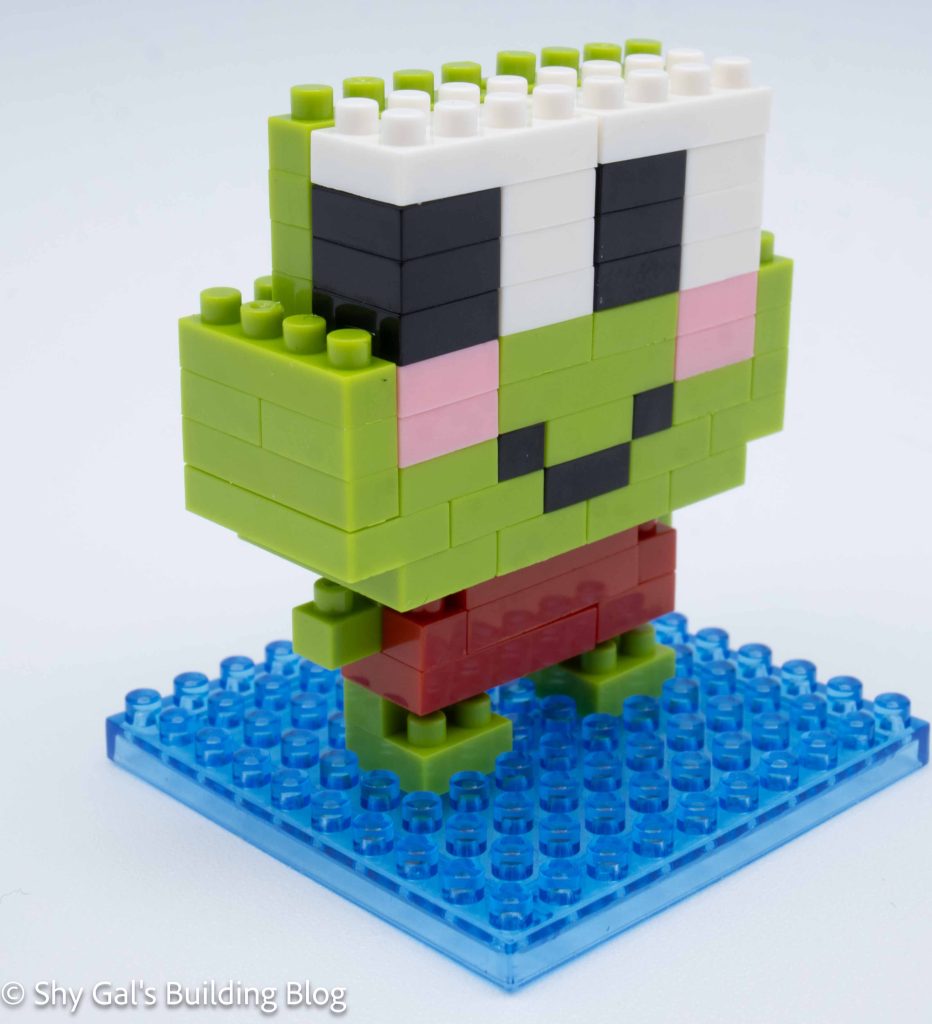
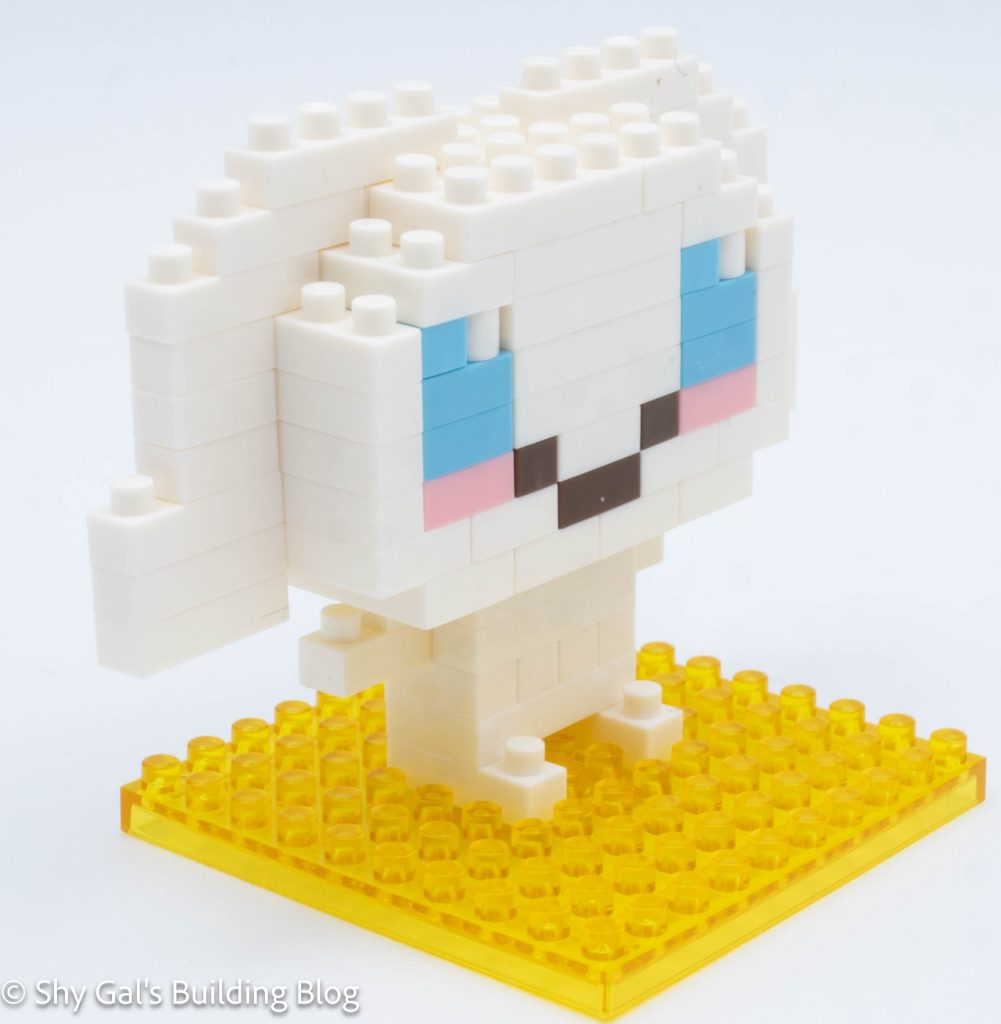
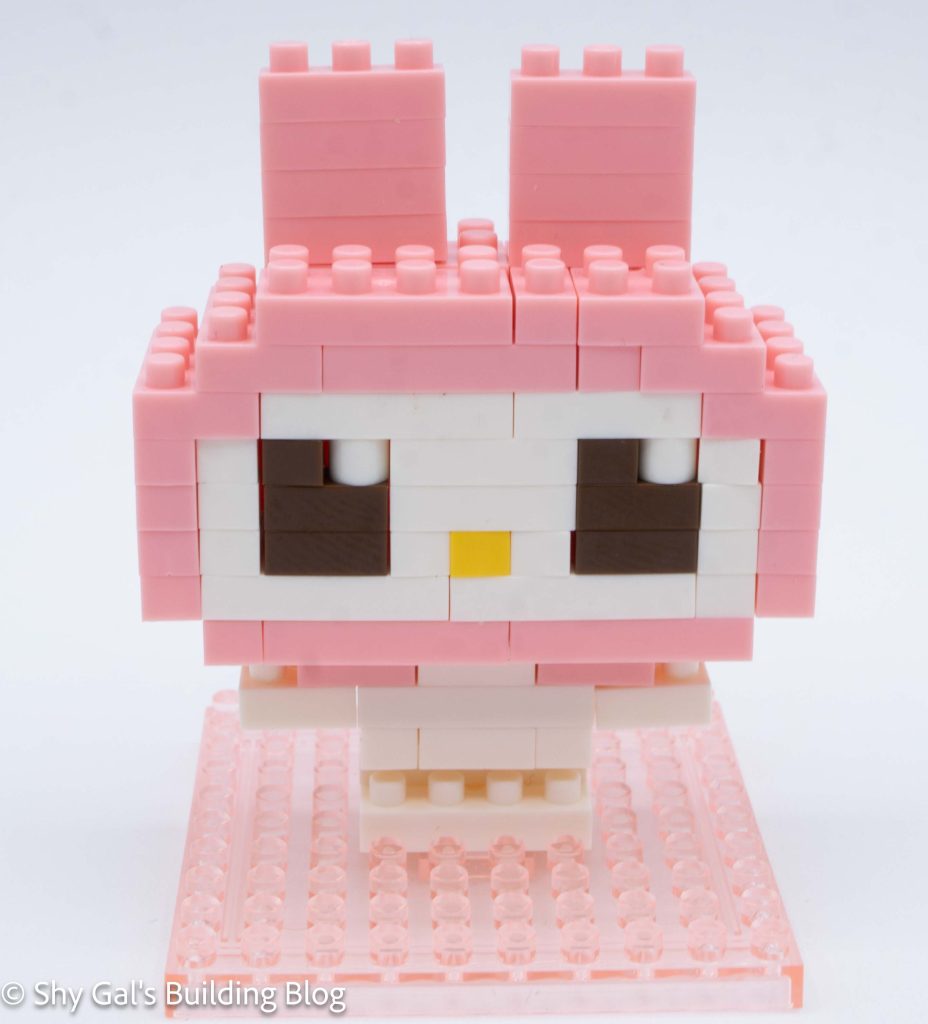
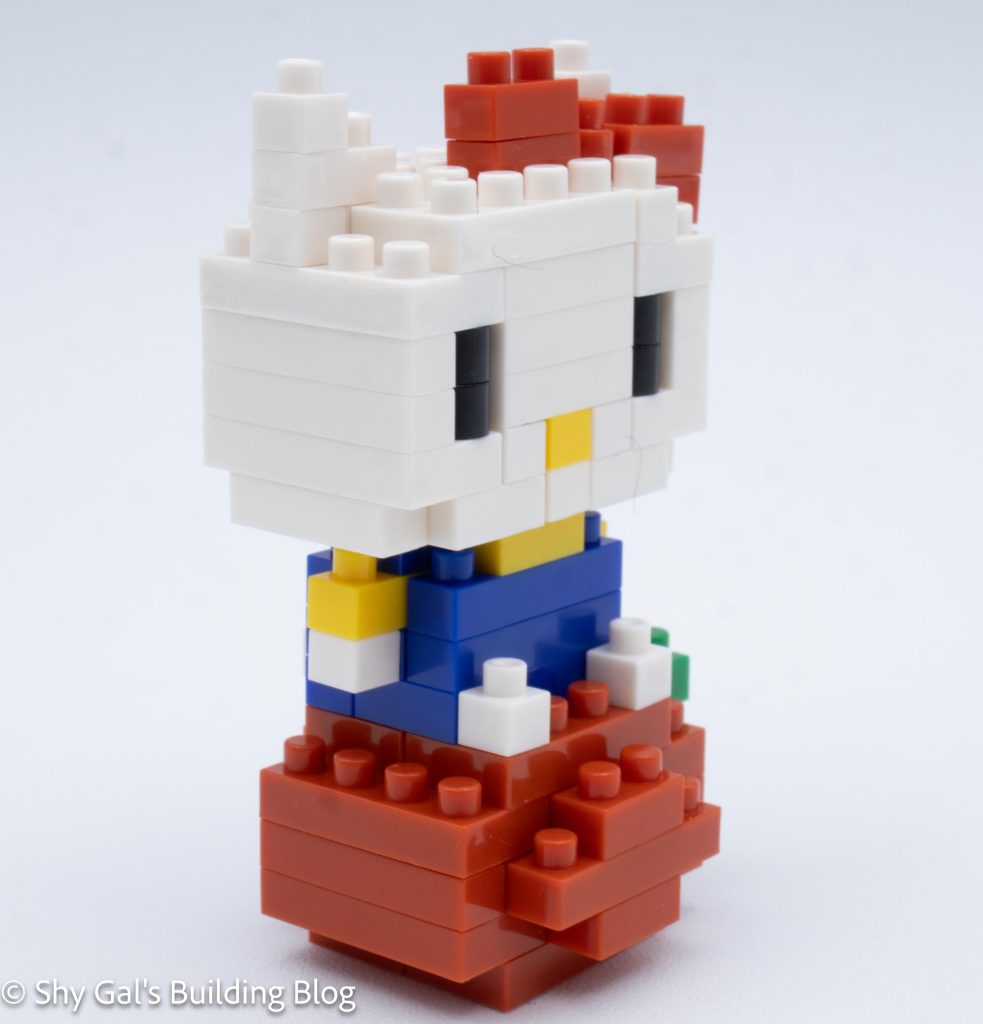
I added several layers of bricks. This added the eyes and nose.
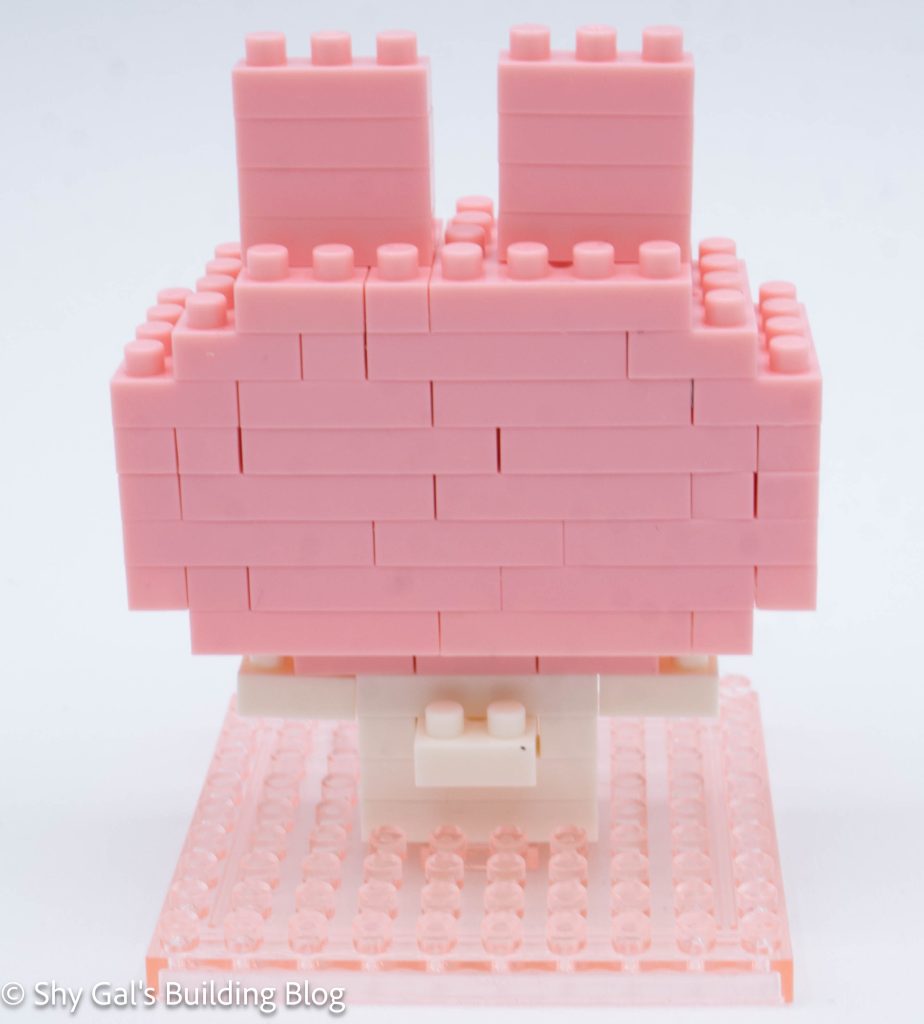
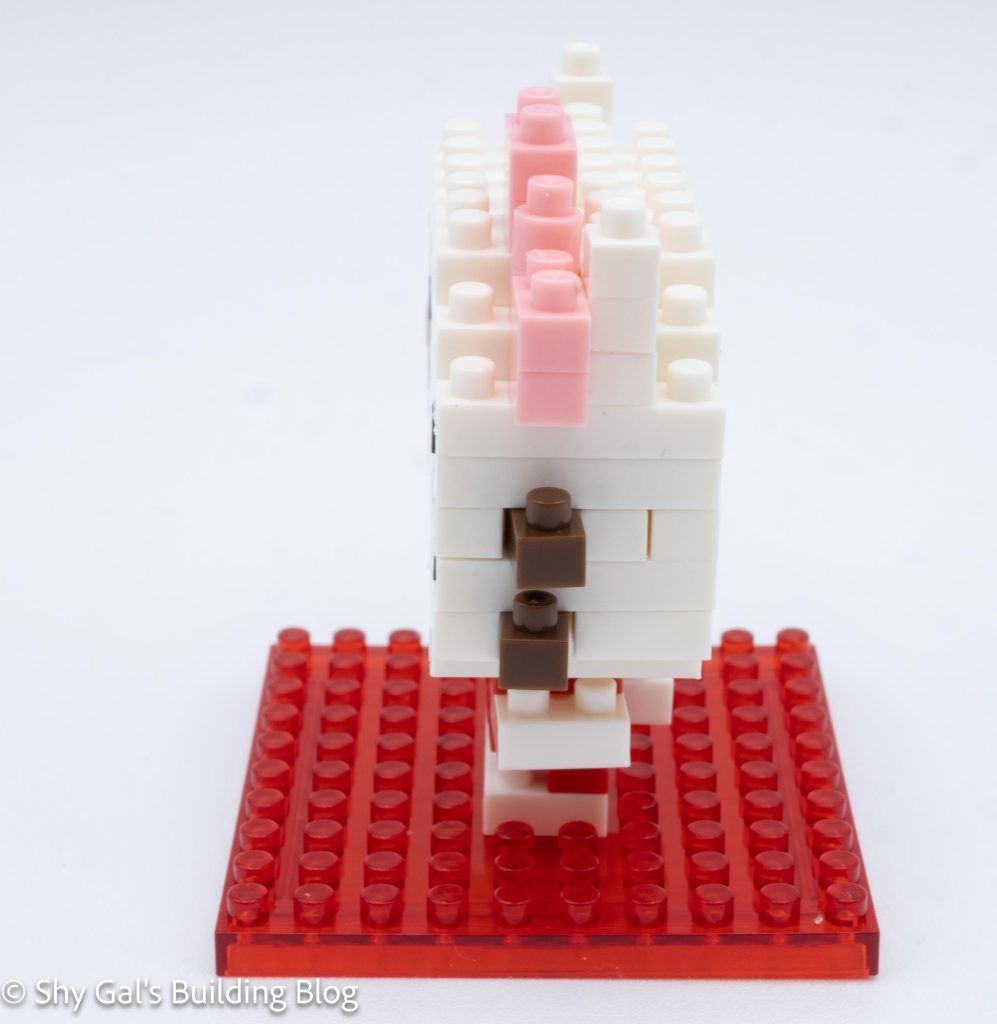
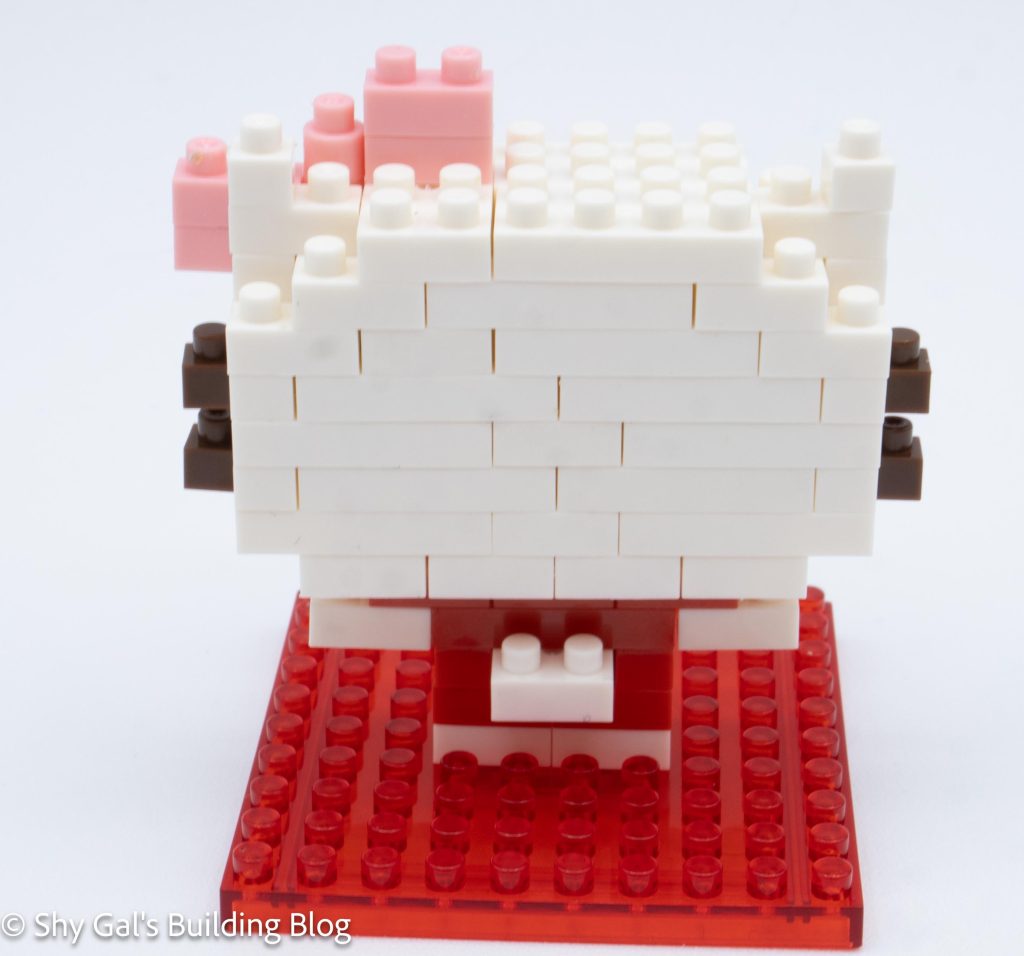
I closed up the head. Then I added the ears and bow.
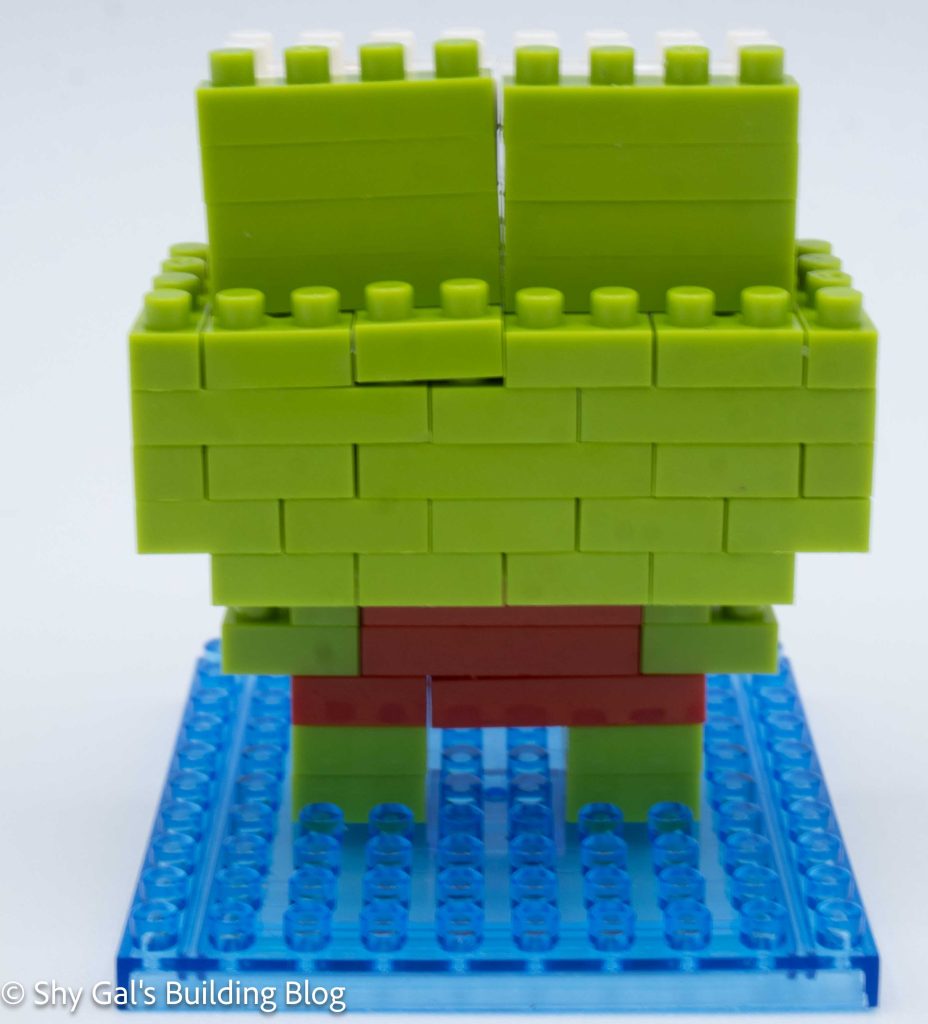
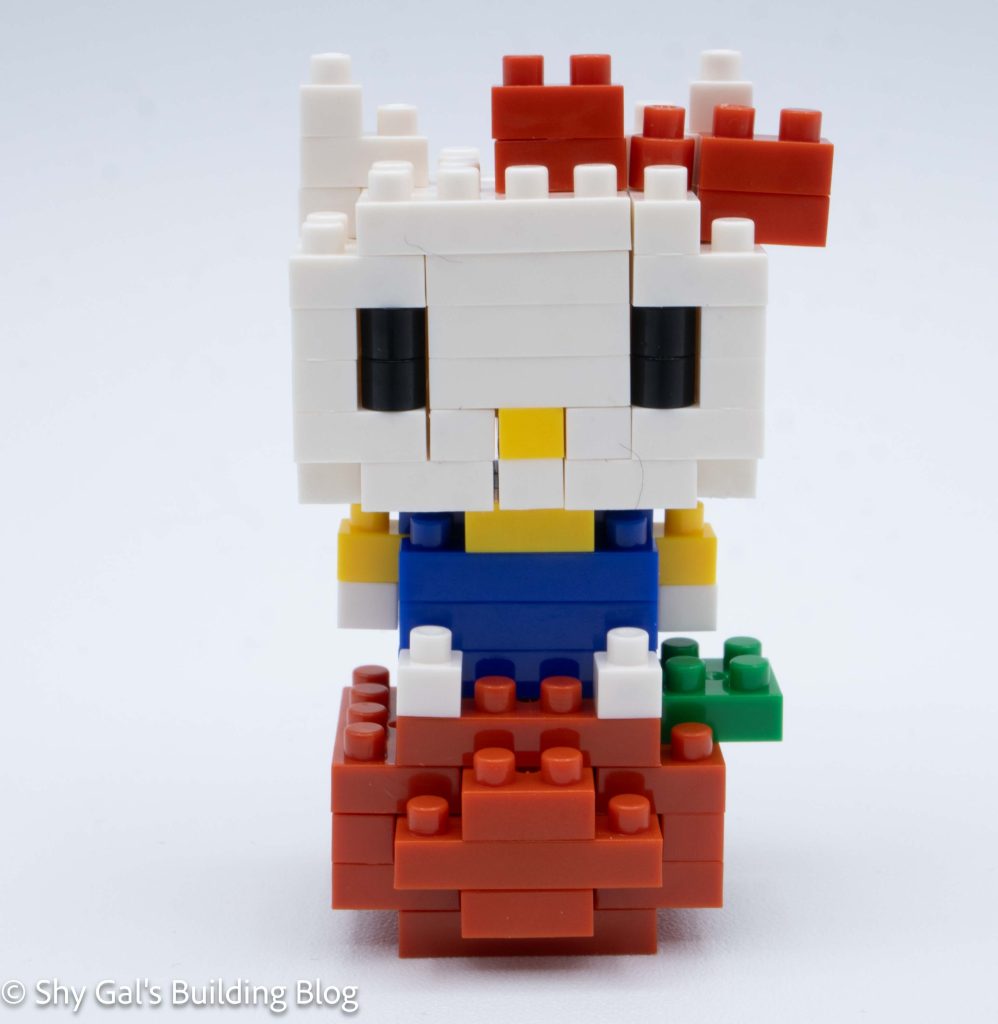
Next, I began to work on the body. It began with the base of the apple that Hello Kitty is sitting on.
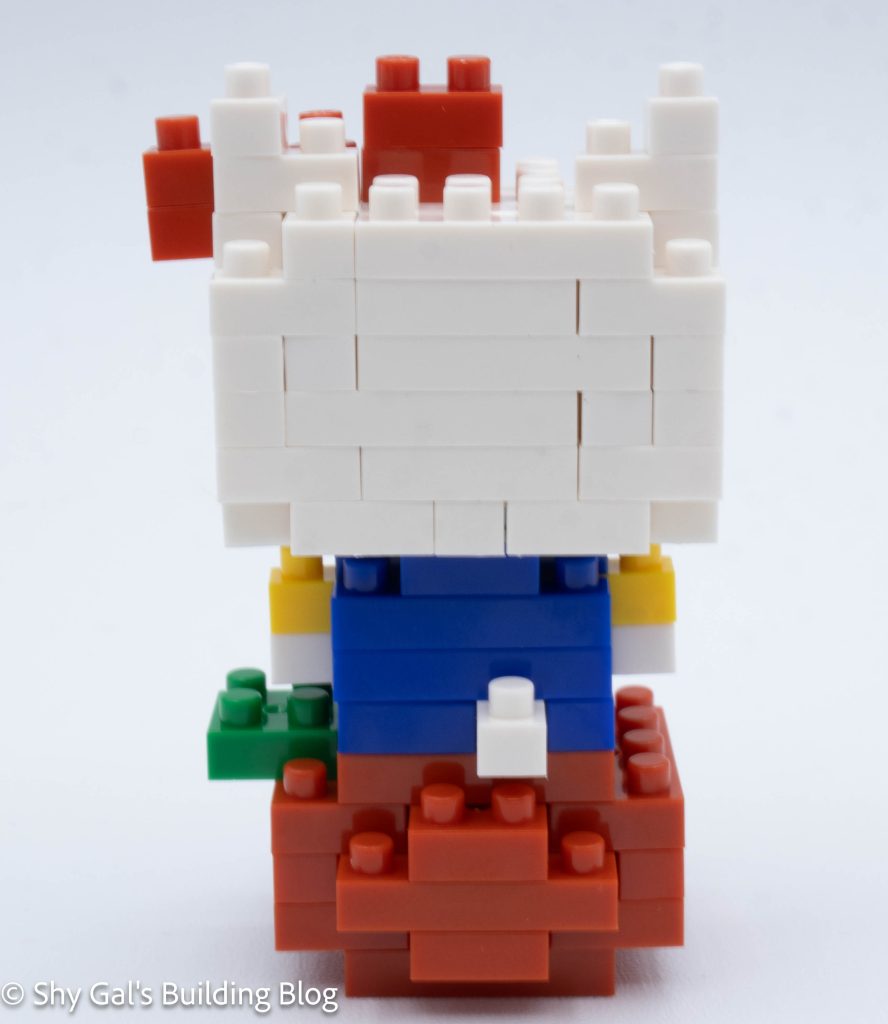
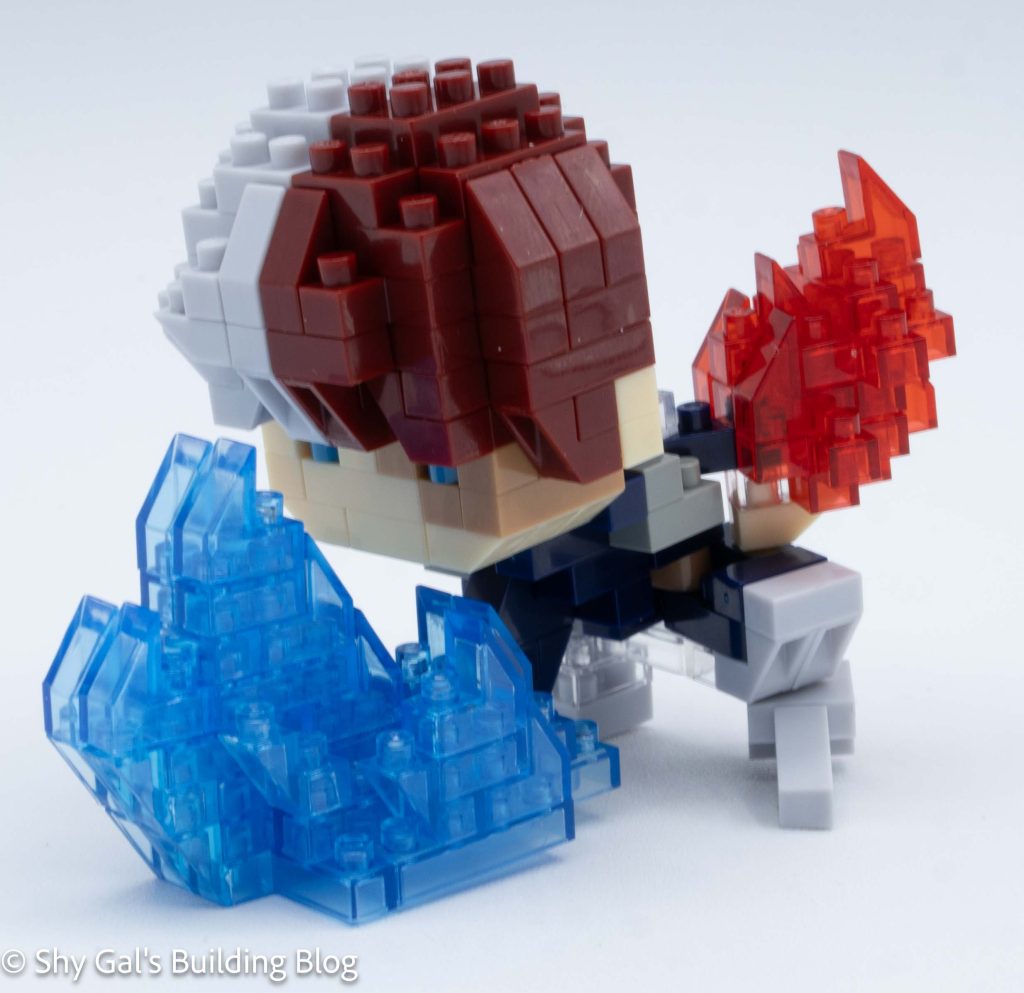
I built the apple out of layers of red bricks. The final layer included a green leaf.
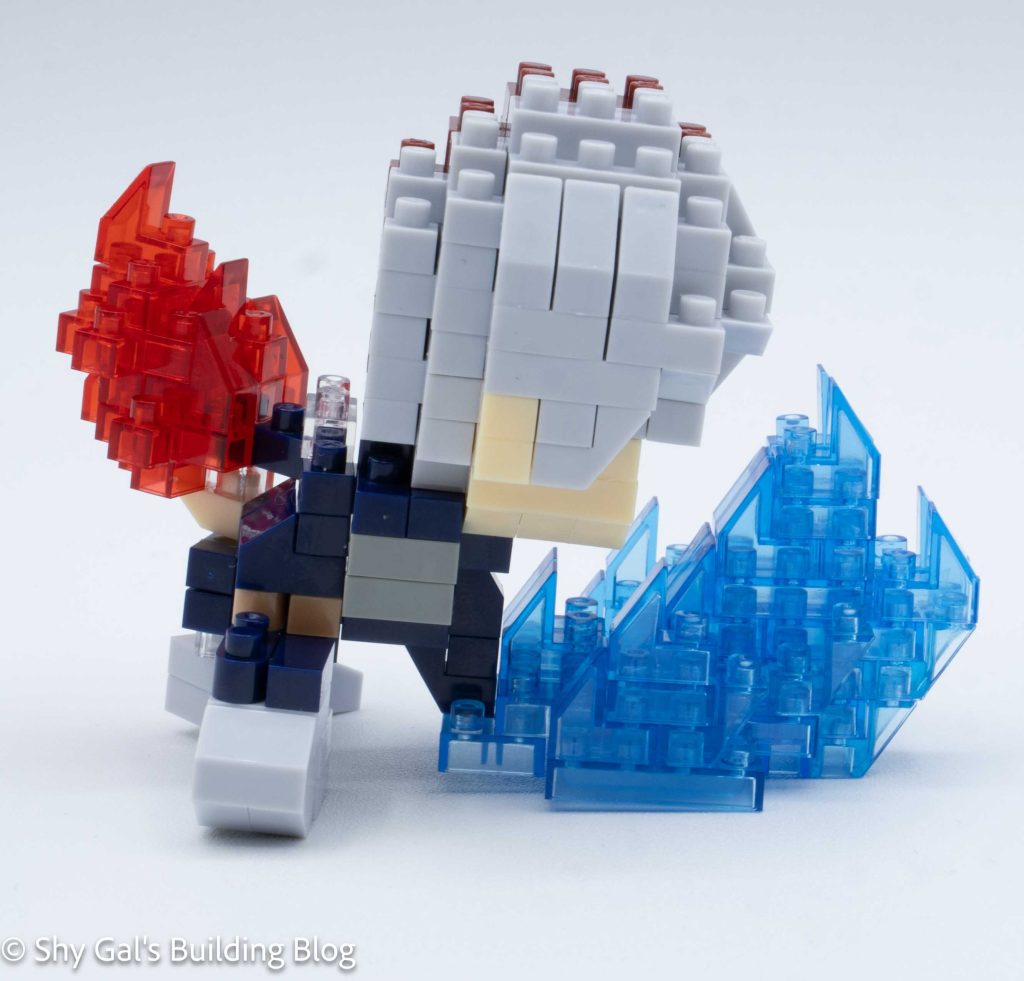
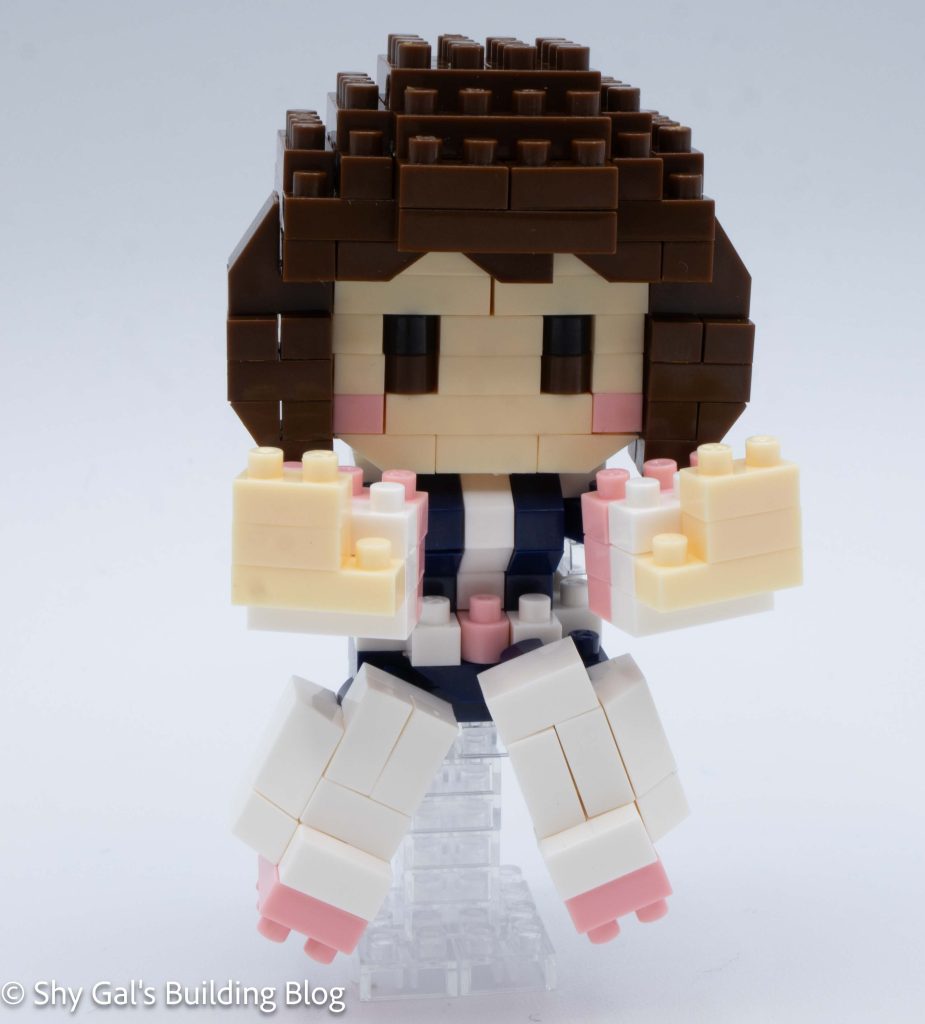
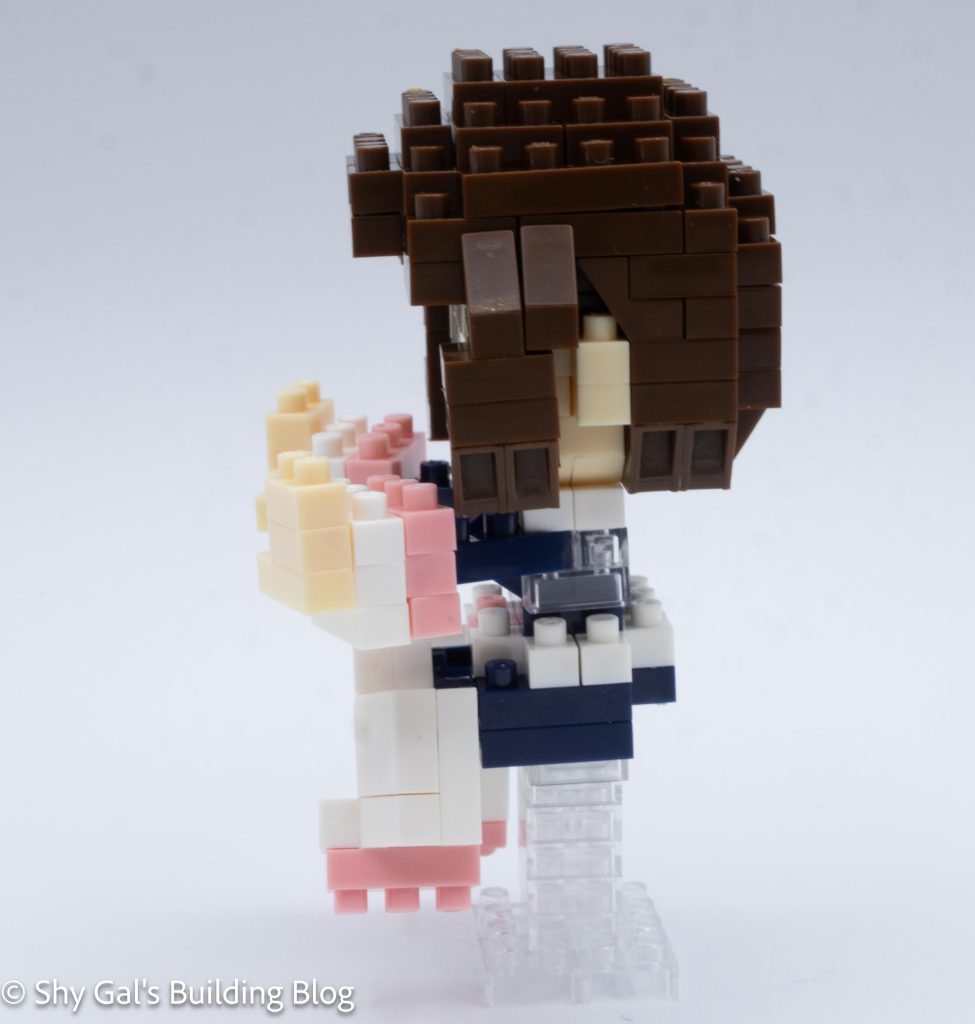
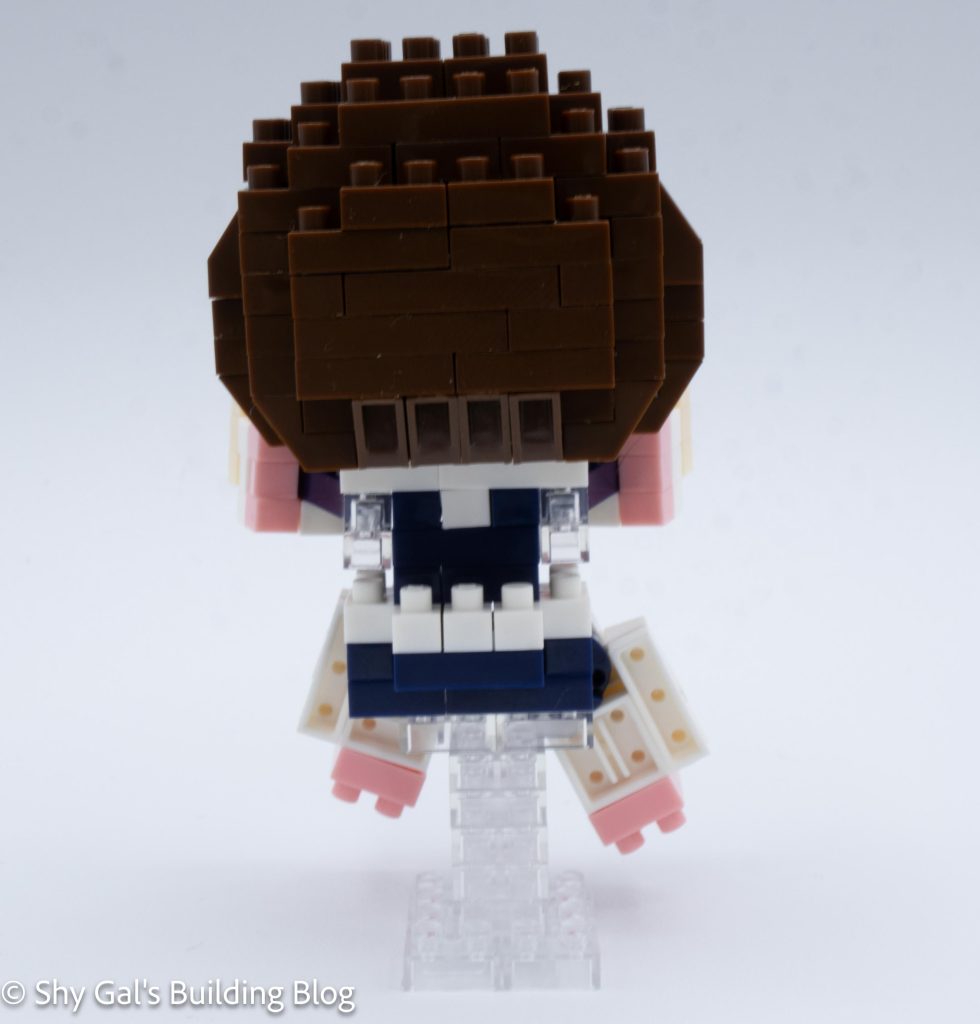
Next, I began Hello Kitty’s actual body. There were lots of piecing and small bricks used to create all the colors in her outfit. I wish the blue was a bit easier to read in the instructions.
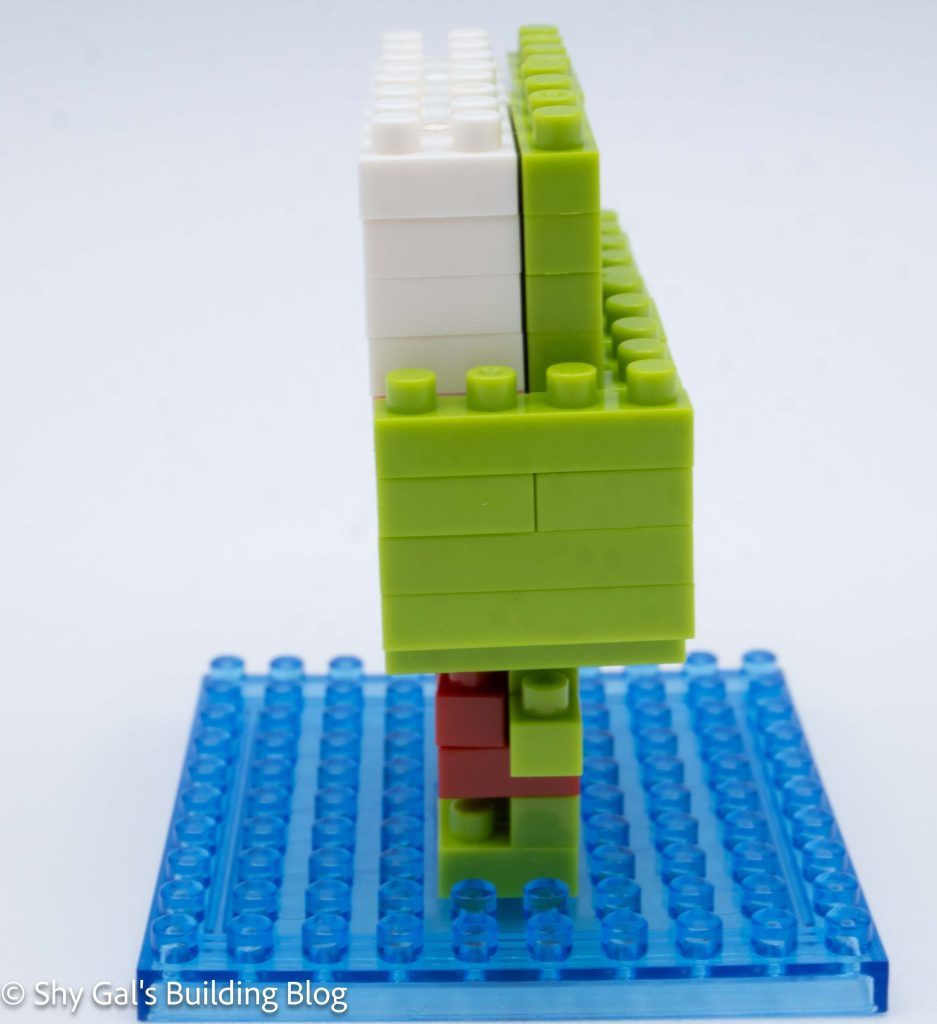
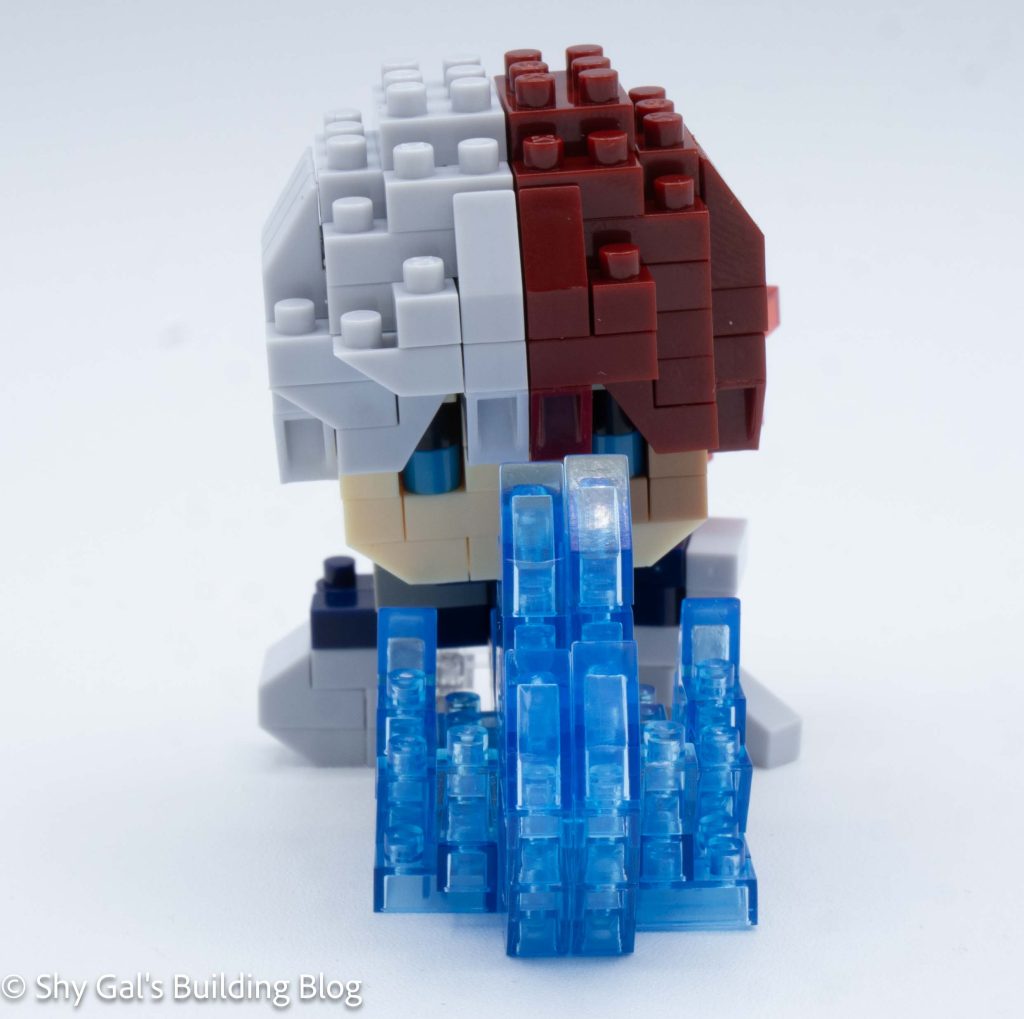
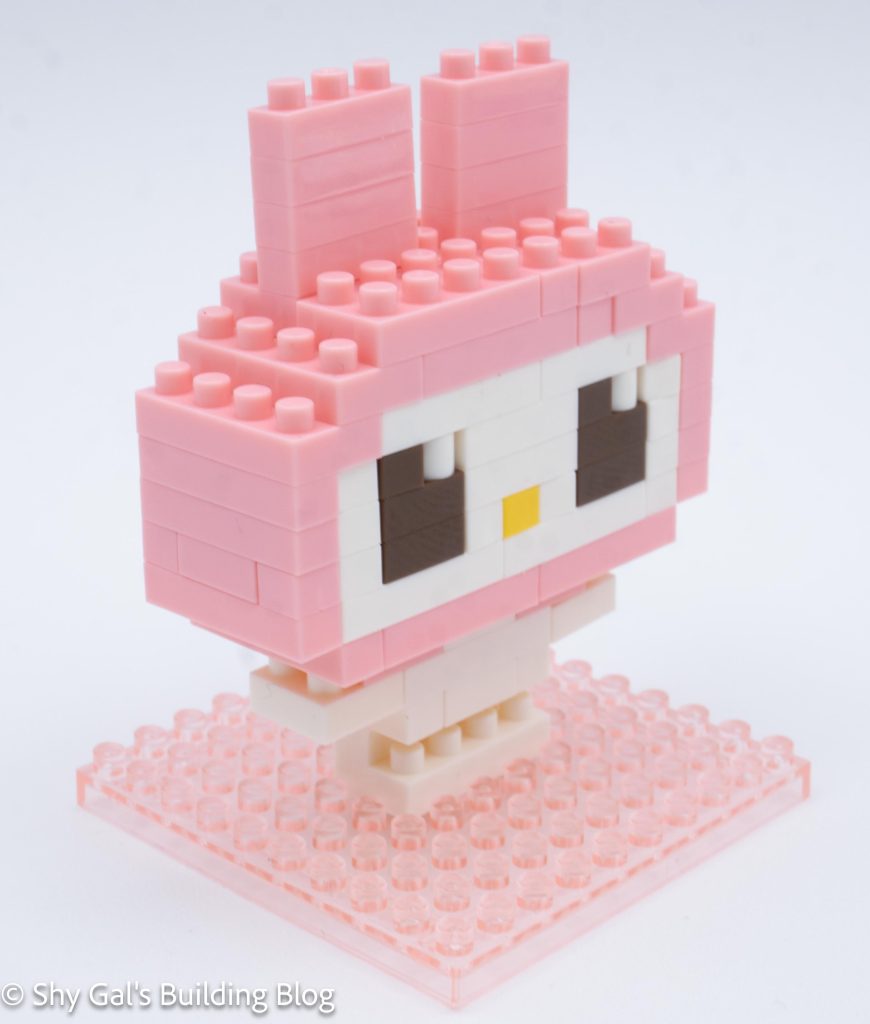
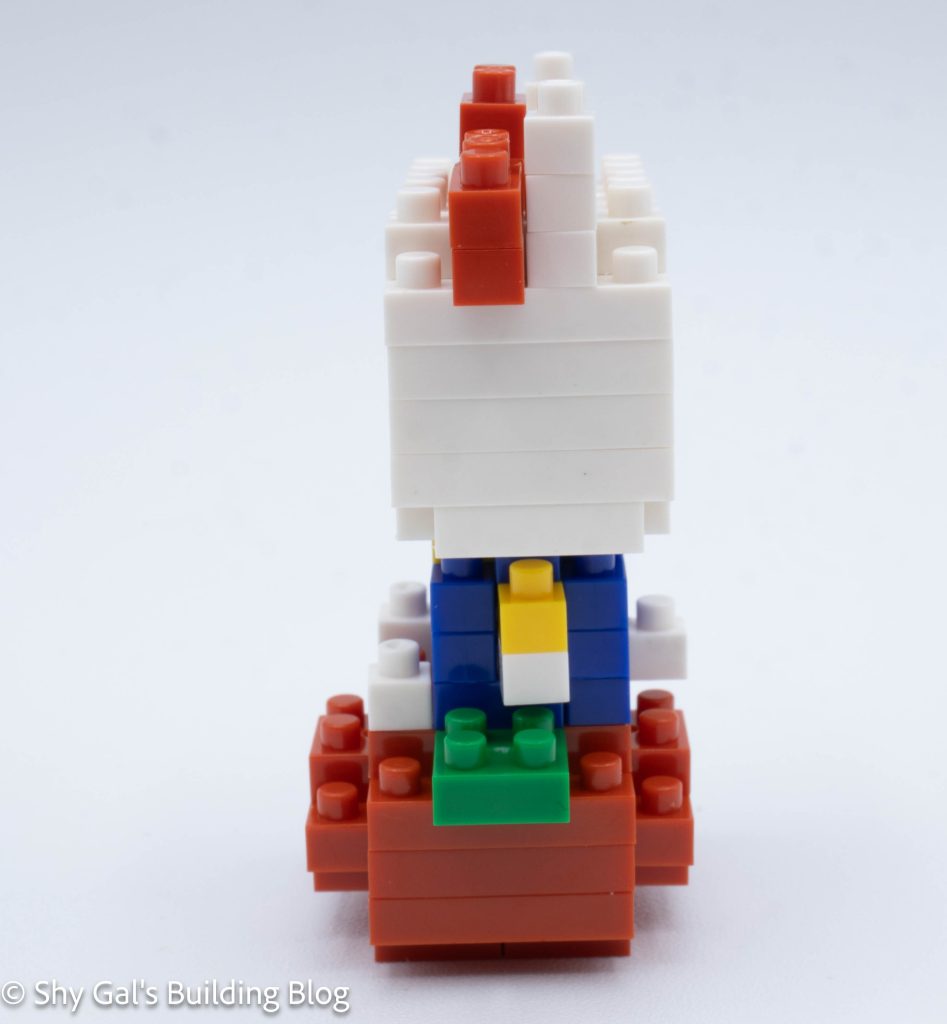
The final step was to connect the body and the head. There are a couple of diagrams to show how this is done.
Things I liked:
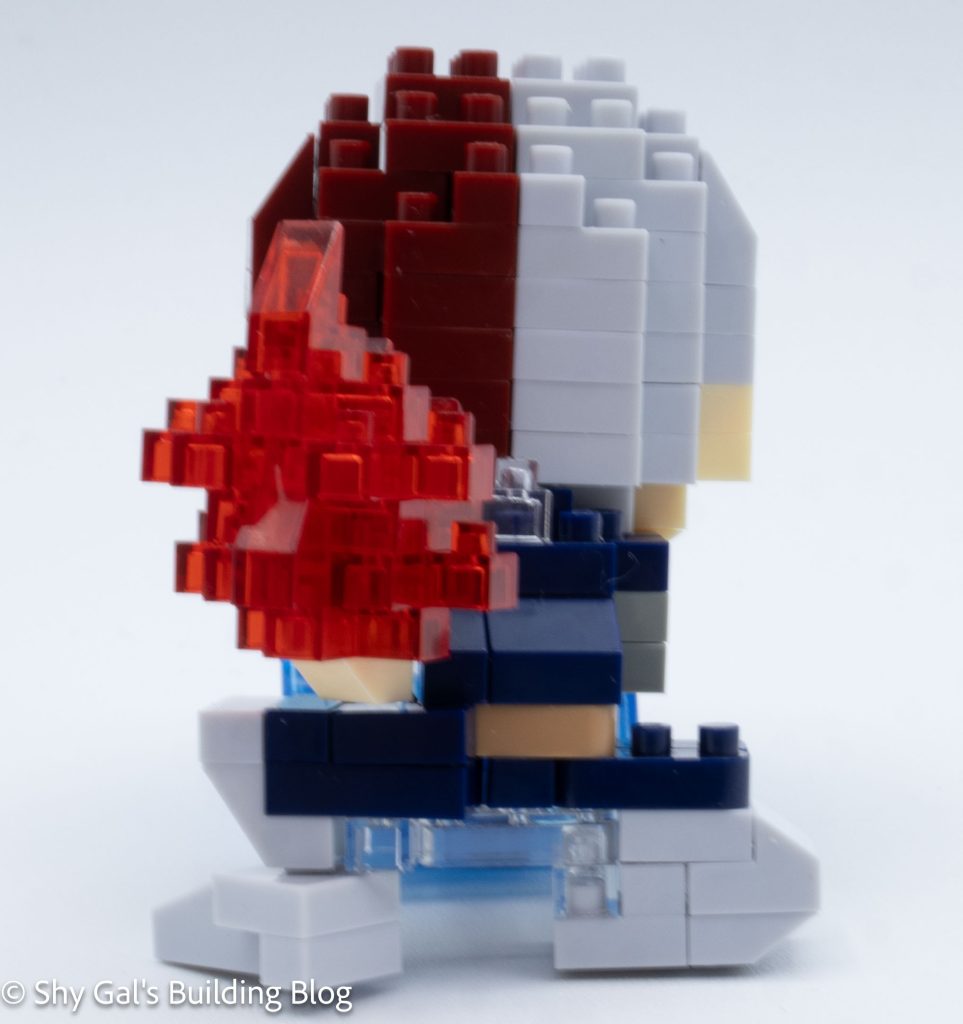
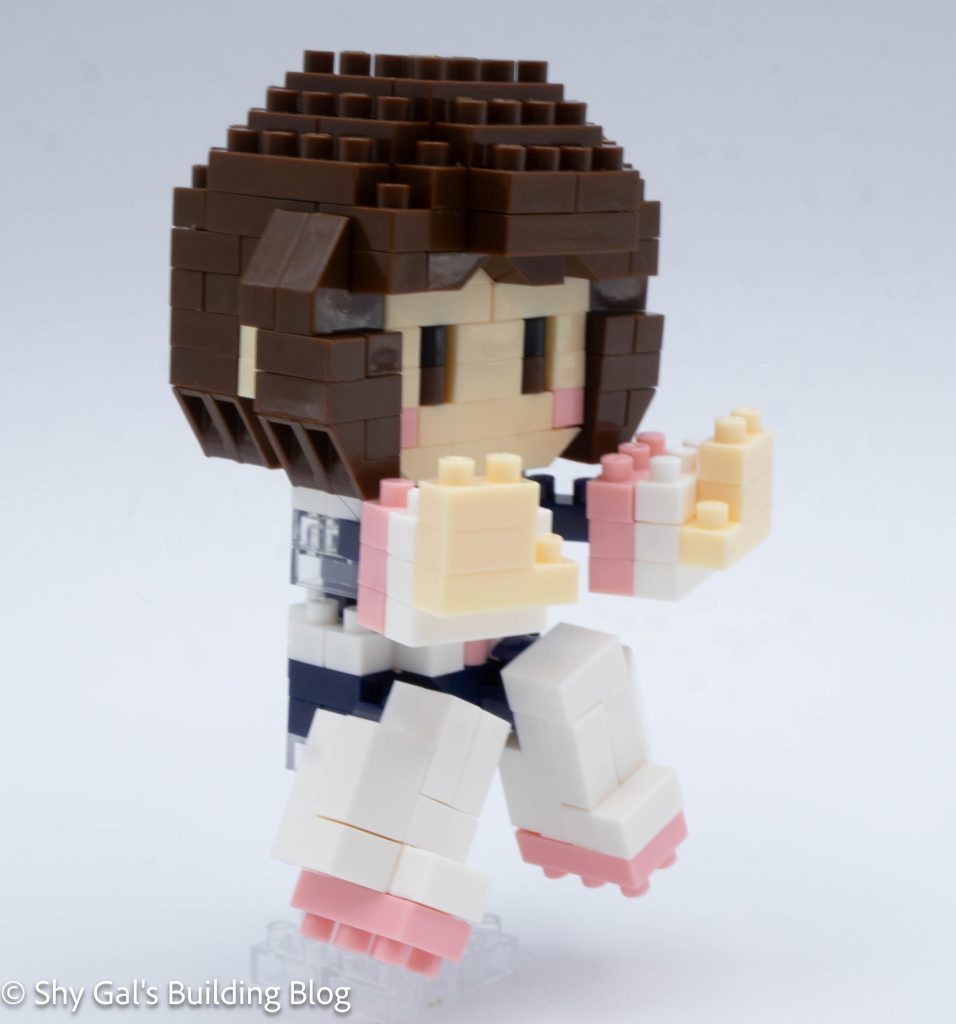
- I like how much detail went into Hello Kitty’s body, even though it meant working with a bunch of small bricks
Things I didn’t like:
- I found the blue a bit hard to read for which bricks to use because the instructions are so dark