Review of nanoblock Summoned Skull NBCC_207

Summoned Skull build and box

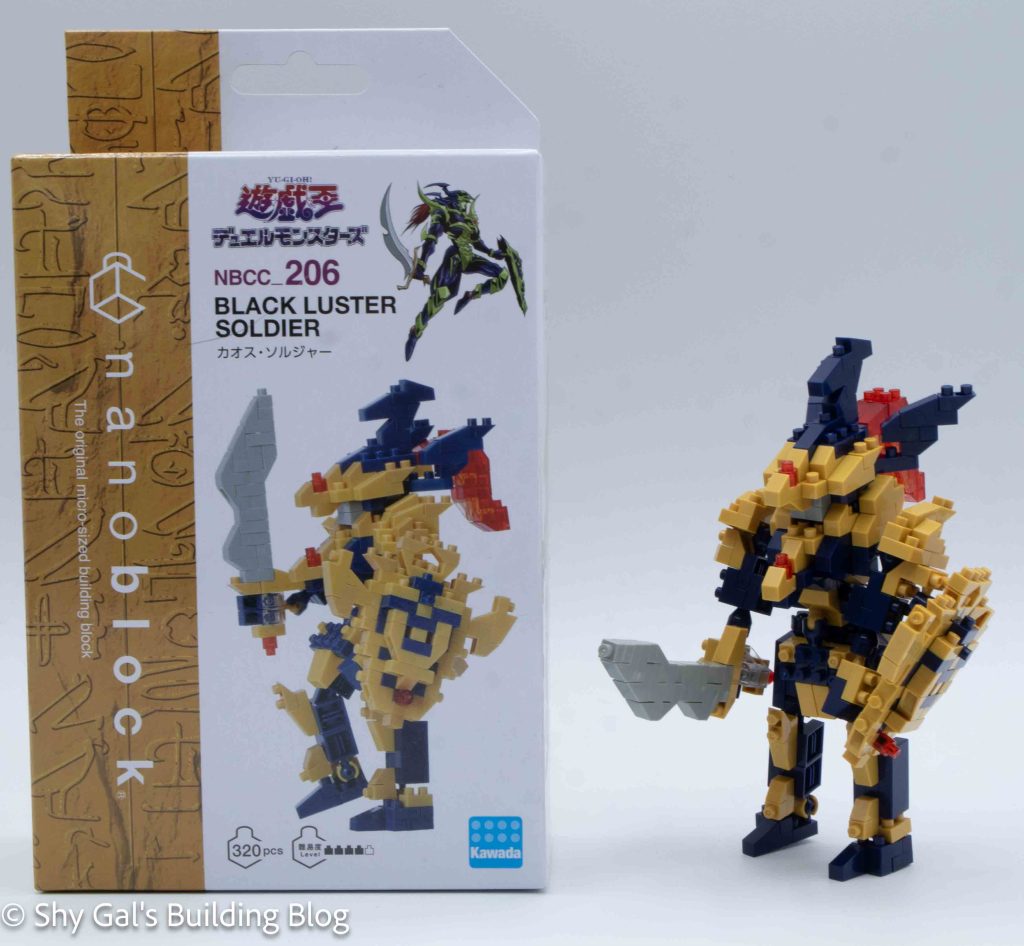
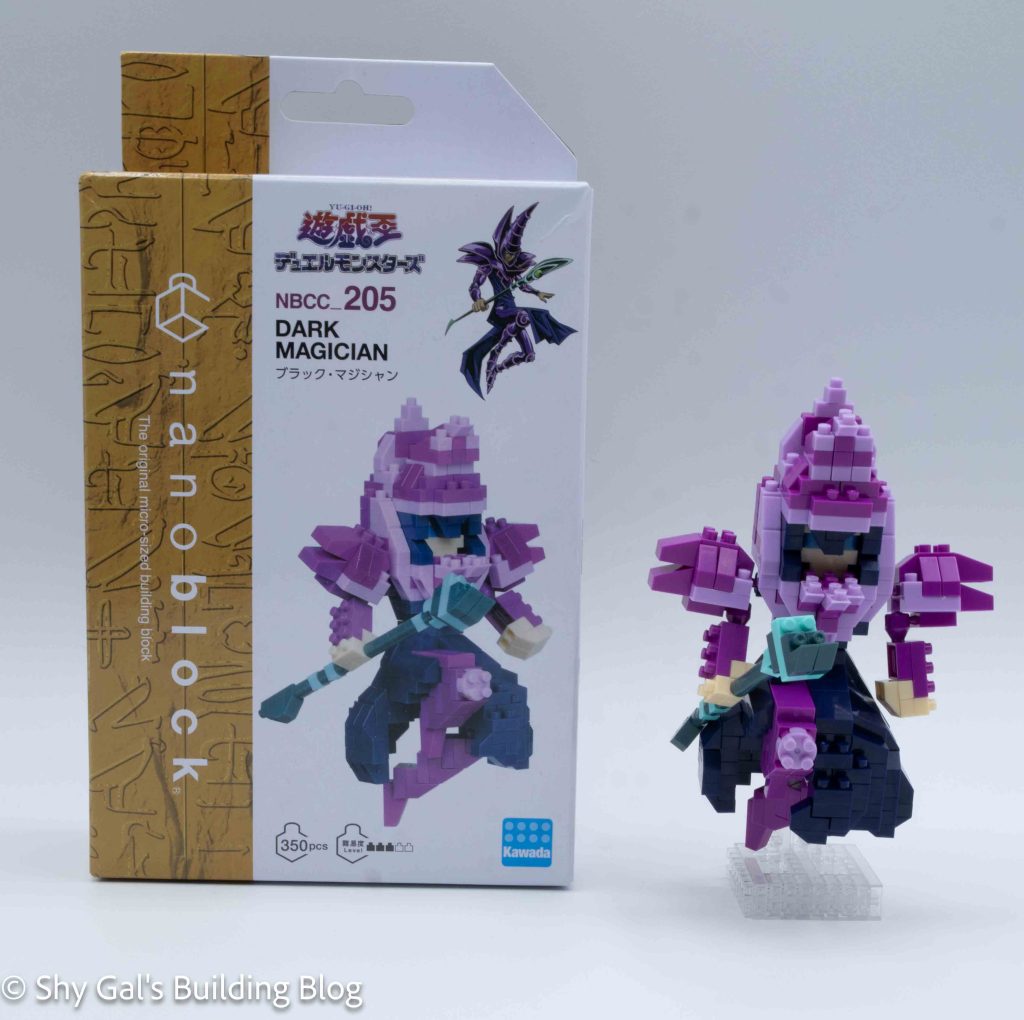
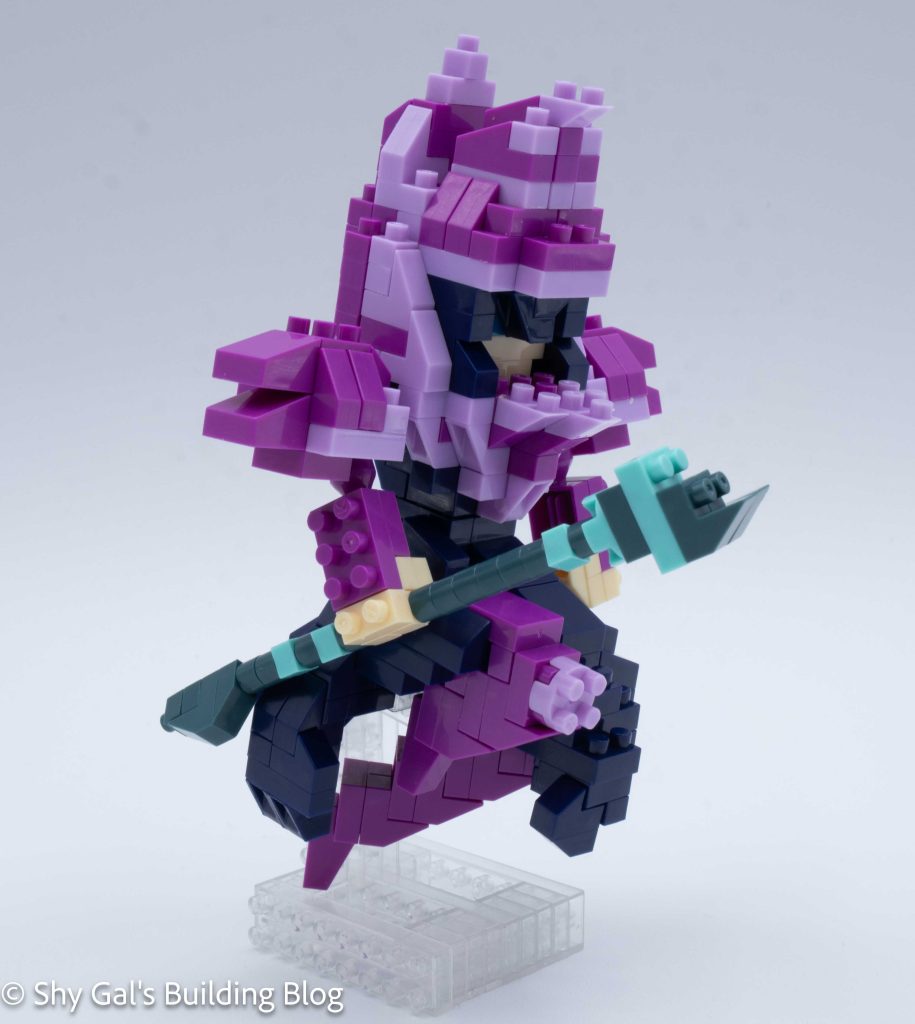
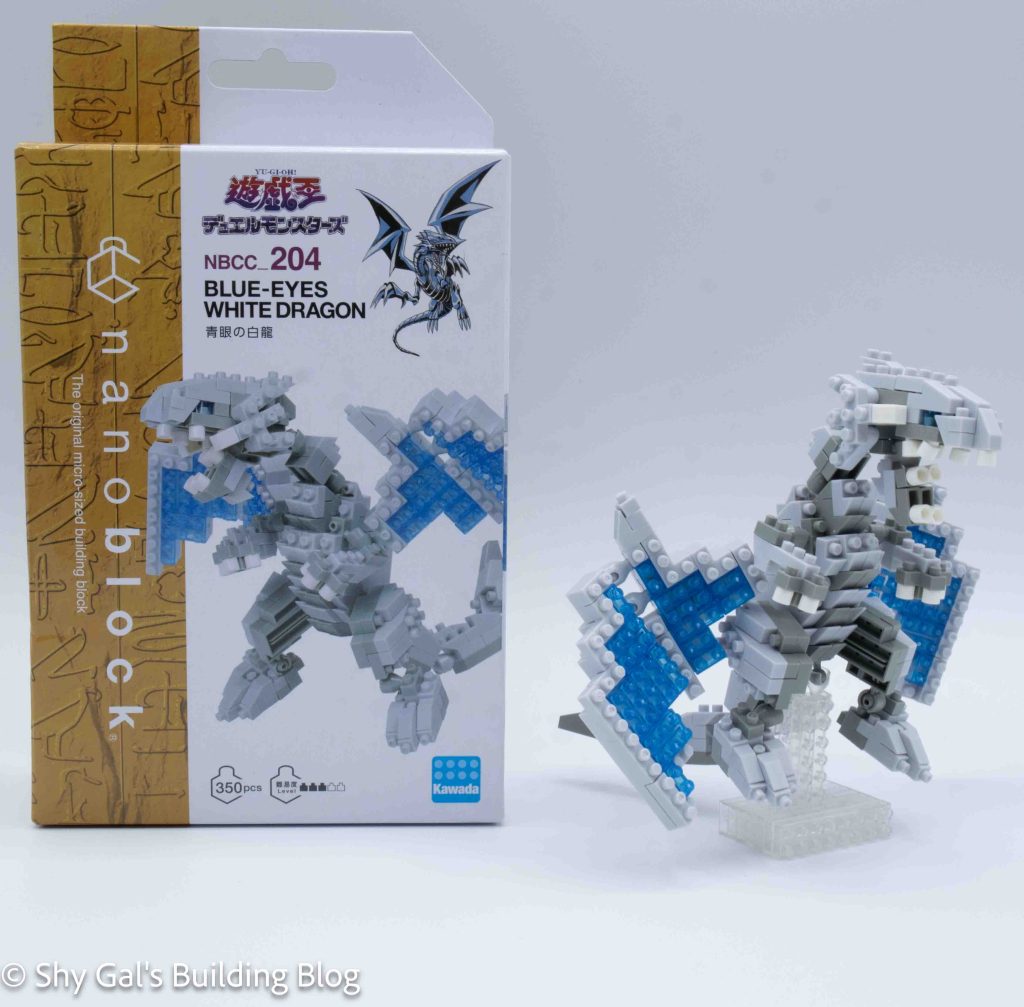
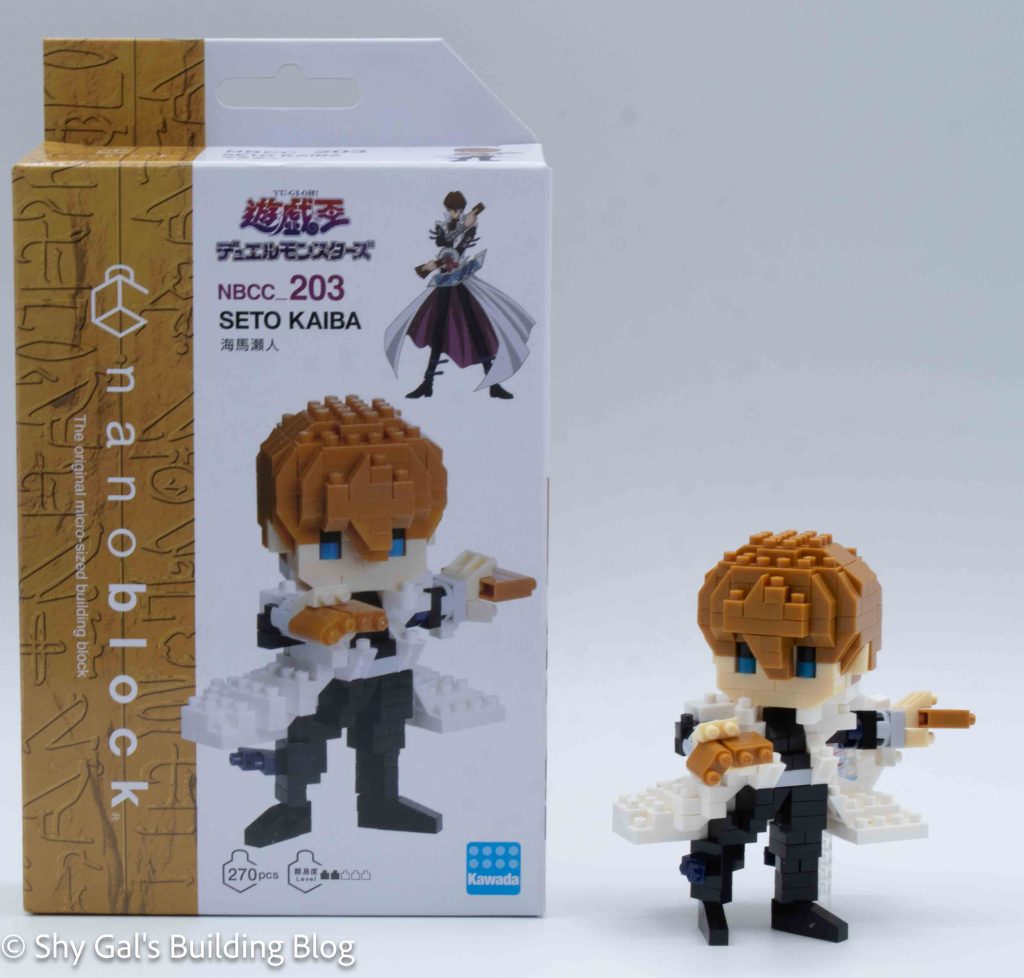
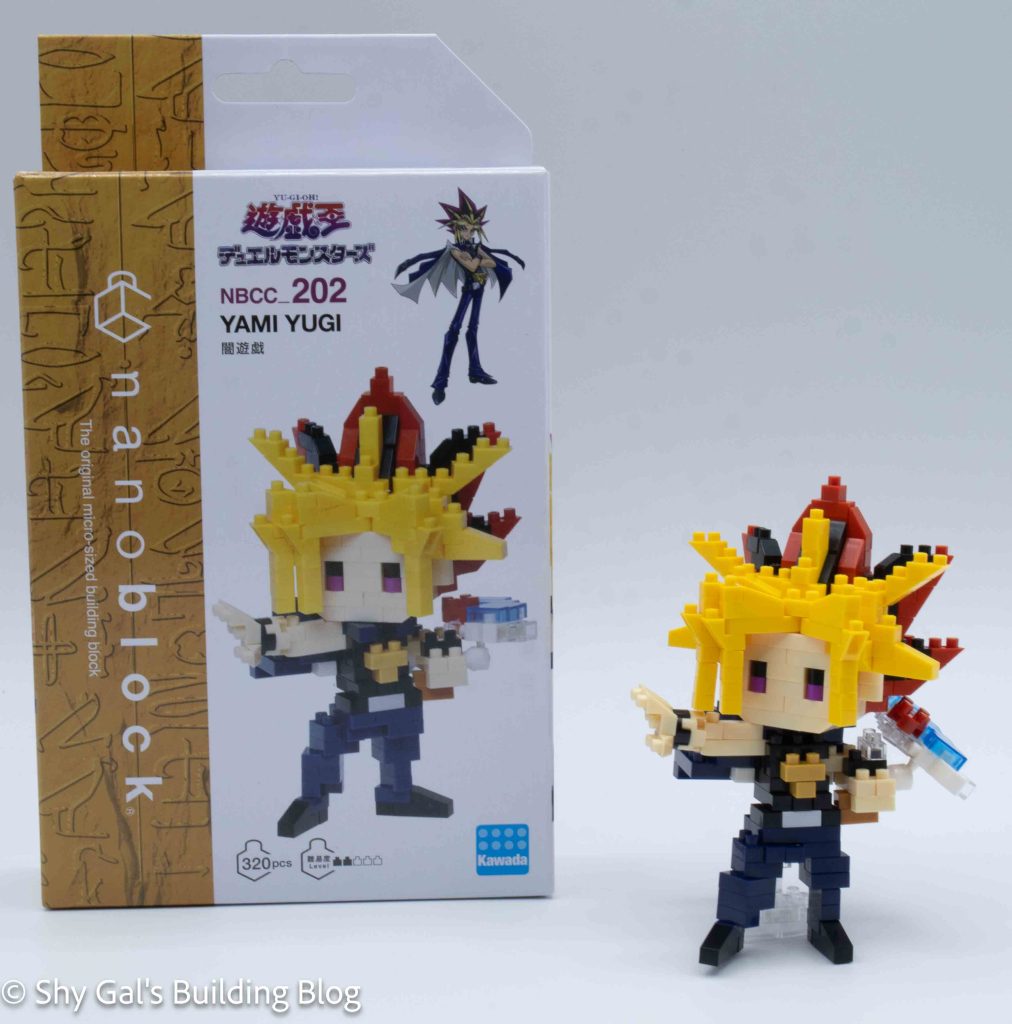
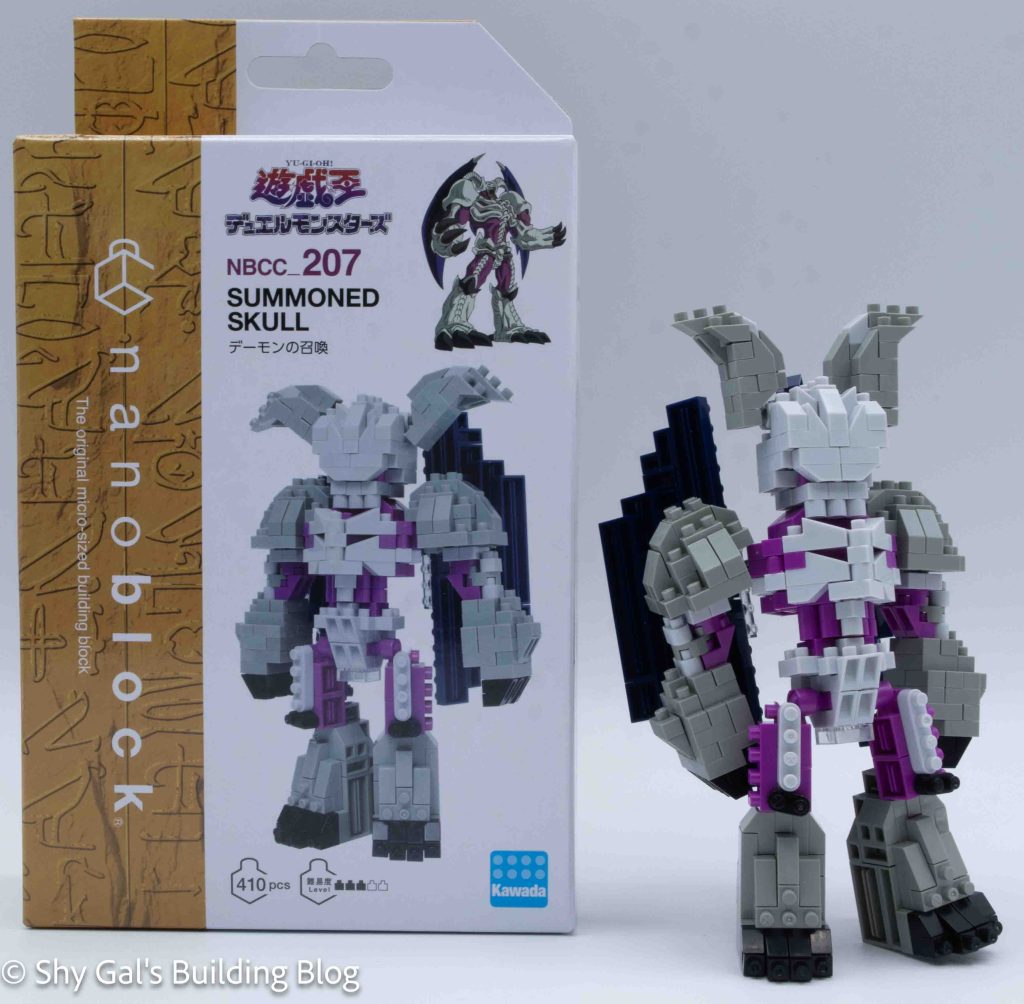
This post is a review of the nanoblock Summoned Skull build. Summoned Skull is part of the nanoblock Character collection. Wondering what else is part of the Character collection? Click here for a list.

Number: NBCC_207

Number of Pieces: 410

Difficulty Rating: 3/5

Summoned Skull build front view

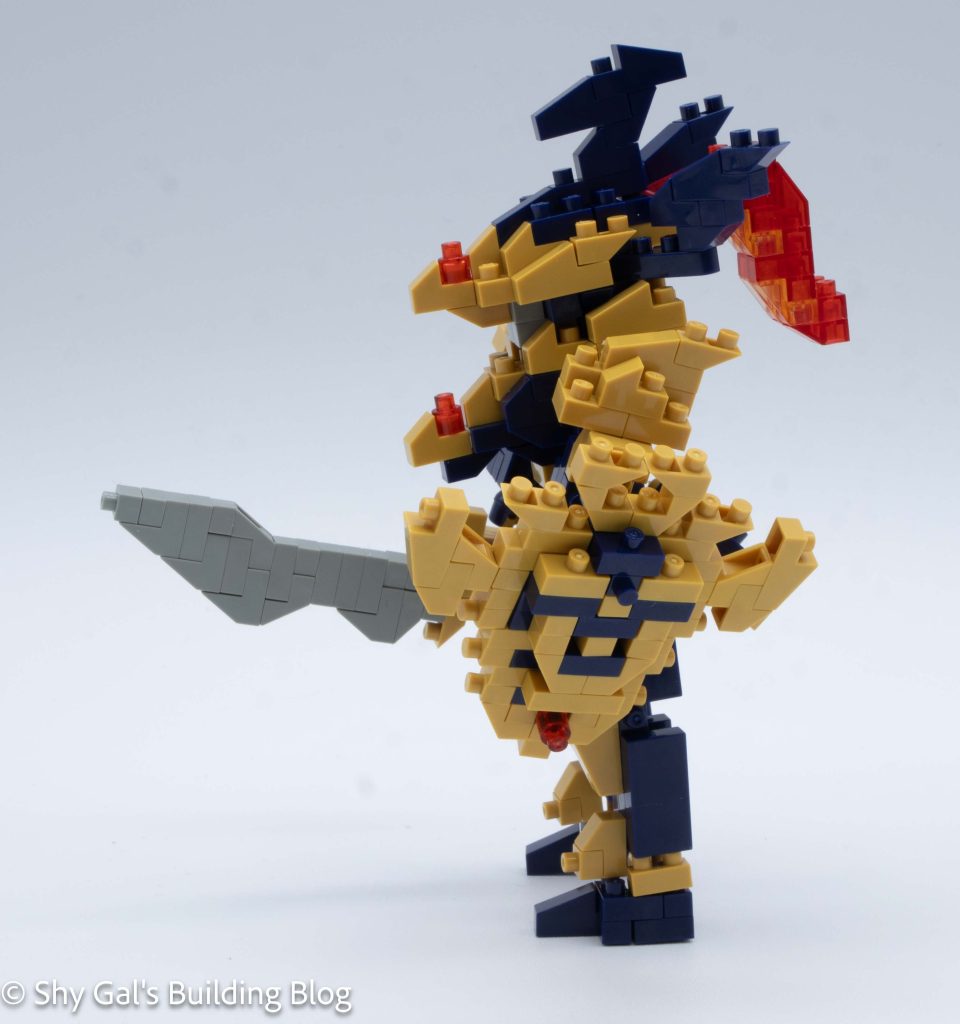
This is by far the most difficult of the Yu-Gi-Oh builds. I had to stop at multiple points to reevaluate what was going on and how things could be properly built. I also had to take things apart several times to correct what I had built.

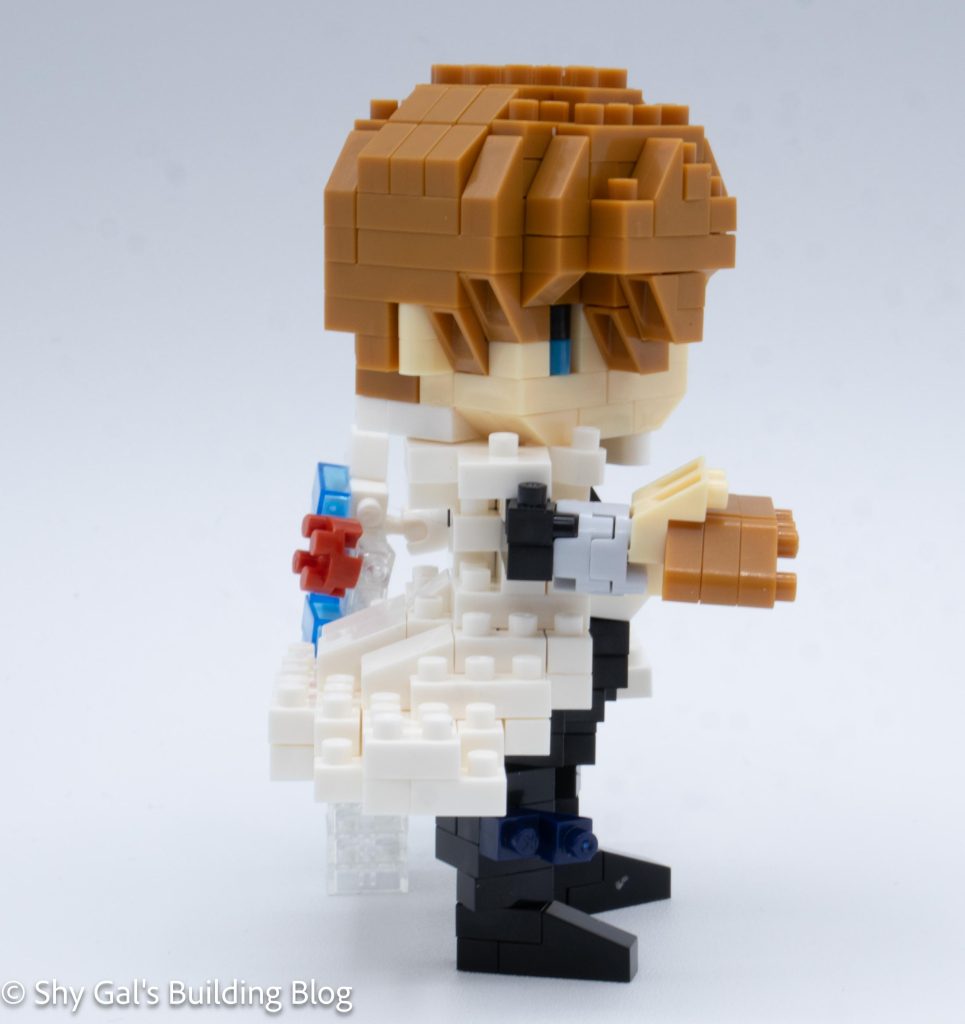
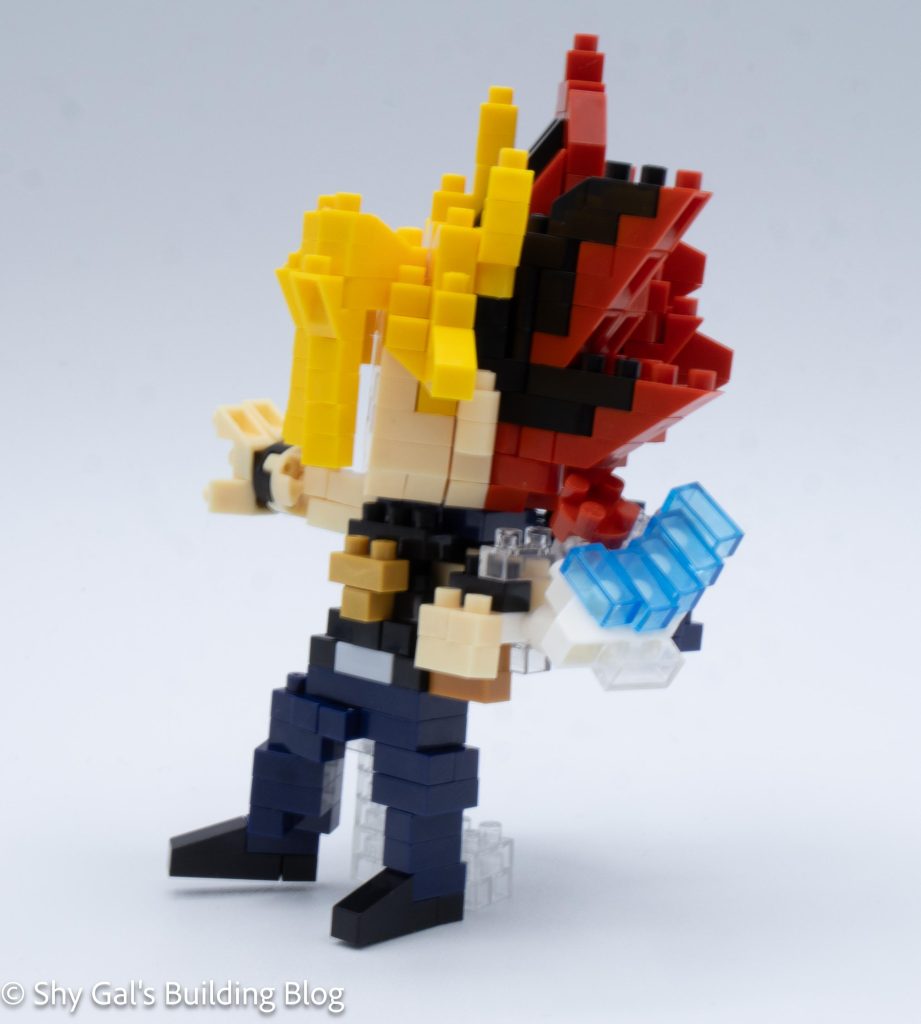
The first step was to build the body. The build started at the hips and builds up the torso. At one point, the body is attached by one stud, so the entire rib cage rotates, so keeping it lined up was a bit tricky. When I got to the top of the body, I placed a 2×2 round piece, which, when I originally placed the brick, the head connection wasn’t lined up properly.

Summoned Skull build side view

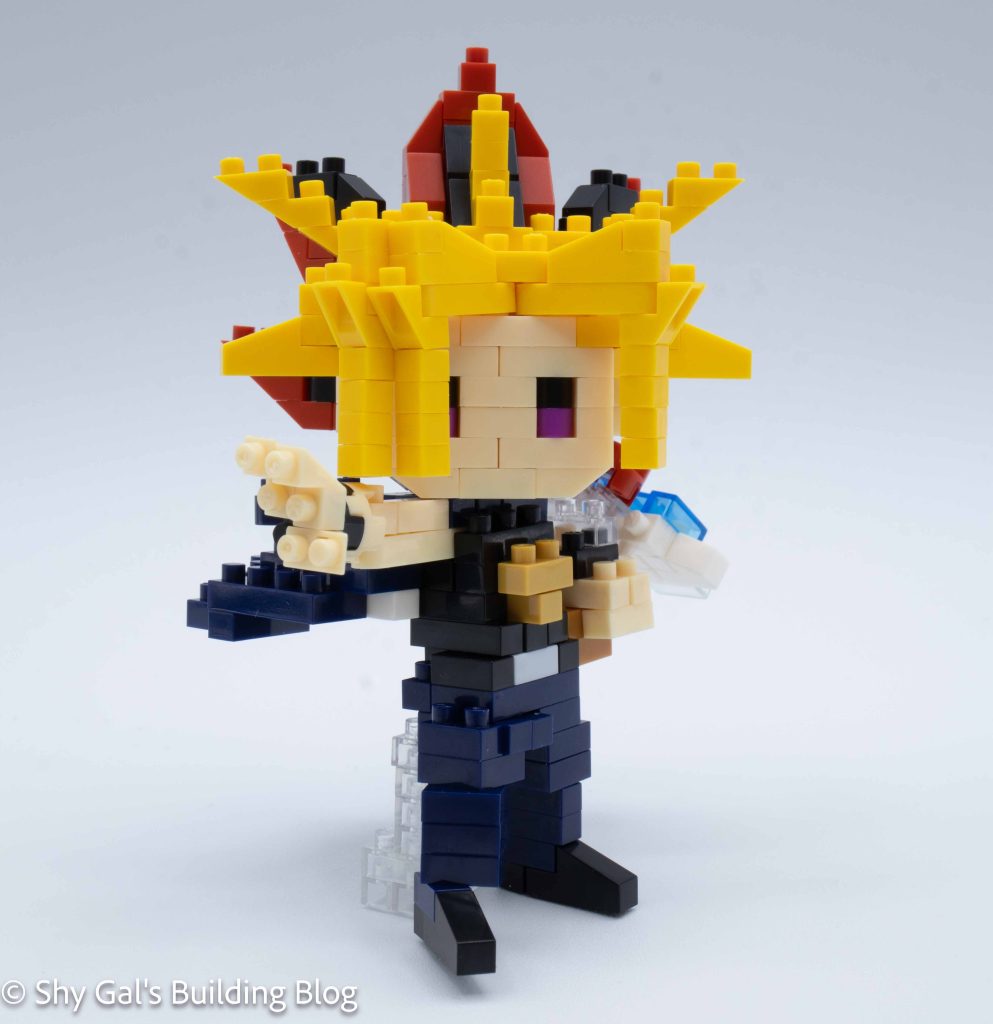
The next step was to build the head. The head was very straightforward to build.

Next I attached the head to the body.

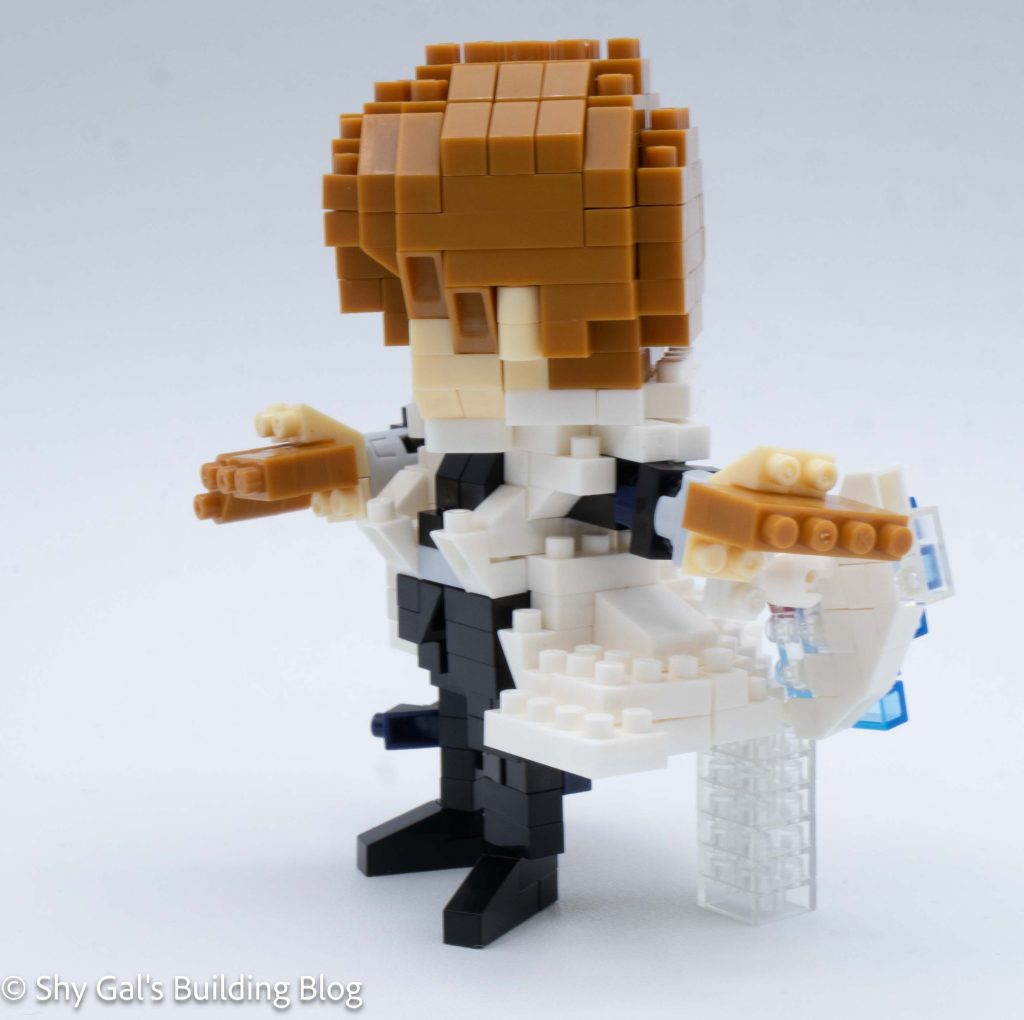
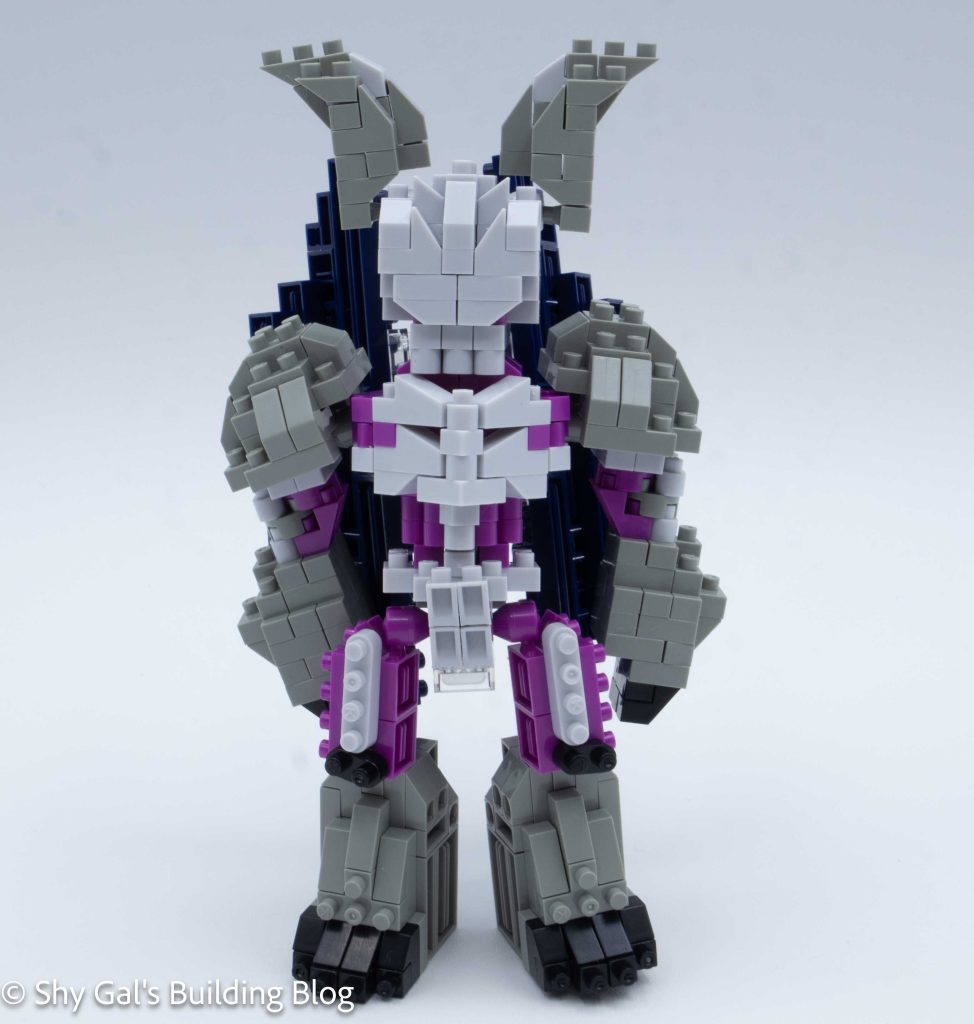
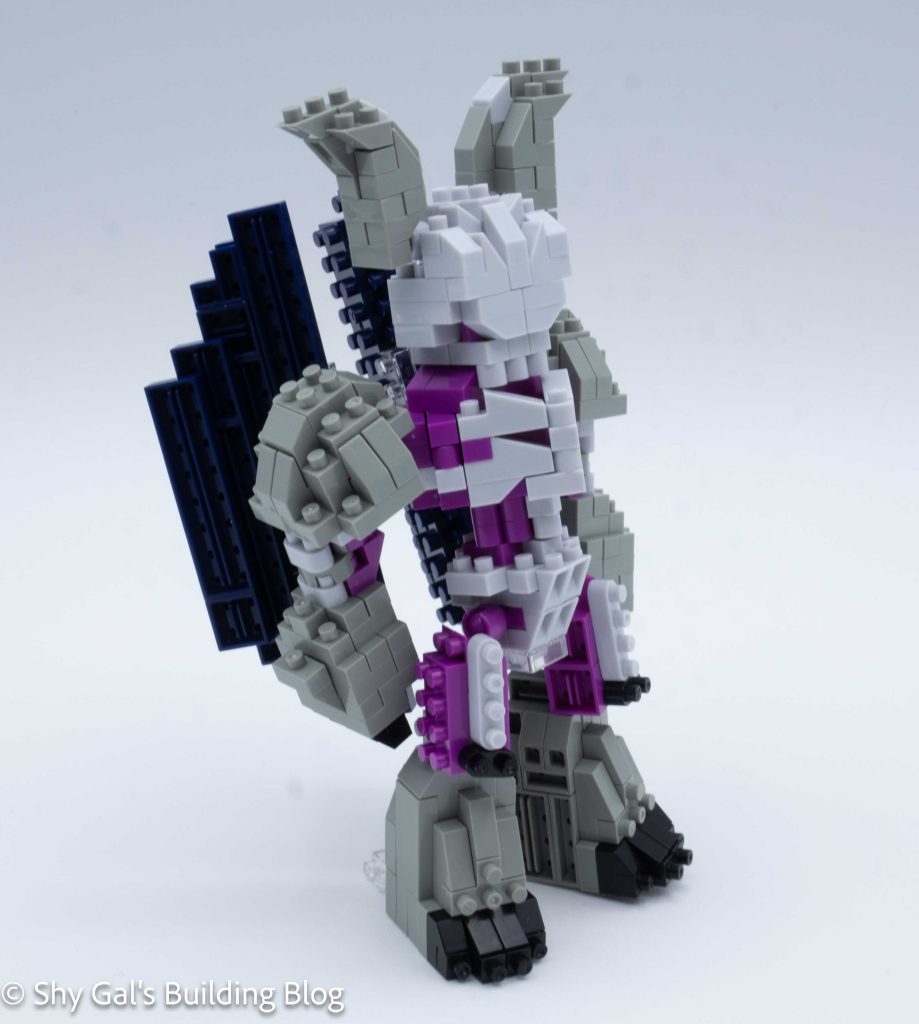
The next step was to build the legs. For some reason, it wasn’t build one leg then build the other (which is the usual pattern). Instead, I was building a section of each leg in a mirrored step at a time. This made building the legs a lot trickier than it needed to be.

Then I attached the legs to the body

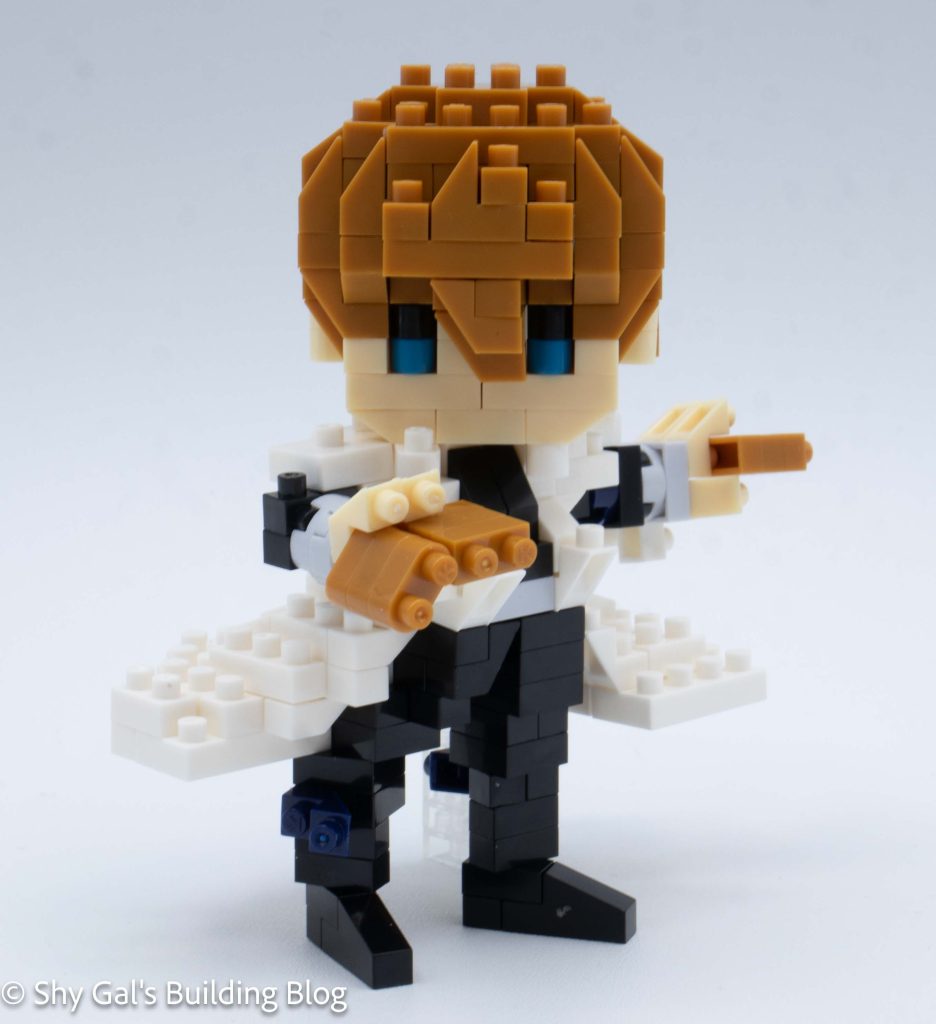
The next section is to build the arms. The arms are identical and fairly straightforward.

Summoned Skull build back view

Then I attached the arms to the body.

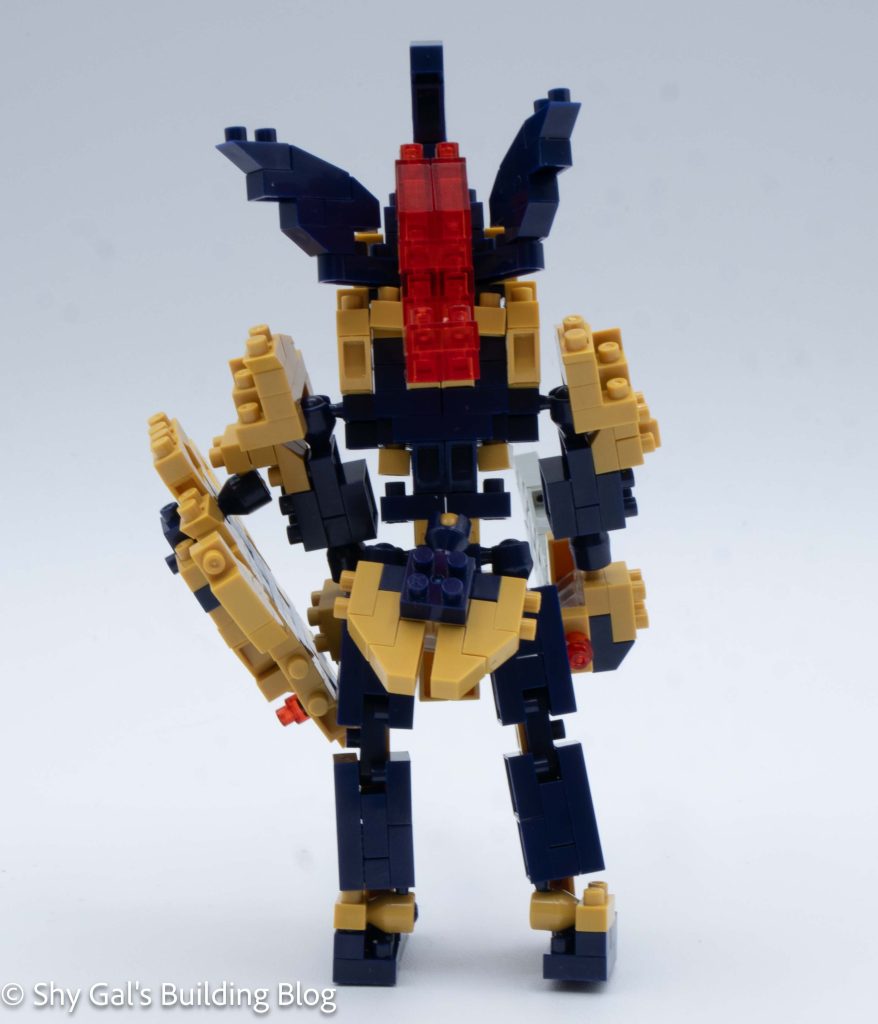
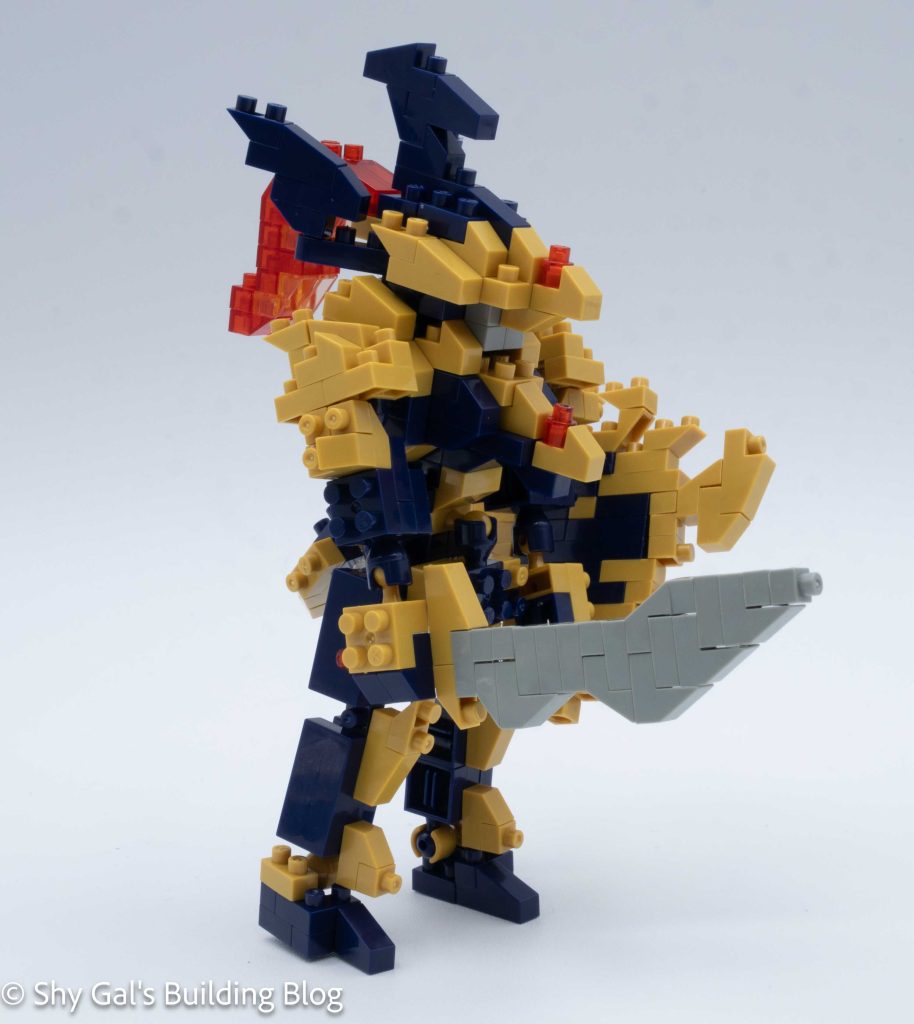
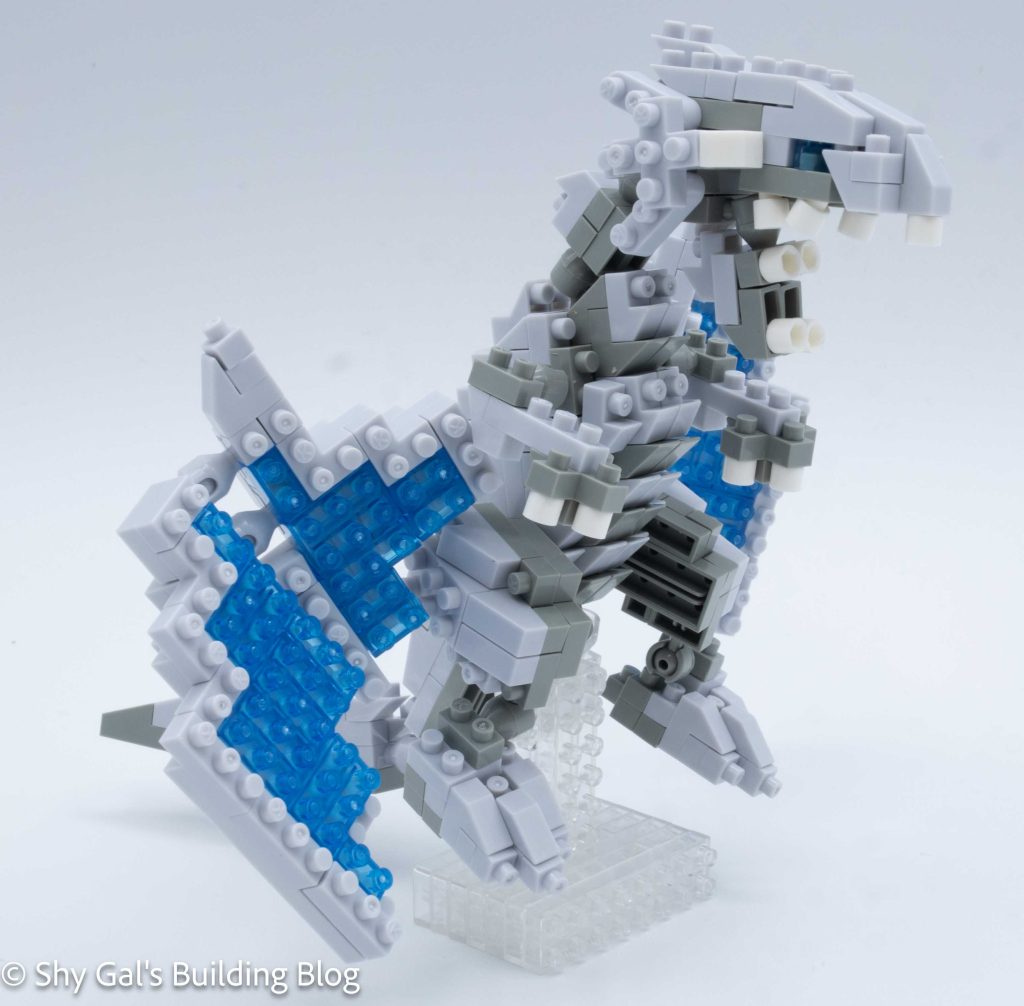
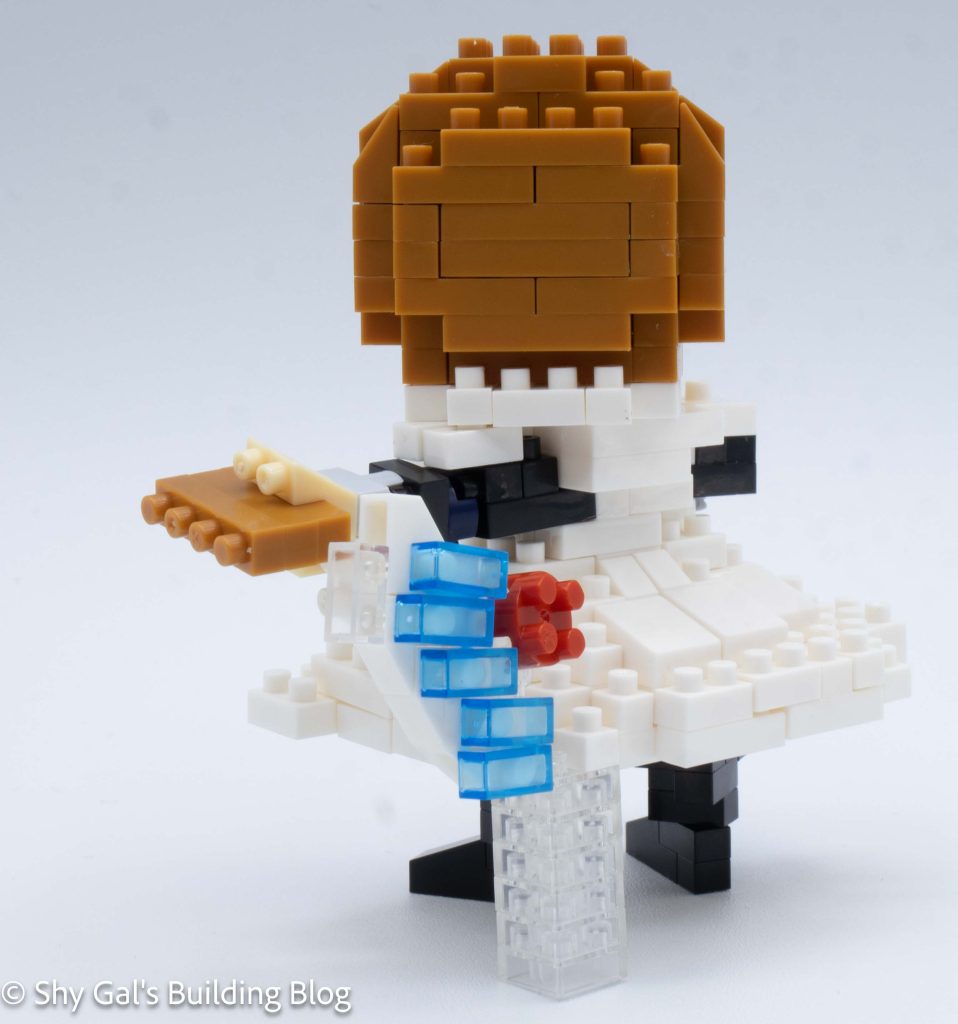
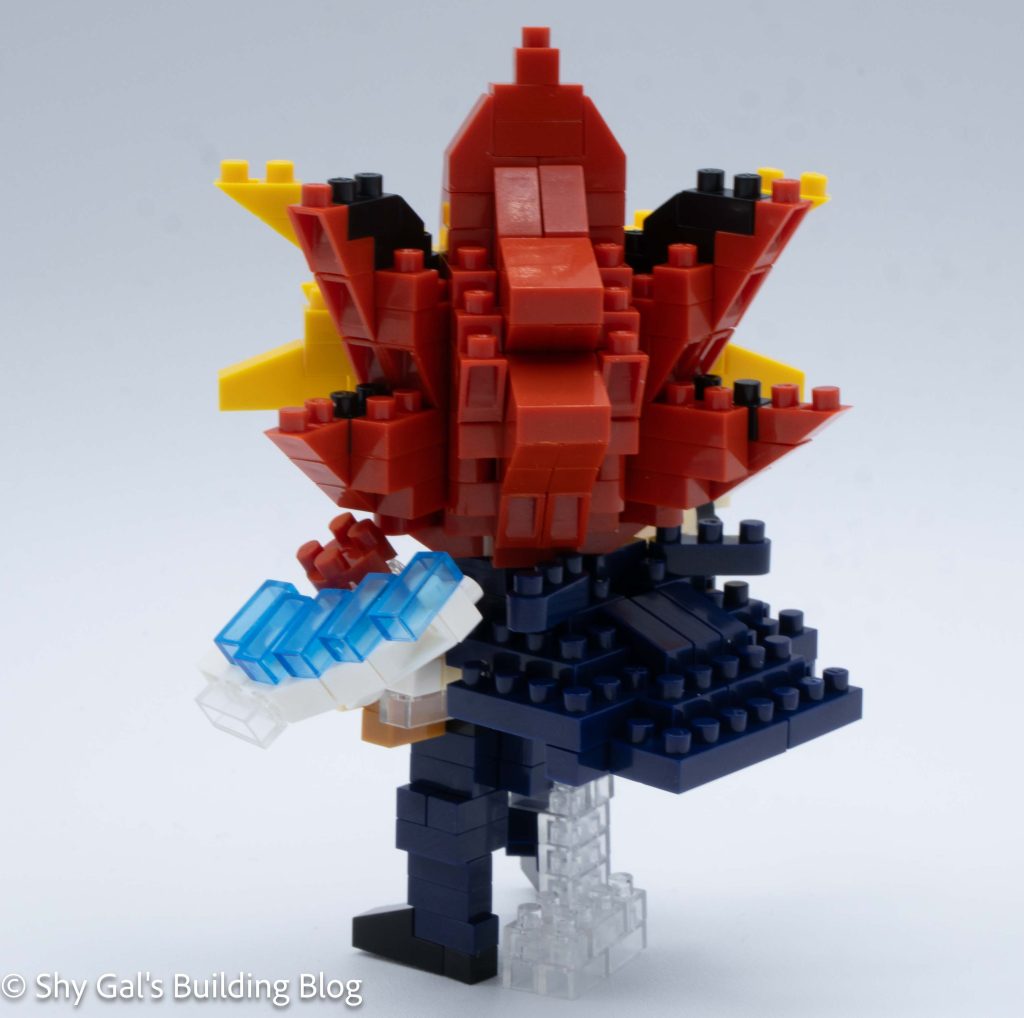
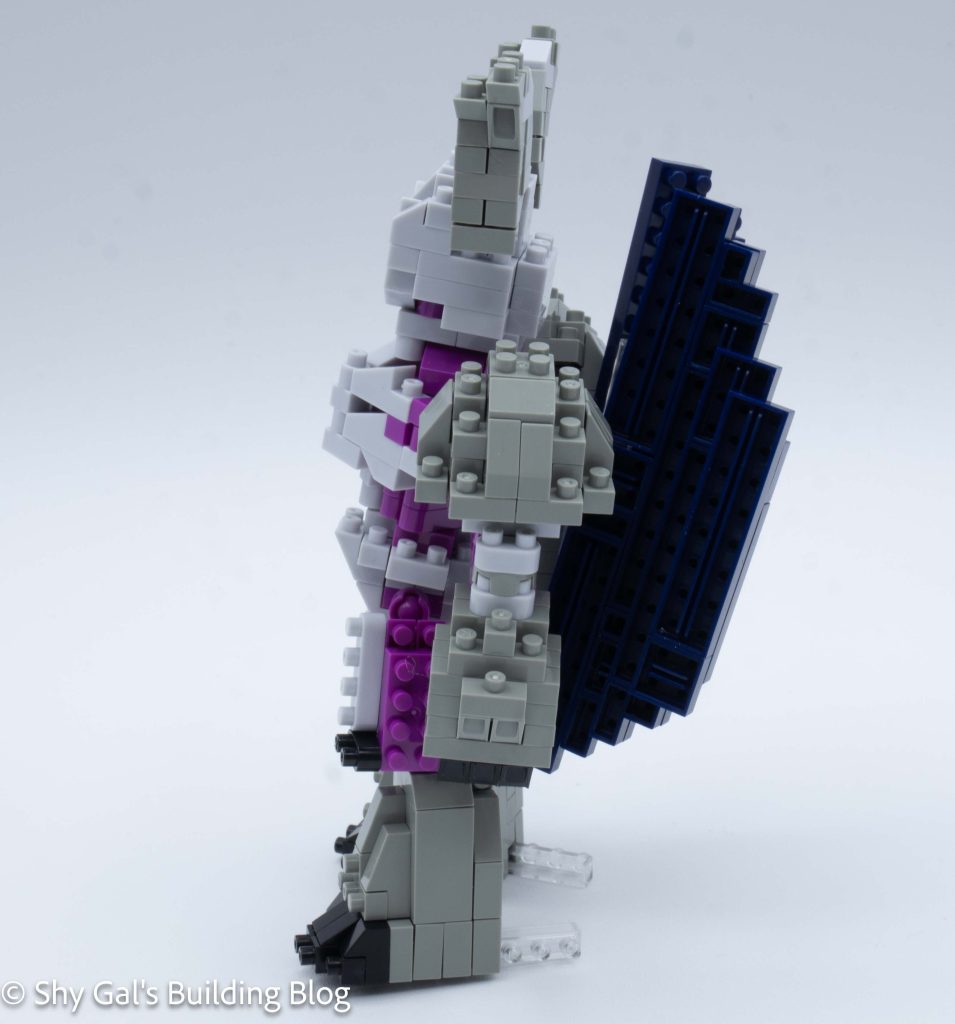
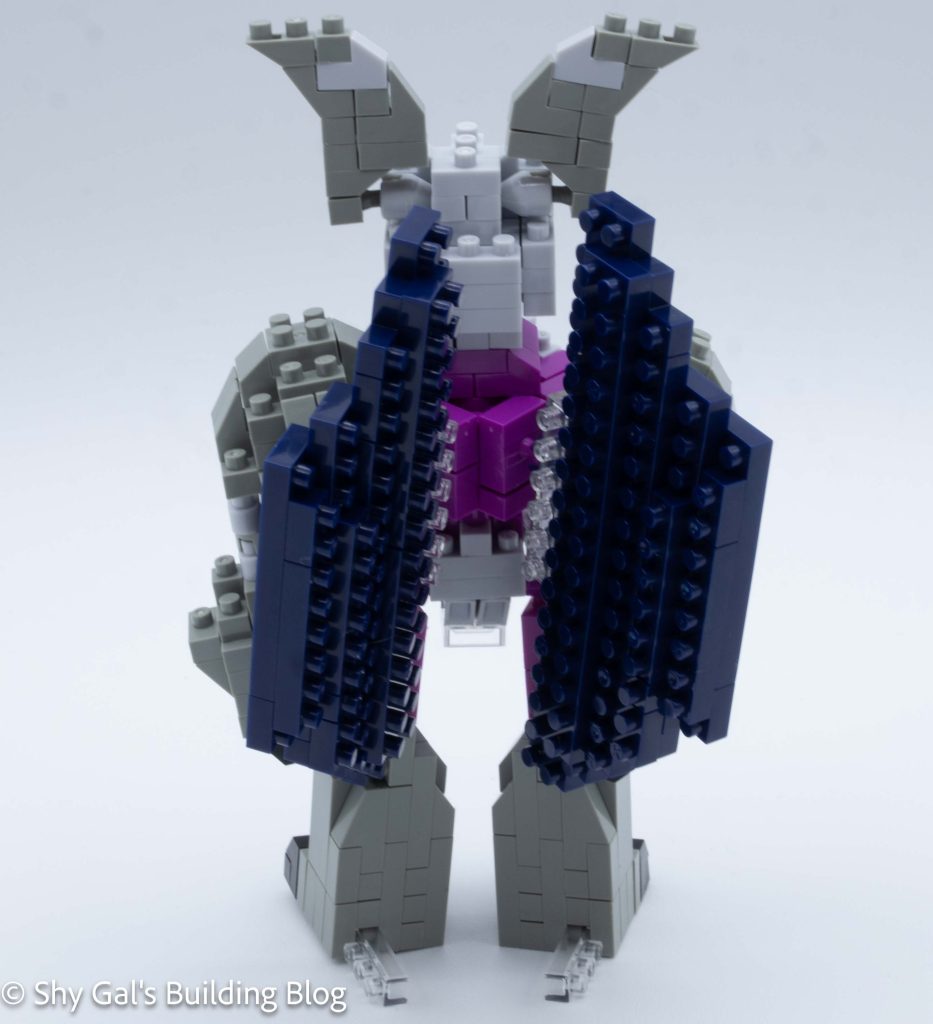
The next step is to build the wings. The wings are mirrors of each other. A nice detail is that there is a clear brick to strengthen the wing.

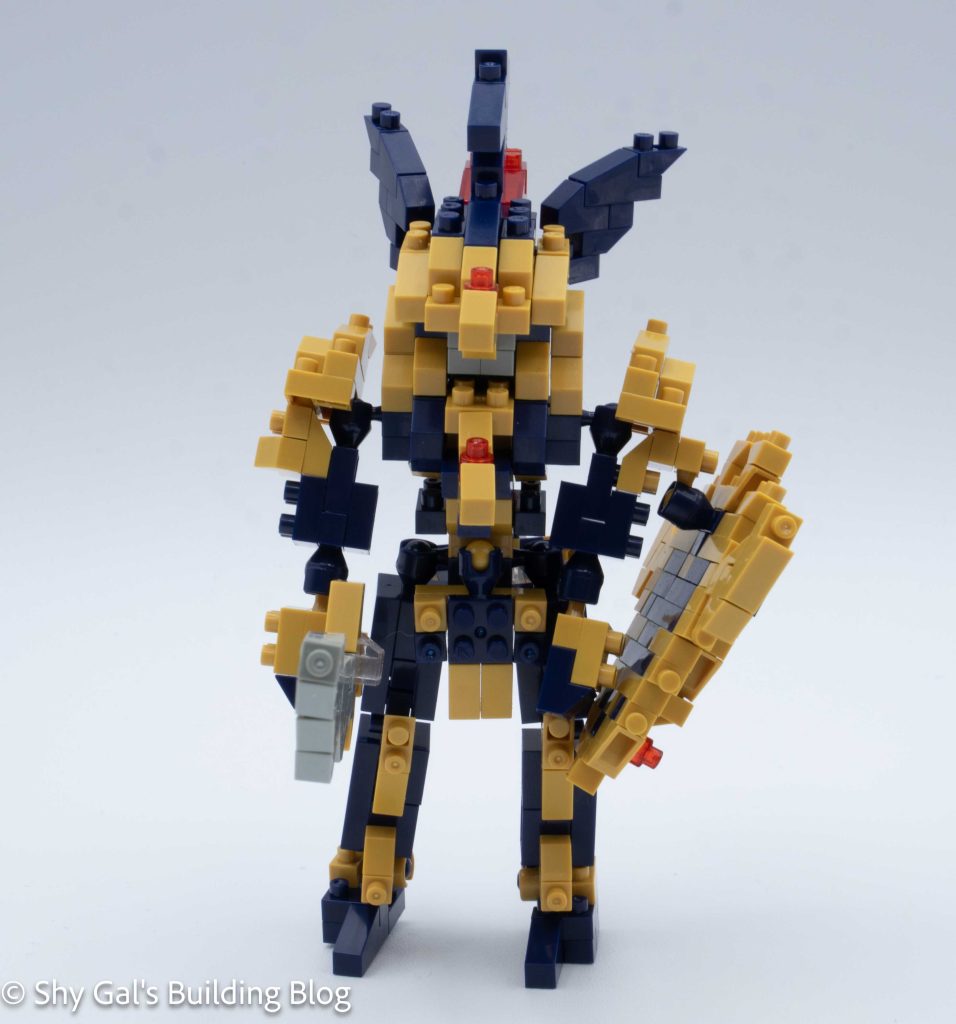
Finally, I attached the wings to the body. Sadly, this made the build very back-heavy so the build snapped at the spine, where is it held together by 1 stud. I was able to get it back together, but it became very fragile.

Summoned Skull build front 3/4 view

Things I liked:

  • I like that the wings have a clear brick that works as a support to strengthen the wings

Things I didn’t like:

  • I don’t like that the torso is attached to the hips by one stud. When I attached the wings the two sections would barely be stay connected

Review of nanoblock Black Luster Soldier NBCC_206

Black Luster Soldier build and box

This post is a review of the nanoblock Black Luster Soldier build. Black Luster Soldier is part of the nanoblock Character collection. Wondering what else is part of the Character collection? Click here for a list.

Number: NBCC_206

Number of Pieces: 320

Difficulty Rating: 4/5

Black Luster Soldier build front view

I’m not sure I would rank this build a 4/5 difficulty it was closer to a 3/5 in my opinion.

The final build was a bit loose and floppy, but overall it was hard to pose because the arms are so heavy.

The build begins with his hips by adding ball socket joints where the legs will connect in. It took a while for me to understand what exactly I was building.

Then I added layers of bricks to build the torso. I added the ball sockets for the arms as well.

Black Luster Soldier build side view

Then I added layers to create the head.

Then I built the legs. They are not the same but are mirrors of each other. The build was able to stand once I connected the legs to the body.

Next I added some details to the front and back of the body.

Black Luster Soldier build back view

Next I built his left arm. This included the arm and the sheild. The shield was a bit complicated but everything locked in tightly.

Next I build his right arm. This included the sword and arm. I was surprised that the arm was held in one place with one stud.

The last step was to add the ribbon on the head. I was surprised to see the clear orange because it isn’t really visible.

Black Luster Soldier build front 3/4 view

Things I liked:

  • I like how the shield looks

Things I didn’t like:

  • I don’t like how the build isn’t super posable because the arms are so heavy

Review of nanoblock Dark Magician NBCC_205

Dark Magician build and box

This post is a review of the nanoblock Dark Magician build. Dark Magician is part of the nanoblock Character collection. Wondering what else is part of the Character collection? Click here for a list.

Number: NBCC_205

Number of Pieces: 350

Difficulty Rating: 3/5

Dark Magician build front view

The build begins at the bottom of the torso where it meets the waist. The torso goes up in layers and the ball sockets for the shoulders are added.

The torso goes straight to the head. The face is added and the back of the head is added in layers.

Then the front of the helmet is built and attached to the head.

Dark Magician build side

The next section is the cape that flows around the legs of the build. This was tricky because of how dark the navy bricks are in the instructions. Several sections are connected to build a U. Then the unit is built together and closed up to create the waist. Then several sections are added to make the bottom more flowy.

Next I built the legs and attached them to the cape.

Then I built the stand so that the final Dark Magician appears to float.

Dark Magician build back view

Then I built the 2 shoulder units. I orginally only built one because i missed the x2 on the instructions. But I noticed the error and was able to build a second when I needed it.

Next I built his very straightforward left hand and attached it to the build.

FInally I built the right hand holding a staff and attached it to the build.

Dark Magician build front 3/4 view

Things I liked:

  • I like how flowy the cape is around the legs.

Things I didn’t like:

  • I wish the instructions for the cape had been outlined in white instead of black. It would have been easier to read

Review of nanoblock Blue-Eyes White Dragon NBCC_204

Blue-Eyes White Dragon build and box

This post is a review of the nanoblock Blue-Eyes White Dragon build. Blue-Eyes White Dragon is part of the nanoblock Character collection. Wondering what else is part of the Character collection? Click here for a list.

Number: NBCC_204

Number of Pieces: 350

Difficulty Rating: 3/5

Blue-Eyes White Dragon build front view

There were 2 things that were tricky with this build. First was picking the right color to use. The greys and clears appear to be similar in the instructions so i can be hard to tell which color to use. Second, was choosing the right ball socket pieces to use.

The build begins with creatings a stand so that the dragon can appear to be floating. The base is made of clear bricks.

Blue-Eyes White Dragon build side view

Next I built the body section. This included a bunch of ball joints for the rest of the dragon to be attached to. Once I finished the body I attached it to the base.

Next I built the tail which consisted of 2 identical sections and the tip section.

Next I built the legs and feet. I had a hard time figuring out how to connect the feet to the legs so that it would look correct on the body. I was able to figure it out.

Blue-Eyes White Dragon build back view

THen I built the wings. Each wing was very straightforward but took 9 steps to complete and attach to the bulid. Since the wing is held in place by 1 ball socket it ended up floppy and not very posable which was disappointing.

Then I built the arms and neck.

The last section to build was the head. The head was a bit tricky because of how fragile the picece was. I did break it a couple time trying to attach it.

Blue-Eyes White Dragon build front 3/4 view

Things I liked:

  • I like the use of clear blue bricks for the eyes

Things I didn’t like:

  • I wish the wings had been more posable

Review of nanoblock Seto Kaiba NBCC_203

Seto Kaiba build amd box

This post is a review of the nanoblock Seto Kaiba build. Seto Kaiba is part of the nanoblock Character collection. Wondering what else is part of the Character collection? Click here for a list.

Number: NBCC_203

Number of Pieces: 270

Difficulty Rating: 2/5

Seto Kaiba build front view

The build begins by taking 2 steps to create the base layers of the head.

From there the head goes up in layers added the eyes and ears. Eventually the focus is all on the hair. The hair continues in straightforward layers until the head is finished.

The next section is to build the coat that is billowing. I had a bit of difficulty following the cramped instructions and telling which bricks had been used. But I was able to build it on the first try.

Seto Kaiba build side view

The next step is to built the torso. The torso was very fragile and kept falling apart while I was building it and after I had put it together. I think this is because there were multiple sections that weren’t pinned down well.

Then I connected the torso to the coat base.

Then I build the hands and connected them. I’m not sure what he is supposed to be holding but I’m guessing cards.

Seto Kaiba build back view

Then I built the hips and attached them. This was another spot where I had problems with the torso.

Then I built the legs and attached them.

Next I built the stand to help the finished model stay up.

The final step is to build and attach the play board.

Seto Kaiba build front 3/4 view

Things I liked:

  • I like that the finished build stands considering how big the cape is so the weight is spread out

Things I didn’t like:

  • I didn’t like how fragile the torso was and how that affected the entire build

Link to order:

Review of nanoblock Yami Yugi NBCC_202

Yami Yugi build and box

This post is a review of the nanoblock Yami Yugi build. Yami Yugi is part of the nanoblock Character collection. Wondering what else is part of the Character collection? Click here for a list.

Number: NBCC_202

Number of Pieces: 320

Difficulty Rating: 2/5

Yami Yugi build front view

The build begins with creating a base layer of of bricks. This includes the skin tone for the face and the red for the back of the hair.

The head then went up in slow layers with each layer taking multiple steps. The layers add eyes and ears along with the foundations of the hair.

Once the face is complete, the main focus is to complete the hair. I really like how much detail is included in the hair between the angles and colors. I also like how the hair in front of his face was created.

Yami Yugi build side view

The next step is to build the body. When I was building it I wasn’t sure what was going on because there is a ton of detail in the back that I couldn’t see on the box. It turns out that his cape is floating behind him which is a cool effect.

After building out the cape, I built the main section of the body and arms.

Then I built the hands and connected them to the body. Then I built the board that he wears on his arm.

Yami Yugi build back view

Next I attached the head to the body.

Then I built a stand to help him stand up.

Finally I built the 2 legs and attached them to the build.

When I tried to have the finished build stand, I wasn’t able to. I was super bummed that he didn’t stand after all the work I didn’t to build him.

Yami Yugi build front 3/4 view

Things I liked:

  • I like how much detail is included in the hair

Things I didn’t like:

  • I hate that I couldn’t get the final build to stand and that I couldn’t get it on a base plate. The photos without a stand are because my husband is better at lining things up just so the build can stand