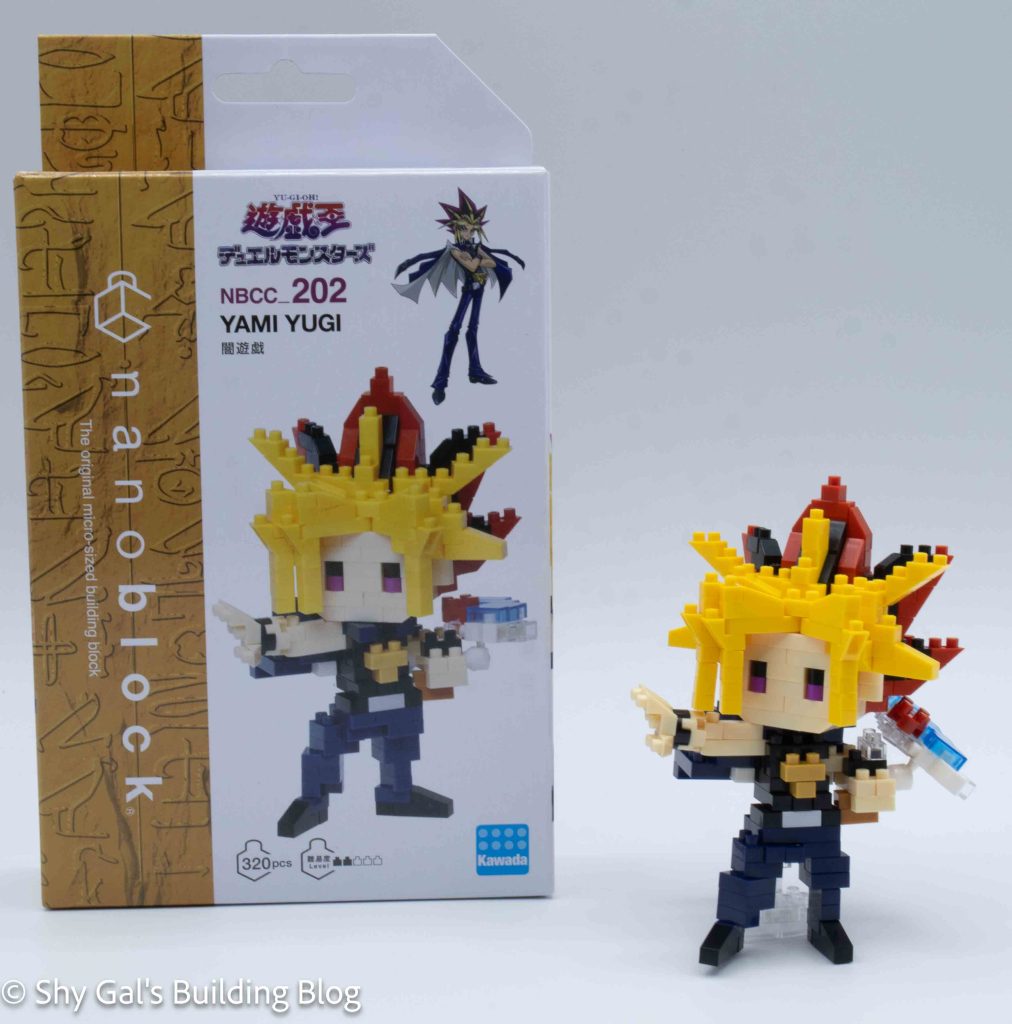
This post is a review of the nanoblock Yami Yugi build. Yami Yugi is part of the nanoblock Character collection. Wondering what else is part of the Character collection? Click here for a list.
Number: NBCC_202
Number of Pieces: 320
Difficulty Rating: 2/5
The build begins with creating a base layer of of bricks. This includes the skin tone for the face and the red for the back of the hair.
The head then went up in slow layers with each layer taking multiple steps. The layers add eyes and ears along with the foundations of the hair.
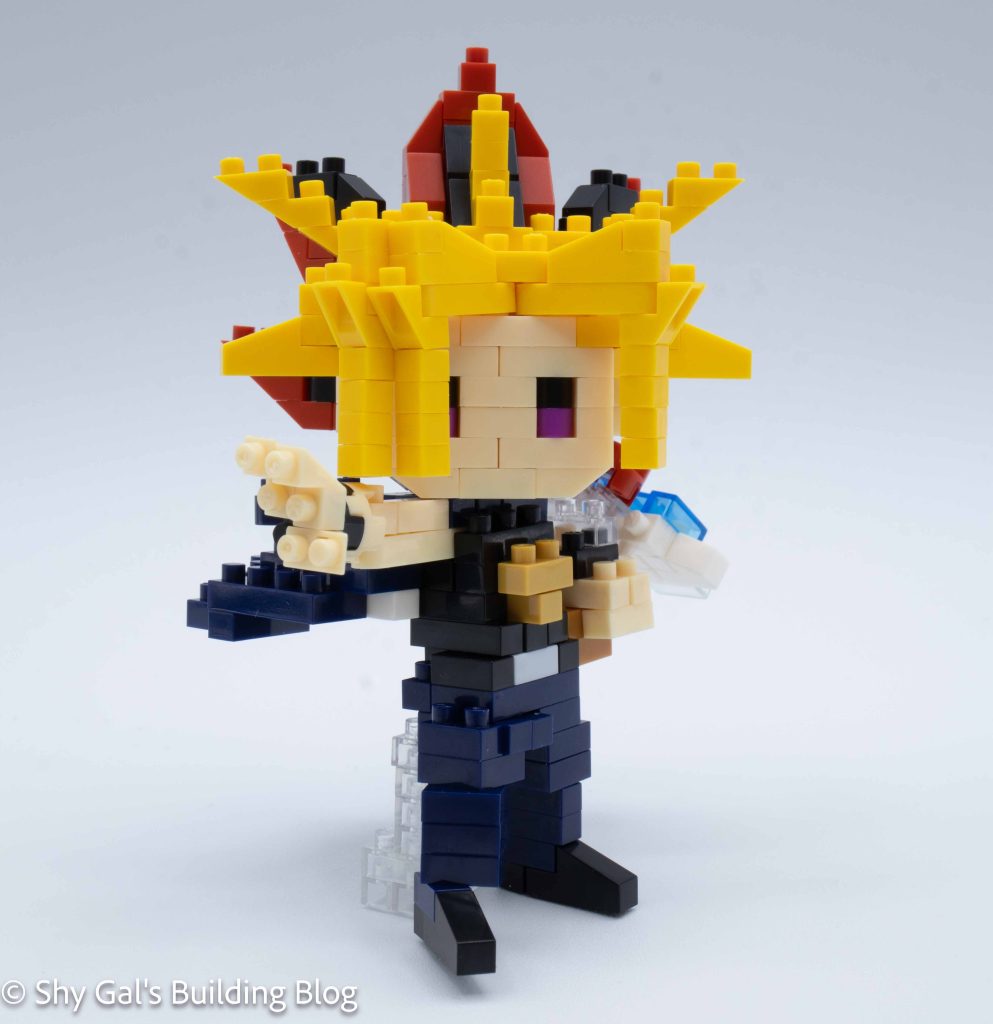
Once the face is complete, the main focus is to complete the hair. I really like how much detail is included in the hair between the angles and colors. I also like how the hair in front of his face was created.
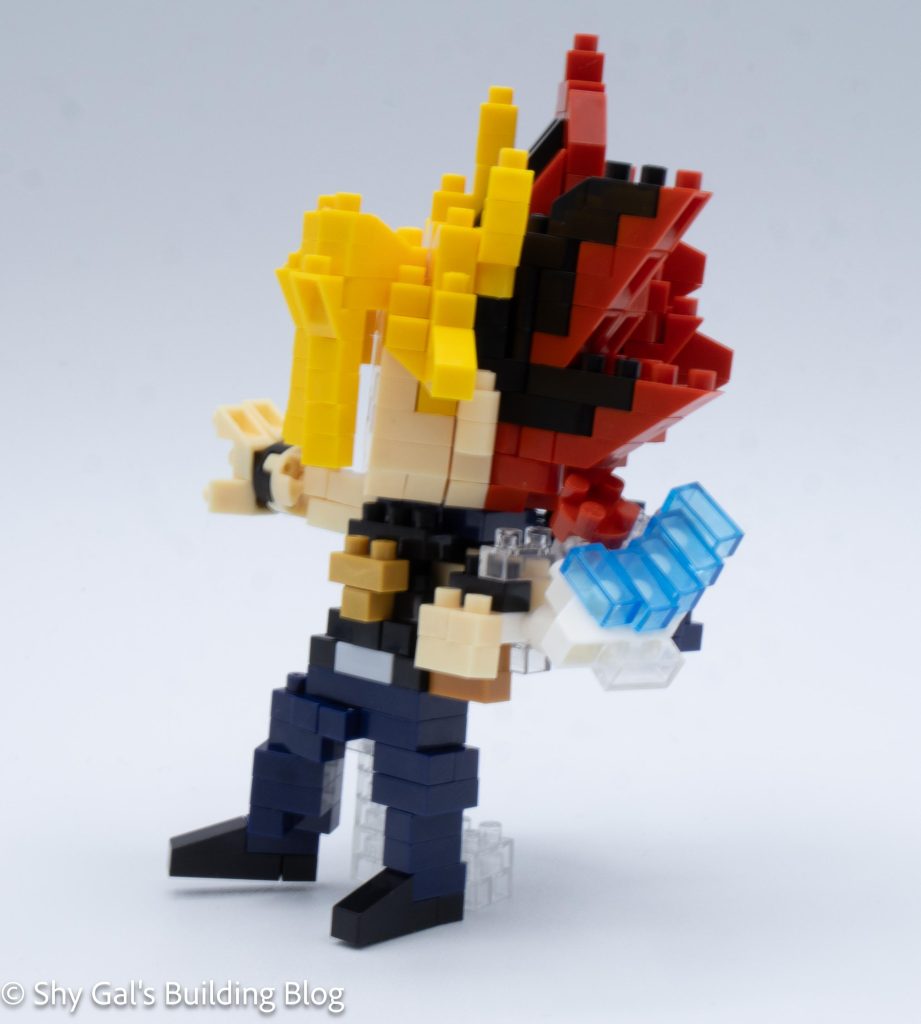
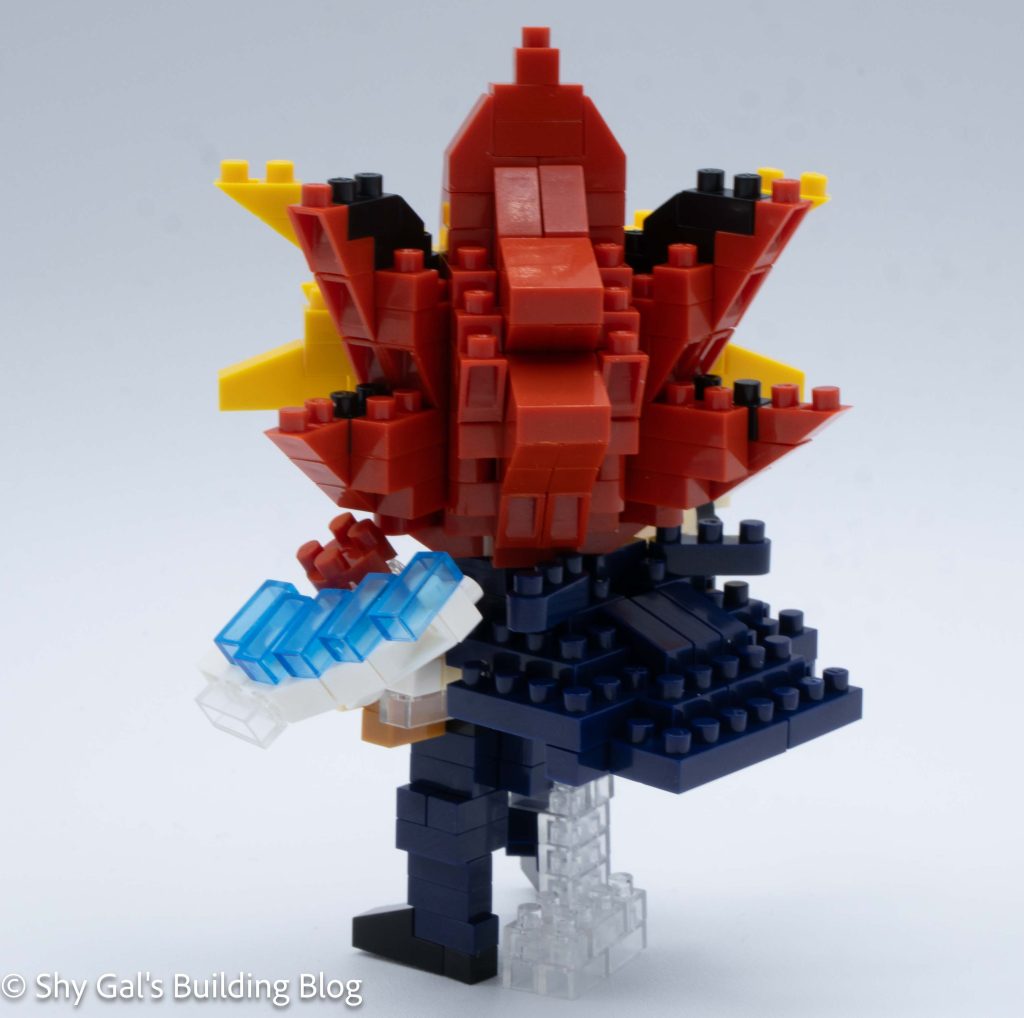
The next step is to build the body. When I was building it I wasn’t sure what was going on because there is a ton of detail in the back that I couldn’t see on the box. It turns out that his cape is floating behind him which is a cool effect.
After building out the cape, I built the main section of the body and arms.
Then I built the hands and connected them to the body. Then I built the board that he wears on his arm.
Next I attached the head to the body.
Then I built a stand to help him stand up.
Finally I built the 2 legs and attached them to the build.
When I tried to have the finished build stand, I wasn’t able to. I was super bummed that he didn’t stand after all the work I didn’t to build him.

Things I liked:
- I like how much detail is included in the hair
Things I didn’t like:
- I hate that I couldn’t get the final build to stand and that I couldn’t get it on a base plate. The photos without a stand are because my husband is better at lining things up just so the build can stand