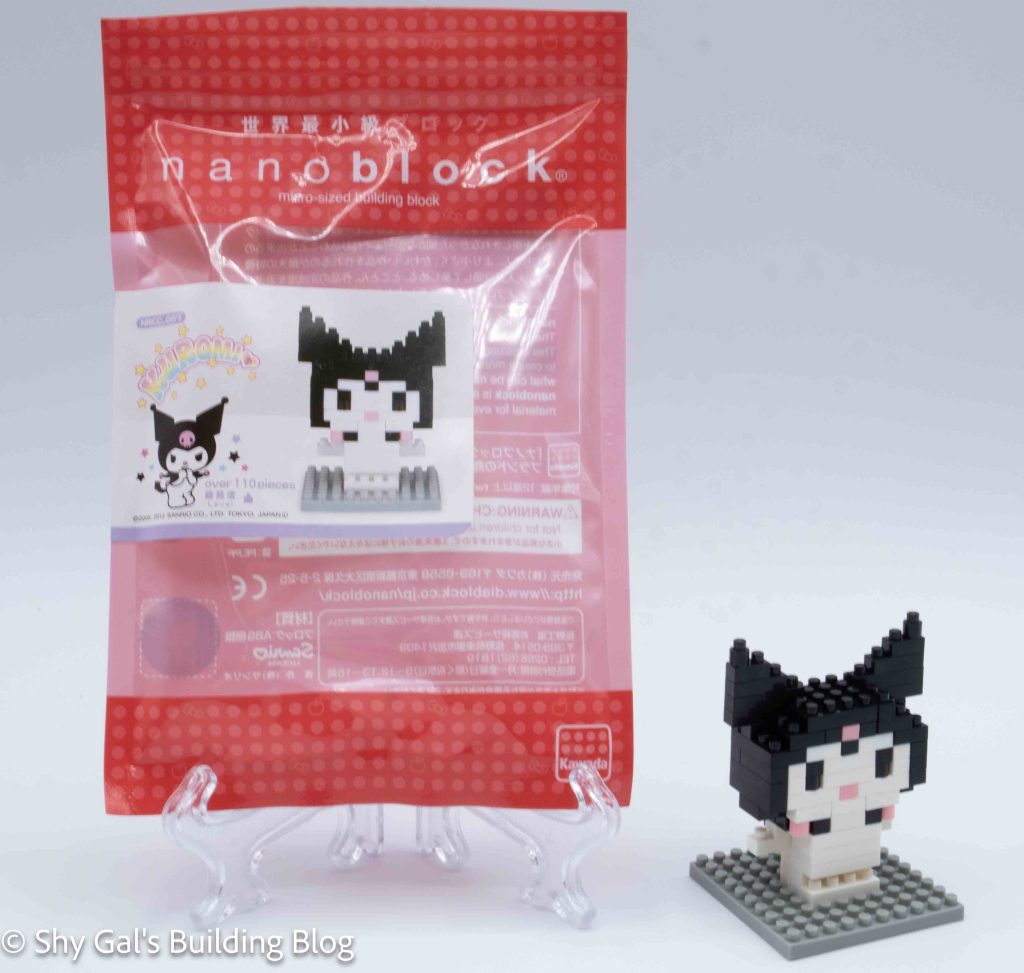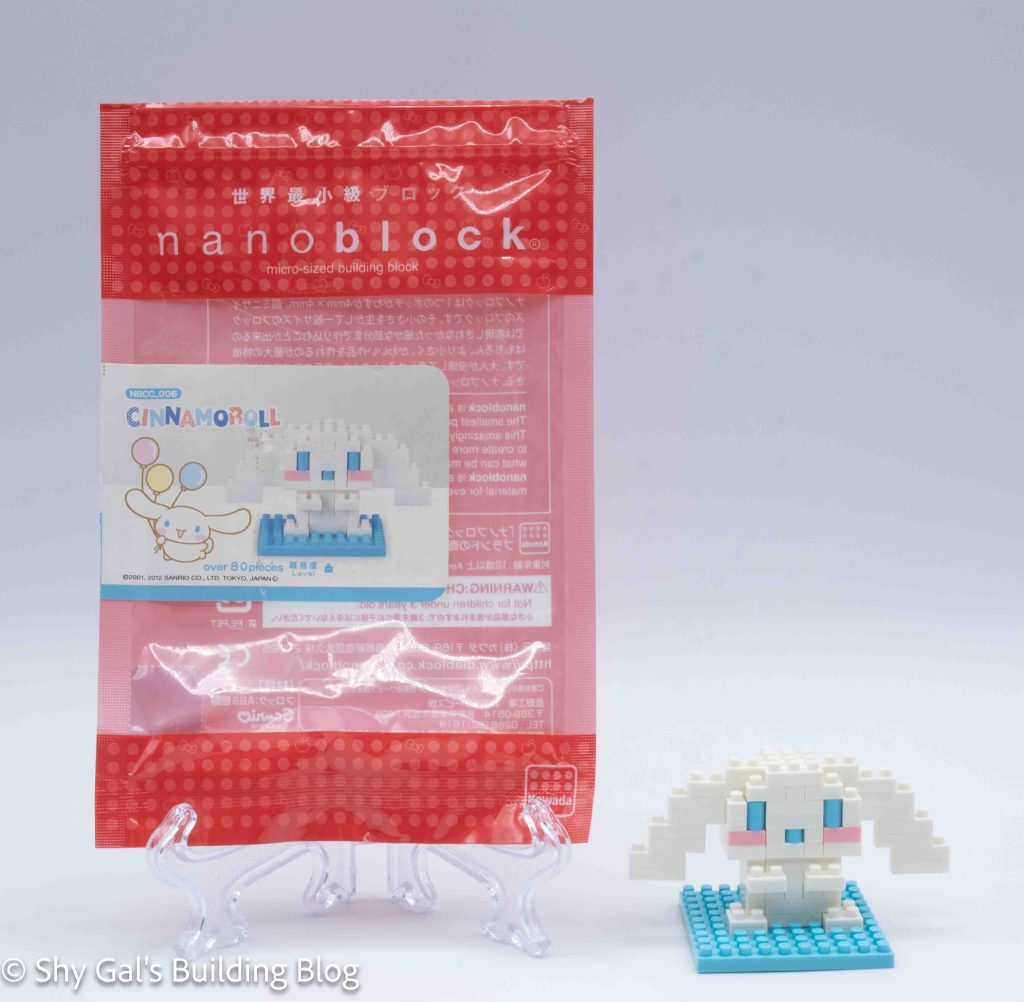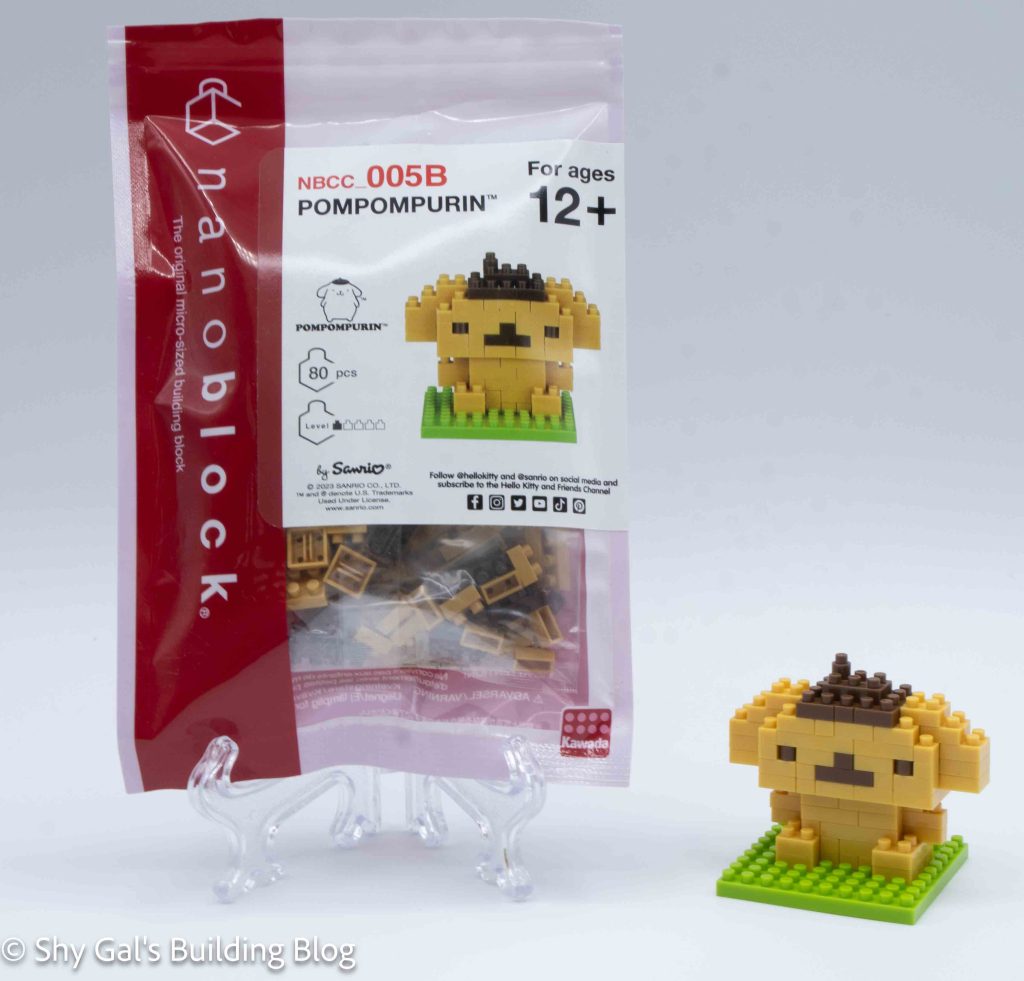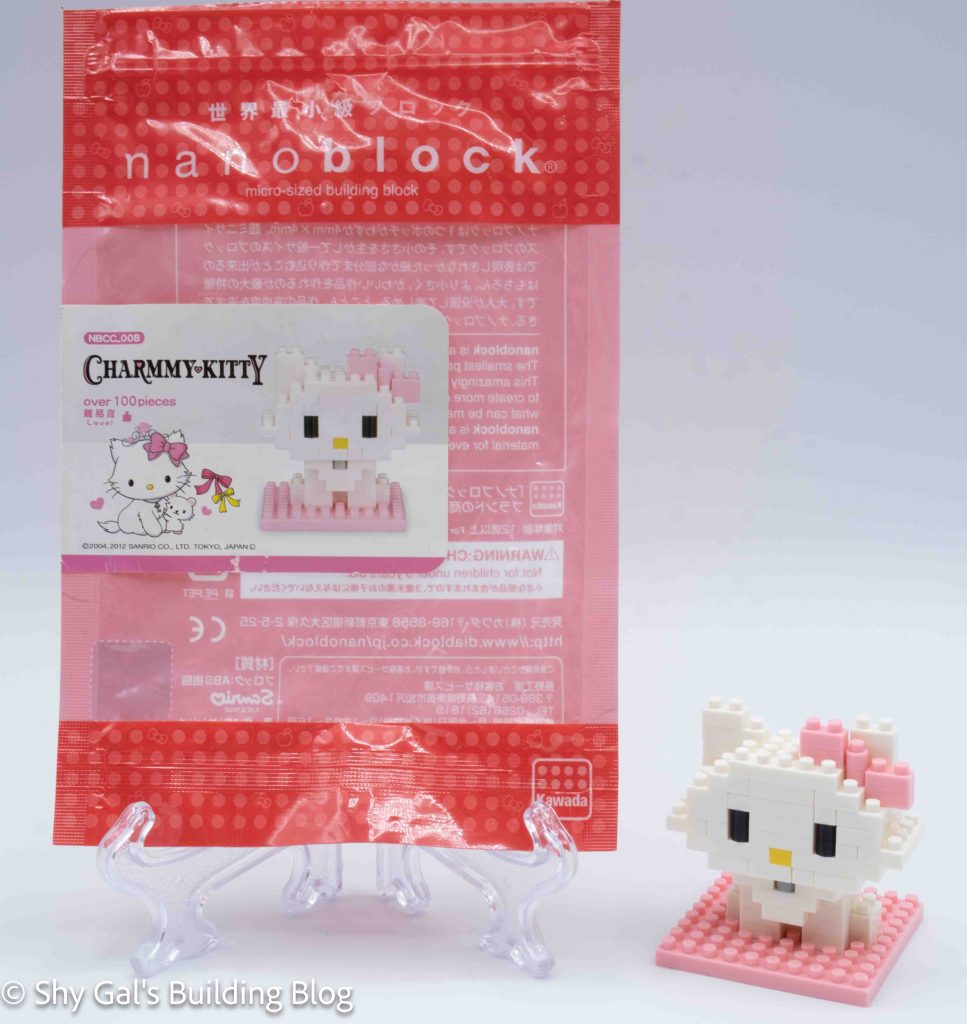
This post is a review of the nanoblock Charmmy Kitty build. Charmmy Kitty is part of the nanoblock Character collection. Wondering what else is part of the Character collection? Click here for a list.
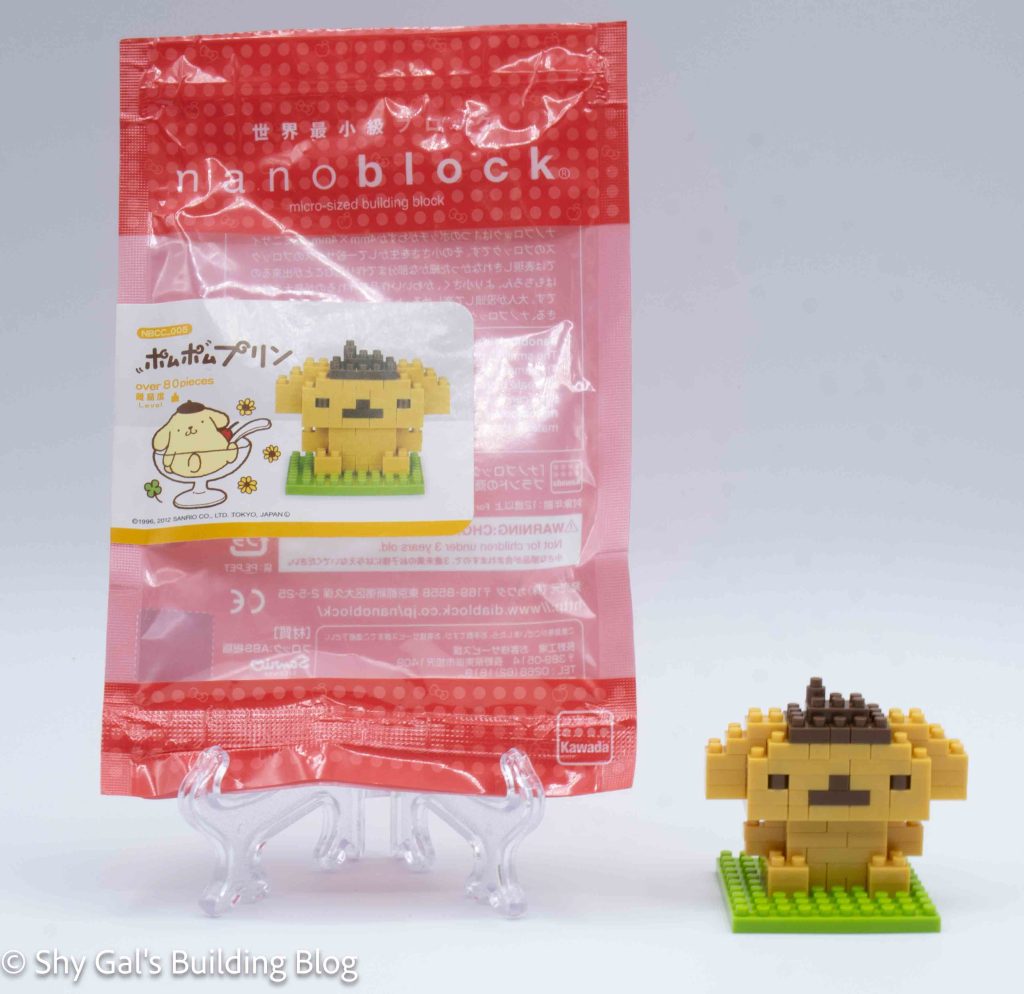
Number: NBCC_008
Number of Pieces: 100
Difficulty Rating: 1
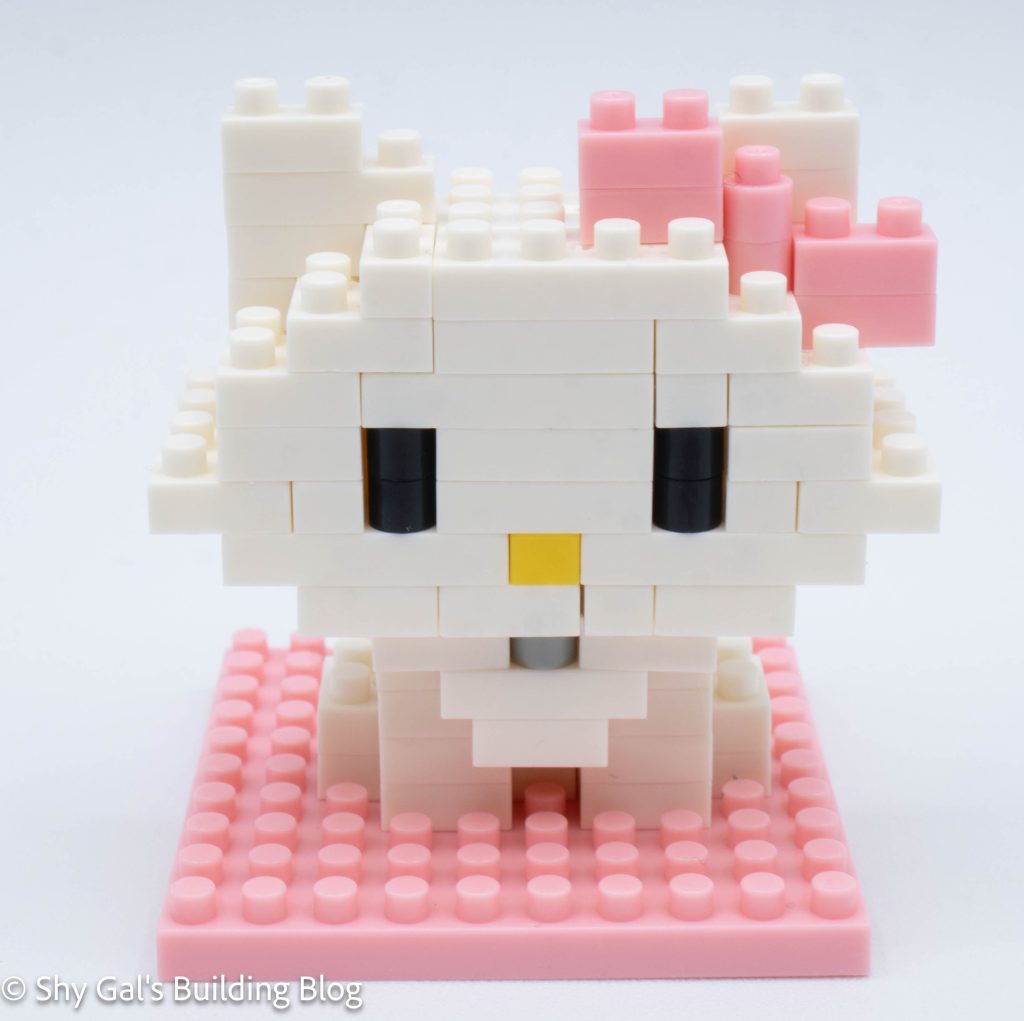
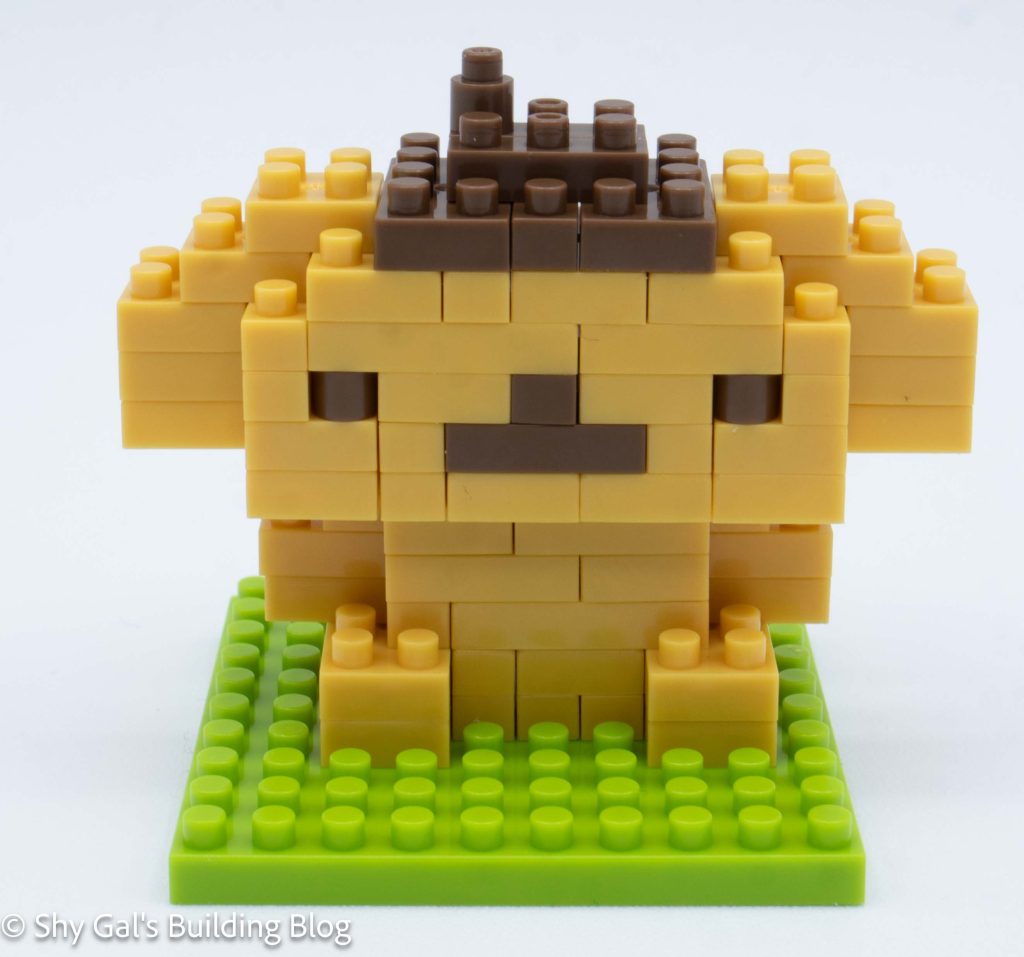
I began this build by laying the foundation of the head out on my nanoblock pad.
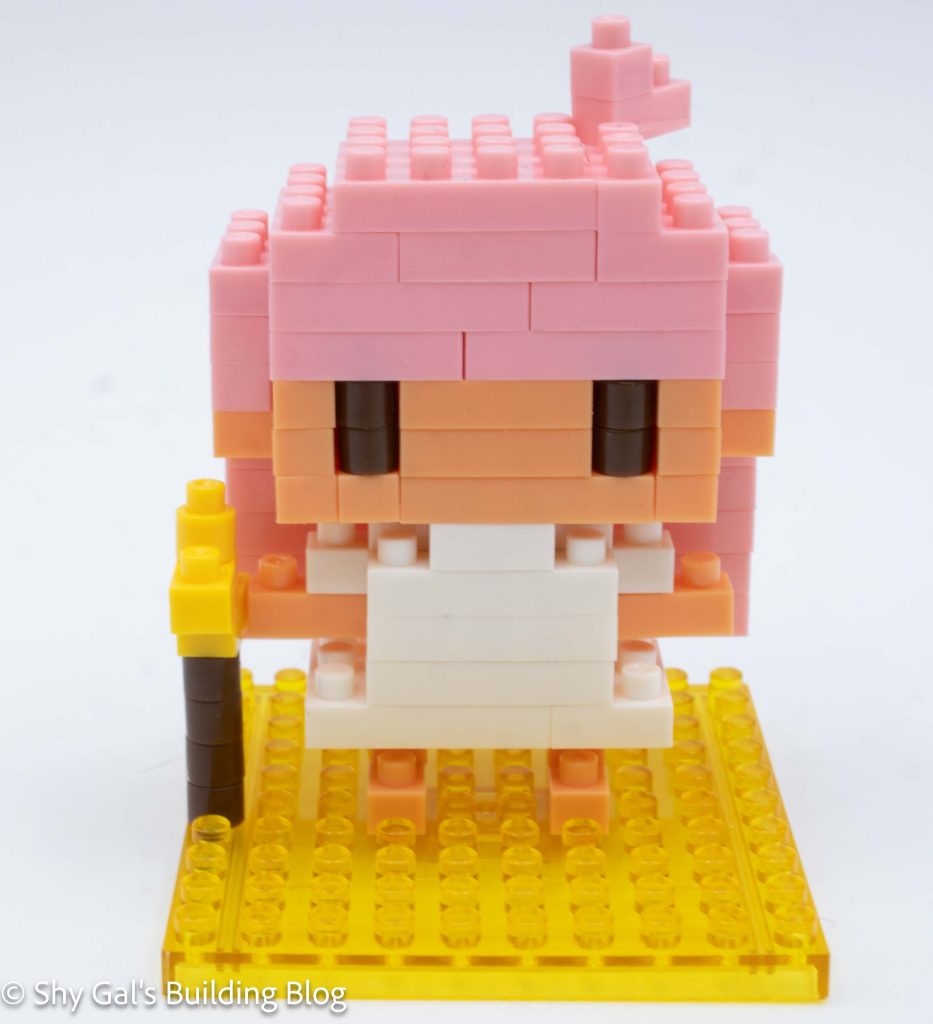
I built the head up in layers. I added the nose and the eyes.
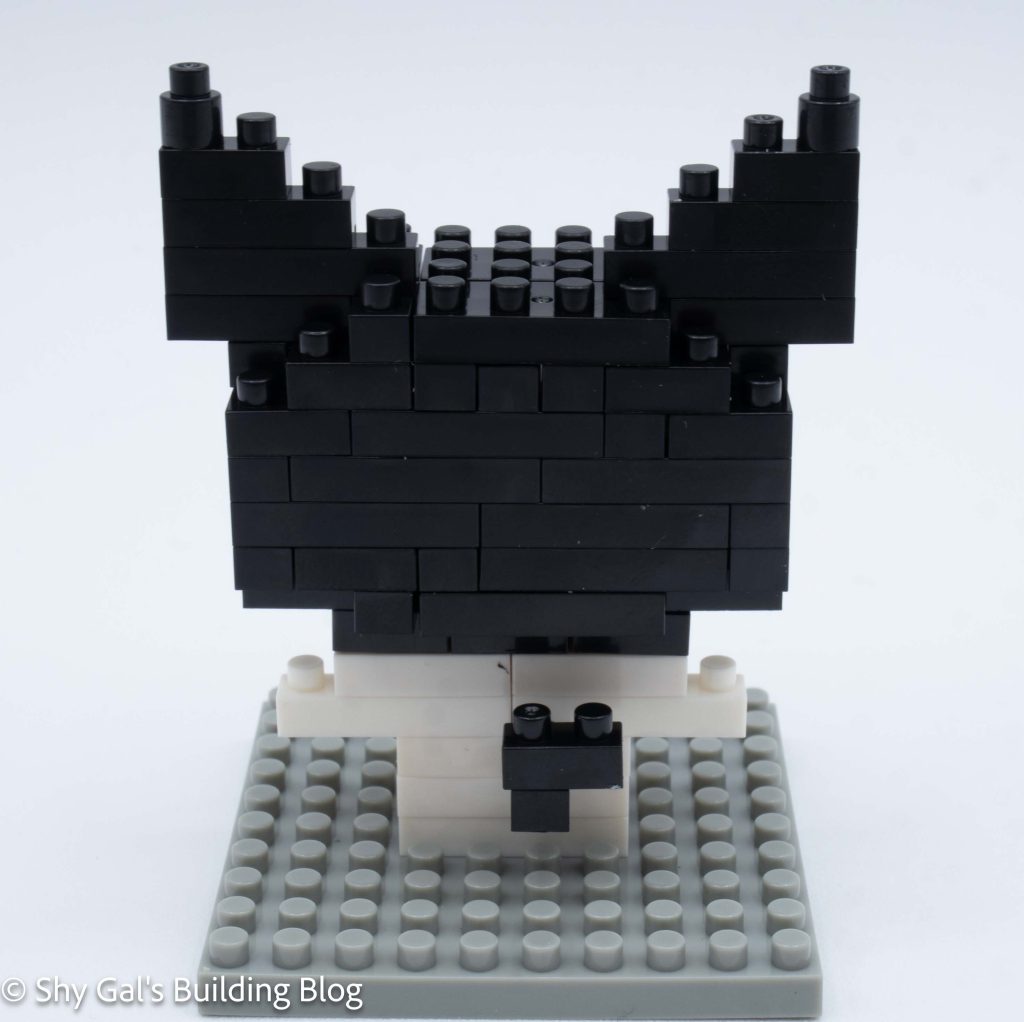
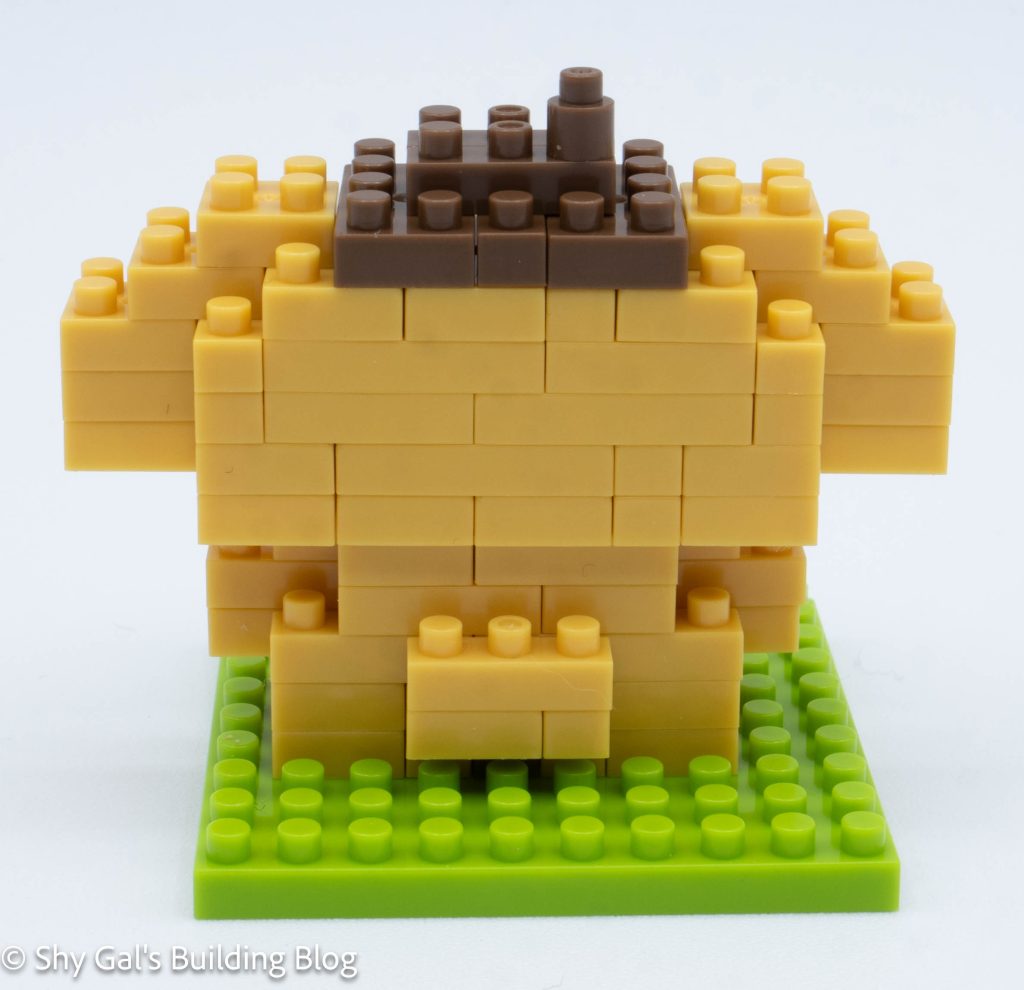
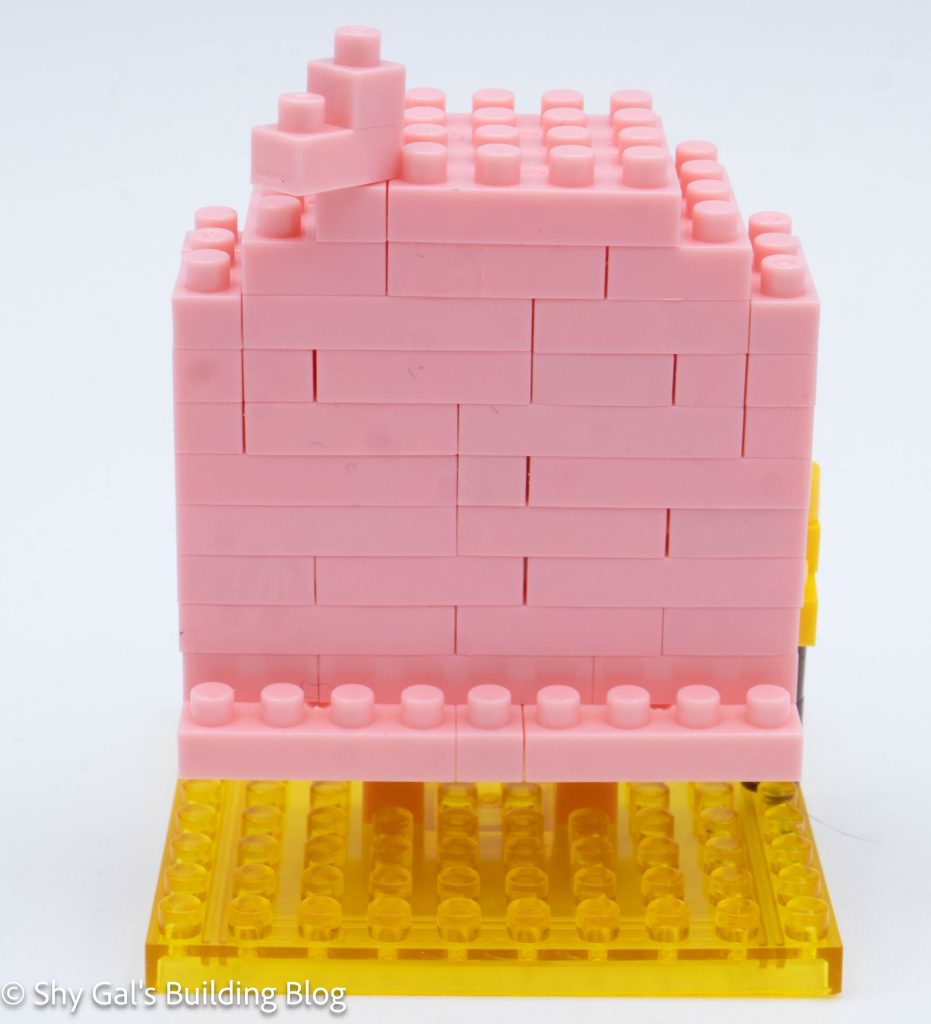
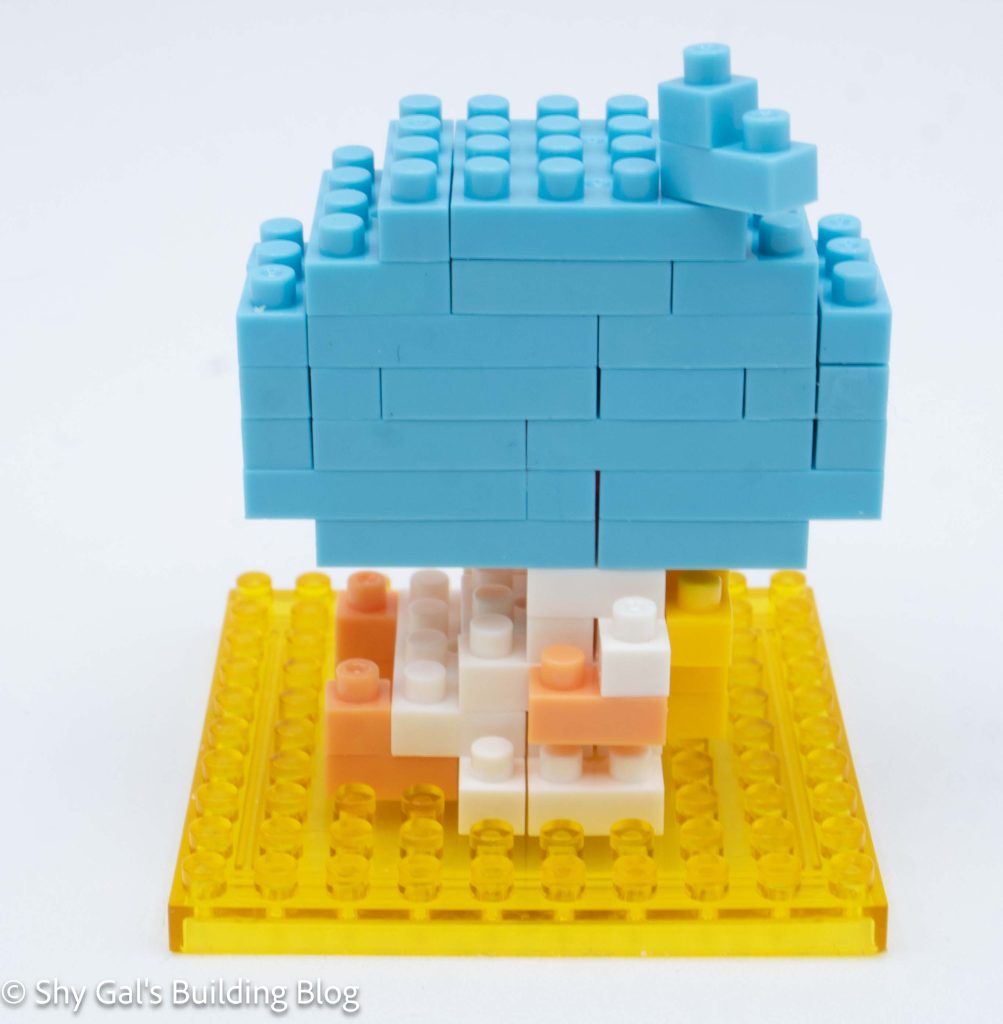
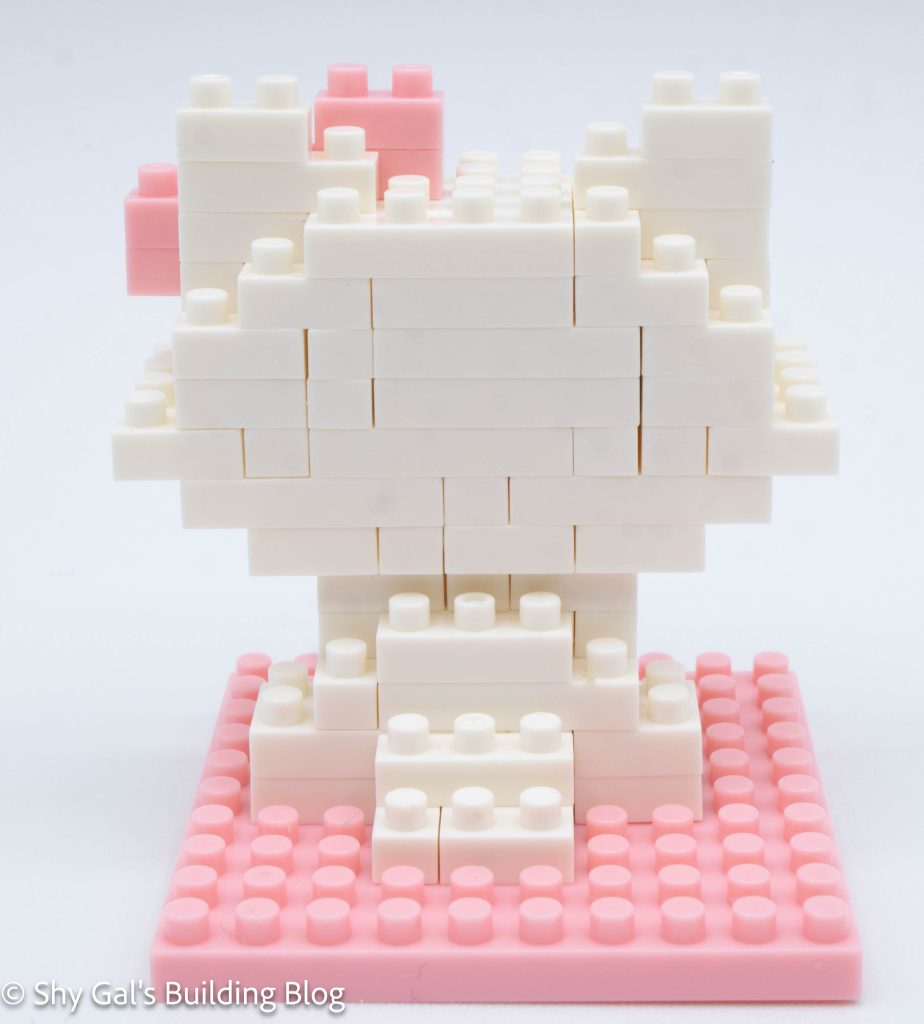
I built the head up a few more layers to close up the head and create the ears.
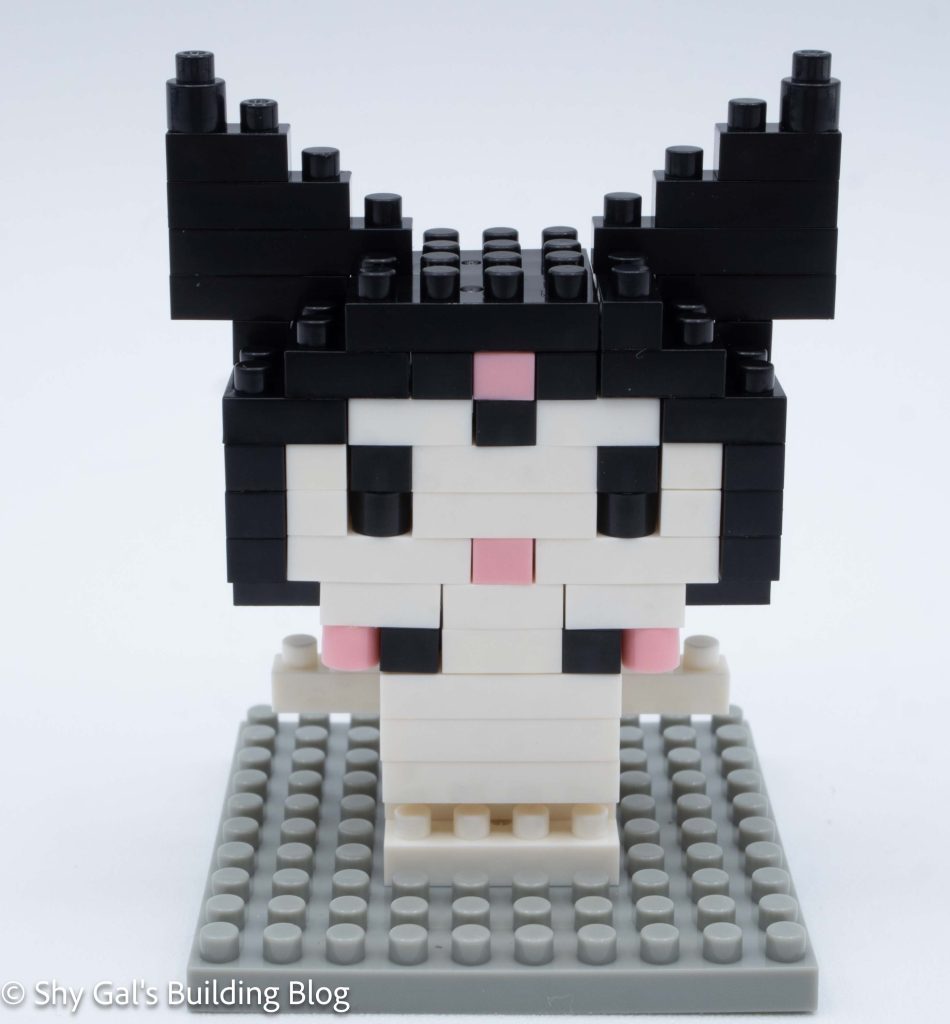
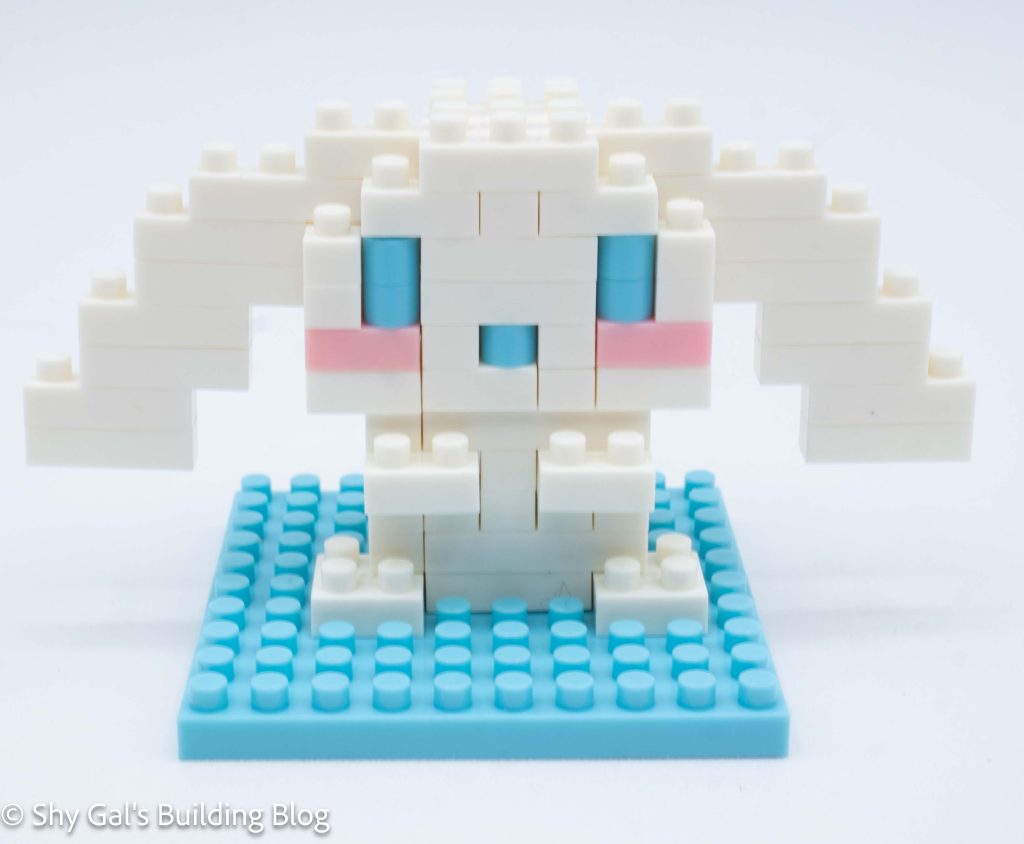
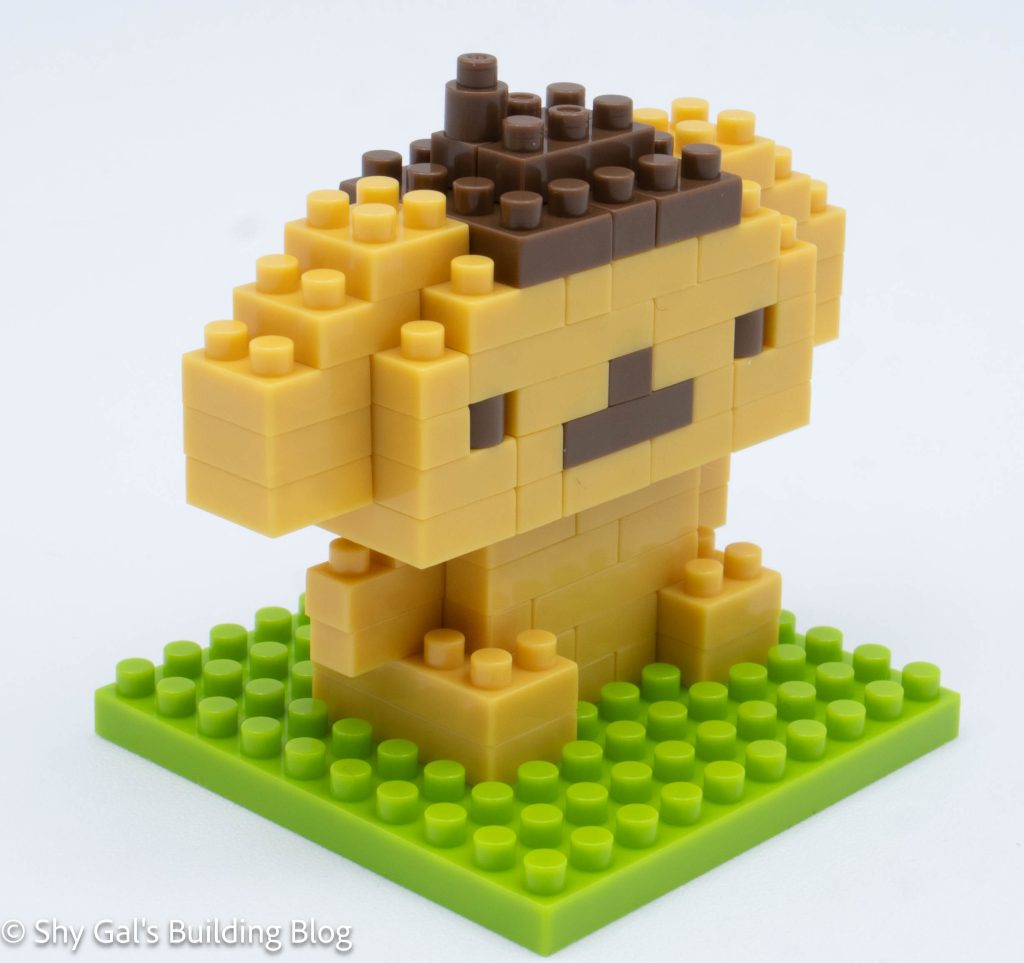
The final step of the head was to add the fur in the front of Charmmy Kitty and her bow.
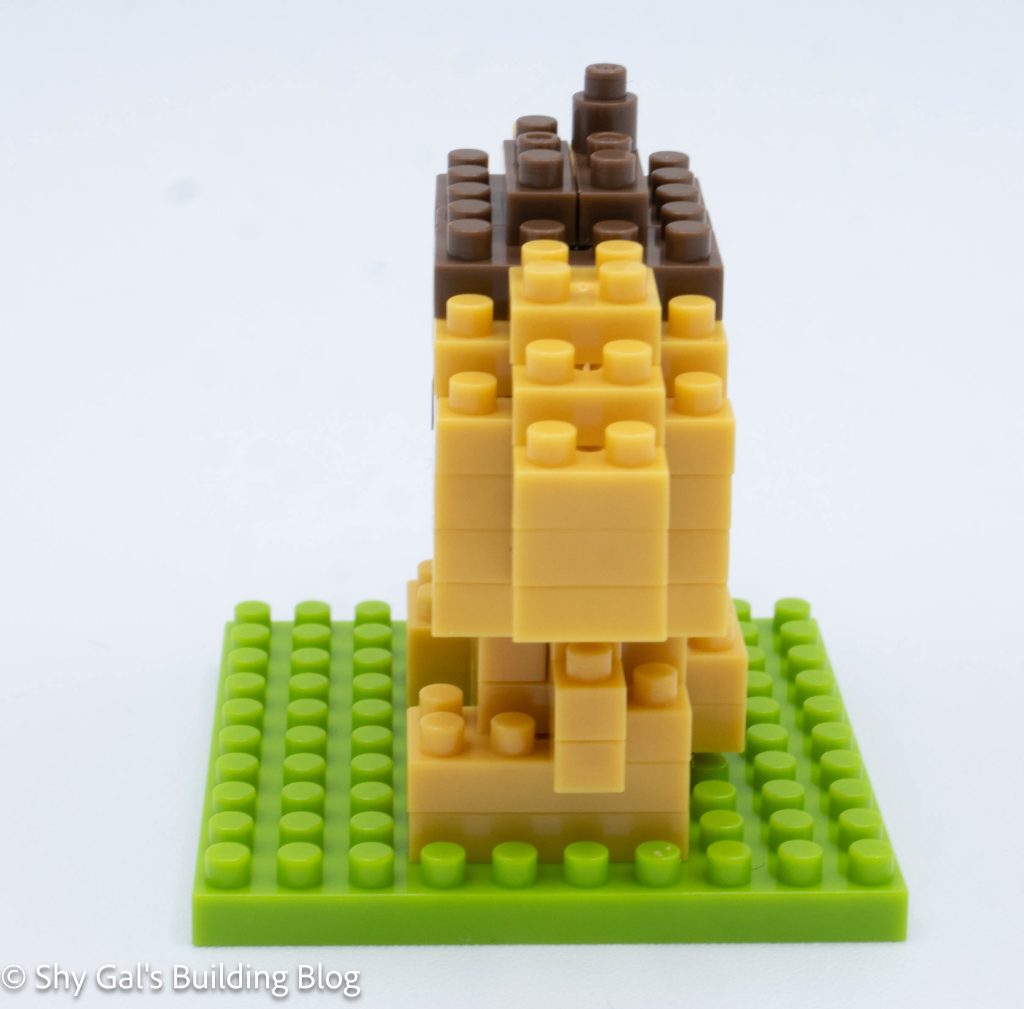
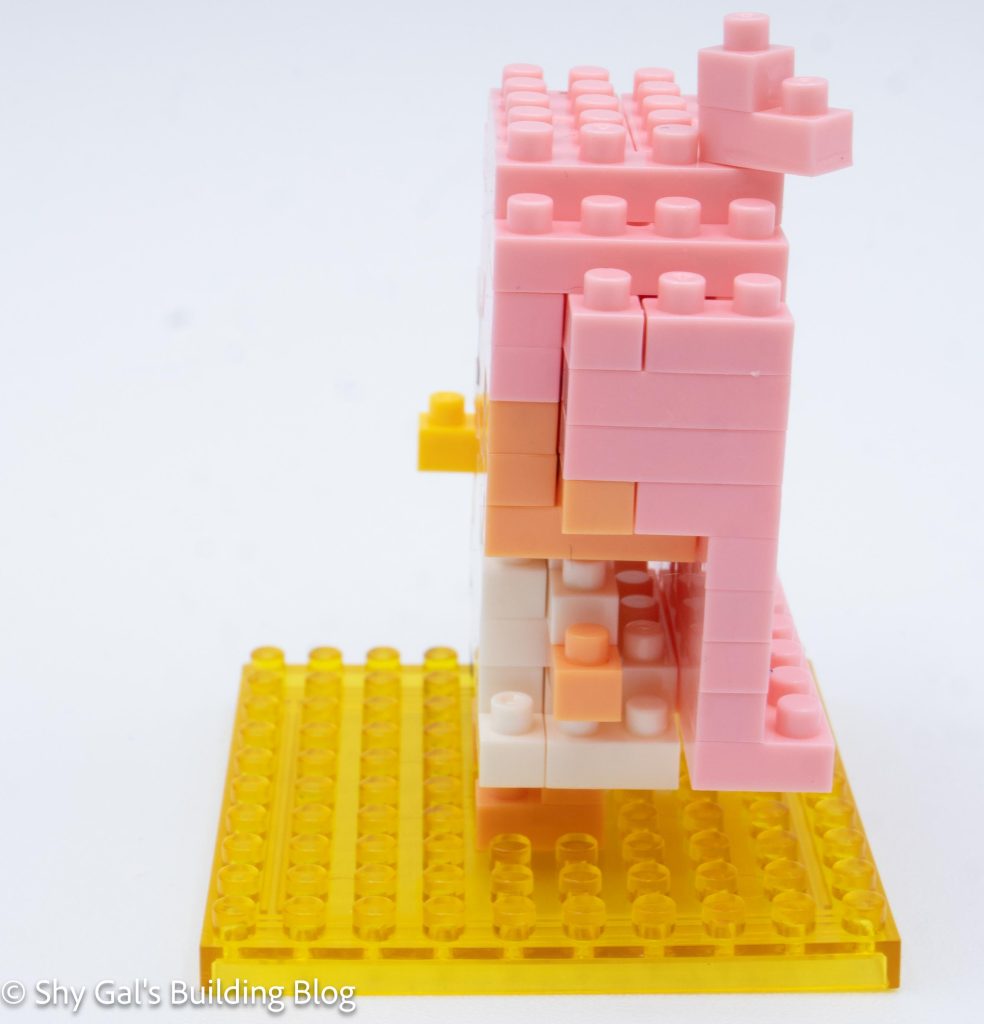
Next, I began to work on the body. I laid the foundation on the baseplate.
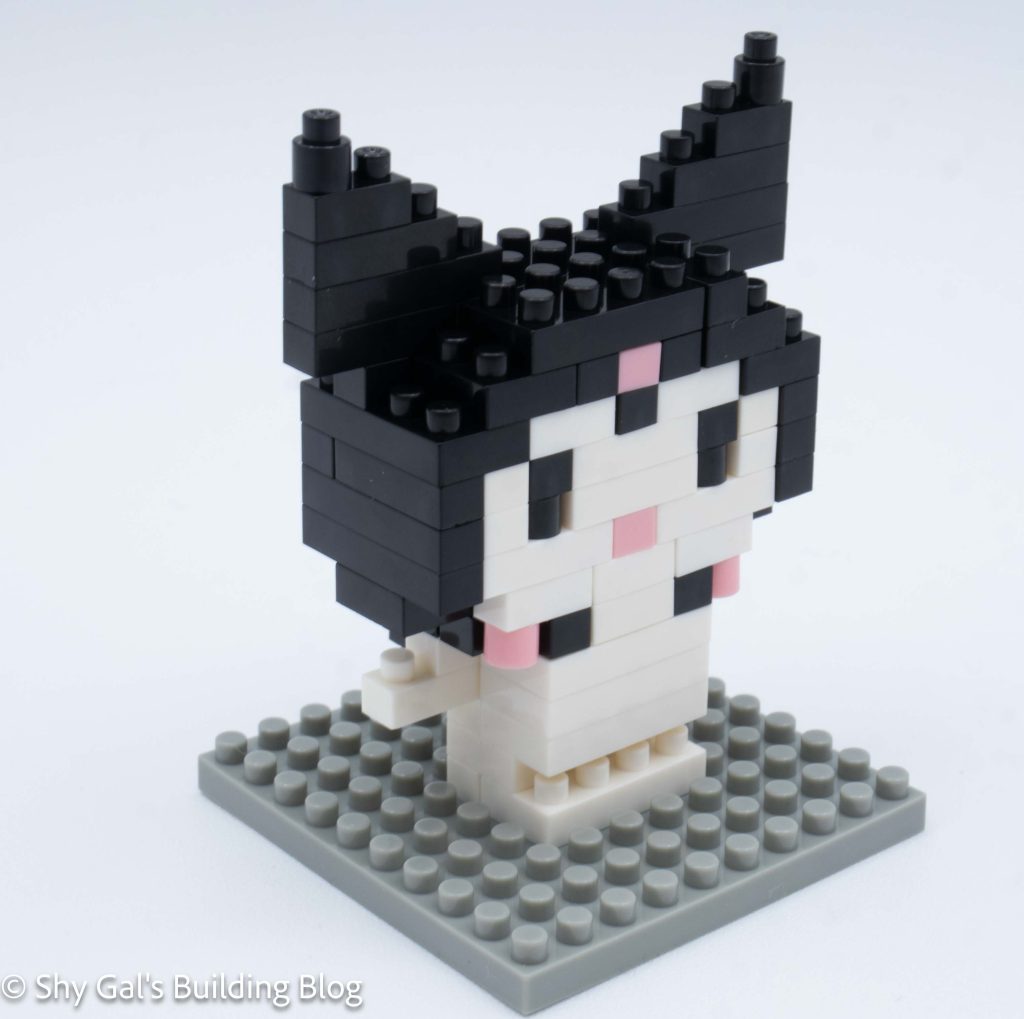
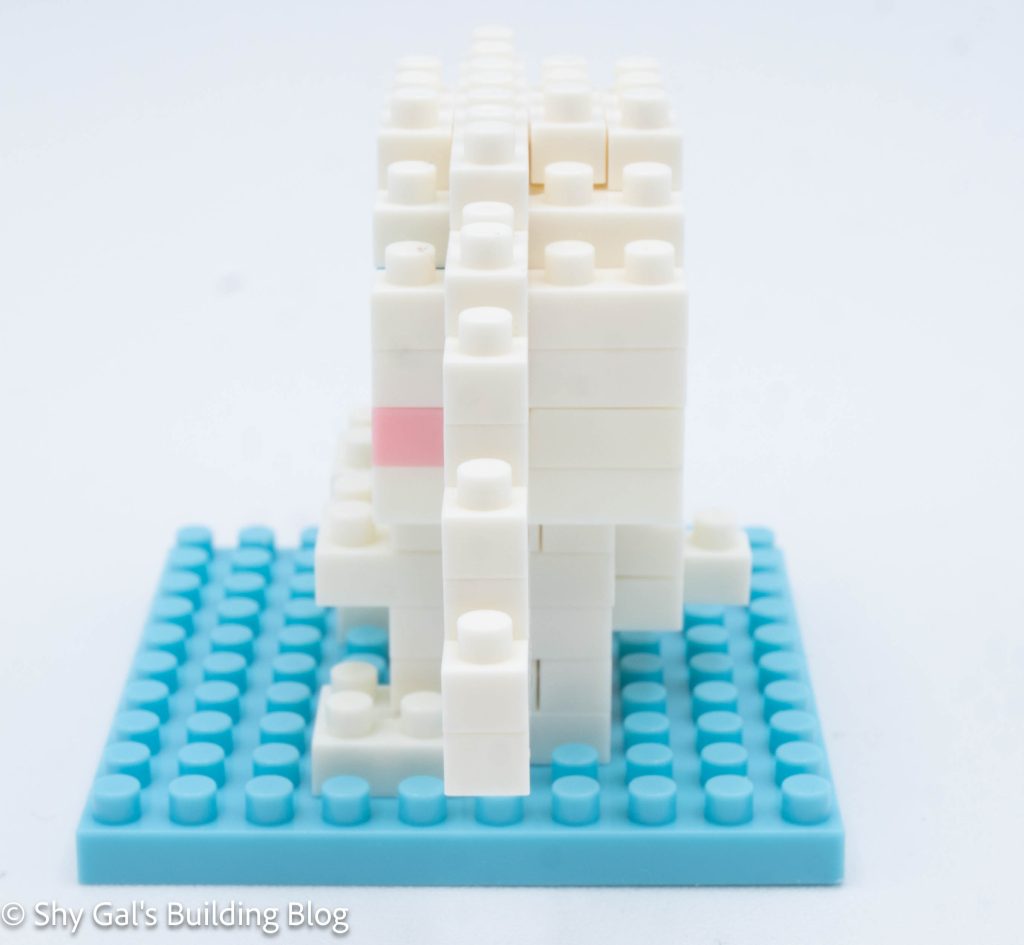
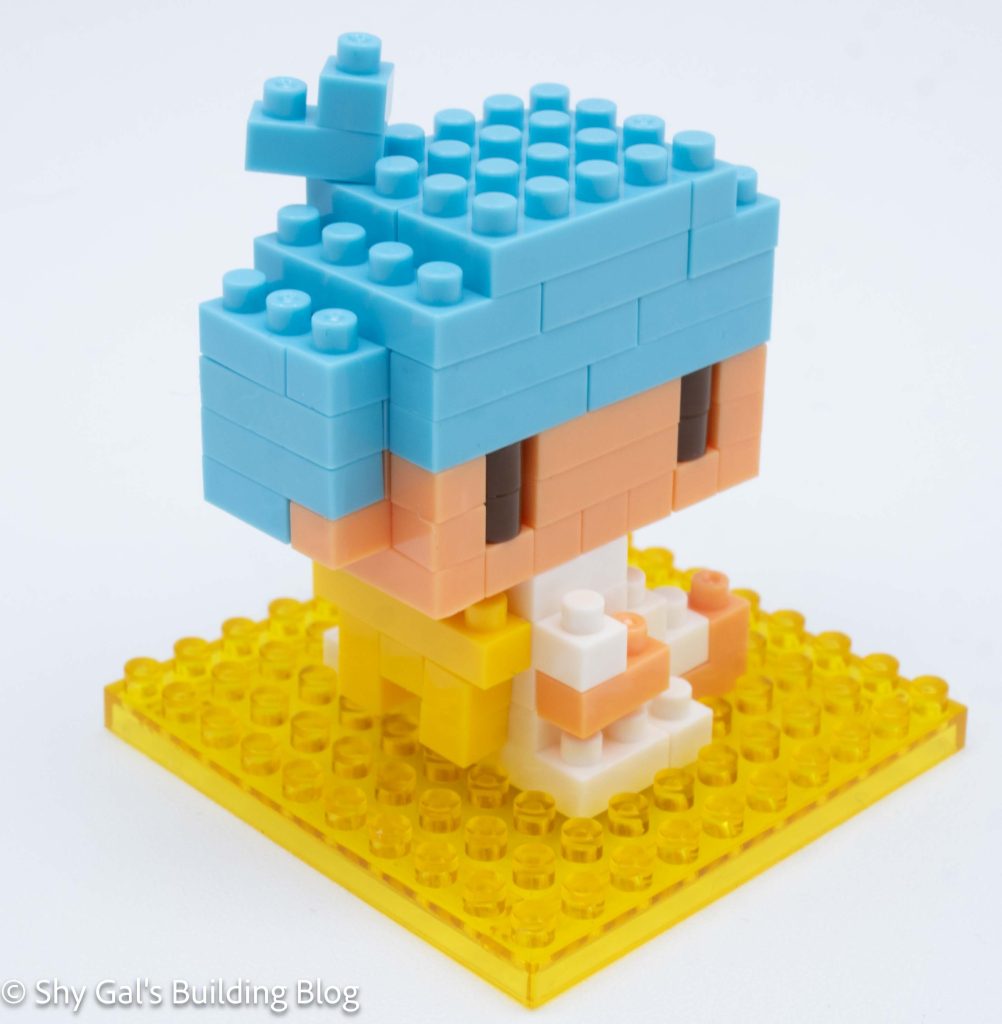
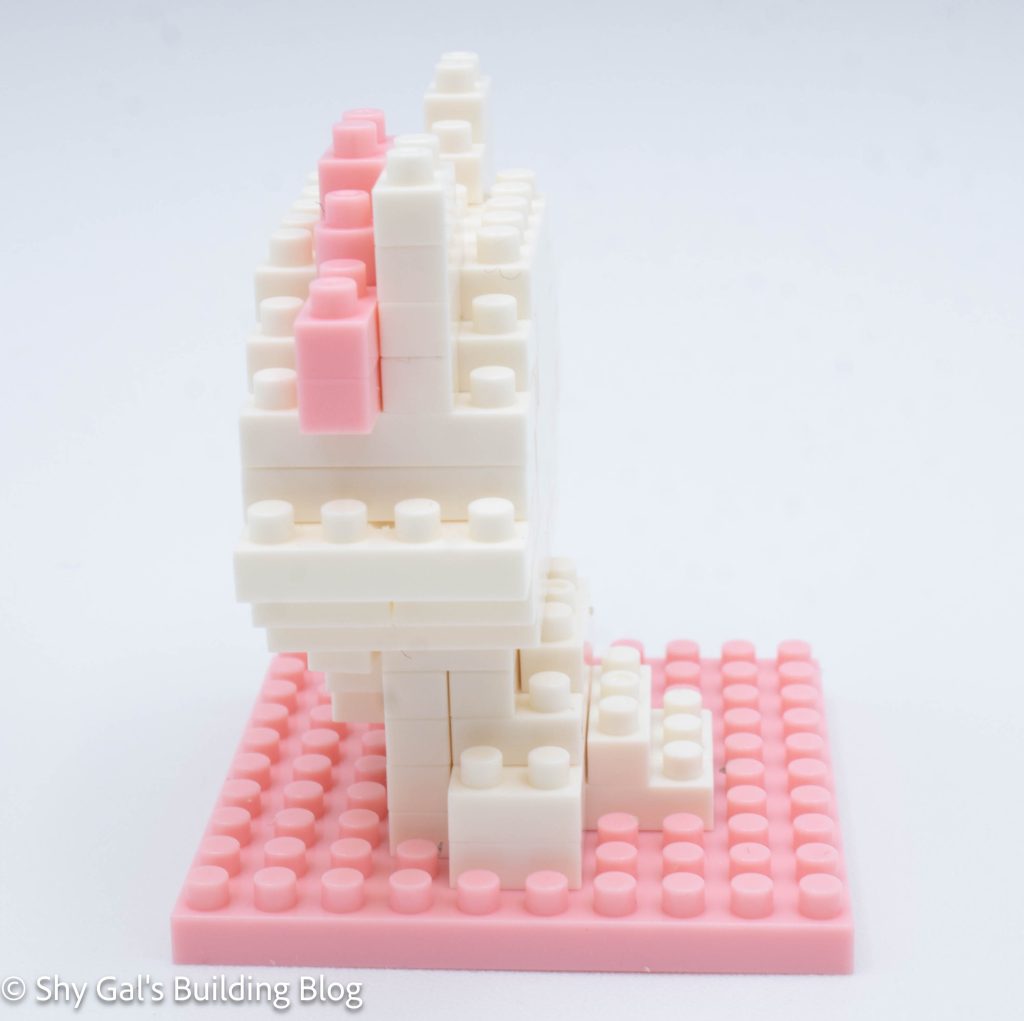
I built the body up in layers. I like how the body creates a slope to make it appear that Charmmy Kitty is sitting like a cat would.
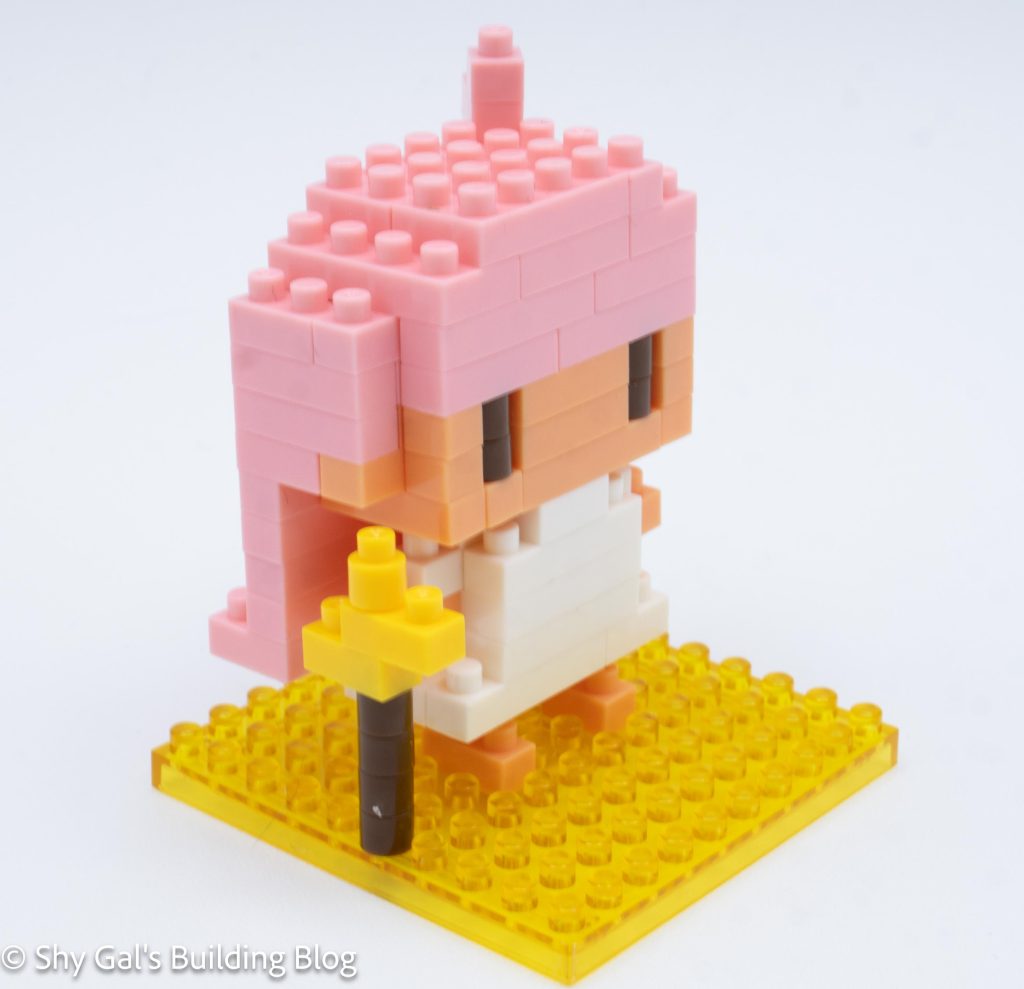
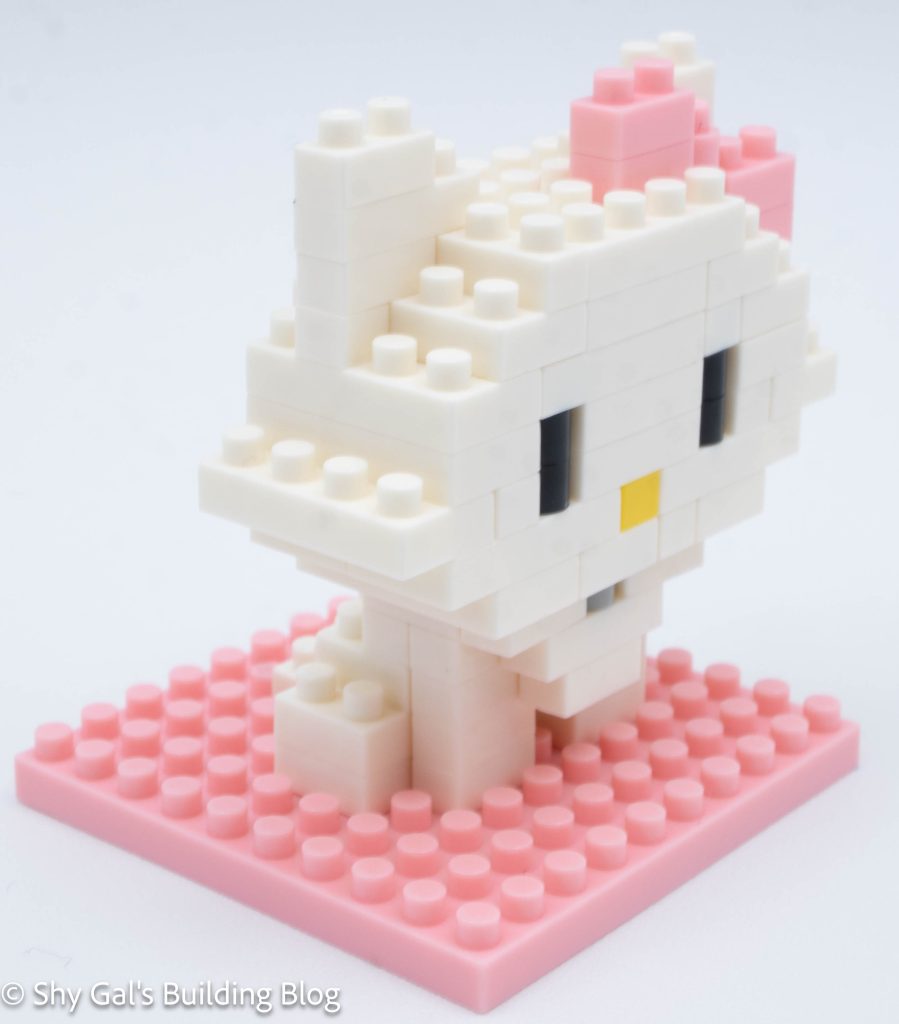
The final step was to attach the head to the body.
Things I liked:
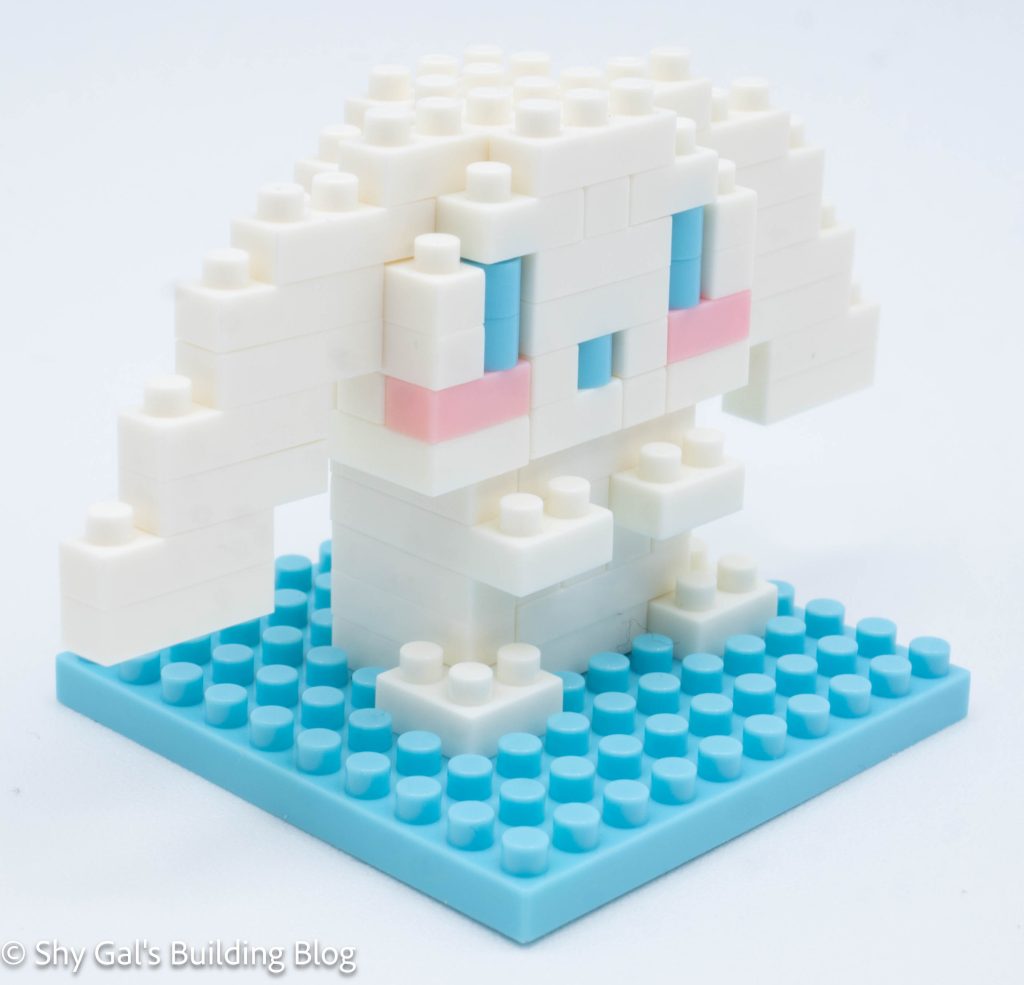
- I like how the body curves to create the idea that the cat is sitting like a cat
Things I didn’t like:
- I don’t like how it appears the bricks may have yellowed over time. I did get this kit new, but I think it looks a bit yellow