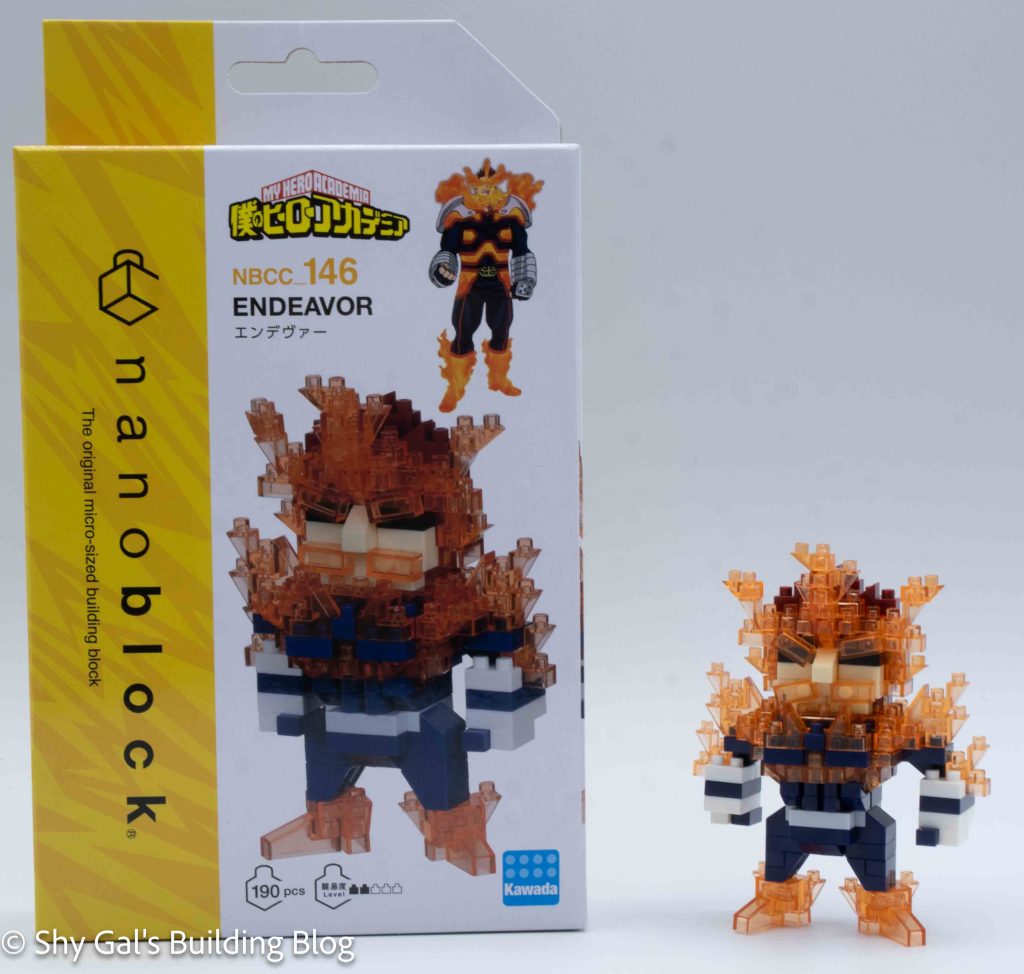
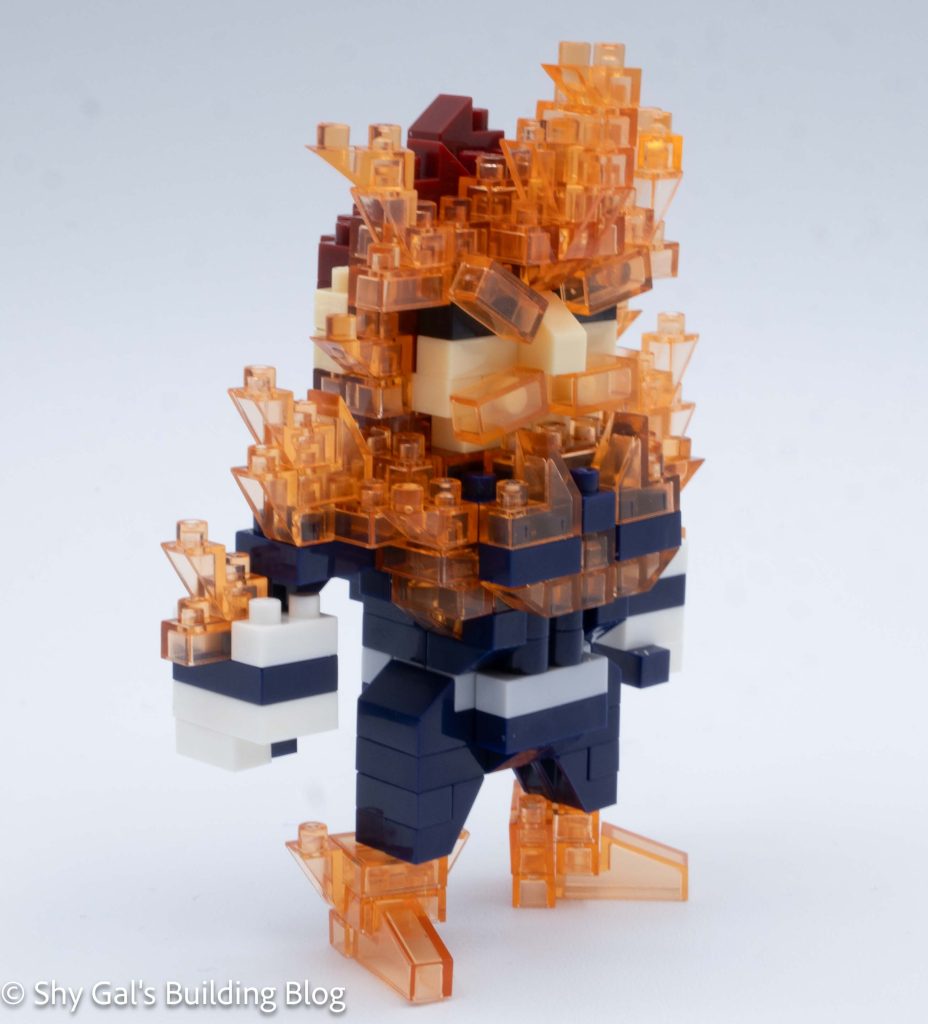
This post is a review of the nanoblock Endeavor build. Endeavor is part of the nanoblock Character collection. Wondering what else is part of the Character collection? Click here for a list.
Number: NBCC_146
Number of Pieces: 190
Difficulty Rating: 2/5
Endeavor begins with the creation of his hips. It takes 3 steps to create the base foundation.
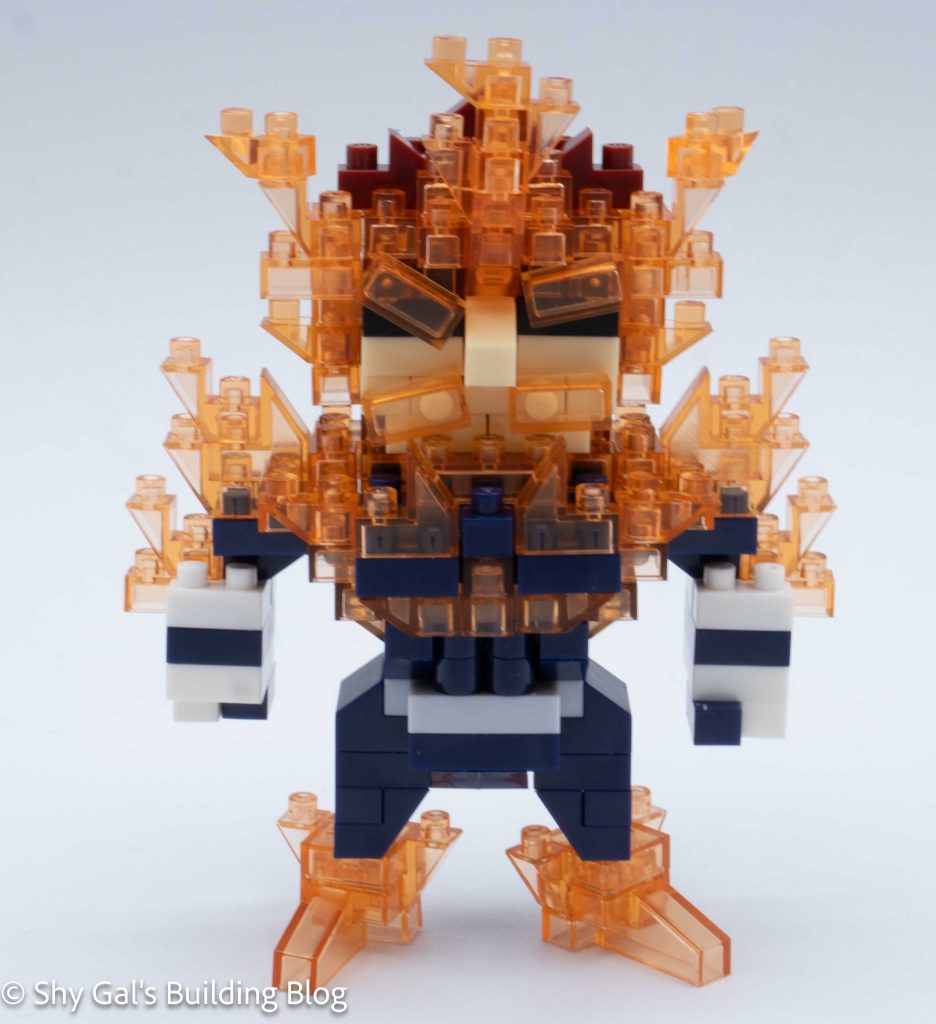
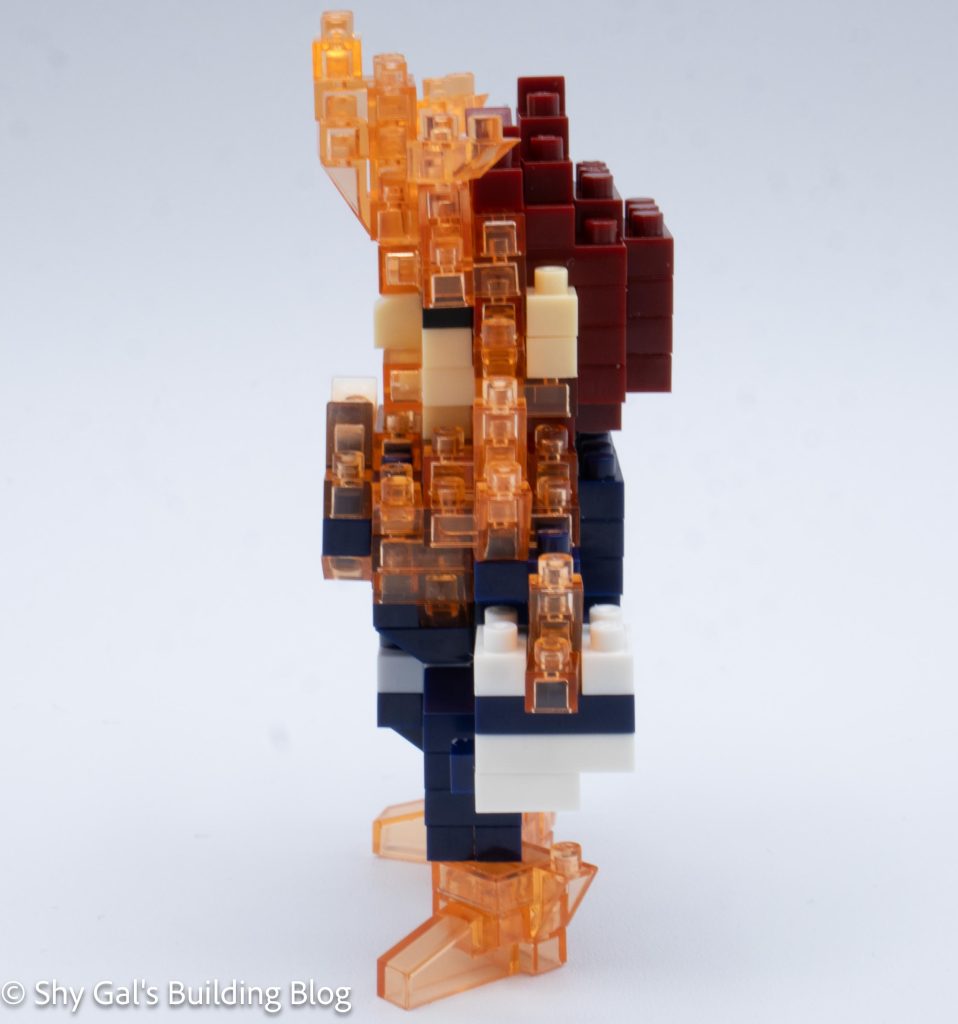
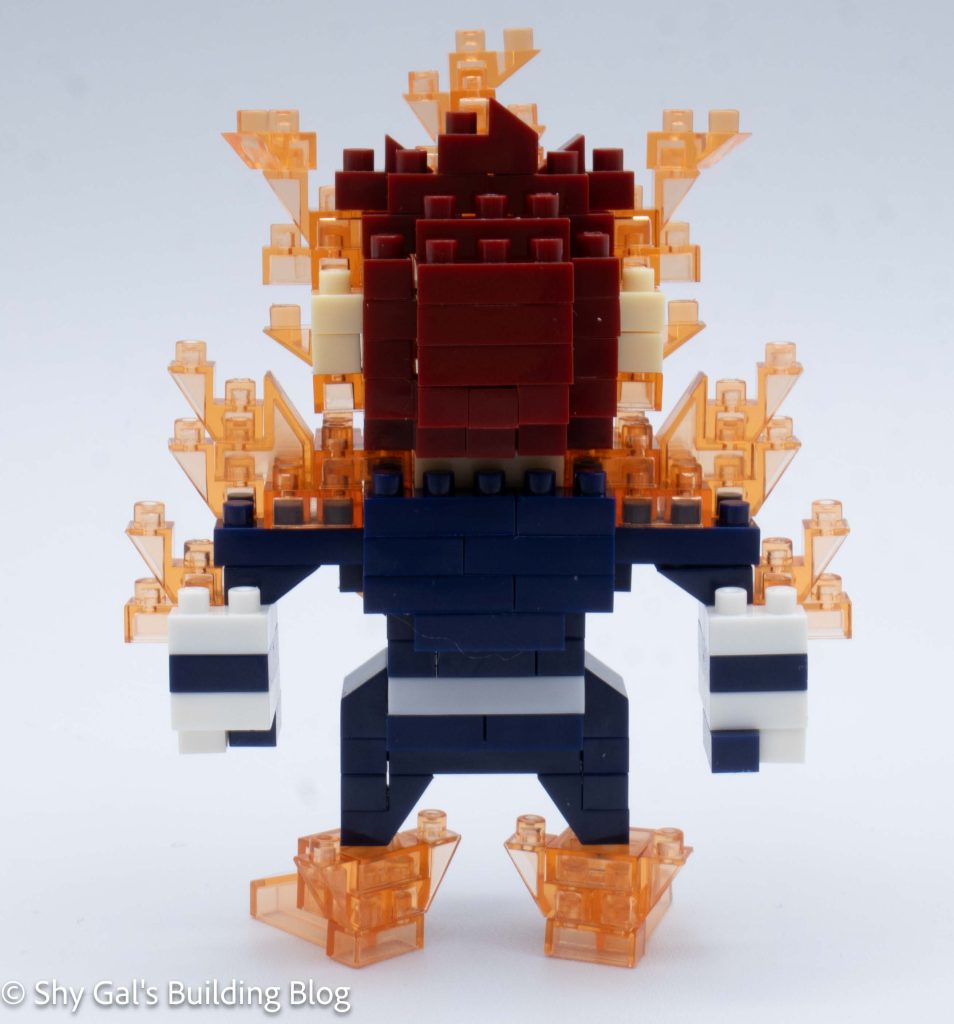
The body goes up in layers of blue and clear orange. The build got larger as I went up the chest and added the shoulders.
After building the chest, I began to work on the head. This includes skin and rust colored bricks
In building the head, I added Endeavor’s mustache, eyes, and eyebrows while building the back of the head.
The final touches to the main piece is to add to the flame surrounding Endeavor.
Next, I built his hands and attached them to the body.
Next, I built his legs and feet to finish the build.
Things I liked:
I like the use of the clear orange brick as the only way to represent Endeavor’s flames
Things I didn’t like:
Overall, I don’t like this build at all when compared to the other My Hero Academia builds and feel like it doesn’t match the rest of the set
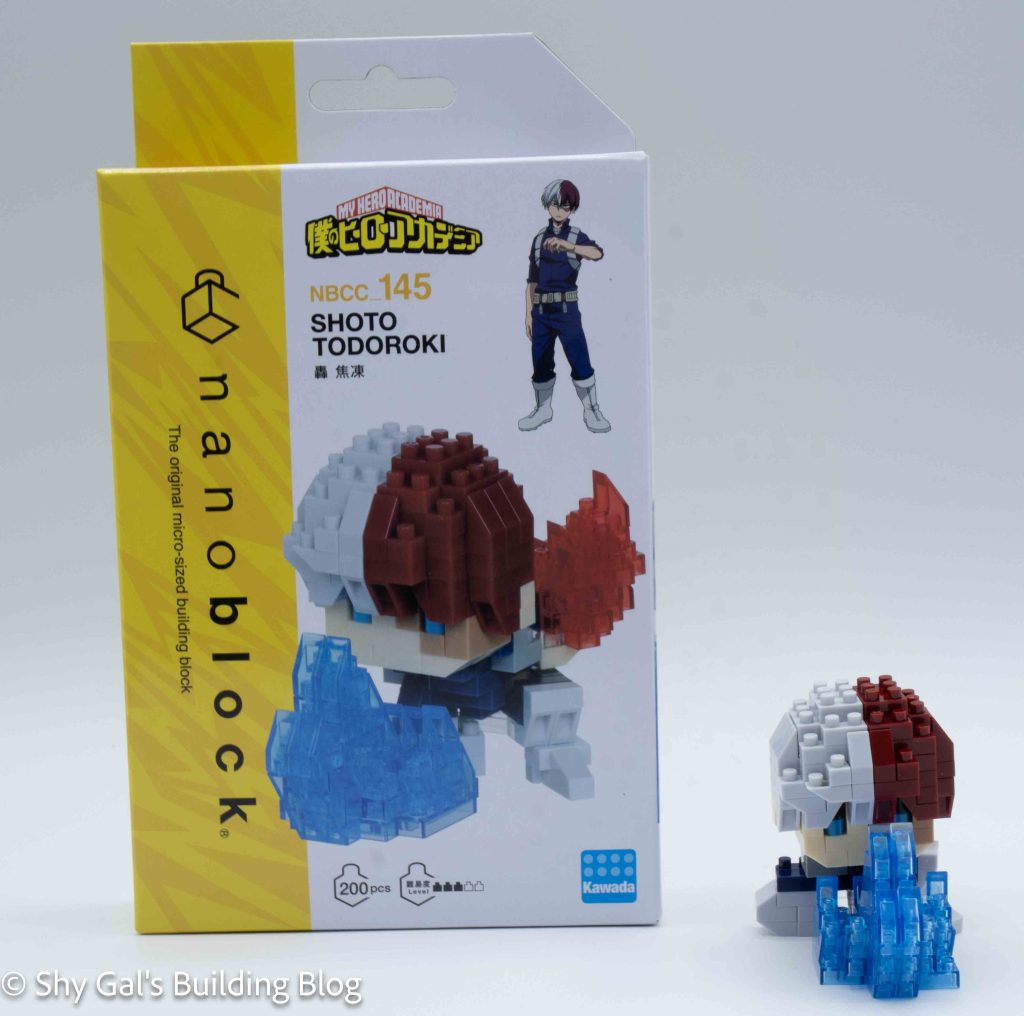
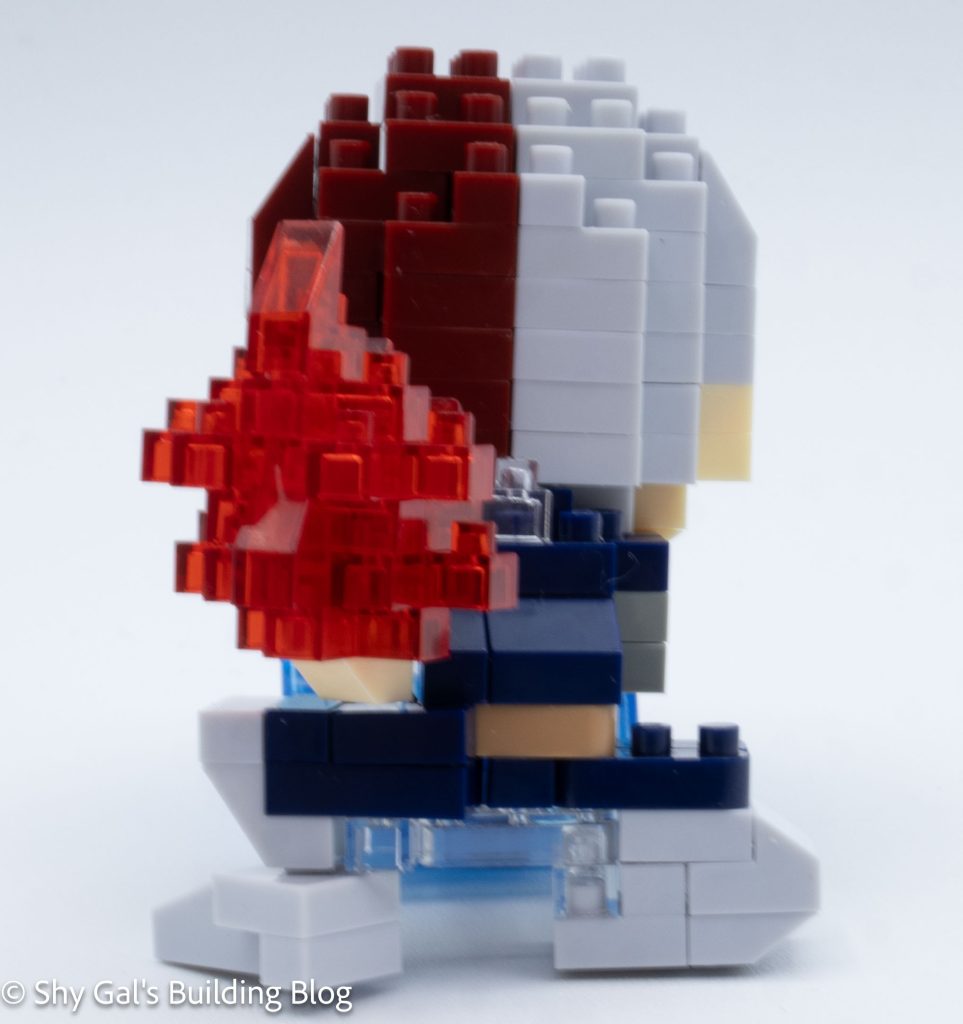
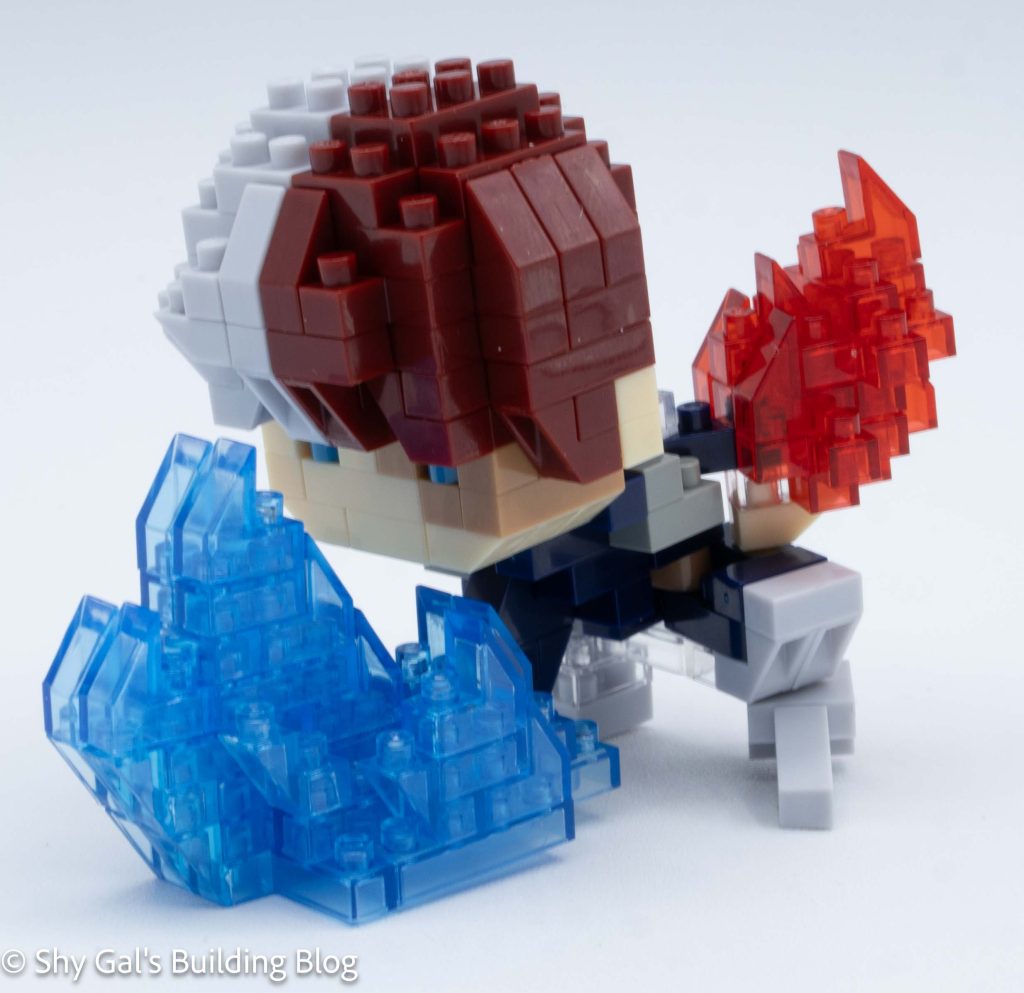
This post is a review of the nanoblock Shoto Todoroki build. Shoto Todoroki is part of the nanoblock Character collection. Wondering what else is part of the Character collection? Click here for a list.
Number: NBCC_145
Number of Pieces: 200
Difficulty Rating: 3/5
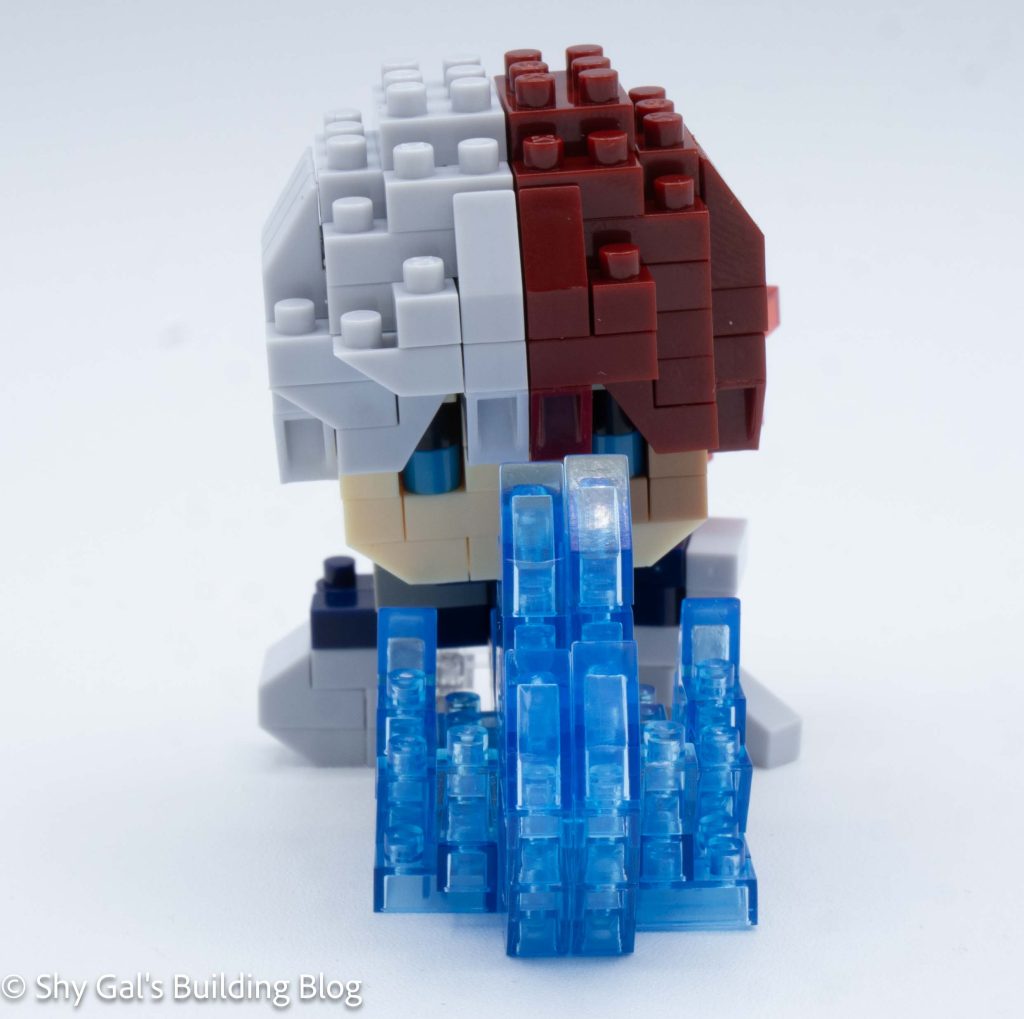
This build begins by taking 2 steps to create the base of the head. Between the hair being split and the scar on his face, the head was very loose and barely connected for quite a bit of the build. I was glad I had my nanoblock pad.
I built the head in layers, adding details to the face and hair. Eventually, there was enough overlap that the head was solid, but it took a good 8 steps to get there.
I kept adding layers to the hair and eventually closed up the head.
Next I built the body. It is fairly small, so it was a bit tricky to connect things properly.
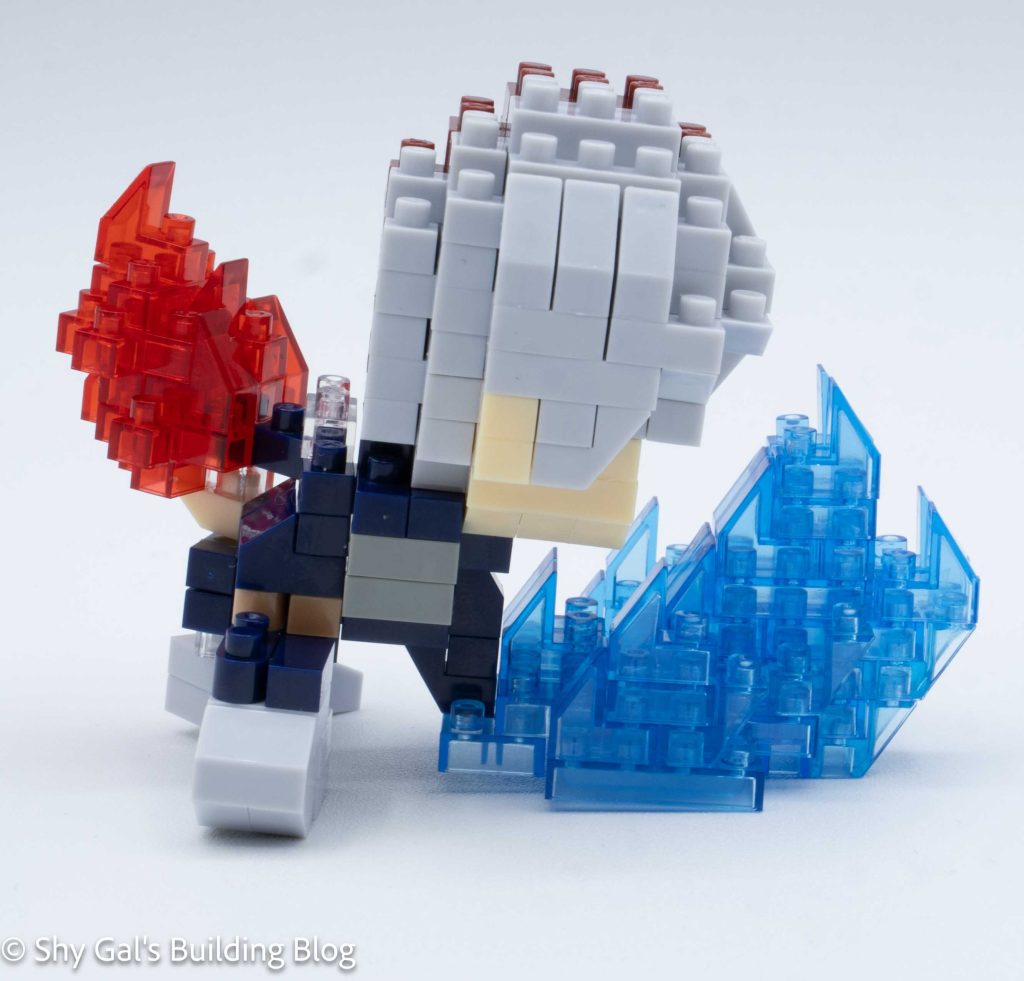
Next, I built the fireball in the left hand. The fireball was clear, and I liked how they used clear bricks to represent the fire.
Then I connected the hand to the body.
Next I built and connected the legs over several steps. It was a bit hard to tell how the final legs would turn out, so I connected the bricks and made adjustments once I could look at the final build.
The last major section of the build is the iceball in his right hand. I had a hard time keeping the entire base layer of the build connected, so I once again had to rely on my nanoblock pad.
Then I connected the right arm to the body. I don’t think the instructions for where to connect it was clear, so I had to guess where the arm connected.
The final step was to connect the head to the body.
Things I liked:
I like that this build used clear bricks to represent both of his powers
Things I didn’t like:
A lot of the build felt flimsy while I was building it, which is unusual for nanoblock
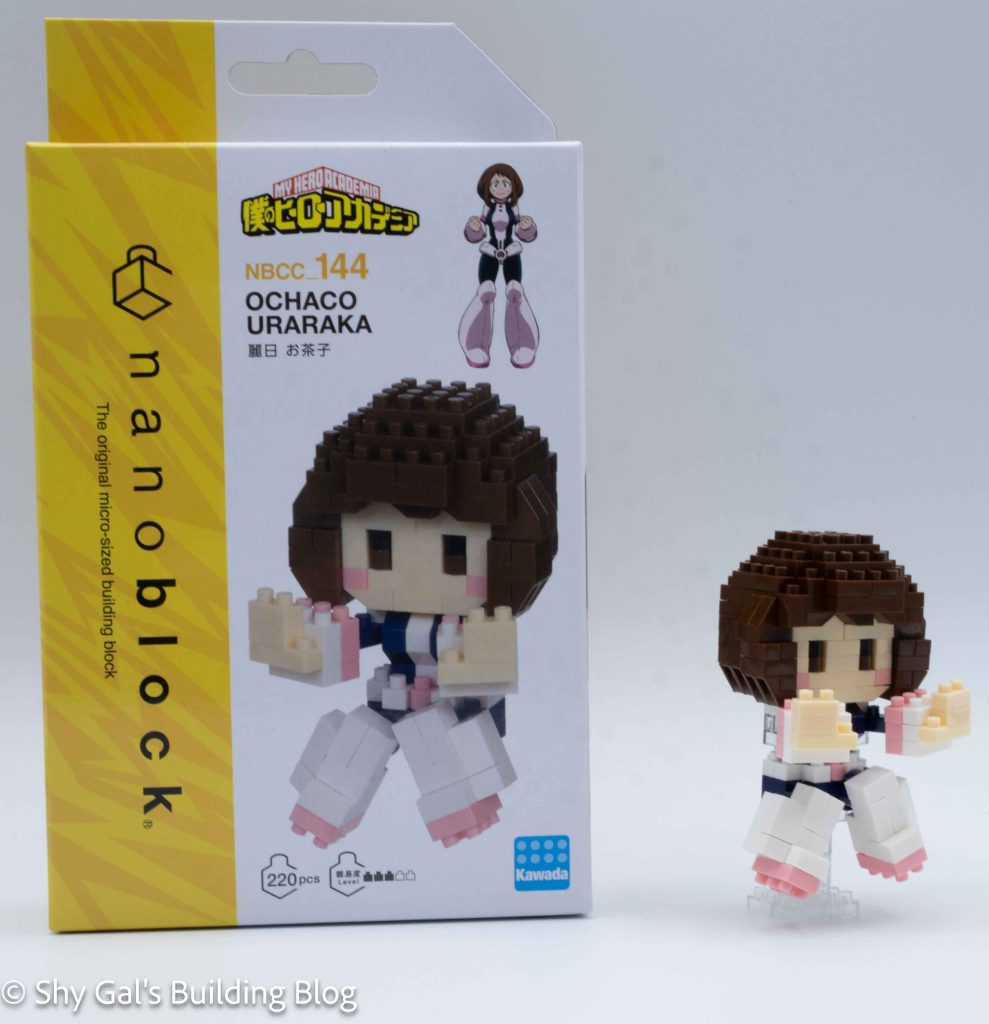
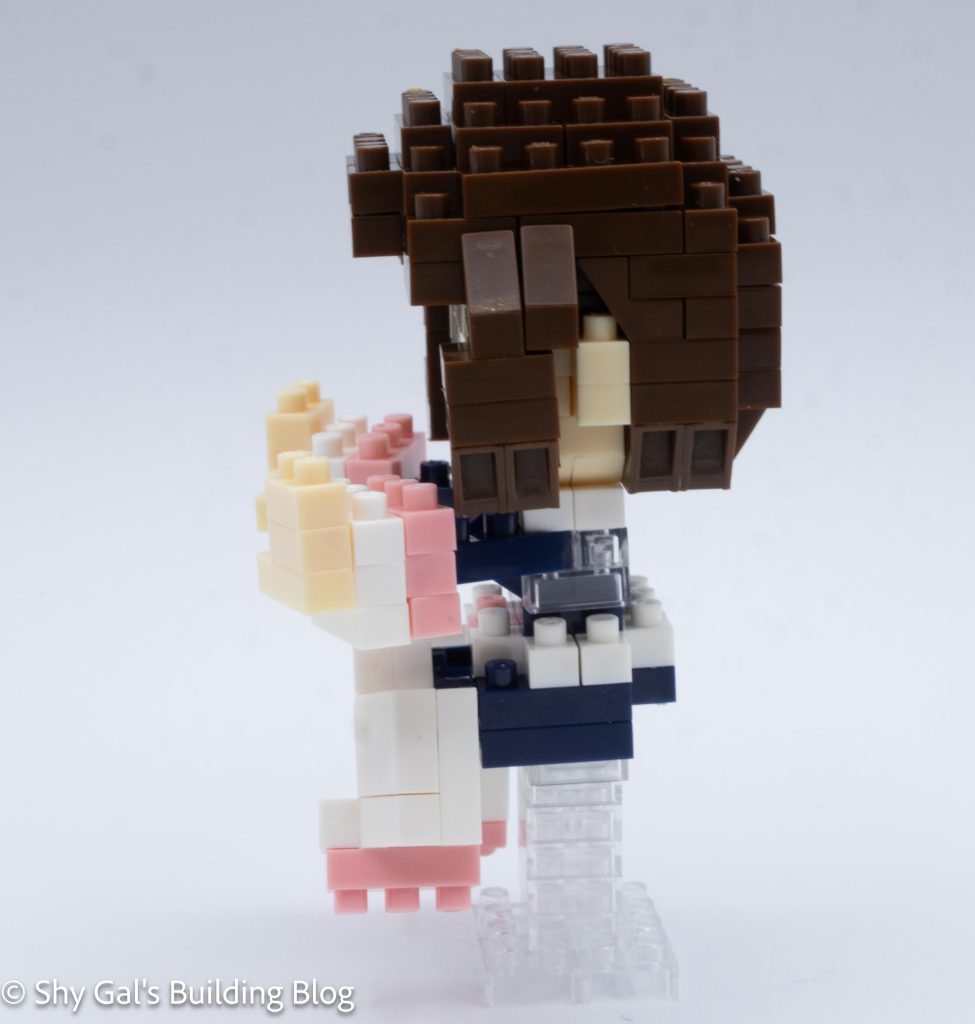
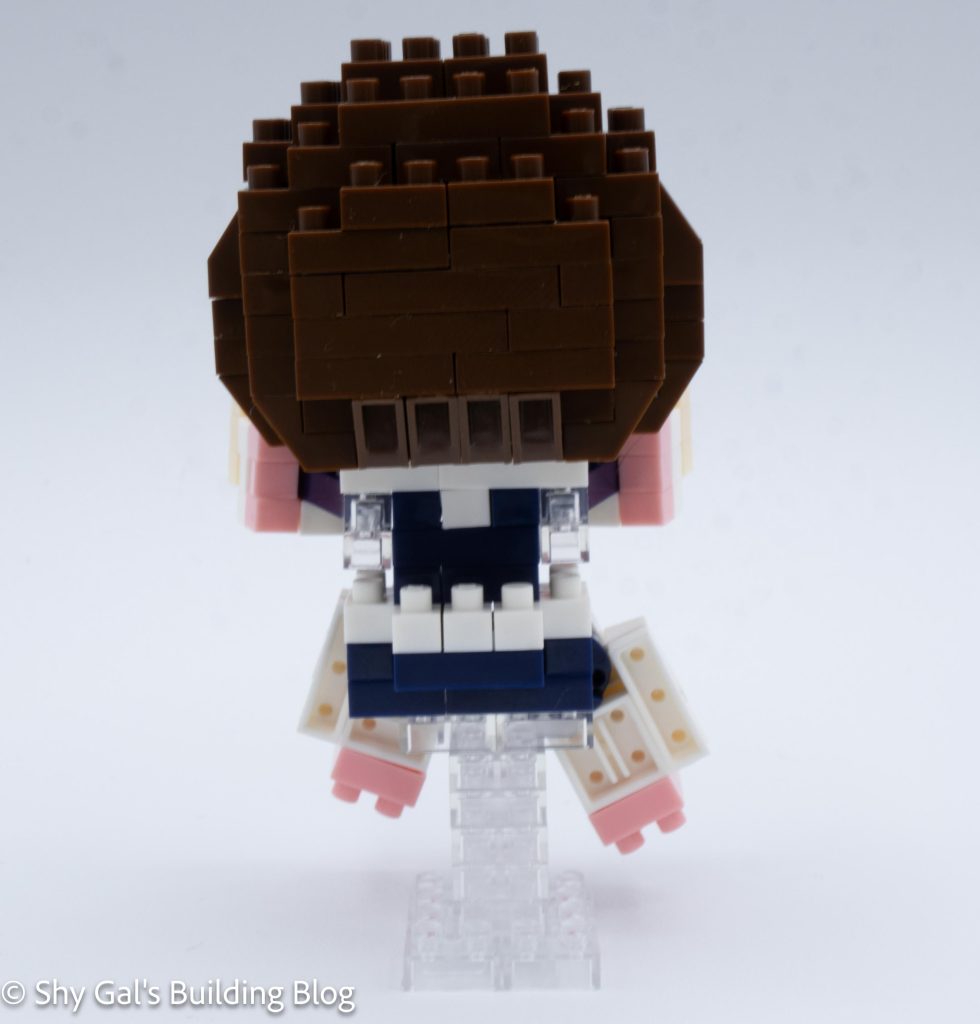
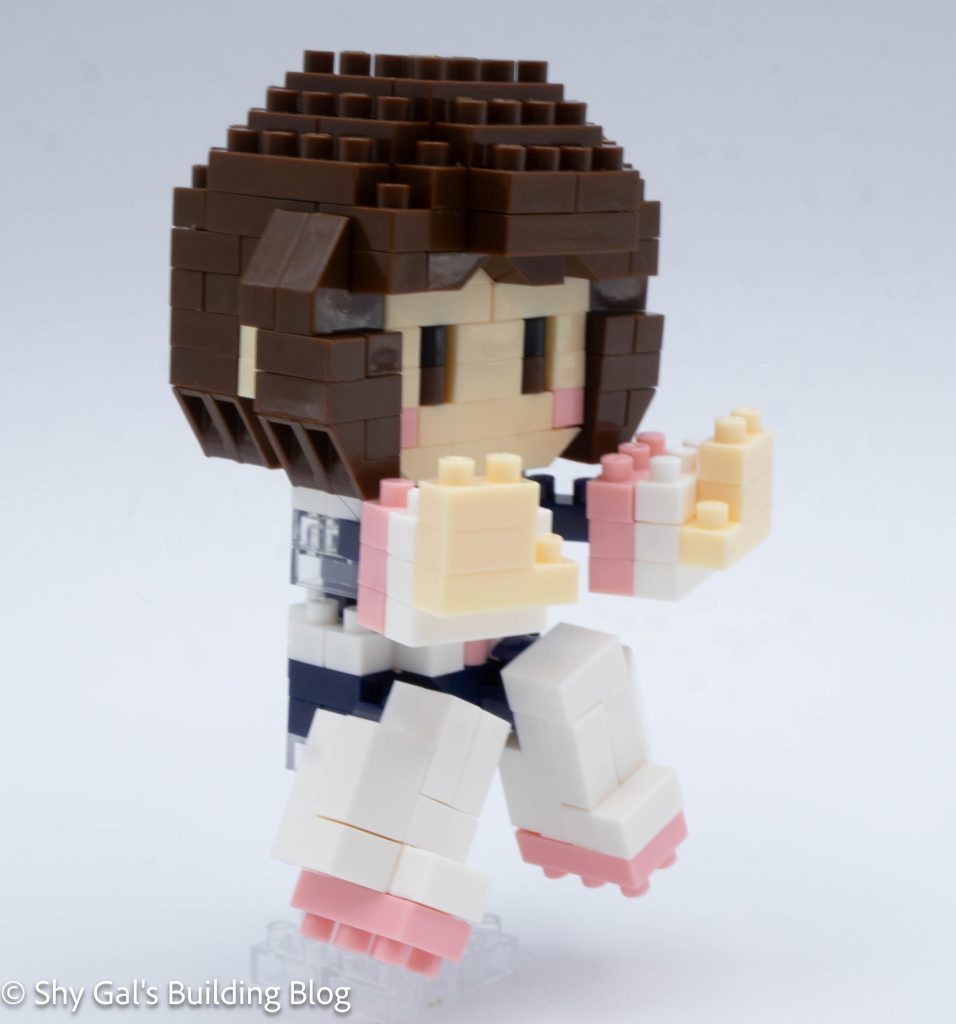
This post is a review of the nanoblock Ochaco Uraraka build. Ochaco Uraraka is part of the nanoblock Character collection. Wondering what else is part of the Character collection? Click here for a list.
Number: NBCC_144
Number of Pieces: 220
Difficulty Rating: 3/5
The build begins with creating the base layers. Creating the base layers takes 5 steps.
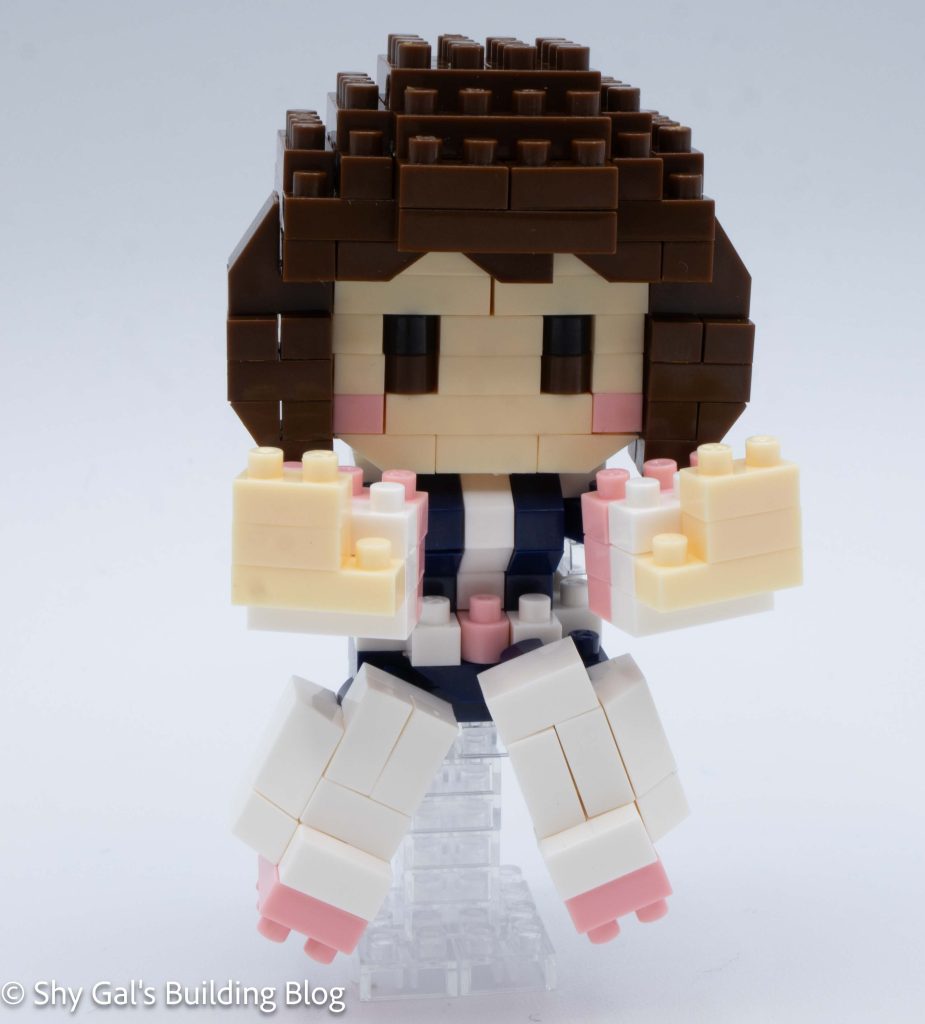
Then I began adding layers to create the head. I added eyes and ears.
After building the face, I began to focus on the hair. The hair went up in layers. The head closed up. Then I added hair details to the side of the face.
Next, I began to work on the body. The body was a simple 7 layers of blue, white, and pink.
Next, I built the arms and attached them to the body. I found it a bit tricky to connect the first arm because the directions weren’t clear at a glance.
Then I attached the head to the body.
Next I built the legs and attached them.
Finally, I built the stand to hold her up and attached it to the base of the body.
Things I liked:
I like that she is floating since that is her quirk.
Things I didn’t like:
I had a hard time attaching the first arm and the body because of how the instructions are written.
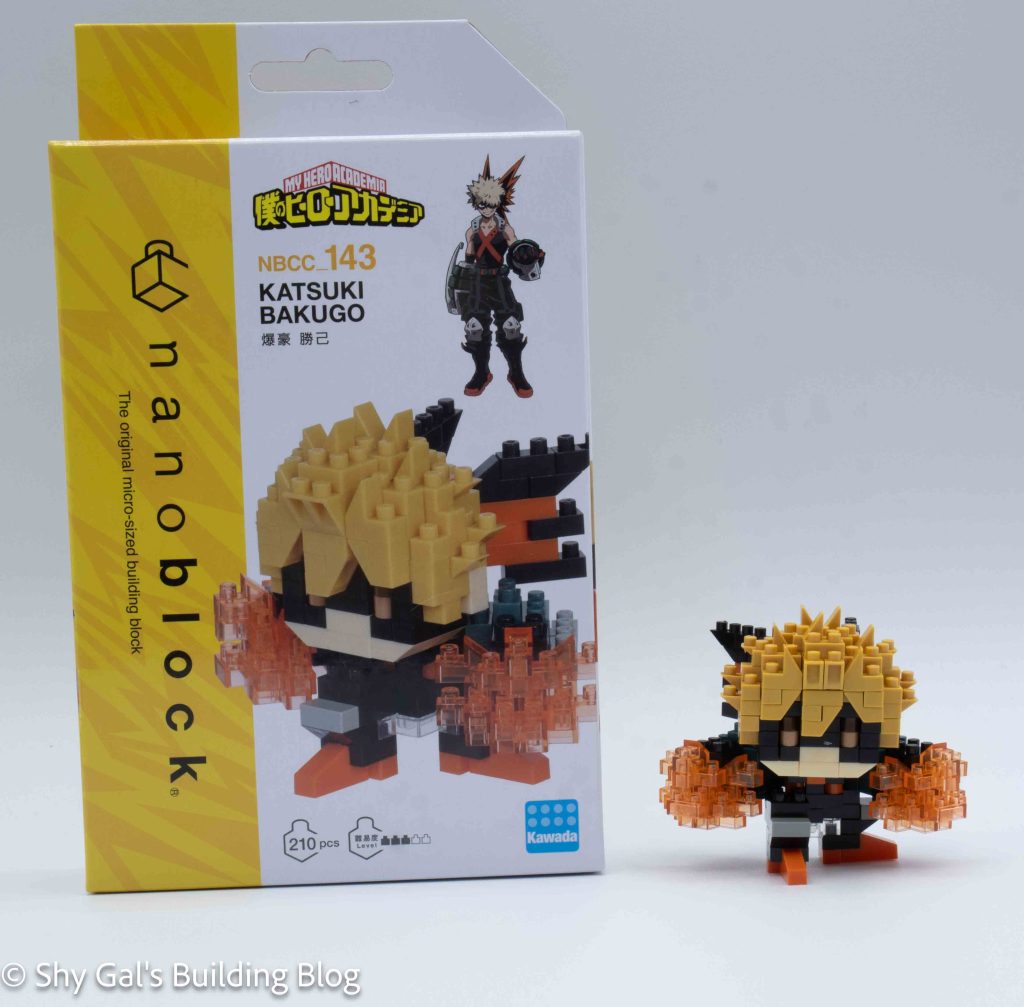
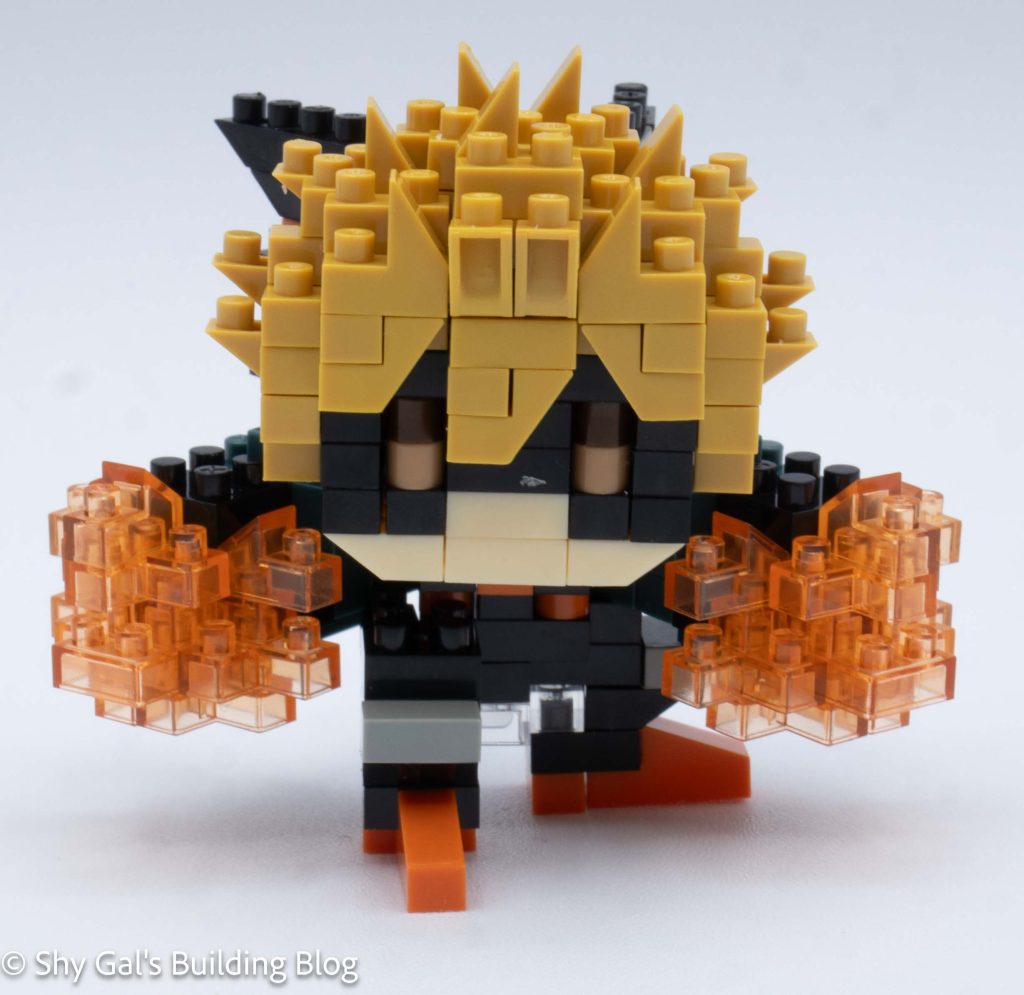
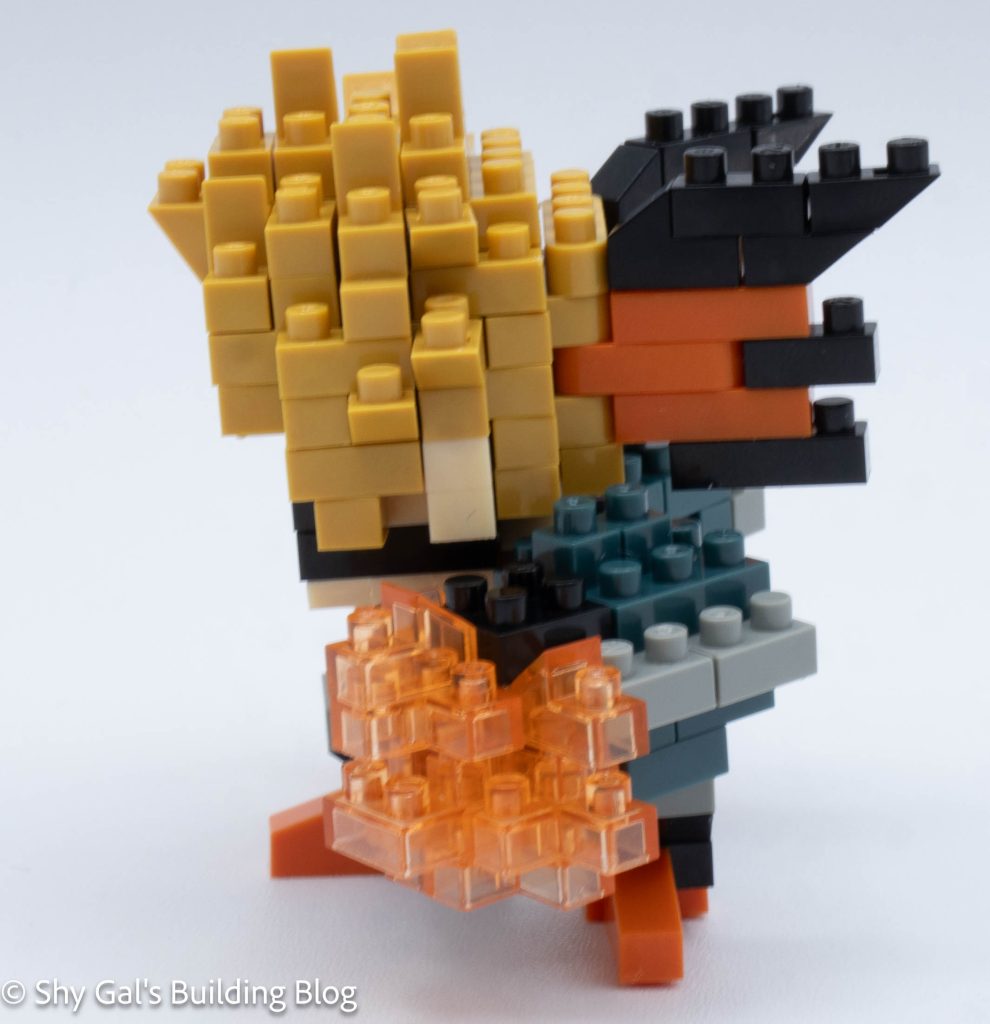
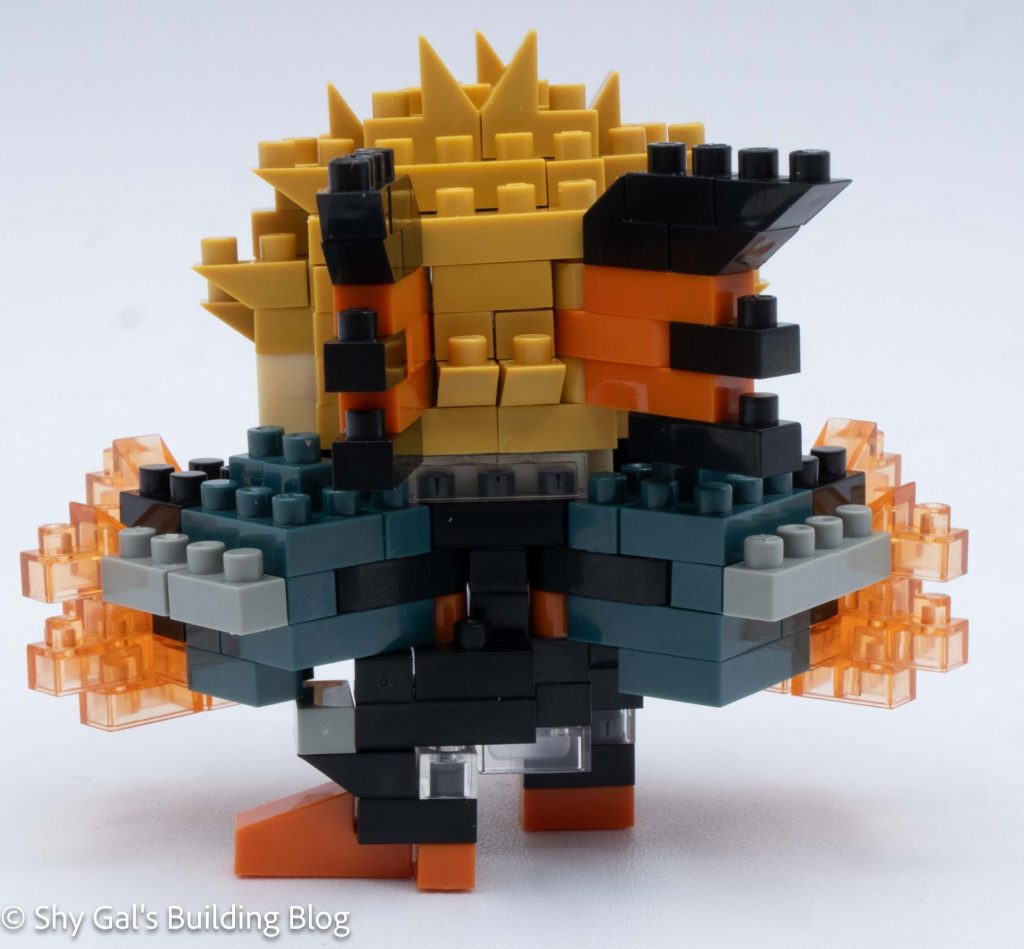
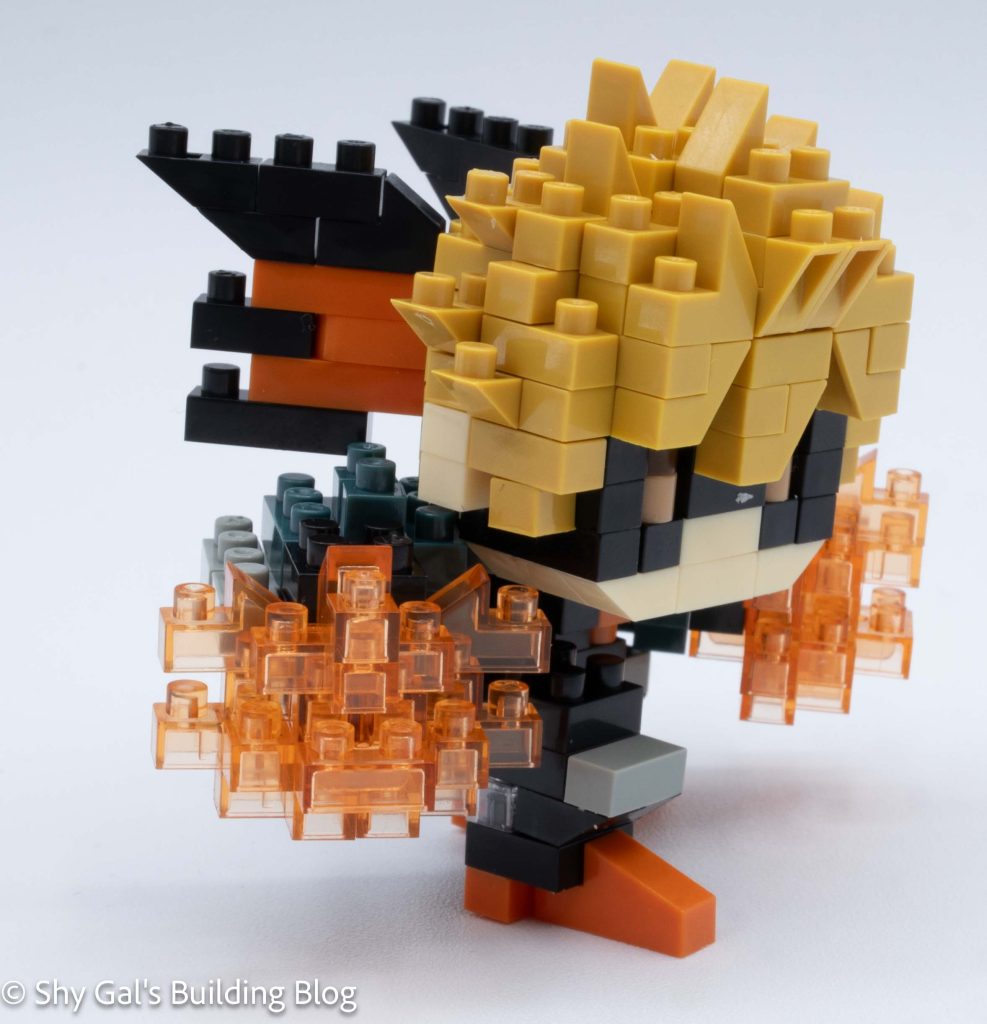
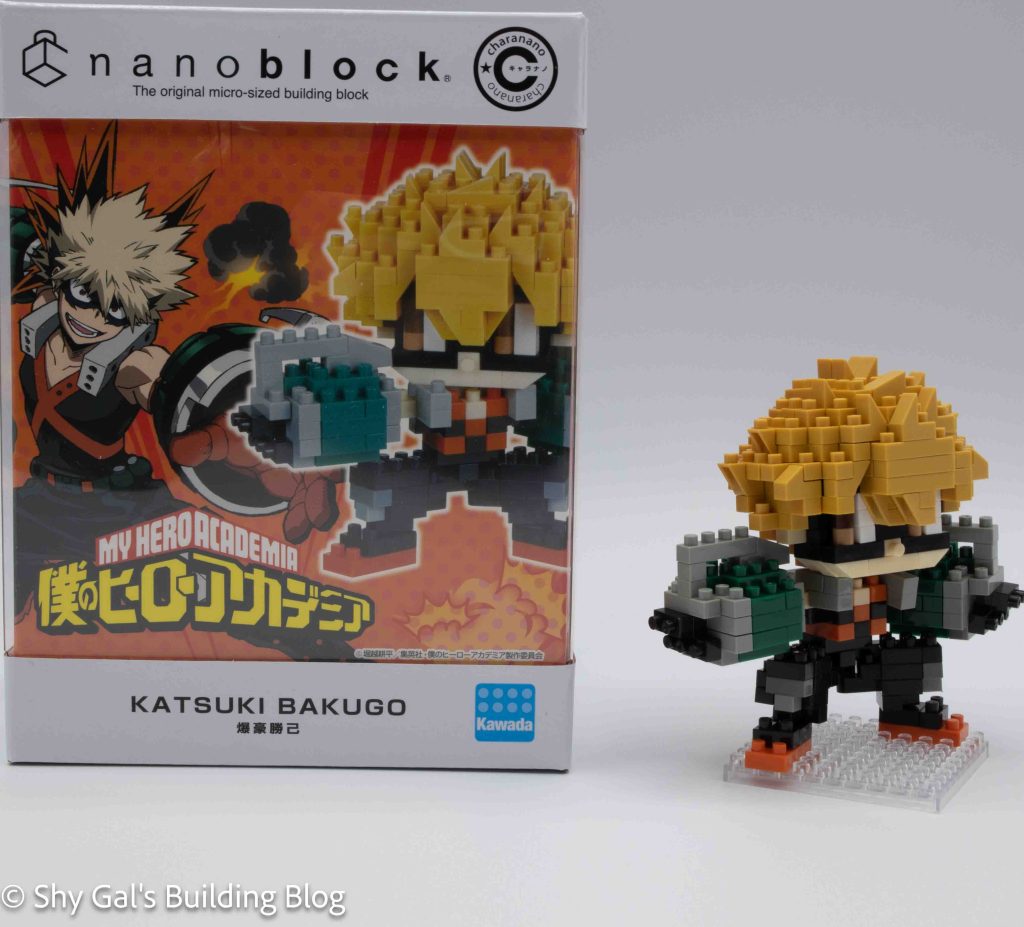
This post is a review of the nanoblock Katsuki Bakugo build. Katsuki Bakugo is part of the nanoblock Character collection. Wondering what else is part of the Character collection? Click here for a list.
Number: NBCC_143
Number of Pieces: 210
Difficulty Rating: 3/5
The build begins with the head. It begins by taking 2 steps to create the foundation of the head.
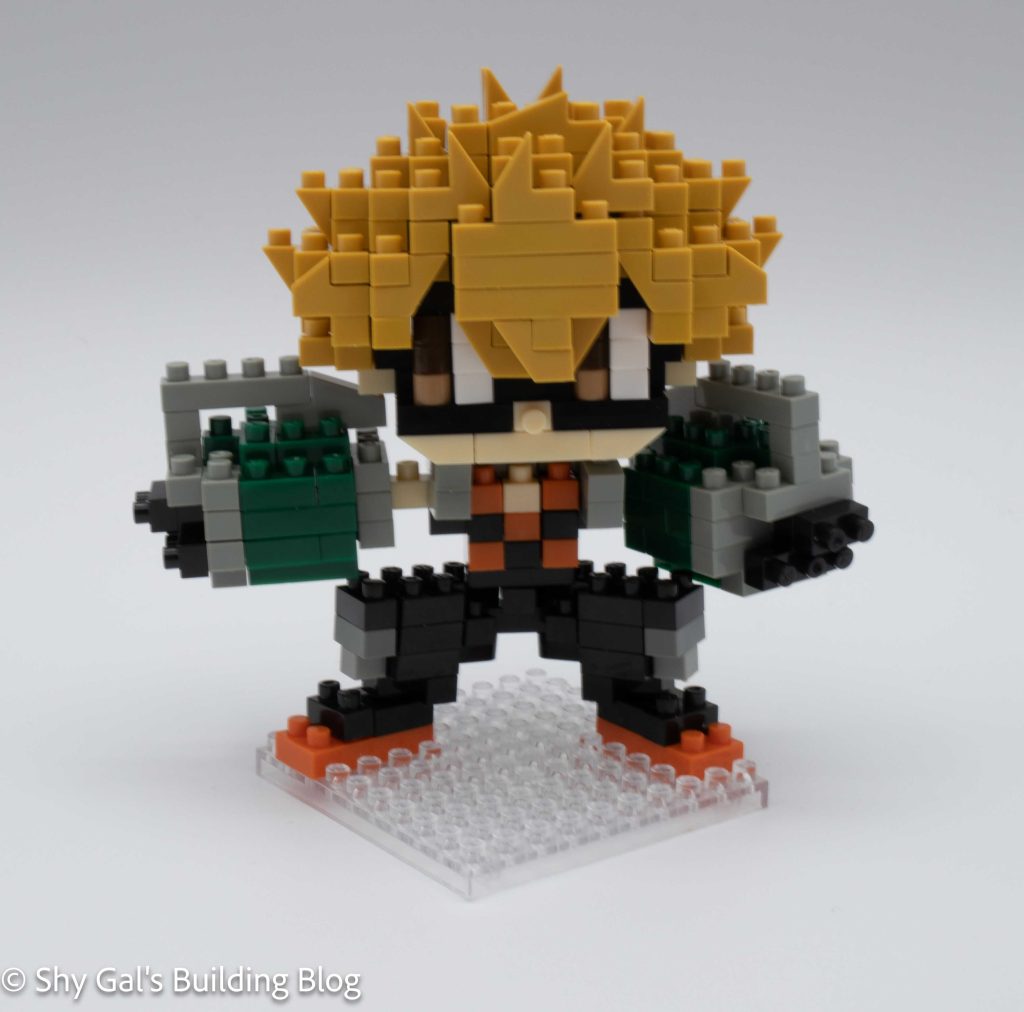
The head goes up in layers, adding the eyes, ears, and mask. In addition, I added the wings on the back of the mask.
From there, I closed up the head with a layer of hair and continued to build up the hair.
Next, I started to work on the body. This was a bit tricky because the green on the printed instructions looked black, so I wasn’t sure when to use which color.
Next, I built both of the hands. Connecting them to the body was a bit difficult because the fit was so tight.
Then I connected the head to the body.
Then I built the feet and connected them.
The last step was to build the powers coming off his hands and to attach them to the build. I like that they incorporated the move, and it allows for it to feel like there is action in the build.
Things I liked:
I like that they included his powers in the build
Things I didn’t like:
I wish the printed colors on the instructions more closely matched the actual brick colors
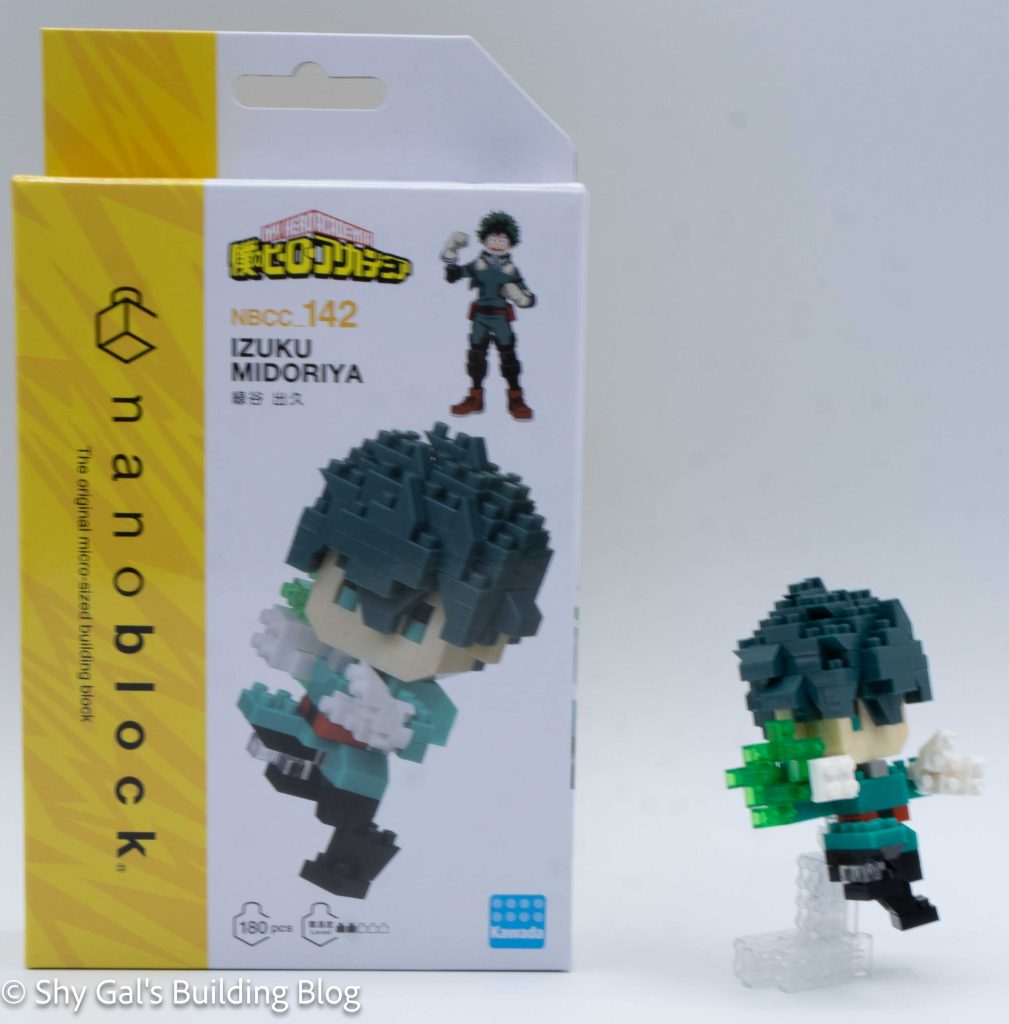
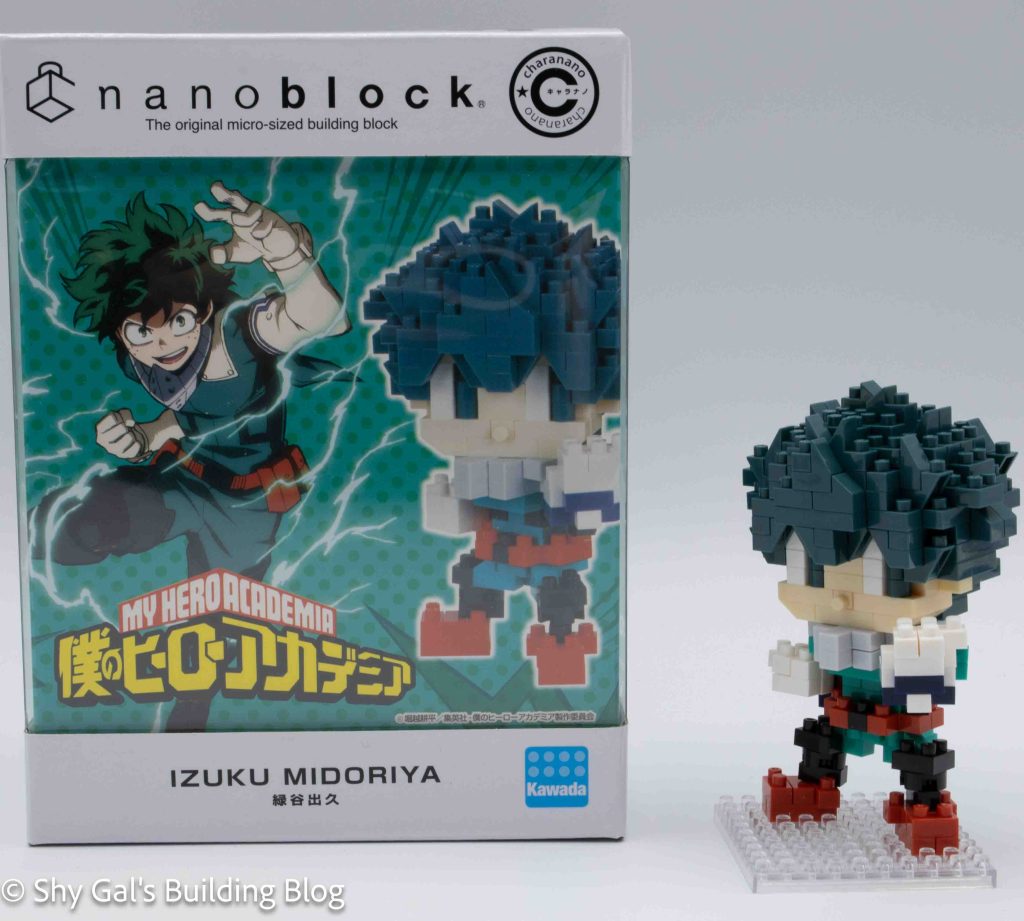
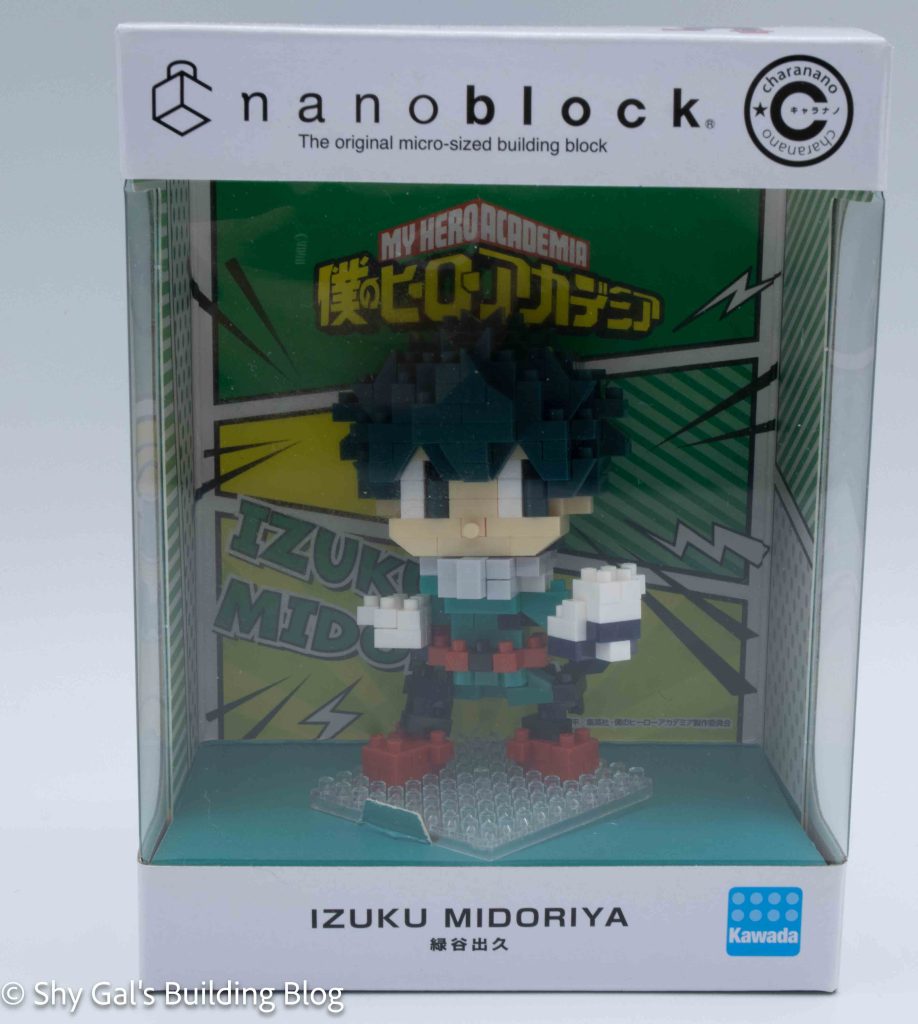
This post is a review of the nanoblock Izuku Midoriya build. Izuku Midoriya is part of the nanoblock Character collection. Wondering what else is part of the Character collection? Click here for a list.
Number: NBCC_142
Number of Pieces: 180
Difficulty Rating: 2/5
The build begins by creating the base layers for the head. It takes 3 steps to create the base.
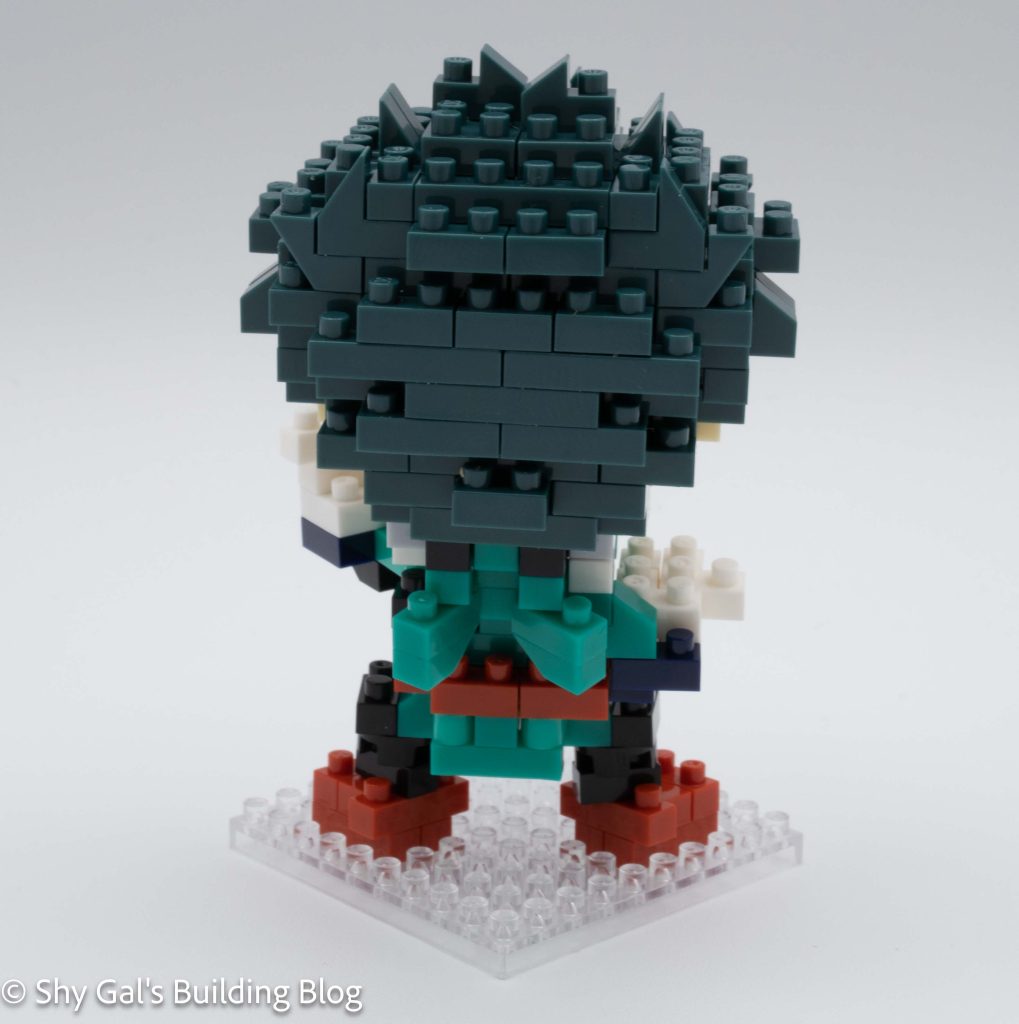
I built the head in layers. I added the eyes and hair at the back of the head.
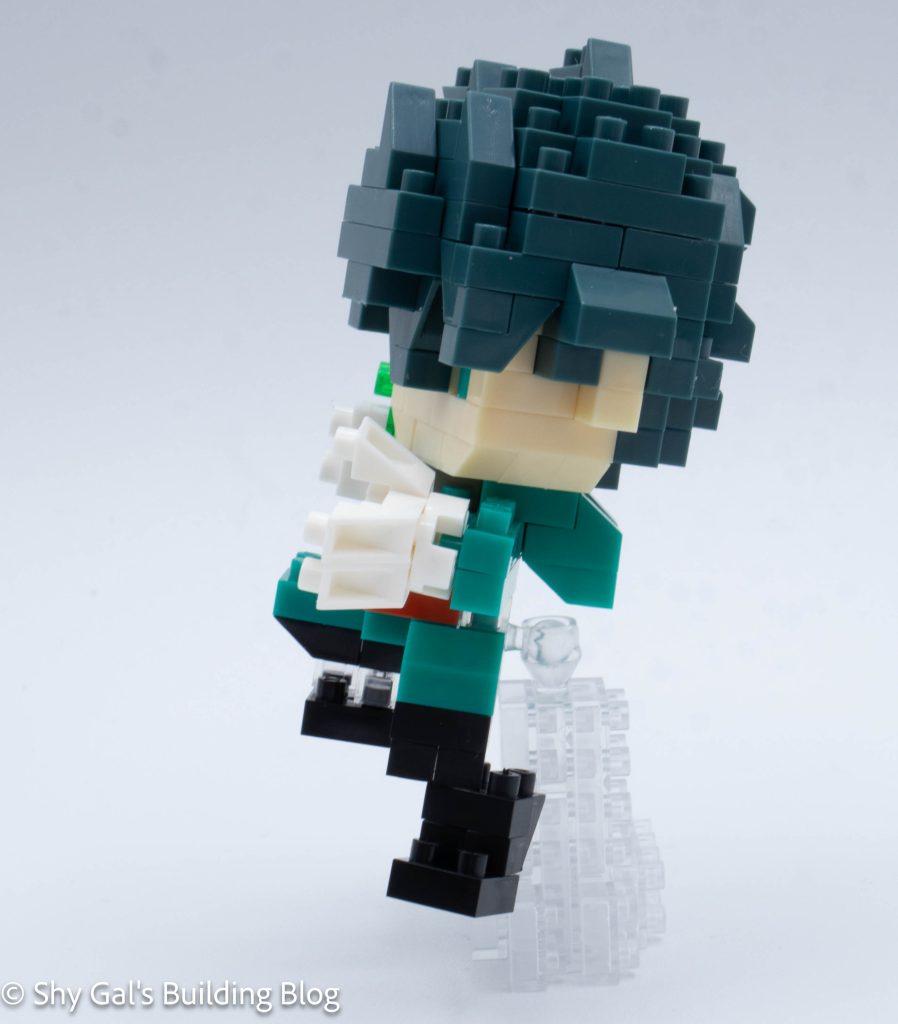
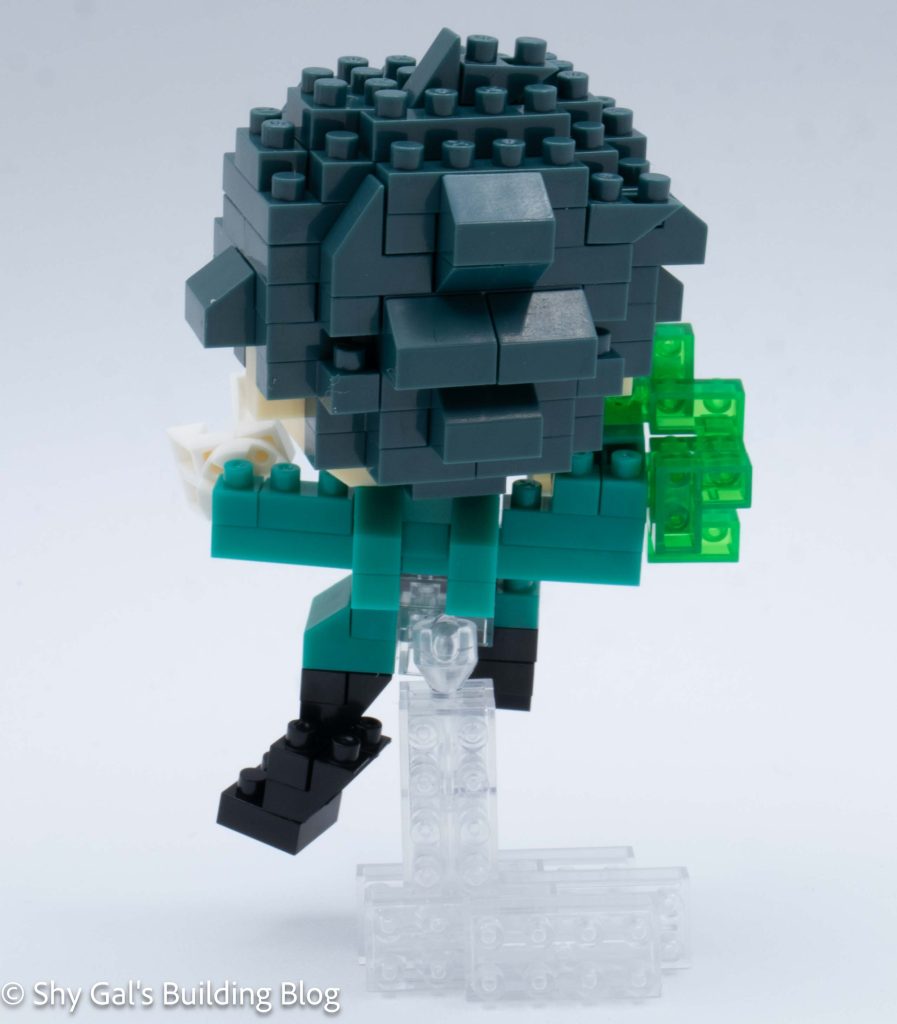
Then I focused on the hair and built it up. I had problems following a couple of steps because I was going too fast. As I built the head, there were a lot of spikes to create Izuku’s spiky hair.
After building the head, I started to work on the body. The body was small and straightforward.
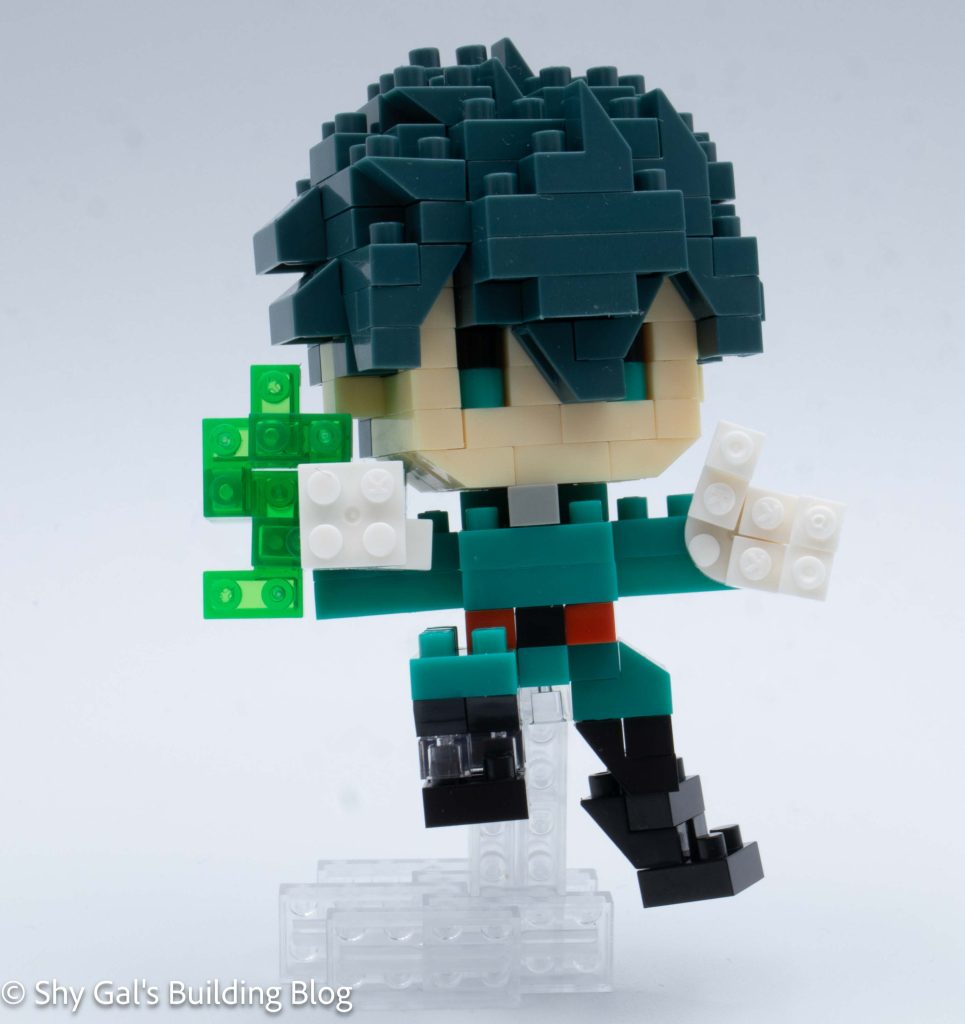
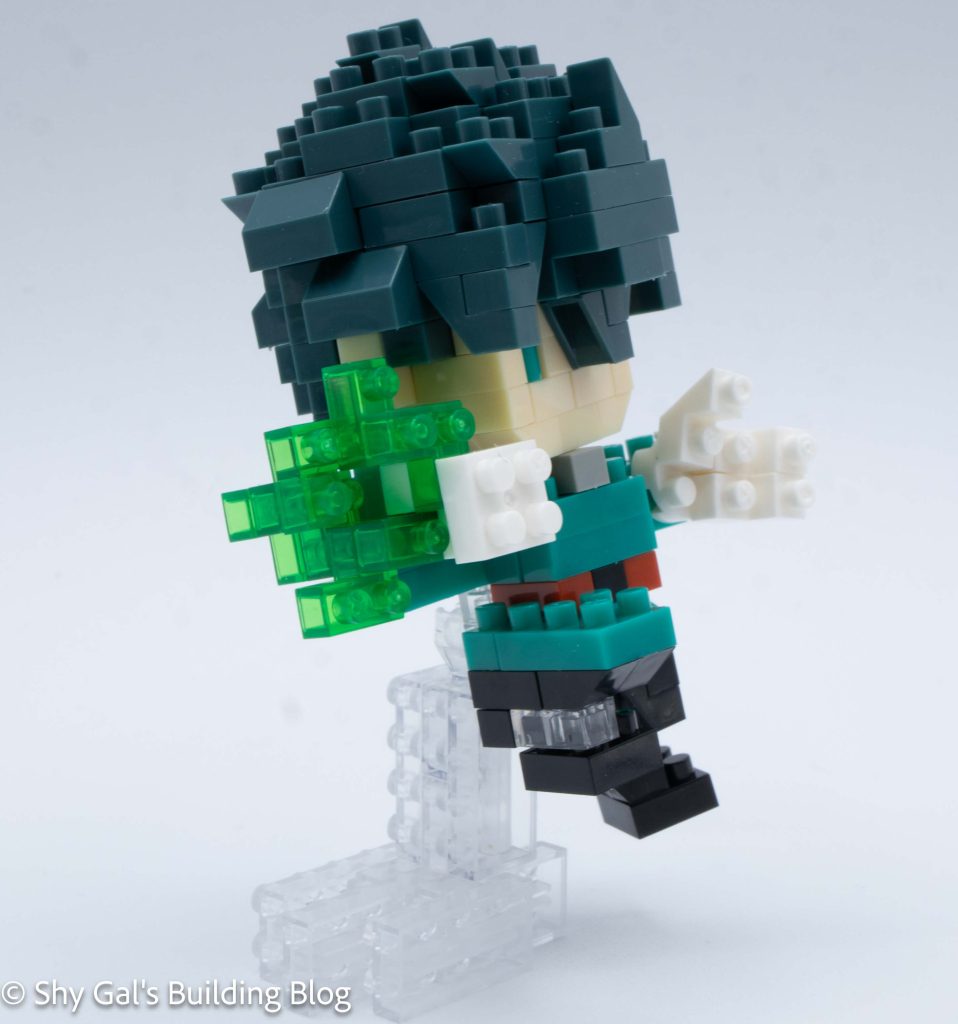
Next, I built the hands. One was very straightforward. The other was a bit trickier because of the clear green bricks. I’m not sure what the green bricks are supposed to represent.
Next, I built and added the legs.
Finally, I connected the head to the body.
Then I built the stand using clear bricks.
The last step was to connect Izuku to the stand.
Things I liked:
I liked that the build appears to be floating because it is using a stand
Things I didn’t like:
I’m not sure what the clear green bricks are supposed to be
Izuku is the main protagonist in My Hero Academia. He was born quirkless and ended up inheriting the quirk One for All. He has known Bakugo since they were both small children.
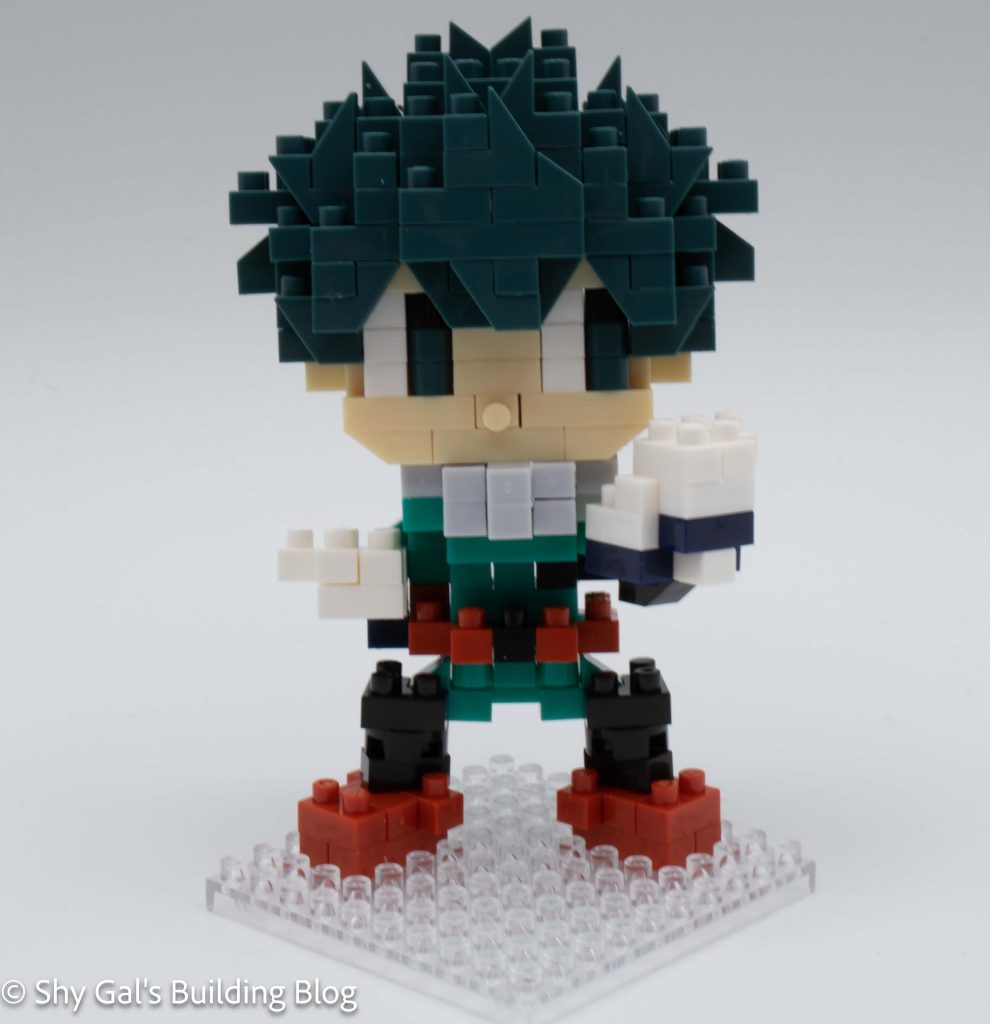
This is a build of several smaller builds. The two main sections are the head and the body. You begin with the large head. The head starts with a base layer that is mainly composed of cream-colored bricks. You layer up the cream, adding the beginning of the eyes. Then you begin to create the messy hair Izuku is known for. You add layers of hair and face, including the eyes. Once you have built up all of the front of the face, you add more details to the hair and close up the head. The hair has slopes and spikes that give it a messy appearance.
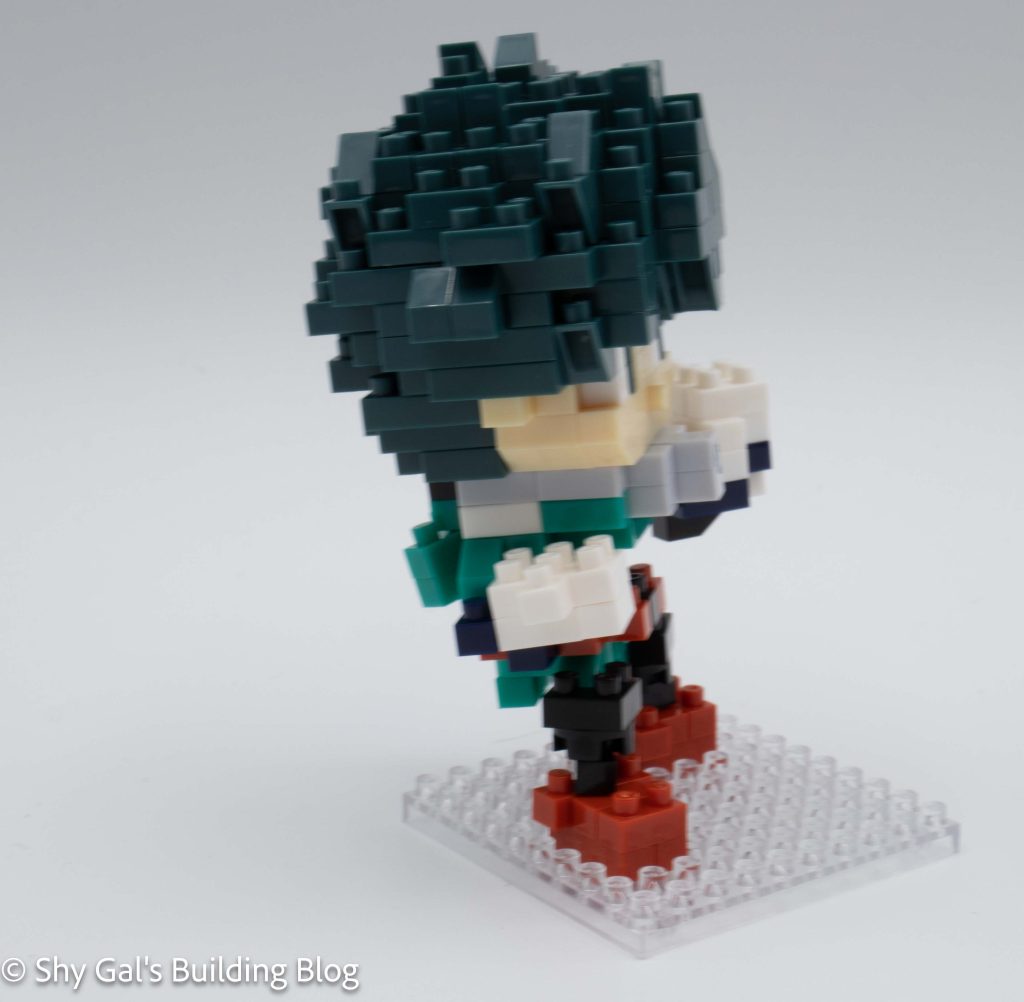
The next step is to build the body. Unlike many builds, it’s a bit tricky to see what each step adds to the figure. You begin by creating the core of the body. You add layers to make the body. Then you build the right hand, which is held close to the body. Then you make the left hand that is outstretched in a punch. It was a bit tricky to get the outstretched hand to hold. Then you add the final layer of bricks to the top of the body. The final step in building the body is to flip the body over and add the legs to the build.
Now it’s finally time to put everything together. You start with the base and add the high-top sneakers. Next, attach the body to the sneakers. It was tricky to get the legs lined up with the shoes. Then you finish off the build by adding the head.
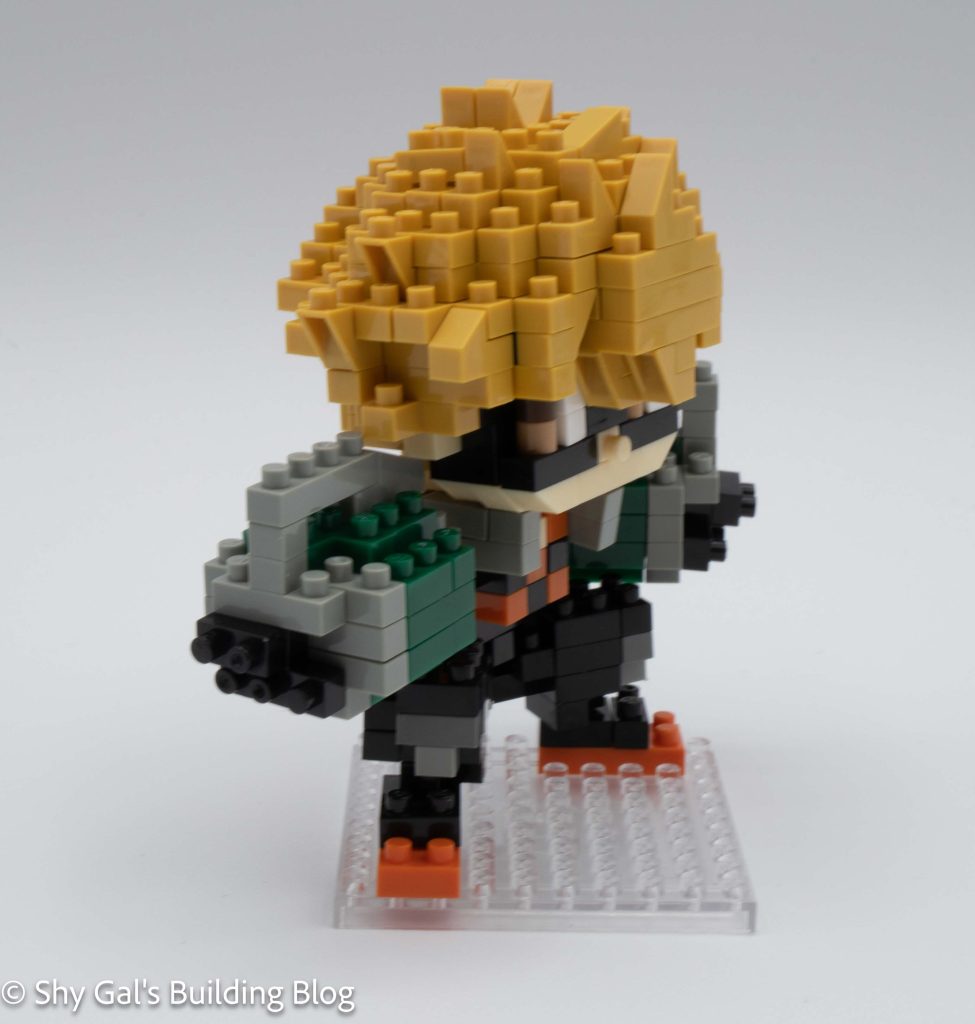
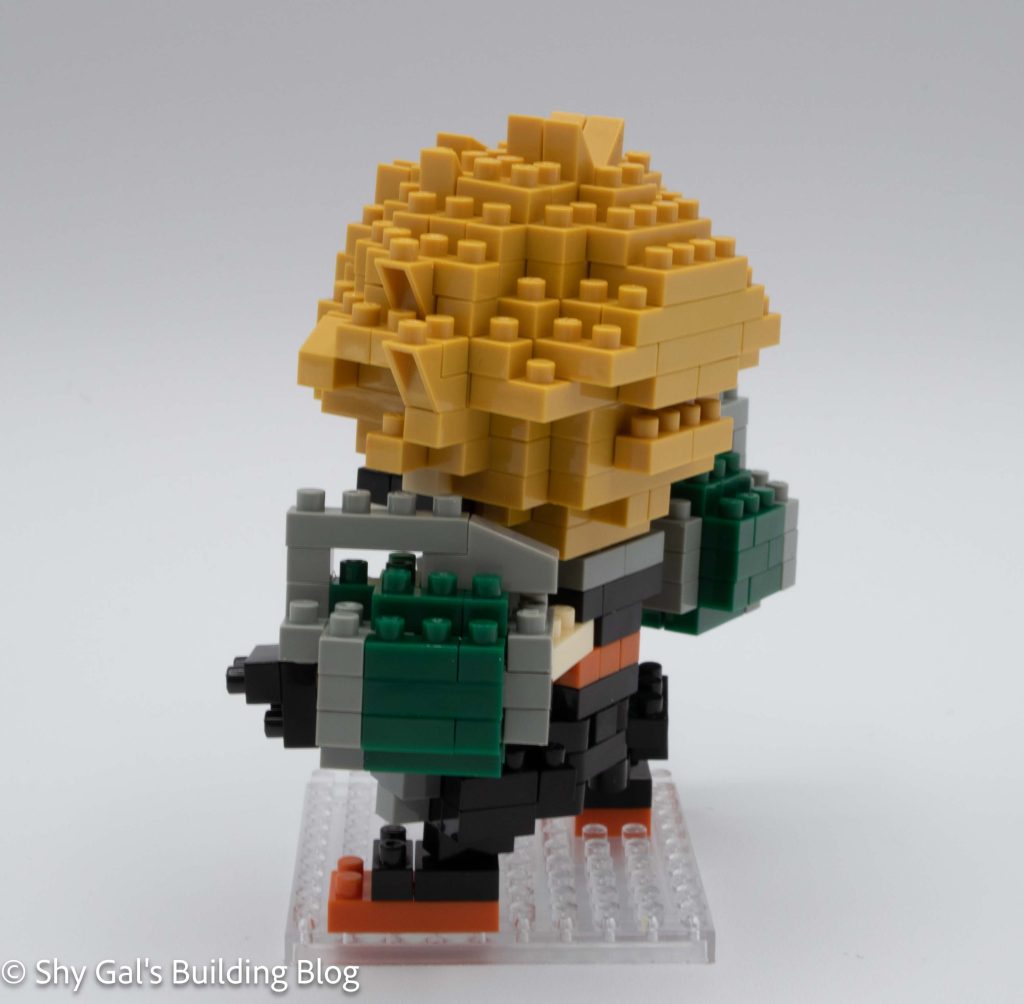
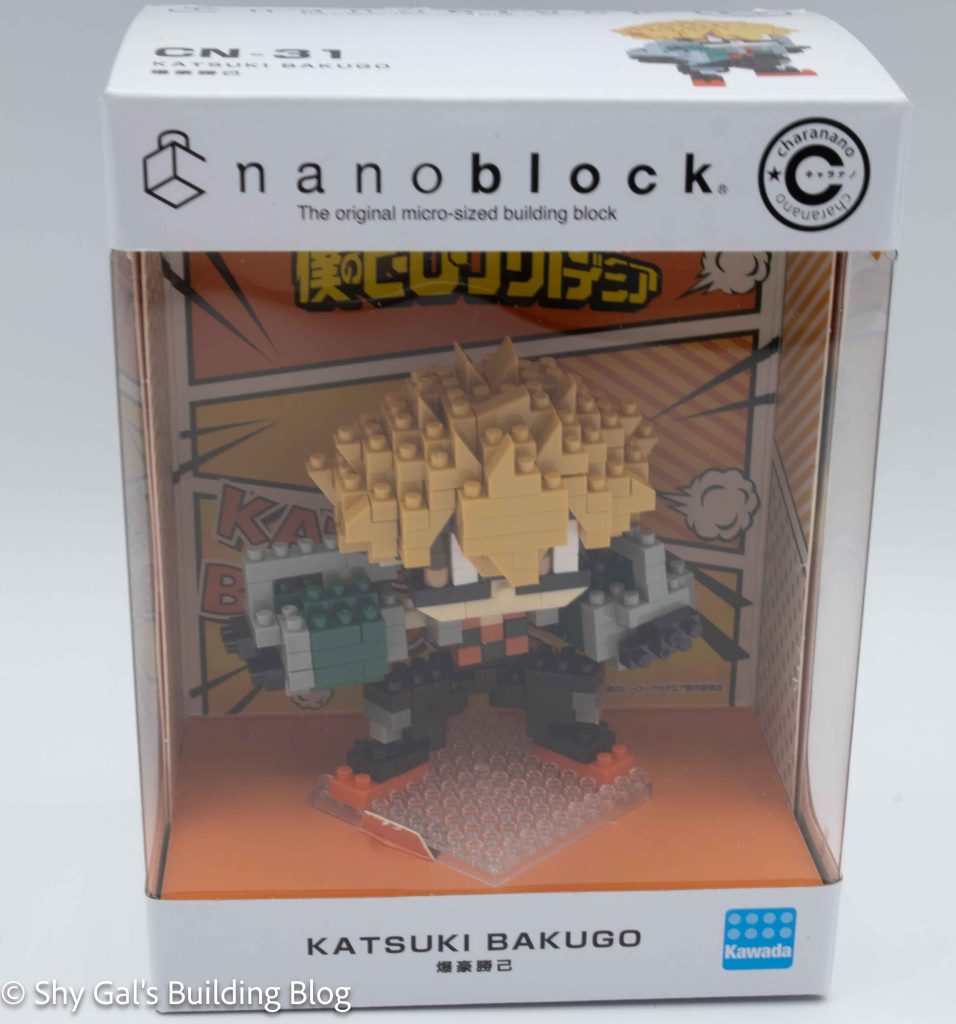
This post is a review of the nanoblock Katsuki Bakugo build. Katsuki Bakugo is part of the nanoblock charanano collection. Wondering what else is part of the charanano collection? Click here for a list.
Names:
Real Name:Katsuki Bakugo
Nickname: Kacchan
Hero Name: Great Explosion Murder God Dynamight
Number: CN-31
Number of Pieces:
Difficulty Rating: 3/5
Bakugo is a member of class one 1A along with Izuku. His quirk is Explosion, allowing him to ignite his sweat to create explosions. He has been friends with Izuku since they were children. To read more about this character, check out the myheroacademia wiki.
This build is broken up into several parts. There is the head, both arms, the torso, the legs, and the feet. Bakugo’s arms have large pieces that look like grenades that are built up in brick form.
The most significant part of this build is by far the head. The head begins with a layer of skin-colored bricks. Next, you add a layer of black that creates the bottom of his mask. You continue to add layers to the front of the face. After a few layers, you begin a base layer and build up the back of the head. Then combine the front and back of the head to create a full head. Once the pieces are connected, you add layers of hair creating detailed spiky hair.
The next chunk you build is the torso. The torso is a simple 3 layers of bricks.
The next step is to build the left arm. You build up layers of bricks from a base. There is a skin-tone brick that sticks out on the back of the arm. There is also an excellent detail of the arm where you can see his fingers or hand at the end of the grenades. This is done by attaching the black bricks to the side of the section. You stick this arm to the torso.
Next, you build the right arm. The build is very similar to the left arm. The major difference is there the skin-tone piece comes out of the center of the build instead of the side. Once you build the left arm, you attach it to the torso.
The next step is to build the legs. I found the legs extremely tricky compared to the rest of the build. This is because there are a lot of finicky bits. I also have difficulty reading directions when the build is upside down. Once you build the legs, you attach the torso to the legs. At this point, you can also attach the head.
The final part of the build is to add the feet to the base. Once you build up the feet on the base, you attach the body and head. When I did my build, the legs kept breaking apart, and the arms didn’t want to stay connected.
Overall I really like this build. There is a ton of detail in Bakugo’s hero costume and hair.
Things I liked:
The amount of detail in the costume and hair
Things I didn’t like:
The fact the legs kept falling apart when I was building