Review of nanoblock Nonbiri Pompompurin NBCC_031

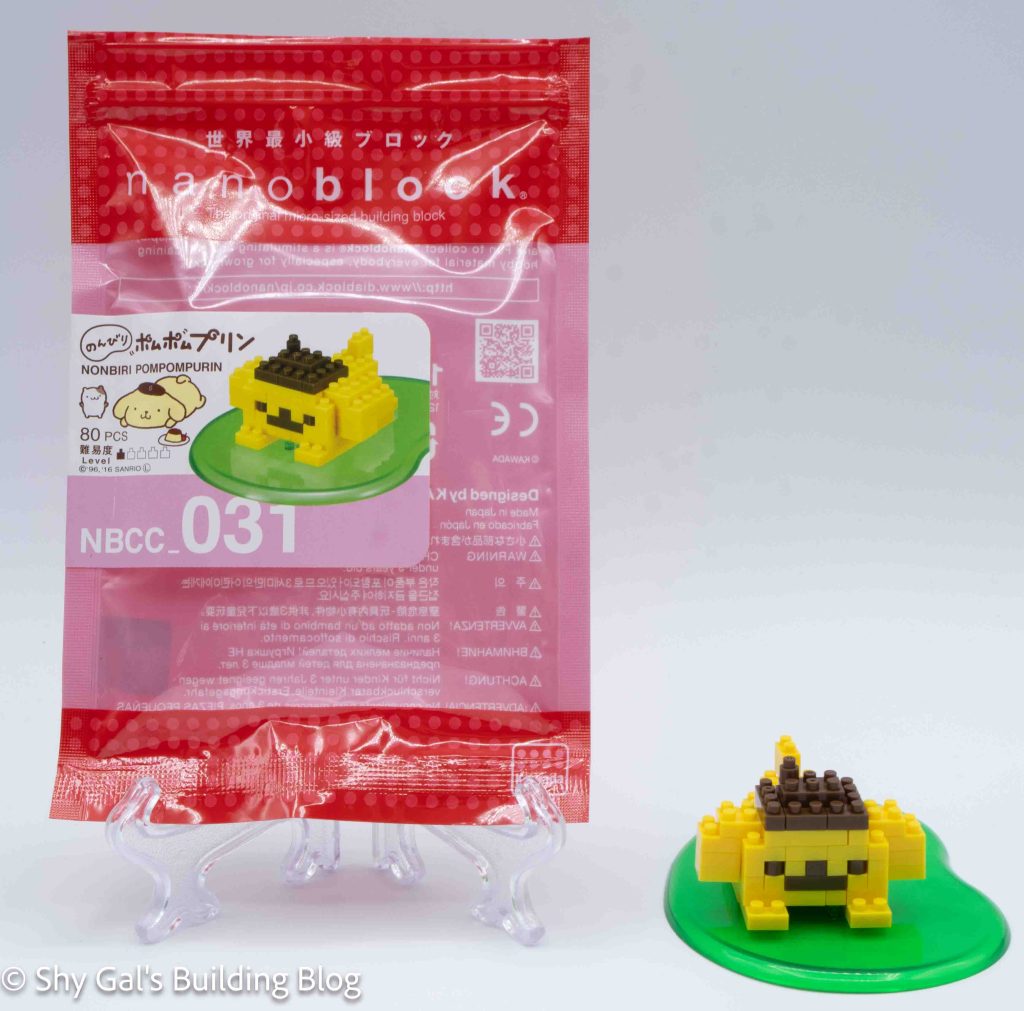
Nonbiri Pompompurin build and package

This post is a review of the nanoblock Nonbiri Pompompurin build. Nonbiri Pompompurin is part of the nanoblock Character collection. Wondering what else is part of the Character collection? Click here for a list.

Number: NBCC_031

Number of Pieces: 80

Difficulty Rating: 1
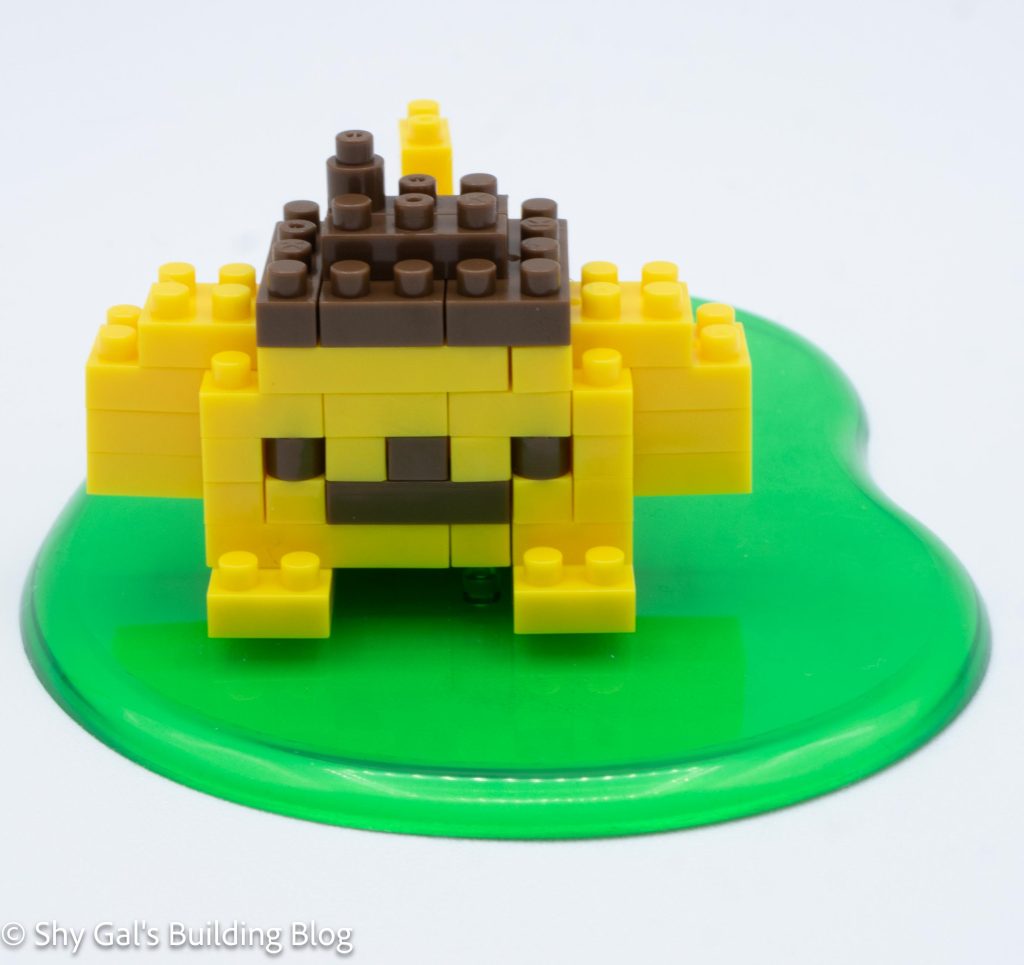
Nonbiri Pompompurin build front view

This build is unique because it comes with a curved piece to act as a base for the finished build. Pompompurin’s is clear green.

I began the build by laying the base layer of bricks on my nanoblock pad to create the head.

The head goes up in layers. I added the eyes, nose, and mouth. Then I added his ears.
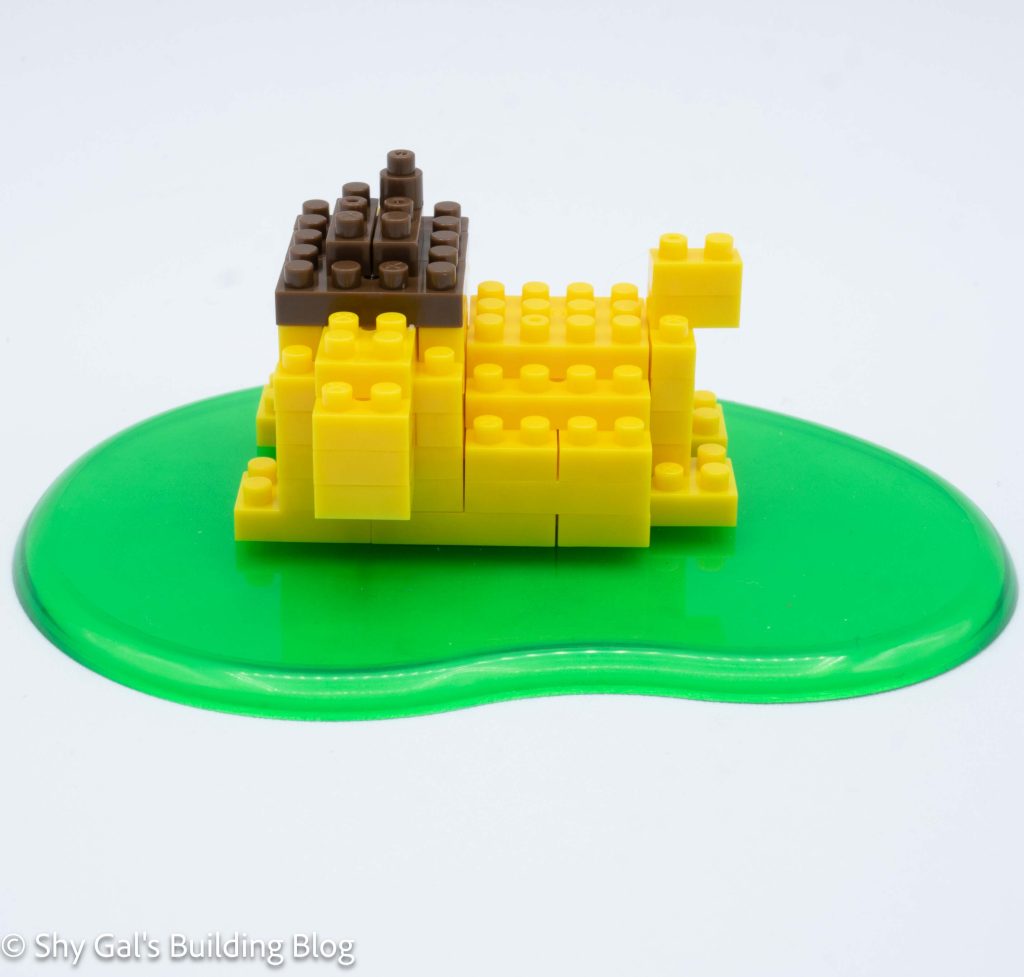
Nonbiri Pompompurin build side view

Next, I added Pompompurin’s little hat to finish off the head.

Next, I began to work on the body. I laid the base layer out on my nanoblock pad.

I built the body in layers of yellow bricks. A brown brick is used to represent Pompompurin’s signature butthole.
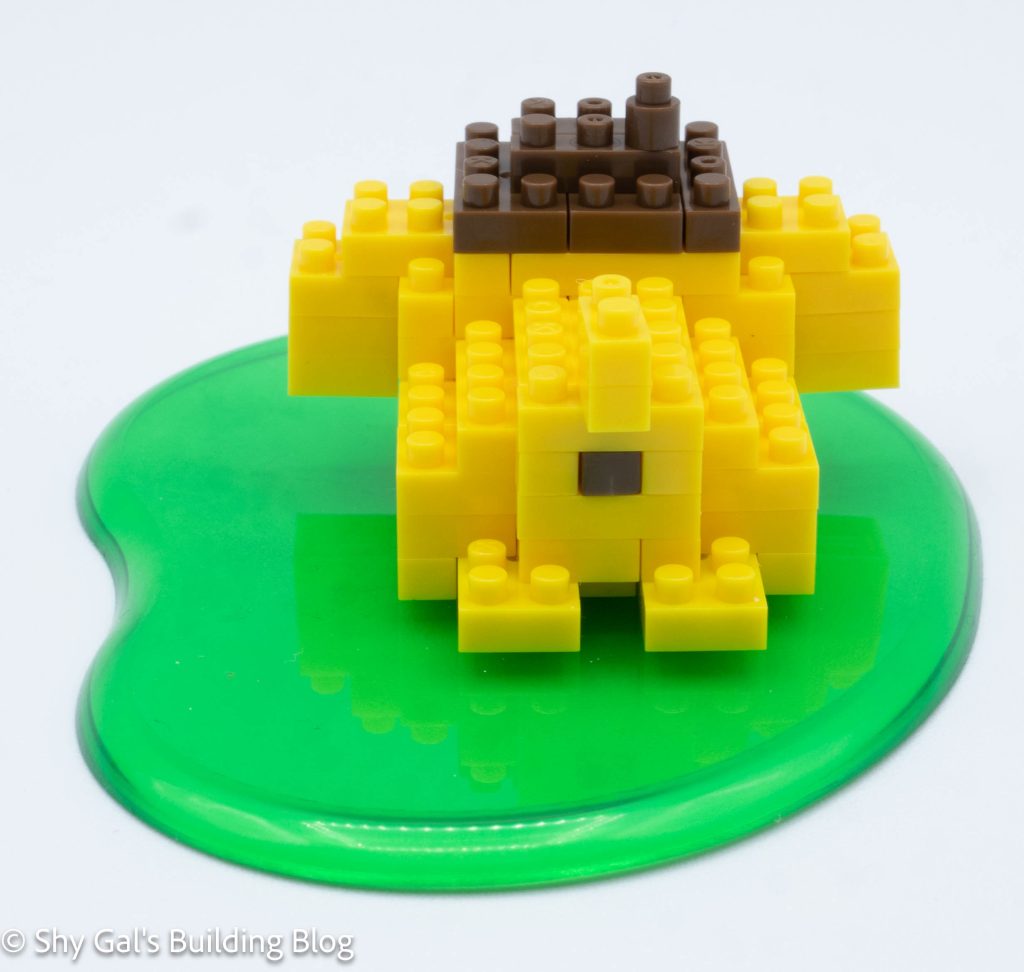
Nonbiri Pompompurin build back view

Next, I attached the head to the body.

Then I flipped the build over and attached the legs.

Then I attached Pompompurin to the baseplate.
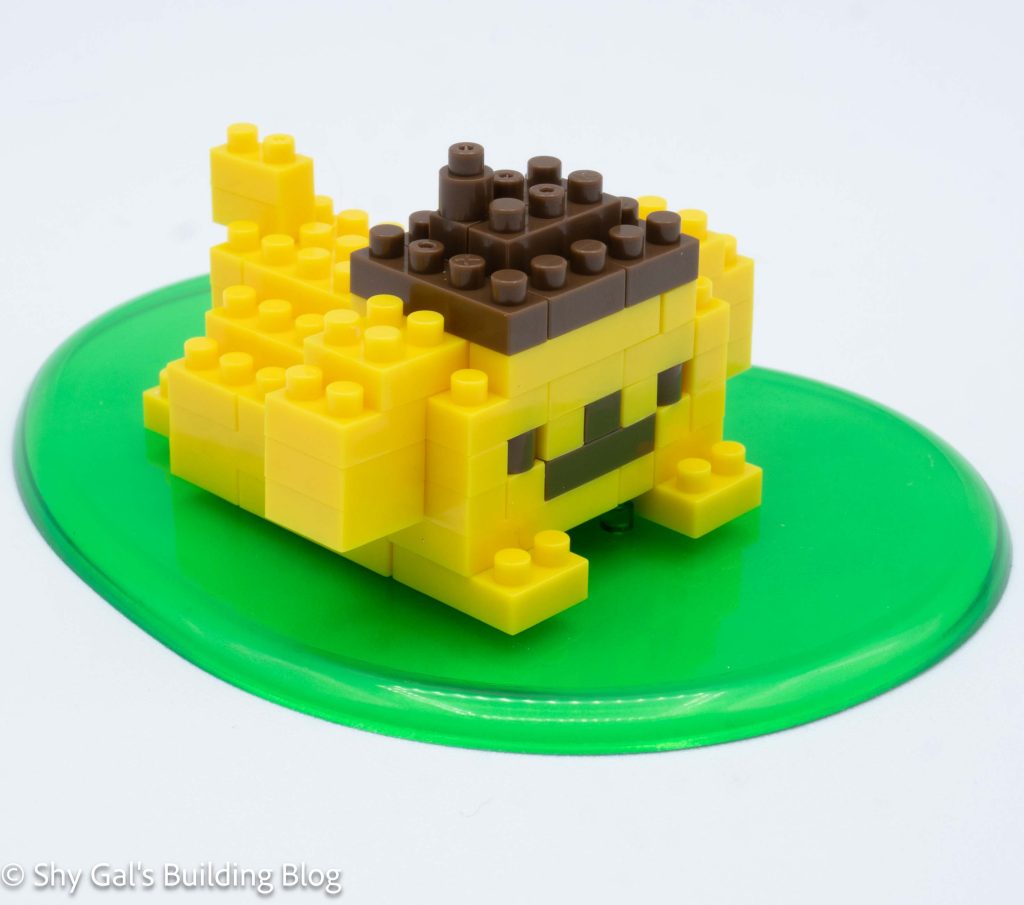
Nonbiri Pompompurin build front 3/4 view

Things I liked:

  • I like the base plate that comes with this kit
Review of nanoblock Nonbiri My Melody NBCC_030

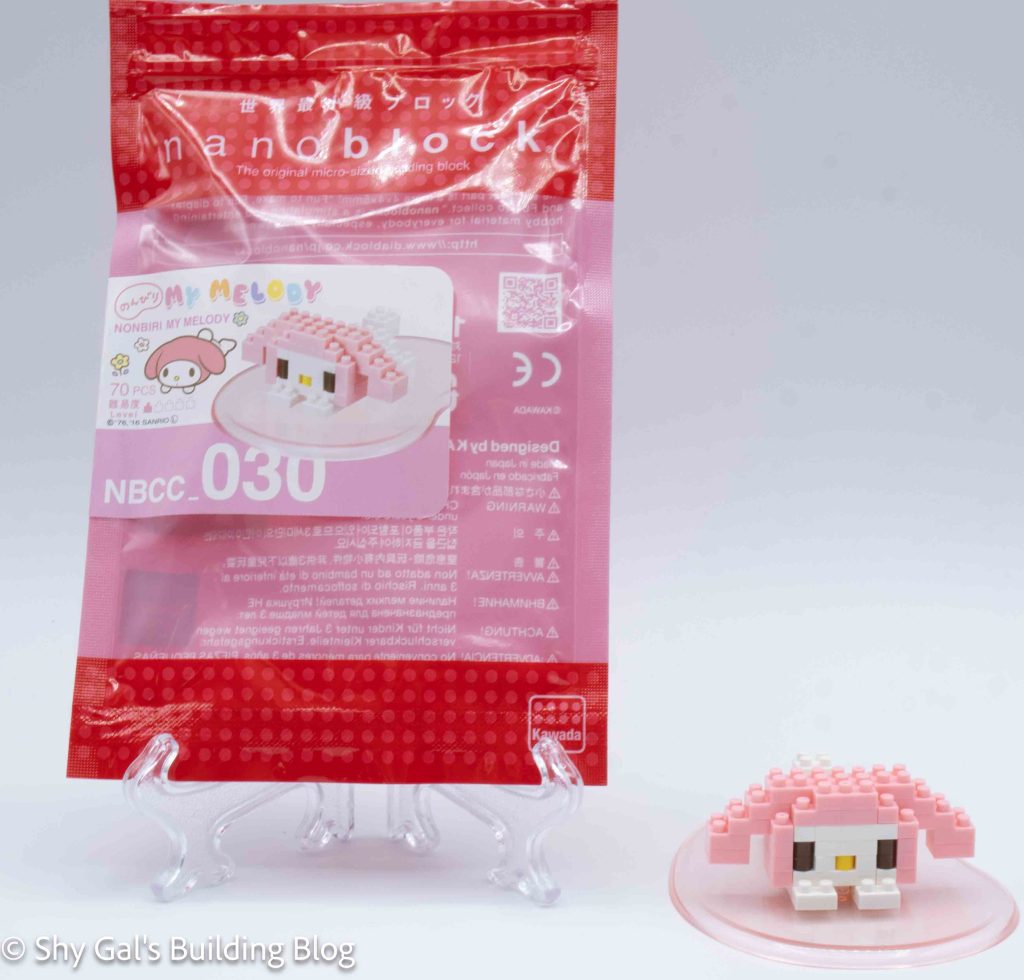
Nonbiri My Melody build and package

This post is a review of the nanoblock Nonbiri My Melody build. Nonbiri My Melody is part of the nanoblock Character collection. Wondering what else is part of the Character collection? Click here for a list.

Number: NBCC_030

Number of Pieces: 70

Difficulty Rating: 1/5

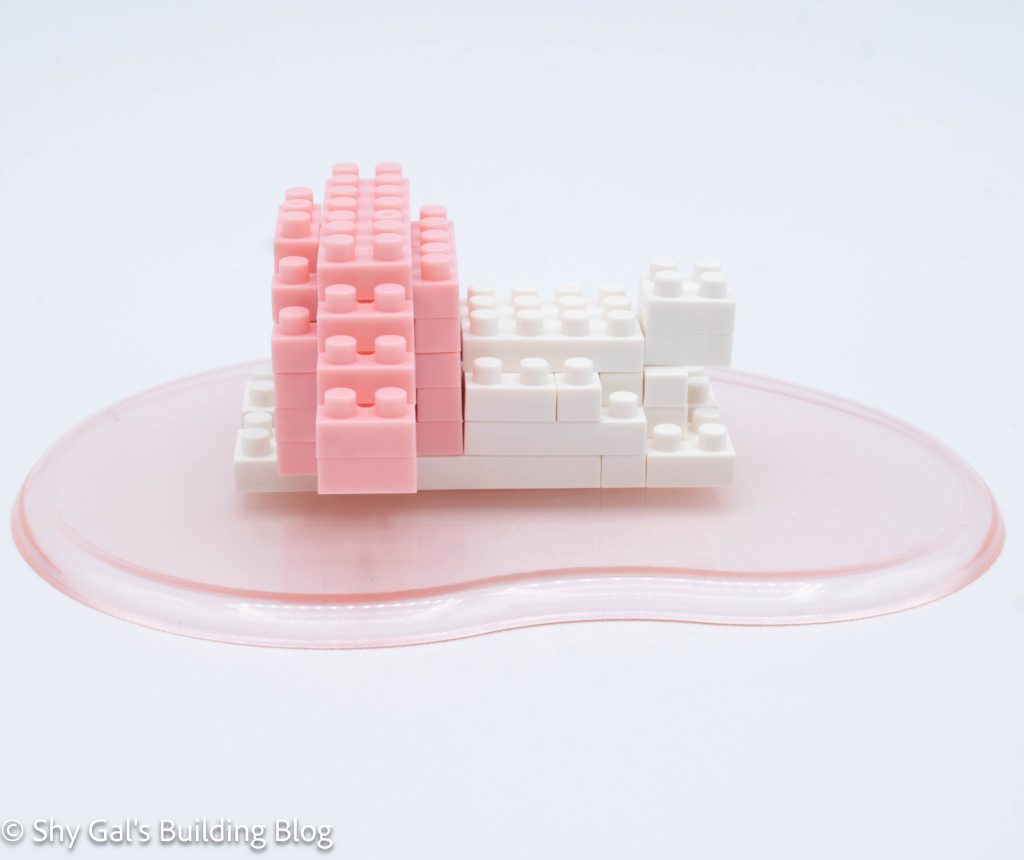
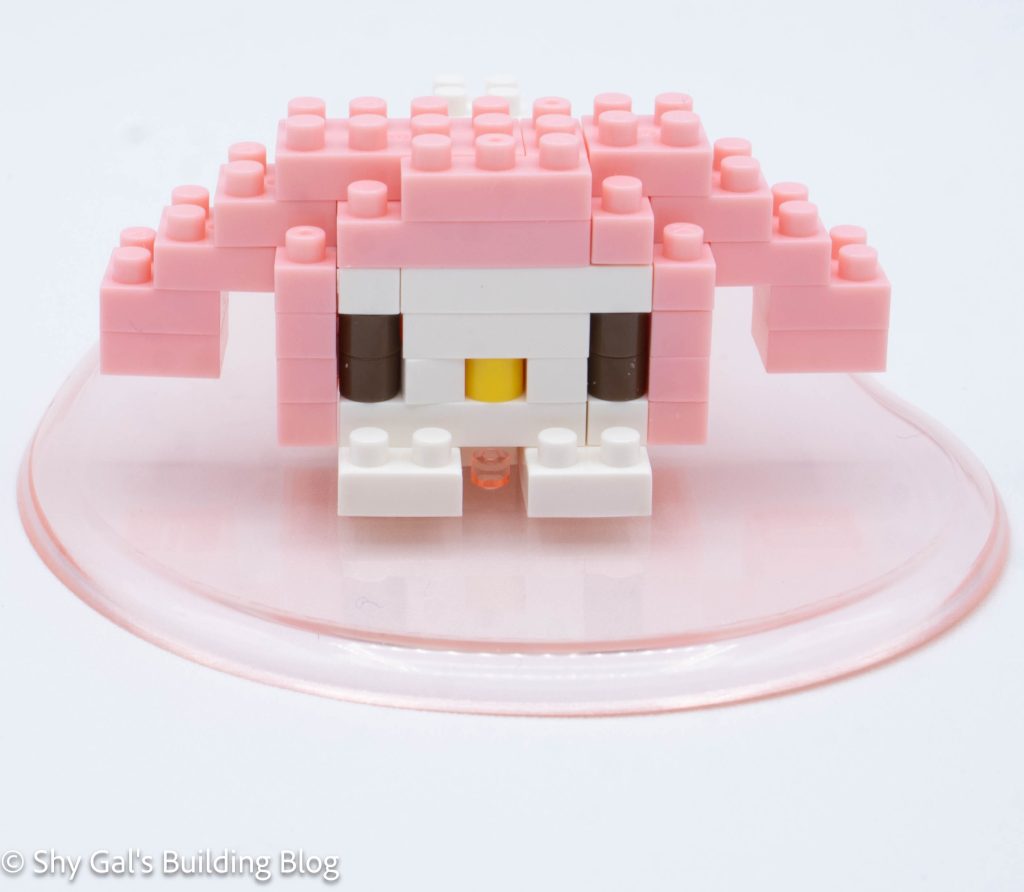
Nonbiri My Melody build front view

This build is unique because it comes with a curved piece to act as a base for the finished build. My Melody’s is a clear pink.

This build begins with the head. I laid out the bricks on my nanoblock pad.

I added several layers of bricks to create the head. I added the eyes, nose, and back of the head.

Nonbiri My Melody build side view

Then I closed up the head and added the ears.

Then I started working on the body. I laid the foundation out on my nanoblock pad.

I built the body up in layers.

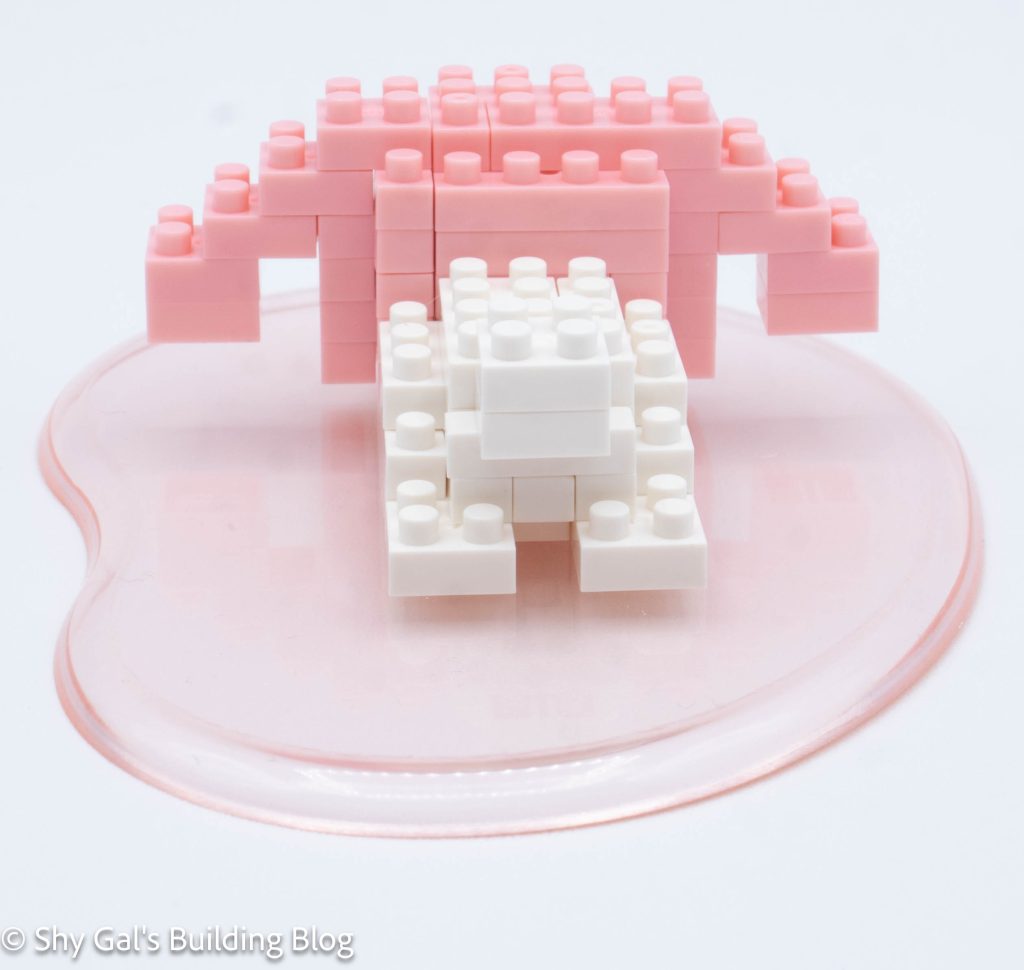
Nonbiri My Melody build back view

Then I attached the head to the body.

Finally, I attached the body to the base.

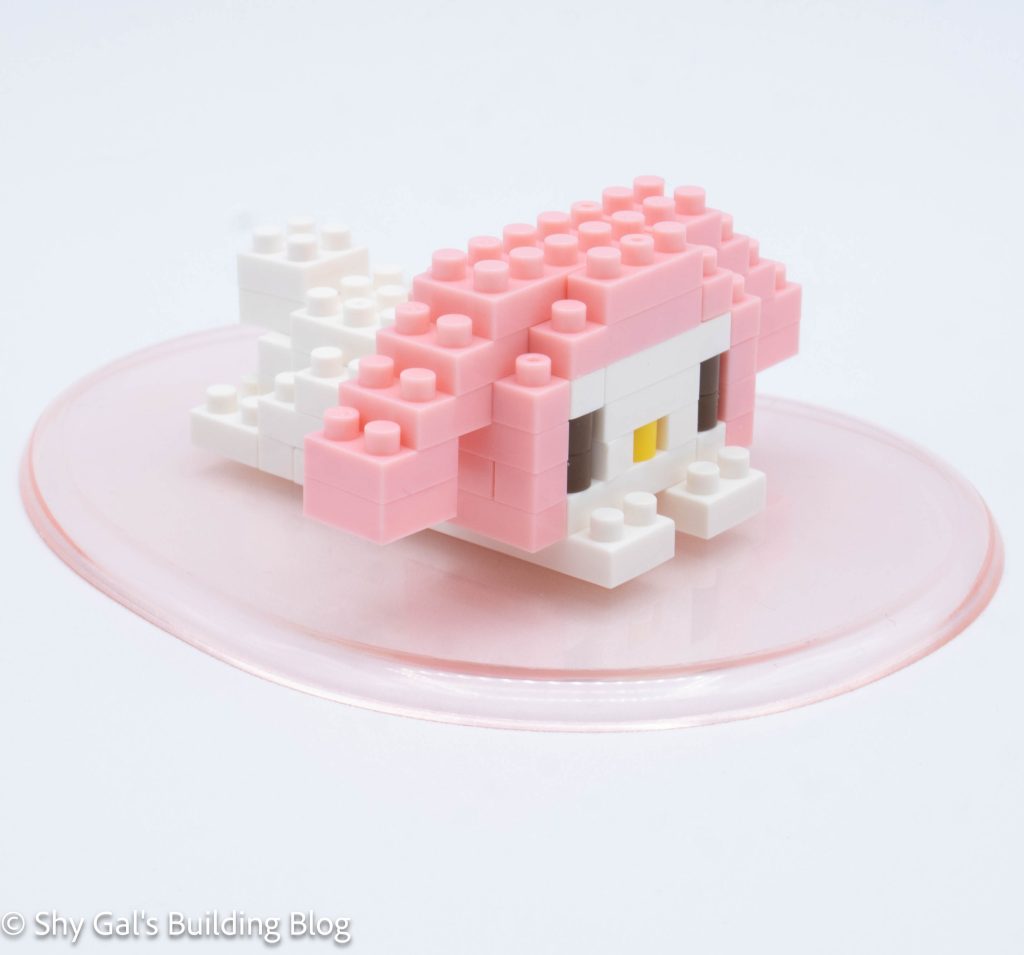
Nonbiri My Melody build front 3/4 view

Things I liked:

  • I like the base plate that comes with this kit
Things I didn’t like:

  • I don’t like that the nose is at the same level as the eyes

Review of nanoblock Nonbiri Hello Kitty NBCC_029

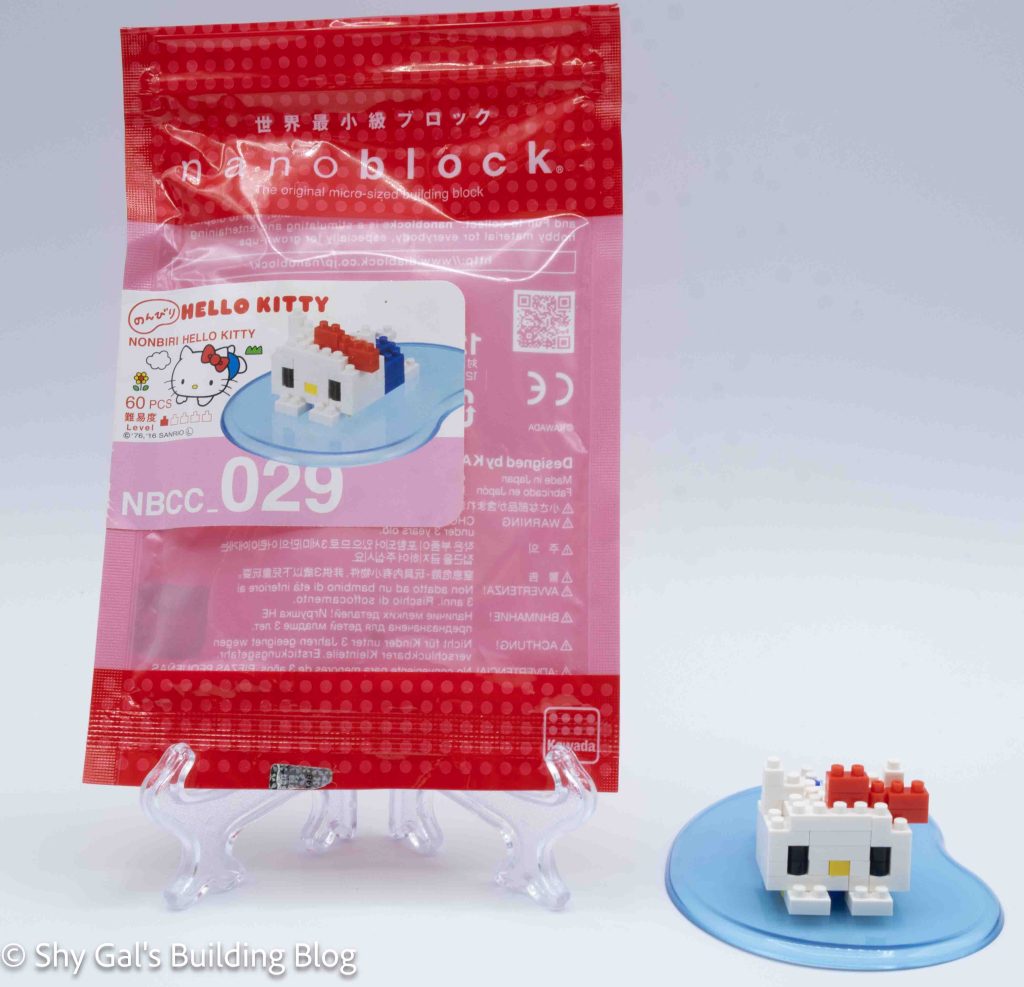
Nonbiri Hello Kitty build and package

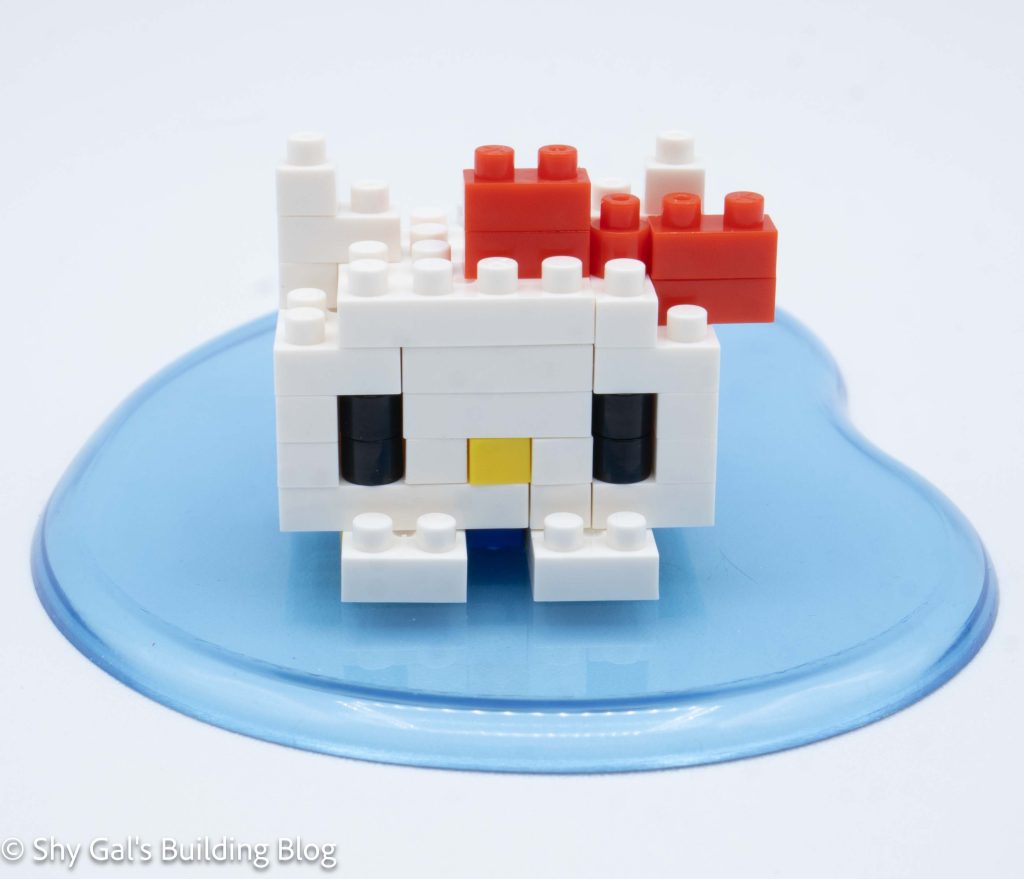
This post is a review of the nanoblock Nonbiri Hello Kitty build. Nonbiri Hello Kitty is part of the nanoblock Character collection. Wondering what else is part of the Character collection? Click here for a list.

Number: NBCC_029

Number of Pieces: 60

Difficulty Rating: 1/5

Nonbiri Hello Kitty build front view

This build is unique because it comes with a curved piece to act as a base for the finished build. Hello Kitty’s is a clear blue.

I began the build by laying out the foundation of bricks for the head on my nanoblock pad.

I built the head in layers. I added the eyes and nose.

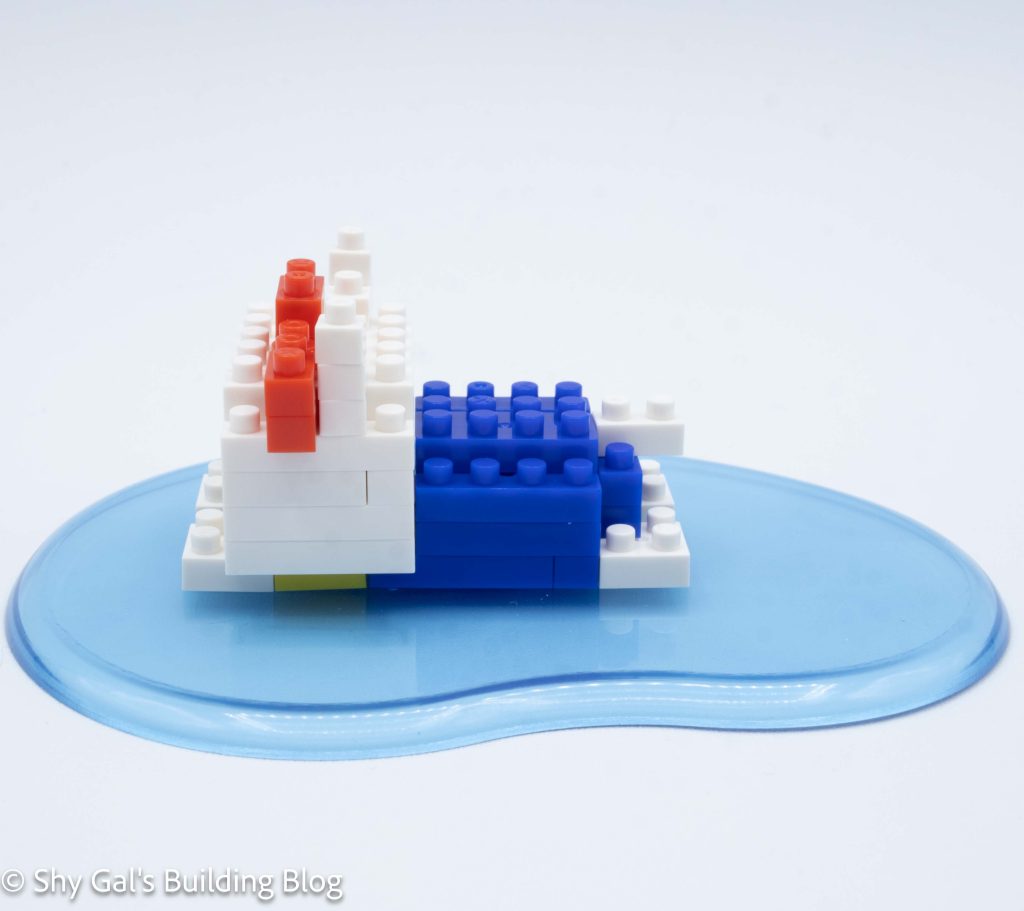
Nonbiri Hello Kitty build side view

After several layers, I closed up the head.

Then I added Hello Kitty’s ears and Bow to finish the head.

Then I started working on the body. I laid the base layer out on my nanoblock pad. It was a bit tricky to tell which size bricks to use because the black lines were blending in with the blue bricks.

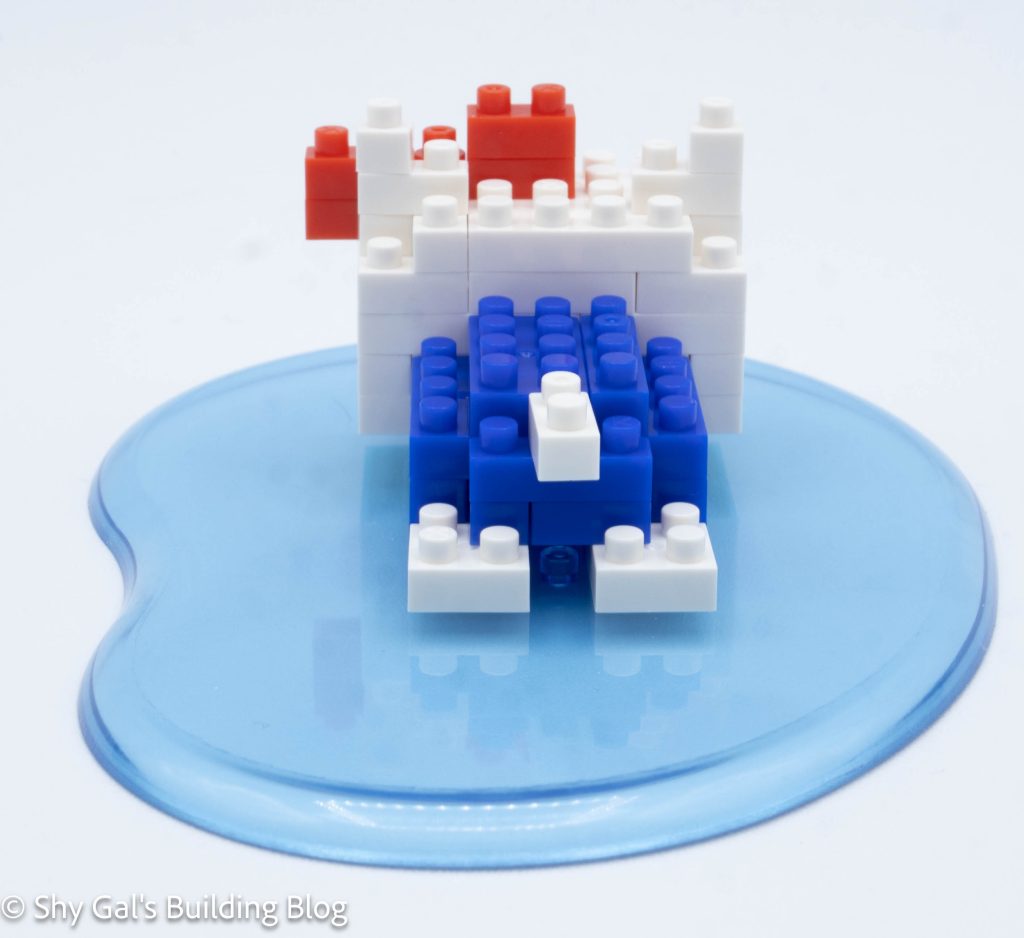
Nonbiri Hello Kitty build back view

I built the body up in layers to finish the body.

Then I attached the head to the body.

Then I attached the body to the baseplate.

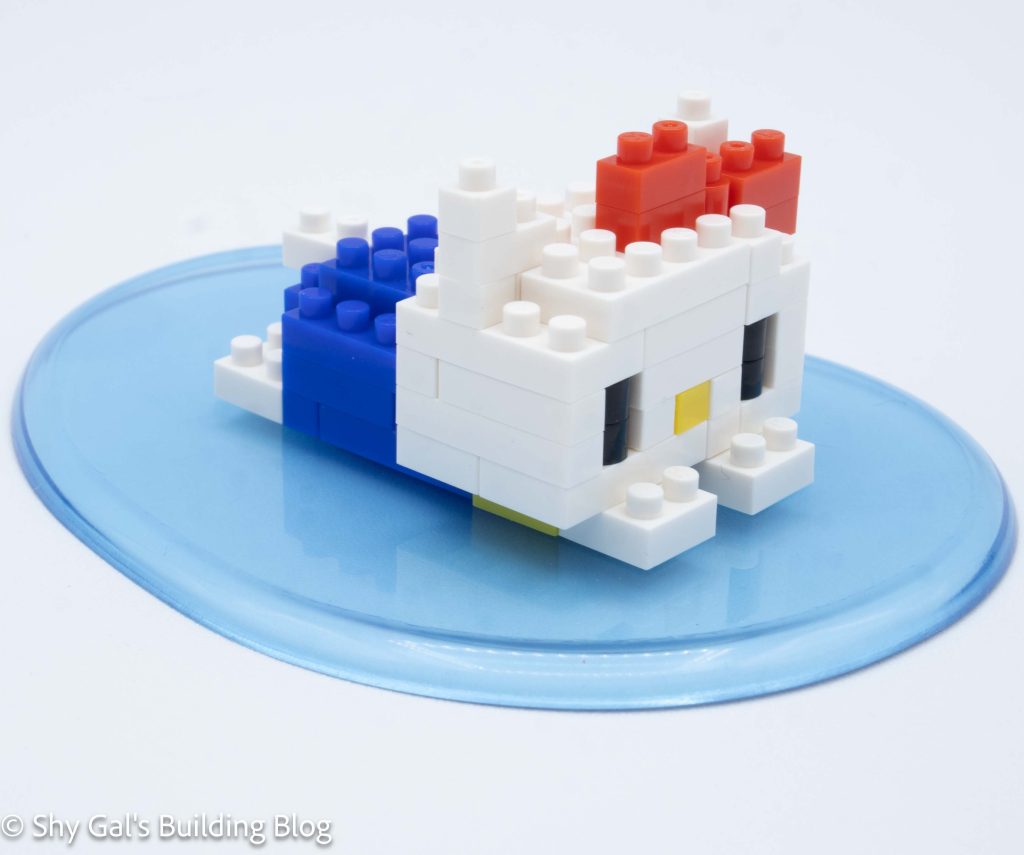
Nonbiri Hello Kitty build front 3/4 view

Things I liked:

  • I like the baseplate that comes with the kit

Things I didn’t like:

  • I don’t like that the nose and eyes are on the same level

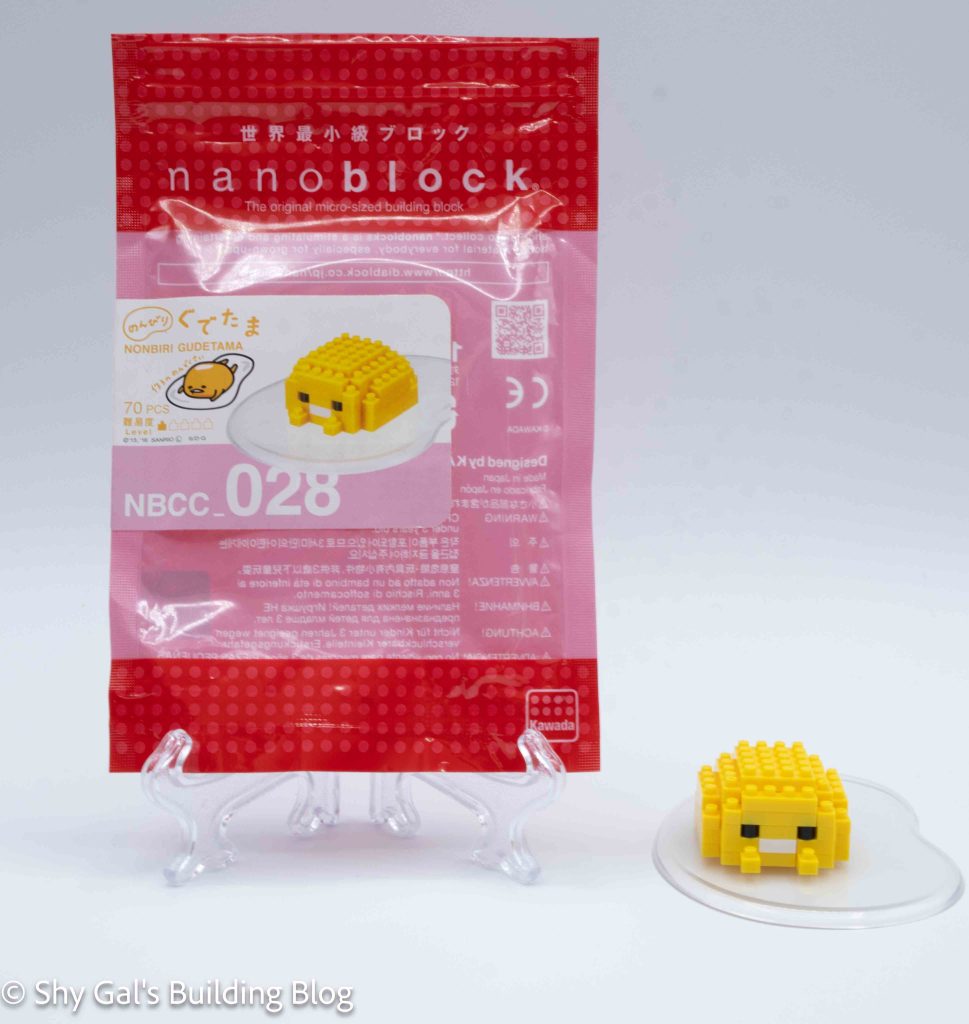
Review of nanoblock Nonbiri Gudetama NBCC_028

Nonbiri Gudetama build and package

This post is a review of the nanoblock Nonbiri Gudetama build. Nonbiri Gudetama is part of the nanoblock Character collection. Wondering what else is part of the Character collection? Click here for a list.

Number: NBCC_028

Number of Pieces: 70

Difficulty Rating: 1/5

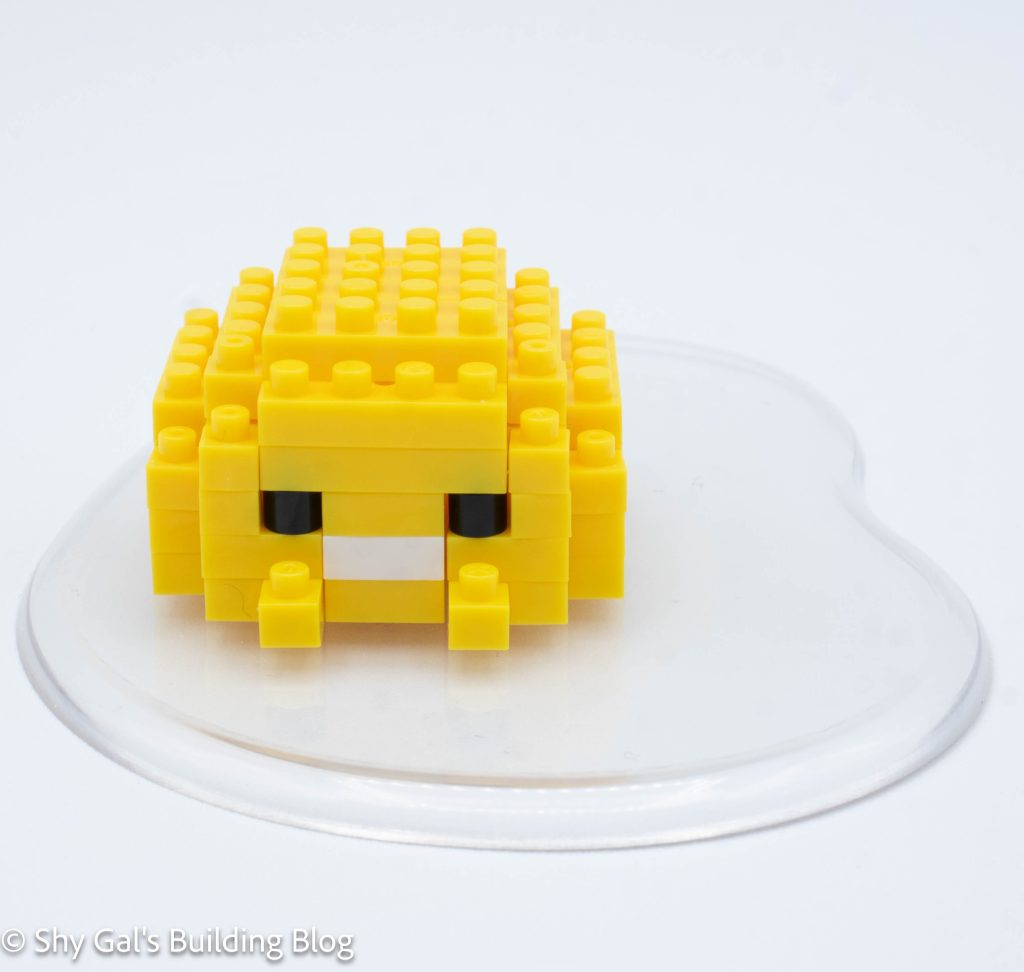
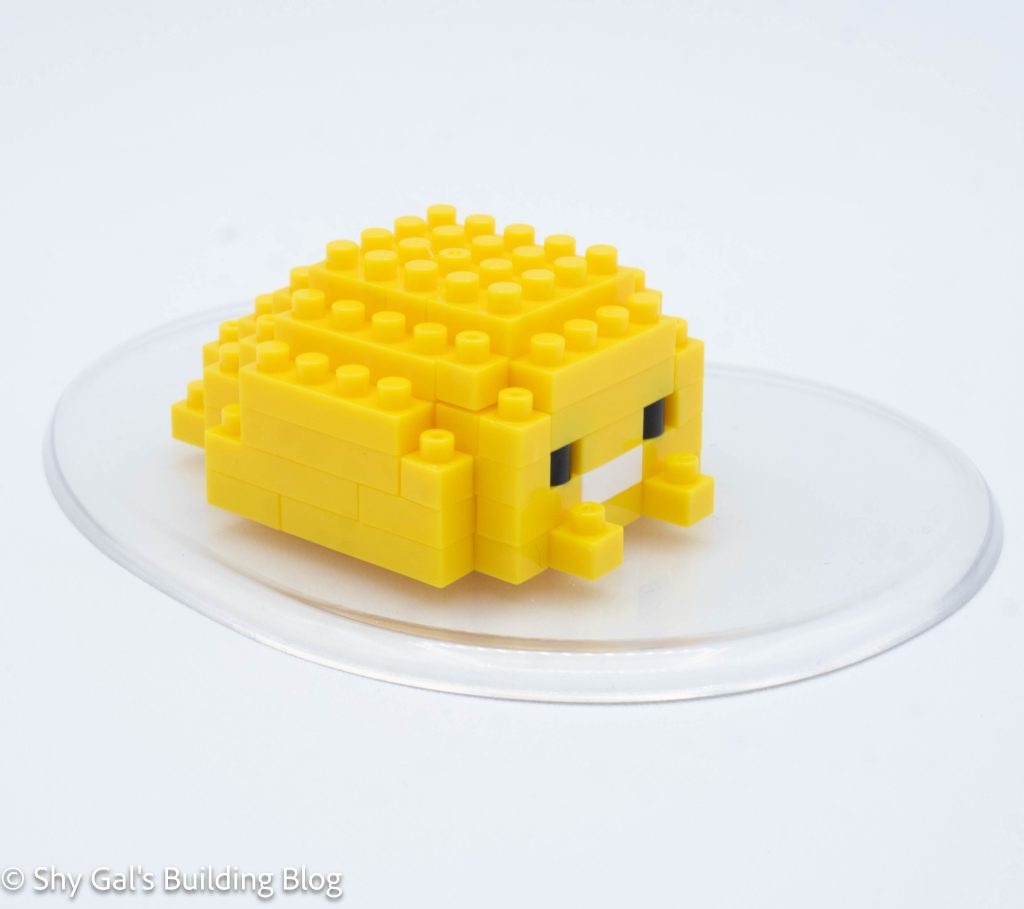
Nonbiri Gudetama build front view

This build is unique because it comes with a curved piece to act as a base for the finished build. Gudetama’s is clear and represents the egg white.

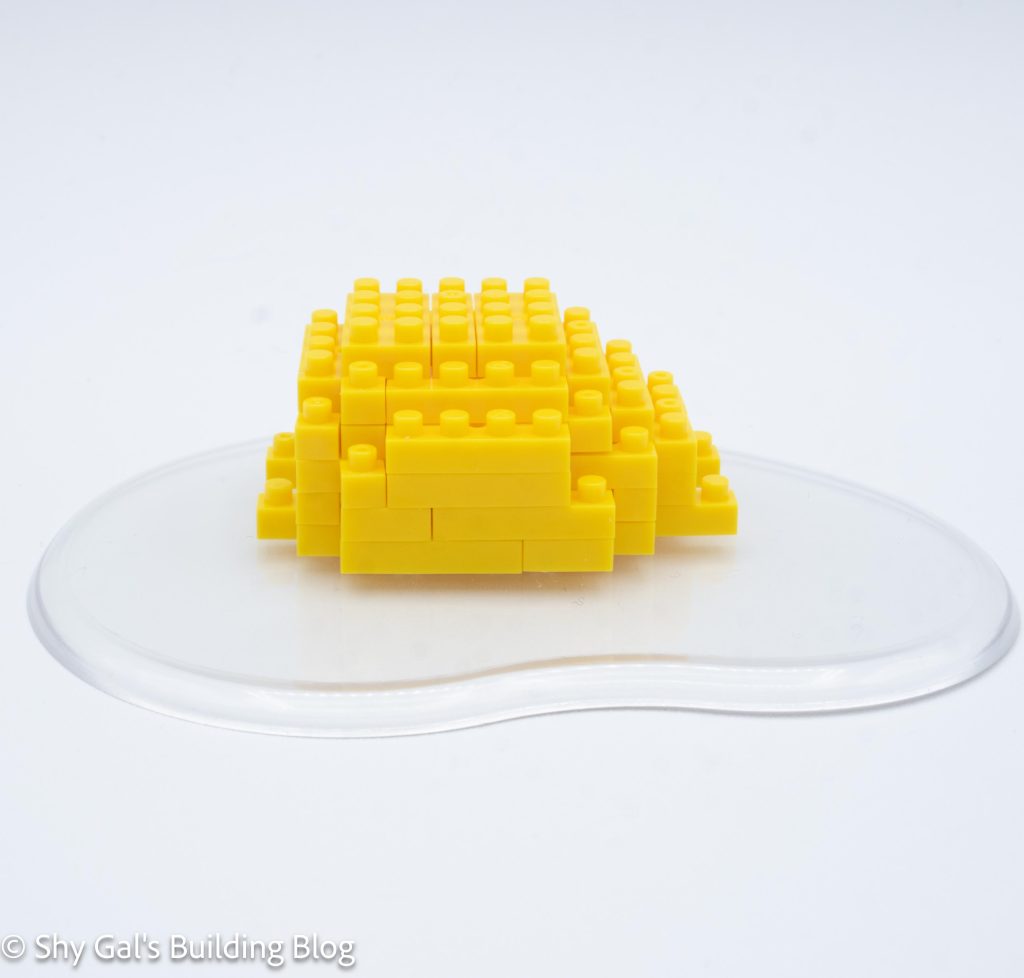
This build is very simple. It is all built in one chunk.

Nonbiri Gudetama build side view

I began by laying the base layer out on my nanoblock pad and added the layer on top of the base layer.

Next, I added pieces that hunk the base chunks. These chunks make the base piece bigger and add his hands.

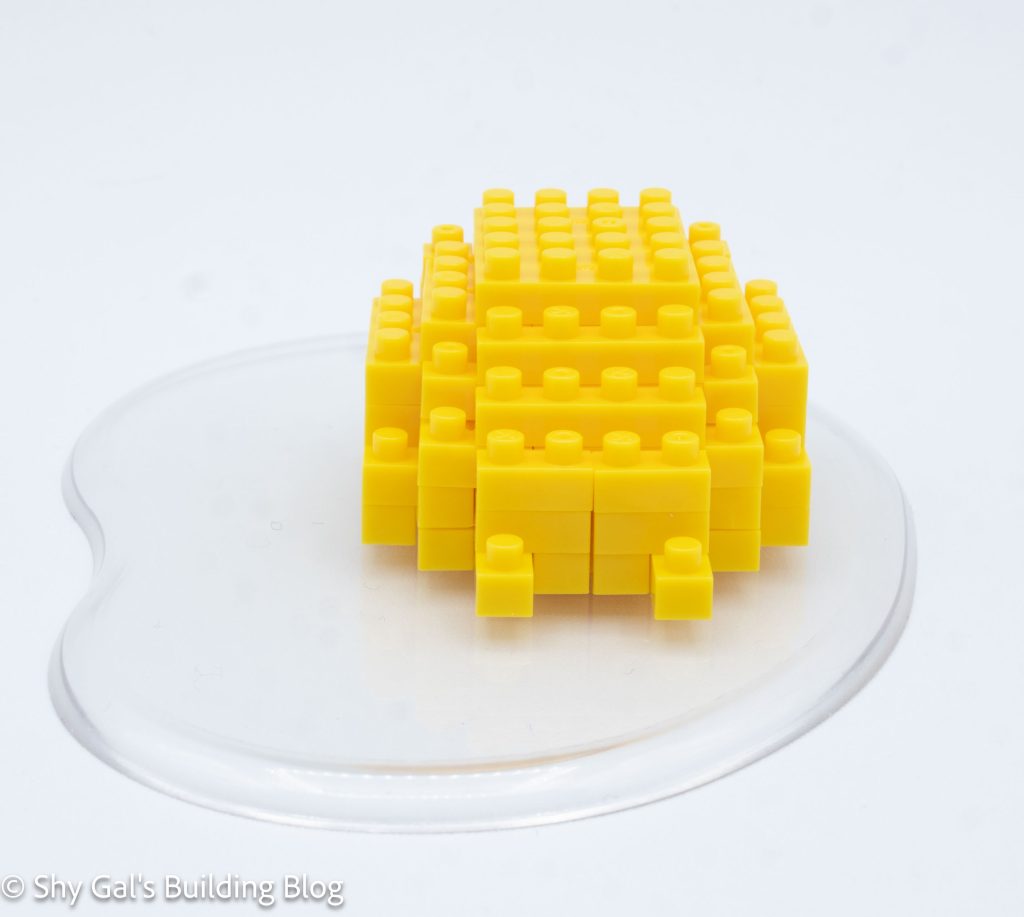
Nonbiri Gudetama build back view

Next, I added 4 more layers of bricks to close up and complete the build.

The final step is to attach the body to the baseplate.

Nonbiri Gudetama build front 3/4 view

Things I liked:

  • I like the curved piece that comes with the kit

Things I didn’t like:

  • I don’t like how the mouth looks on the final build

Review of nanoblock First Generation Tamagotchi (Blue) NBCC_238

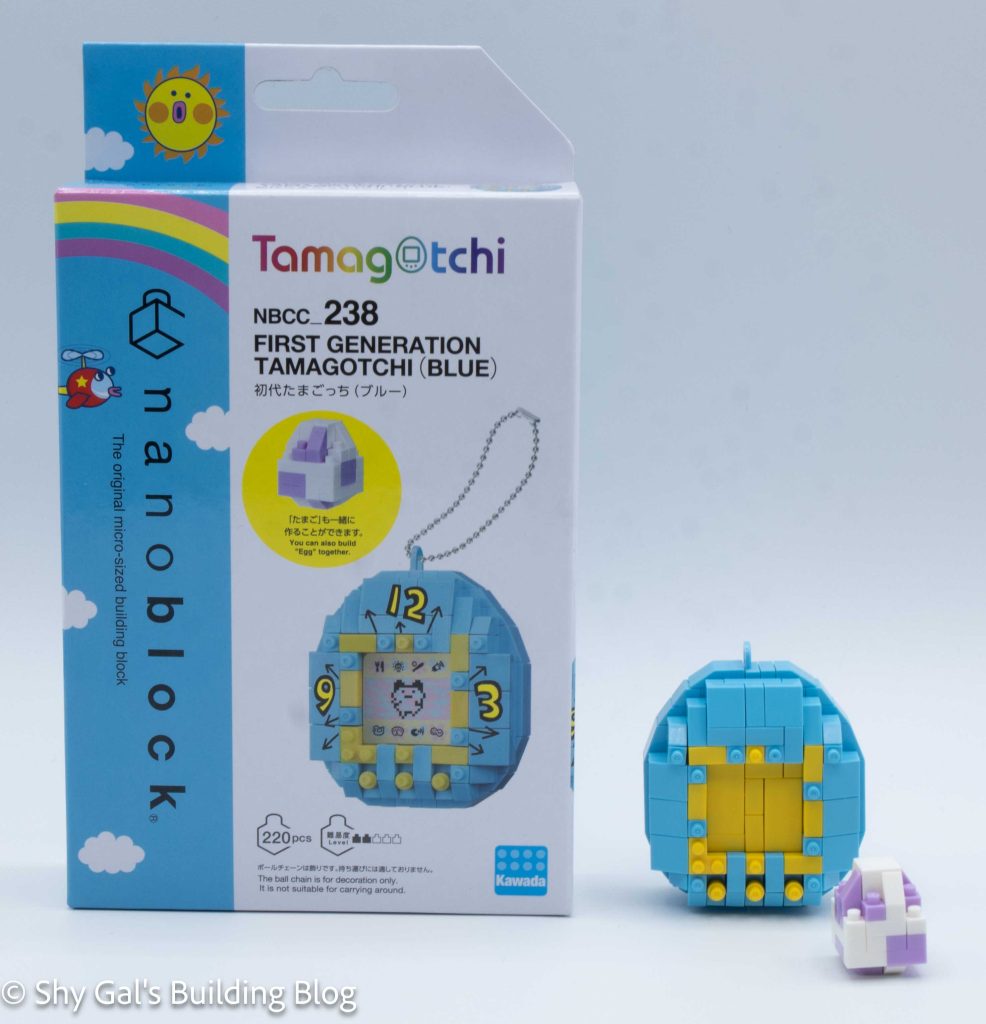
First Generation Tamagotchi (Blue) build and box

This post is a review of the nanoblock First Generation Tamagotchi (Blue) build. First Generation Tamagotchi (Blue) is part of the nanoblock Character collection. Wondering what else is part of the Character collection? Click here for a list.

Number: NBCC_238

Number of Pieces: 220

Difficulty Rating: 2/5

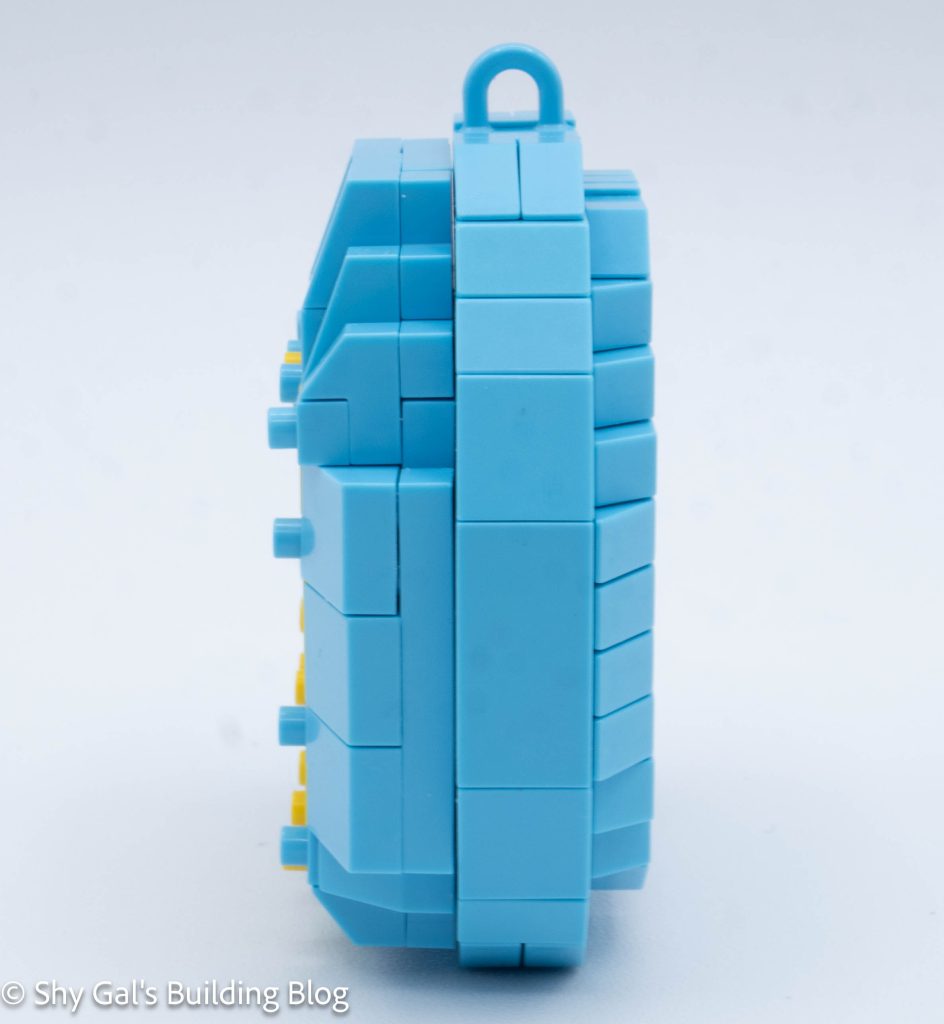
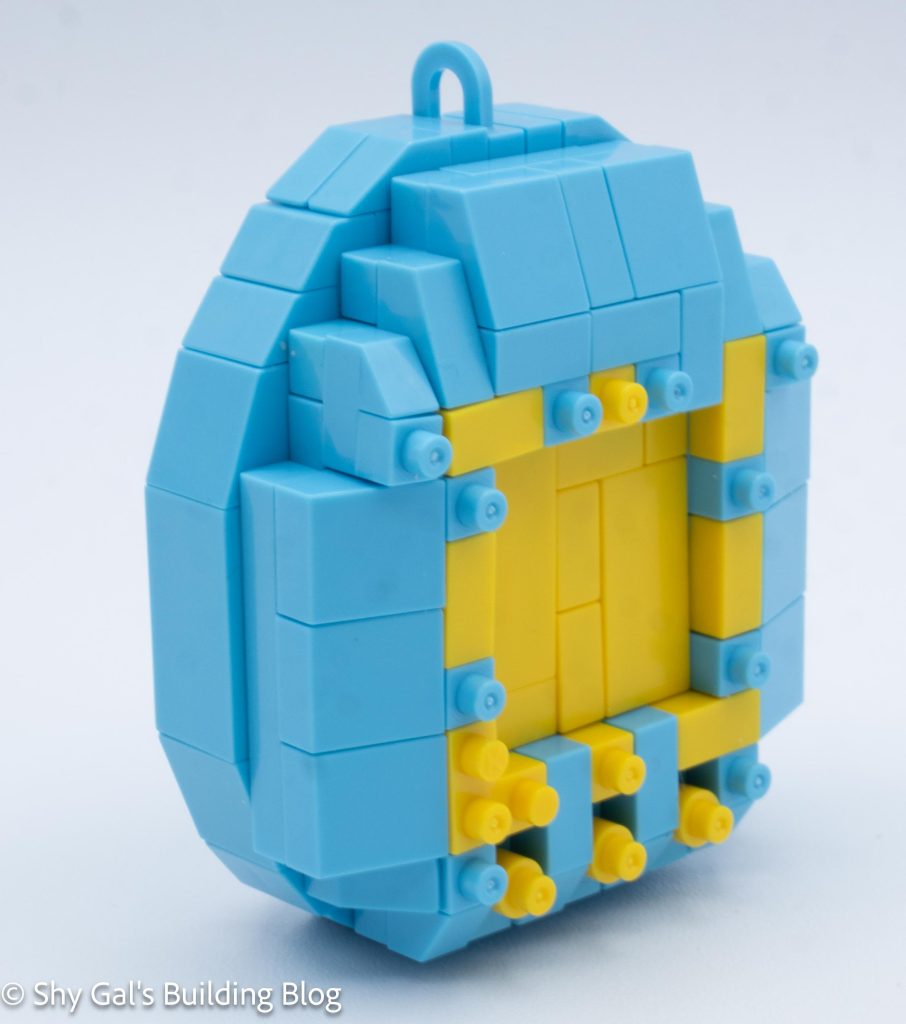
First Generation Tamagotchi (Blue) build side view

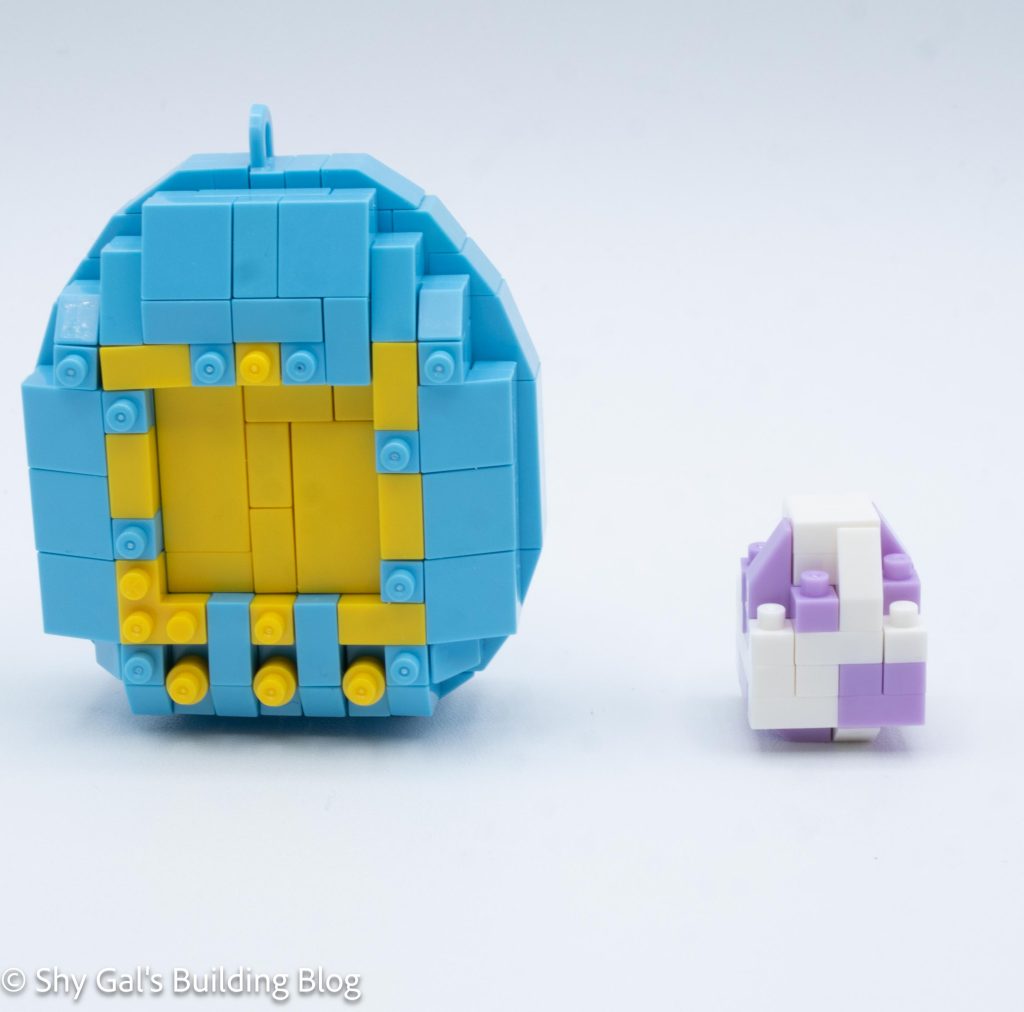
This kit is made up of 3 sections. The screen, the back, and the Egg.

I began by building the screen section. It’s 2 bricks high. It takes 6 steps to create the main screen section.

Next is when I would have added the sticker if I were using the stickers for this build. I don’t like kits that depend on stickers and rarely add them to kits. I do like that you can pick which Tamagotchi to put in the background.

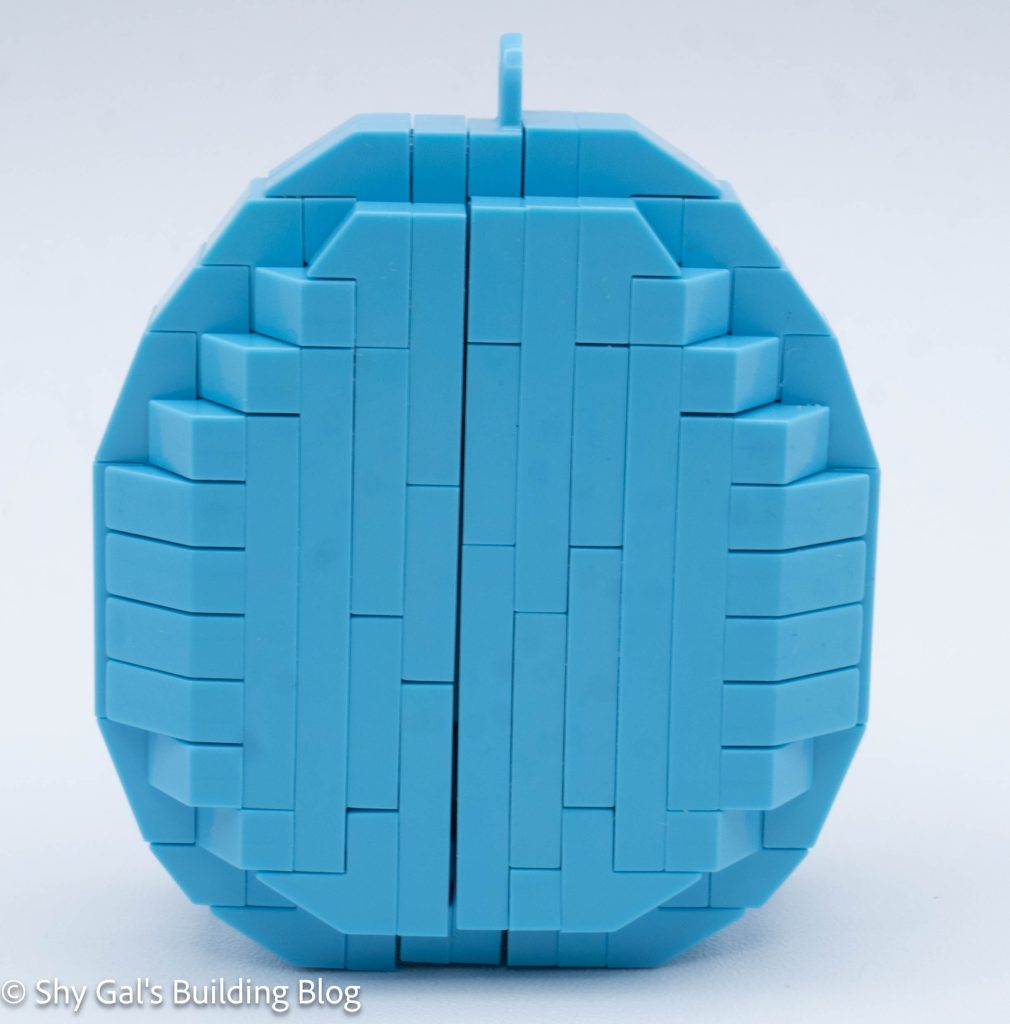
First Generation Tamagotchi (Blue) build back view

The final step of the screen is to add a frame around the center where the sticker goes.

The second section to build the back section.

First, I built the left side. I wasn’t sure what was going on at this point, so I just followed the directions and built.

First Generation Tamagotchi (Blue) build fonrt 3/4 view

Then I built the right side. Then I built the center. Then I connected both sides to the center section.

The final step of the process is to attach the screen to the back.

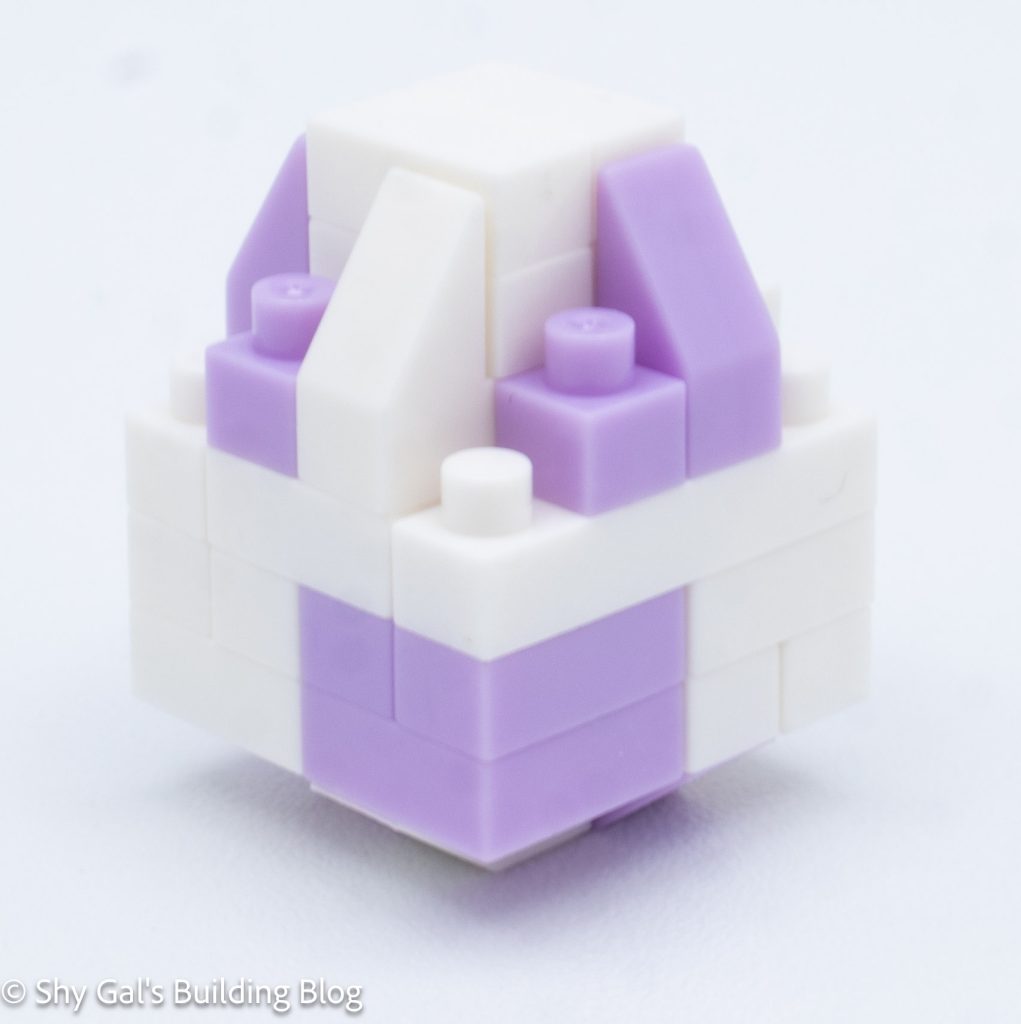
Egg

The final section is the Egg. It was very straightforward.

First Generation Tamagotchi (Blue) front view with egg

Things I liked:

  • I do like that you can pick which Tamagotchi to put in the background.

Things I didn’t like:

  • I don’t like that the kit requires stickers to create the screen