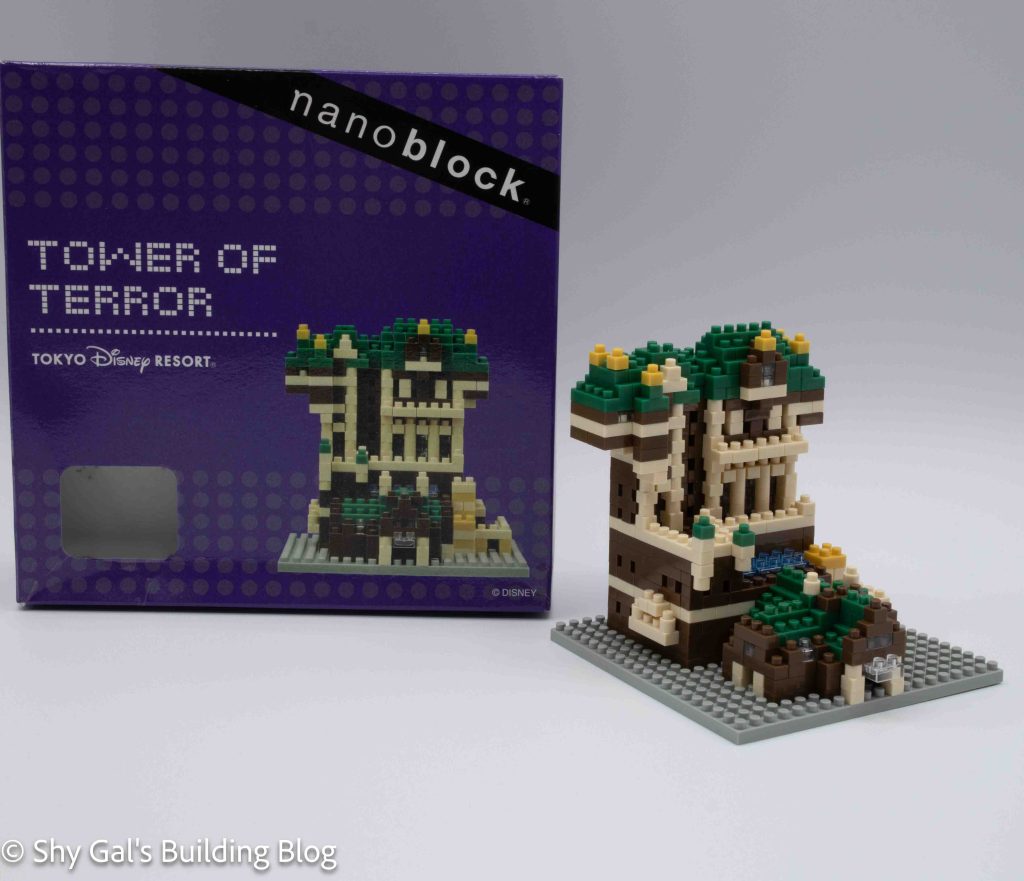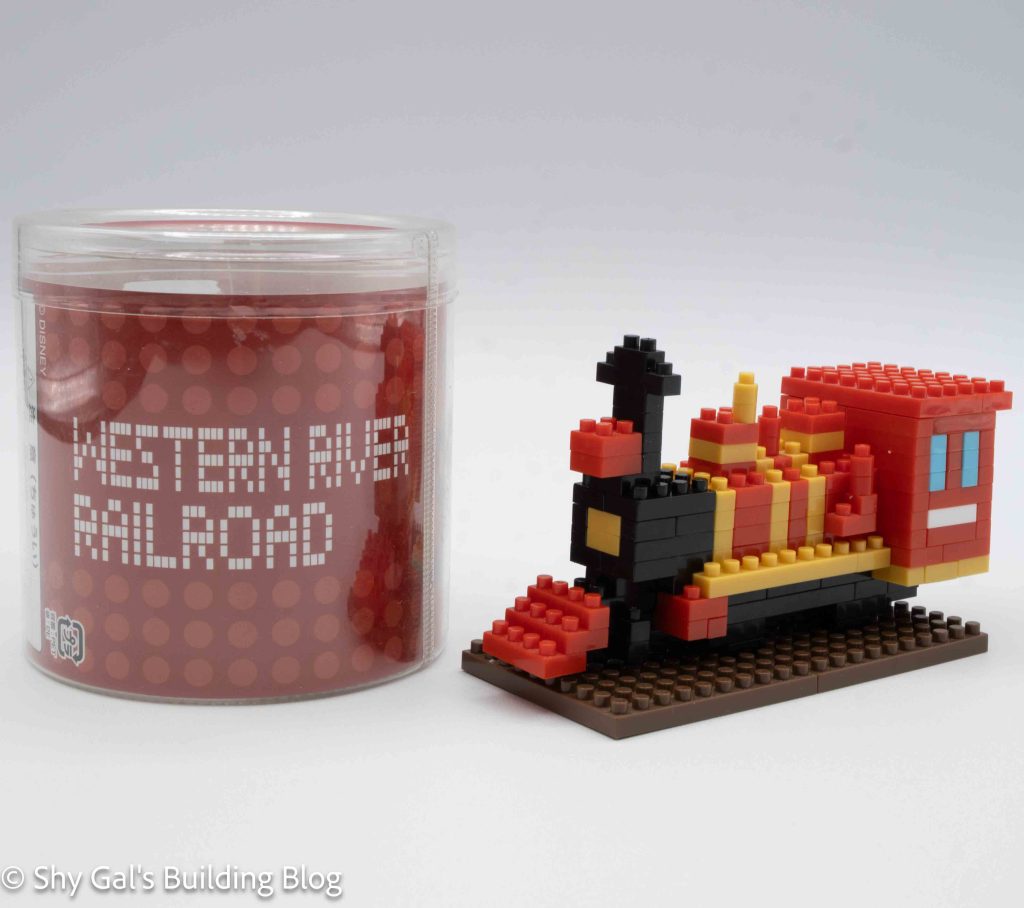
This post is a review of the nanoblock Tokyo Disney Resort Western River Railroad Canister build. This Western River Railroad is part of the nanoblock Disney Attraction collection. Wondering what else is part of the Disney Attraction collection? Click here for a list.
Western River Railroad was a canister kit that I bought totally opened; I did make sure there were bricks and instructions. Before starting the build, I pulled the kit that arrived apart and split all the bricks by size and color. I then started the build.
The instructions for this build were a bit different from most of the nanoblock builds I have done because they were black and white. You know which bricks to use because each color is labeled using mostly hiragana, so I was able to read the colors at least.
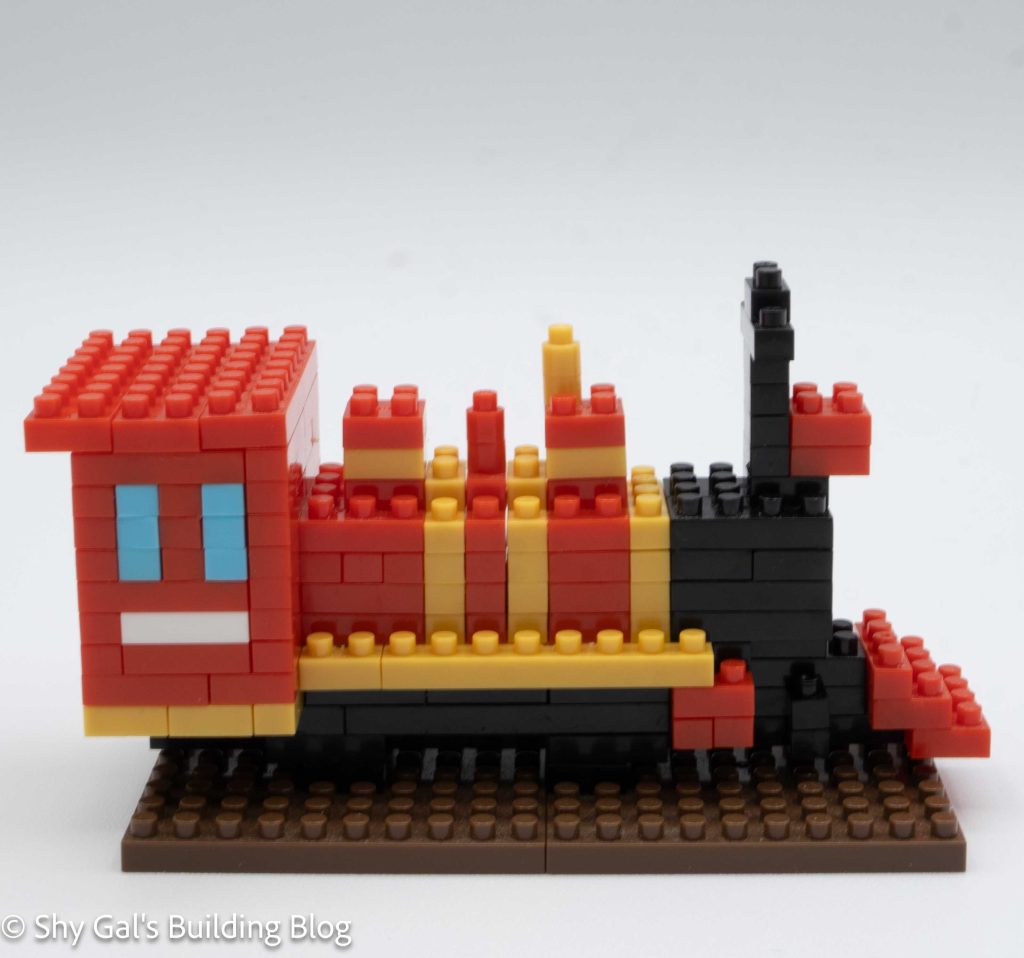
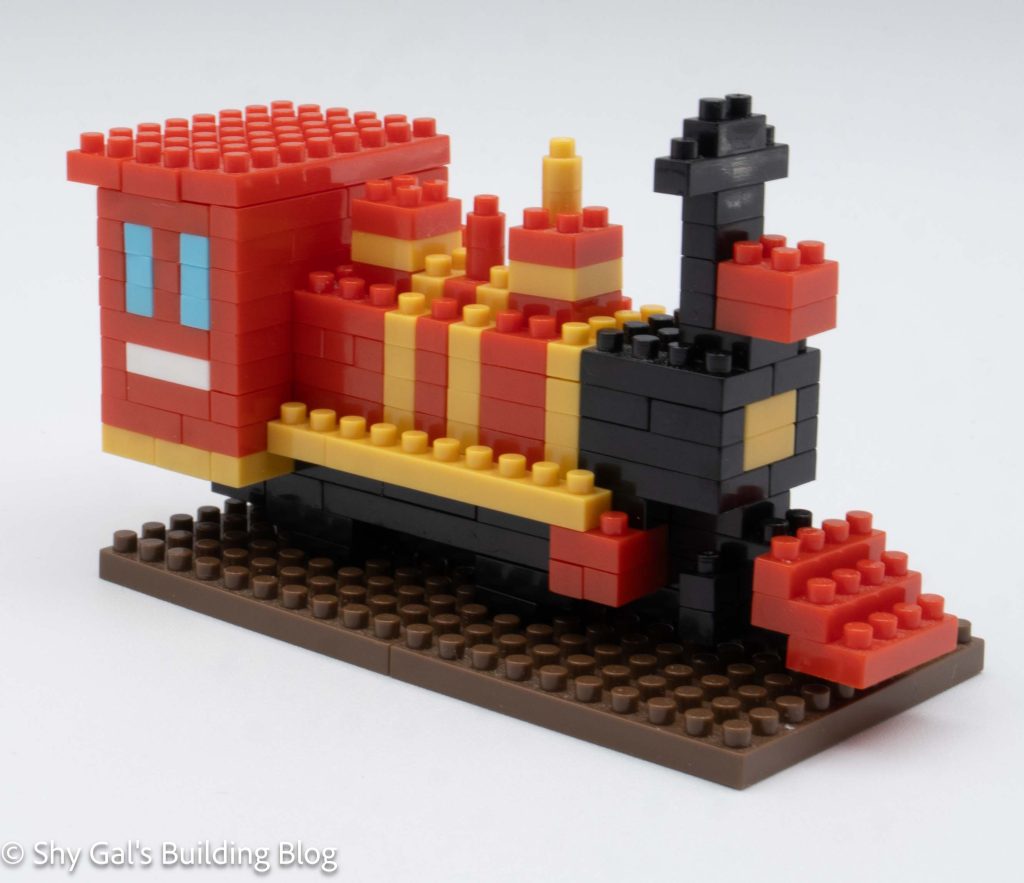
This build used 5 different colors: red, black, gold, a bit of blue, and white.
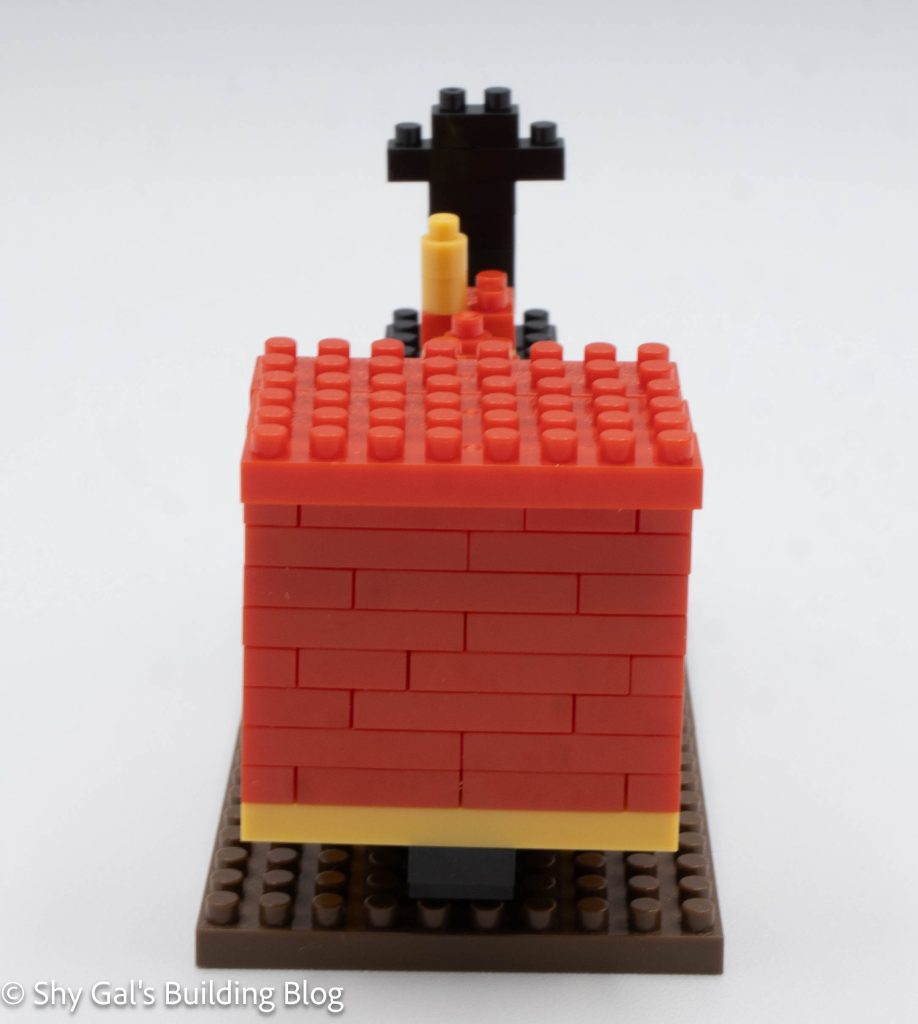
I started the build on my pad by laying out the base layer. I built up some layers, which created the width and body of the train. It was very straightforward for how and where to add each color.
After several layers, you start adding the windows. At this point, I stopped using the pad and held the build so that I could try to keep things more square.
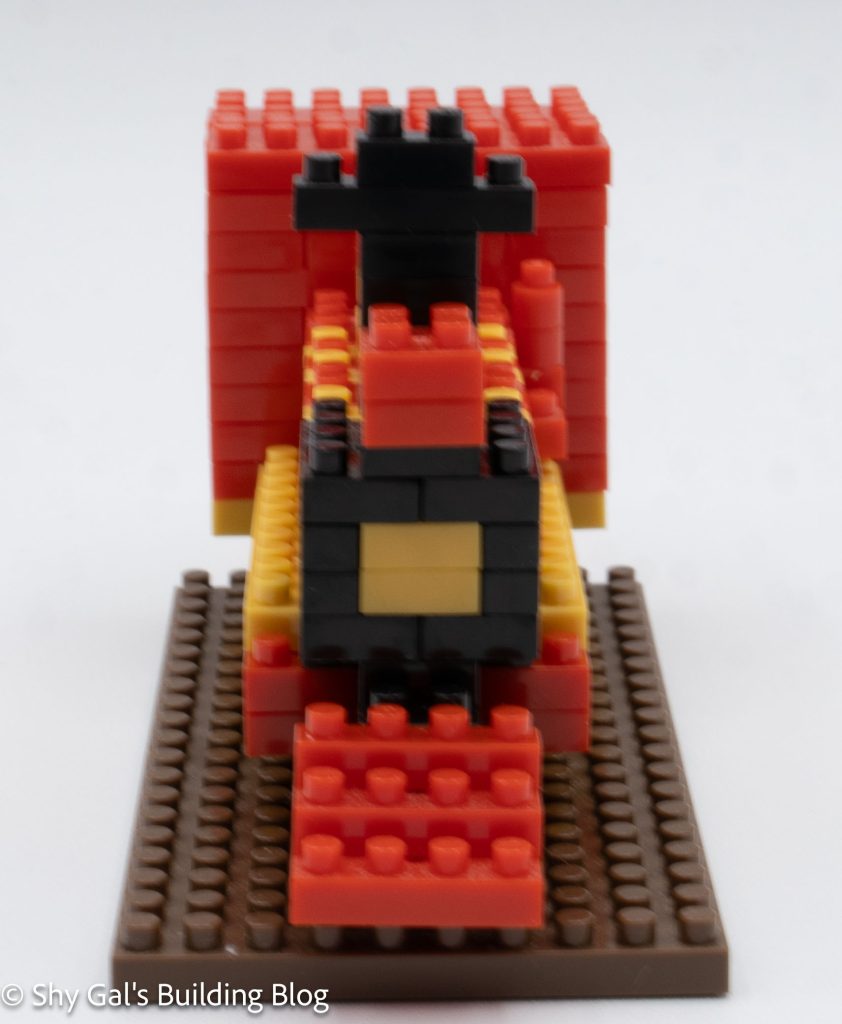
After adding the final details of the roof of the cabin, chimney, and bell, you add wheels to connect the train to the base. It was a little hard to tell where exactly things went.
Things I liked:
- Getting to practice my Japanese to read the colors
Things I didn’t like:
- How it was hard to get the wheels lined up on the base