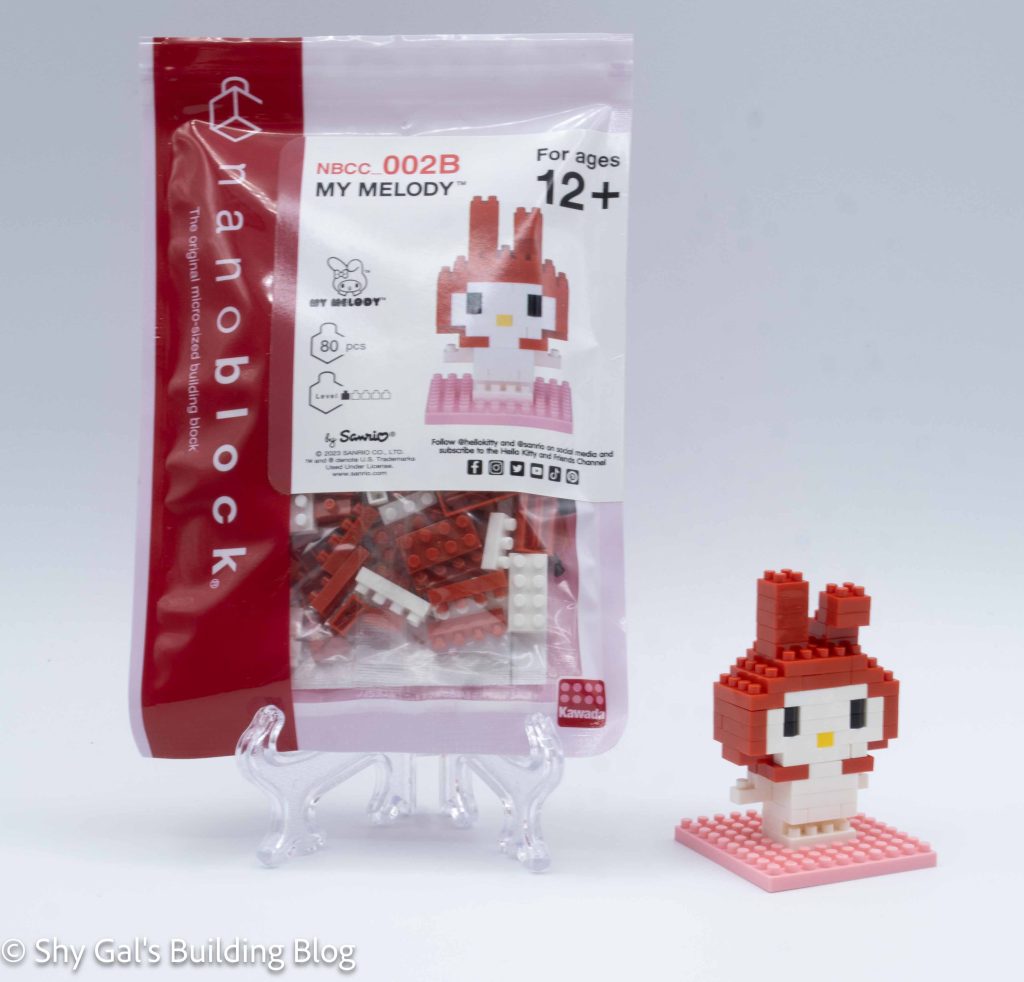
This kit is a re-release of My Melody NBCC_002. Read the review here.
Your reference for LEGO and nanoblock builds
This kit is a re-release of My Melody NBCC_002. Read the review here.
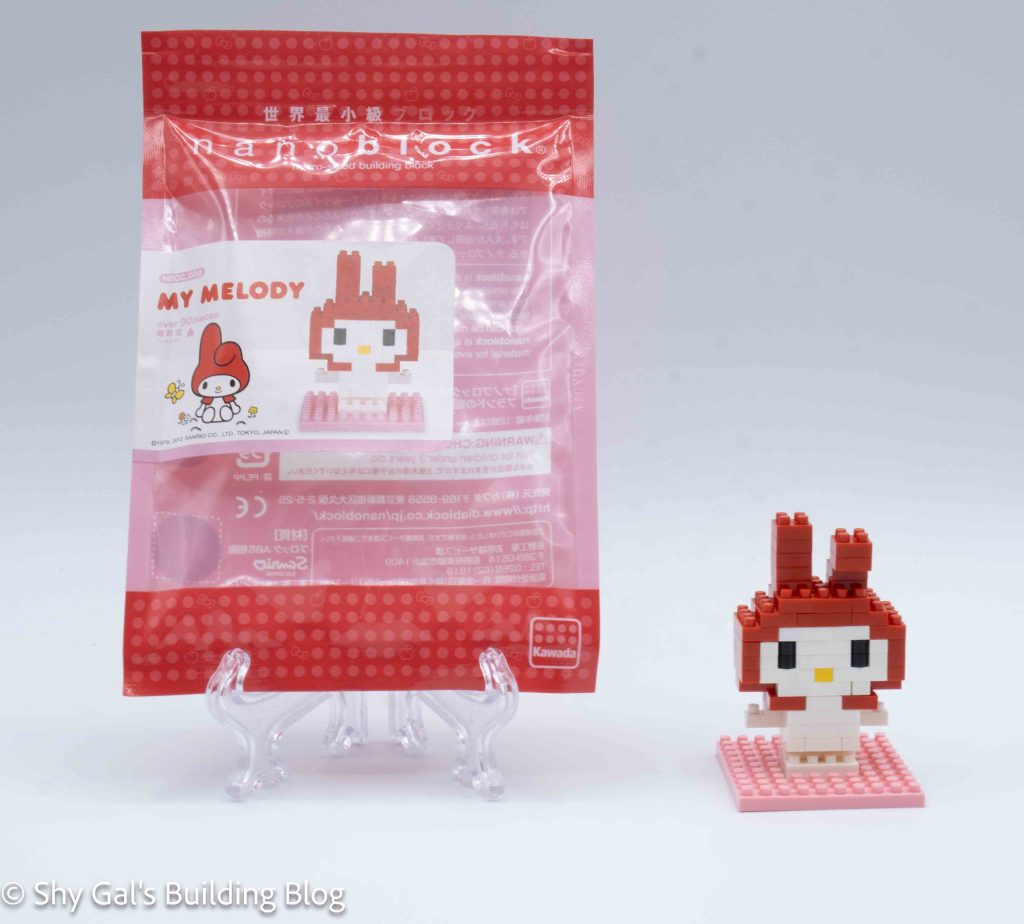
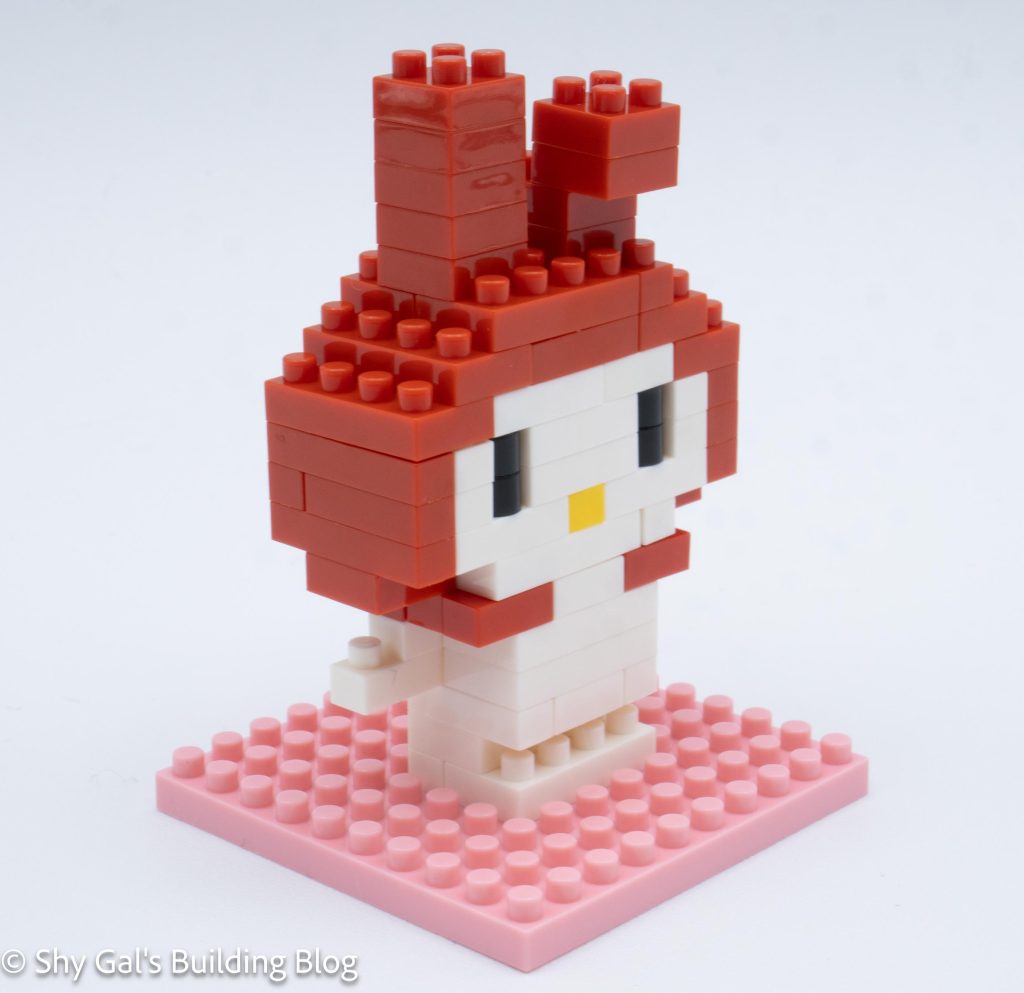
This post is a review of the nanoblock My Melody build. My Melody is part of the nanoblock Character collection. Wondering what else is part of the Character collection? Click here for a list.
Number: NBCC_002
Number of Pieces: 90
Difficulty Rating: 1
This kit was re-released as number NBCC_002B.
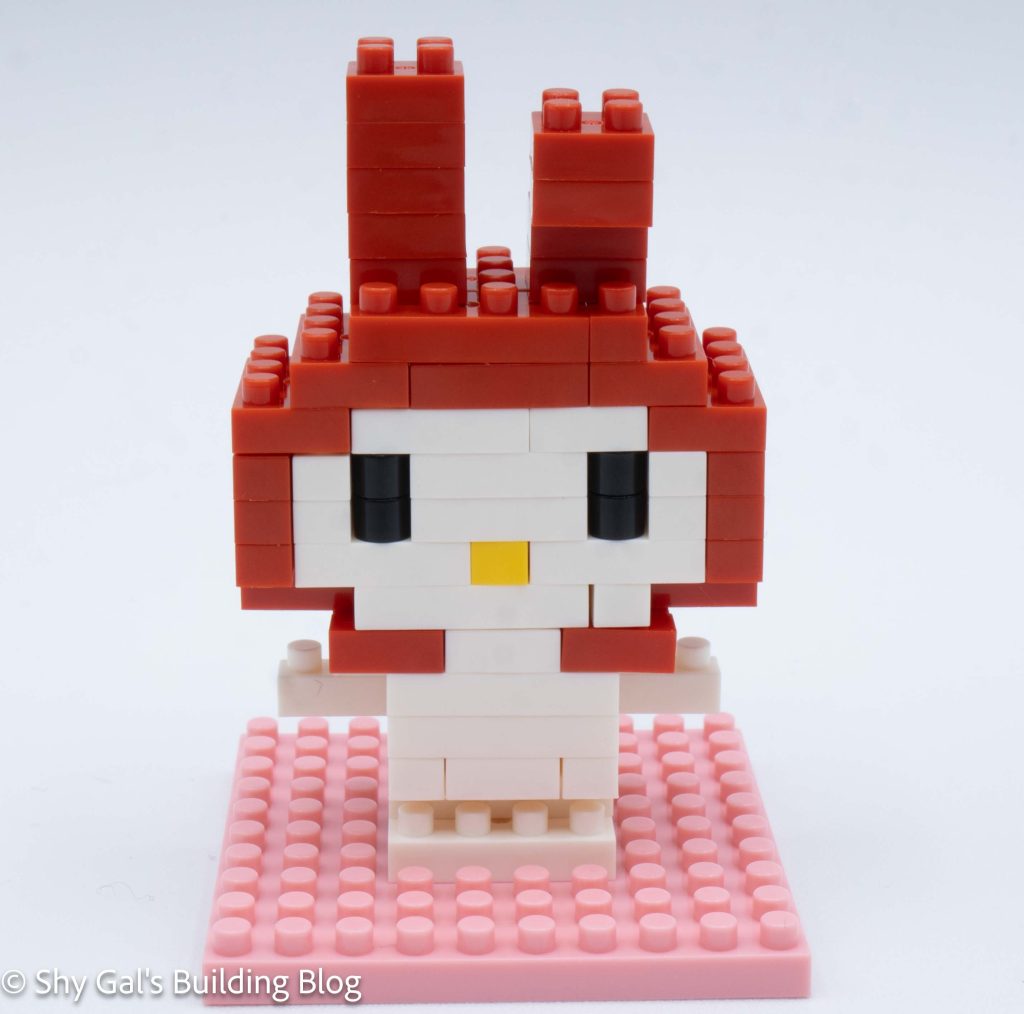
This build of made up of 2 sections. There is the head and the body.
I began by laying out the base layer of the head on my nanoblock pad.
The head goes up in very straightforward layers. I added the nose and eyes.
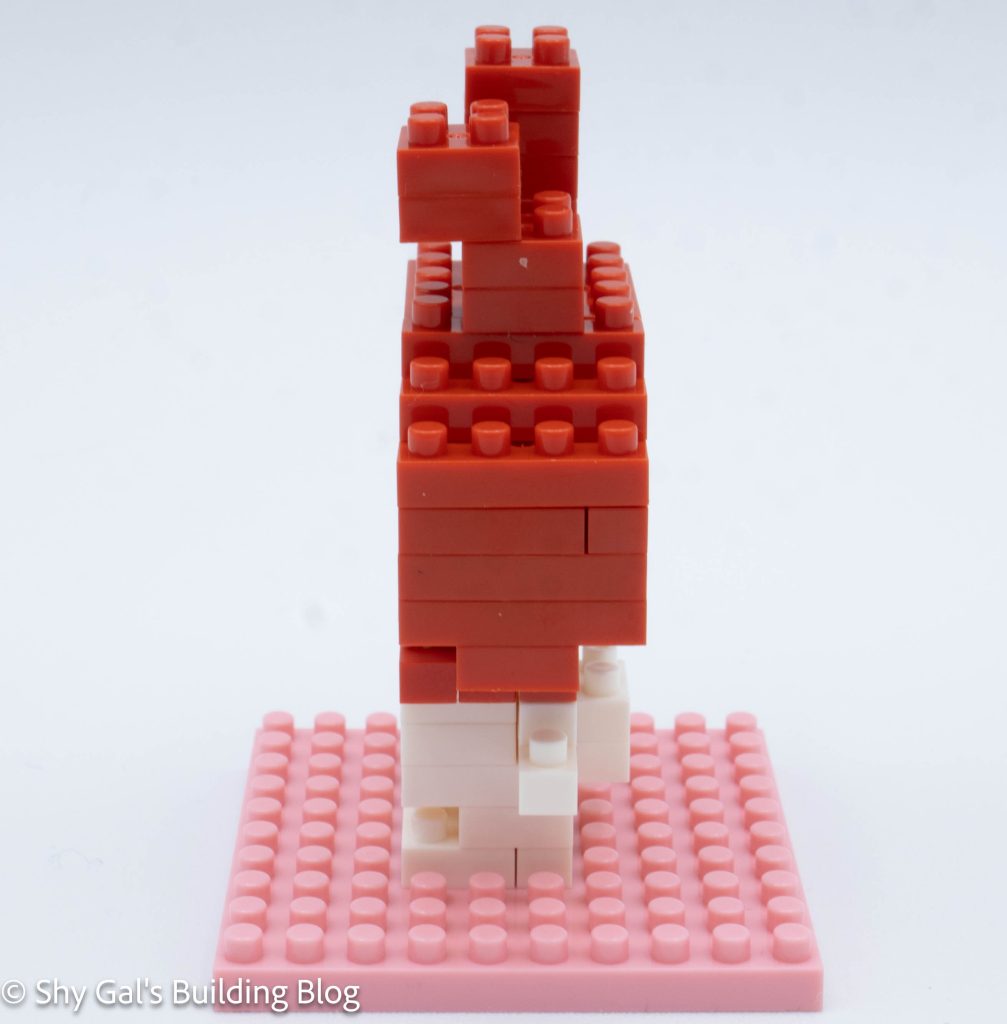
When I got to the top, I added the ears. One is bent forward and one is upright.
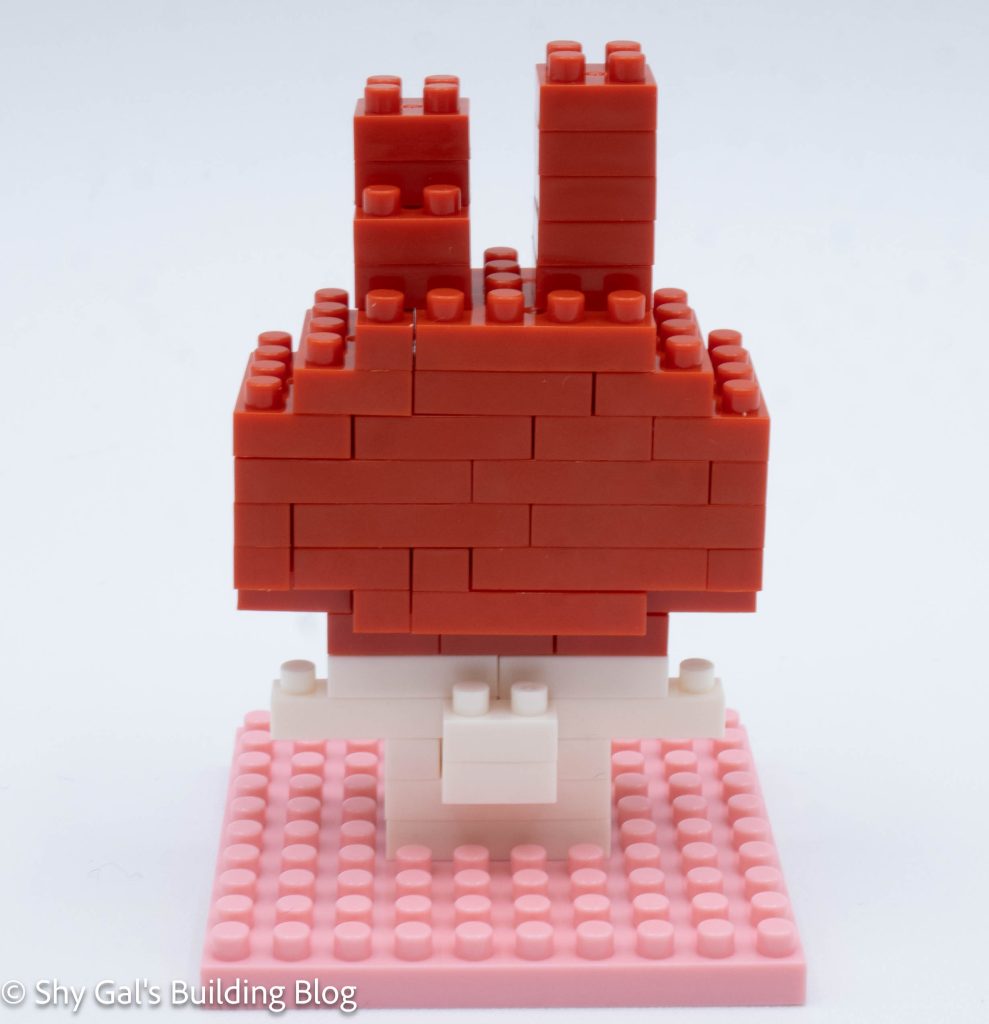
To start the body, I lay the base layer of bricks on the pink base plate.
The body goes up in layers, adding the legs and arms.
The final step is to attach the head to the body. There are very clear directions as to how to attach the head so it is properly lined up.
Things I liked:
Things I didn’t like:
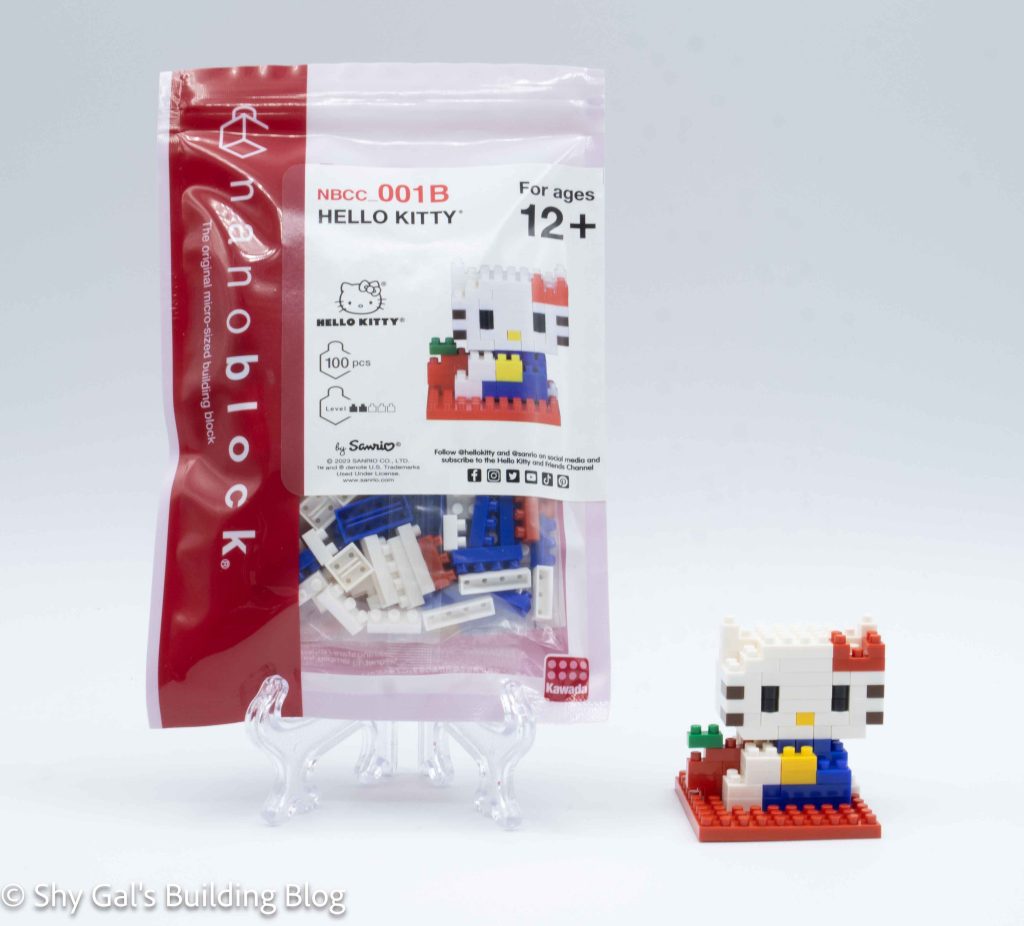
This kit is a re-release of Hello Kitty NBCC_001. Read the review here.
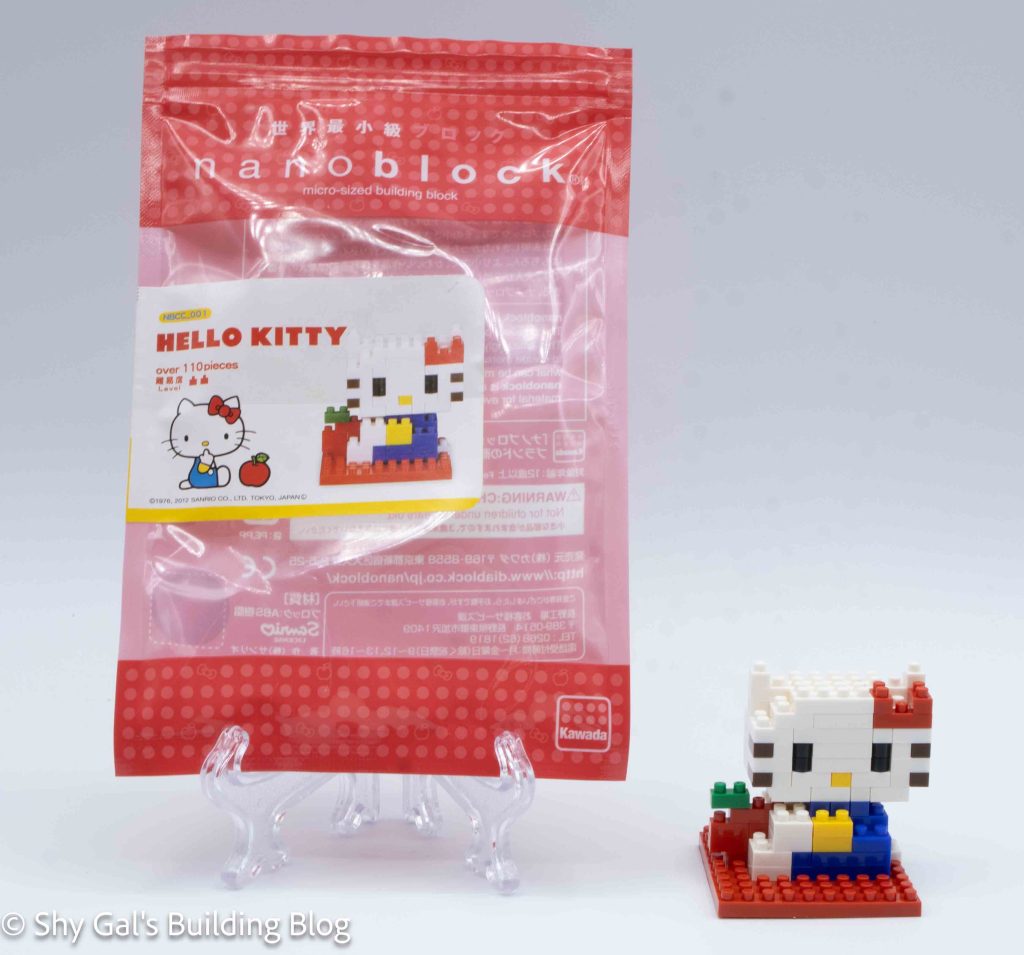
This post is a review of the nanoblock Hello Kitty build. Hello Kitty is part of the nanoblock Character collection. Wondering what else is part of the Character collection? Click here for a list.
Number: NBCC_001
Number of Pieces: 110
Difficulty Rating: 2
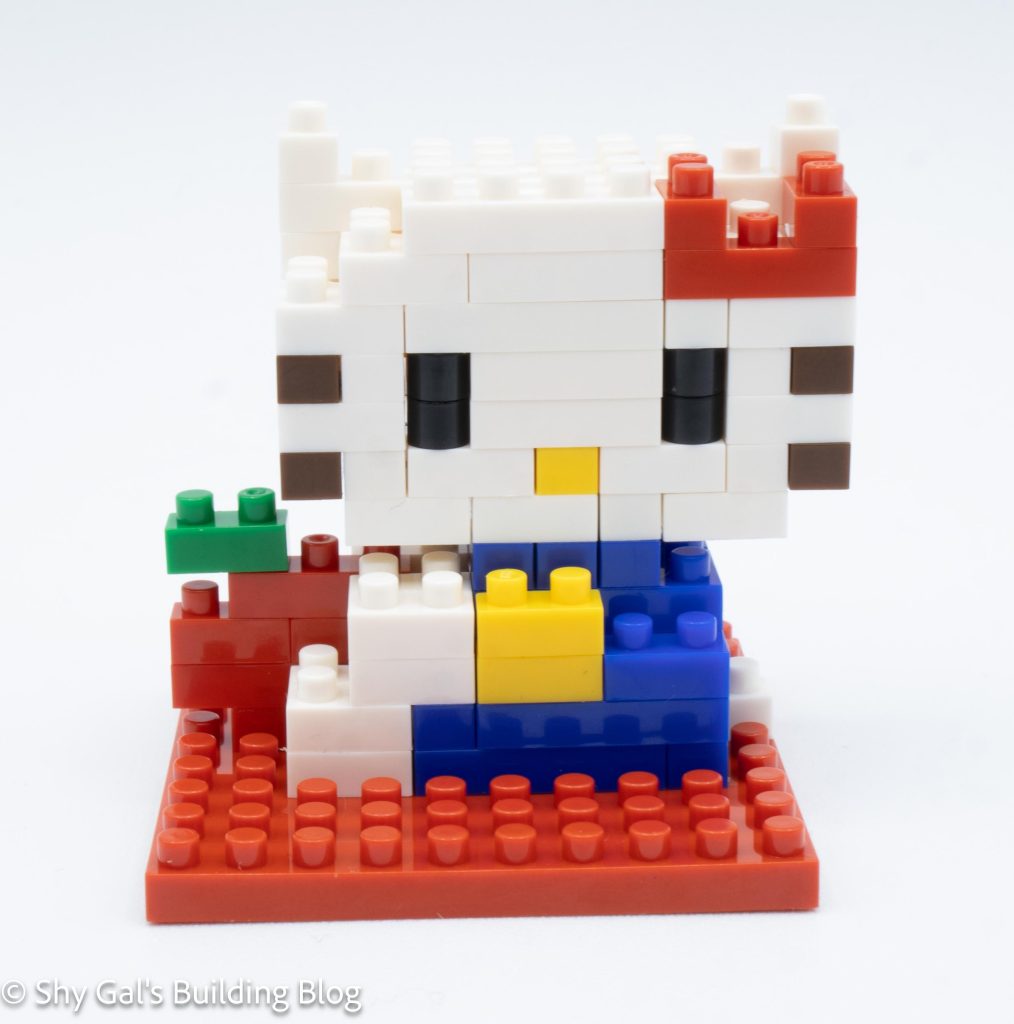
This kit was re-released as number NBCC_001B.
This is a build of Hello Kitty sitting and holding an apple.
This build is made up of 2 sections. There is the head and the body.
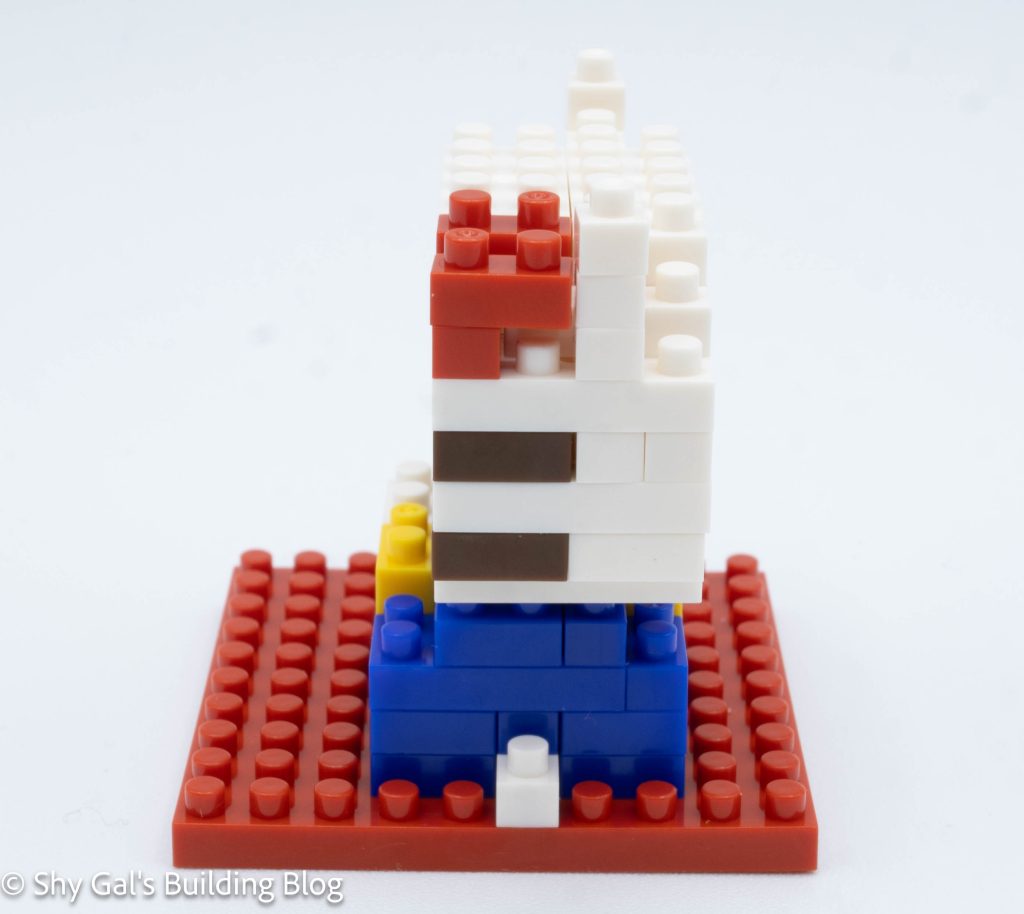
I began by laying out the base layer of the head on my nanoblock pad.
The head goes up in very straightforward layers. I added the nose, eyes, and whiskers.
When I got to the top, I added the bow and ears. Both the bow and ears look awkward in my opinion.
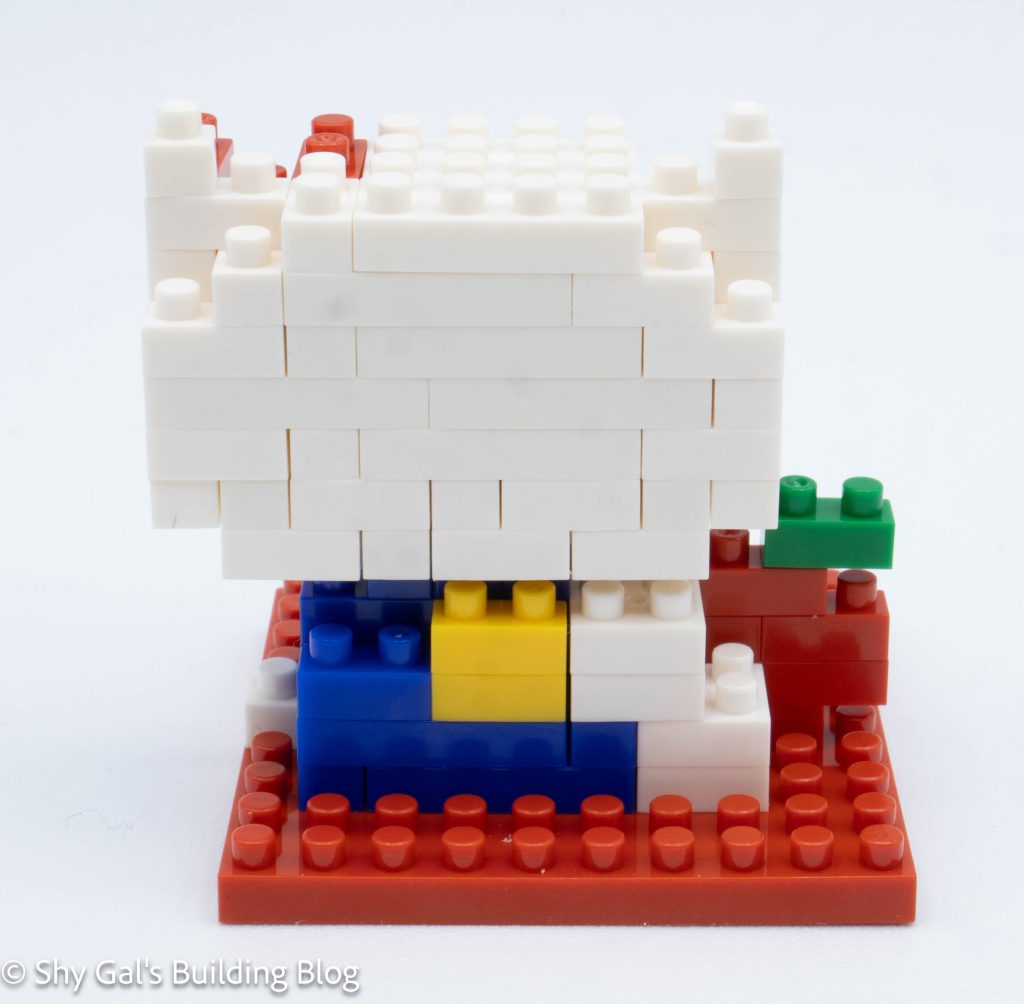
To start the body, I lay the base layer of bricks on the red base plate.
The body goes up in layers, adding the legs, arms, sleeves, and apple.
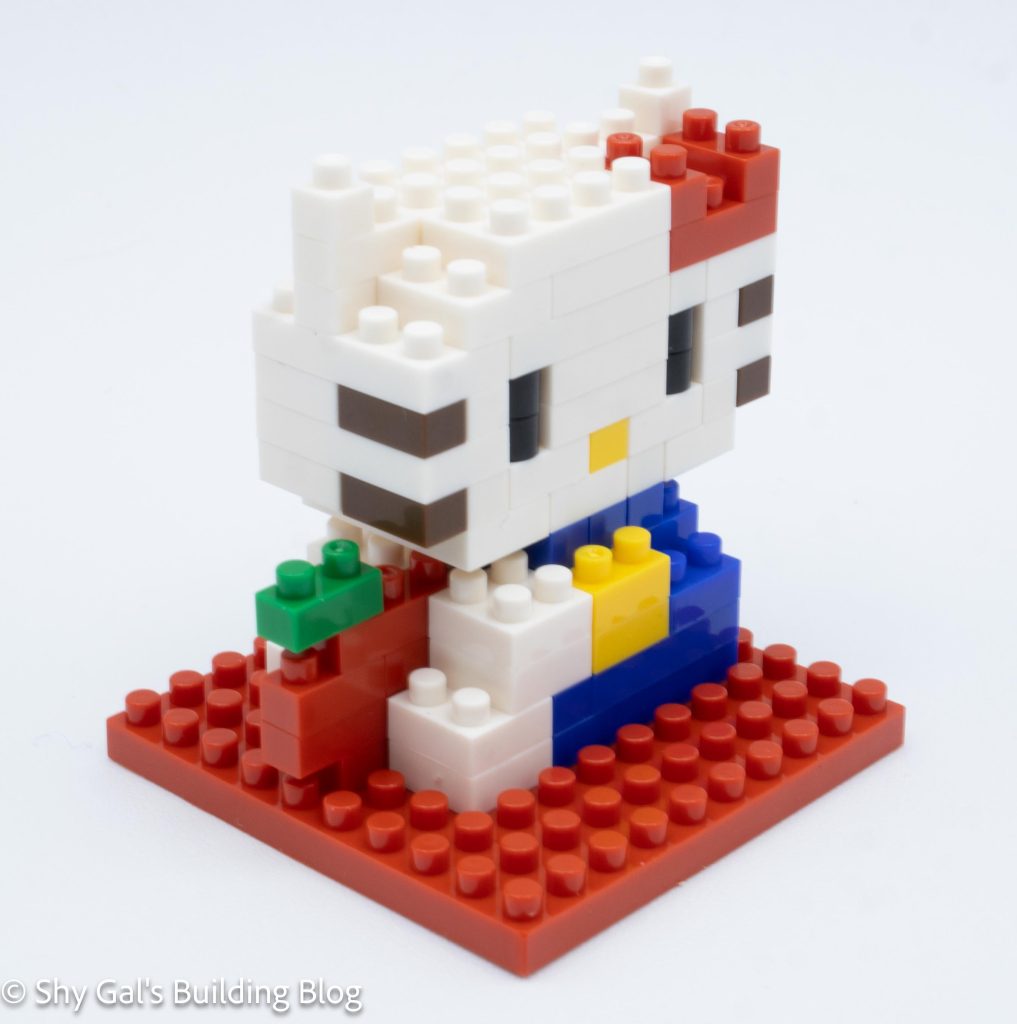
The final step is to attach the head to the body. There are very clear directions as to how to attach the head so it is properly lined up.
Things I liked:
Things I didn’t like:
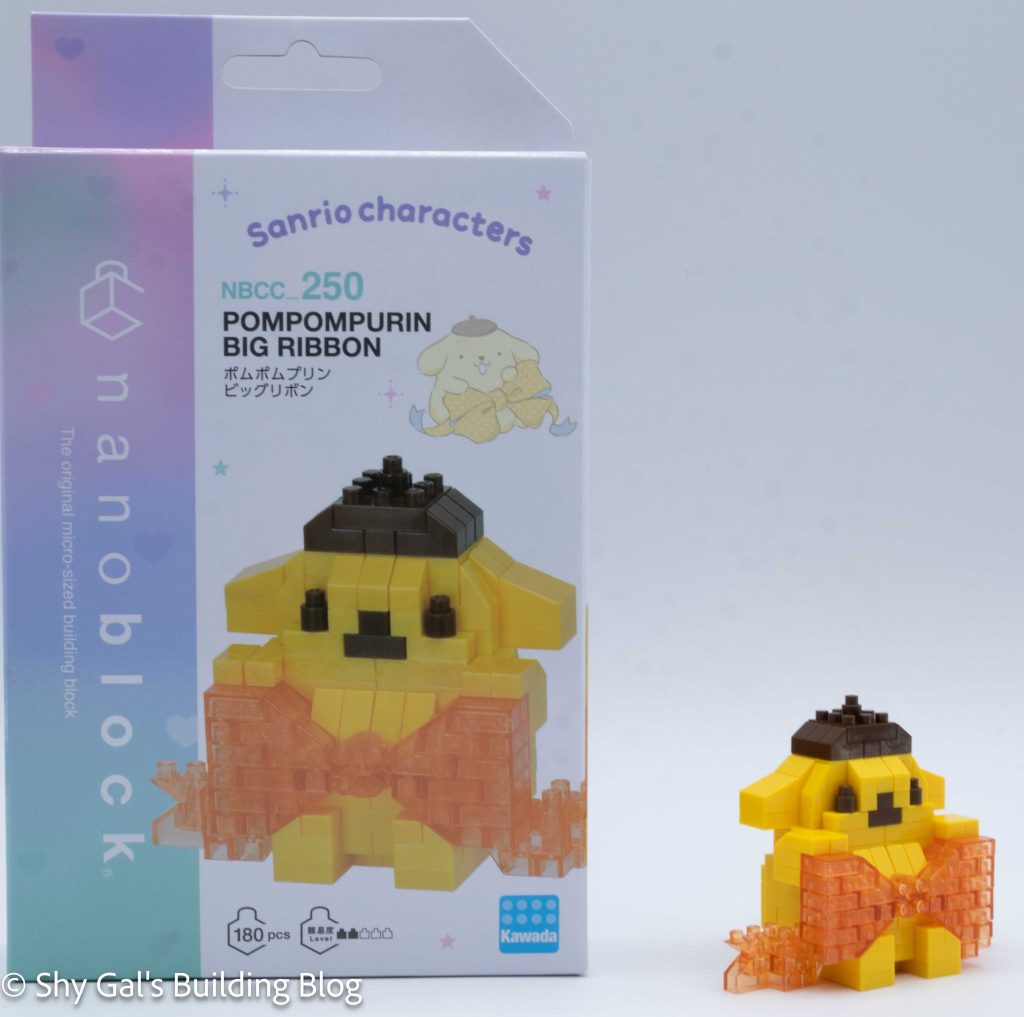
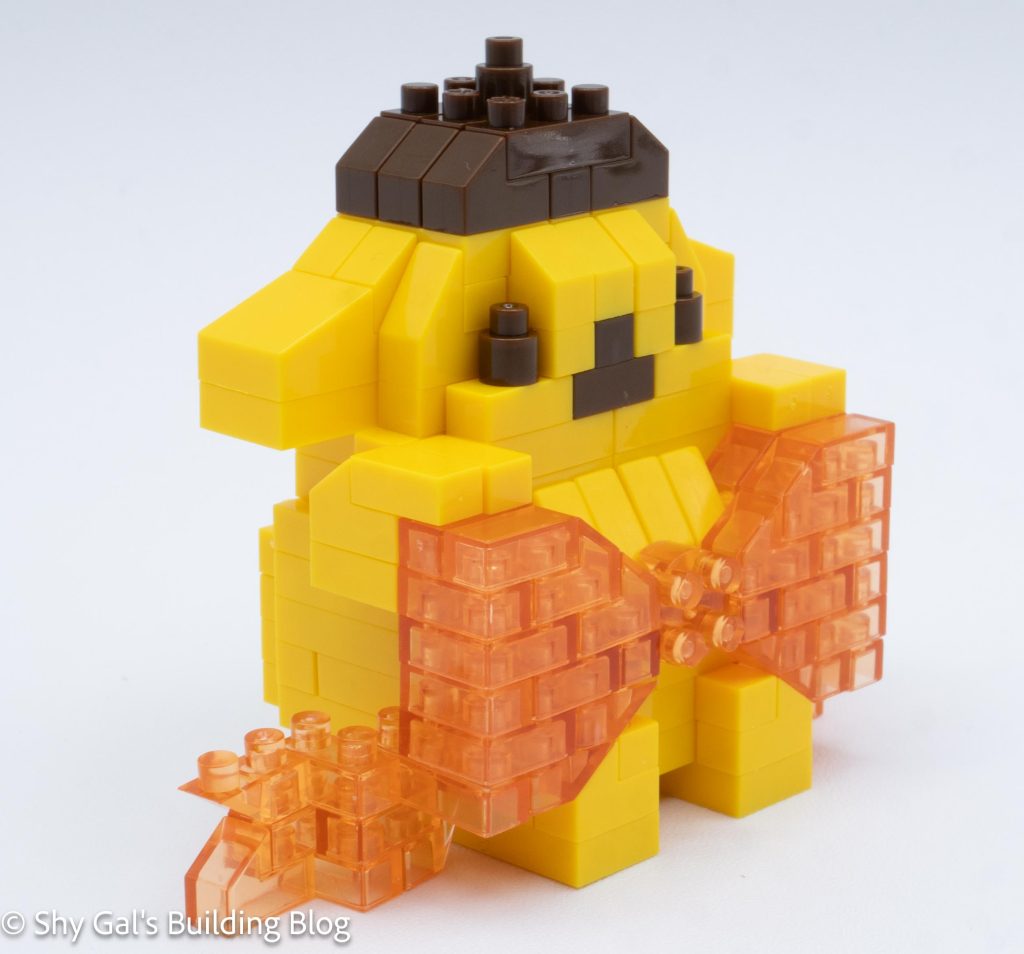
This post is a review of the nanoblock Pompompurin Big Ribbon build. Pompompurin Big Ribbon is part of the nanoblock Character collection. Wondering what else is part of the Character collection? Click here for a list.
Number: NBCC_250
Number of Pieces: 180
Difficulty Rating: 2/5
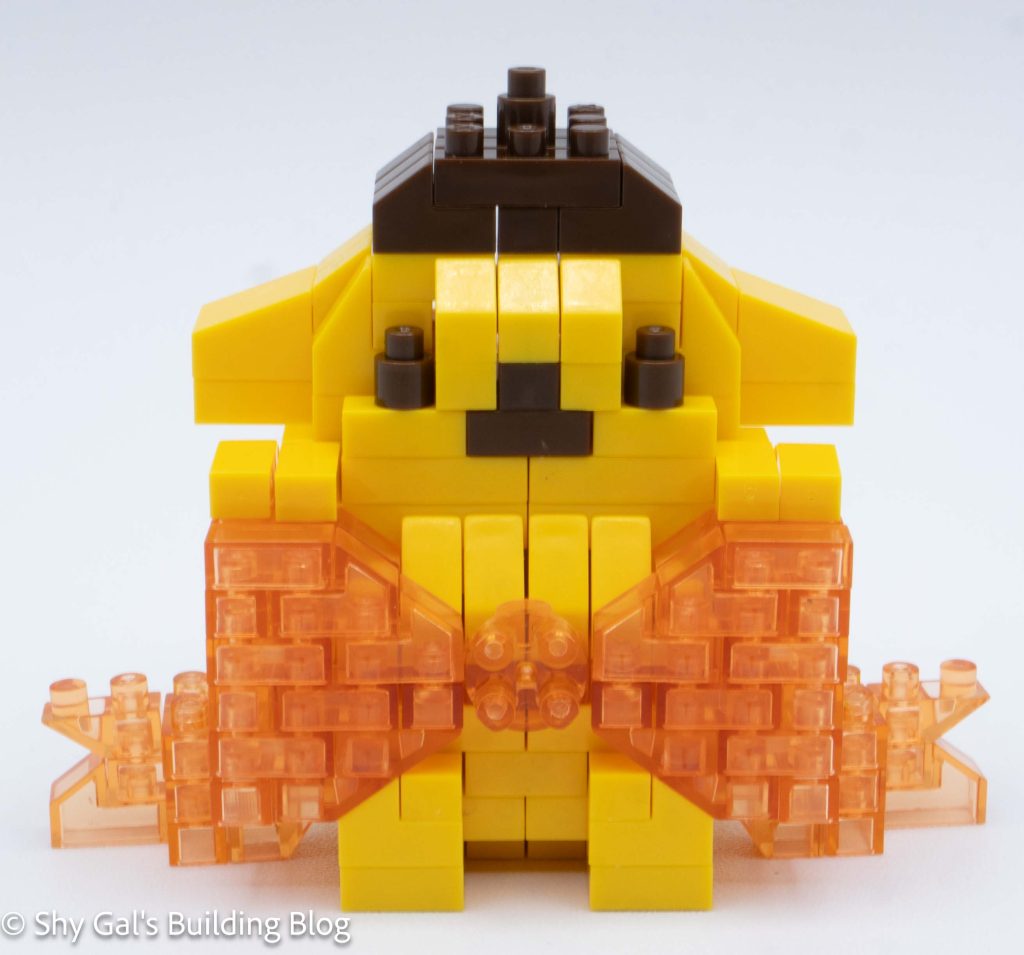
I began the build by laying the base layer of bricks out on my nanoblock pad.
I added a couple of layers of bricks and started to work on the bow.
Next, I added the very large printed brick. My printed brick was loose, so it kept falling apart as I added more layers.
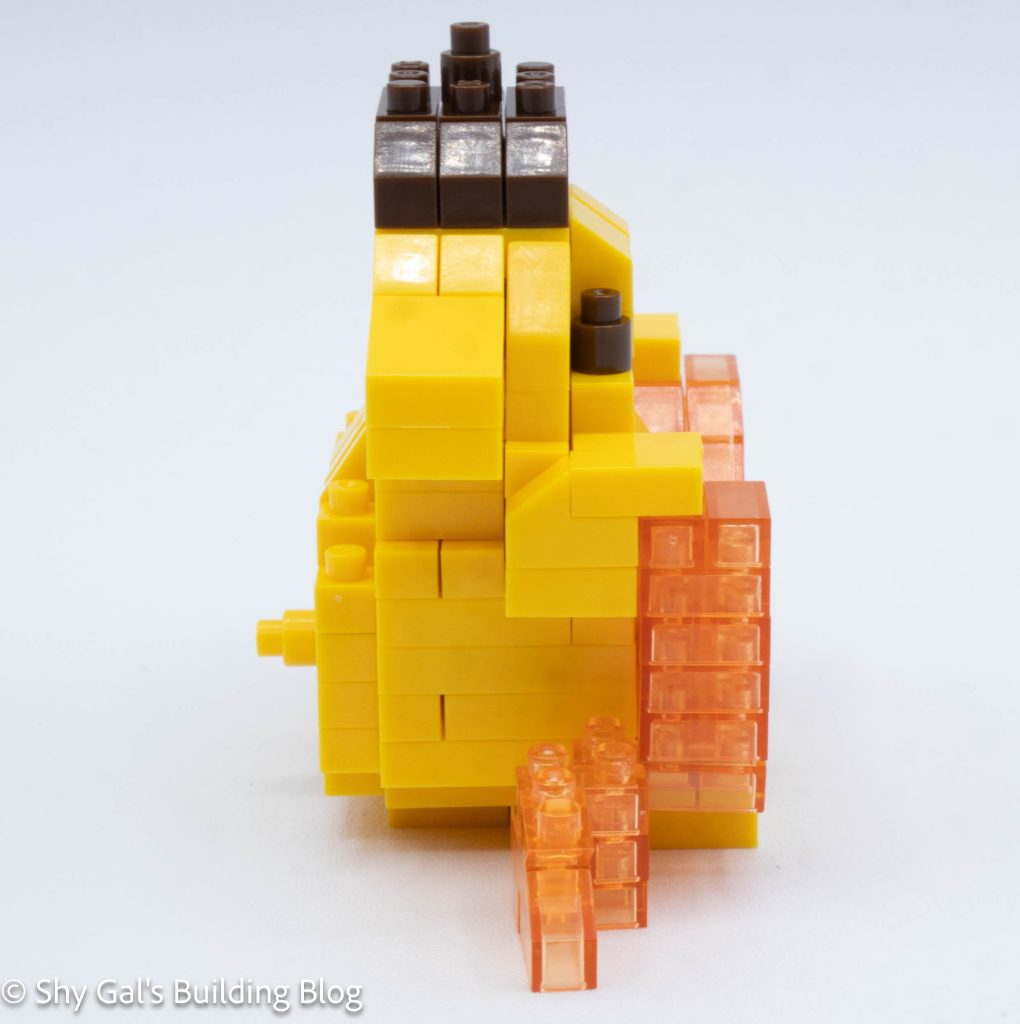
Then I added more layers of yellow and clear orange bricks. These steps build up the main body and the main section of the bow.
After building the main section of the bow, it was time to make the head.
I continued to add layers to build the head. I added the mouth, nose, and eyes.
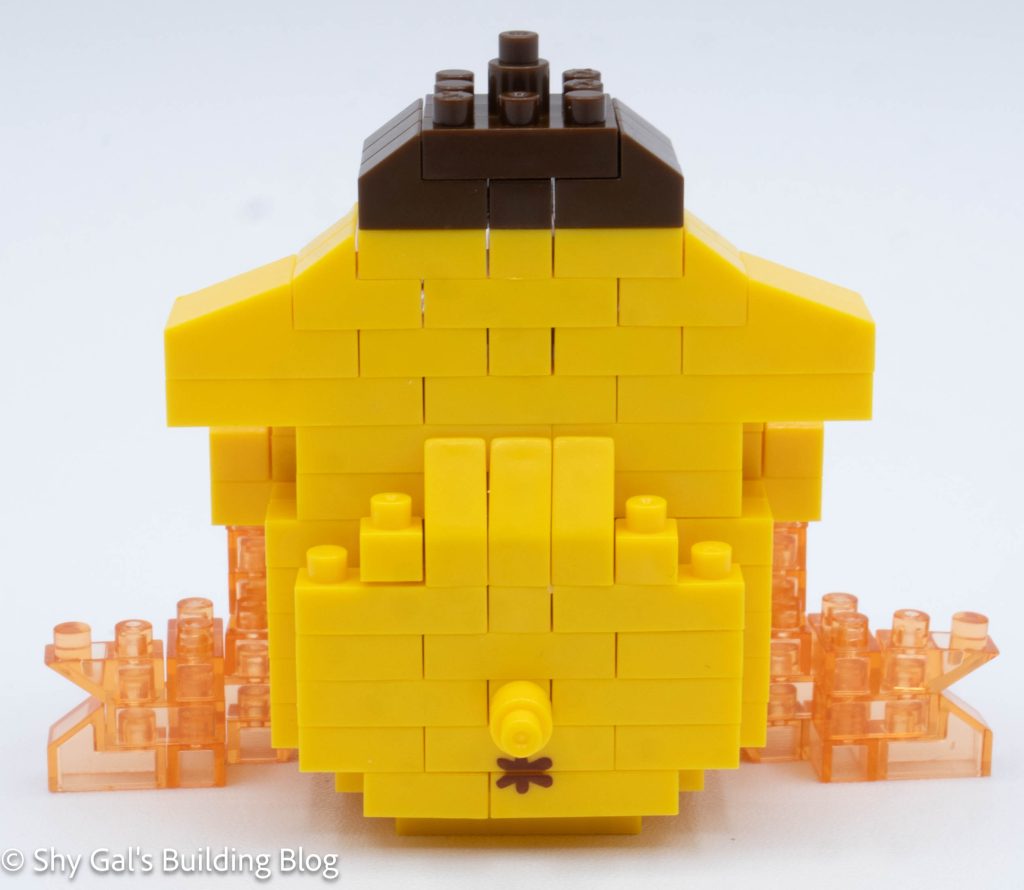
After closing up the head, I added his little hat.
Next, I added a bow in the center of the bow and Pompompurin’s tail.
The final step was to add the ends to the ribbons. I like that the bow wraps around Pompompurin.
Things I liked:
Things I didn’t like:
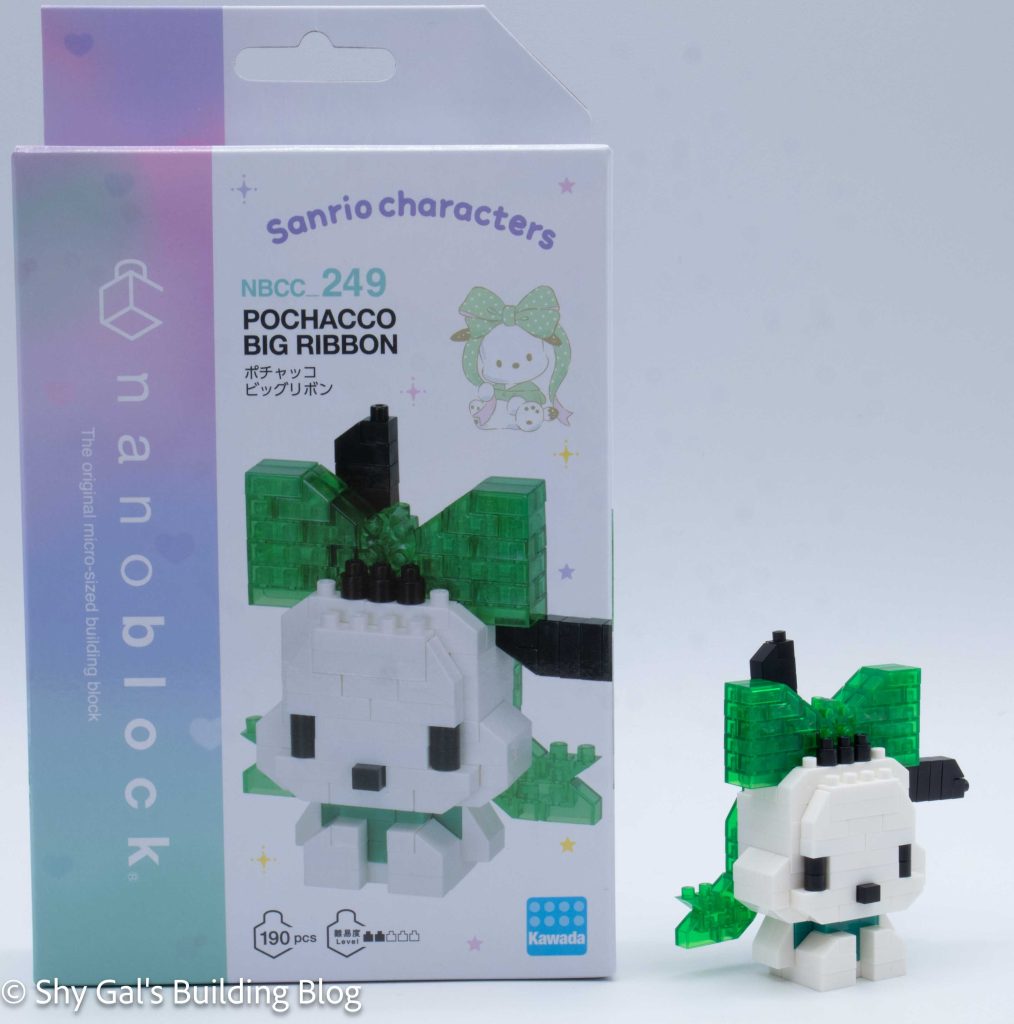
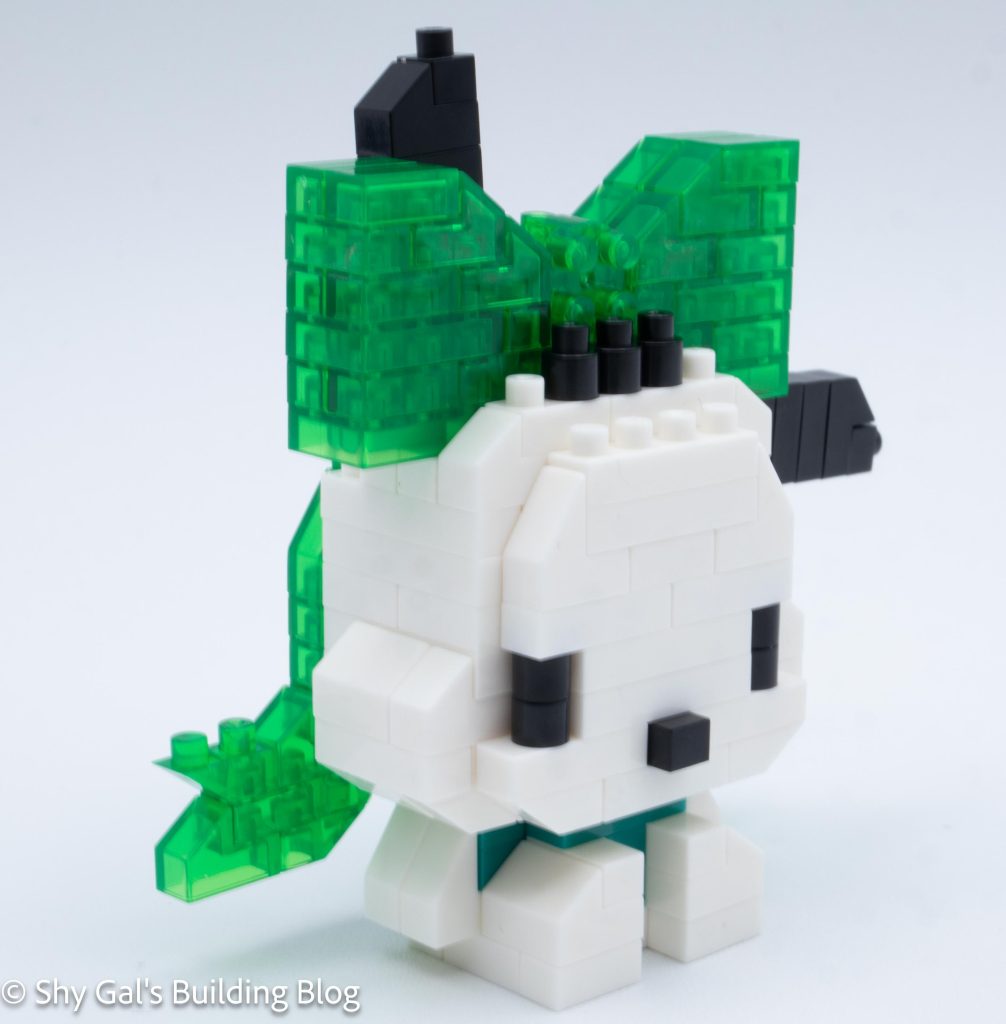
This post is a review of the nanoblock Pochacco Big Ribbon build. Pochacco Big Ribbon is part of the nanoblock Character collection. Wondering what else is part of the Character collection? Click here for a list.
Number: NBCC_249
Number of Pieces: 190
Difficulty Rating: 2/5
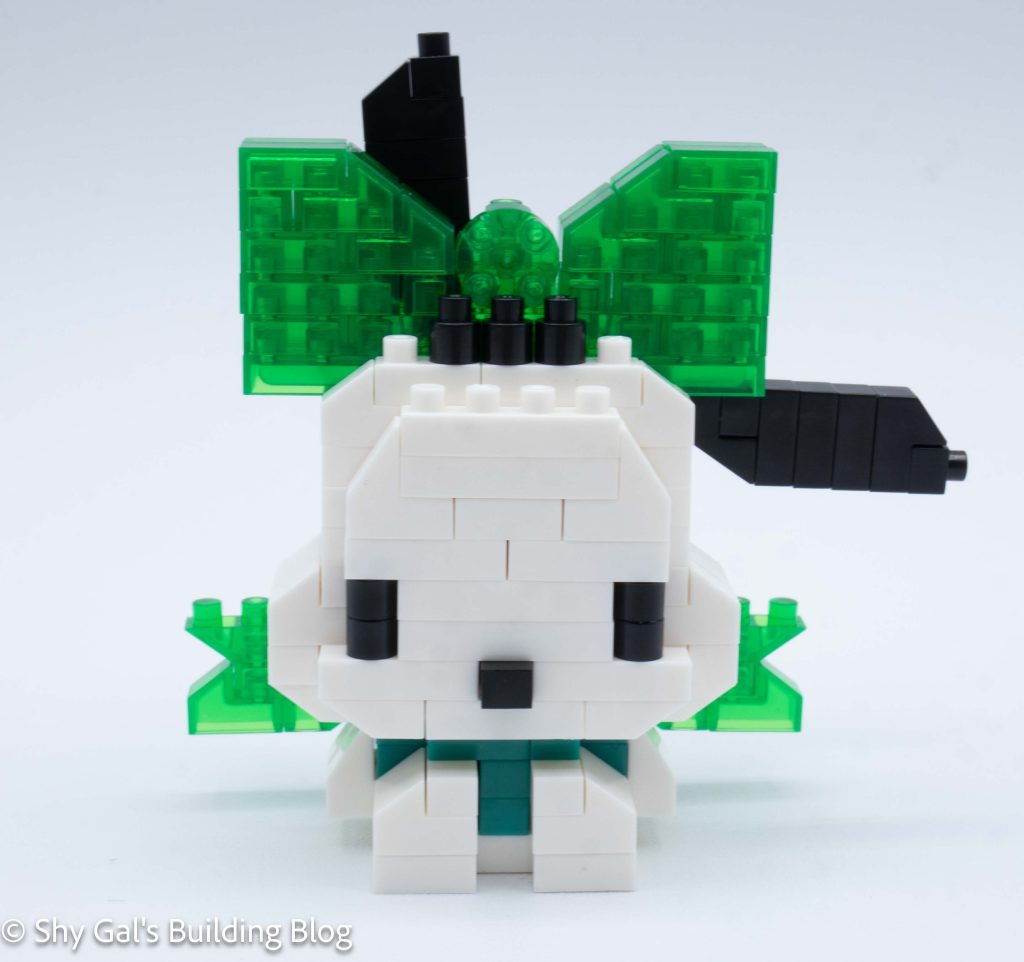
This build is created in 2 segments. There is the head and the body.
I began the head by laying the foundation out on my nanblock pad. It takes 5 steps to create the entire base of the head.
Next, I built the head up in layers. I added the eyes and pulled the bow up along the back of the head.
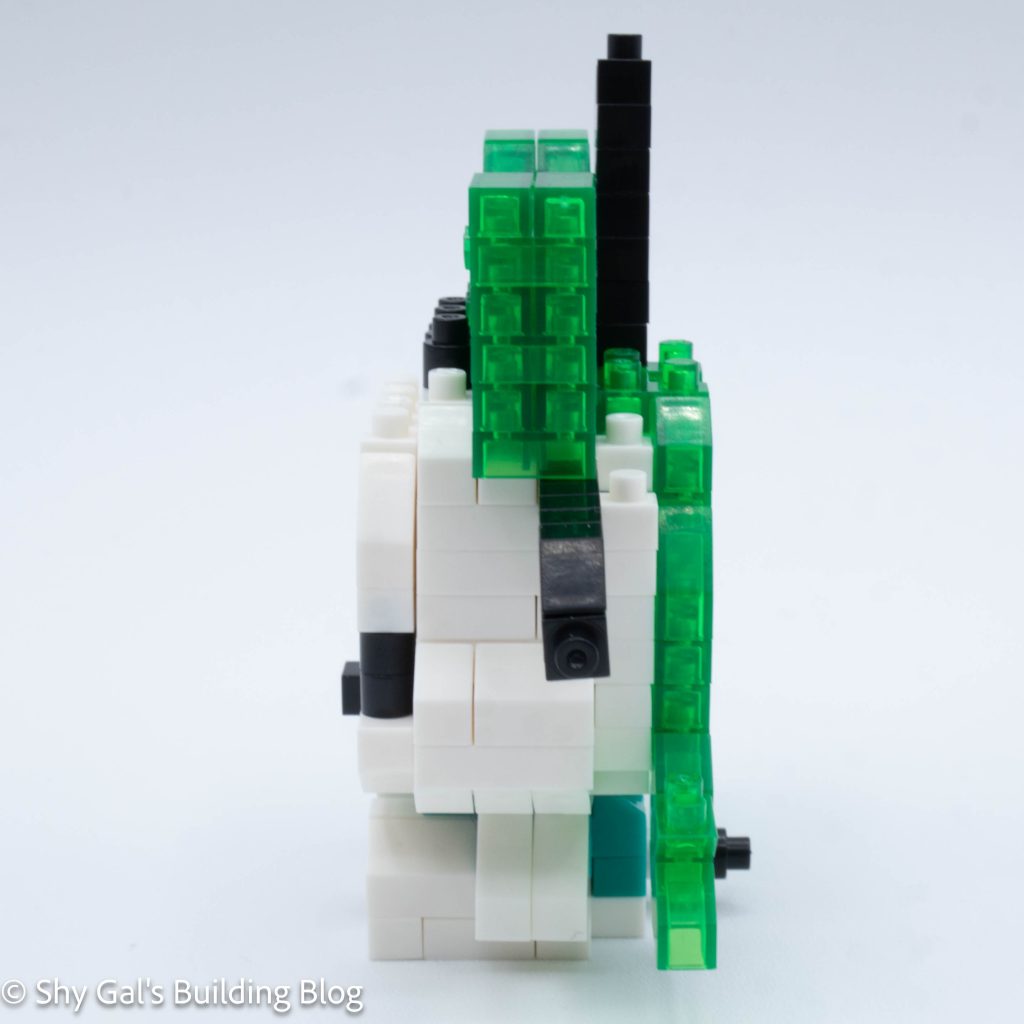
After several layers, I completed the head, and it was time to focus on the bow.
The bow was very straightforward. I began by building up the side of the bow. Then I added the center.
Next, I added the ears and the bottom of the bow. I like that the build keeps Pochacco’s wonky ears and that they don’t both stick up.
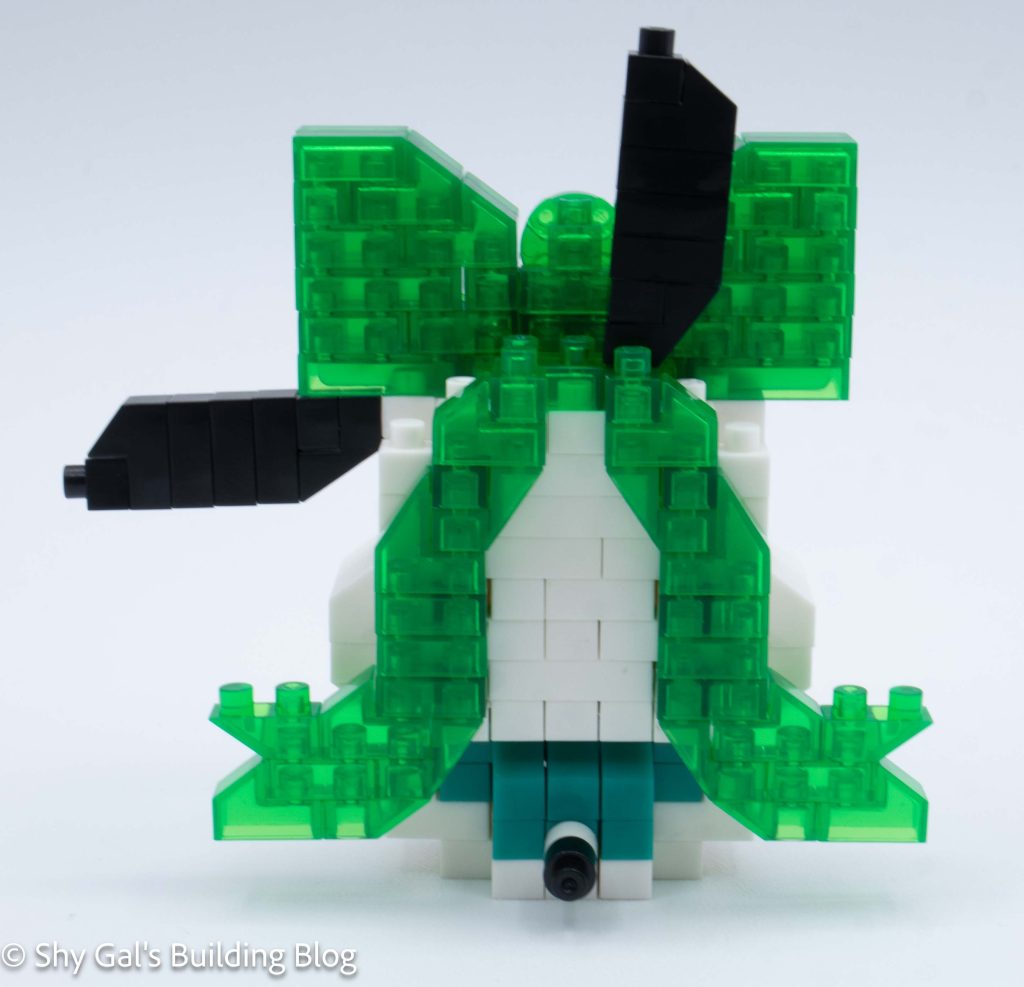
I started the body by laying the brick out on the nanoblock pad.
Then I added the bricks on the front to create the legs and added bricks for the arms.
Next, I added some layers to close up the body.
The final step is to attach the head to the body.
Things I liked:
Things I didn’t like:
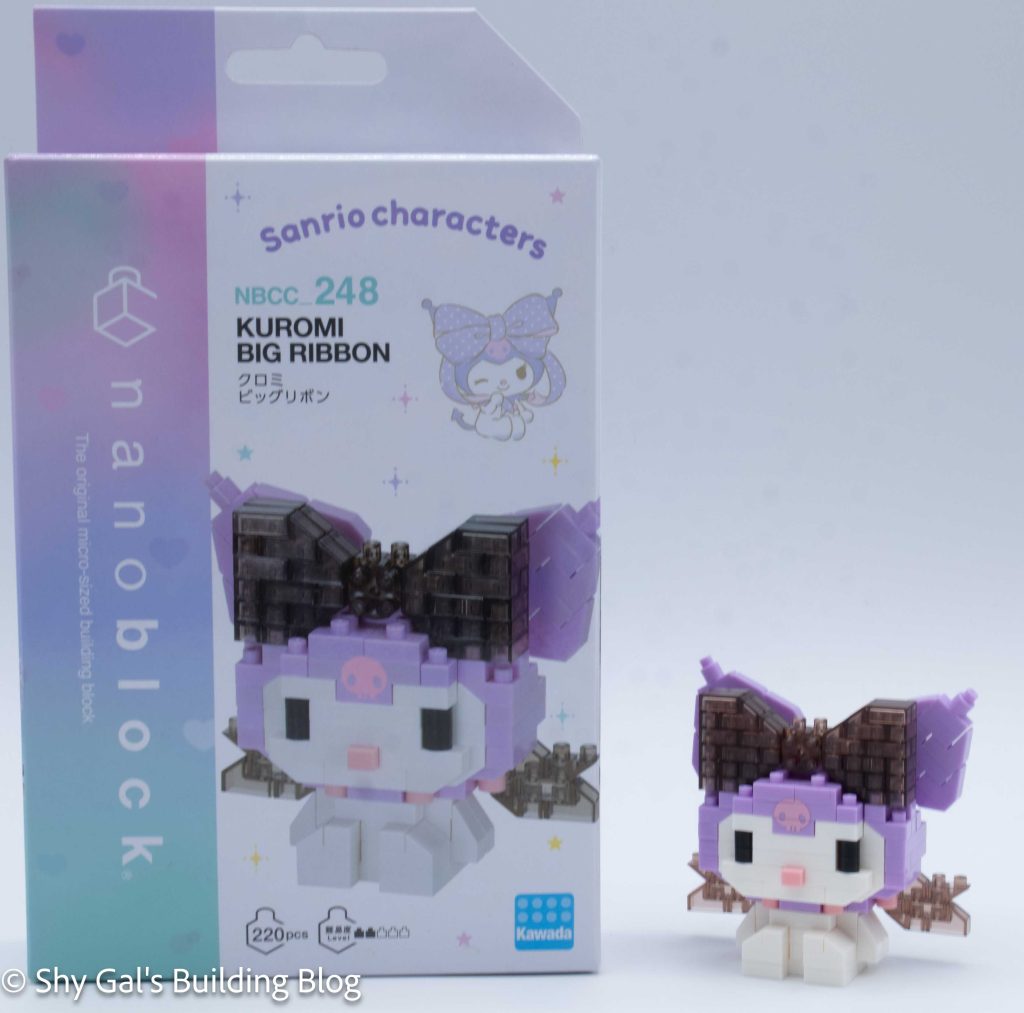
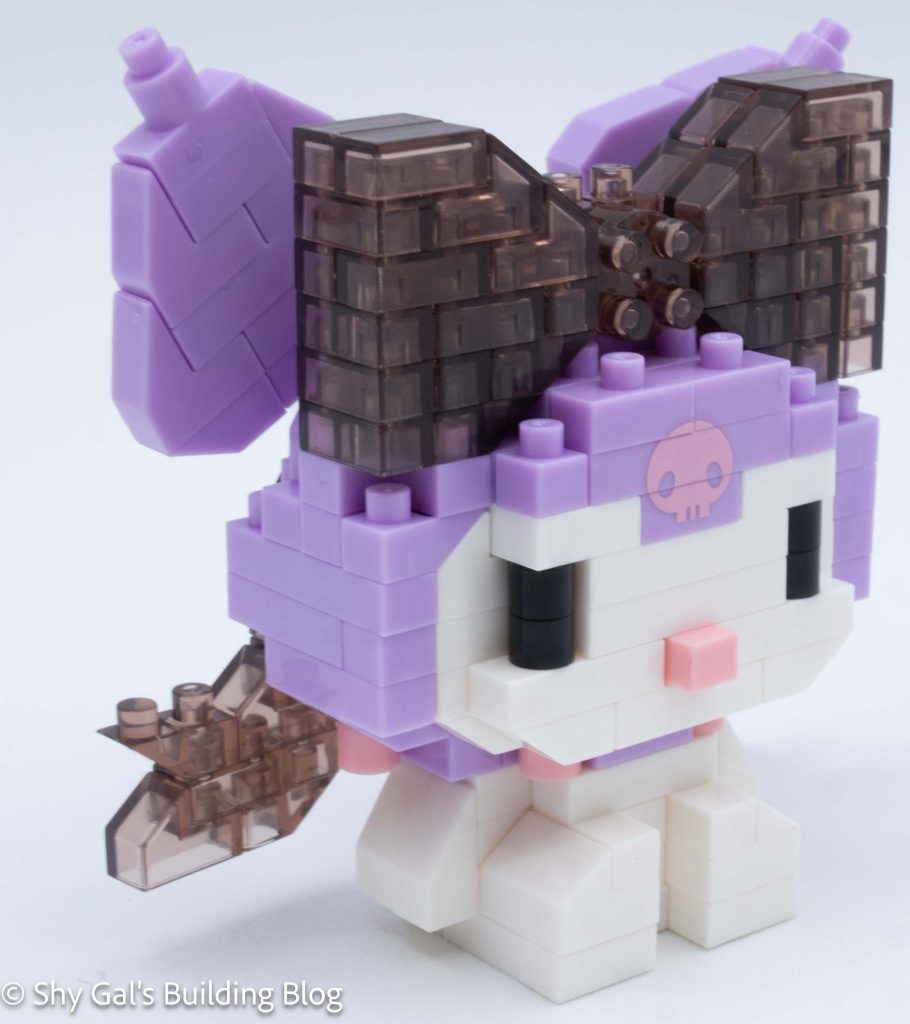
This post is a review of the nanoblock Kuromi Big Ribbon build. Kuromi Big Ribbon is part of the nanoblock Character collection. Wondering what else is part of the Character collection? Click here for a list.
Number: NBCC_248
Number of Pieces: 220
Difficulty Rating: 2/5
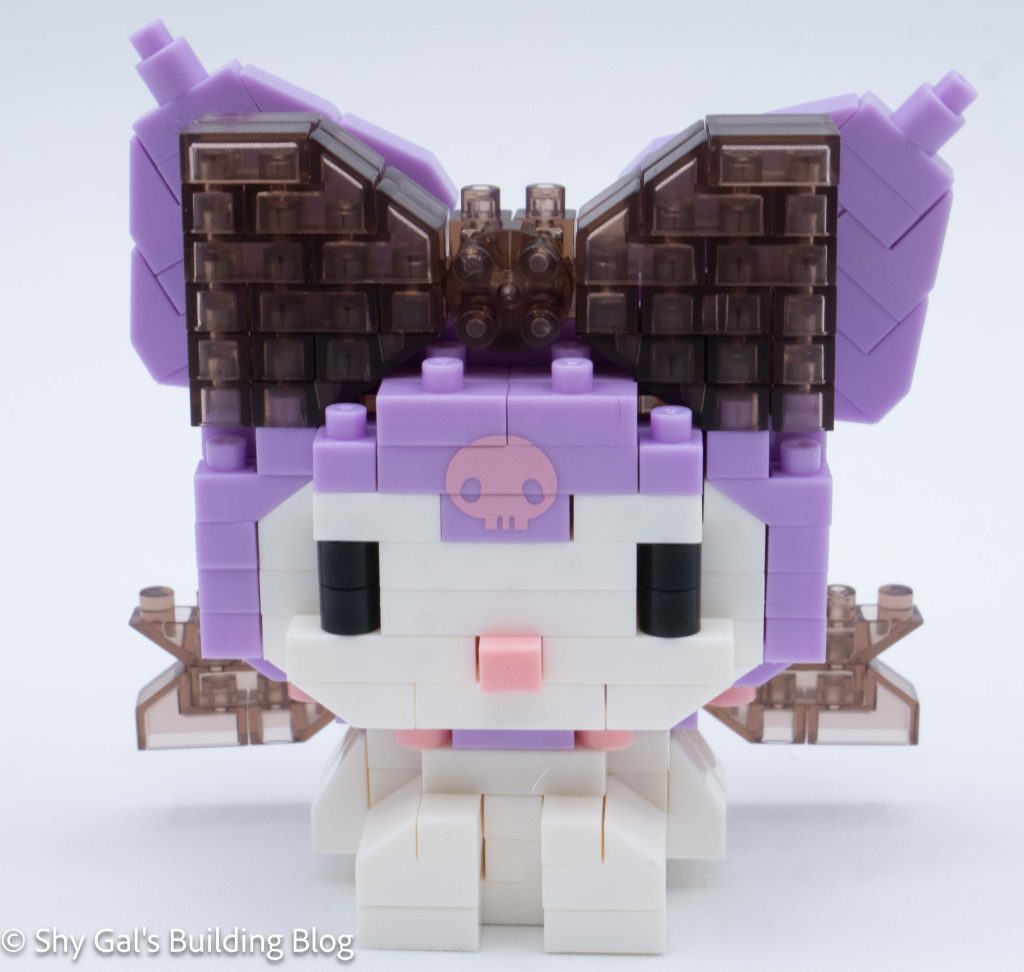
This build is created in 2 segments. There is the head and the body.
I began by laying out the base layer of the head. I wasn’t able to use my nanoblock pad because of the nose.
It takes about 4 steps to complete the foundation of the head and get it to the right size.
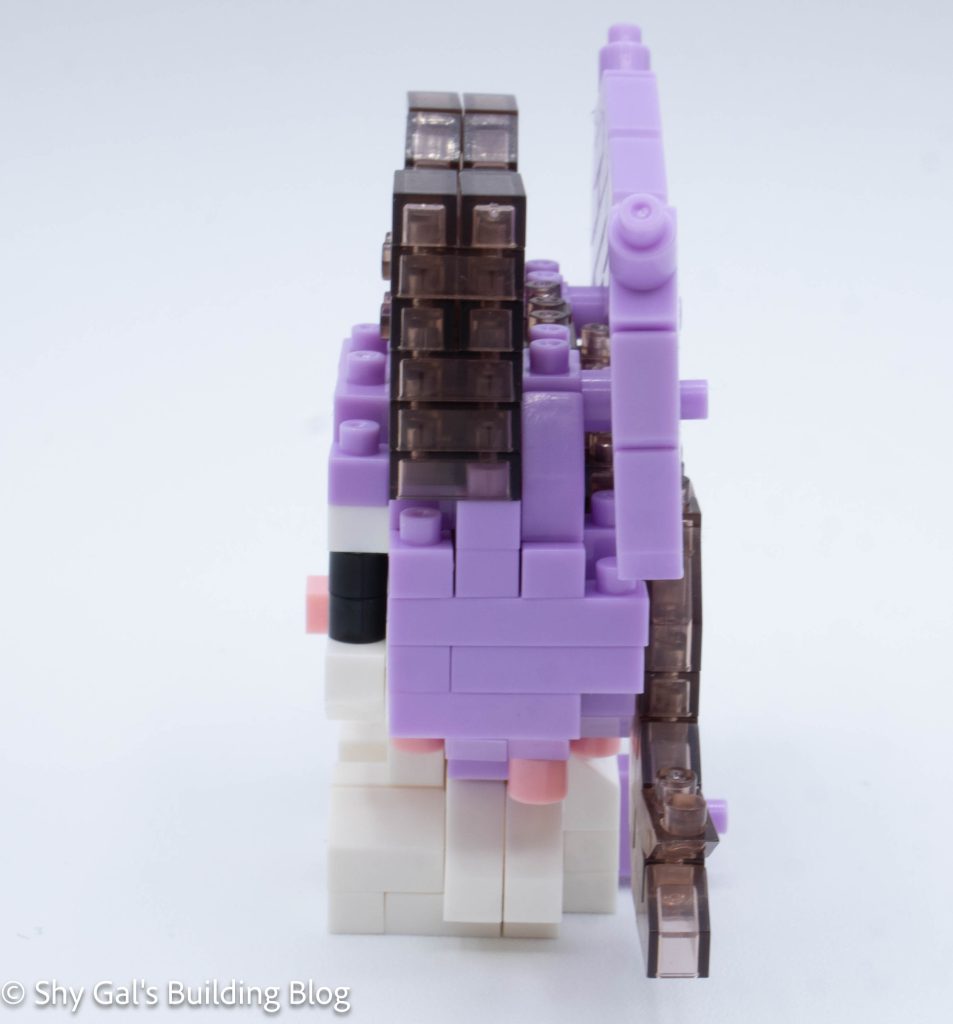
Then I built the head up in layers. These layers added the eyes and printed skull brick.
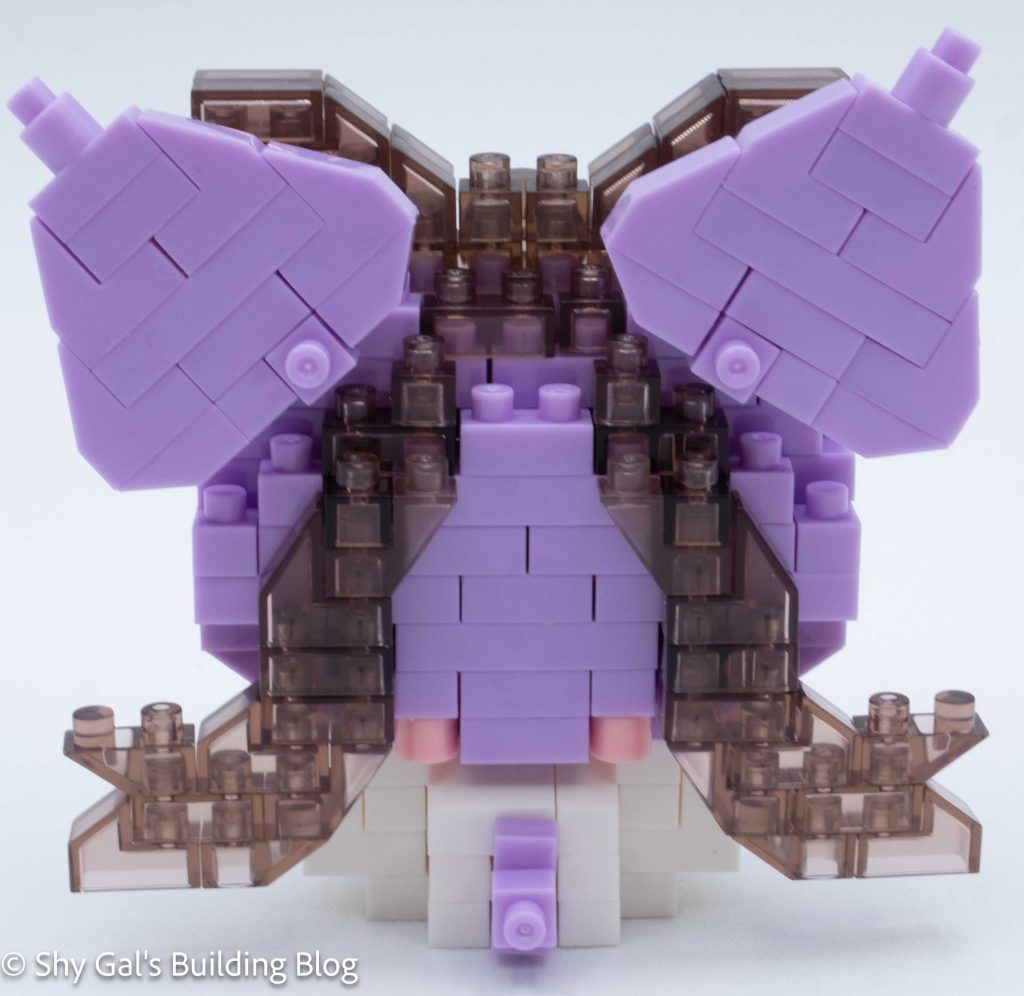
After building the head, I worked on the bow.
Then I flipped the head over and rounded out the bottom of the head. I also added the collar.
Then I added the ears and the bottom of the bow to complete the head.
I started the body by laying the brick out on the nanoblock pad.
Then I added the bricks on the front to create the legs and added bricks for the arms.
Next, I added some layers to close up the body.
The final step is to attach the head to the body.
Things I liked:
Things I didn’t like:
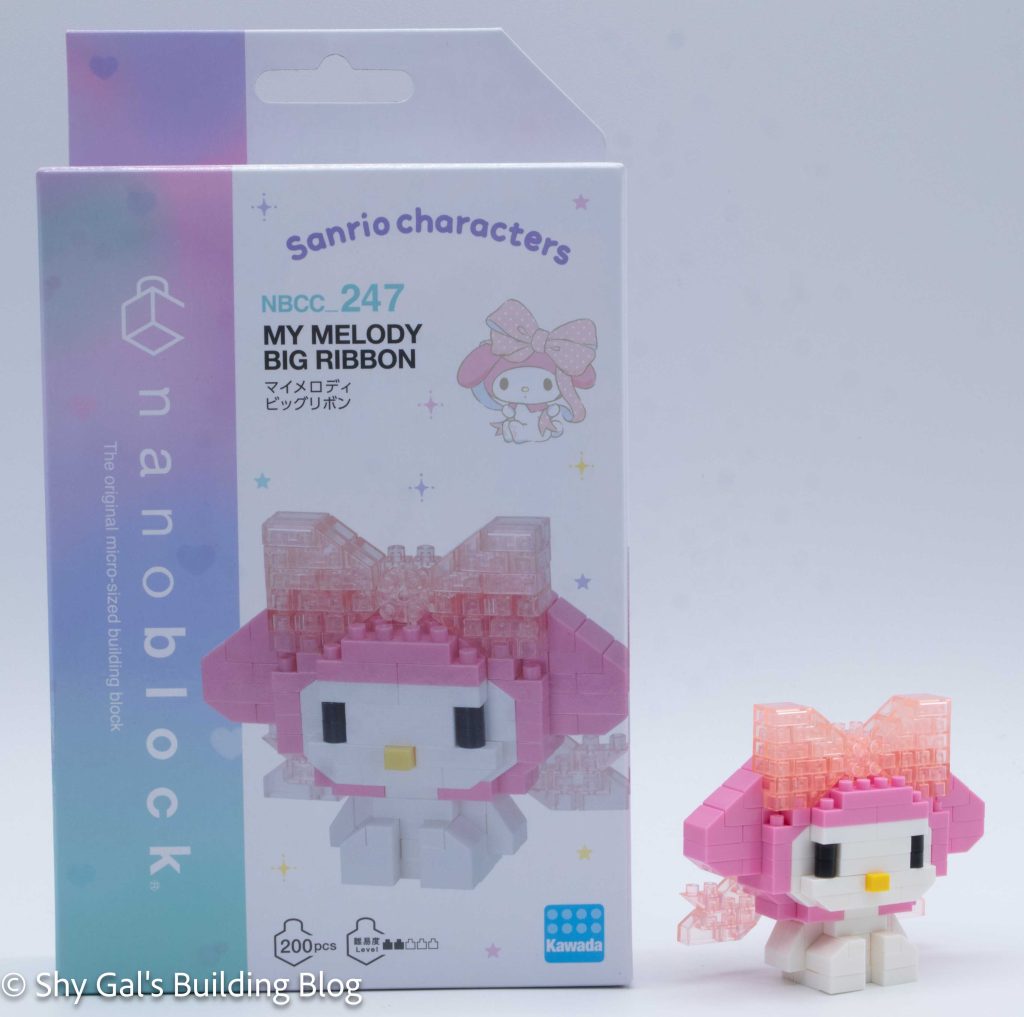
This post is a review of the nanoblock My Melody Big Ribbon build. My Melody Big Ribbon is part of the nanoblock Character collection. Wondering what else is part of the Character collection? Click here for a list.
Number: NBCC_247
Number of Pieces: 200
Difficulty Rating: 2/5
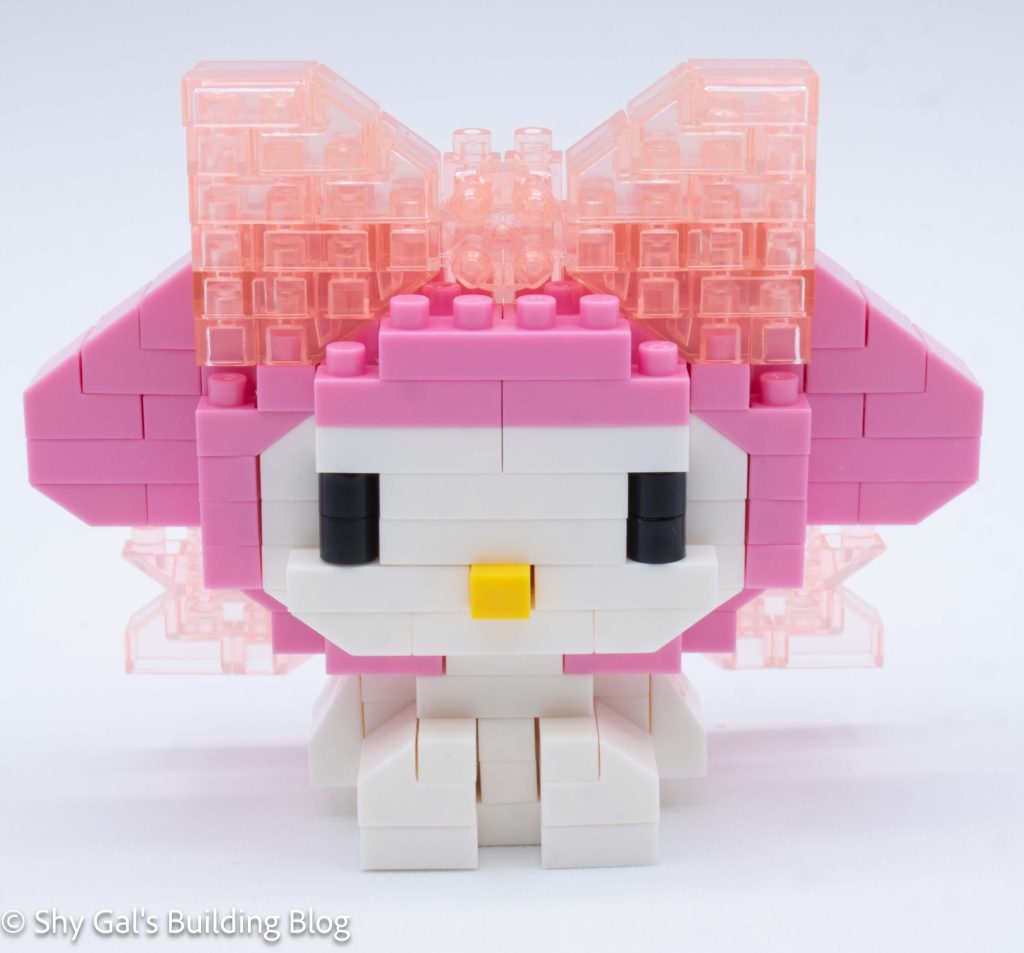
This build is created in 2 segments. There is the head and the body.
I began the head by laying the foundation out on my nanblock pad.
Over the next several steps, I built out the base of the head to create the entire outline of the head.
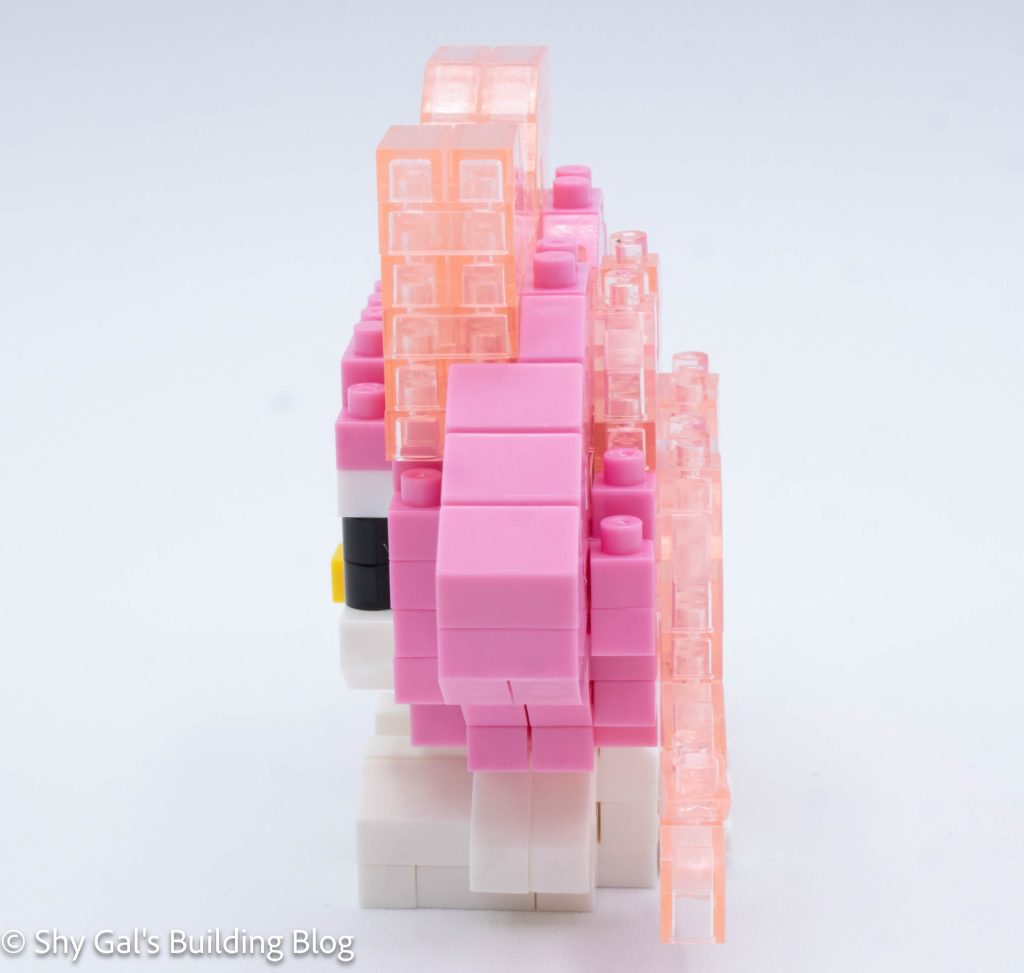
Then I added a couple of layers of bricks to create the foundation of the head.
Next, I added My Melody’s face. This added the eyes and nose. I attached this to the main head section.
I added a couple more layers. This rounded up her head and added her ears.
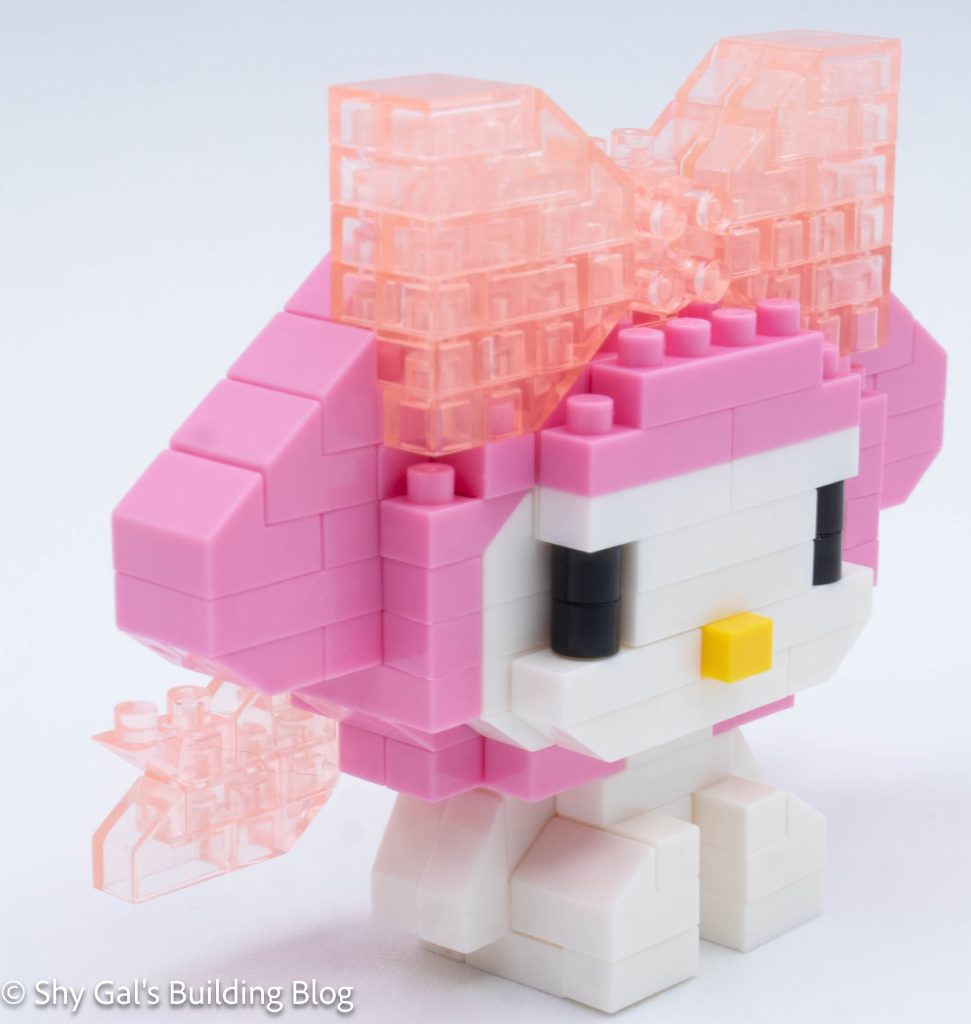
Then I added several layers of bricks to create the bow. I found it hard to really enjoy the bow because it is so light.
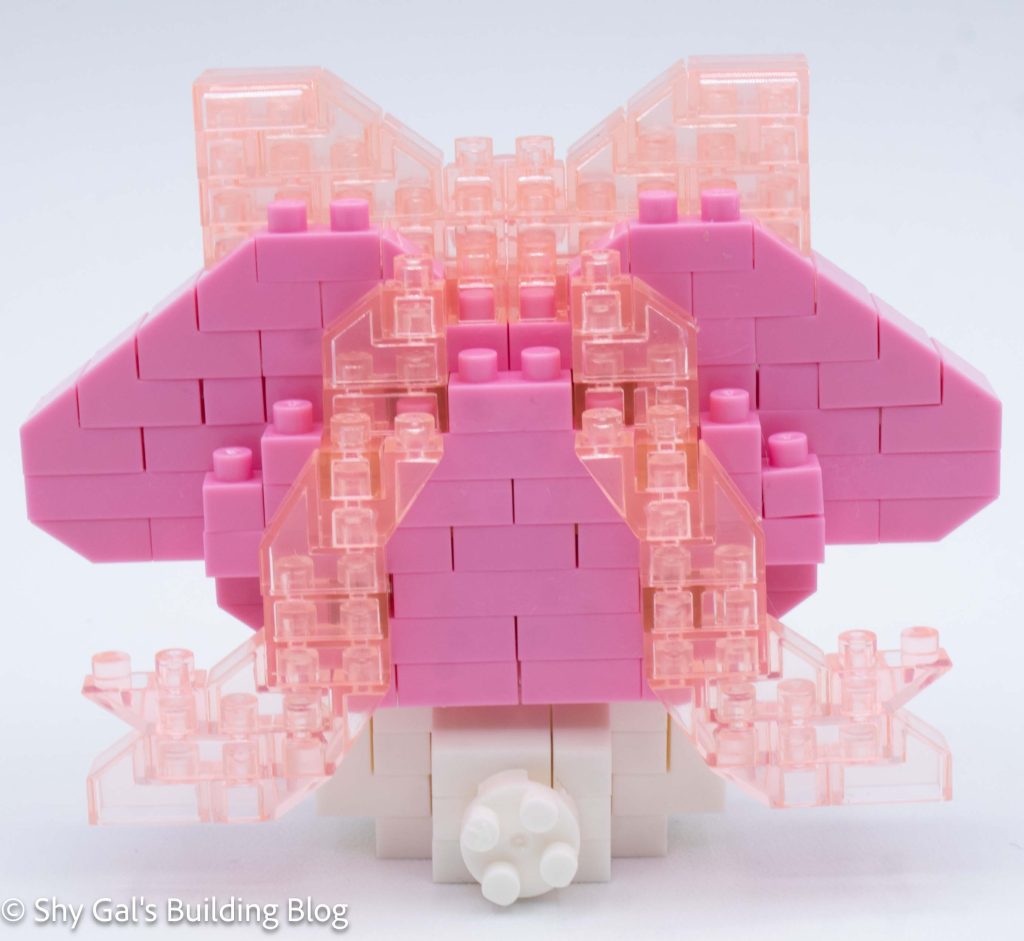
I started the body by laying the brick out on the nanoblock pad.
Then I added the bricks on the front to create the legs and added bricks for the arms.
Next, I added some layers to close up the body.
The final step is to attach the head to the body.
Things I liked:
Things I didn’t like:
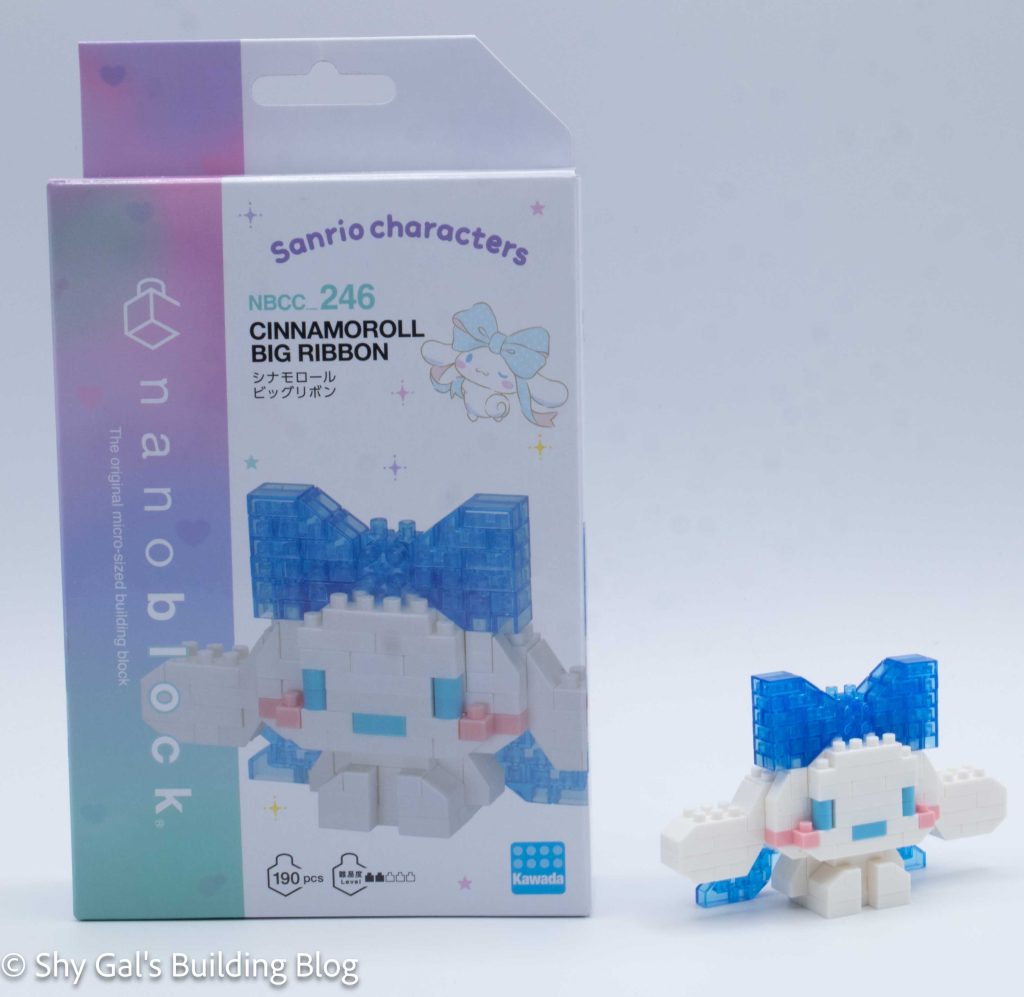
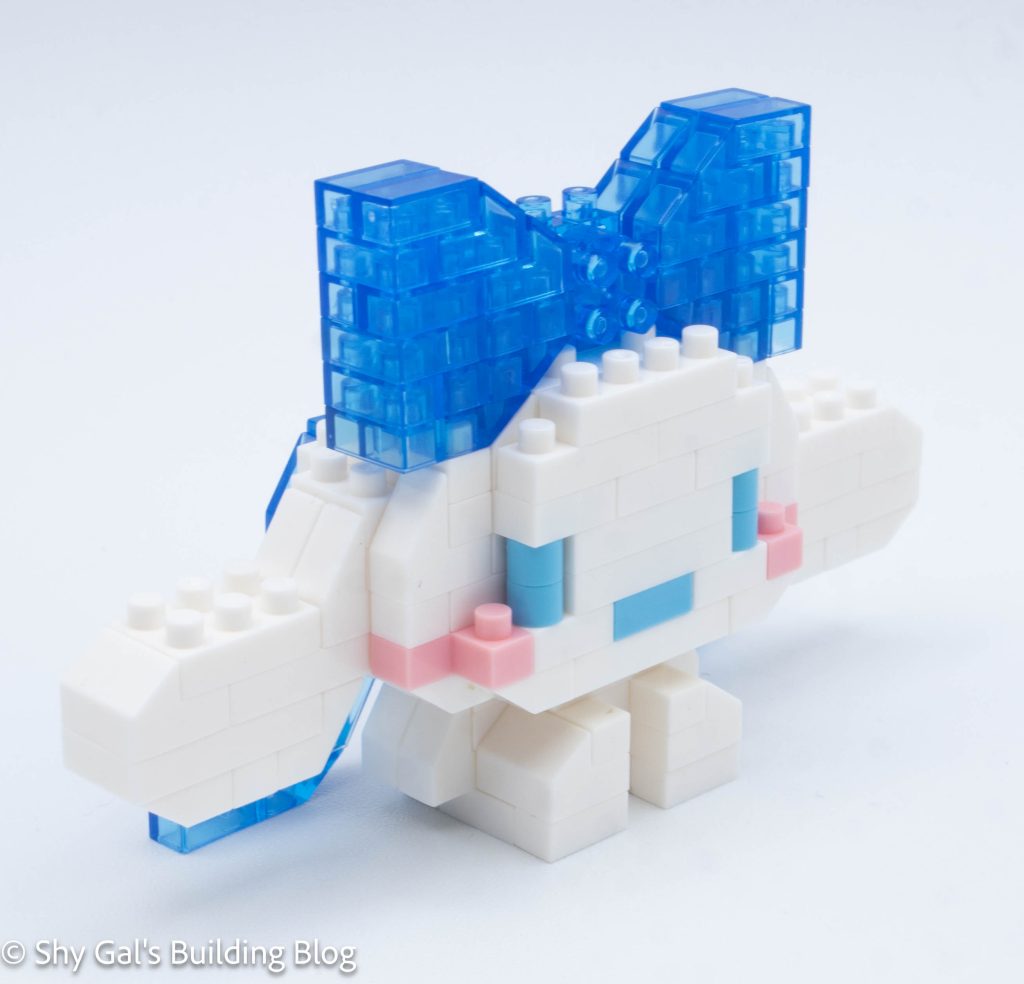
This post is a review of the nanoblock Cinnamoroll Big Ribbon build. Cinnamoroll Big Ribbon is part of the nanoblock Character collection. Wondering what else is part of the Character collection? Click here for a list.
Number: NBCC_246
Number of Pieces: 190
Difficulty Rating: 2/5
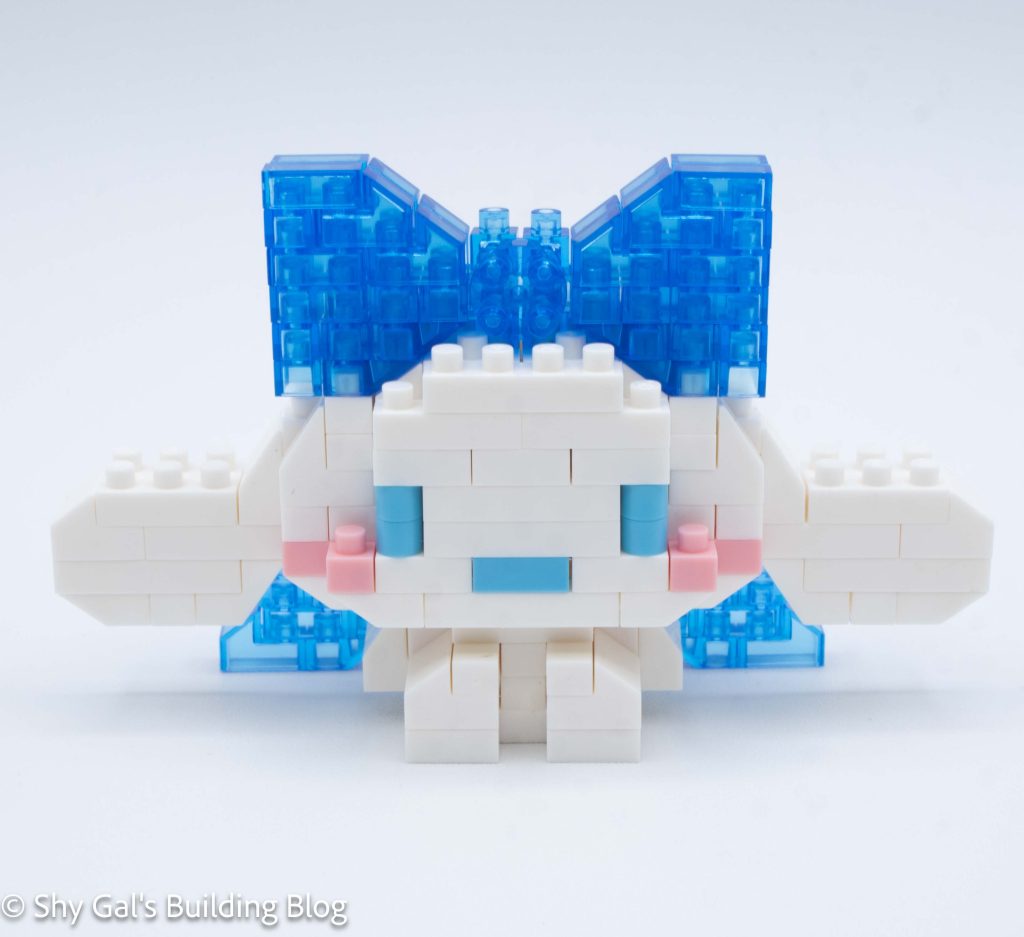
This build is created in 2 segments. There is the head and the body.
I began the head by laying the foundation out on my nanblock pad.
Over the next several steps, I added details and rounded out the head. I also added the mouth, cheeks, and eyes, and started to build the bow.
Then I added the foundation of the ears to the head.
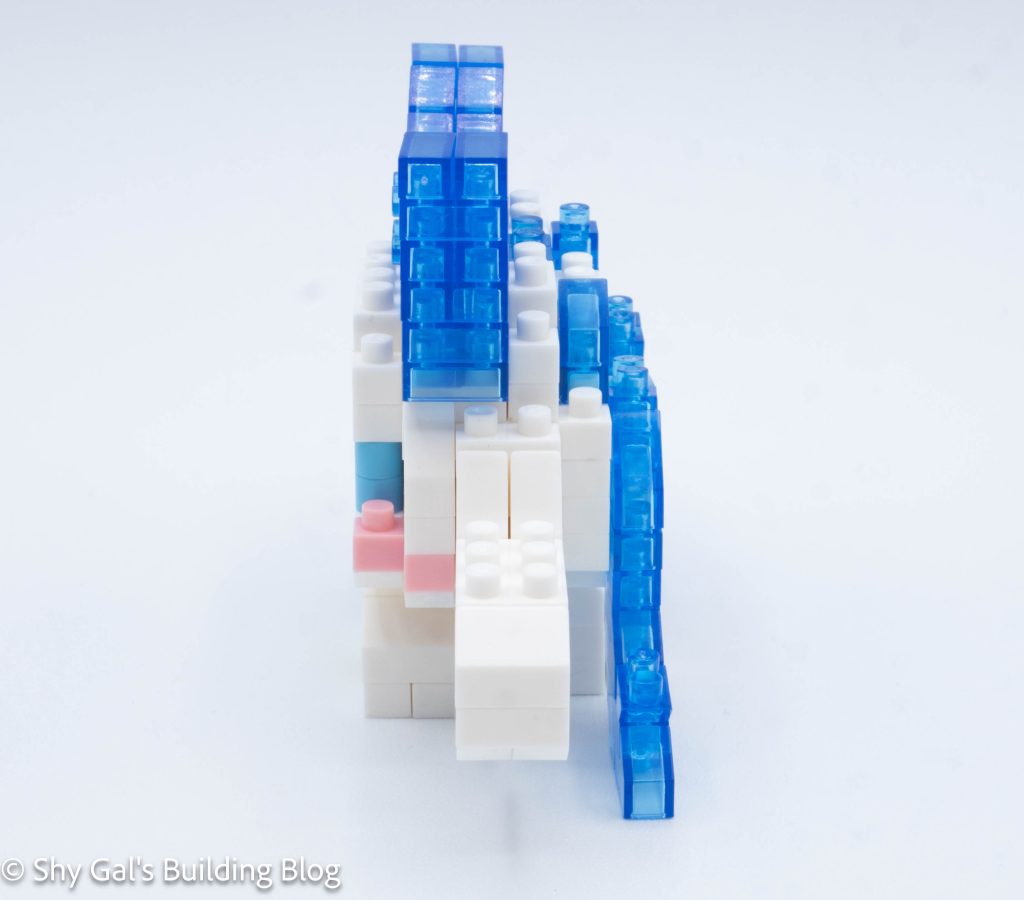
Next, I added several more layers to round off and close up the head.
Then I built the bow in clear blue bricks. I like the use of flat bricks and the round 2×2 to create the detail.
Then I added the bottom of Cinnamoroll’s ear and the back of the bow.
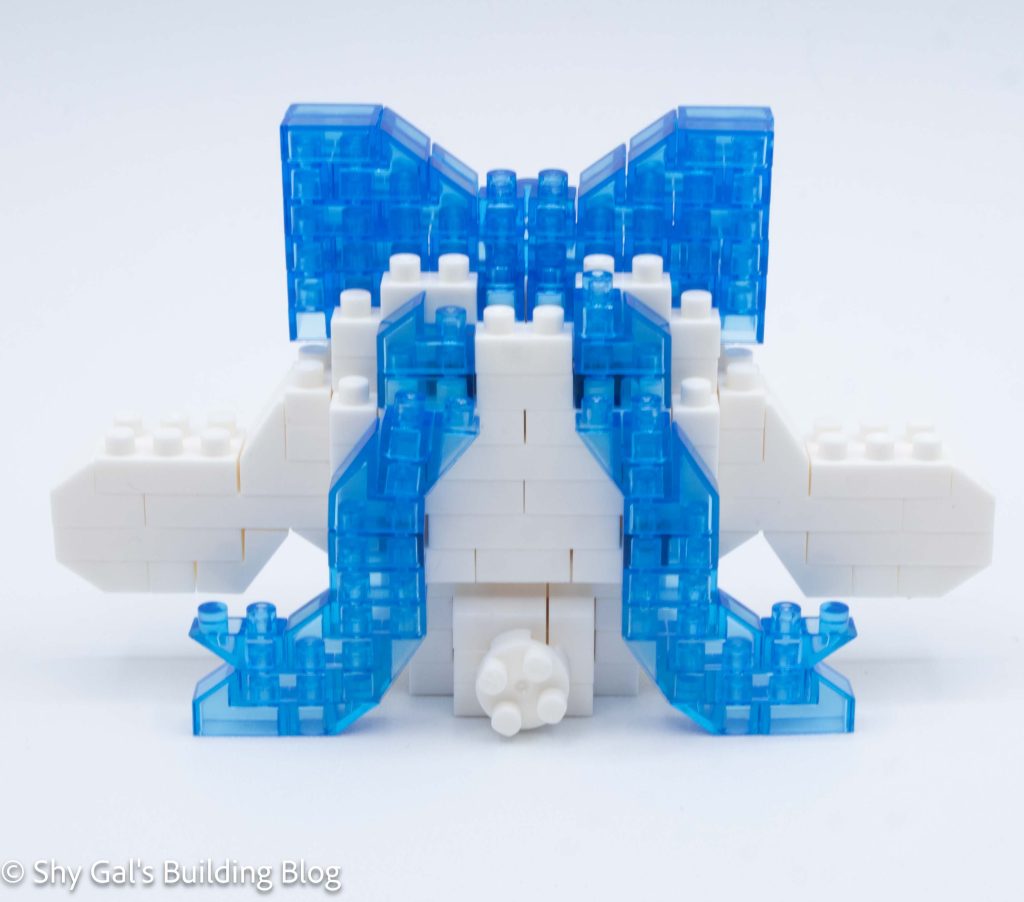
I started the body by laying the brick out on the nanoblock pad.
Then I added the bricks on the front to create the legs and added bricks for the arms.
Next, I added some layers to close up the body.
The final step is to attach the head to the body.
Things I liked:
Things I didn’t like:
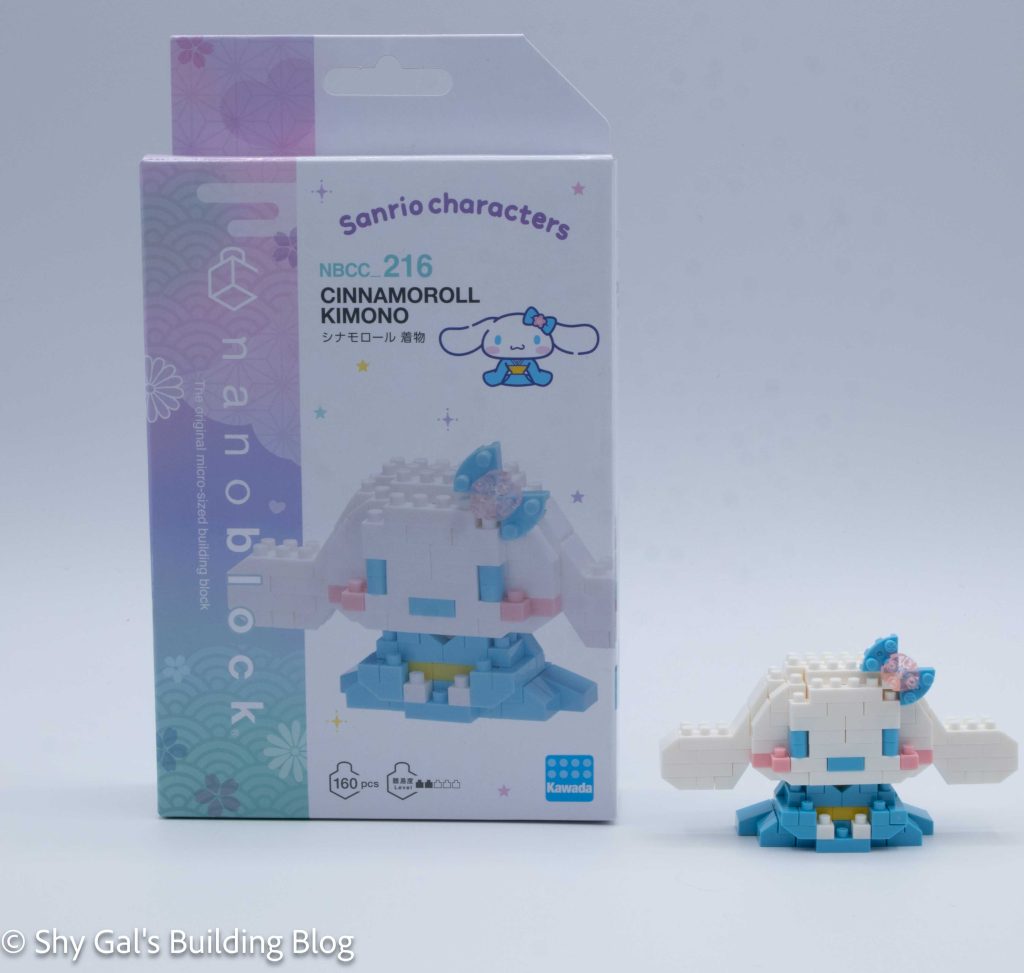
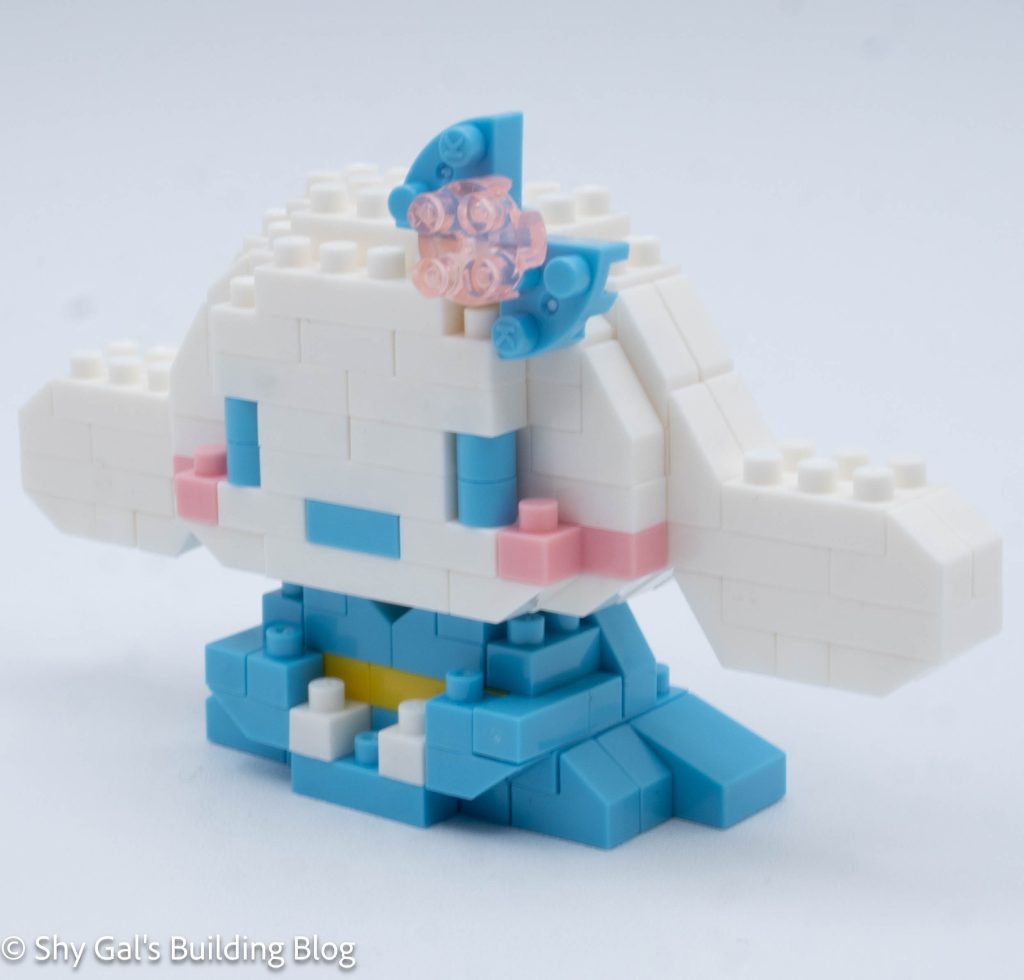
This post is a review of the nanoblock Cinnamoroll Kimono build. Cinnamoroll Kimono is part of the nanoblock Character collection. Wondering what else is part of the Character collection? Click here for a list.
Number: NBCC_216
Number of Pieces: 160
Difficulty Rating: 2/5
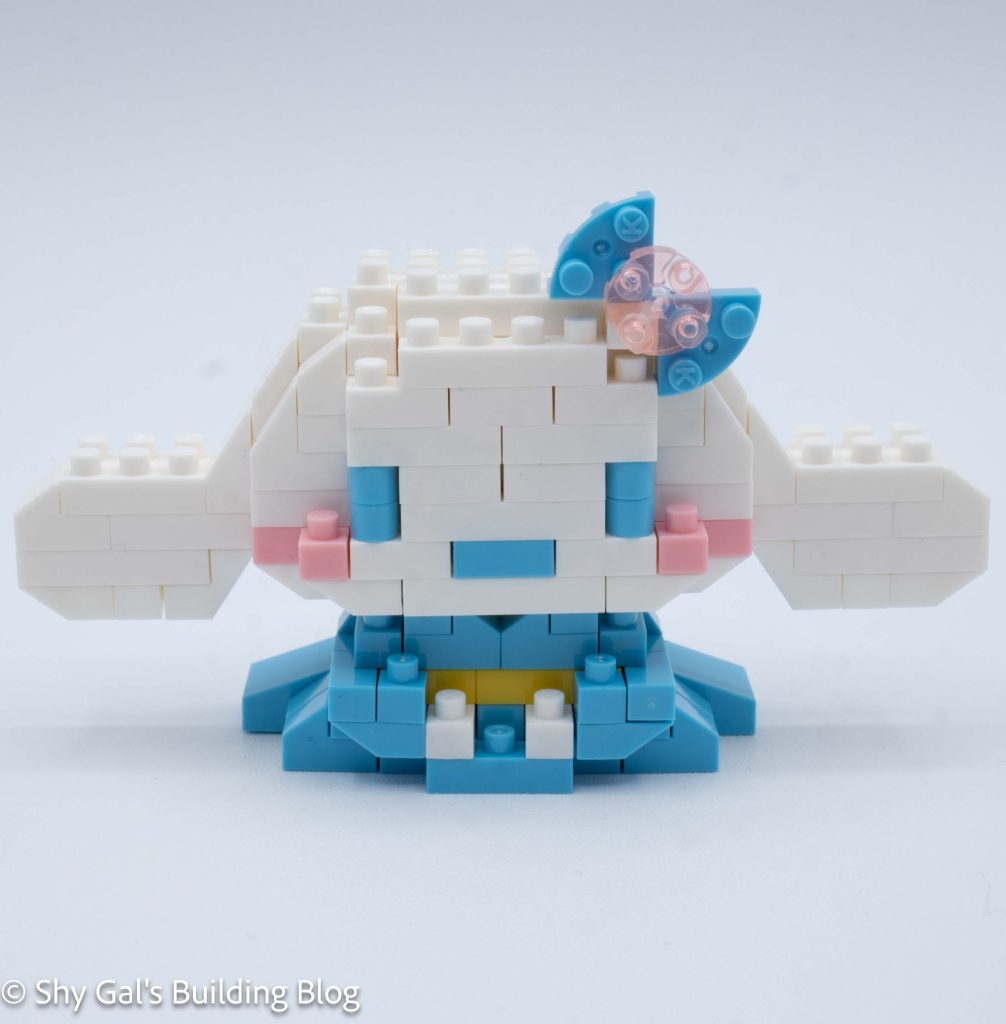
This build is made up of 2 sections. There is the head and the body.
The head begins by building 2 segments and putting those segments together
The head goes up in straightforward layers. Unlike most Sanrio builds, I was able to use my nanoblock pad for the entire head.
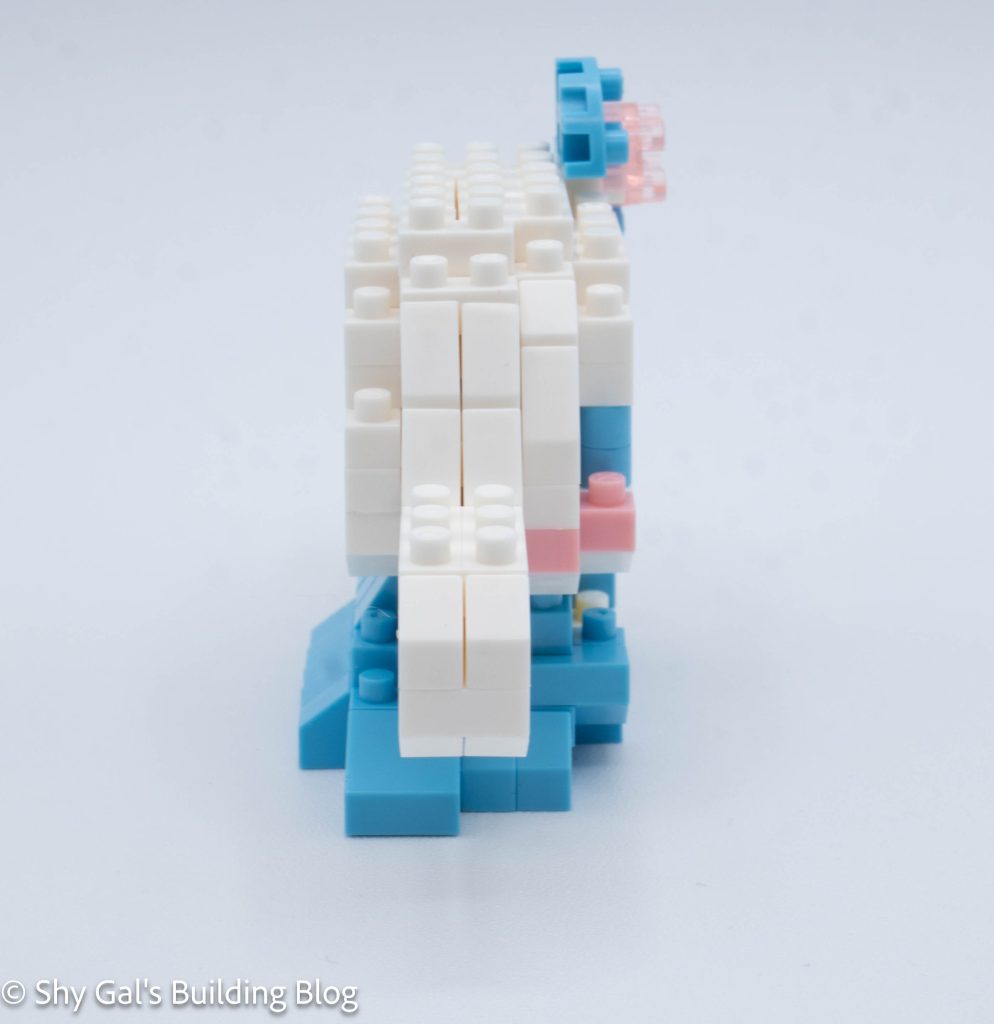
After building up the head, I built and added the ears.
Then I flipped the build over and added the details to round out Cinnamoroll’s head.
The final step of the head is to add the bow to the head.
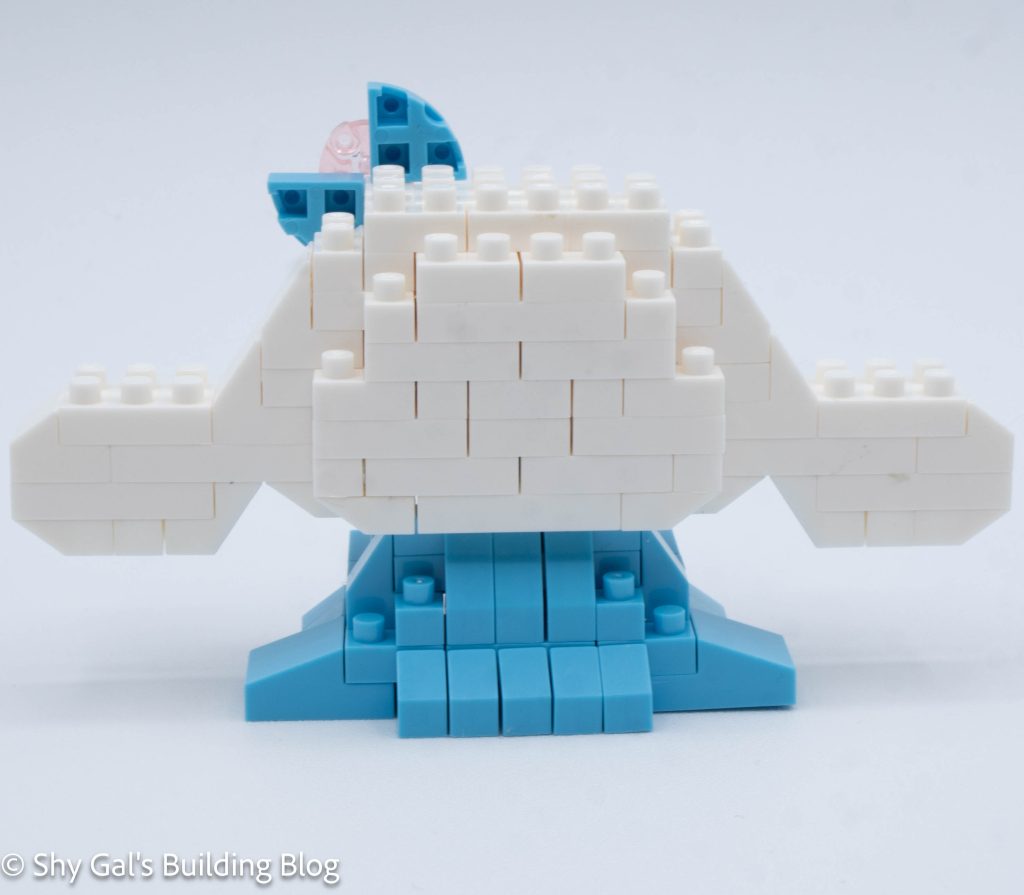
The body begins by taking several steps to create the base of the body. This includes Cinnamoroll’s hands.
The rest of the body goes up in straightforward layers. There are a total of 3 layers. There is also a step to add Cinnamoroll’s arms.
The last step is to connect the head to the body.
Things I liked:
Things I didn’t like: