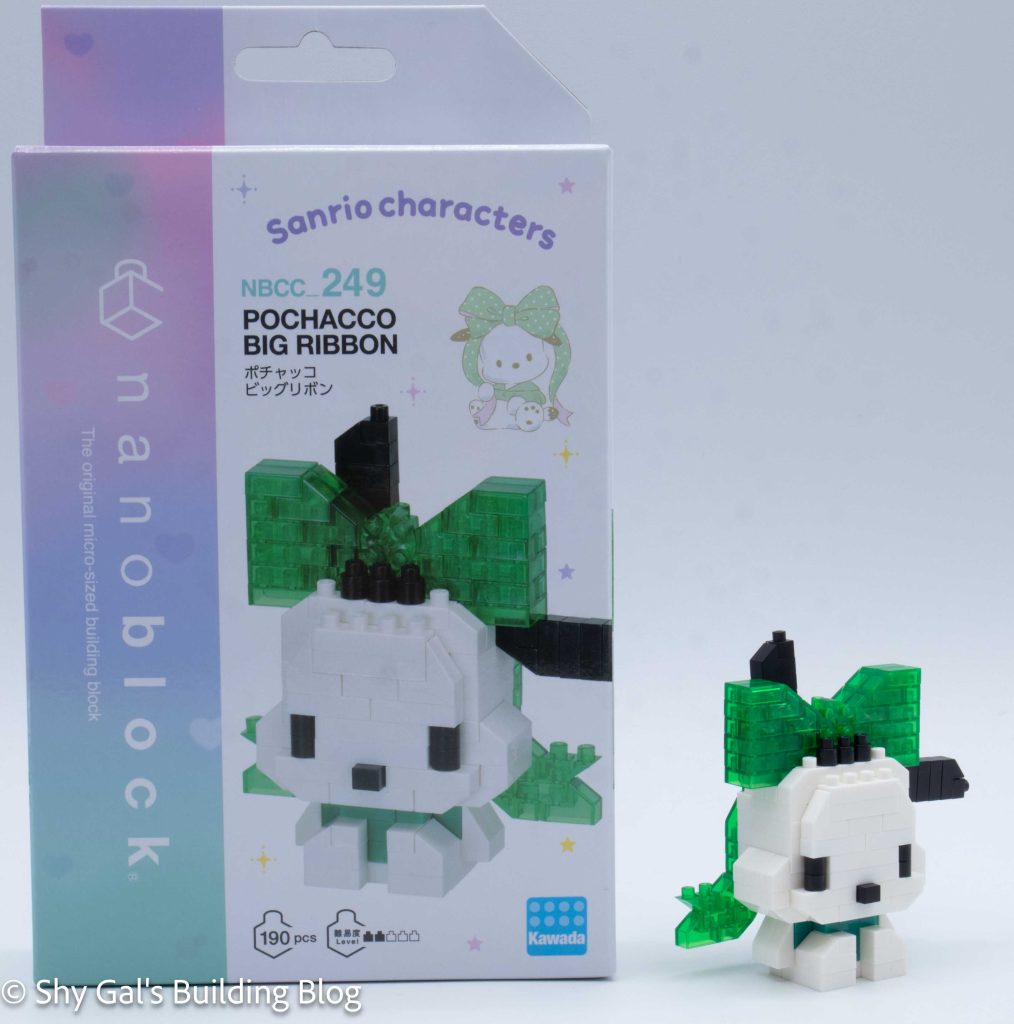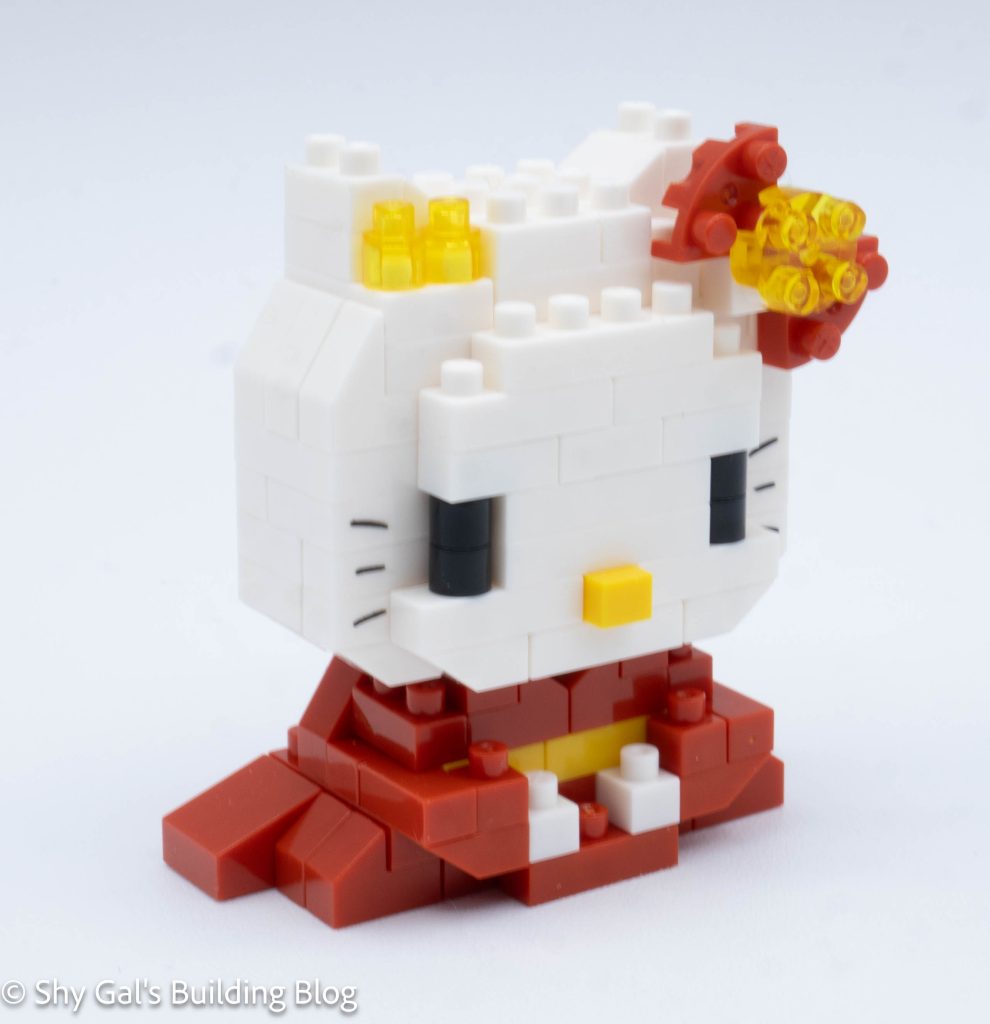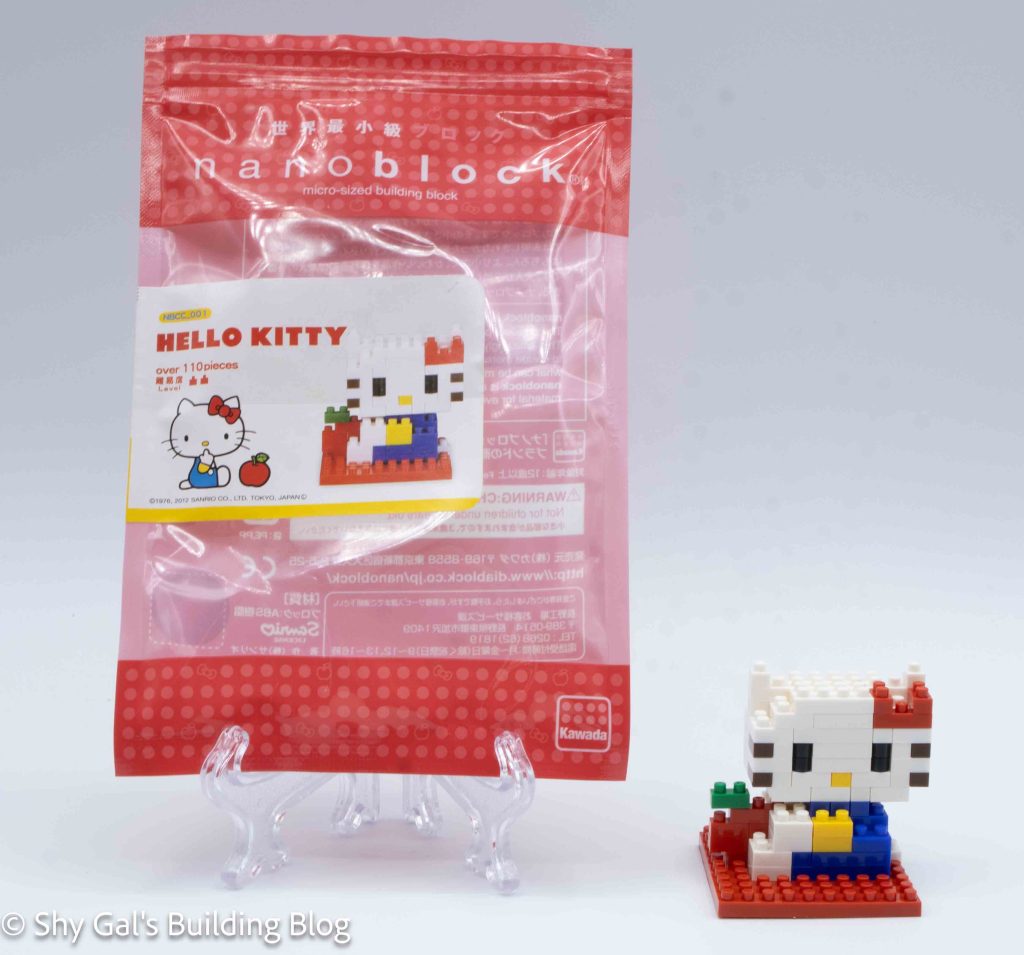
This post is a review of the nanoblock Hello Kitty build. Hello Kitty is part of the nanoblock Character collection. Wondering what else is part of the Character collection? Click here for a list.
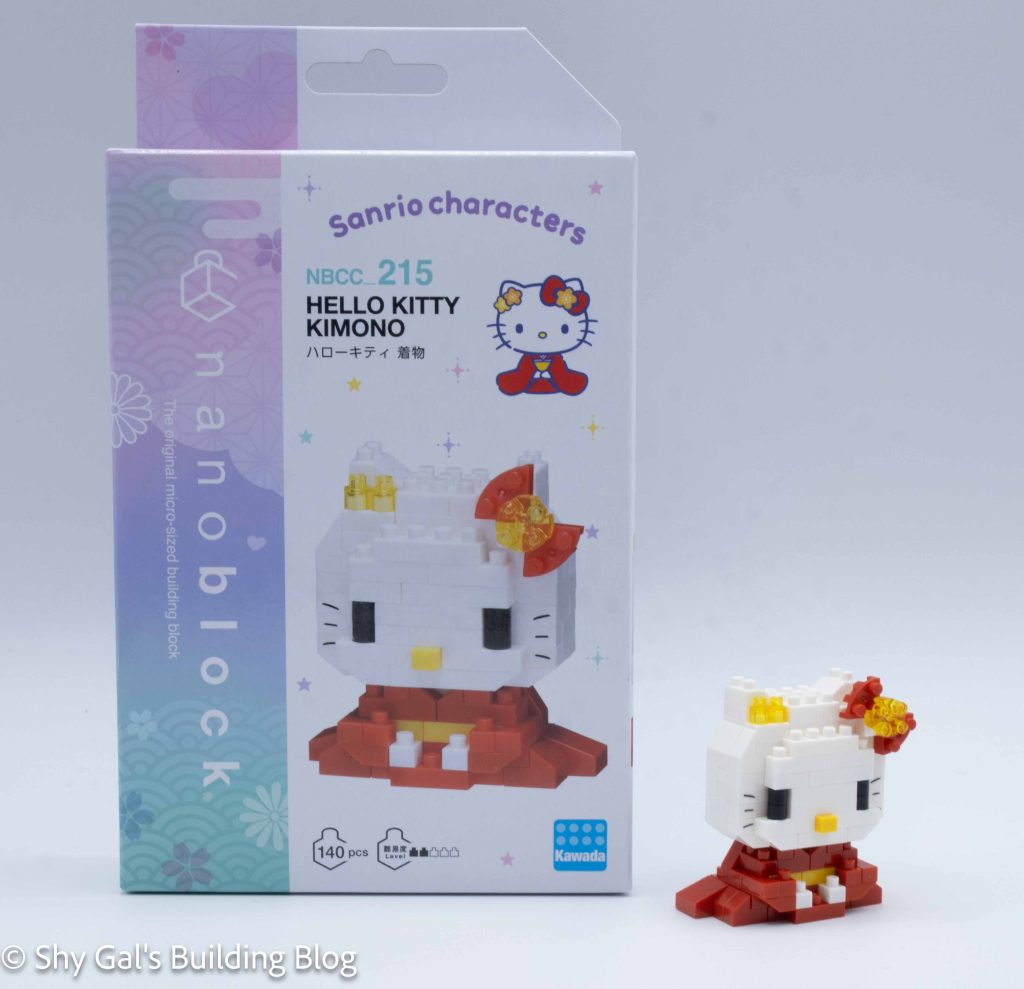
Number: NBCC_001
Number of Pieces: 110
Difficulty Rating: 2
This kit was re-released as number NBCC_001B.
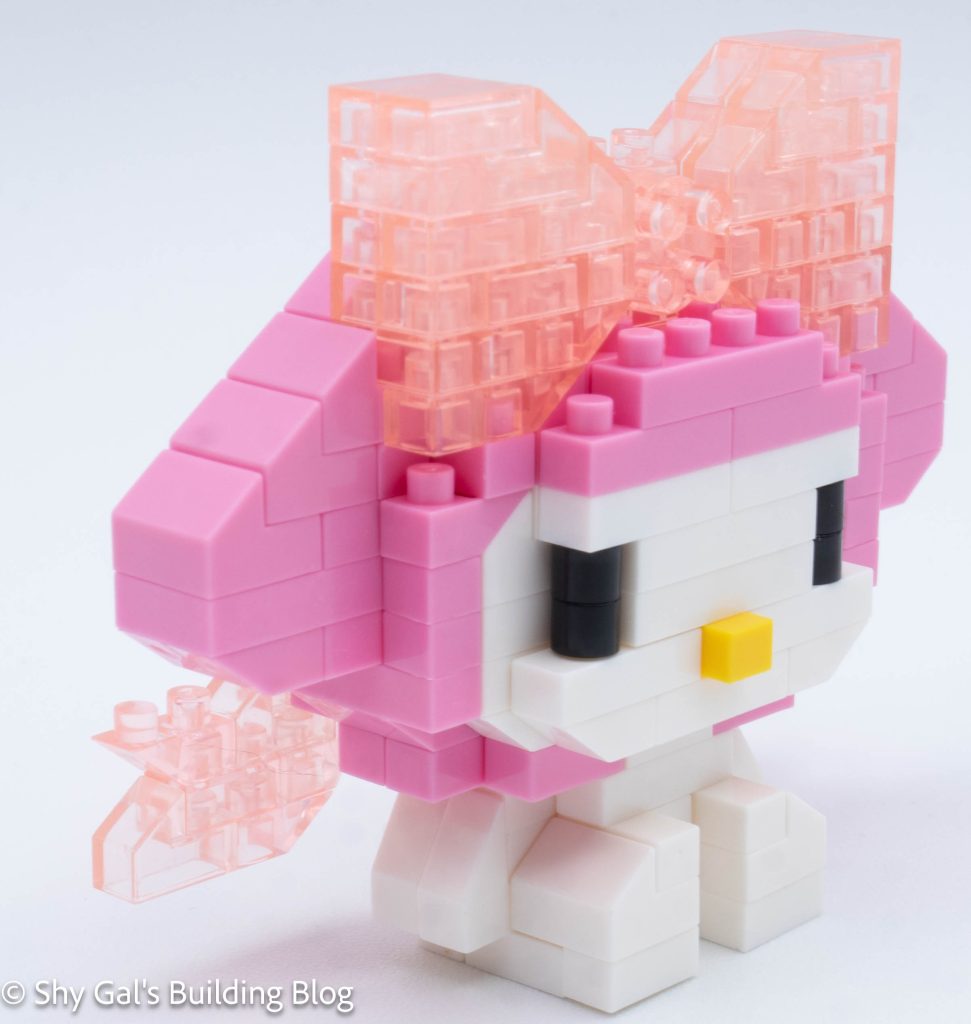
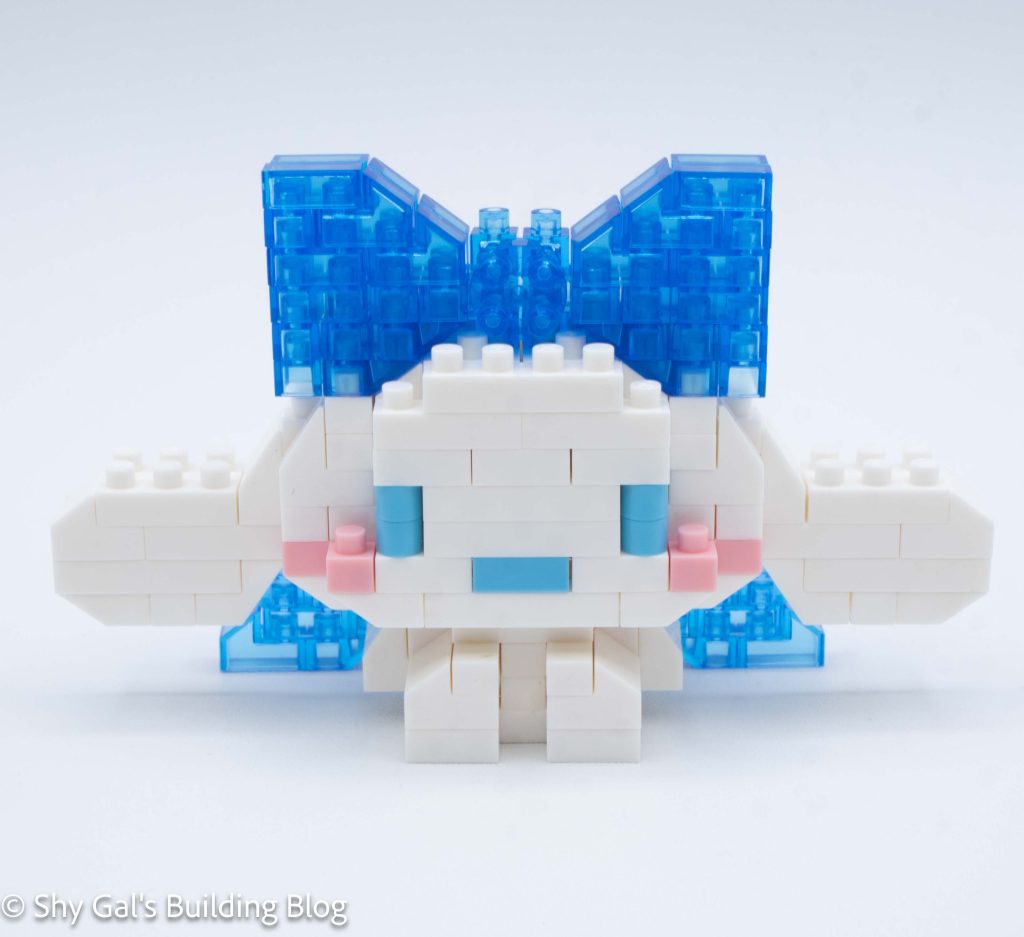
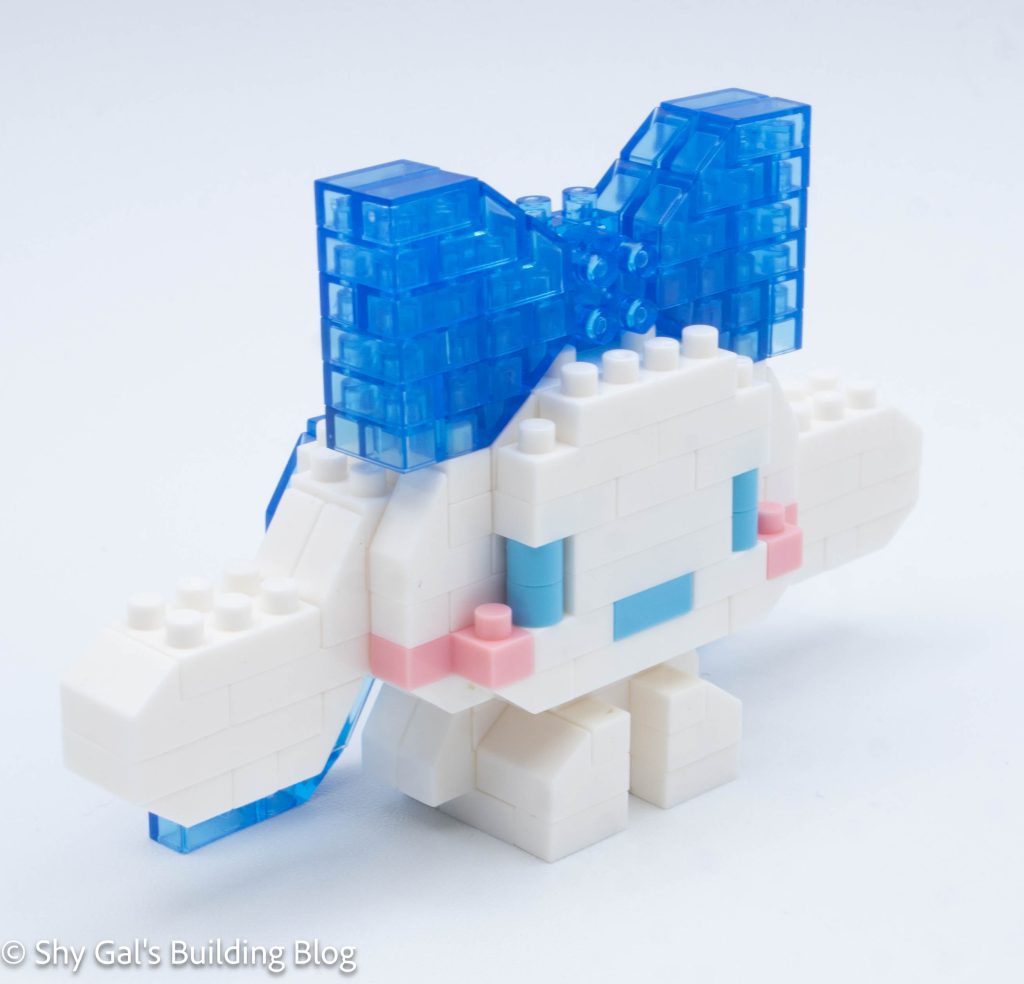
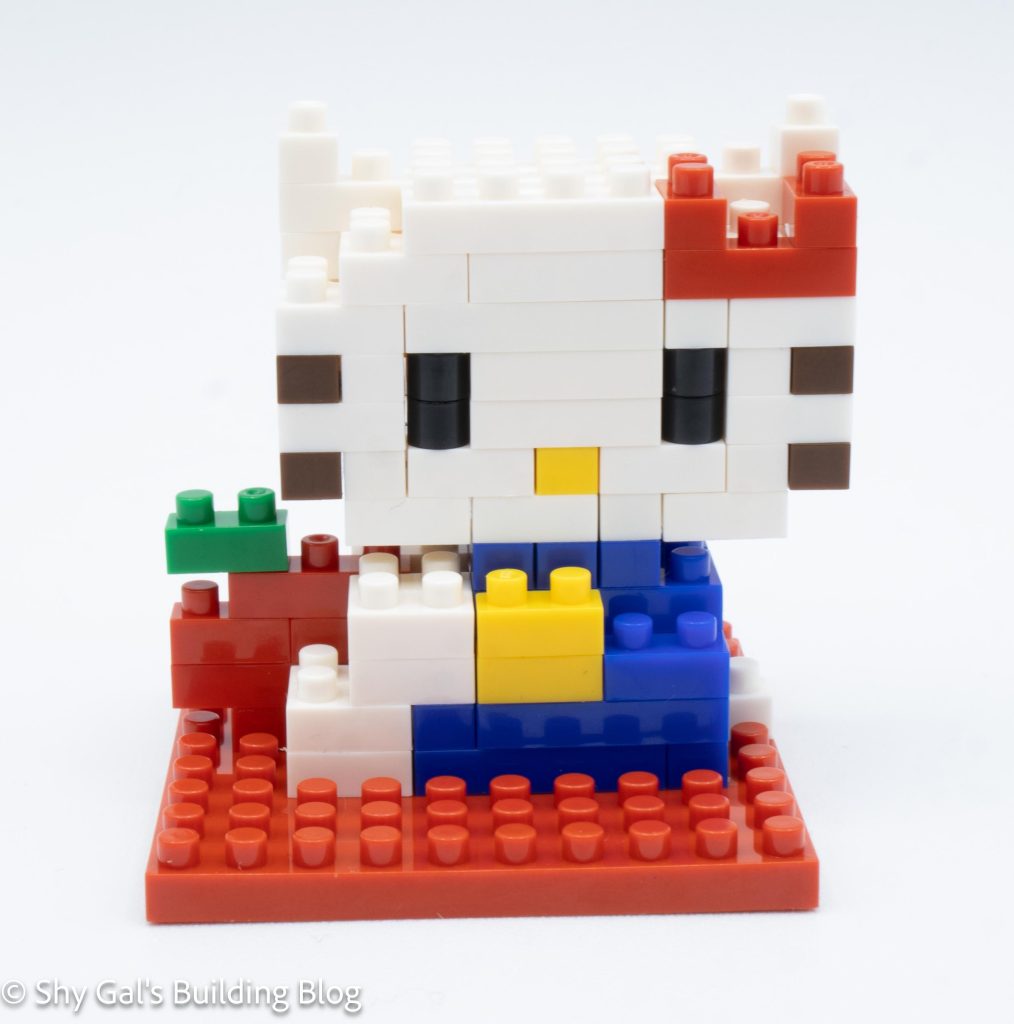
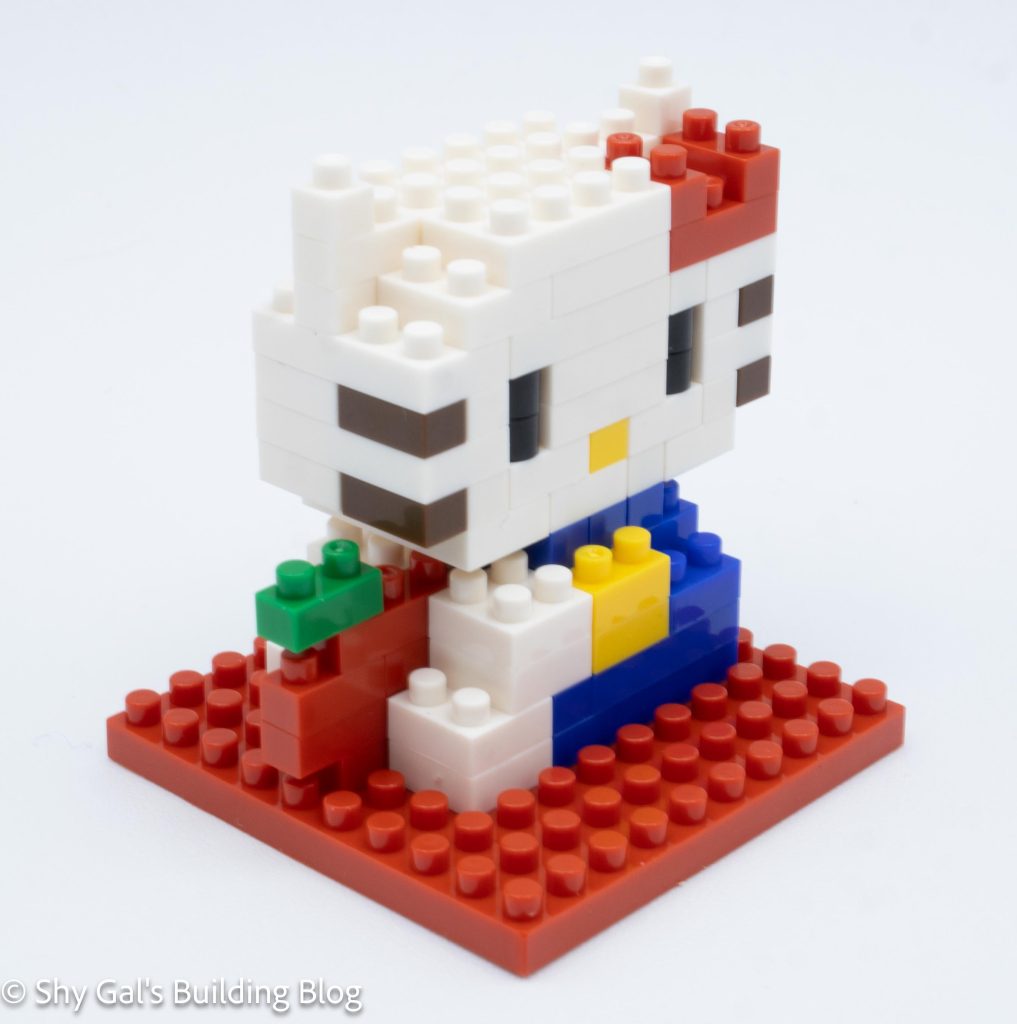
This is a build of Hello Kitty sitting and holding an apple.
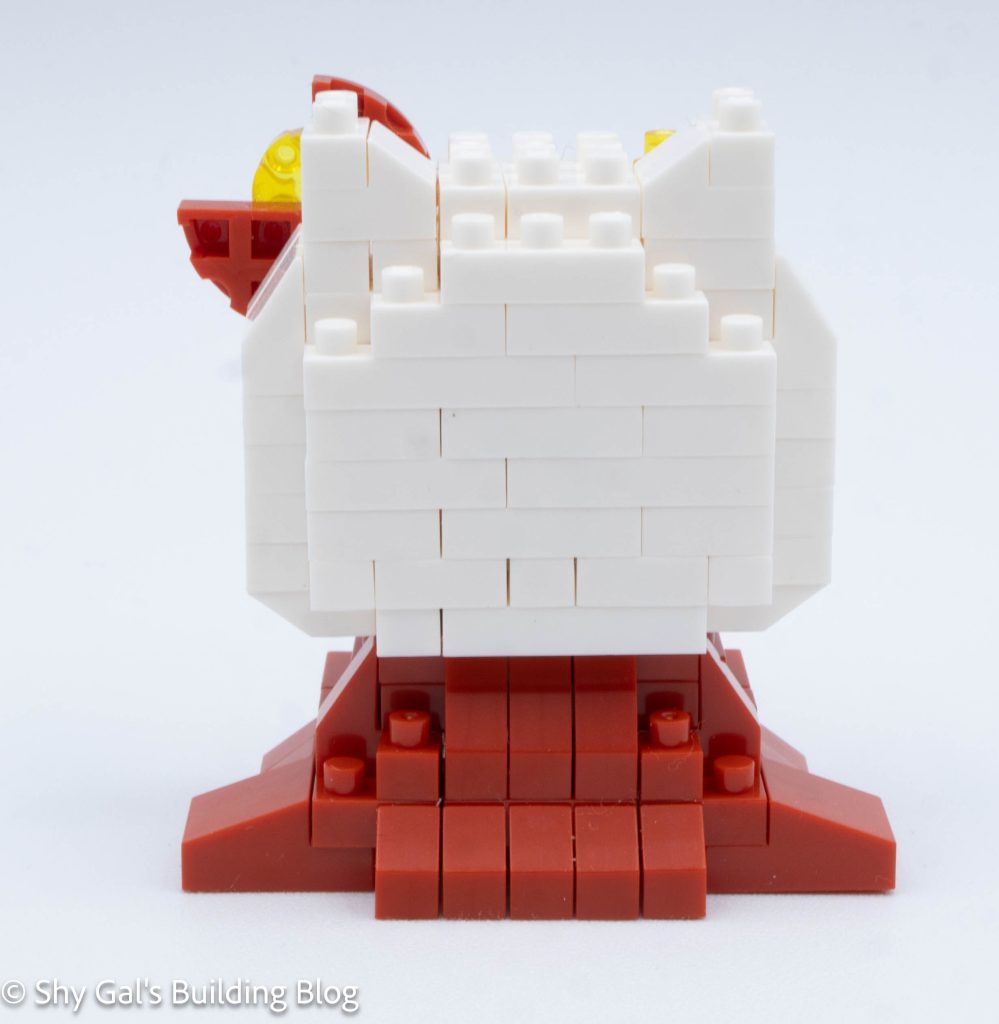
This build is made up of 2 sections. There is the head and the body.
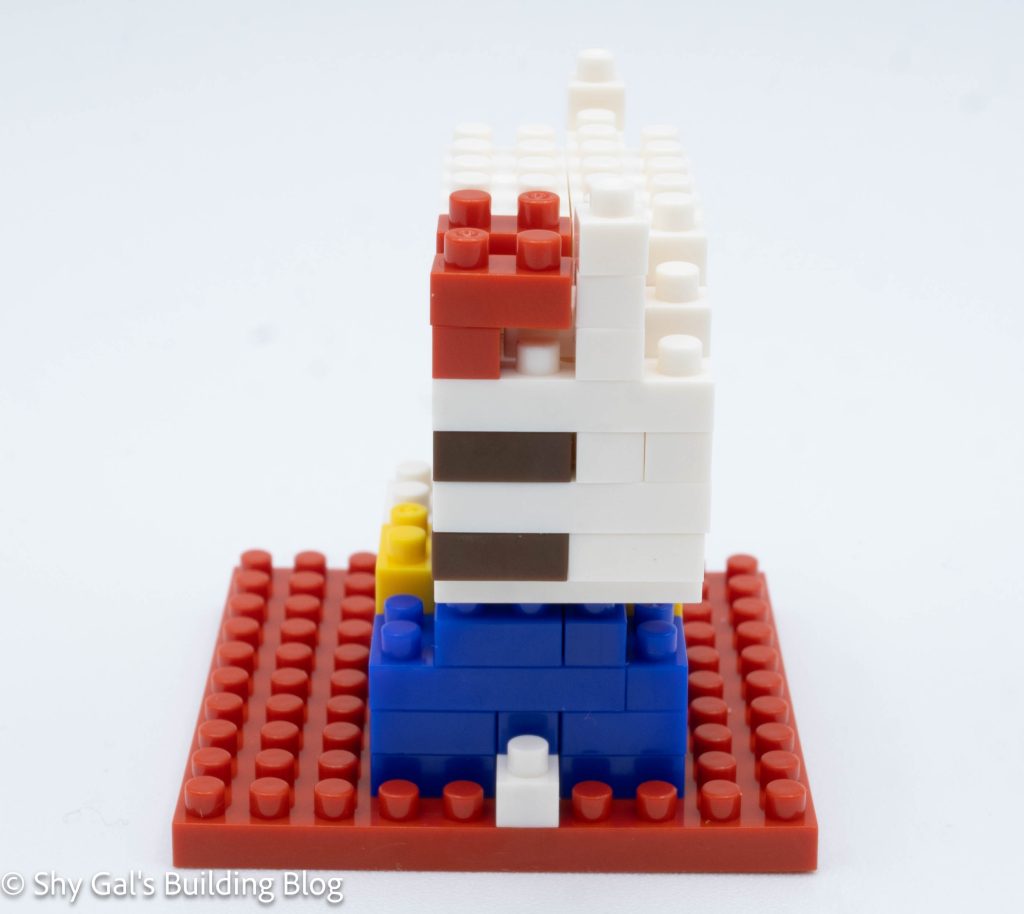
I began by laying out the base layer of the head on my nanoblock pad.
The head goes up in very straightforward layers. I added the nose, eyes, and whiskers.
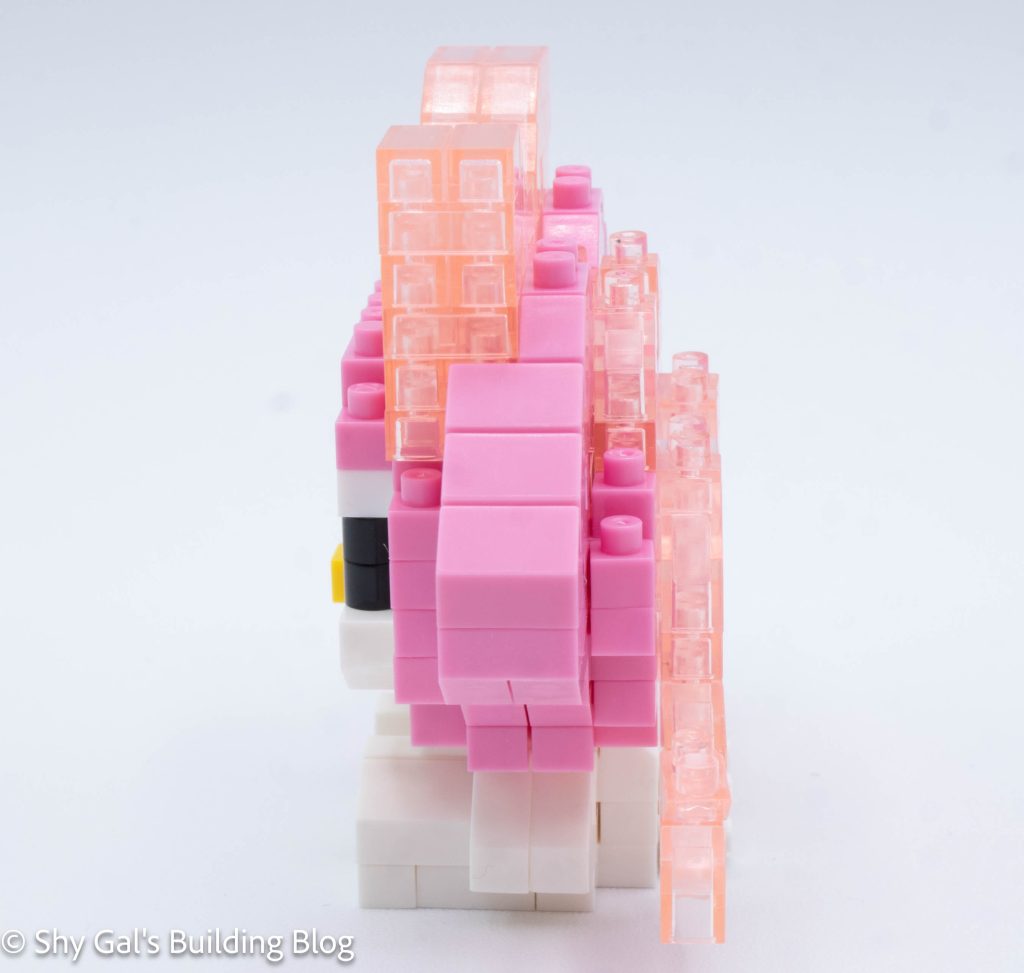
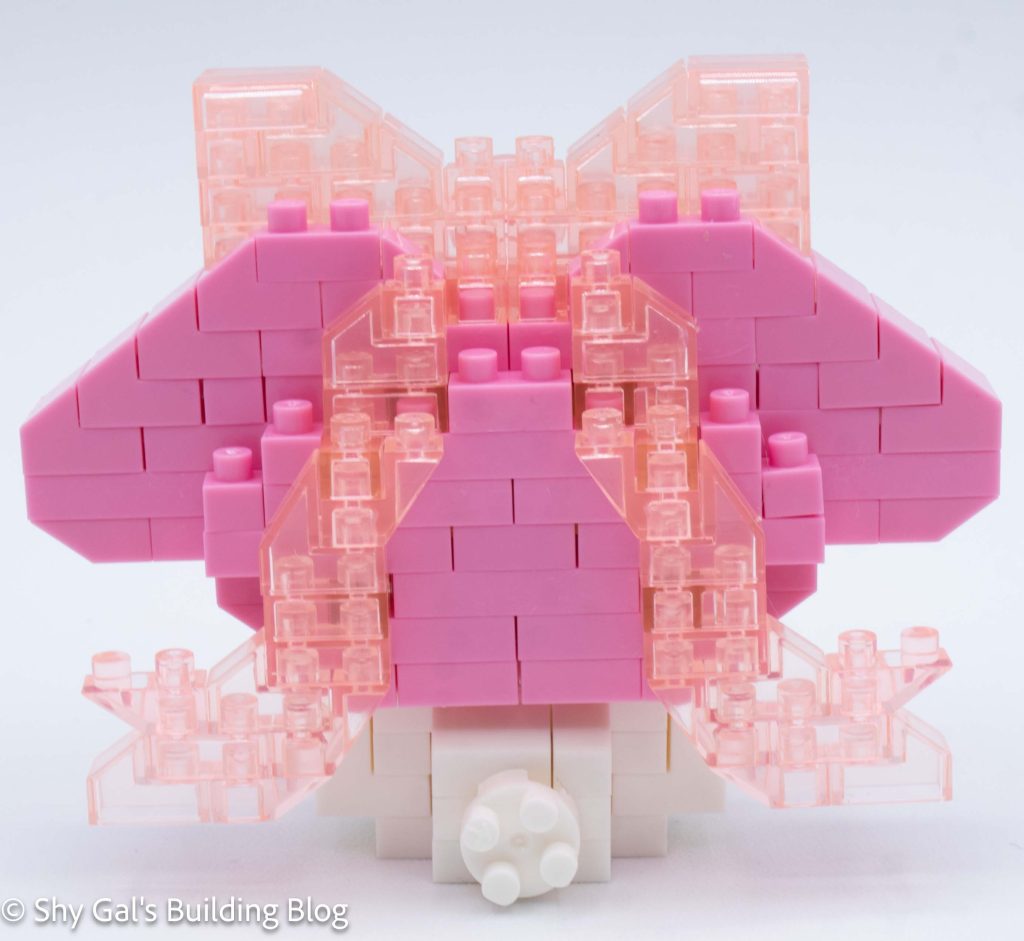
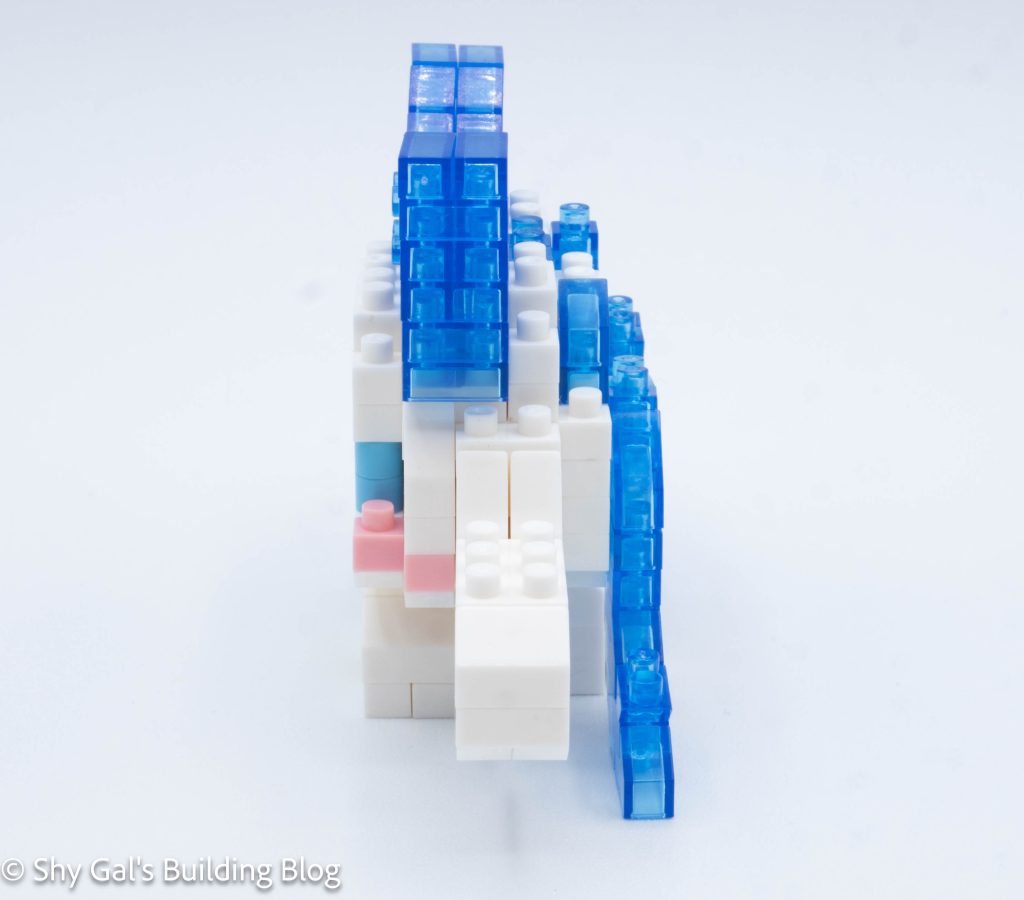
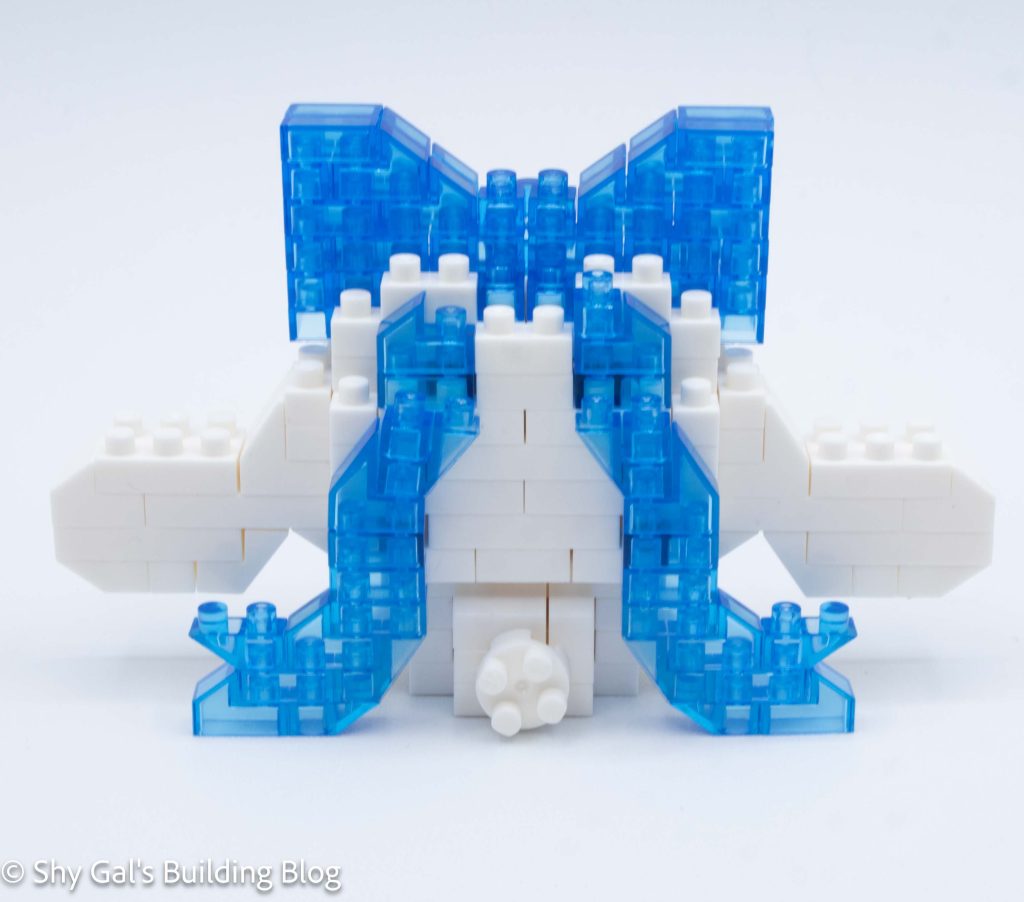
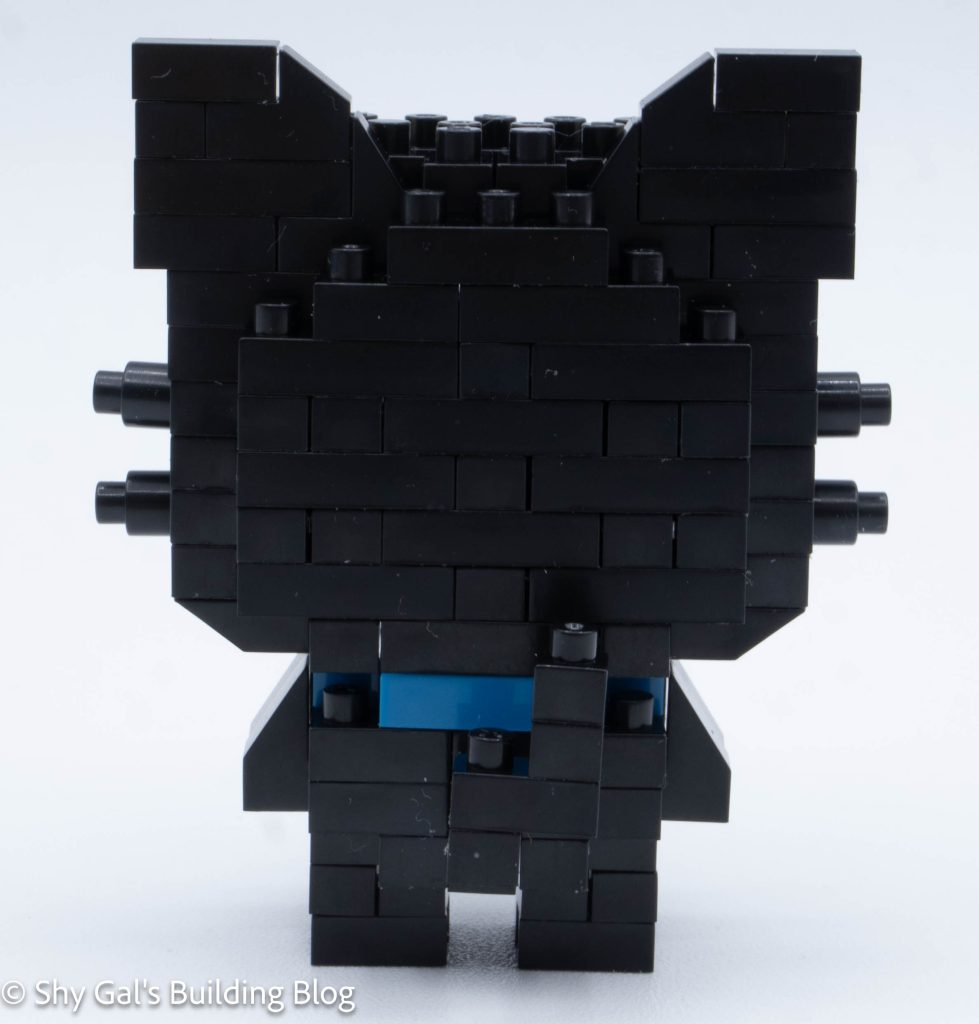
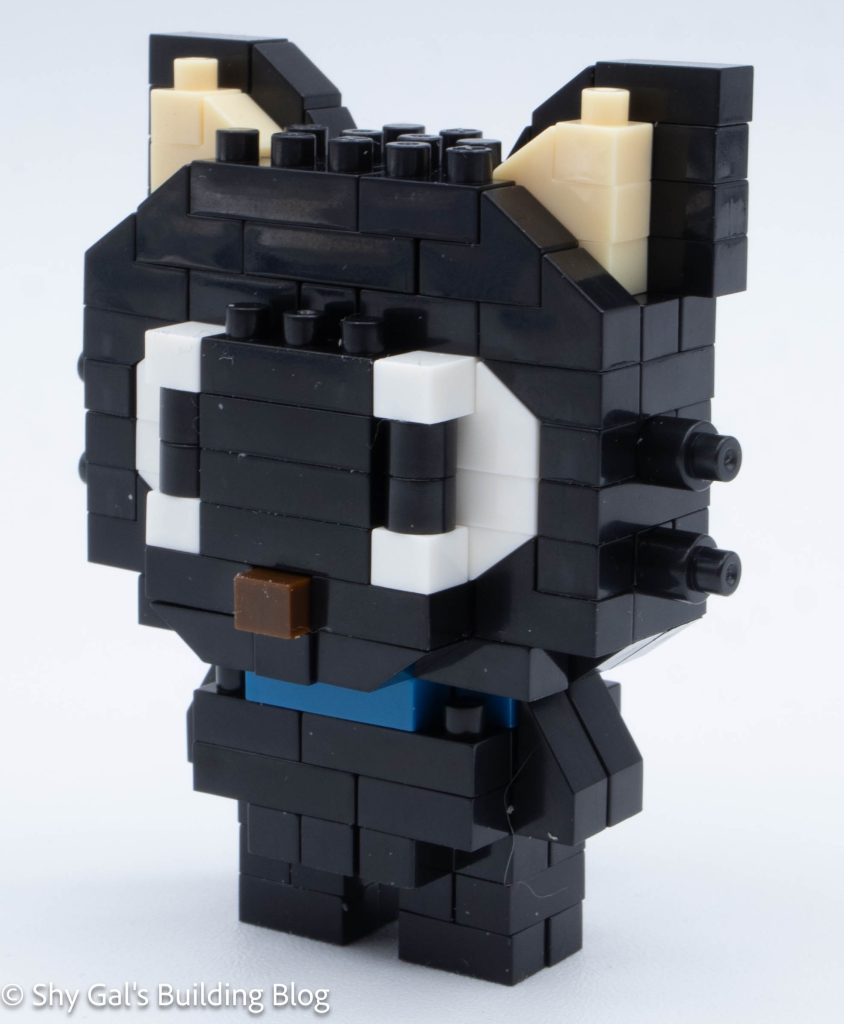
When I got to the top, I added the bow and ears. Both the bow and ears look awkward in my opinion.
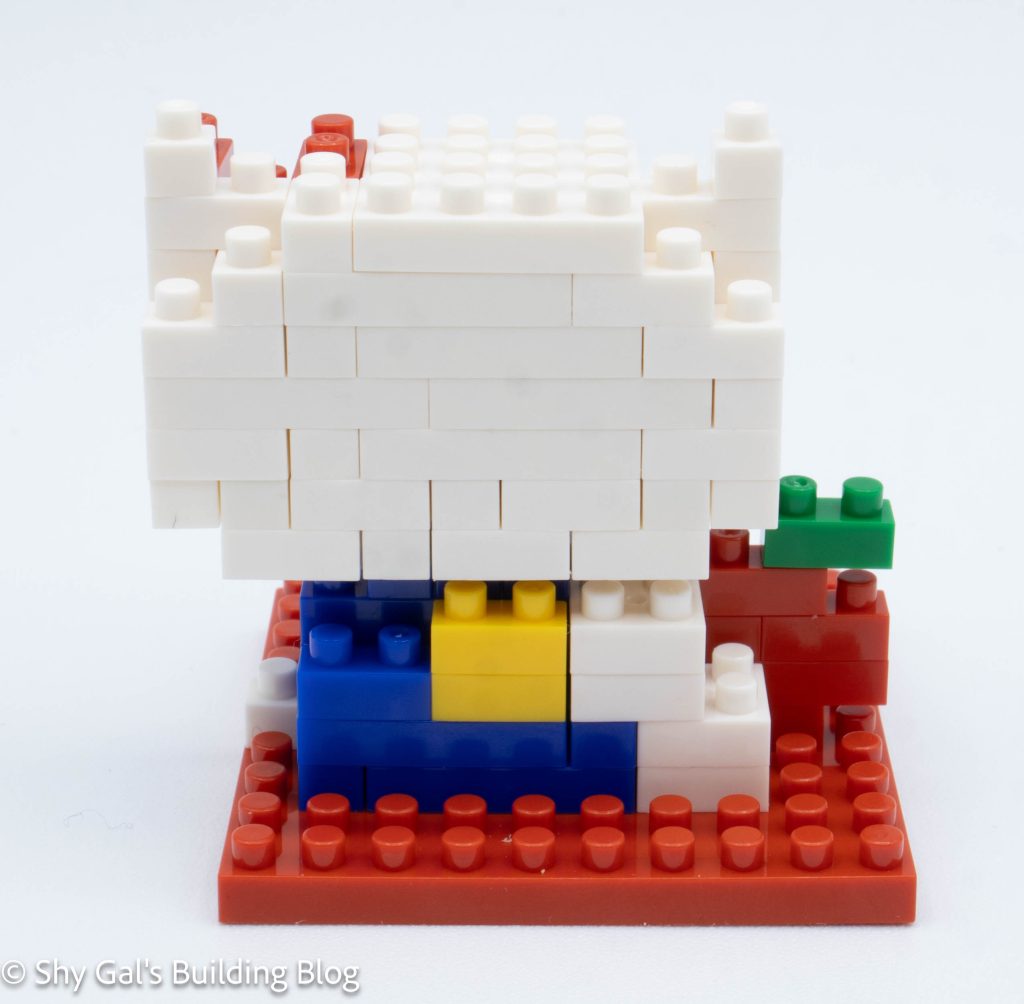
To start the body, I lay the base layer of bricks on the red base plate.
The body goes up in layers, adding the legs, arms, sleeves, and apple.
The final step is to attach the head to the body. There are very clear directions as to how to attach the head so it is properly lined up.
Things I liked:
- I like the added detail of Hello Kitty holding an apple in this build
Things I didn’t like:
- I feel that the ears and bow look a little odd in the final build