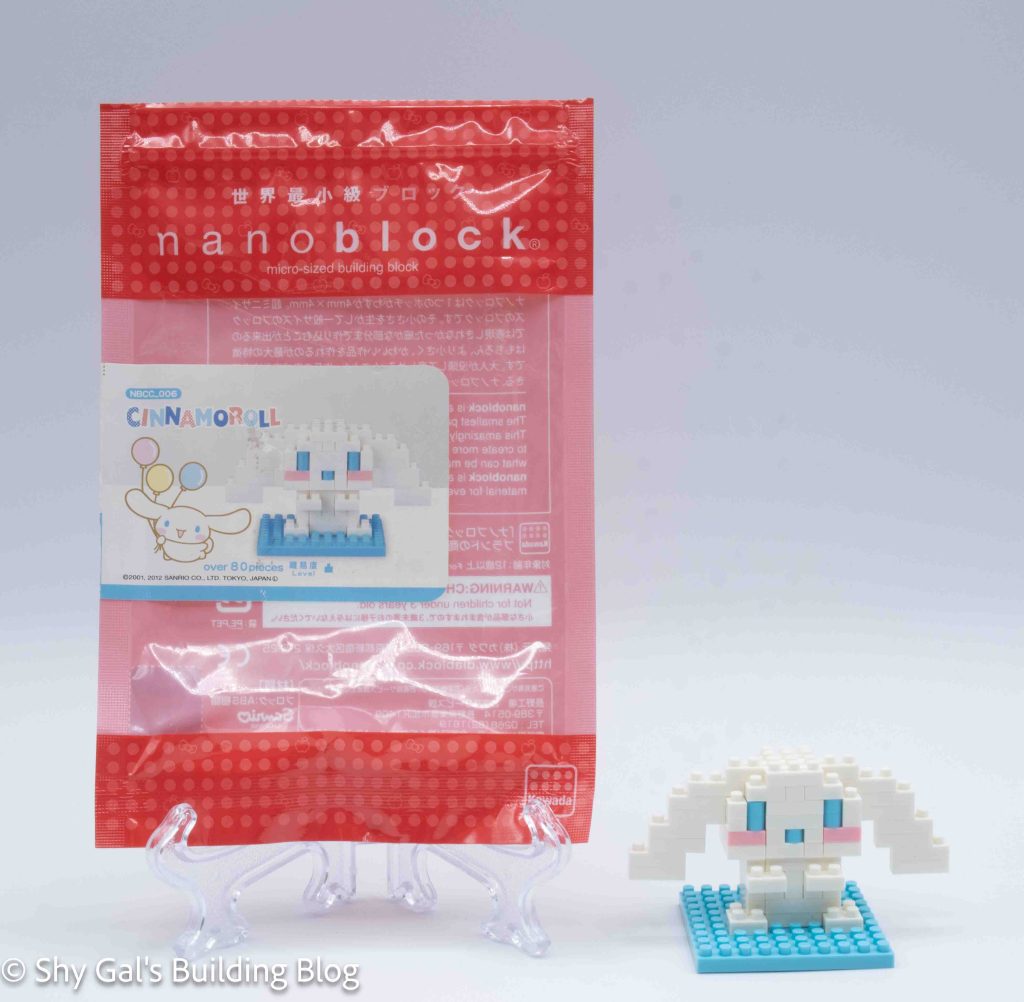
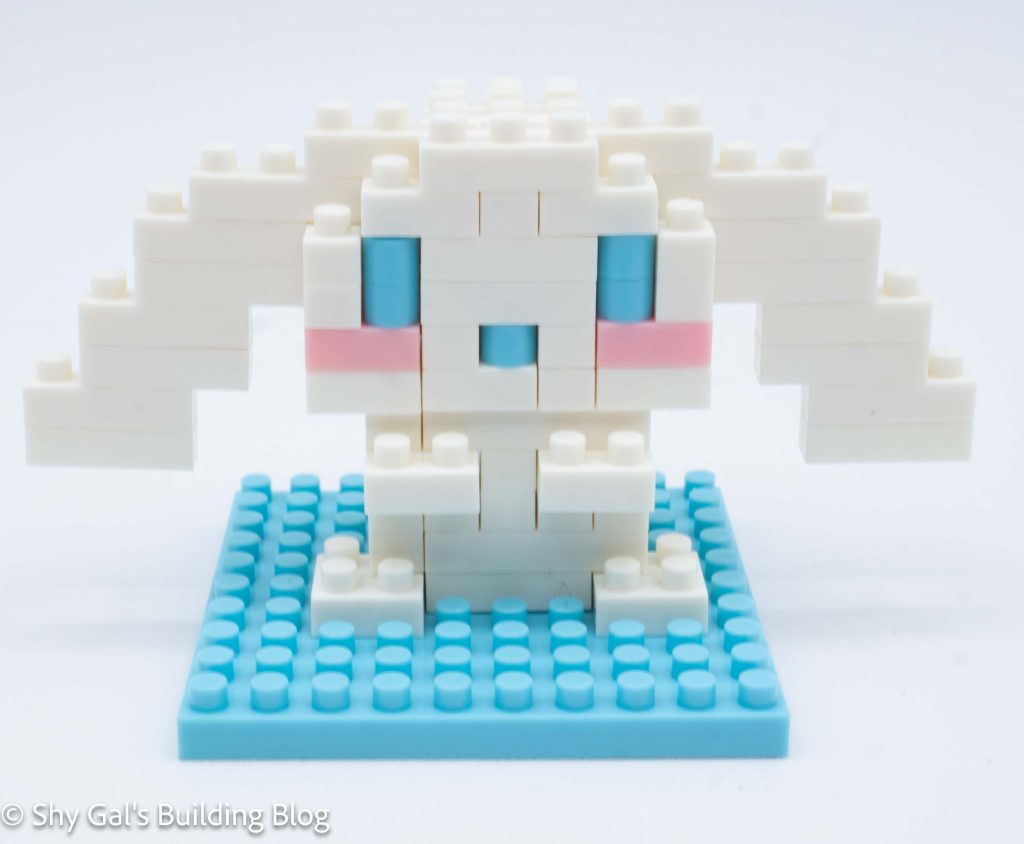
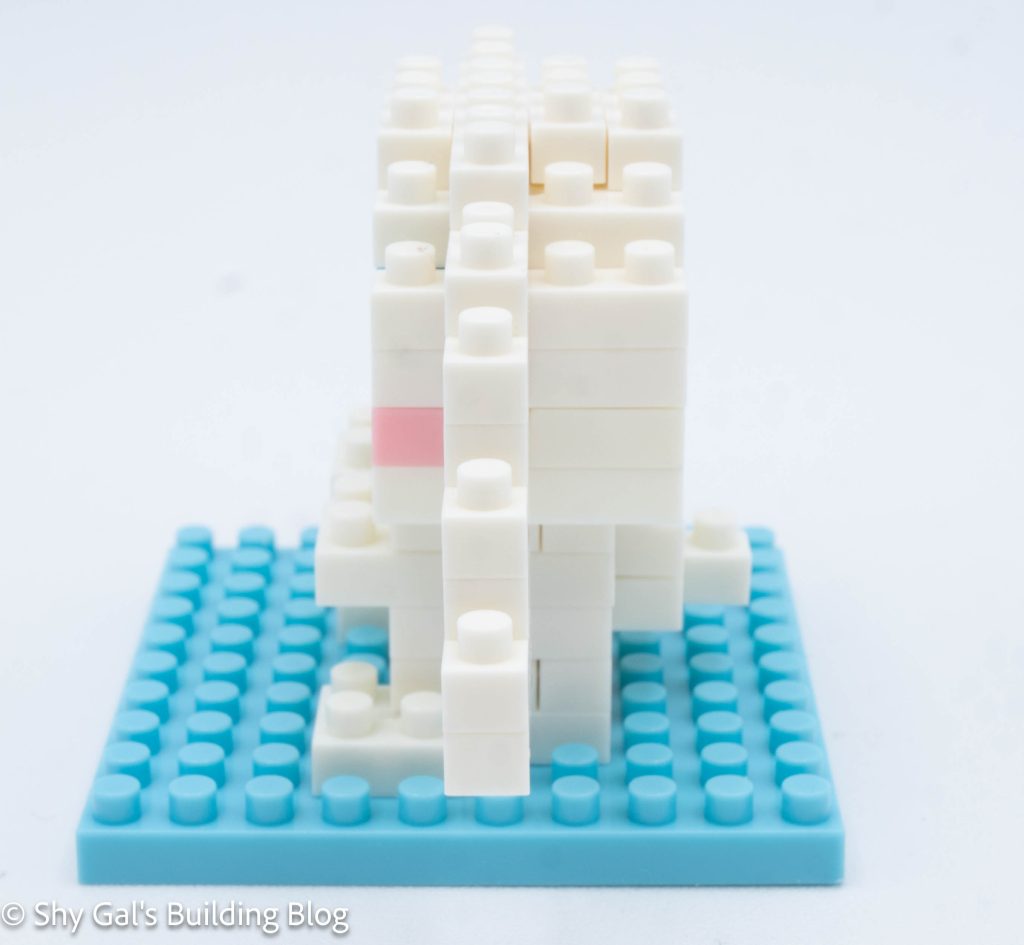
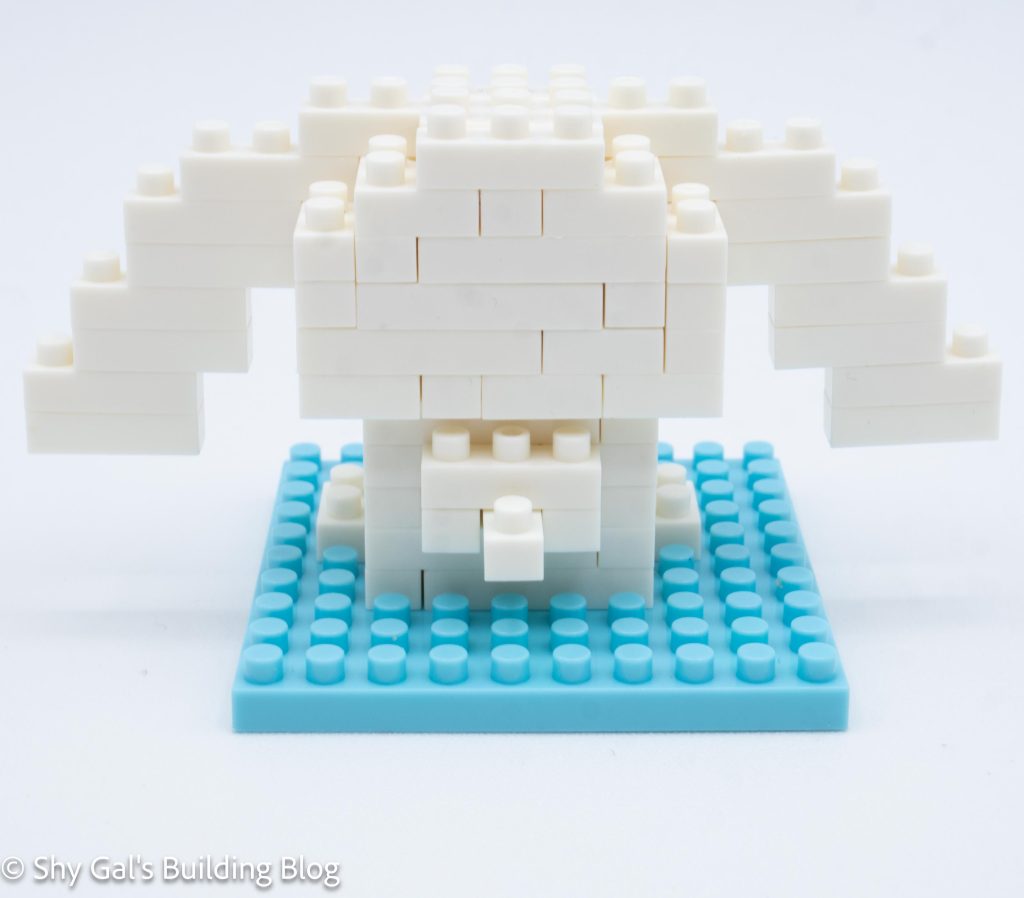
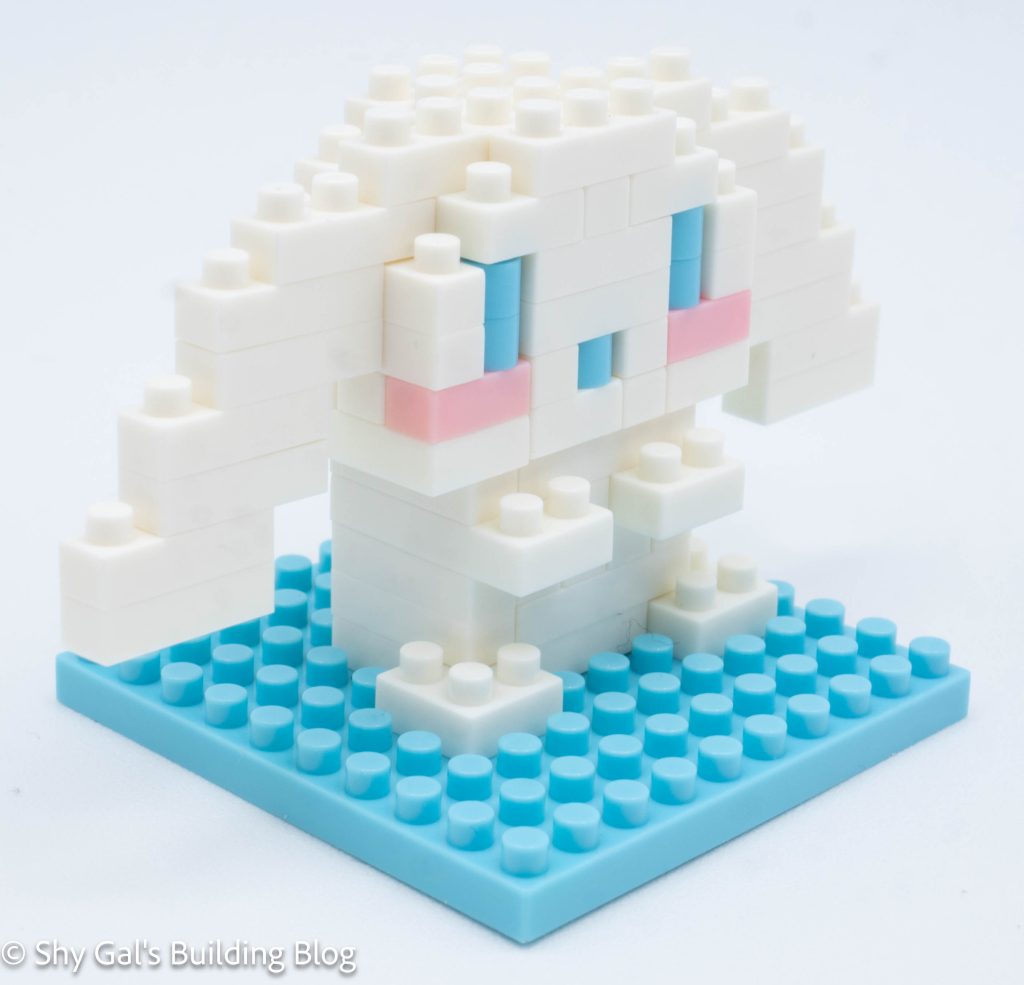
This post is a review of the nanoblock Cinnamoroll build. Cinnamoroll is part of the nanoblock Character collection. Wondering what else is part of the Character collection? Click here for a list.
Number: NBCC_006
Number of Pieces: 80
Difficulty Rating: 1
I began by laying the bricks for the foundation out on my nanoblock pad.
The head went up in layers to create the head and face. I added the cheeks, mouth, and eyes.
The next step is to add the detail to the head.
The final step of the head is to add Cinnamoroll’s ears.
Next, I began the body by laying the body out on the baseplate.
The body went up in layers. It was a bit tricky to line up the bricks to create the body because of tracing through the arrows.
The final step is to connect the head to the body.
Things I liked:
I like the rounded bricks for the eyes and mouth
Things I didn’t like:
I found the instructions to build the body a bit confusing
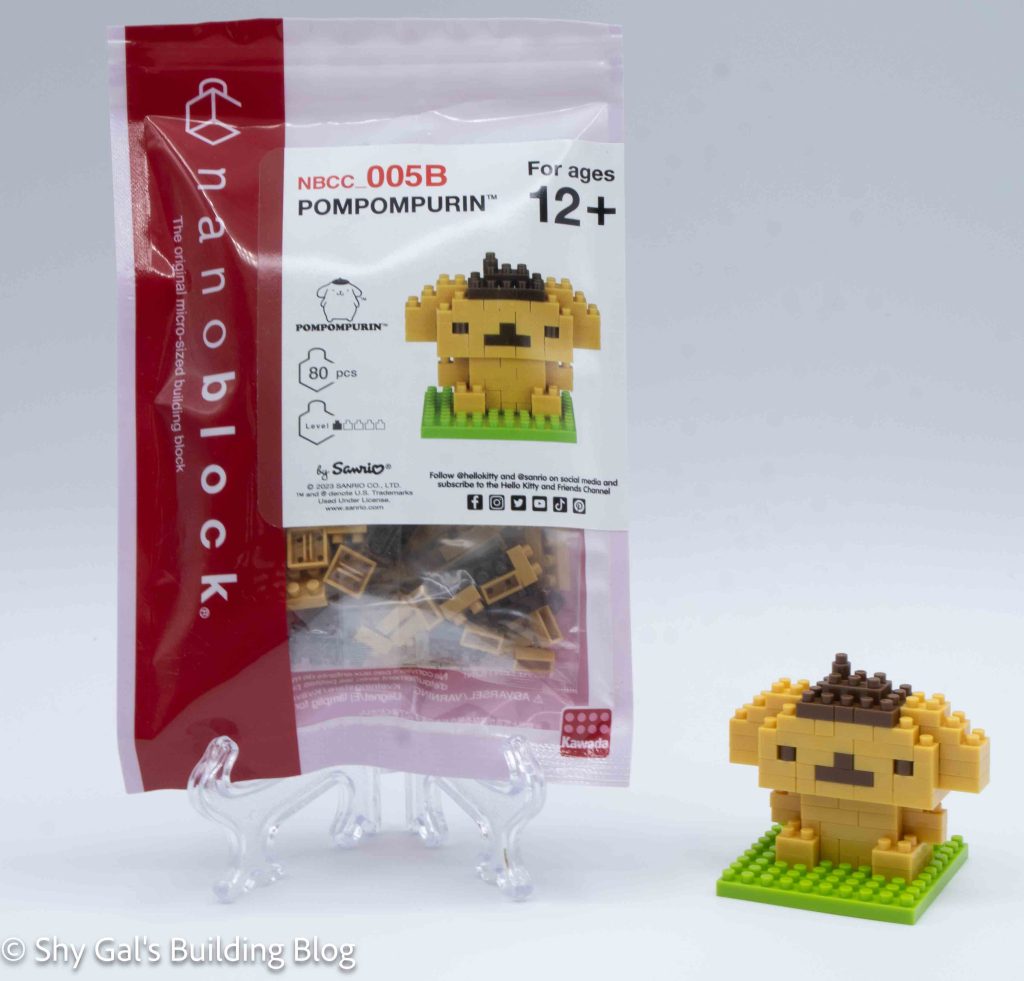
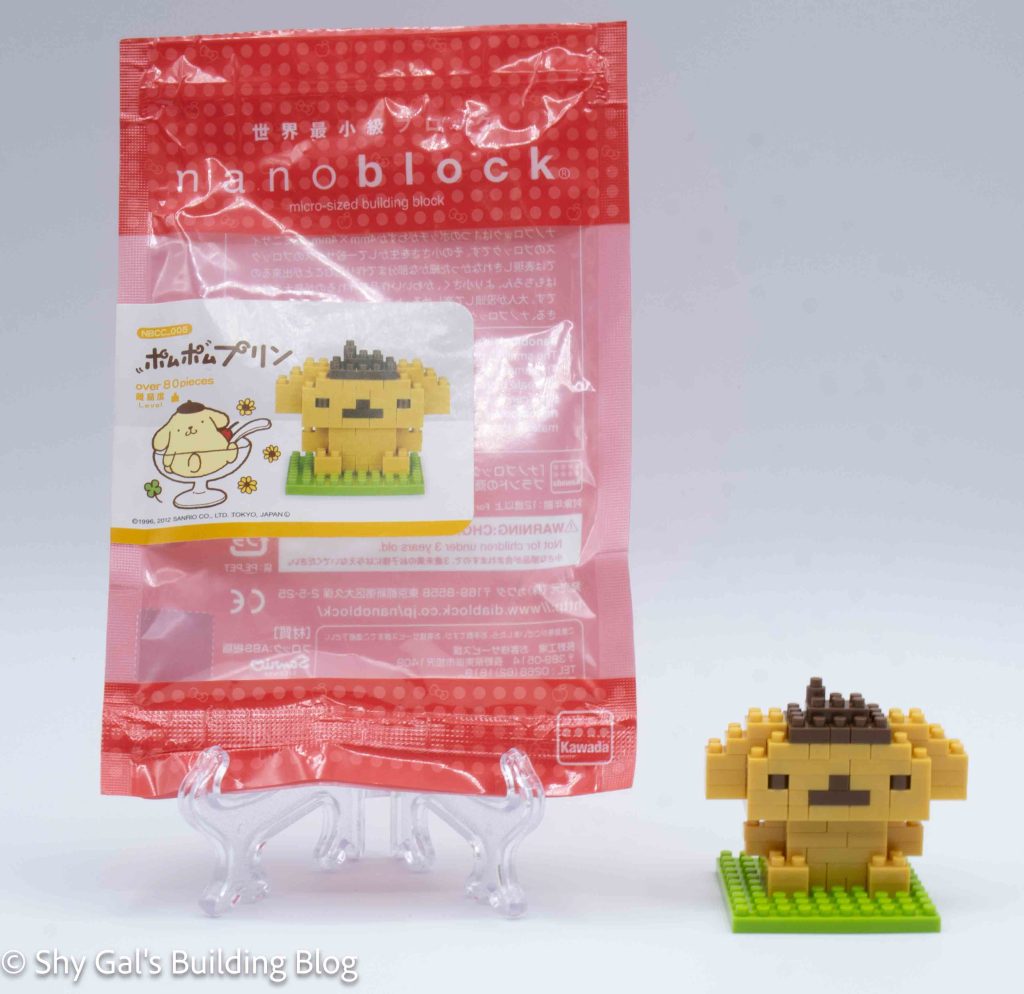
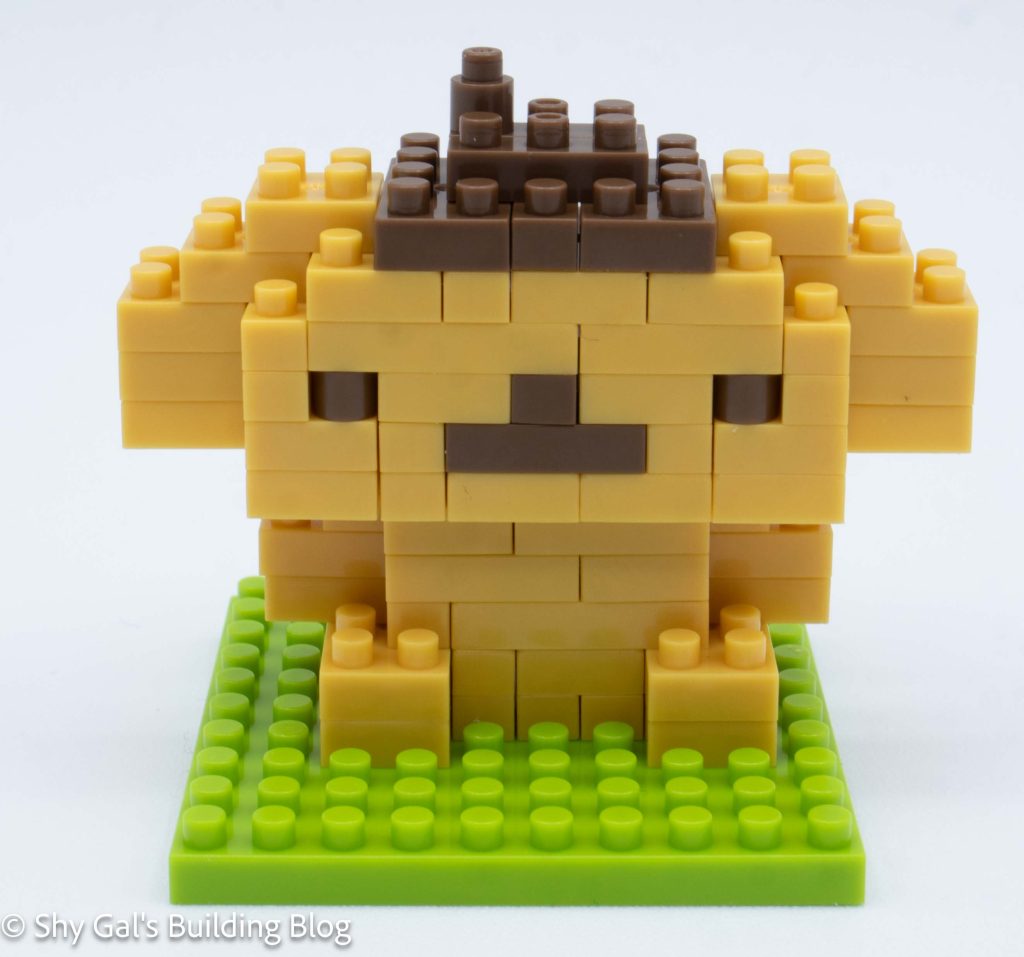
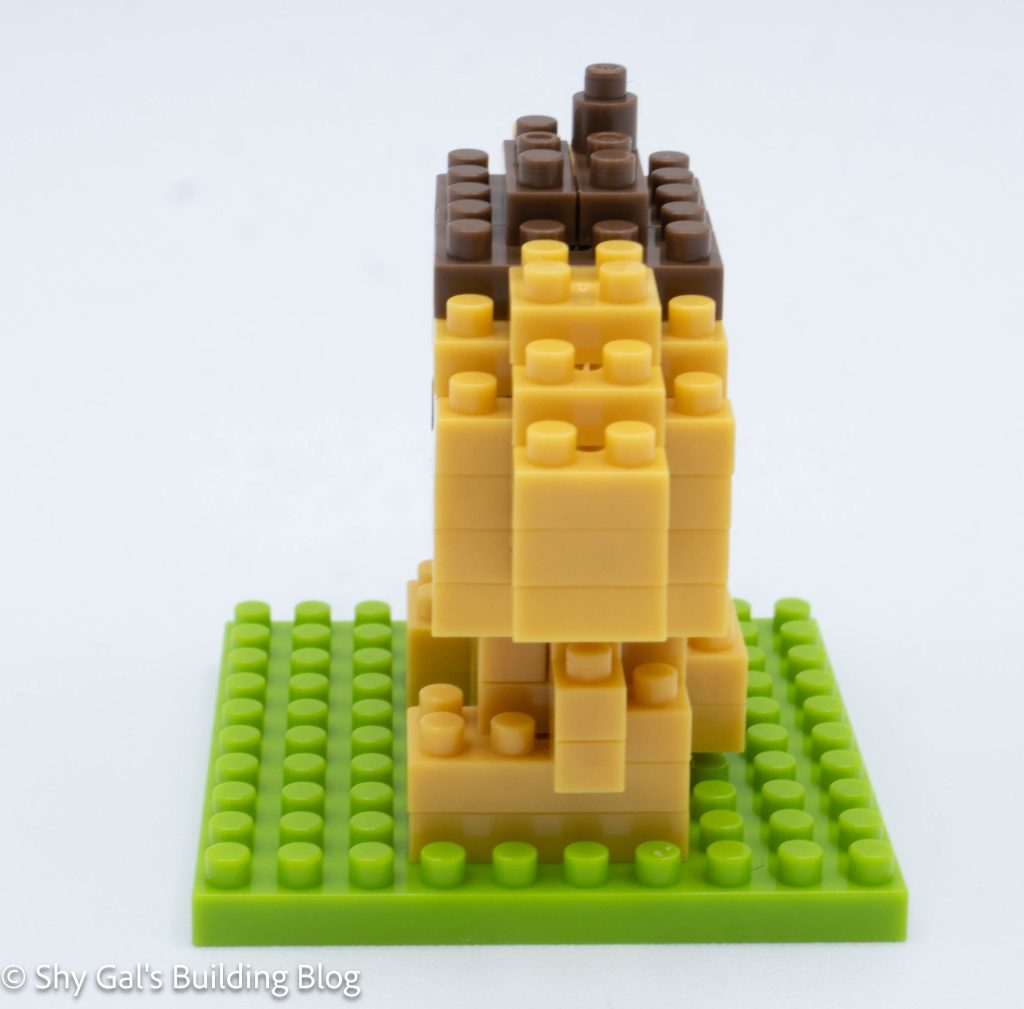
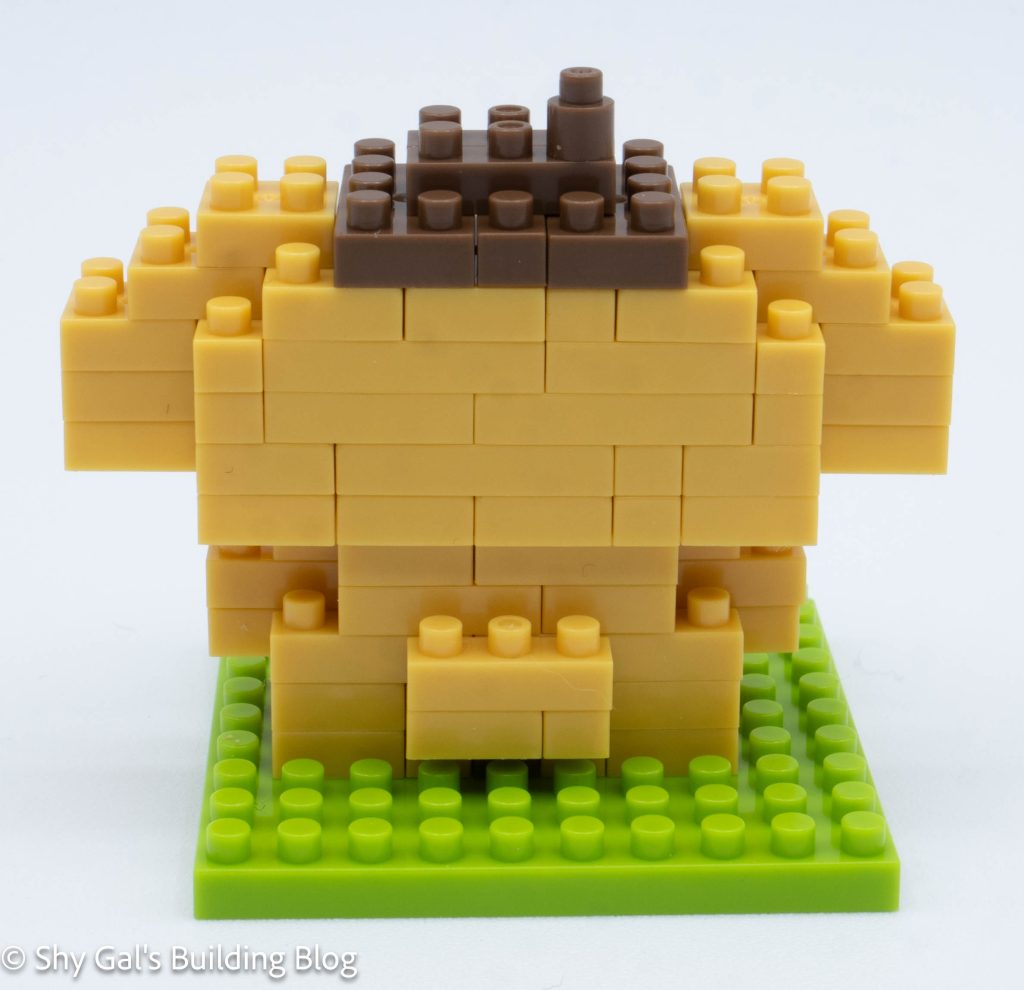
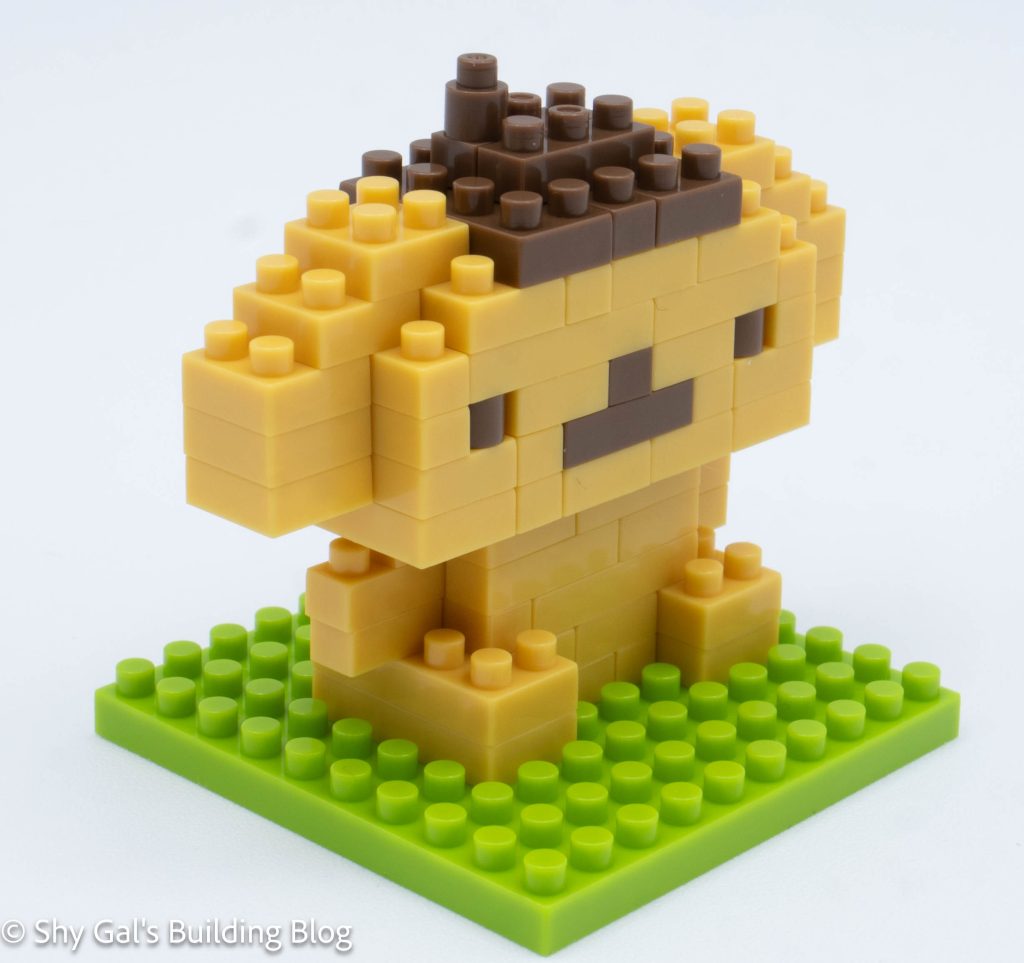
This post is a review of the nanoblock Pompompurin build. Pompompurin is part of the nanoblock Character collection. Wondering what else is part of the Character collection? Click here for a list.
The build begins by laying the bricks out for the base of the head. I used my nanoblock pad to hold the pieces in place.
The head goes up in straightforward layers. The layers added the mouth, nose, and eyes.
I added a few more layers and closed up the head.
Then I added the hat and ears.
I laid the base layer of the body on the baseplate. The base layer includes Pompompurin’s famous butthole.
I built the body up in layers.
The last step is to attach the head to the body. There are a pair of diagrams to show how to attach the head to the body.
Things I liked:
I like that it included his famous butthole
Things I didn’t like:
There are a few places where the bricks are just stacked on top of each other. Normally, the bricks are staggered, so things are easier to break apart later
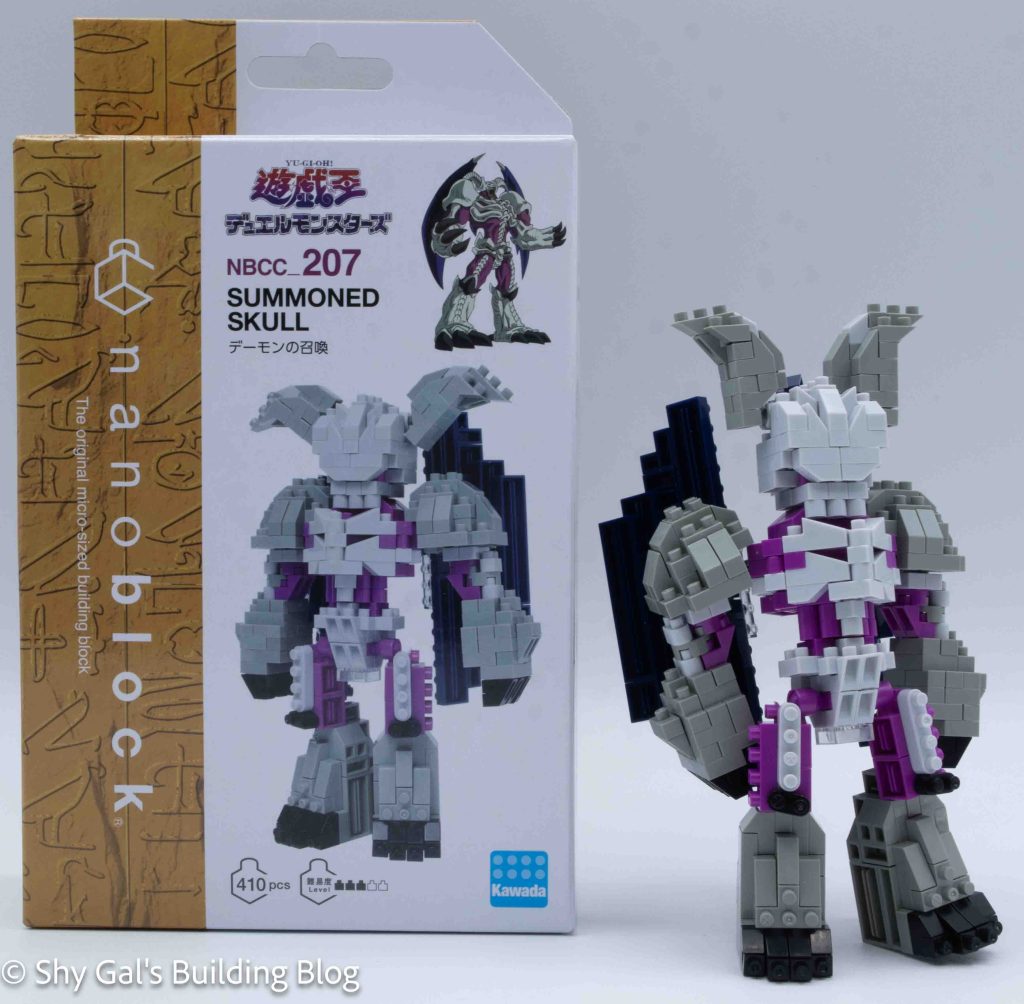
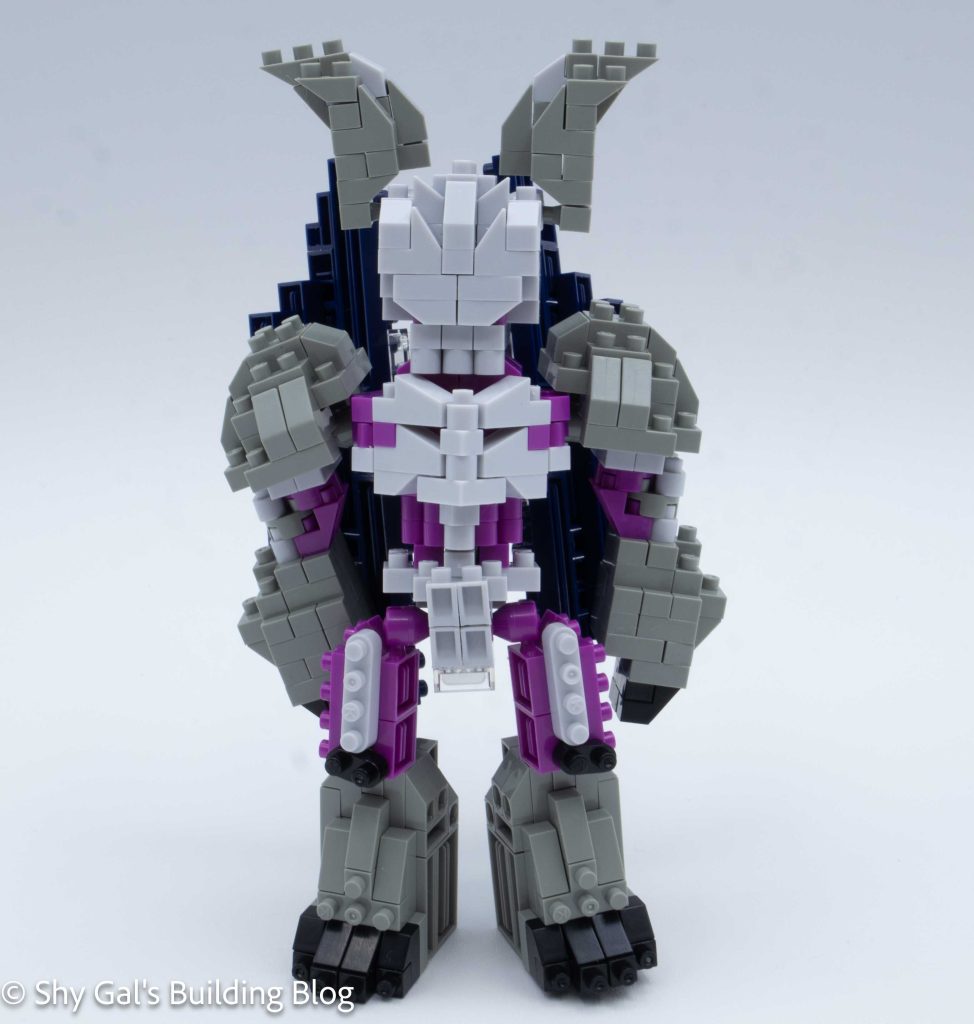
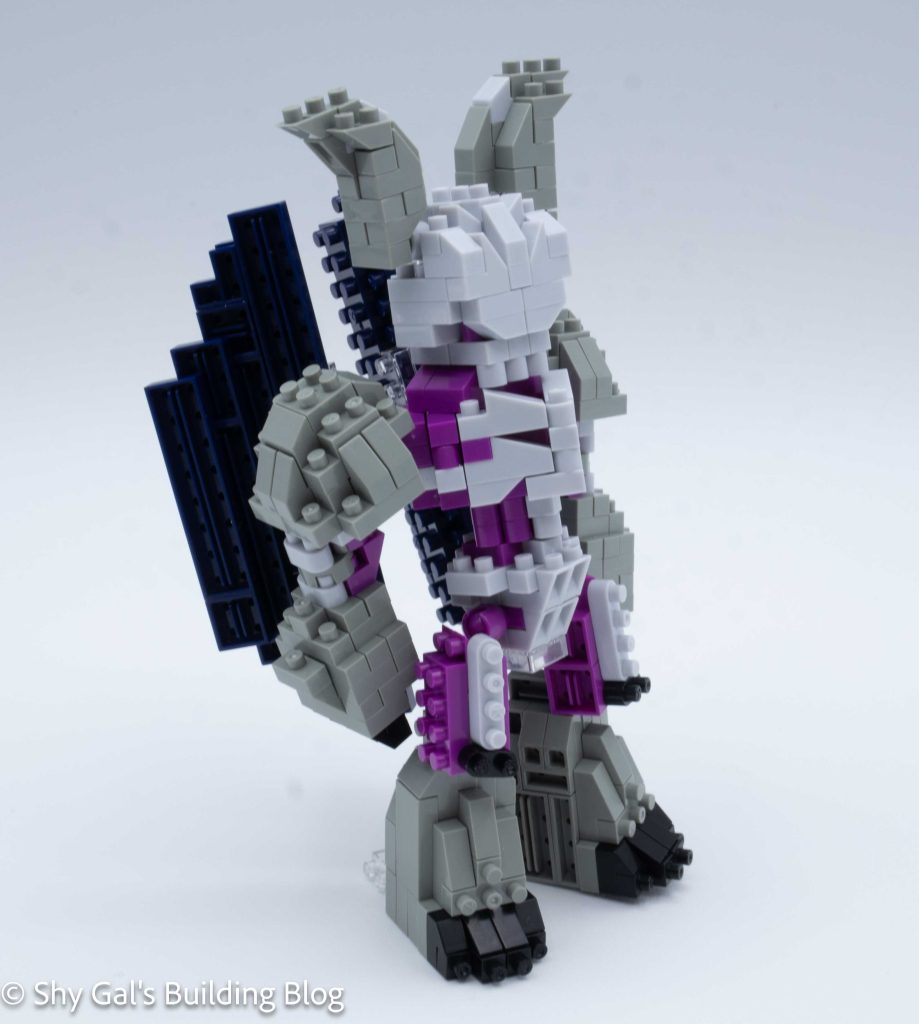
This post is a review of the nanoblock Summoned Skull build. Summoned Skull is part of the nanoblock Character collection. Wondering what else is part of the Character collection? Click here for a list.
Number: NBCC_207
Number of Pieces: 410
Difficulty Rating: 3/5
This is by far the most difficult of the Yu-Gi-Oh builds. I had to stop at multiple points to reevaluate what was going on and how things could be properly built. I also had to take things apart several times to correct what I had built.
The first step was to build the body. The build started at the hips and builds up the torso. At one point, the body is attached by one stud, so the entire rib cage rotates, so keeping it lined up was a bit tricky. When I got to the top of the body, I placed a 2×2 round piece, which, when I originally placed the brick, the head connection wasn’t lined up properly.
The next step was to build the head. The head was very straightforward to build.
Next I attached the head to the body.
The next step was to build the legs. For some reason, it wasn’t build one leg then build the other (which is the usual pattern). Instead, I was building a section of each leg in a mirrored step at a time. This made building the legs a lot trickier than it needed to be.
Then I attached the legs to the body
The next section is to build the arms. The arms are identical and fairly straightforward.
Then I attached the arms to the body.
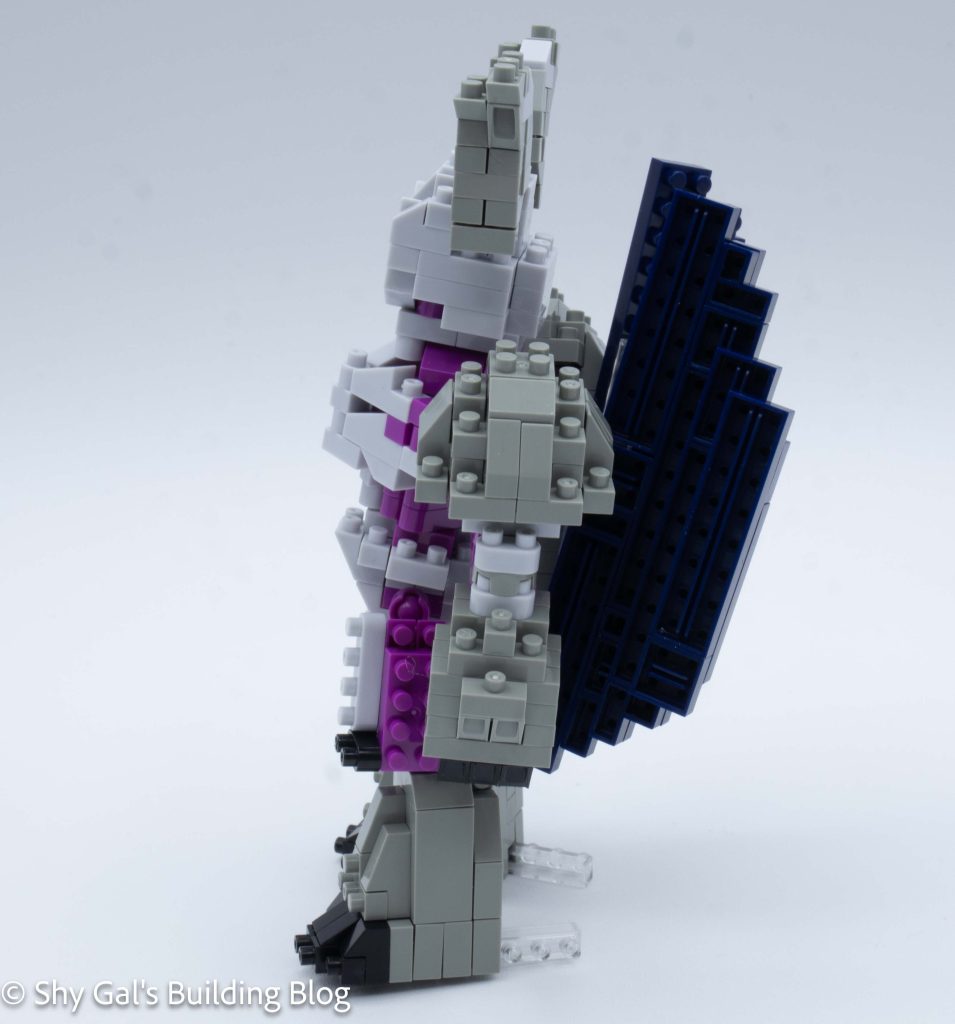
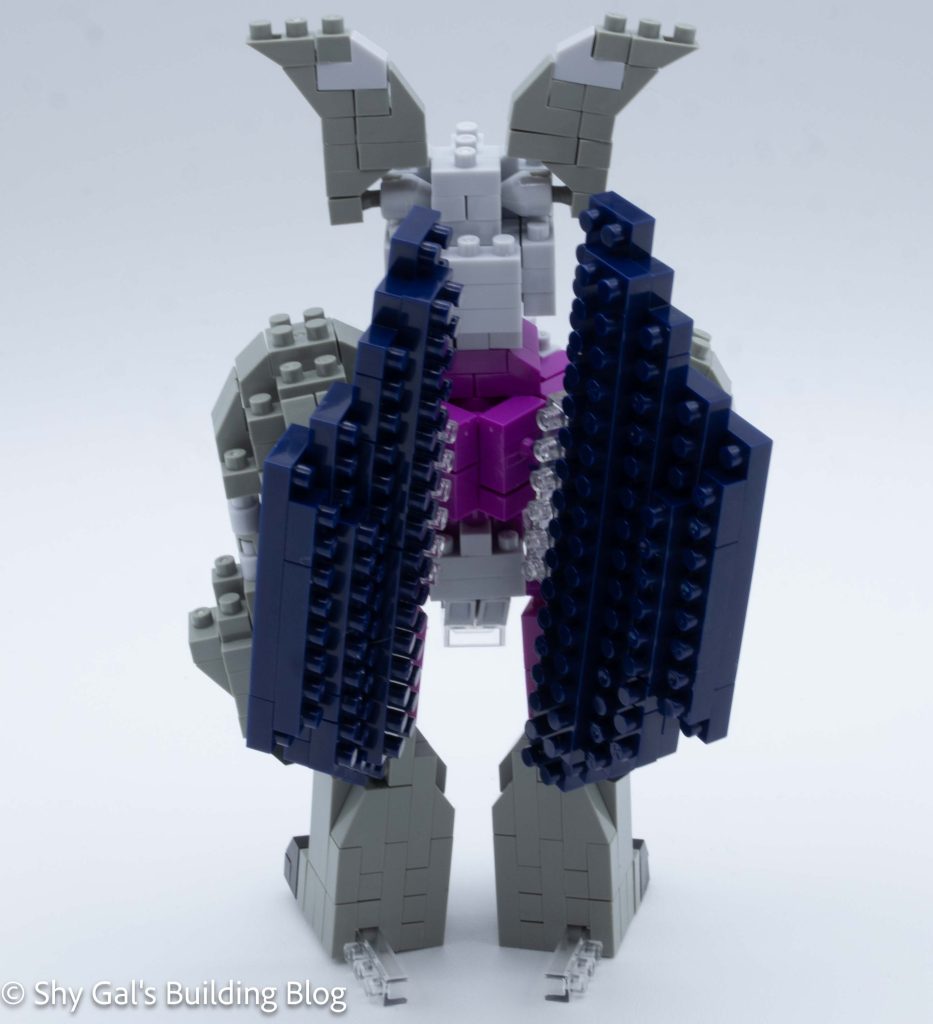
The next step is to build the wings. The wings are mirrors of each other. A nice detail is that there is a clear brick to strengthen the wing.
Finally, I attached the wings to the body. Sadly, this made the build very back-heavy so the build snapped at the spine, where is it held together by 1 stud. I was able to get it back together, but it became very fragile.
Things I liked:
I like that the wings have a clear brick that works as a support to strengthen the wings
Things I didn’t like:
I don’t like that the torso is attached to the hips by one stud. When I attached the wings the two sections would barely be stay connected
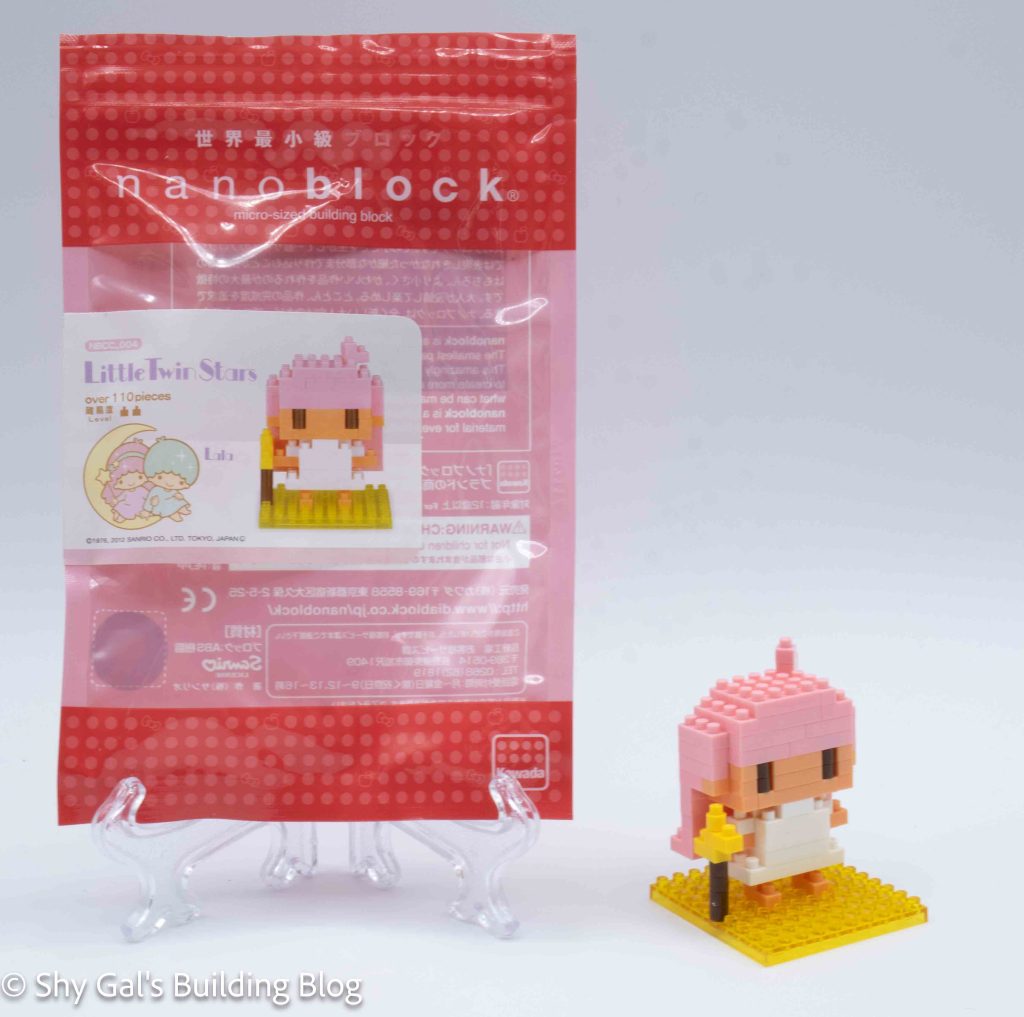
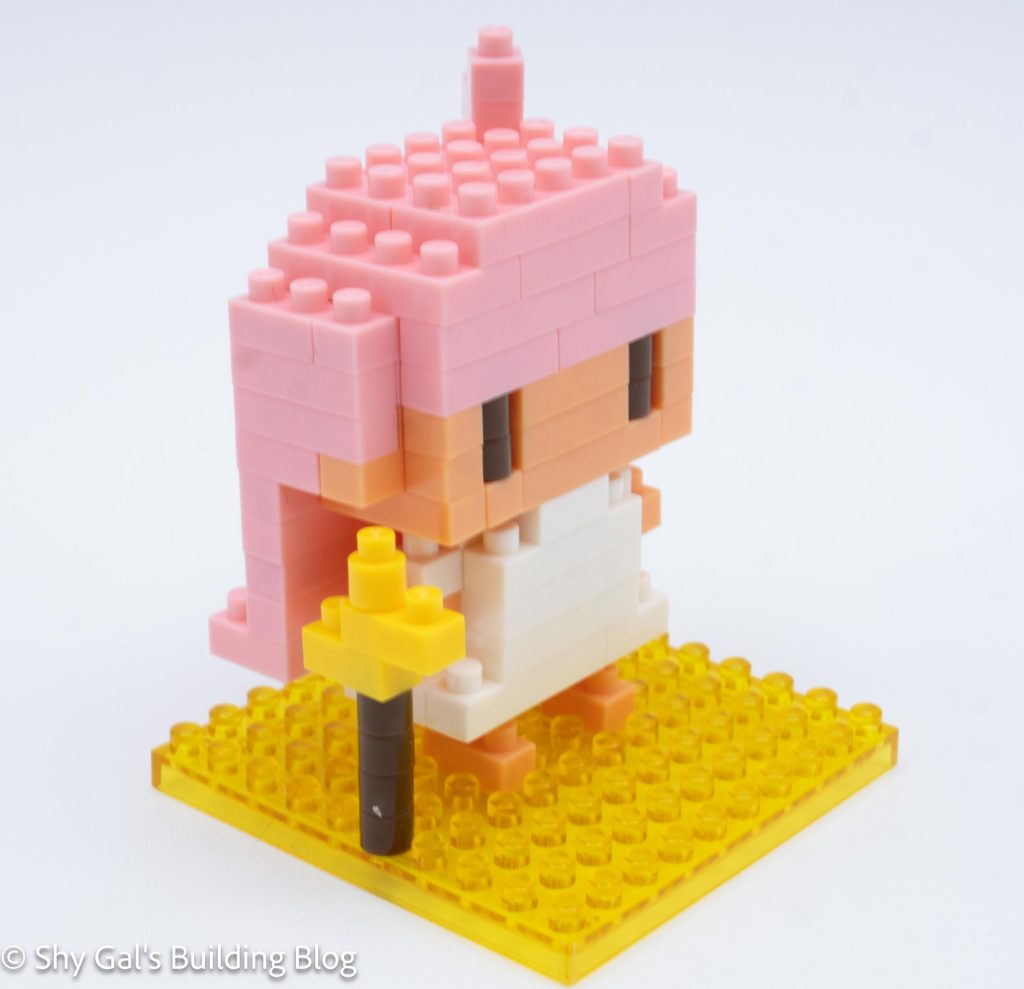
This post is a review of the nanoblock Little Twin Stars Lala build. Little Twin Stars Lala is part of the nanoblock Character collection. Wondering what else is part of the Character collection? Click here for a list.
Number: NBCC_004
Number of Pieces: 110
Difficulty Rating:2
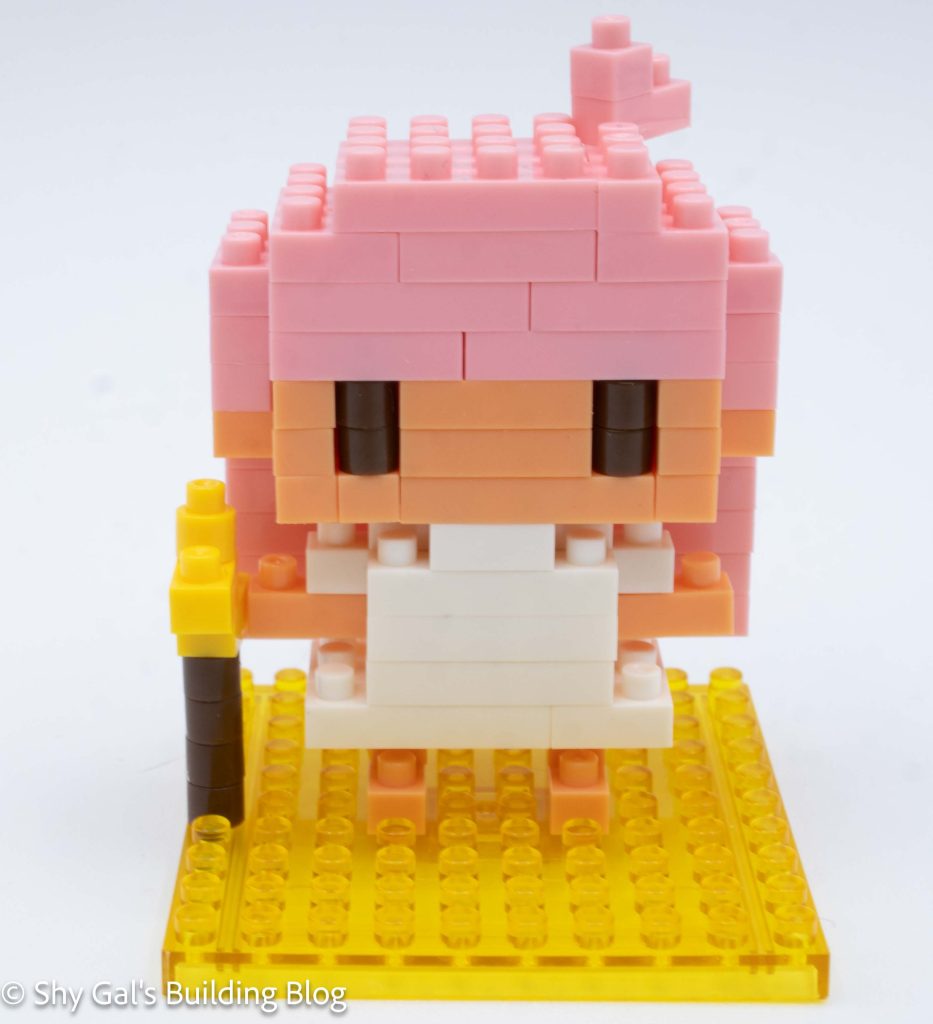
This build is made up of 3 sections. There is the head, the body, and the base plate.
The build begins with laying out the bricks to be the foundation of the head. I laid the bricks out on my nanoblock pad.
I added two layers of bricks that contained skin, eyes, and the back of the head.
Then I added several more layers of pink for her hair. I closed up the head using the pink bricks.
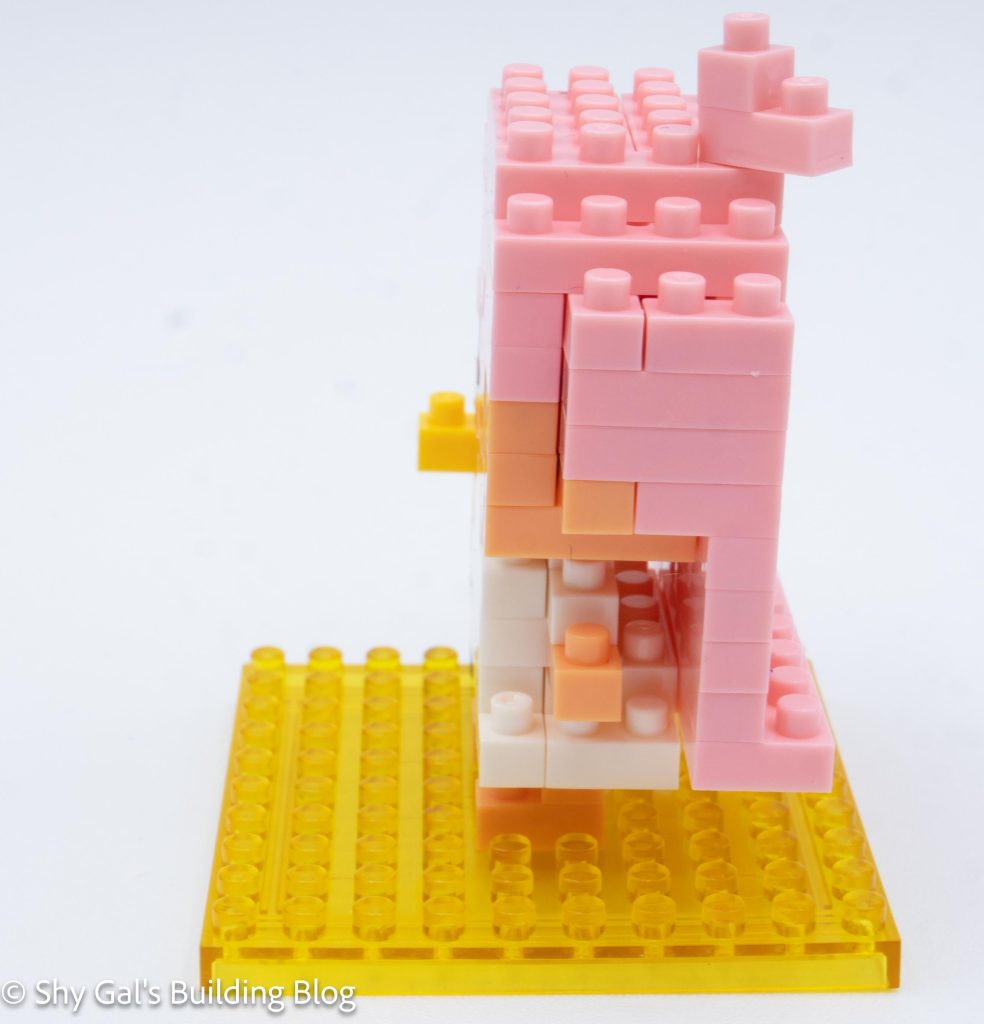
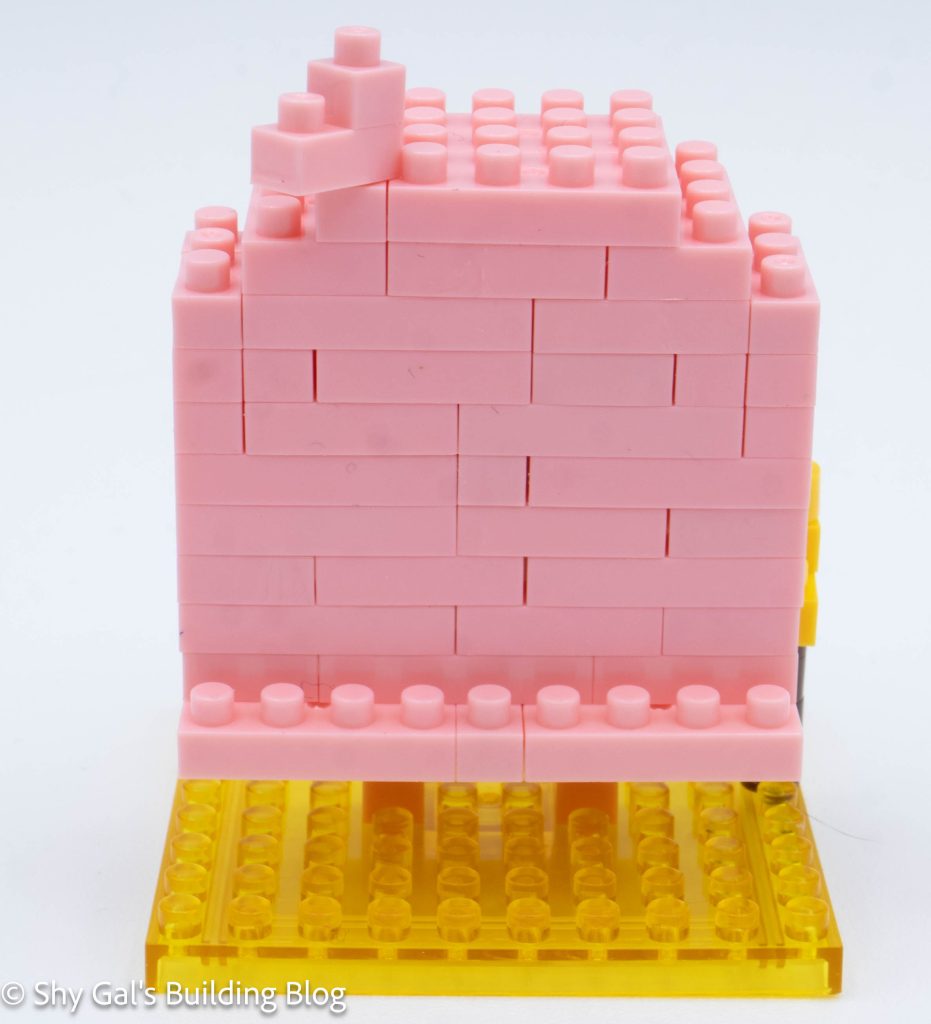
Next, I had to build the hair that goes down. This was a bit tricky because it showed how many layers were needed, but there were no step-by-step directions for this section. After building the hair, I attached it to the head.
Next, I built the body. I lay the foundation out on my nanoblock pad.
I added layers to the body. In the step where I attached the arms once again, the steps were combined, so the instructions were a bit unclear.
Then I attached the head to the body.
Next, I worked on the baseplate. I attached the feet and wand to the baseplate.
The last step was to attach the body to the feet. There was a picture to describe how the body connects to the legs.
Things I liked:
I like that they included her wand
Things I didn’t like:
There were several steps that were skipped, which was frustrating
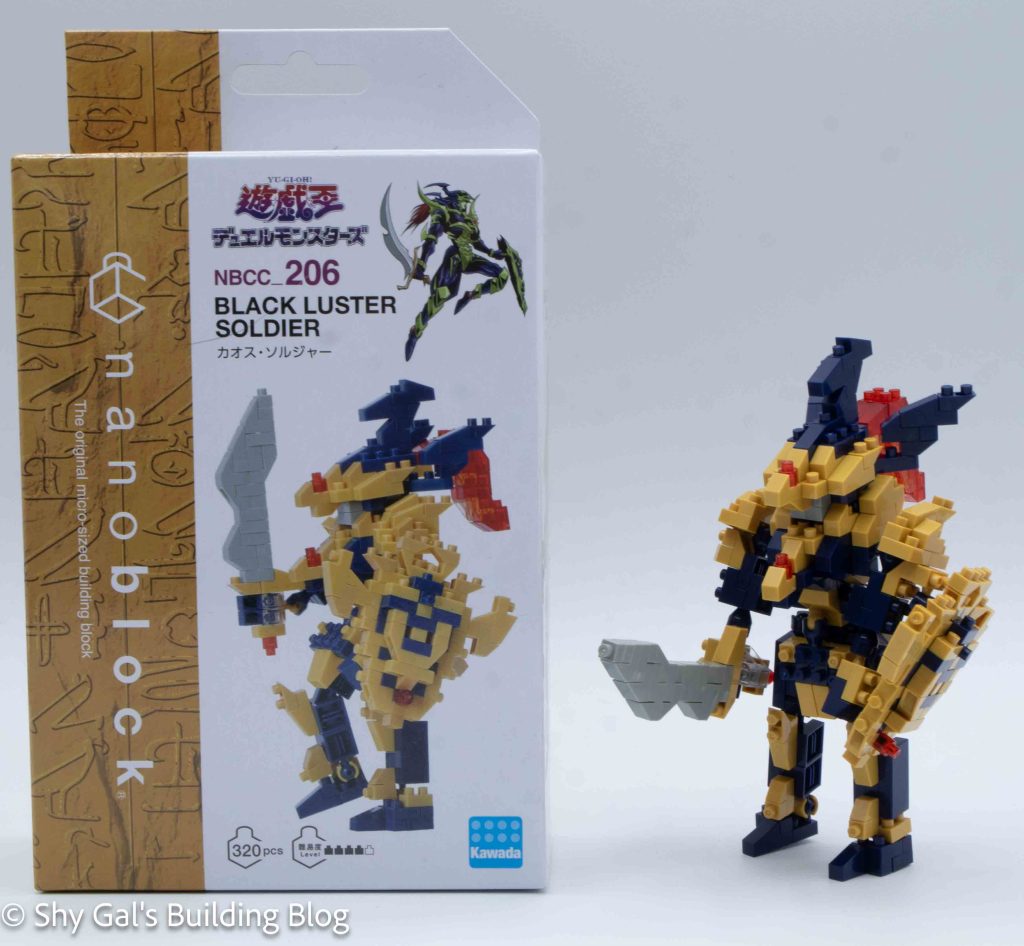
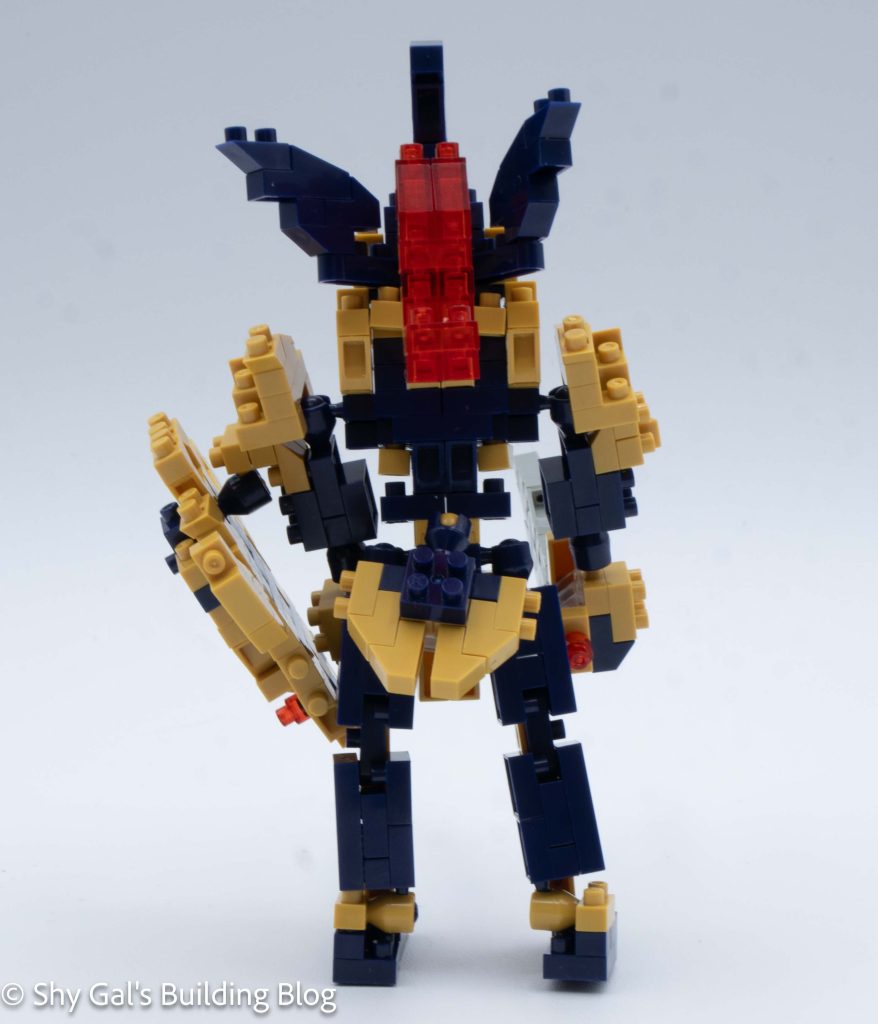
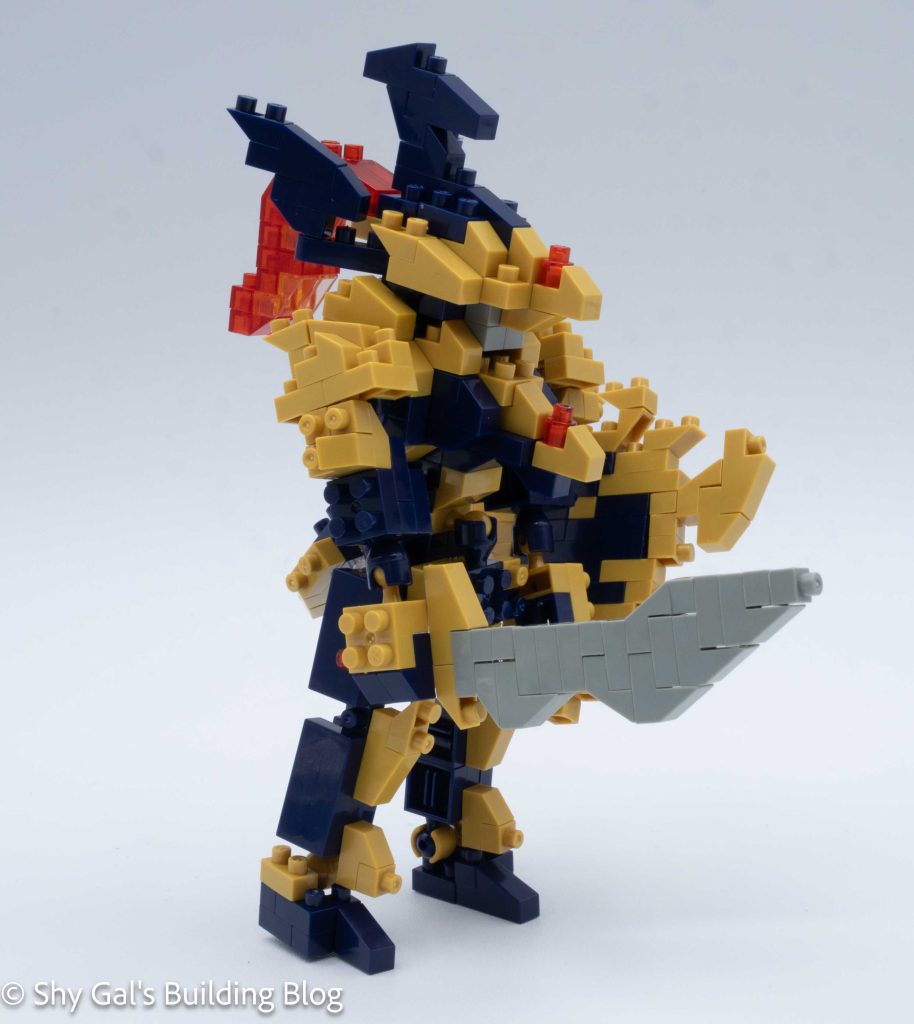
This post is a review of the nanoblock Black Luster Soldier build. Black Luster Soldier is part of the nanoblock Character collection. Wondering what else is part of the Character collection? Click here for a list.
Number: NBCC_206
Number of Pieces: 320
Difficulty Rating: 4/5
I’m not sure I would rank this build a 4/5 difficulty it was closer to a 3/5 in my opinion.
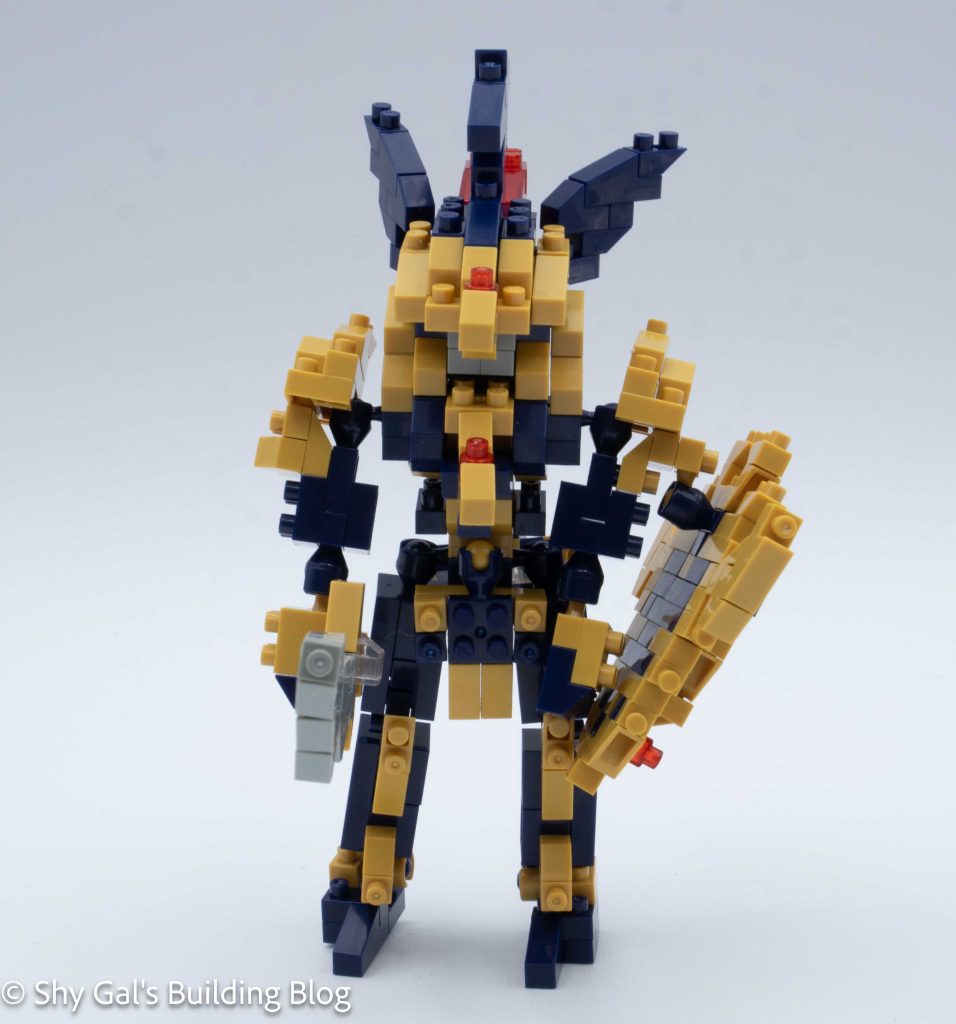
The final build was a bit loose and floppy, but overall it was hard to pose because the arms are so heavy.
The build begins with his hips by adding ball socket joints where the legs will connect in. It took a while for me to understand what exactly I was building.
Then I added layers of bricks to build the torso. I added the ball sockets for the arms as well.
Then I added layers to create the head.
Then I built the legs. They are not the same but are mirrors of each other. The build was able to stand once I connected the legs to the body.
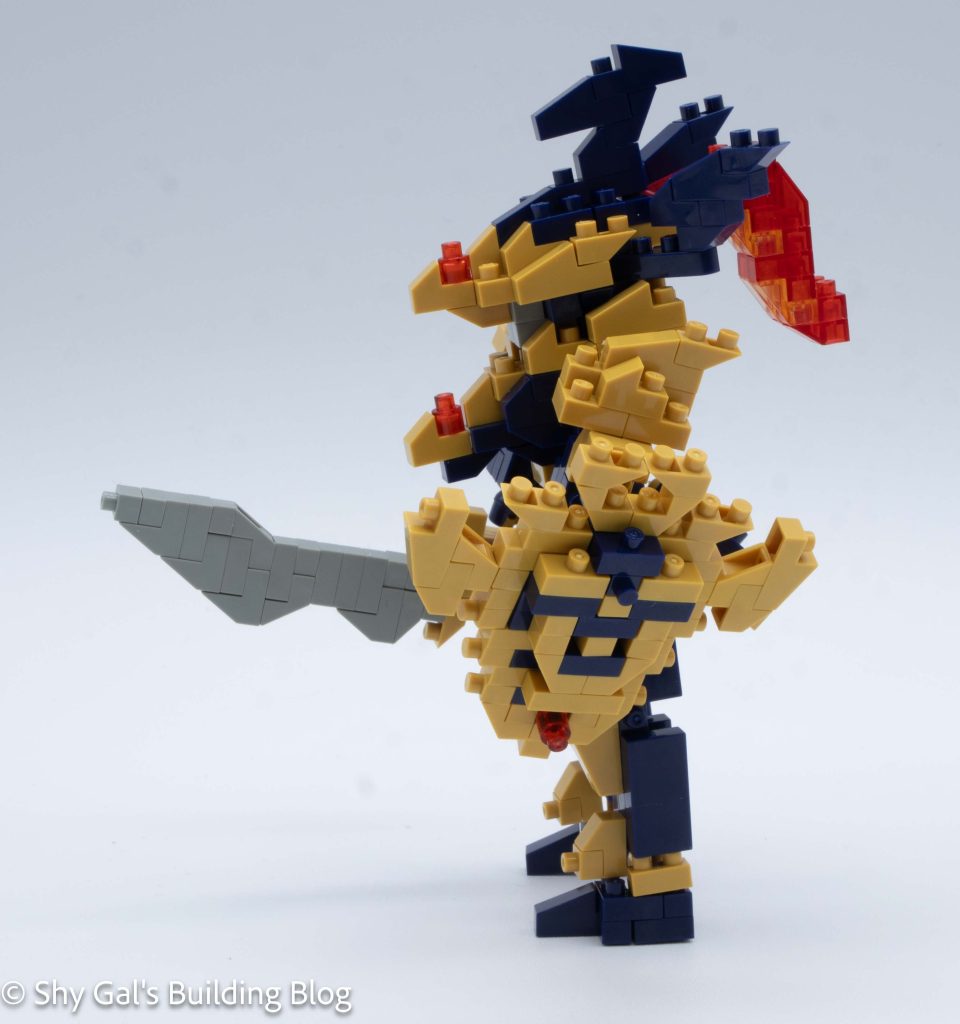
Next I added some details to the front and back of the body.
Next I built his left arm. This included the arm and the sheild. The shield was a bit complicated but everything locked in tightly.
Next I build his right arm. This included the sword and arm. I was surprised that the arm was held in one place with one stud.
The last step was to add the ribbon on the head. I was surprised to see the clear orange because it isn’t really visible.
Things I liked:
I like how the shield looks
Things I didn’t like:
I don’t like how the build isn’t super posable because the arms are so heavy
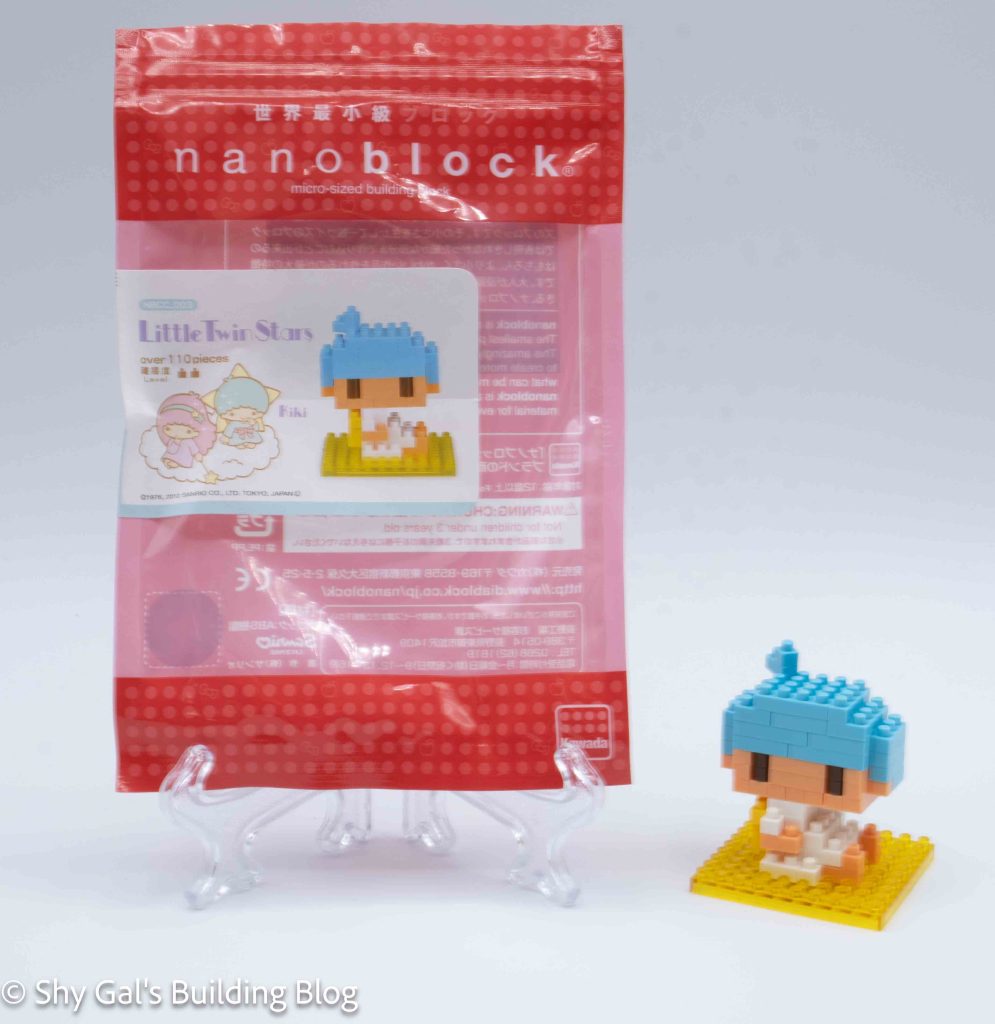
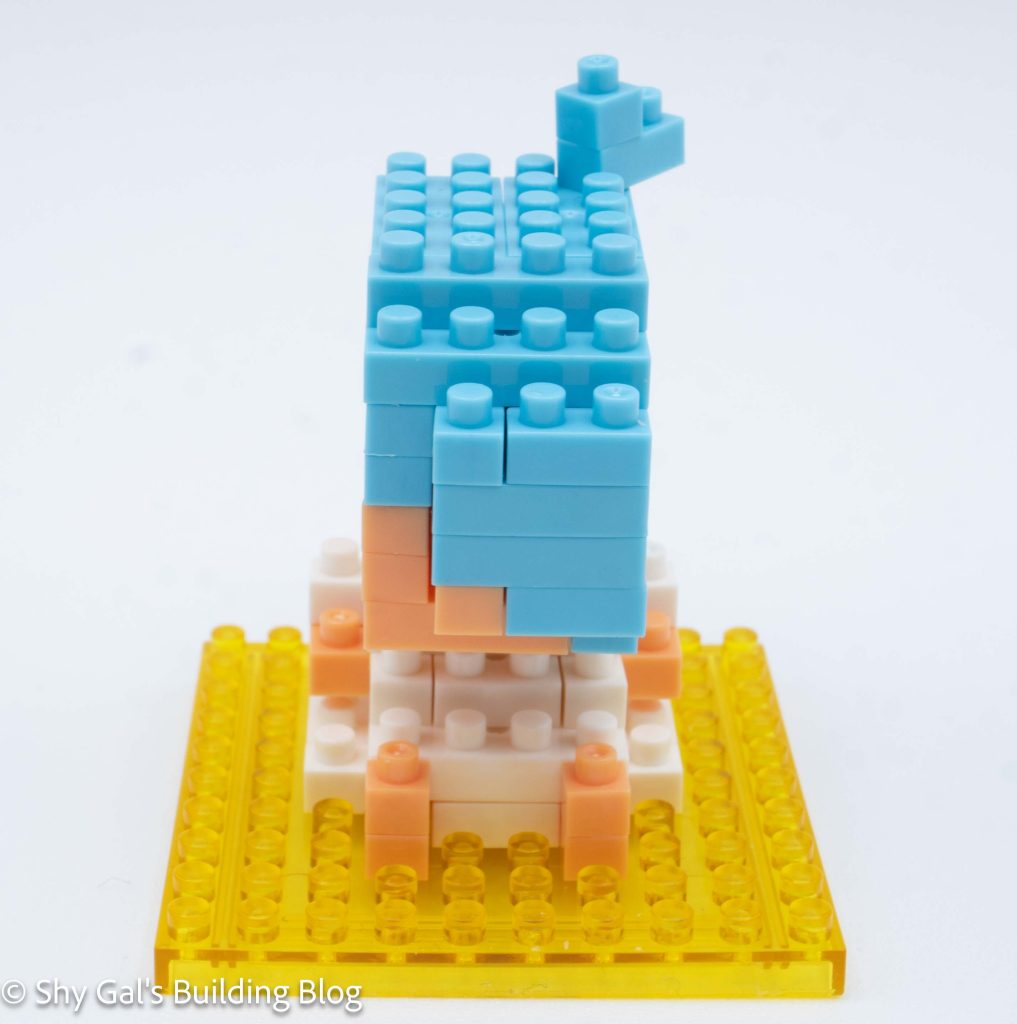
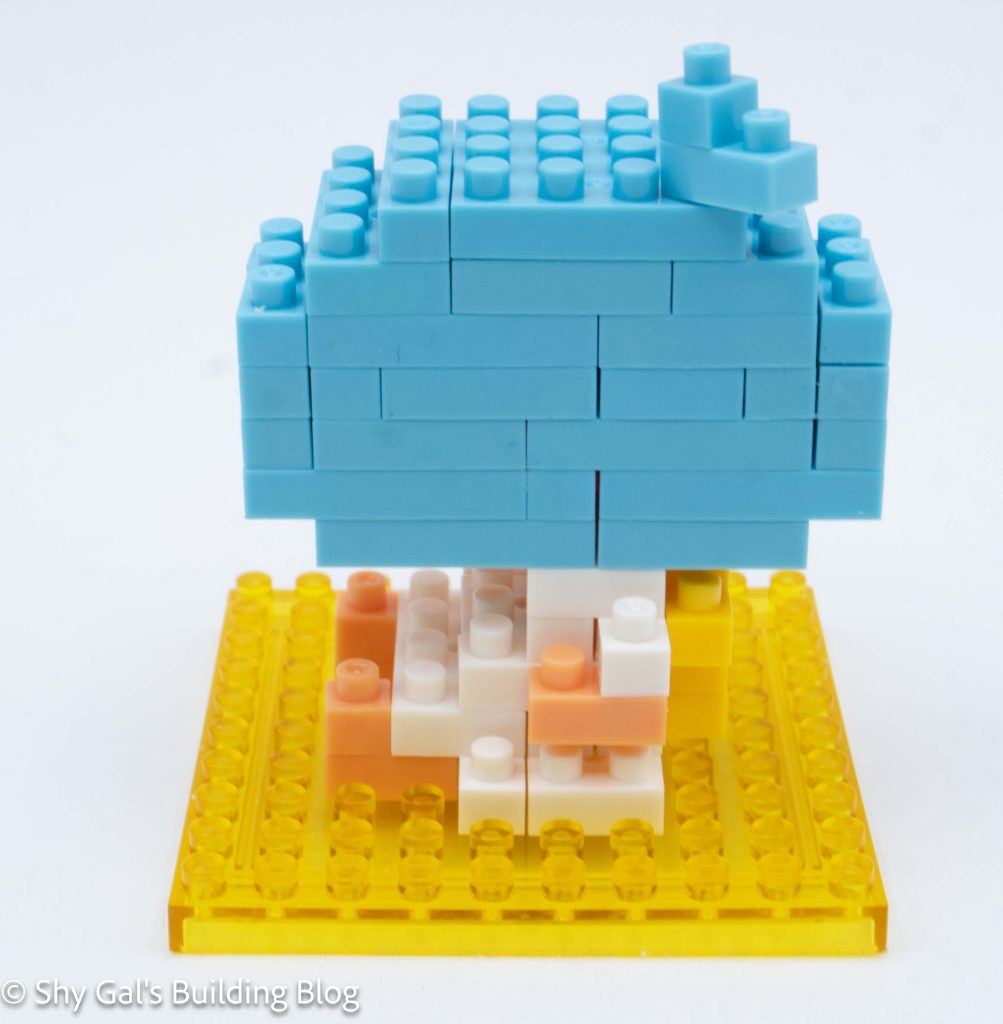
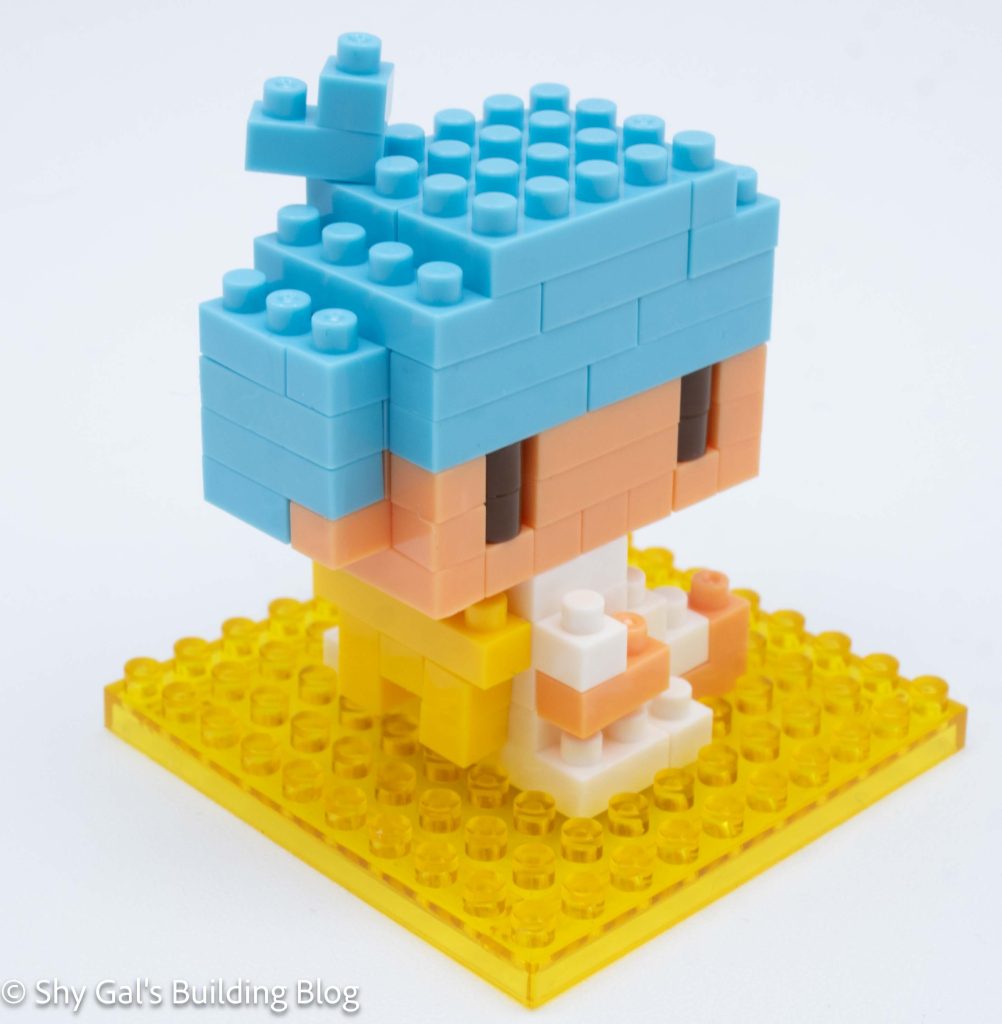
This post is a review of the nanoblock Little Twin Stars Kiki build. Little Twin Stars Kiki is part of the nanoblock Character collection. Wondering what else is part of the Character collection? Click here for a list.
Number: NBCC_003
Number of Pieces: 110
Difficulty Rating: 2
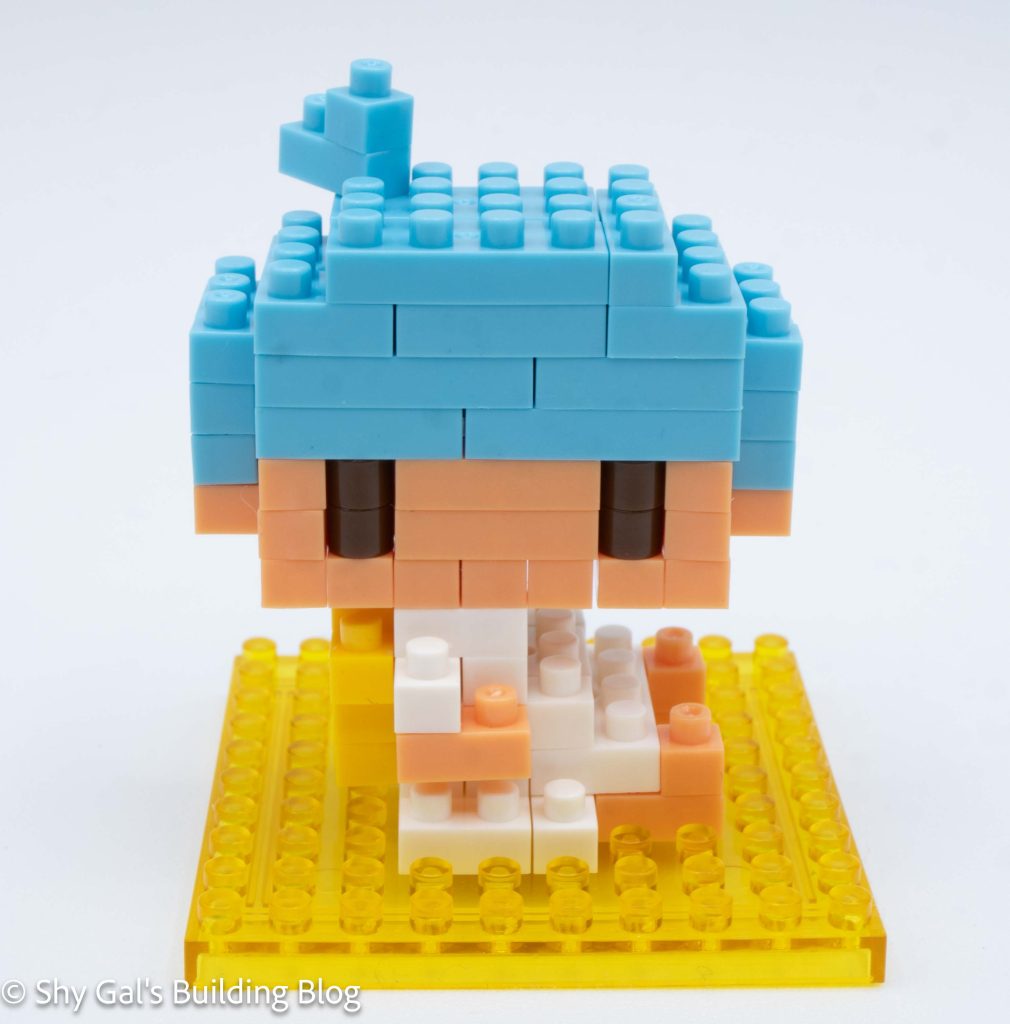
This build has 2 sections. There is the head and the body.
I began by laying out the foundation of the head on my nanoblock pad.
The head went up in layers. For 2 layers, I worked on the face, then I only had to focus on the hair.
Next, I began to work on the body. First, I laid the first layer of bricks on the clear yellow baseplate.
Then I added more layers to the body.
Next, I added the star behind Kiki.
Then I added a few more layers to finish up the body.
The last step was to connect the head to the body.
Things I liked:
I like the star behind him
Things I didn’t like:
I don’t feel that he is in scale with Lala, the other twin star.
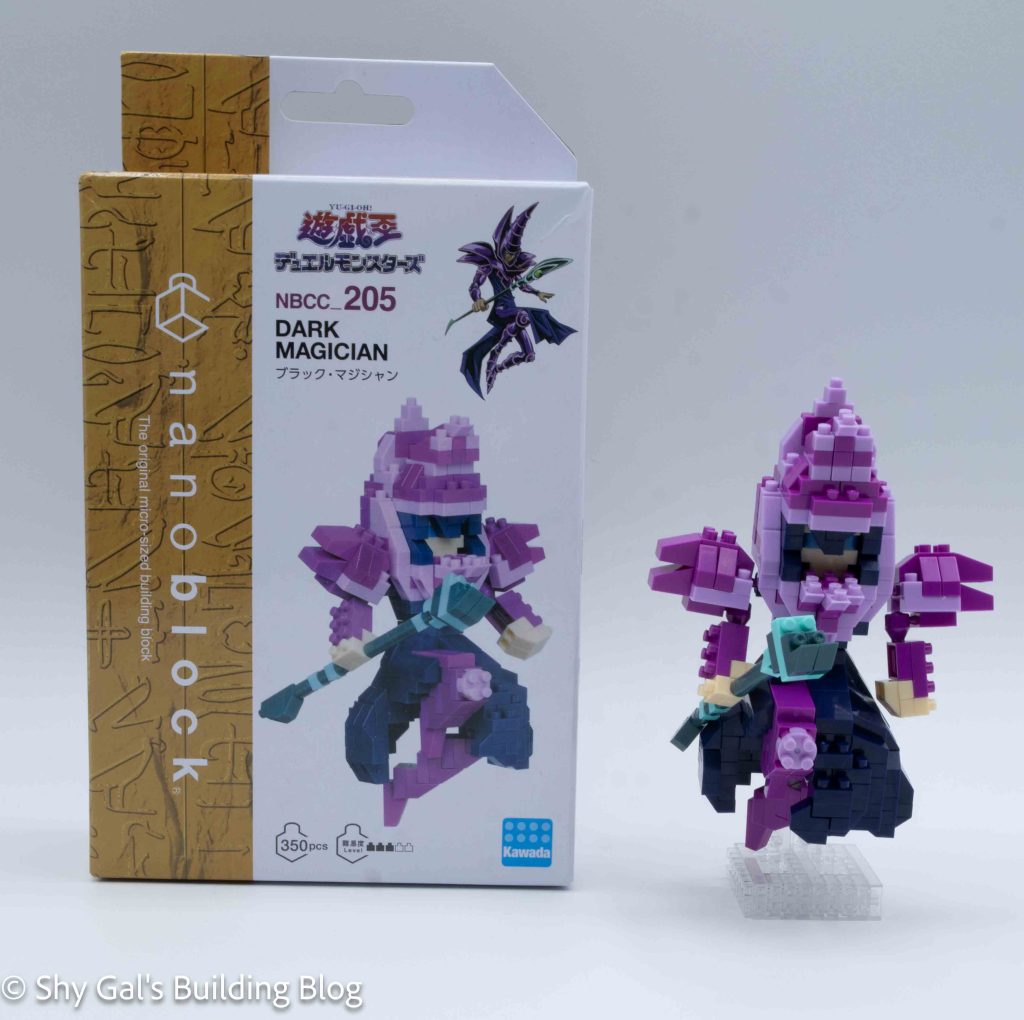
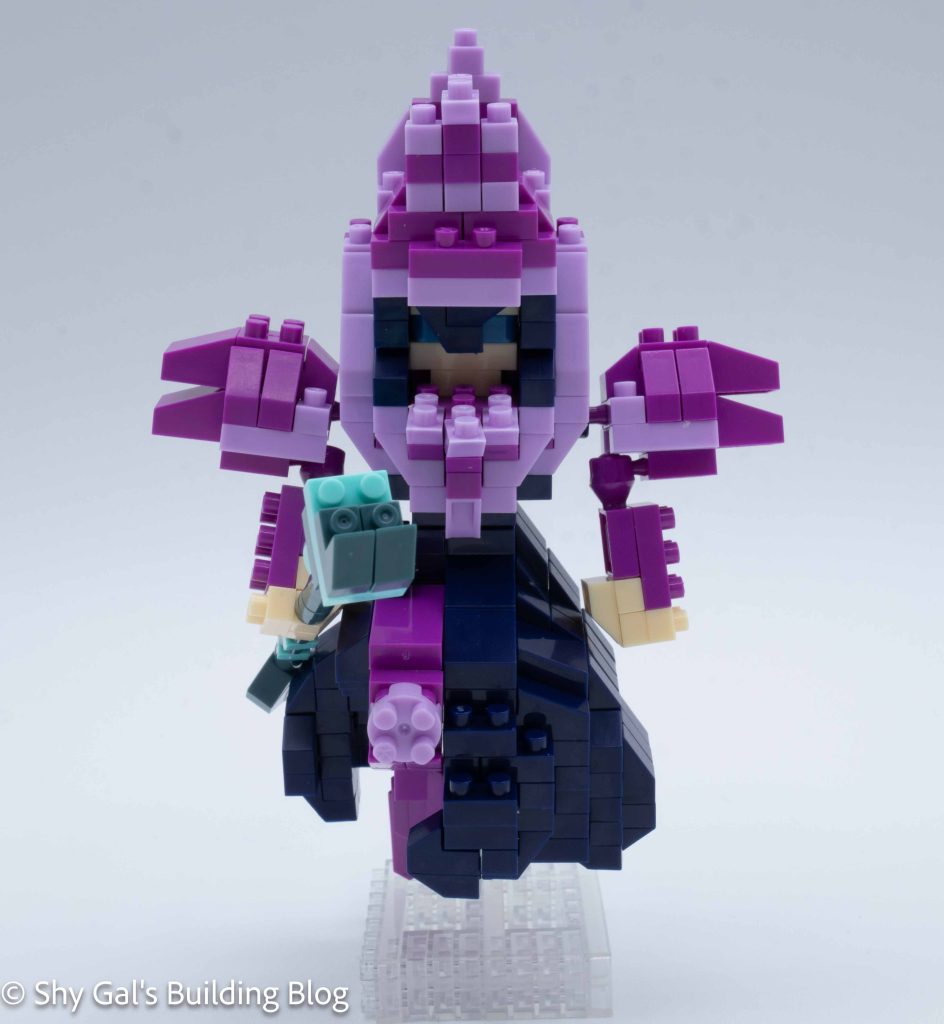
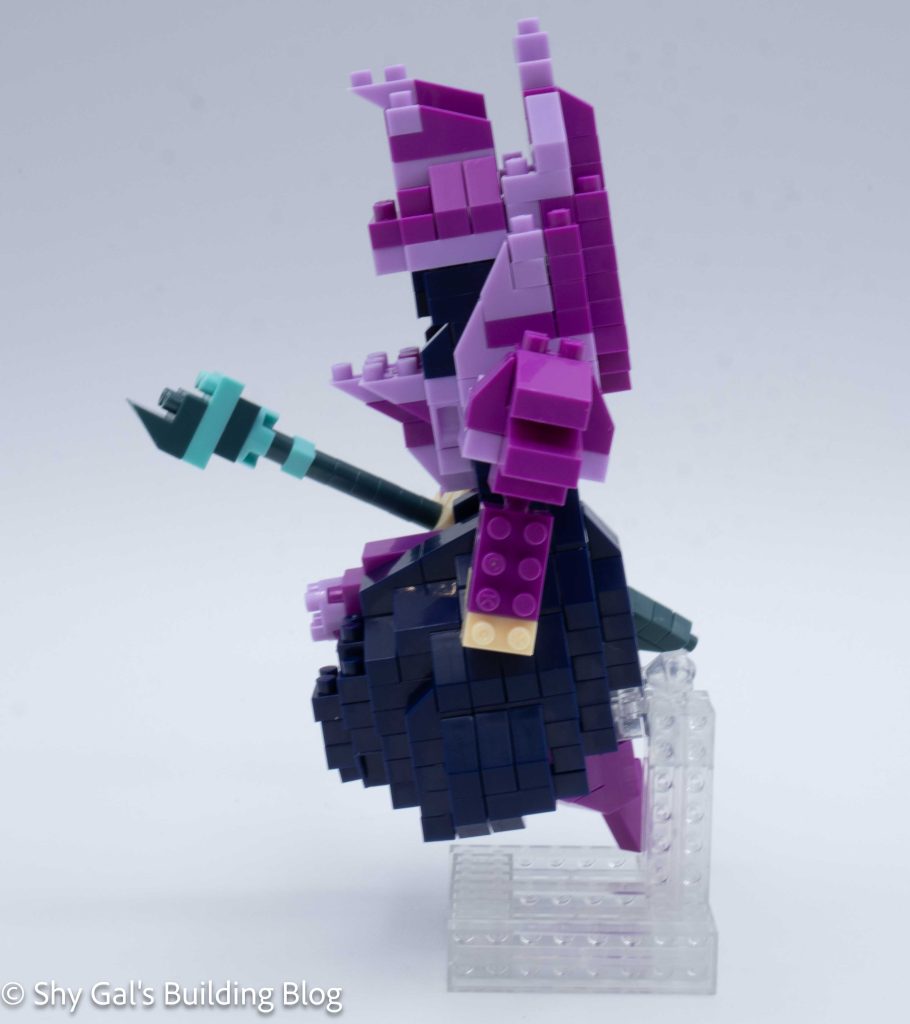
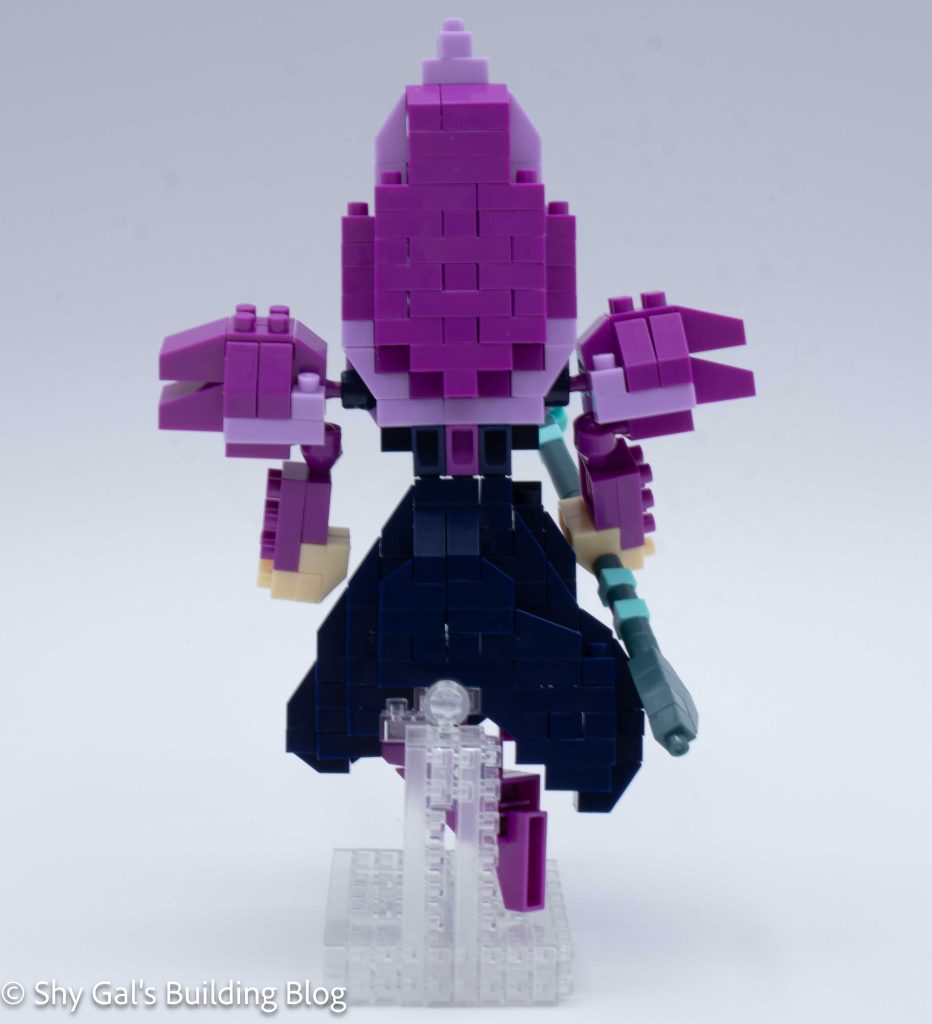
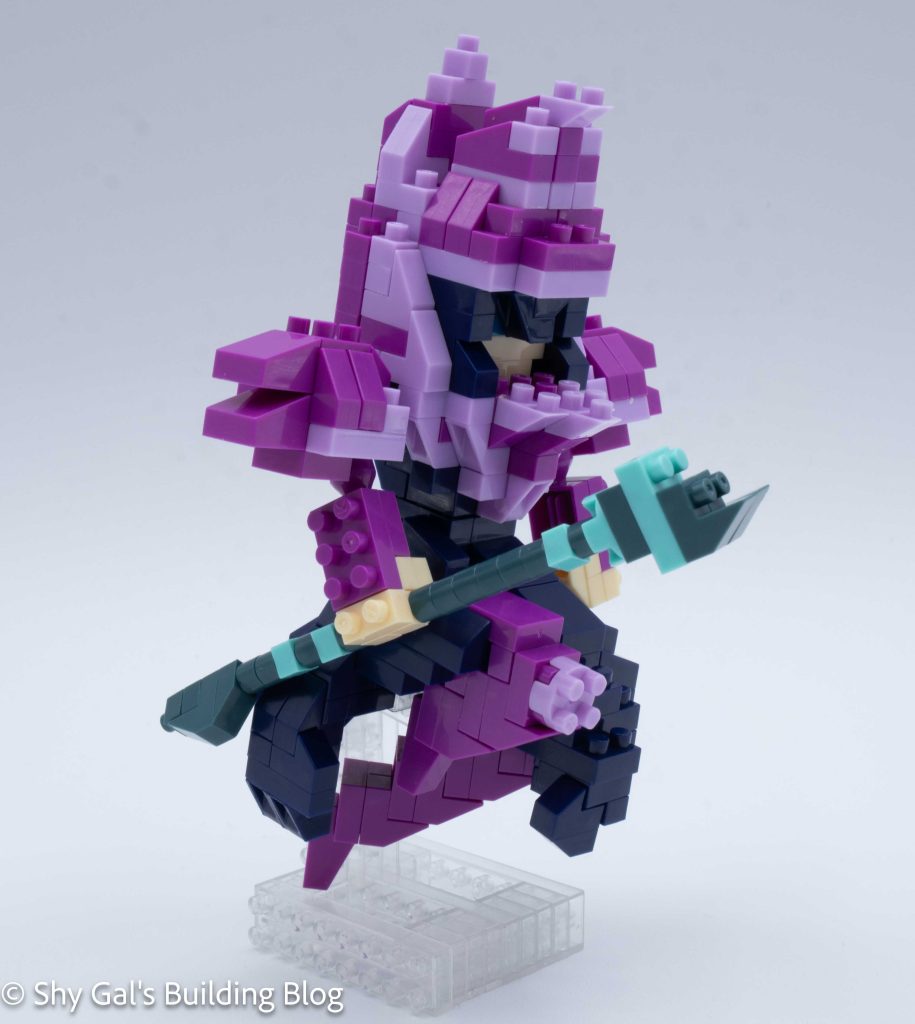
This post is a review of the nanoblock Dark Magician build. Dark Magician is part of the nanoblock Character collection. Wondering what else is part of the Character collection? Click here for a list.
Number: NBCC_205
Number of Pieces: 350
Difficulty Rating: 3/5
The build begins at the bottom of the torso where it meets the waist. The torso goes up in layers and the ball sockets for the shoulders are added.
The torso goes straight to the head. The face is added and the back of the head is added in layers.
Then the front of the helmet is built and attached to the head.
The next section is the cape that flows around the legs of the build. This was tricky because of how dark the navy bricks are in the instructions. Several sections are connected to build a U. Then the unit is built together and closed up to create the waist. Then several sections are added to make the bottom more flowy.
Next I built the legs and attached them to the cape.
Then I built the stand so that the final Dark Magician appears to float.
Then I built the 2 shoulder units. I orginally only built one because i missed the x2 on the instructions. But I noticed the error and was able to build a second when I needed it.
Next I built his very straightforward left hand and attached it to the build.
FInally I built the right hand holding a staff and attached it to the build.
Things I liked:
I like how flowy the cape is around the legs.
Things I didn’t like:
I wish the instructions for the cape had been outlined in white instead of black. It would have been easier to read
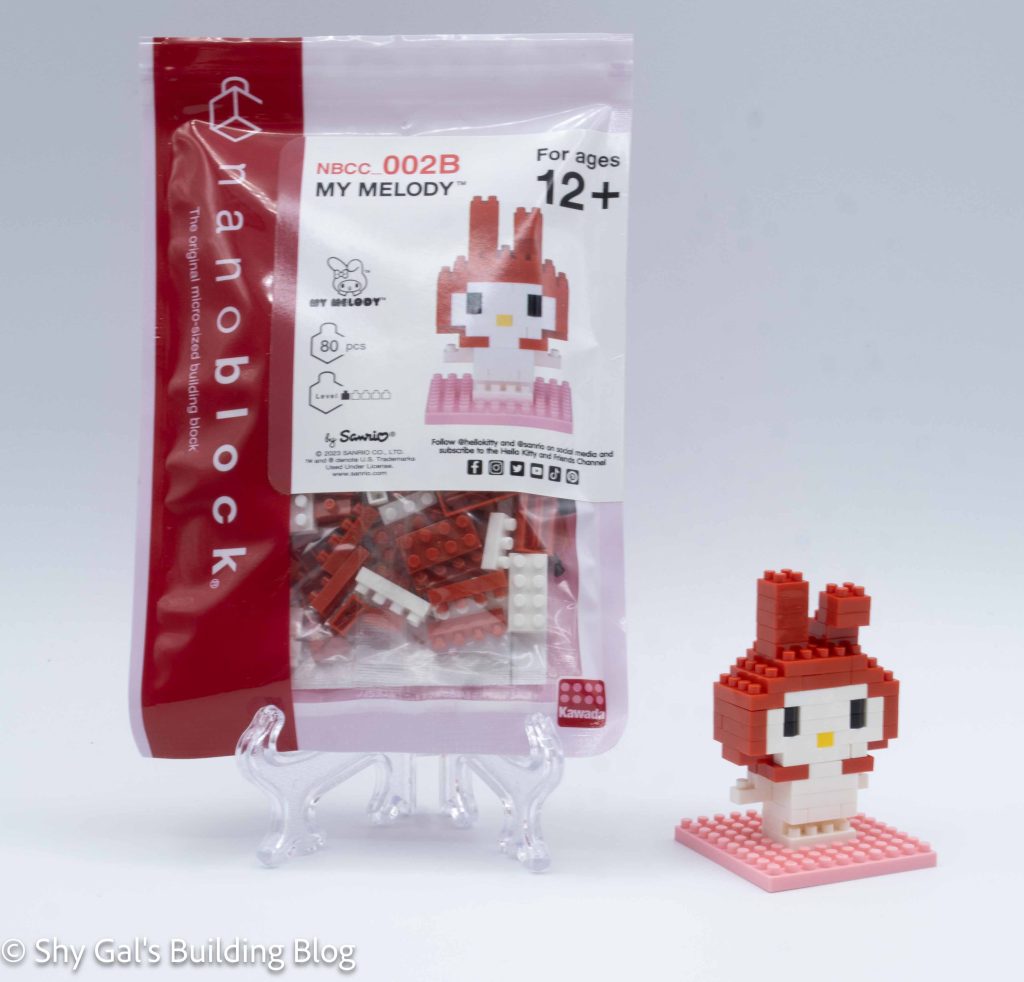
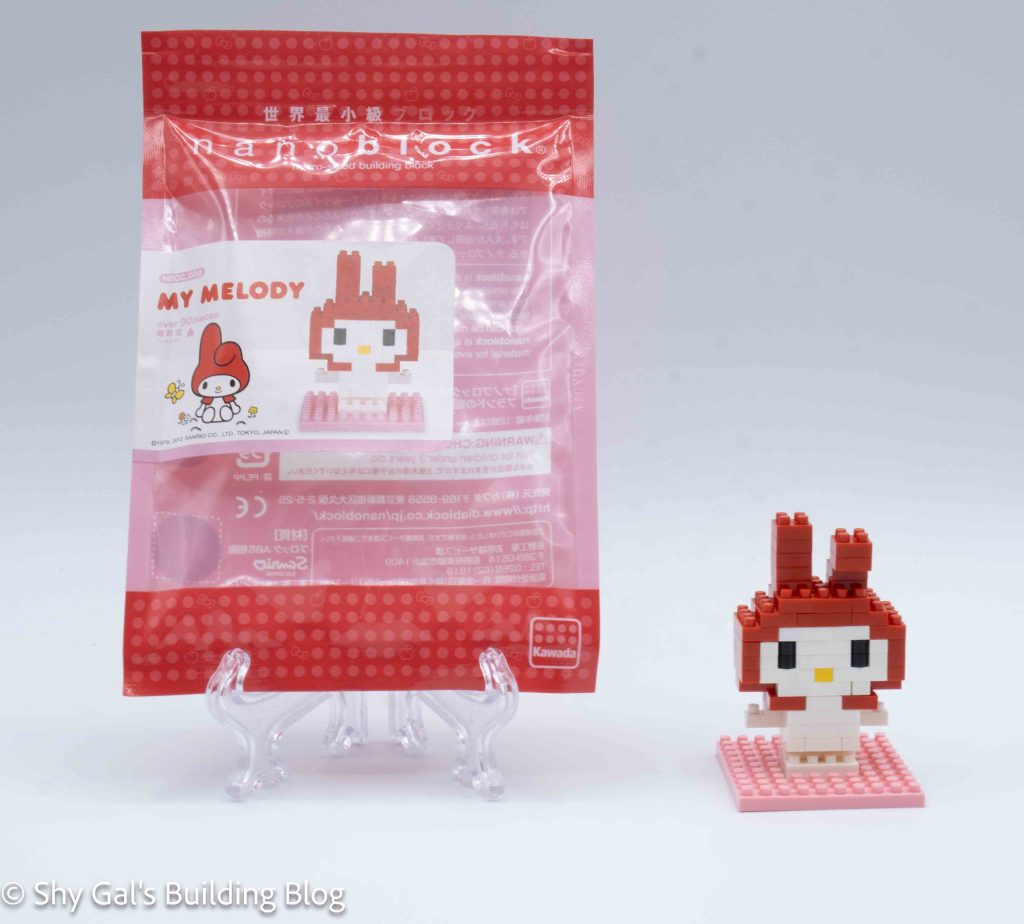
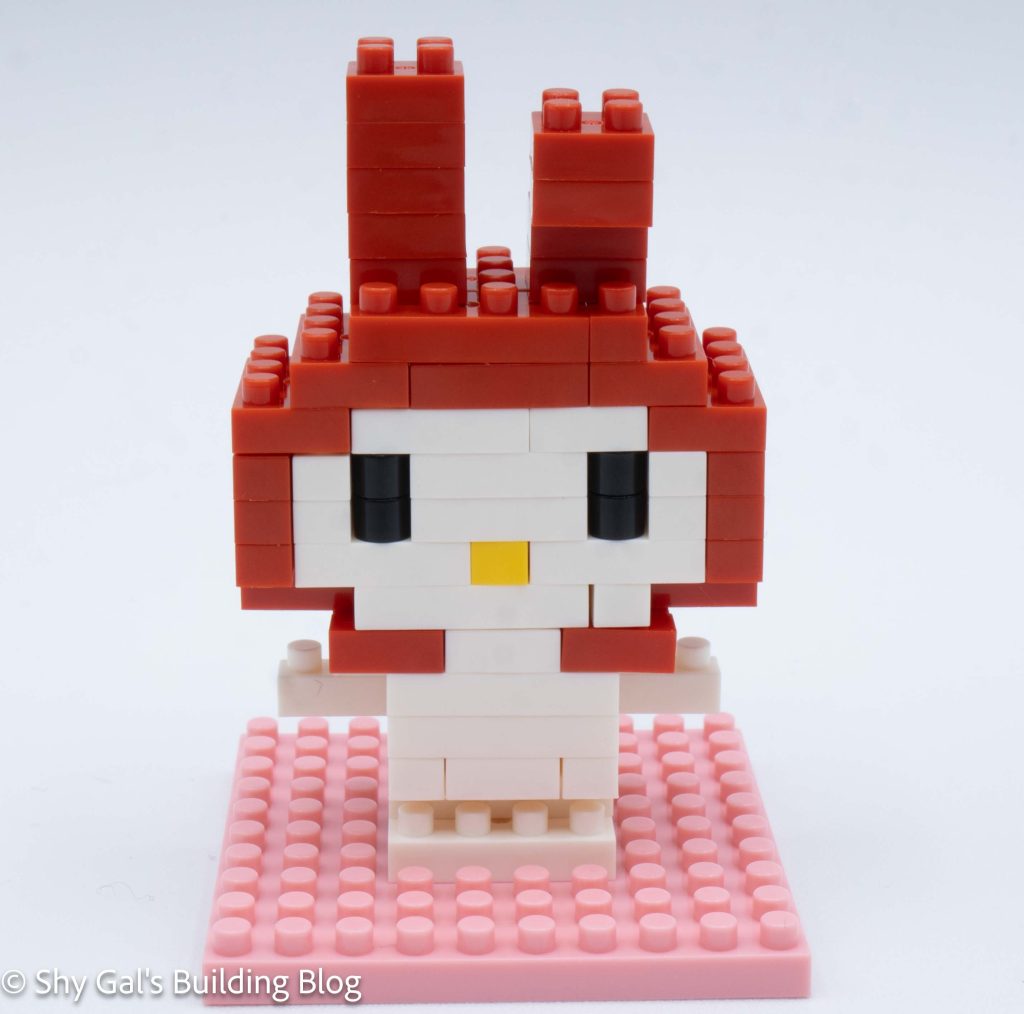
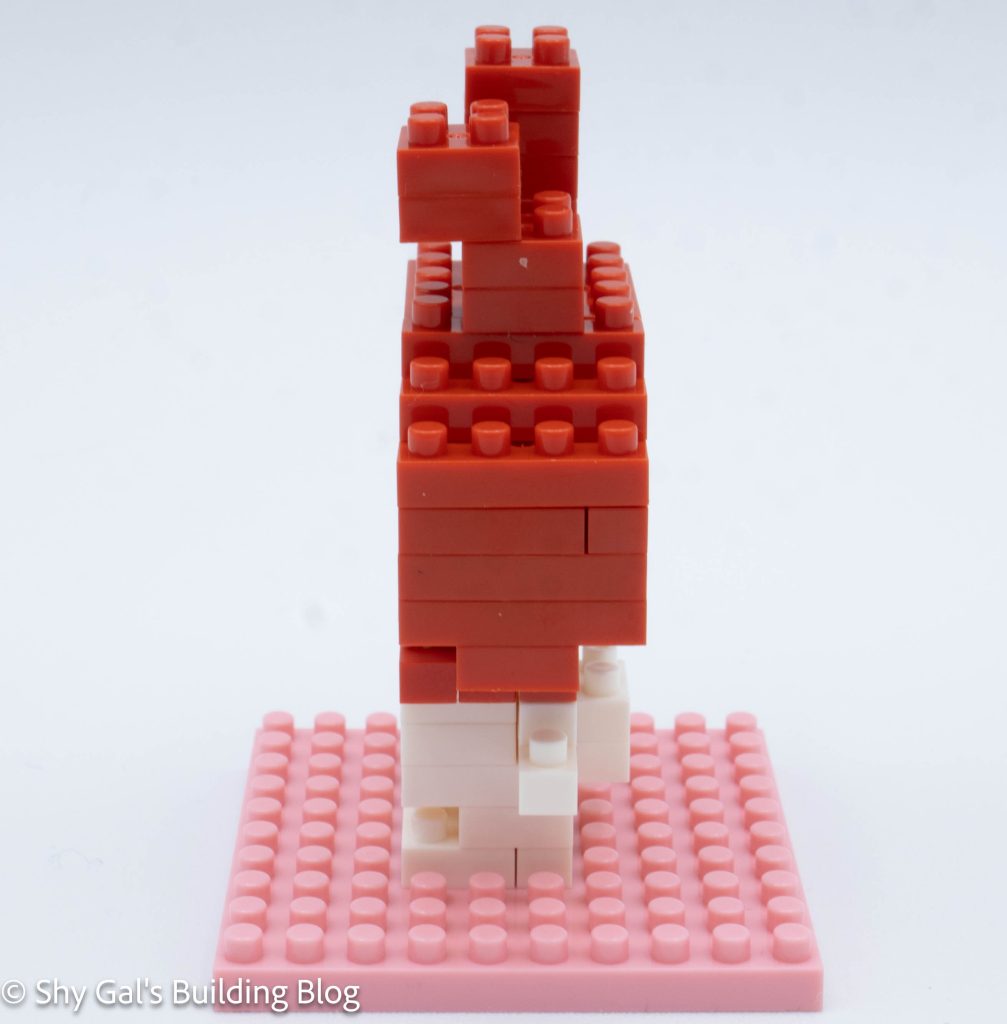
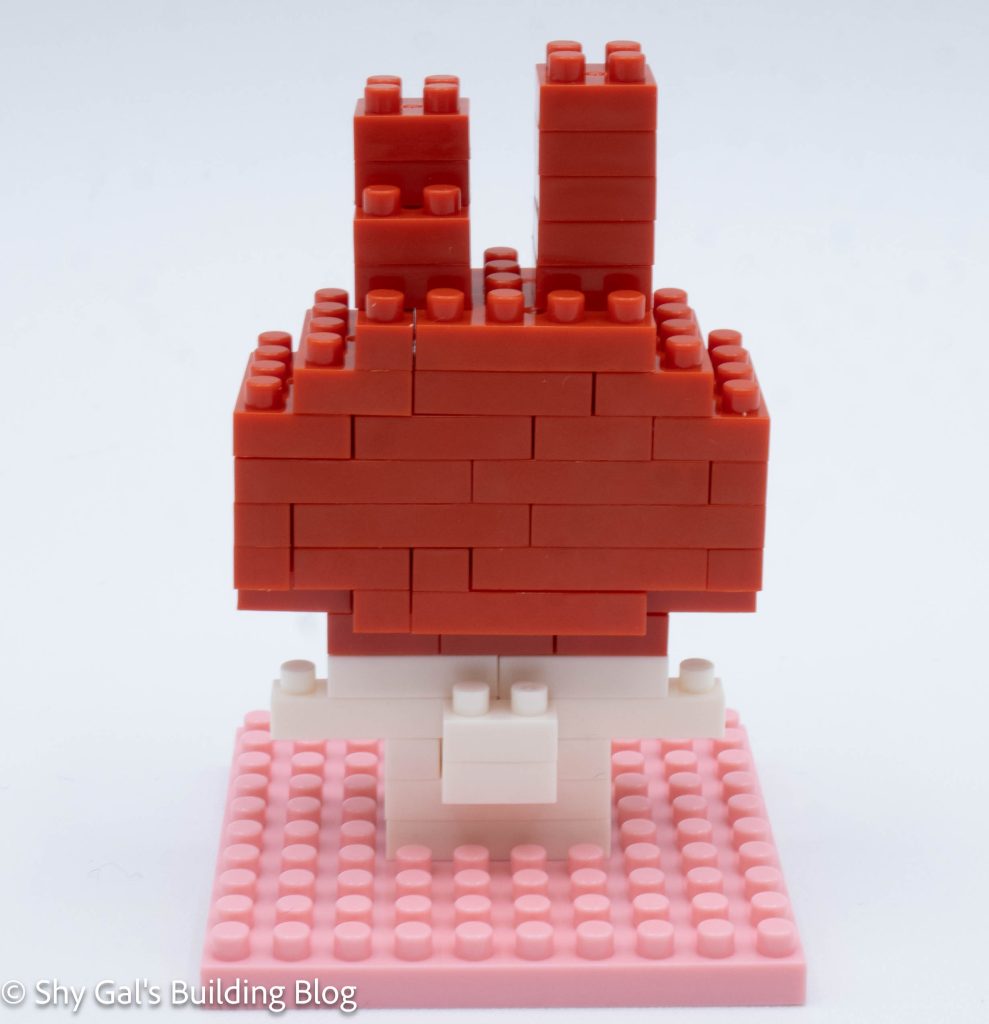
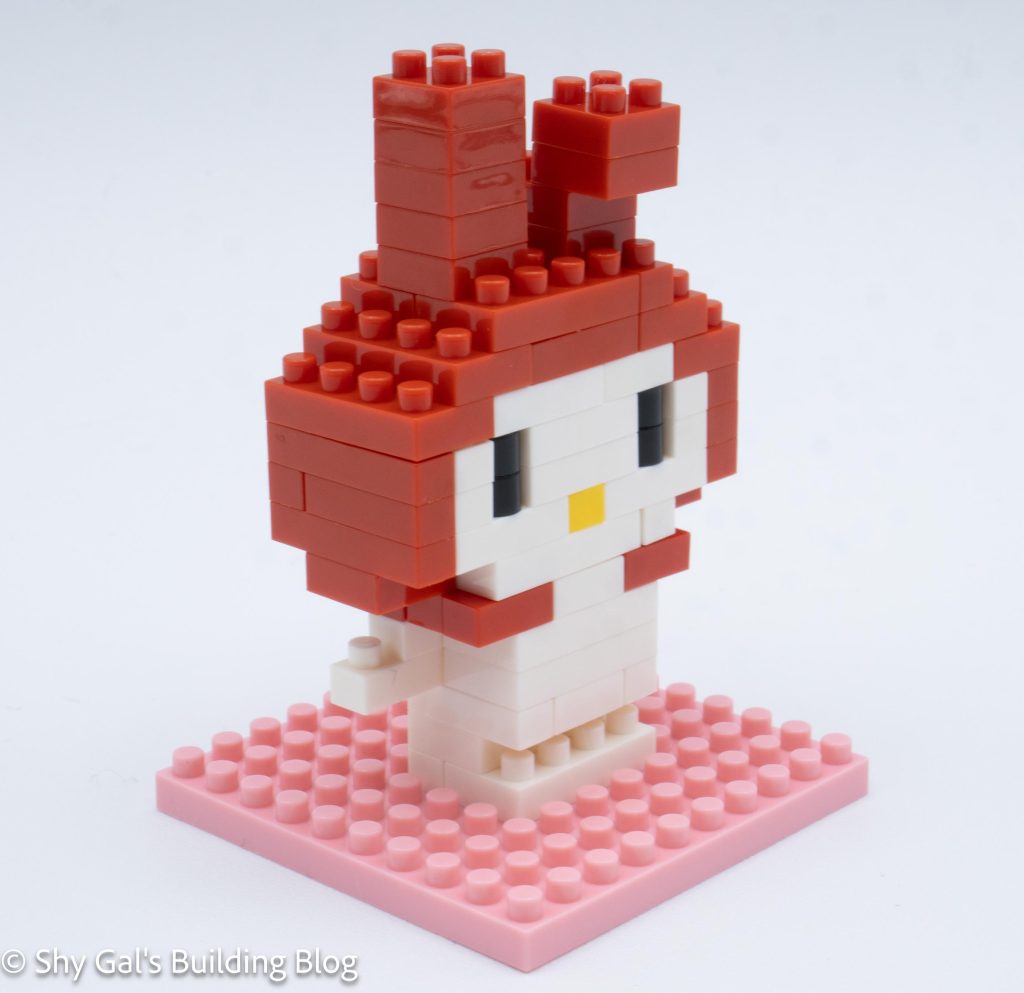
This post is a review of the nanoblock My Melody build. My Melody is part of the nanoblock Character collection. Wondering what else is part of the Character collection? Click here for a list.