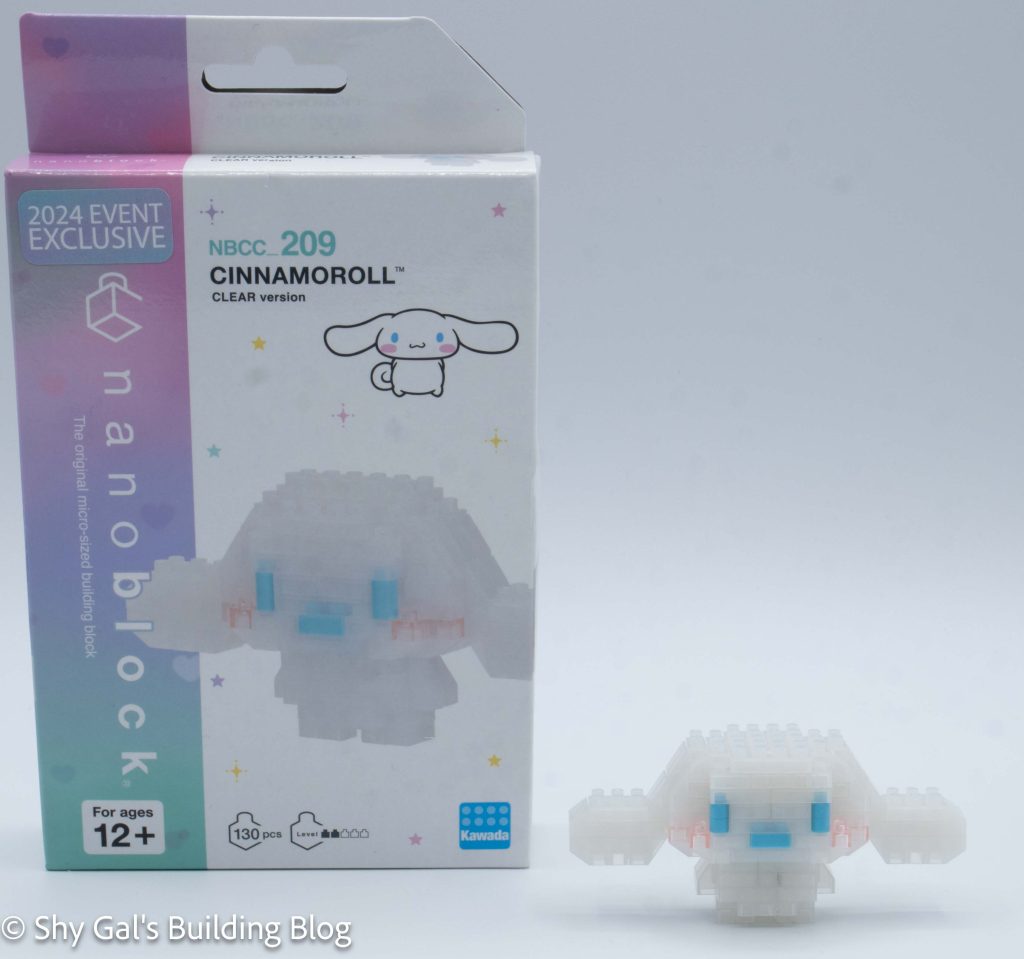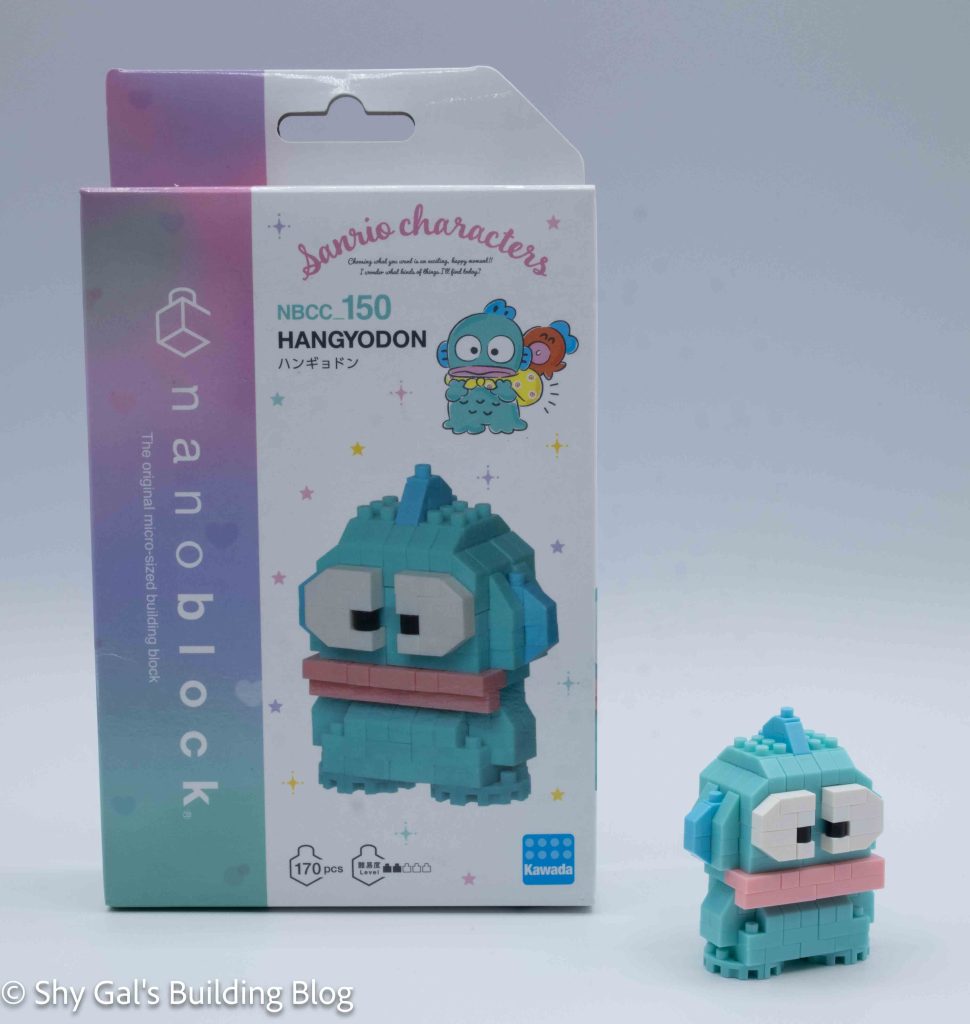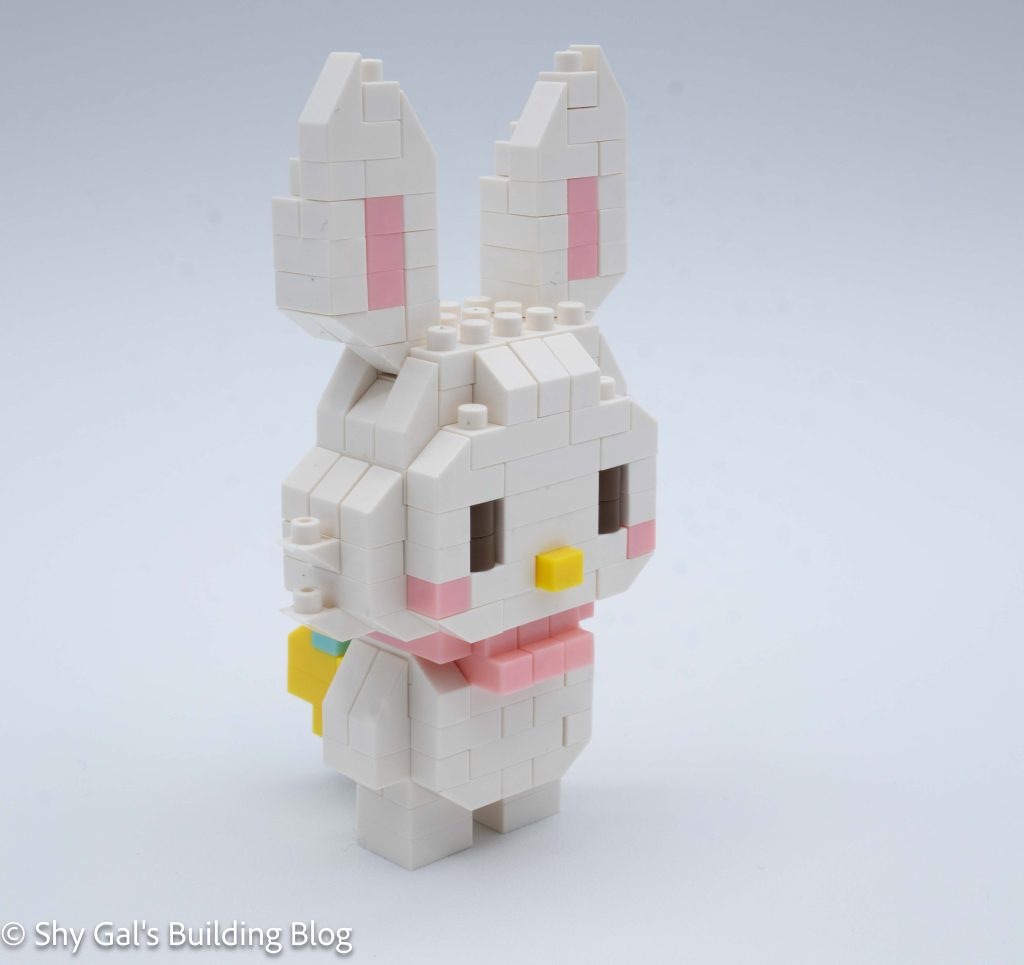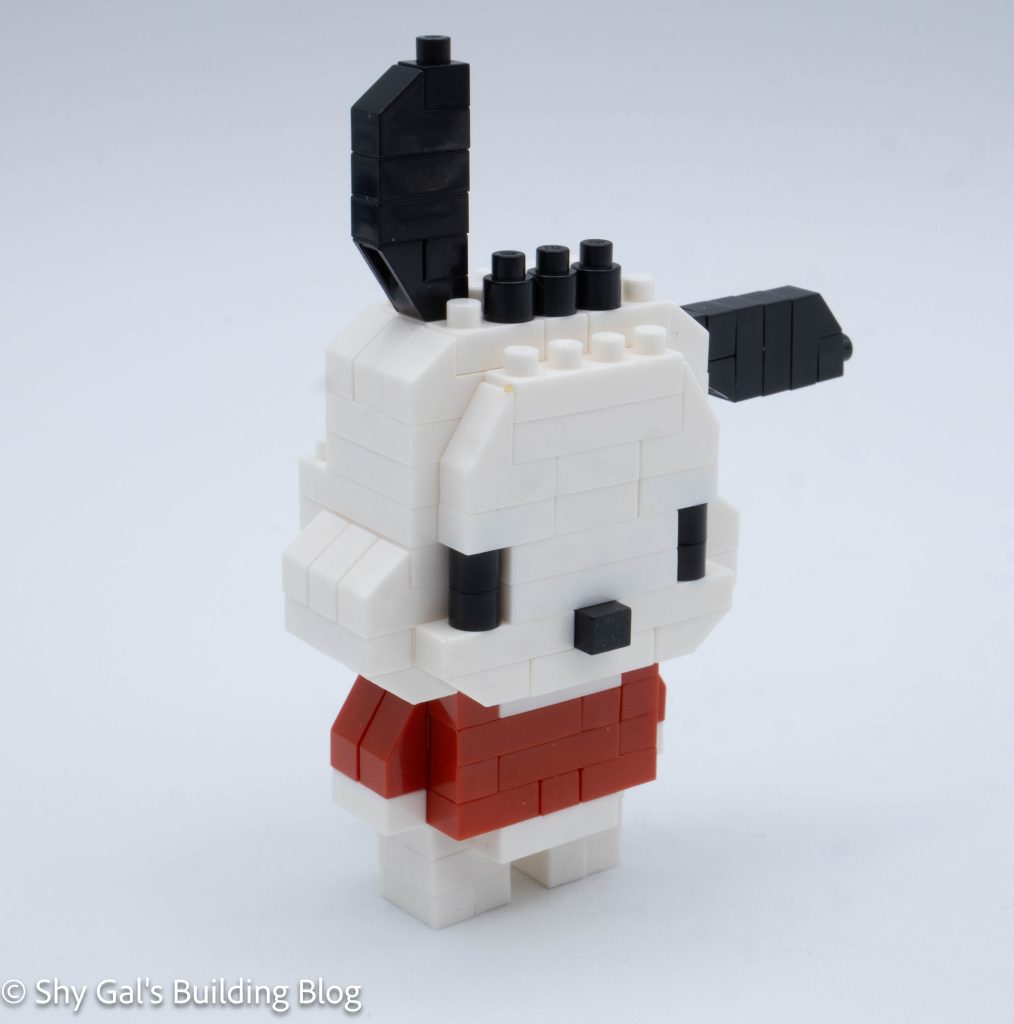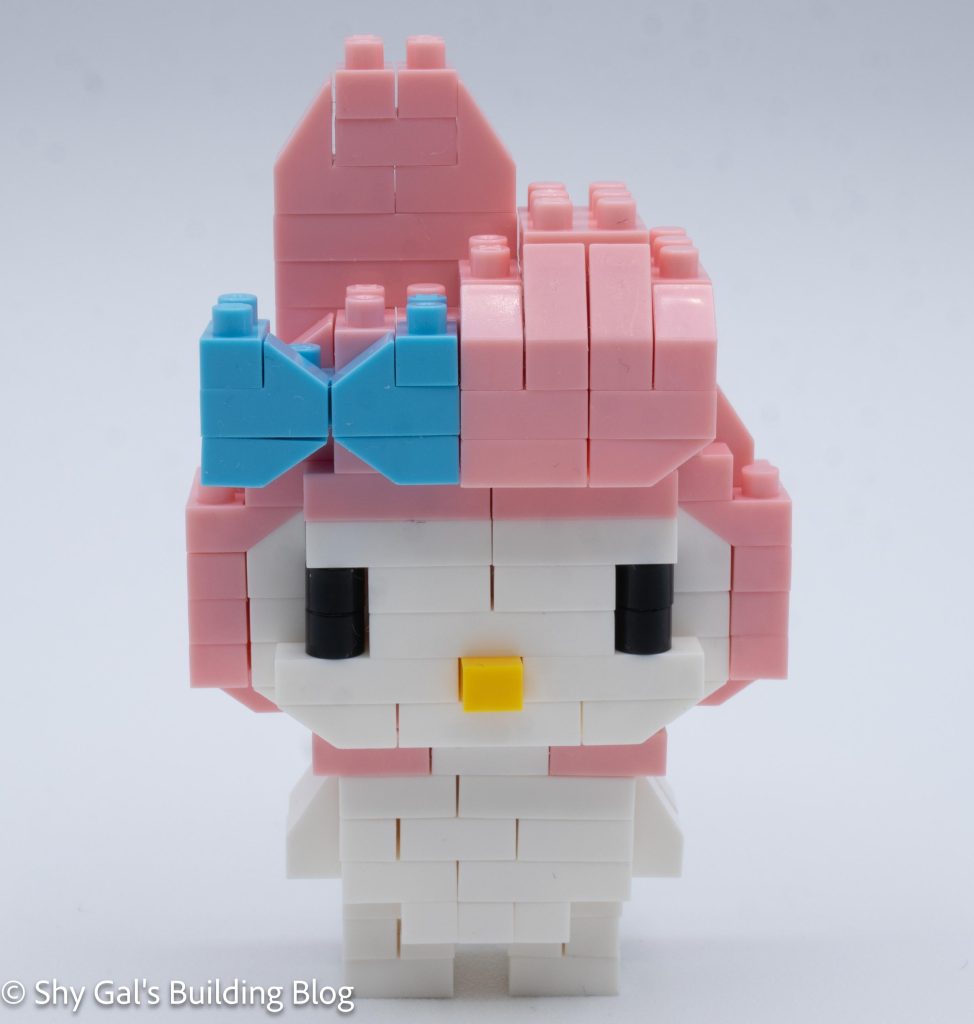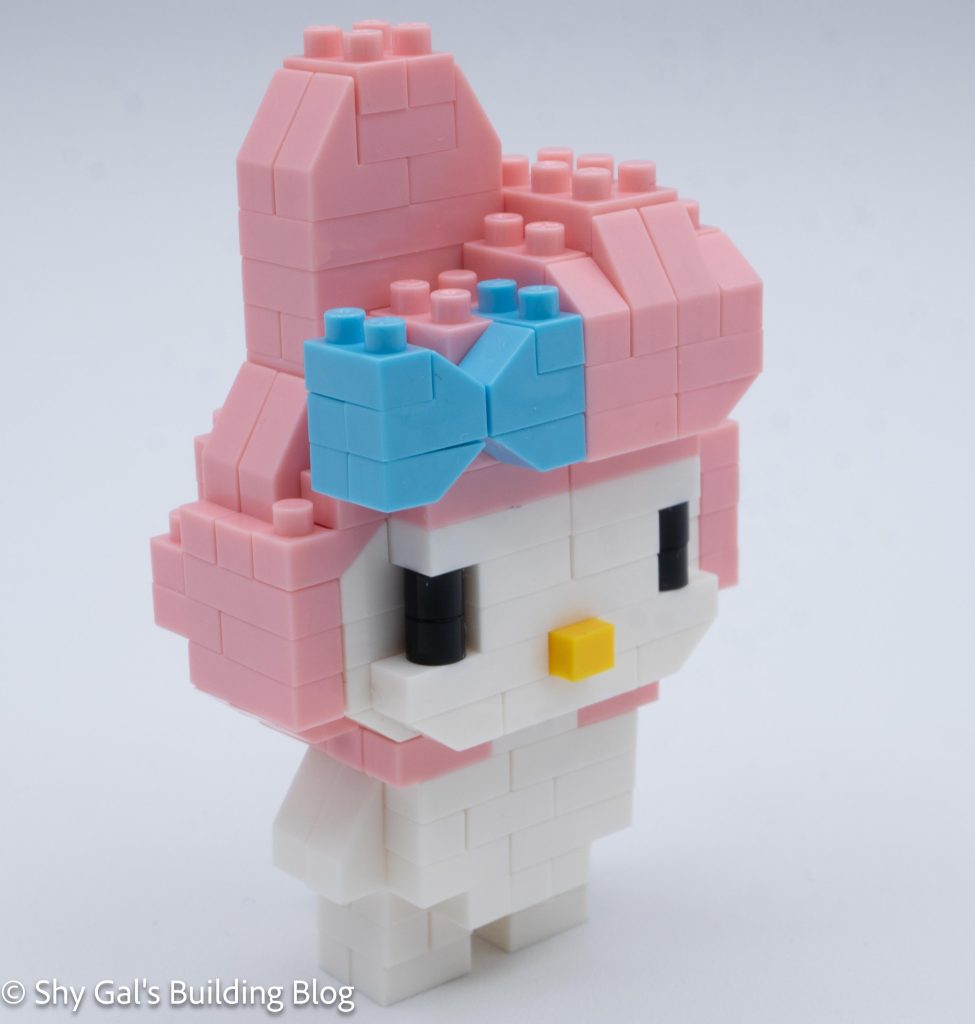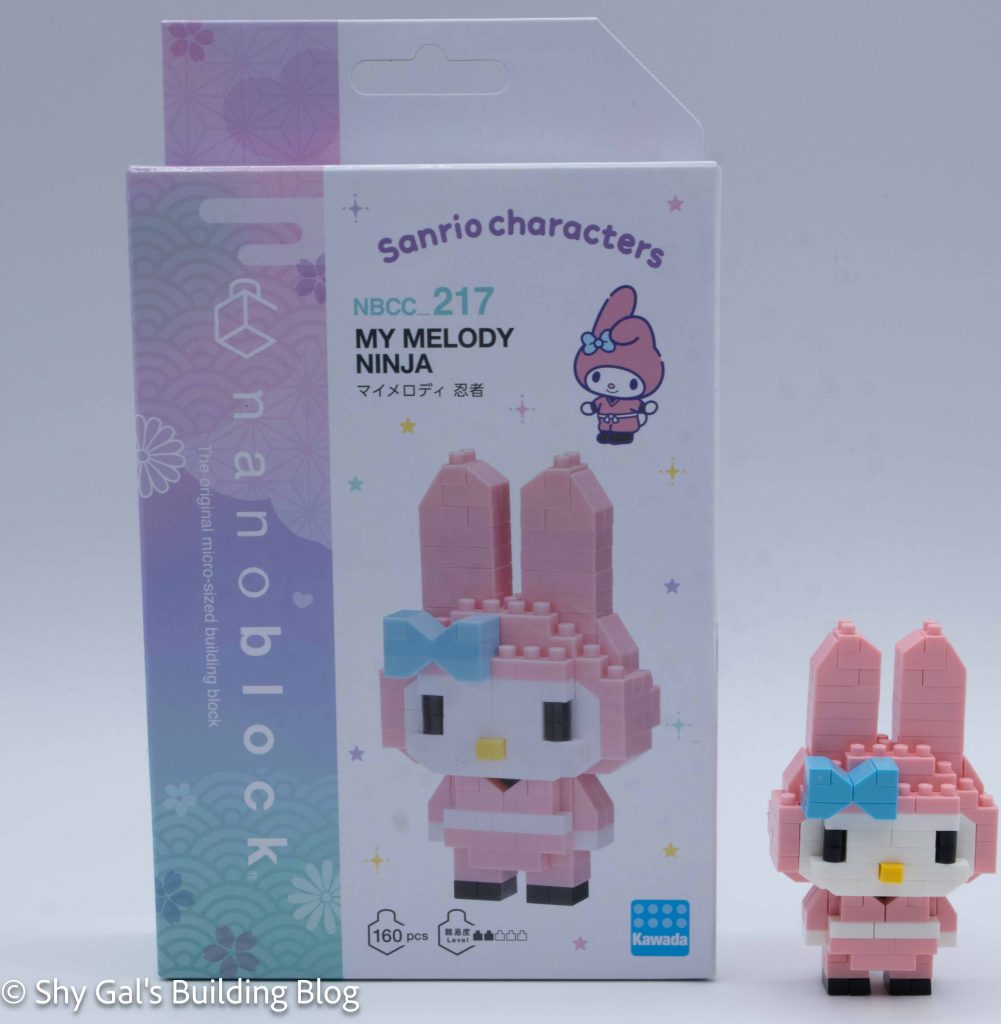
This post is a review of the nanoblock My Melody Ninja build. My Melody Ninja is part of the nanoblock Character collection. Wondering what else is part of the Character collection? Click here for a list.
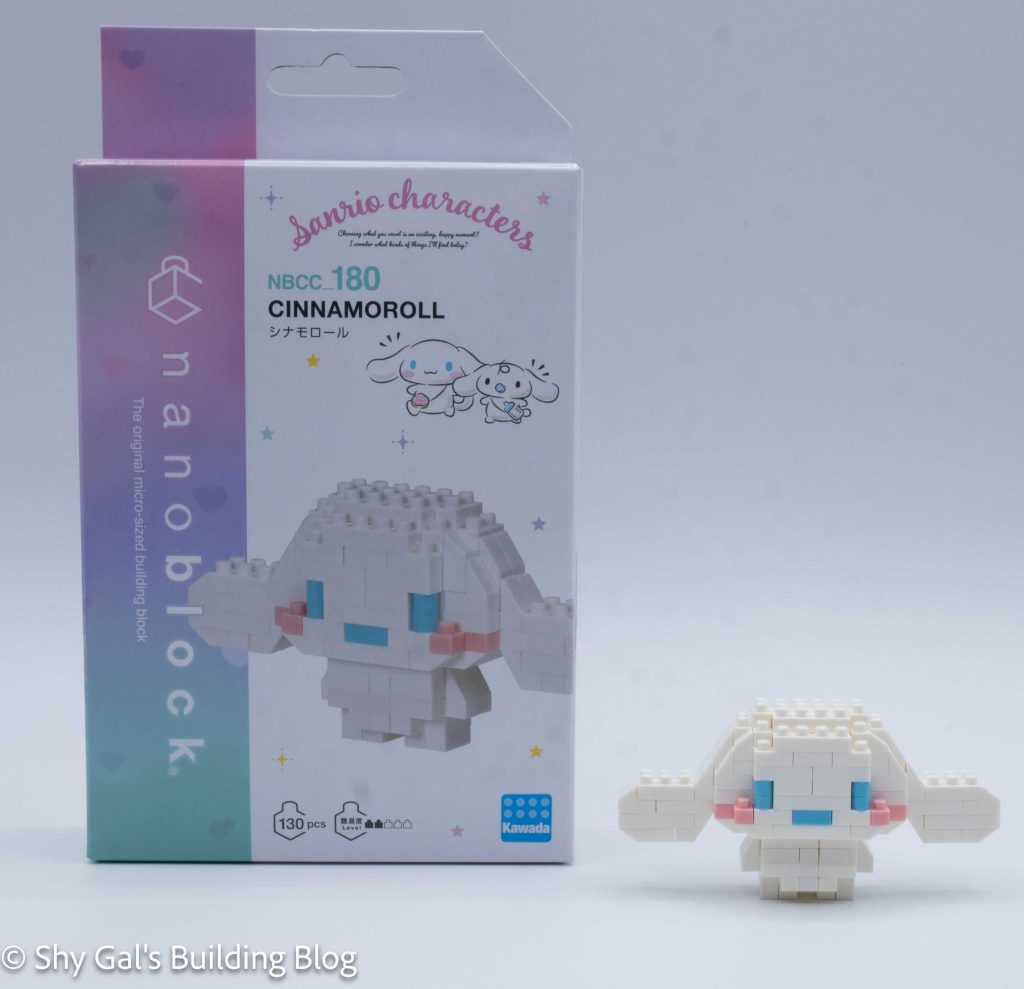
Number: NBCC_217
Number of Pieces: 160
Difficulty Rating: 2/5
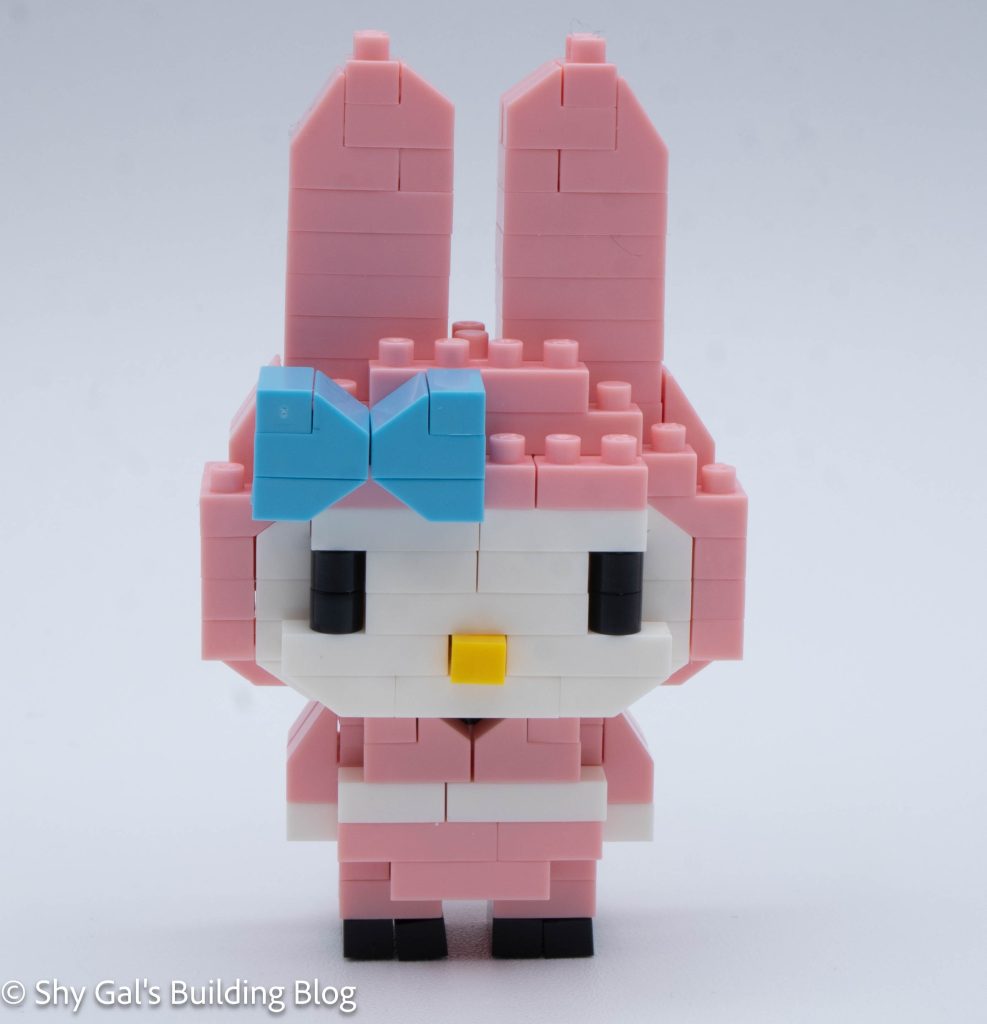
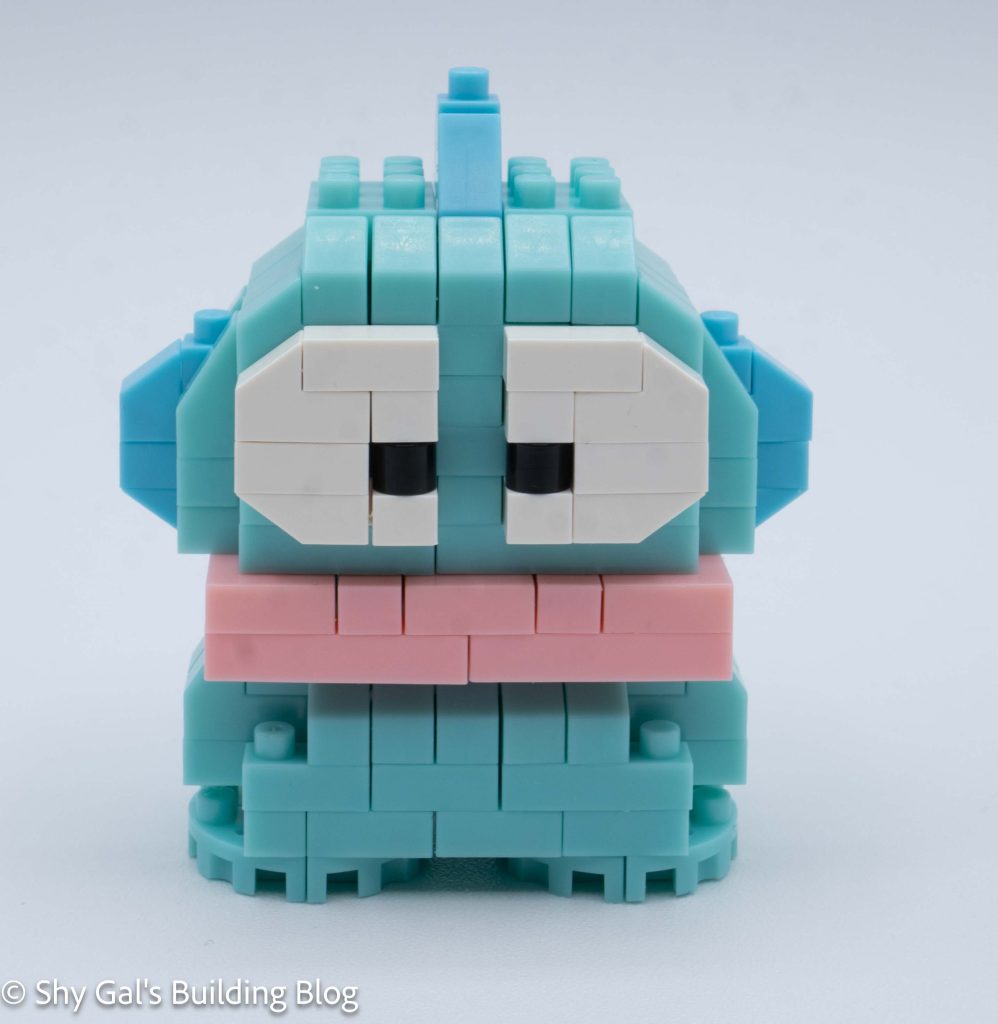
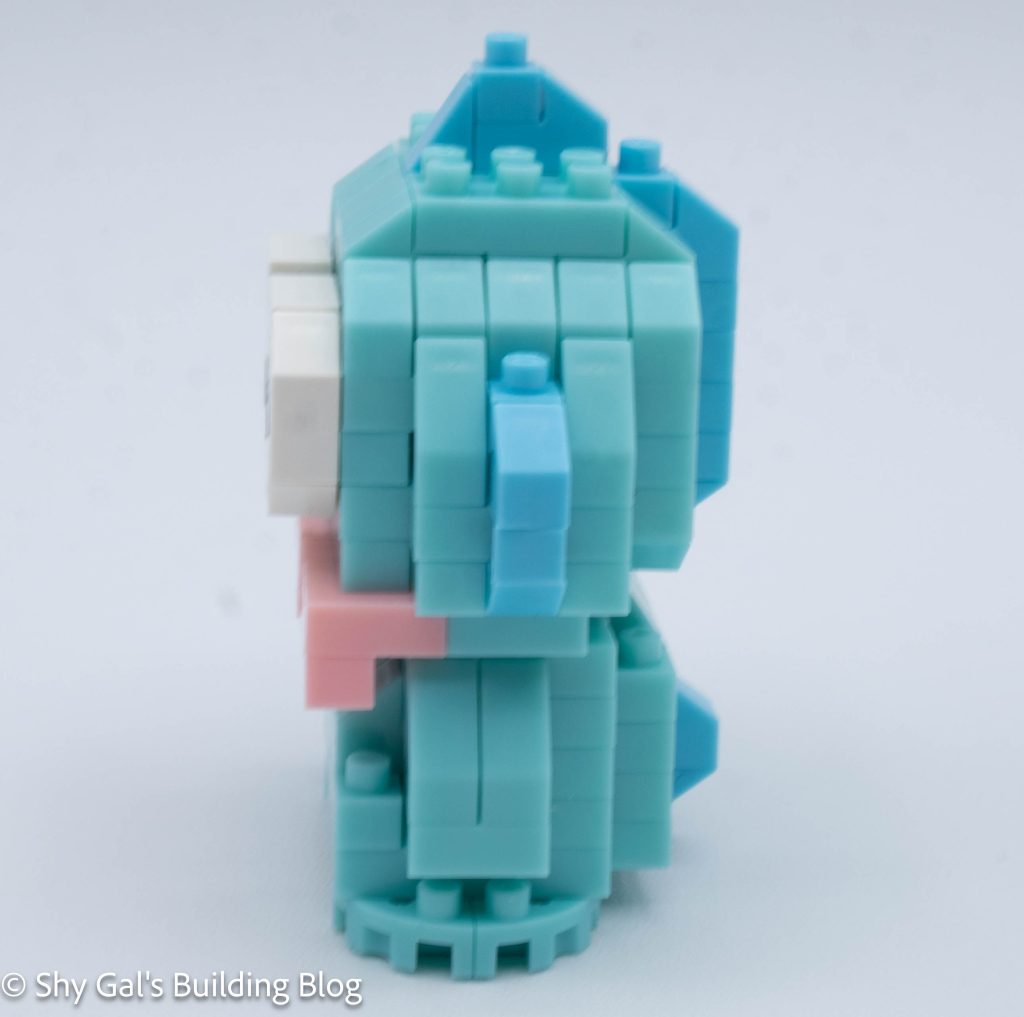
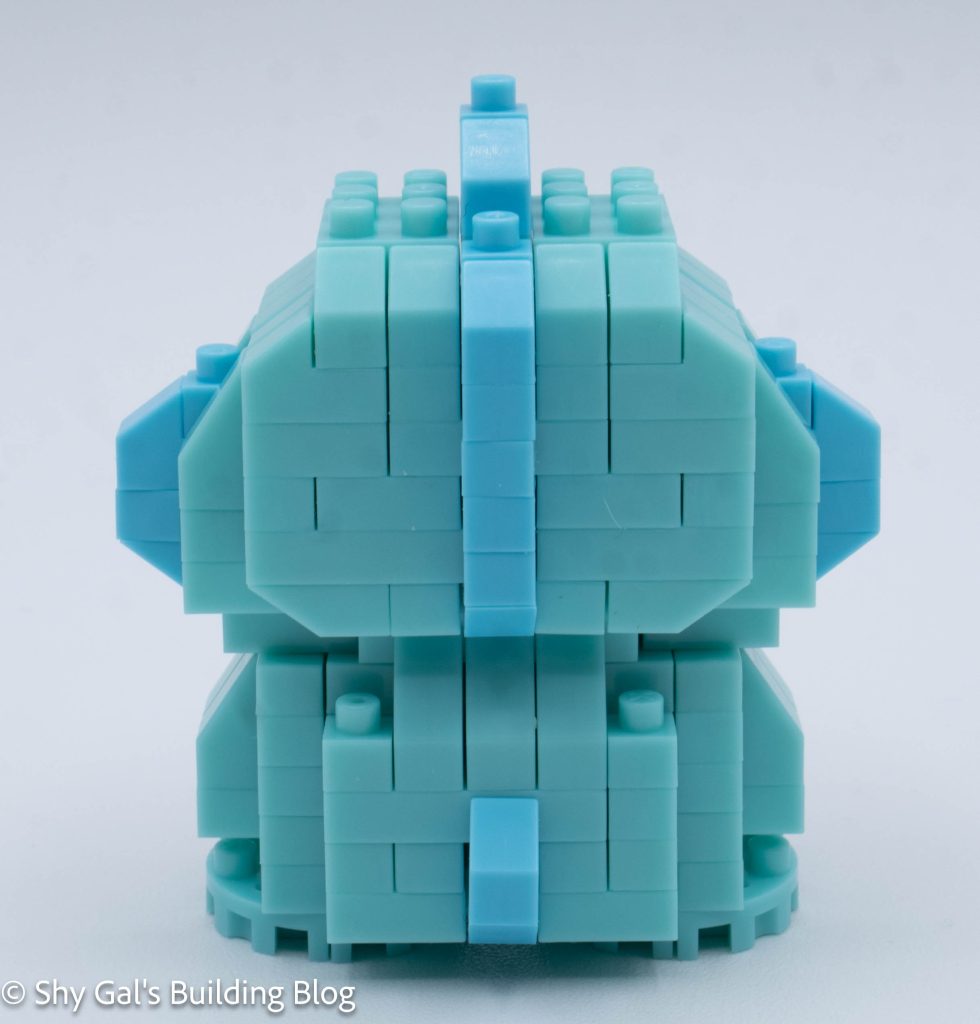
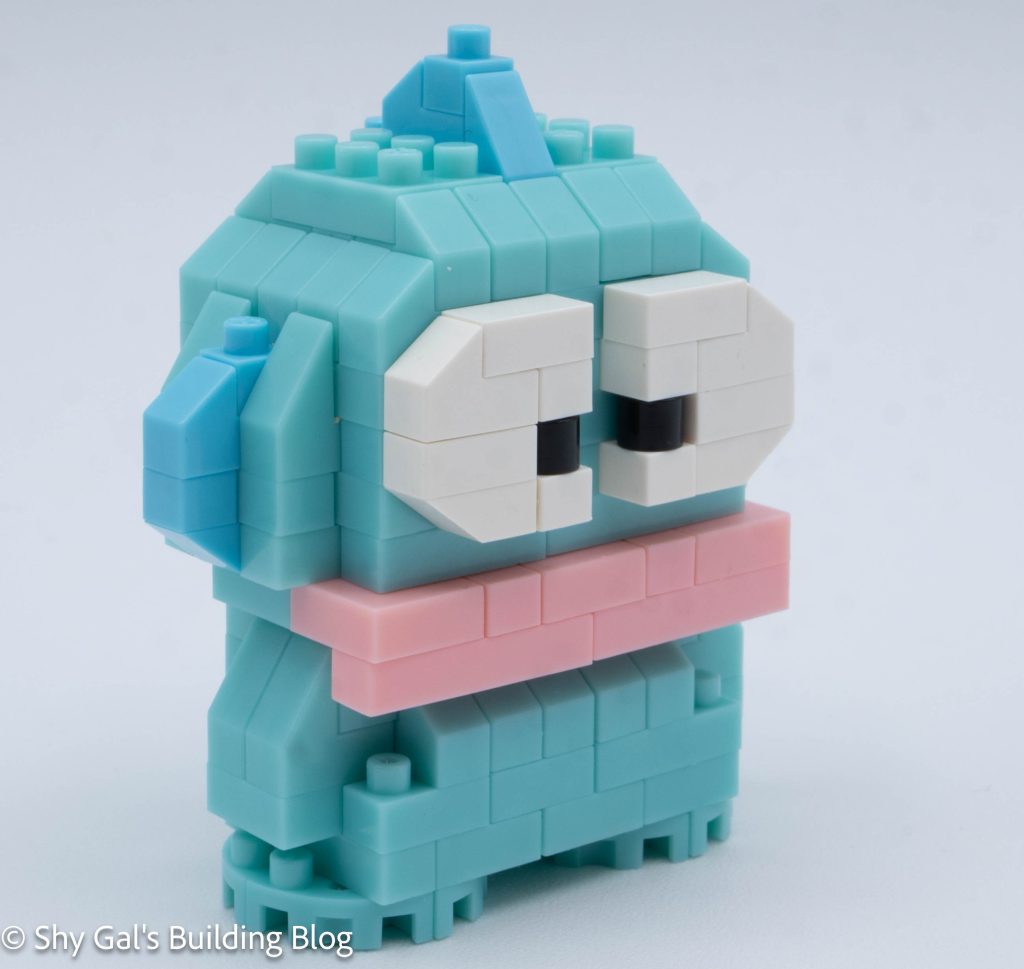
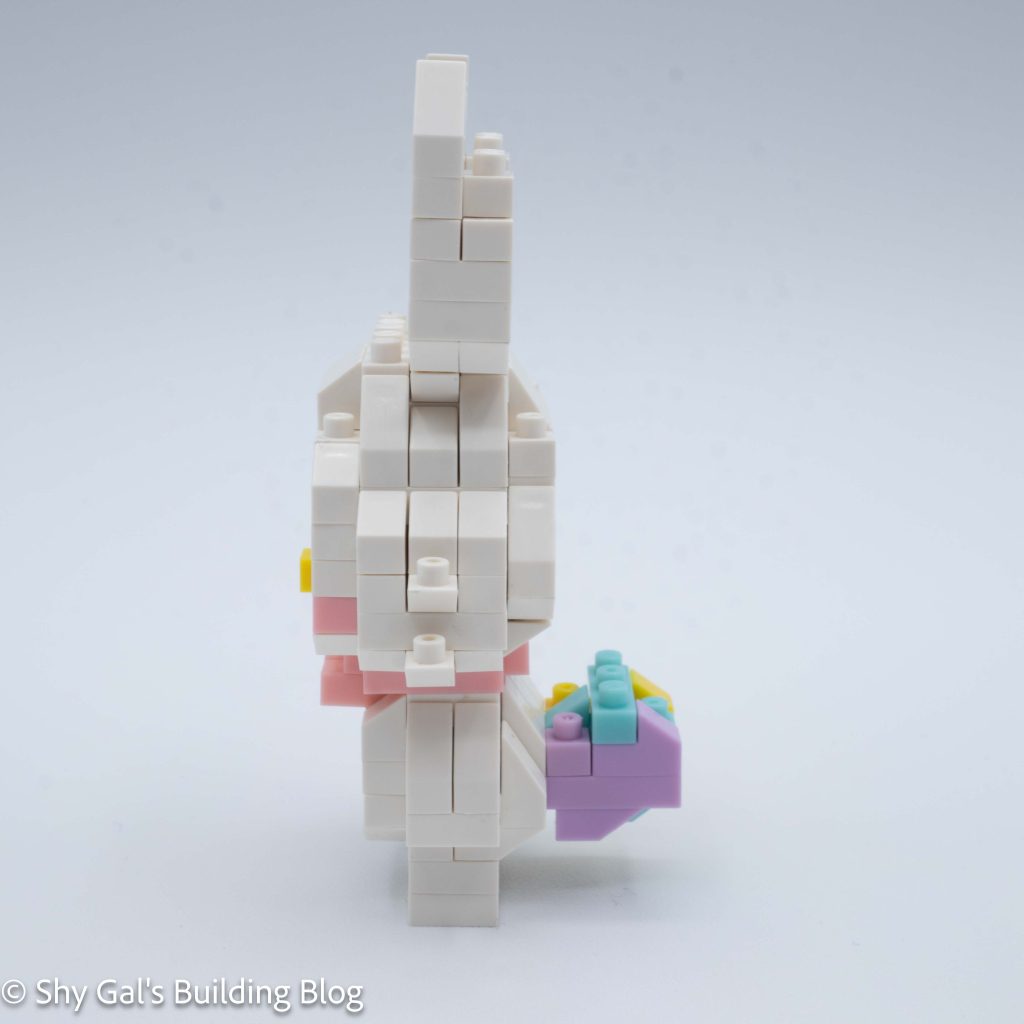
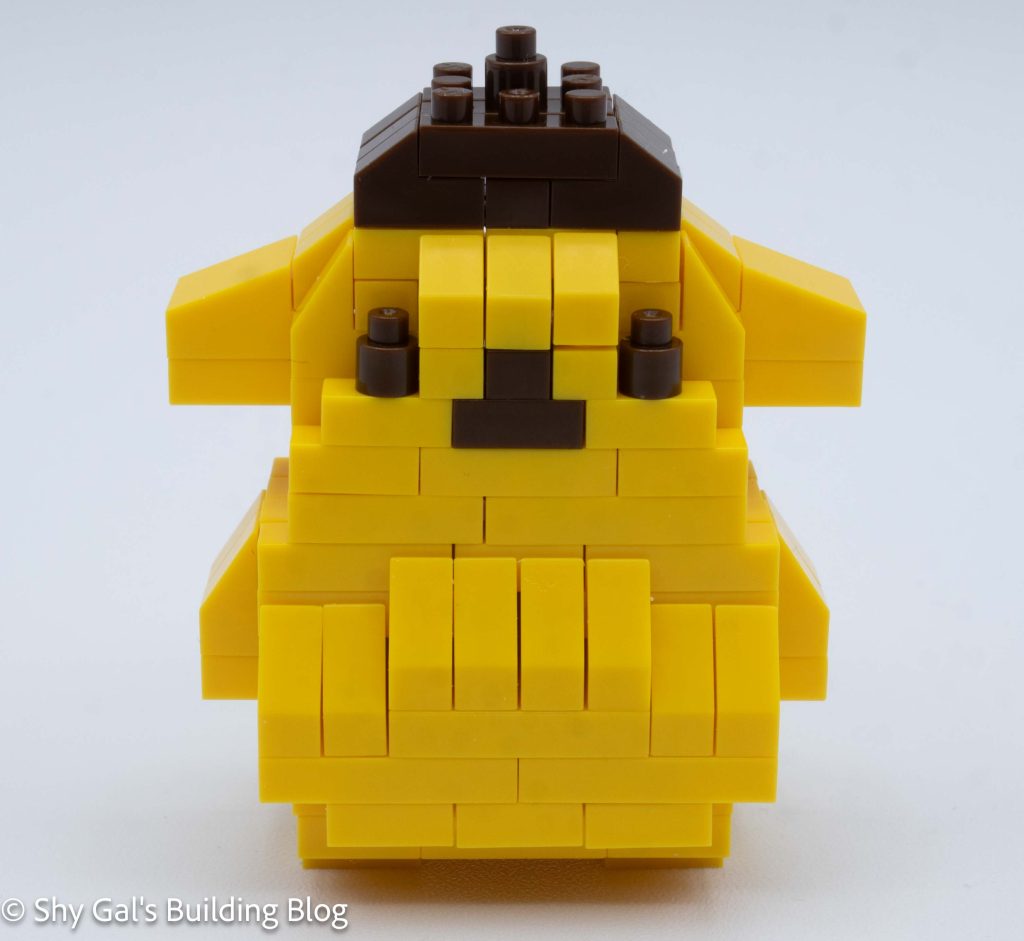
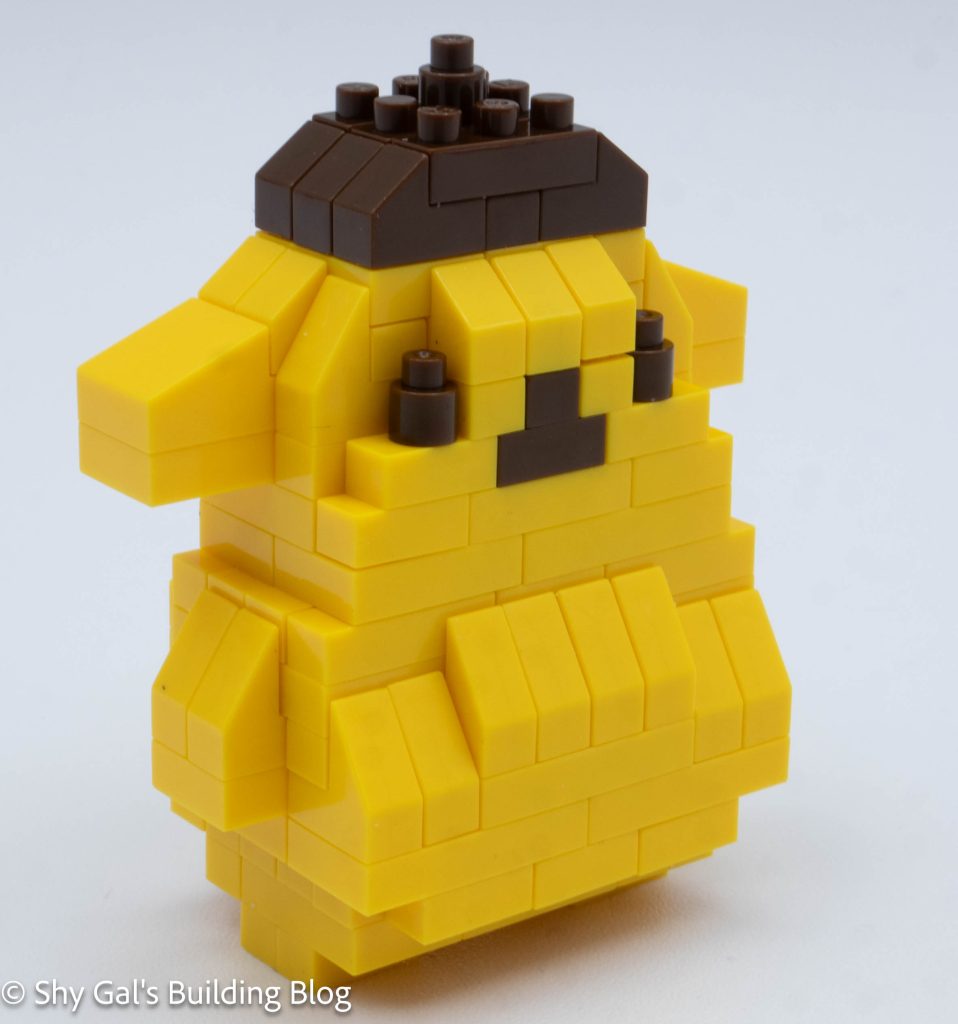
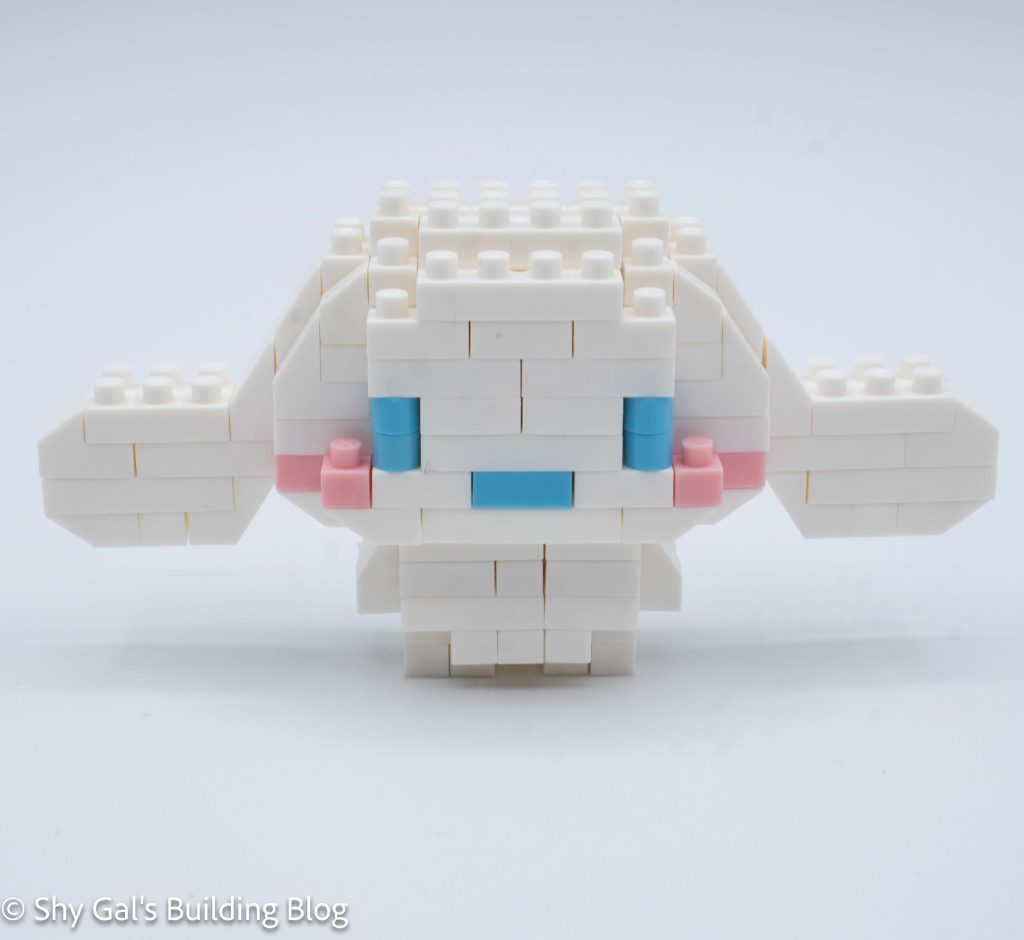
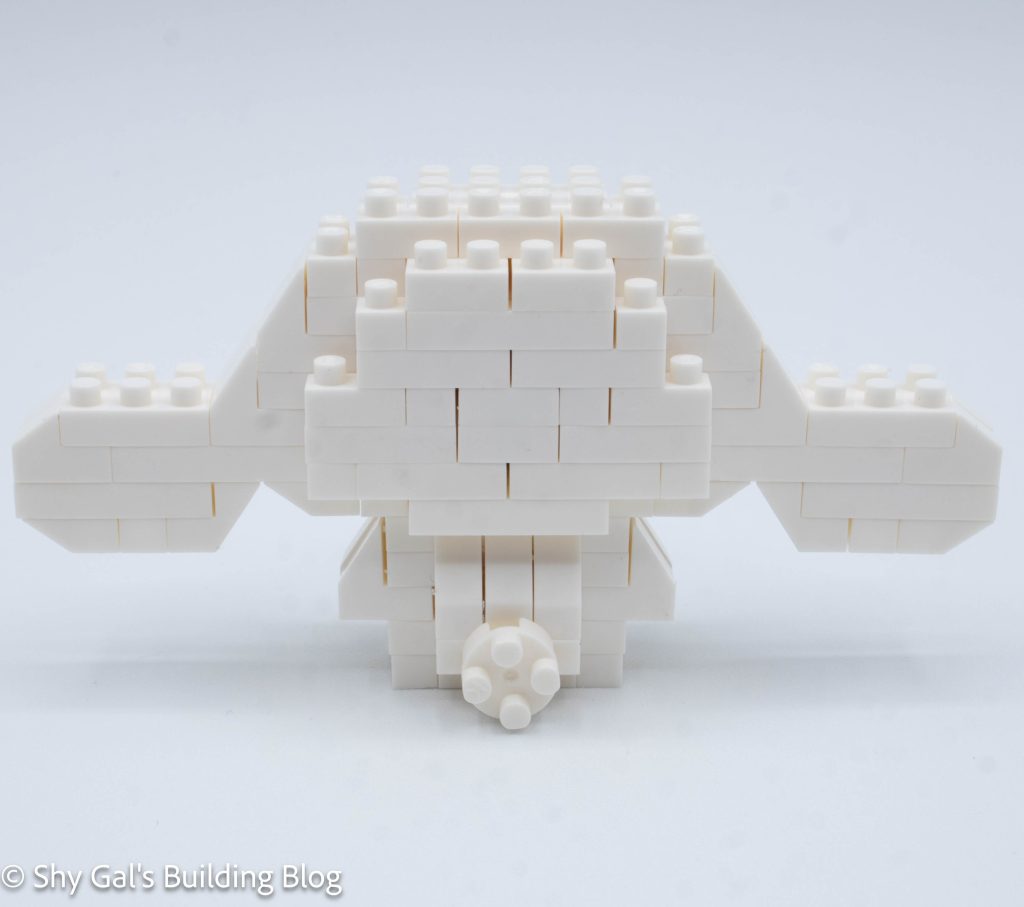
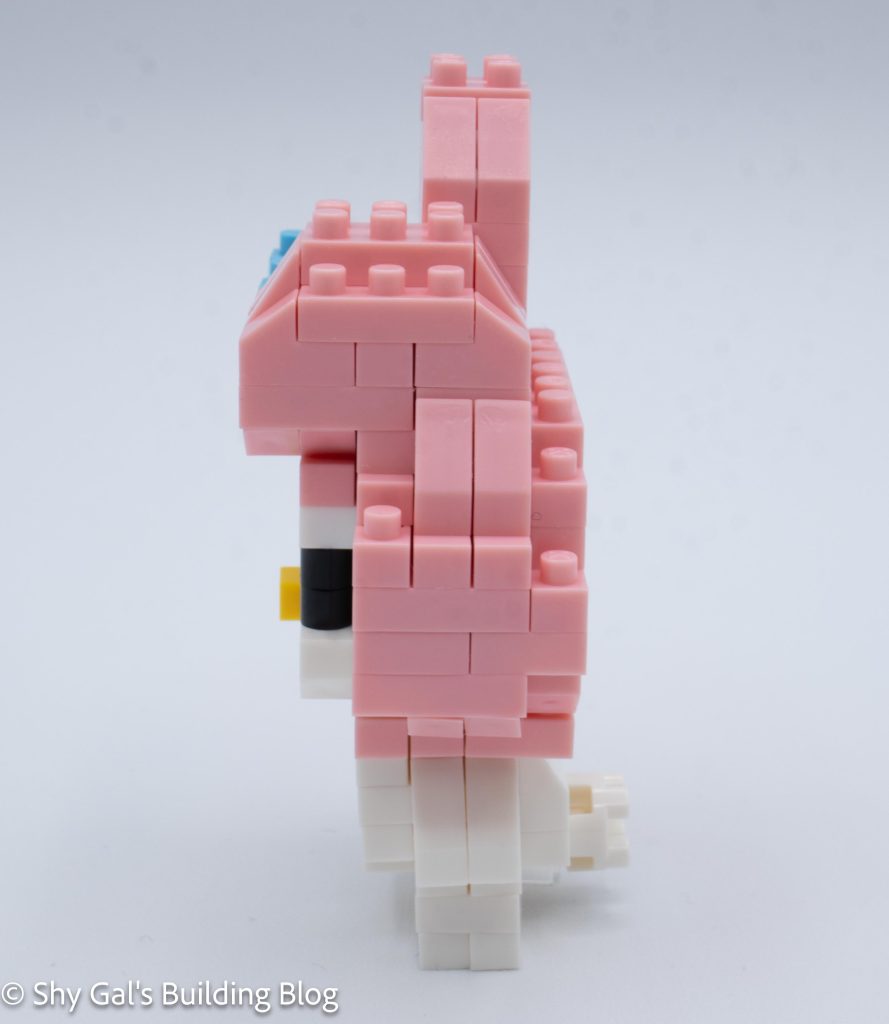
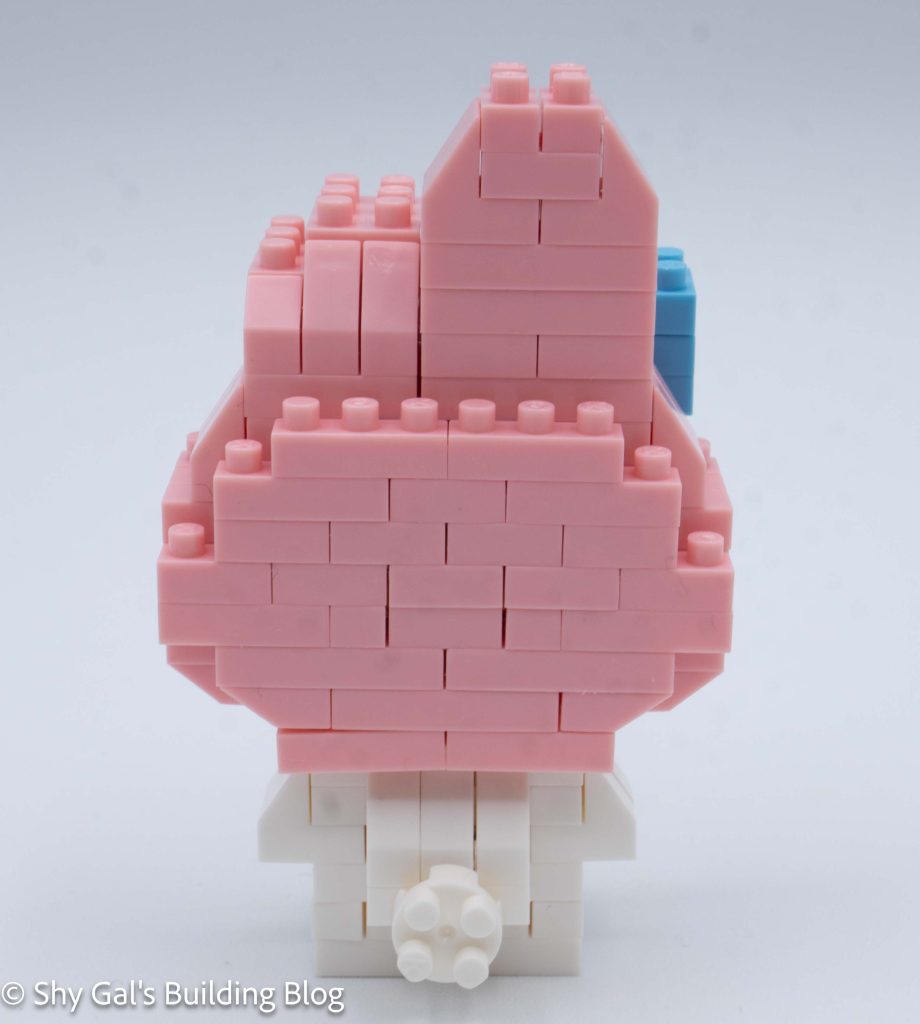
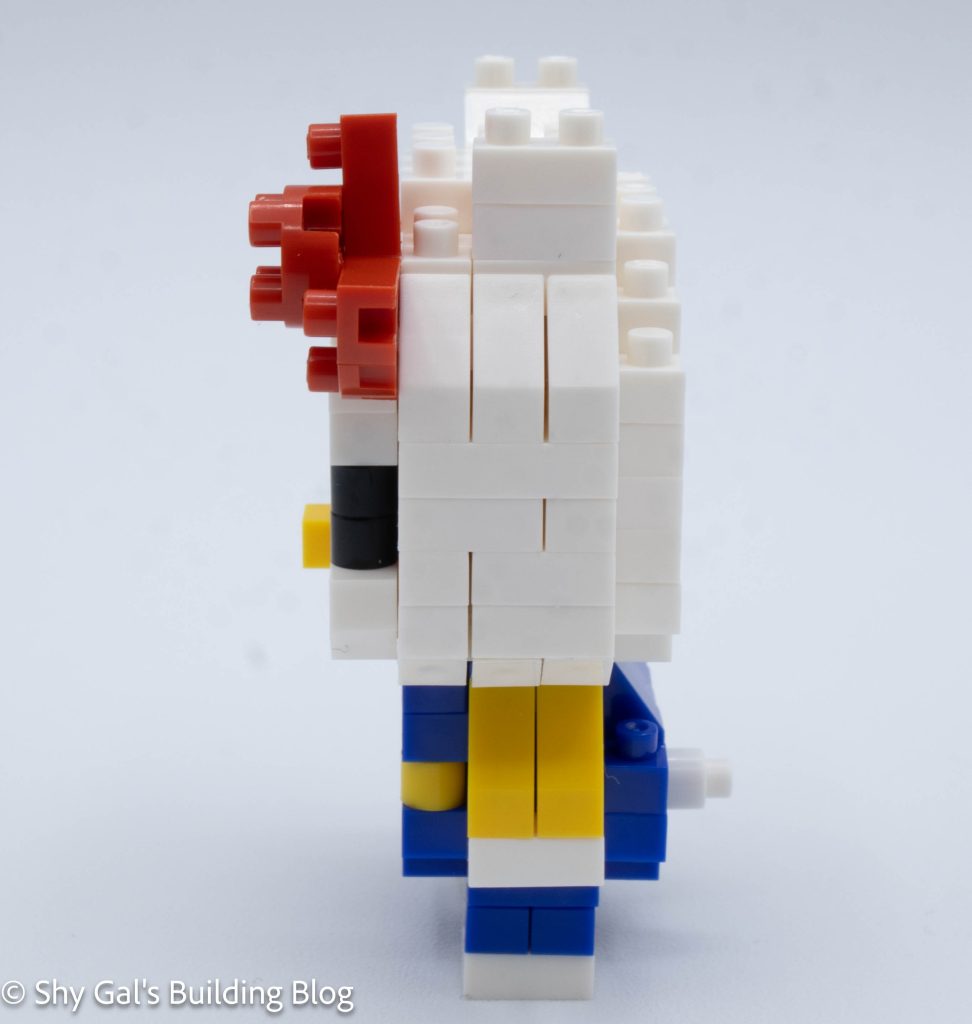
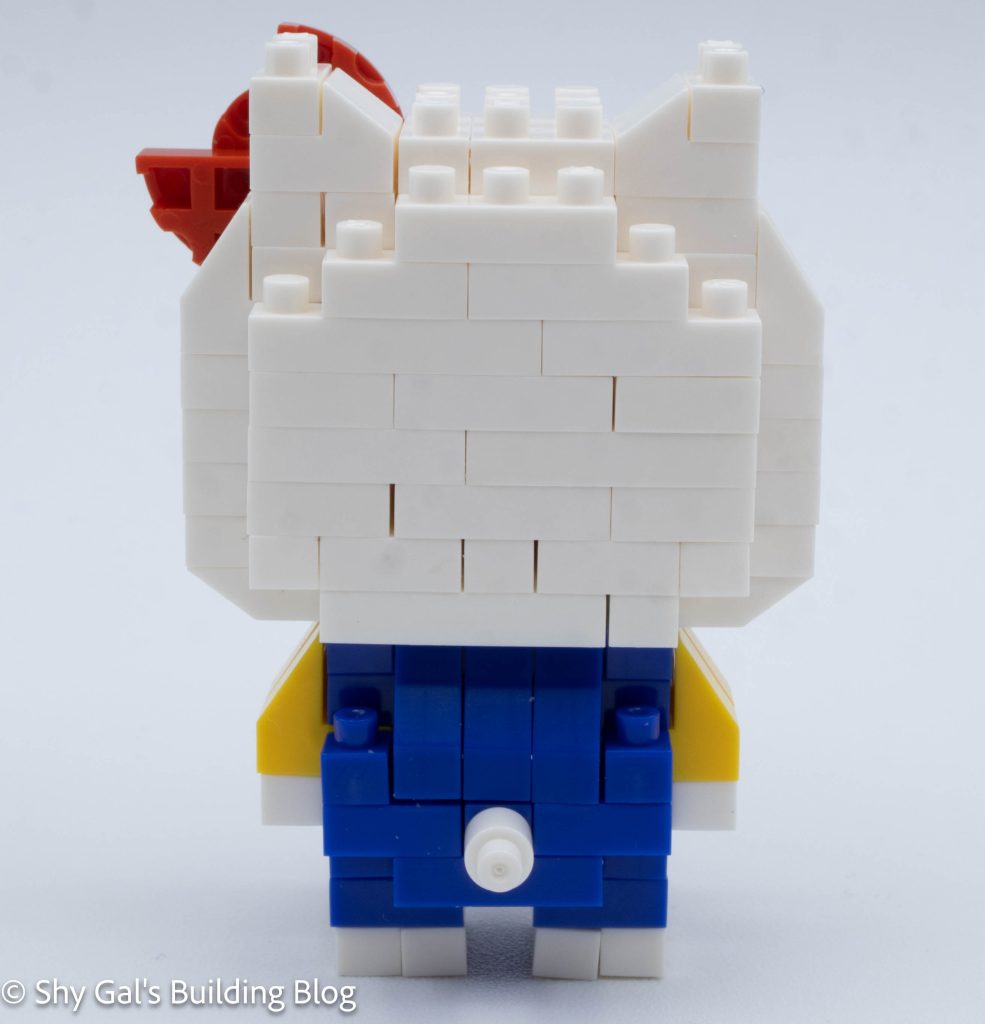
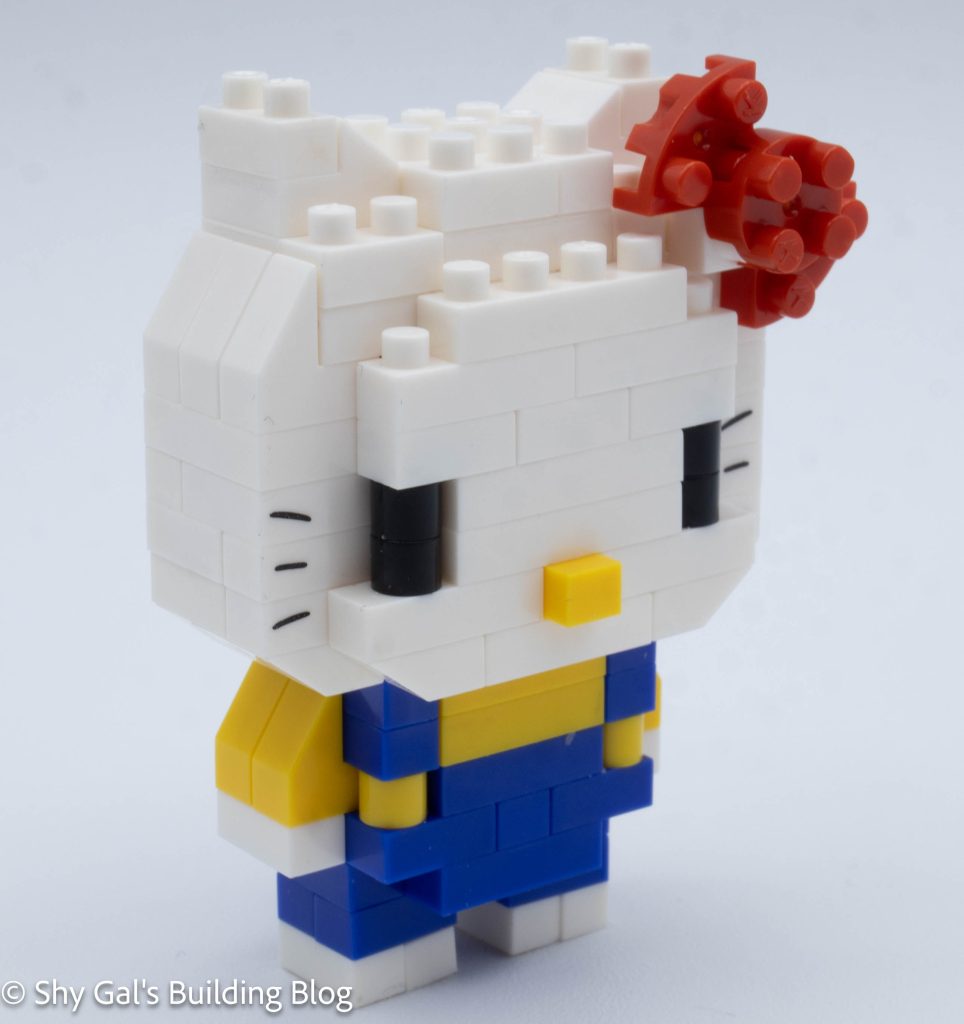
This build has 2 sections. There is the head and the body.
The head begins by taking 2 steps to complete the base 2 layers that all the rest of the head will be built on.
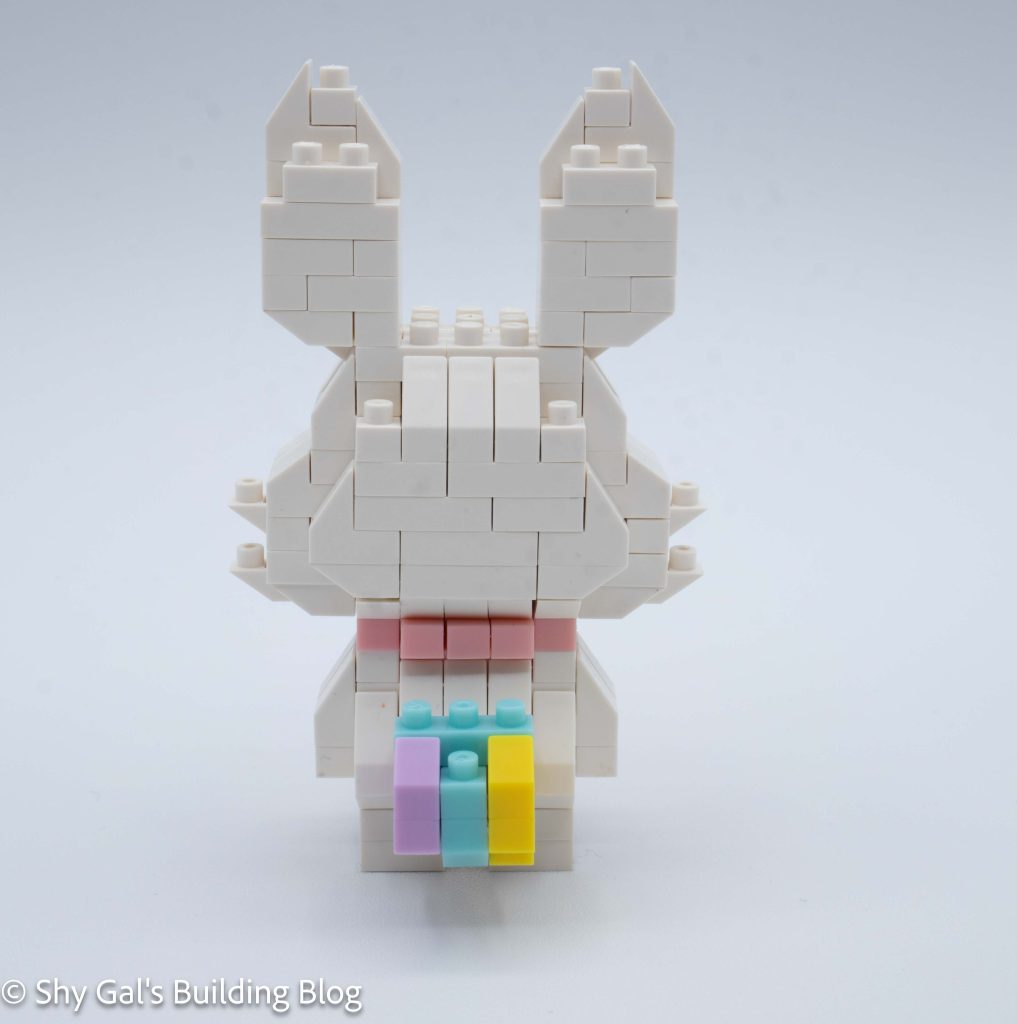
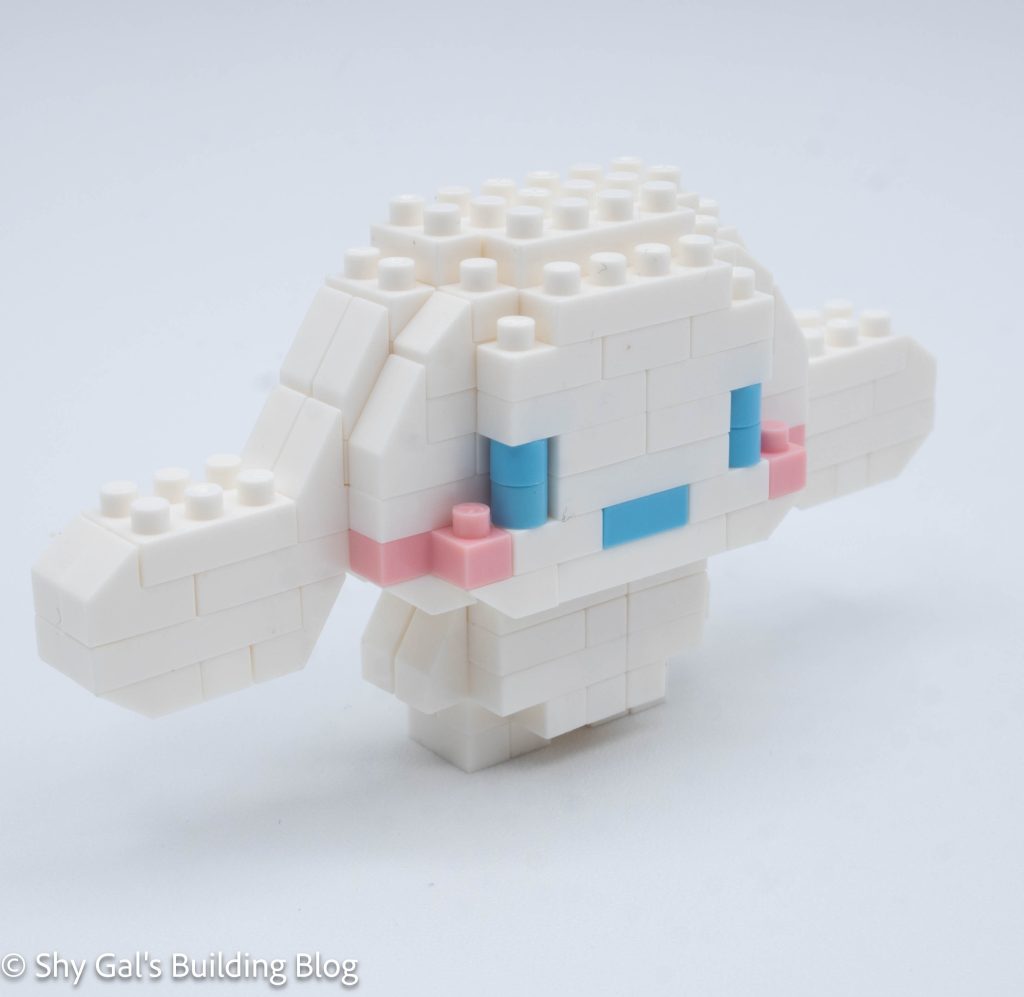
After building the base layers, the head goes up in a straightforward manner. At one point, I paused building the head to add the blue bow. The bow is held in place by one stud, so I had to be careful once it was added.
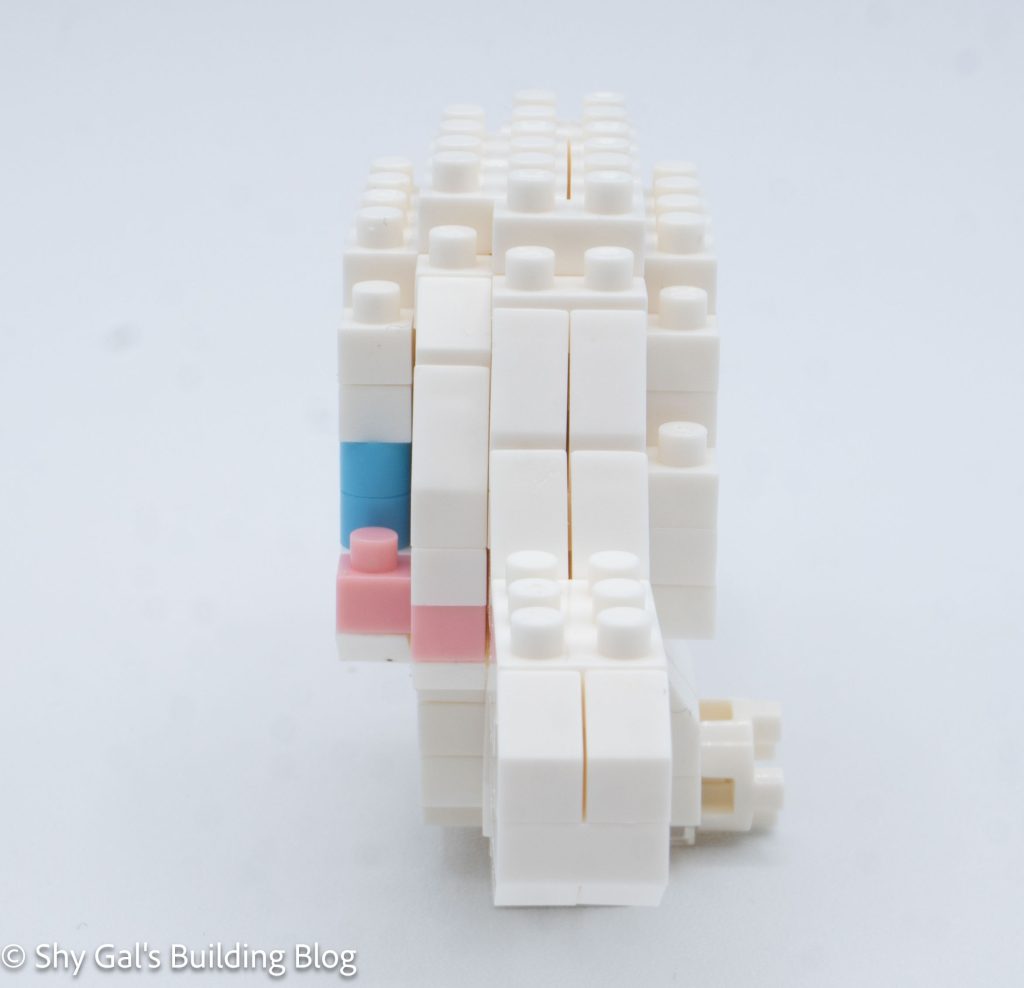
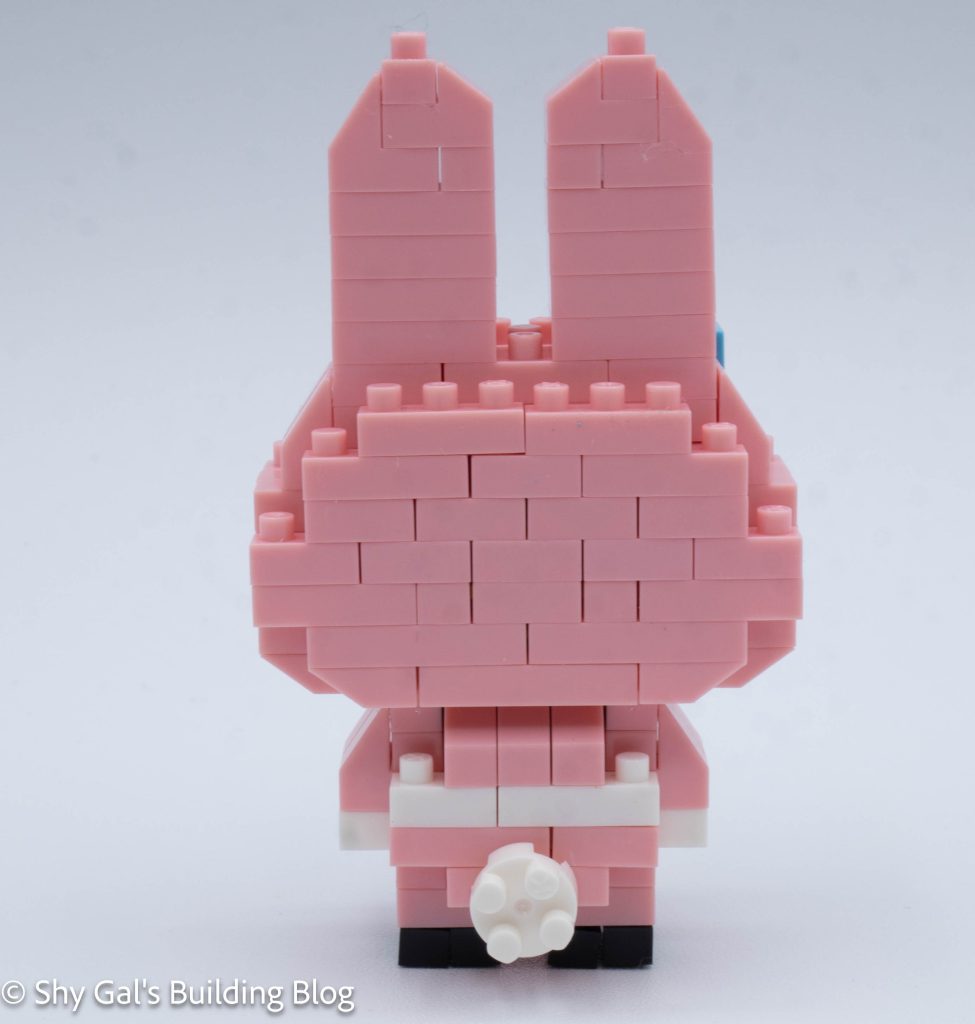
Once I started the ears, I needed to double-check that I hadn’t skipped a step or added extra bricks because there are several identical steps to create the height of the ears.
Once I had built the base of the head, I flipped it over and added a base layer that rounded out the head a bit.
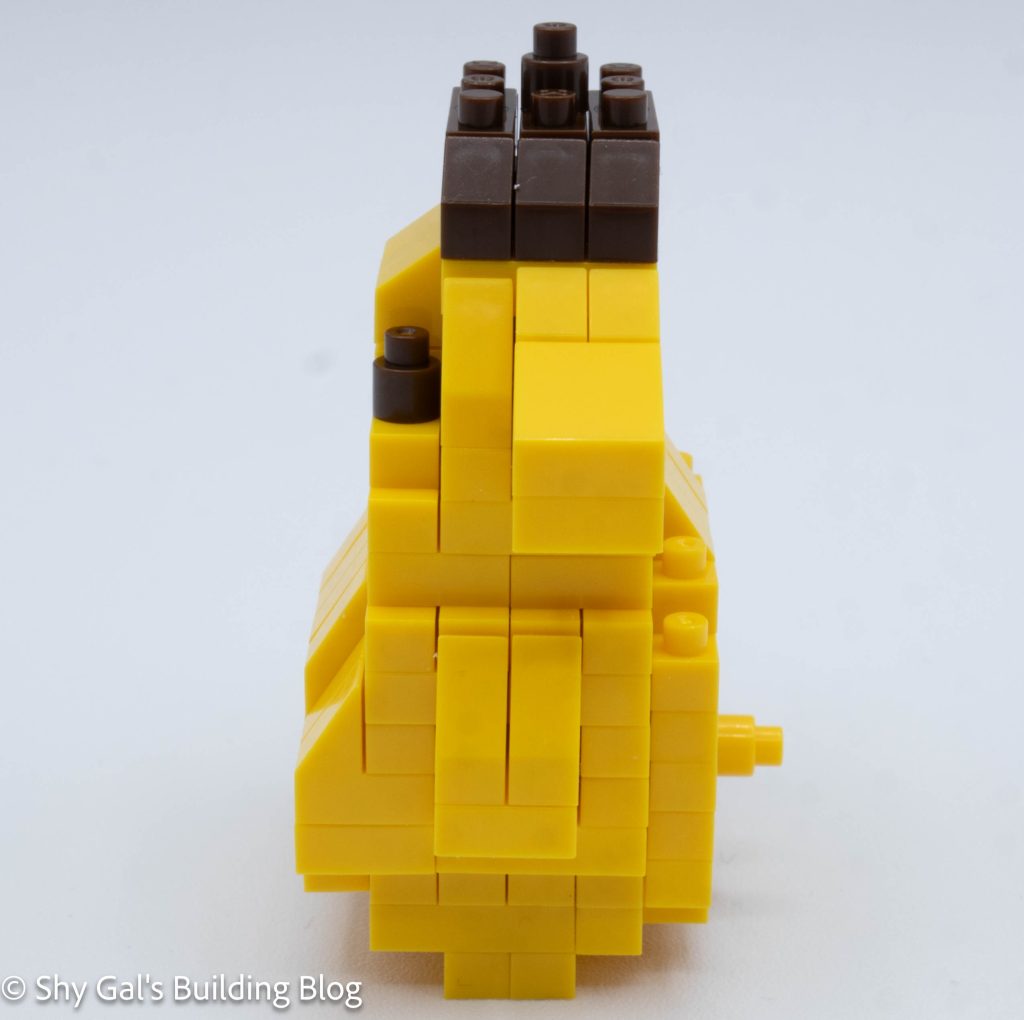
Then it was time to move on to the body. I had quite a bit of difficulty getting all the bricks lined up for the first step of the build, but eventually got things lined up properly.
Then the body went up in layers.
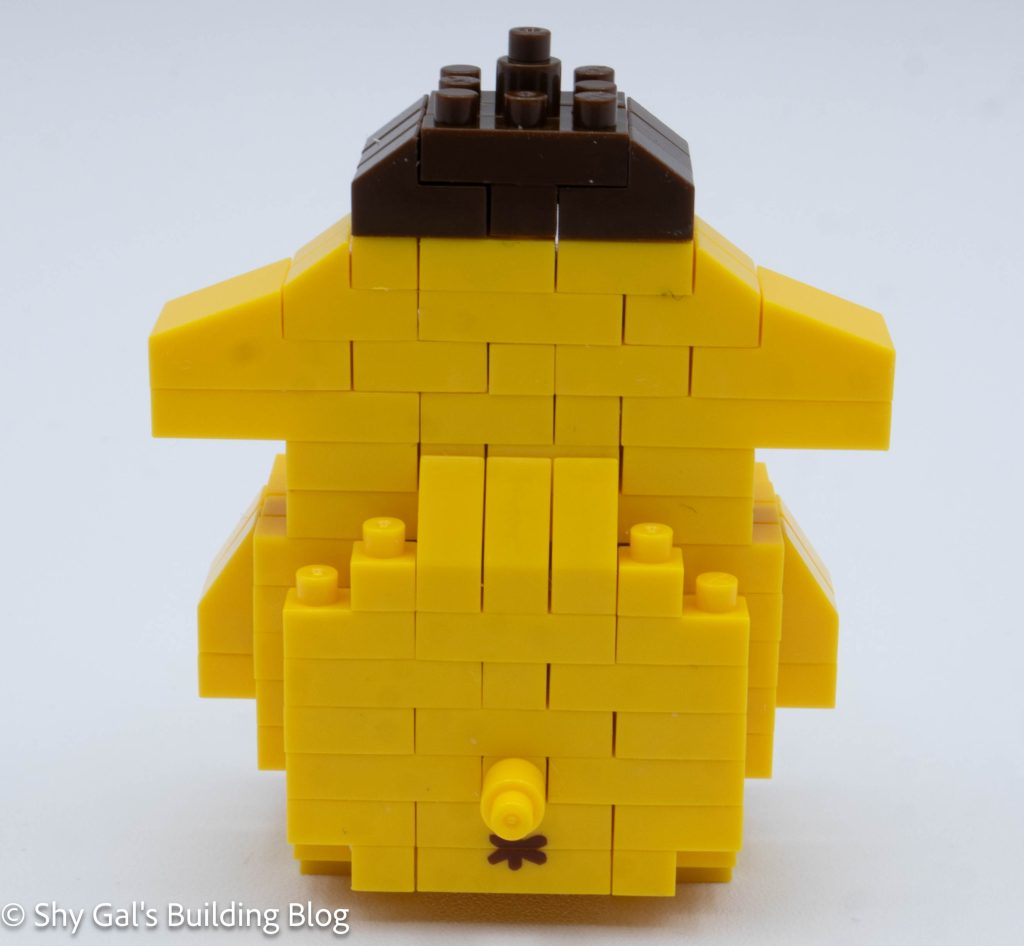
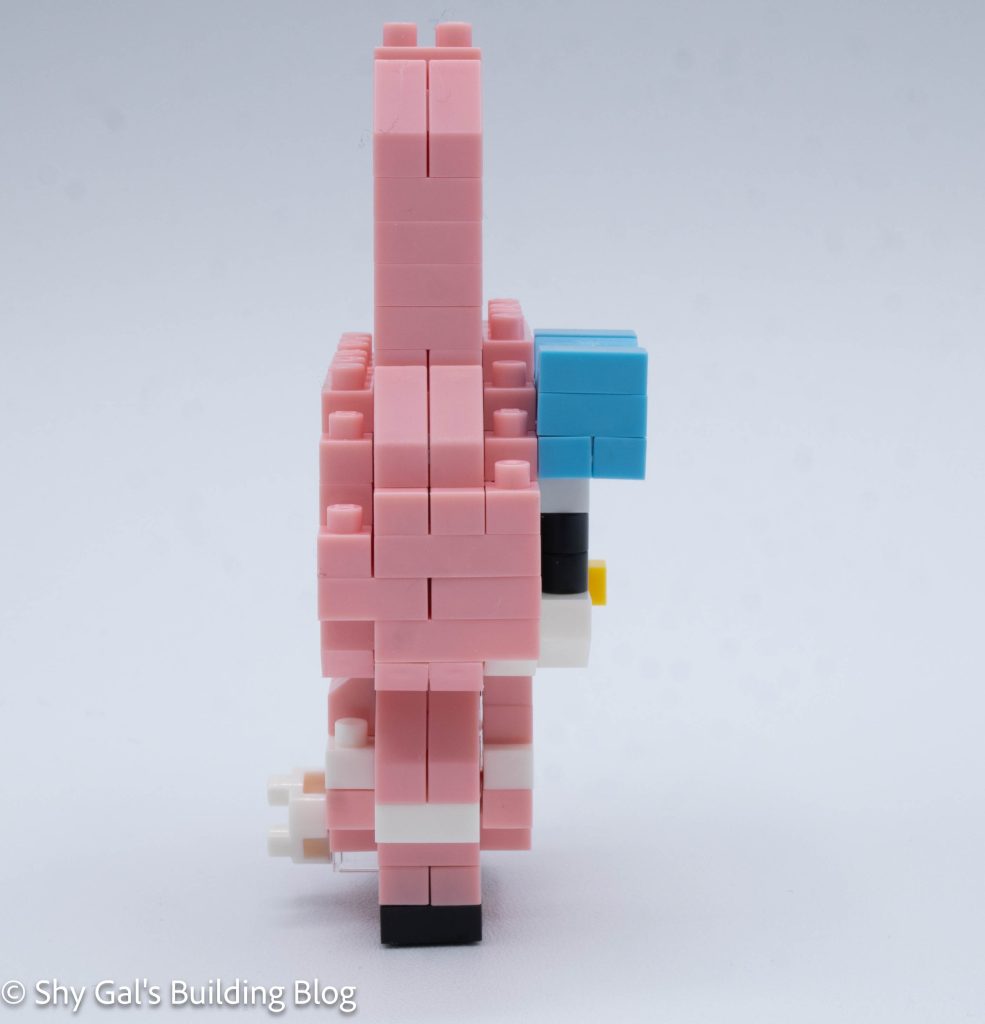
After building to the top of the body, I flipped the build over and added legs and a tail.
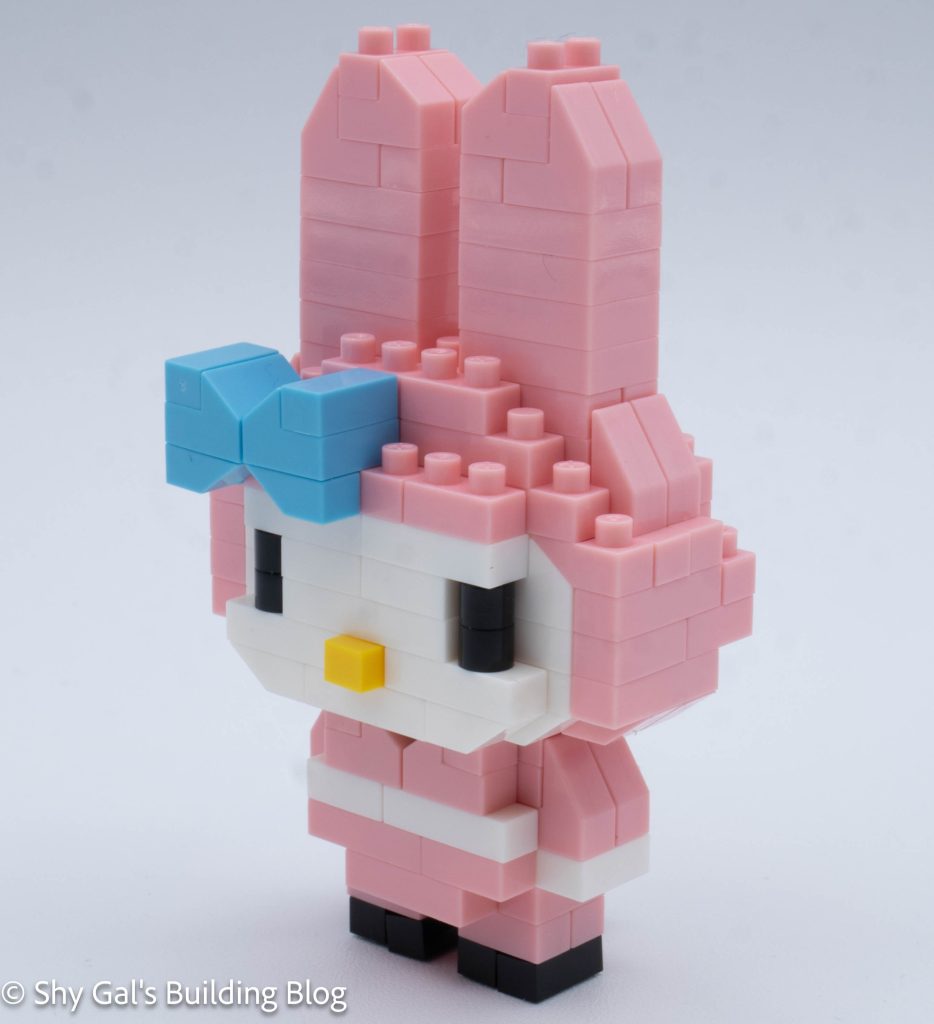
The final step was to attach the head to the body.
Things I liked:
- I like the contrast of the blue bow against all the pink
Things I didn’t like:
- I found the first step for the body to be confusing