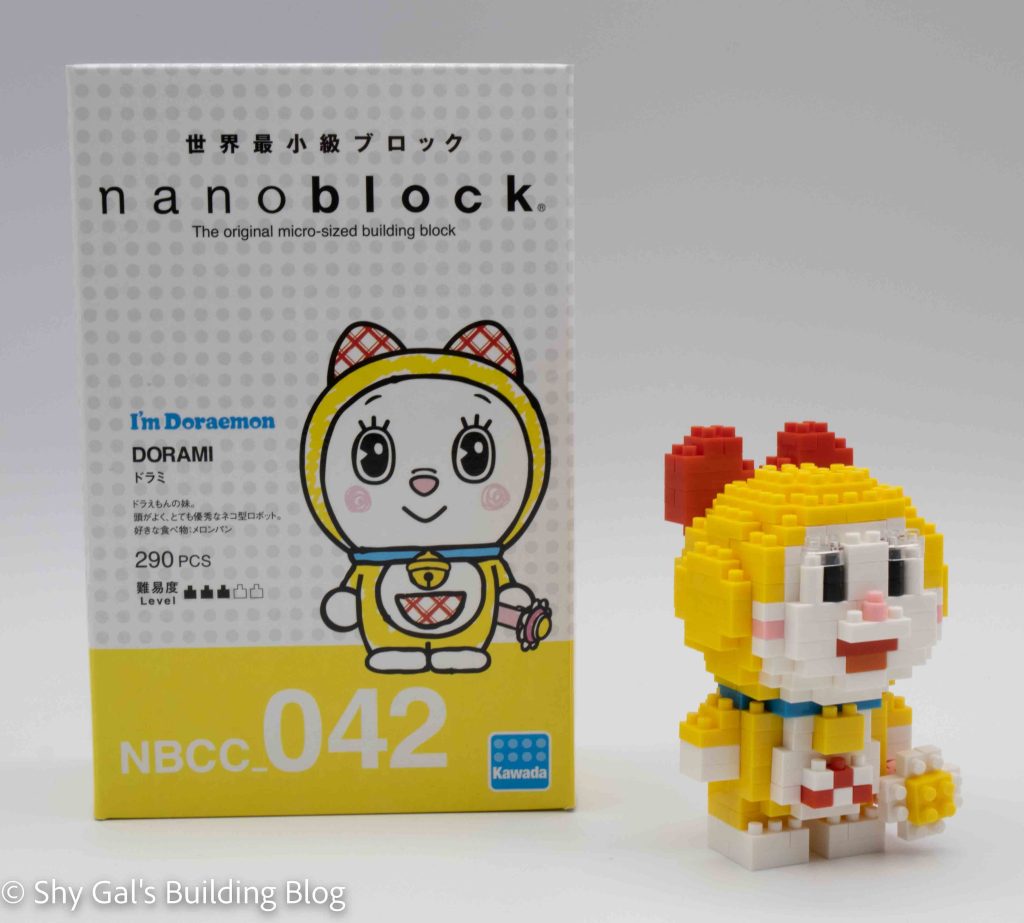
This post is a review of the nanoblock Dorami build. Dorami is part of the nanoblock Character collection. Wondering what else is part of the Character Collection? Click Here for a list.
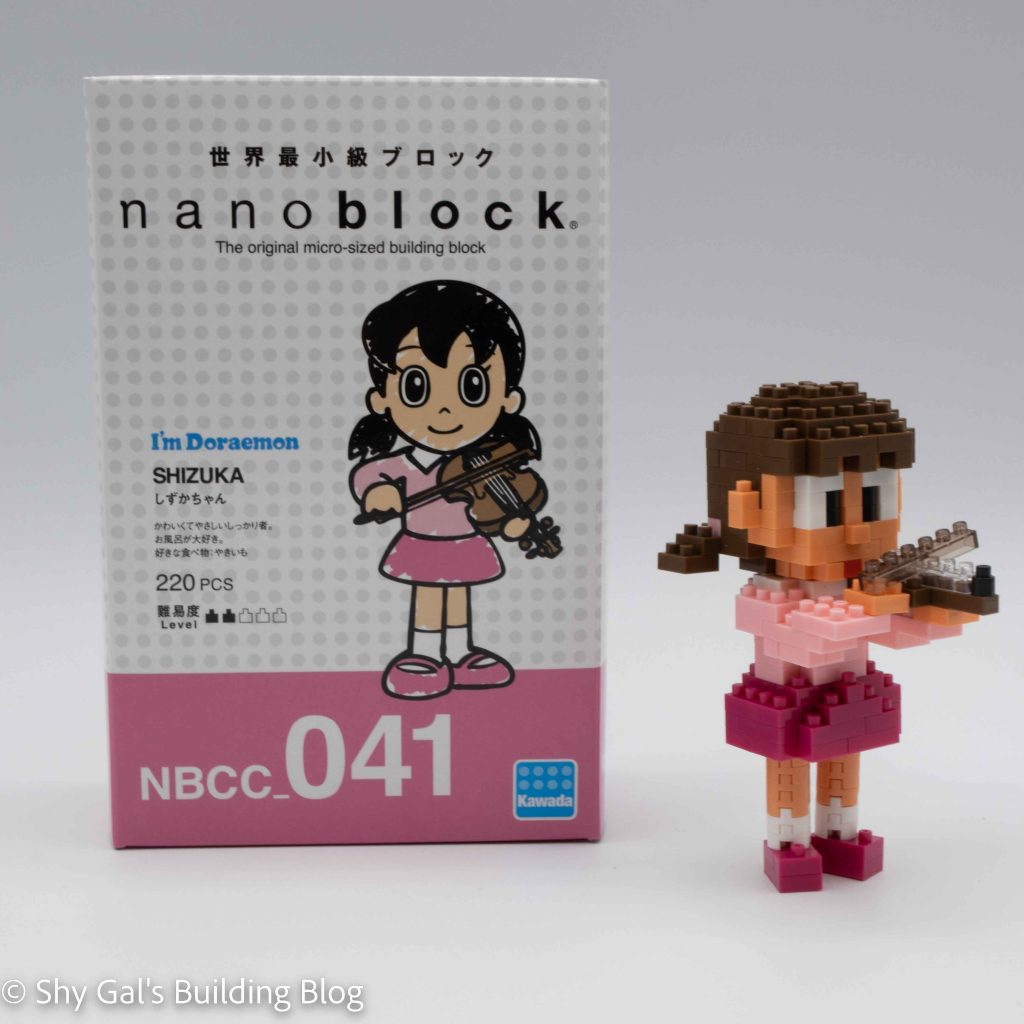
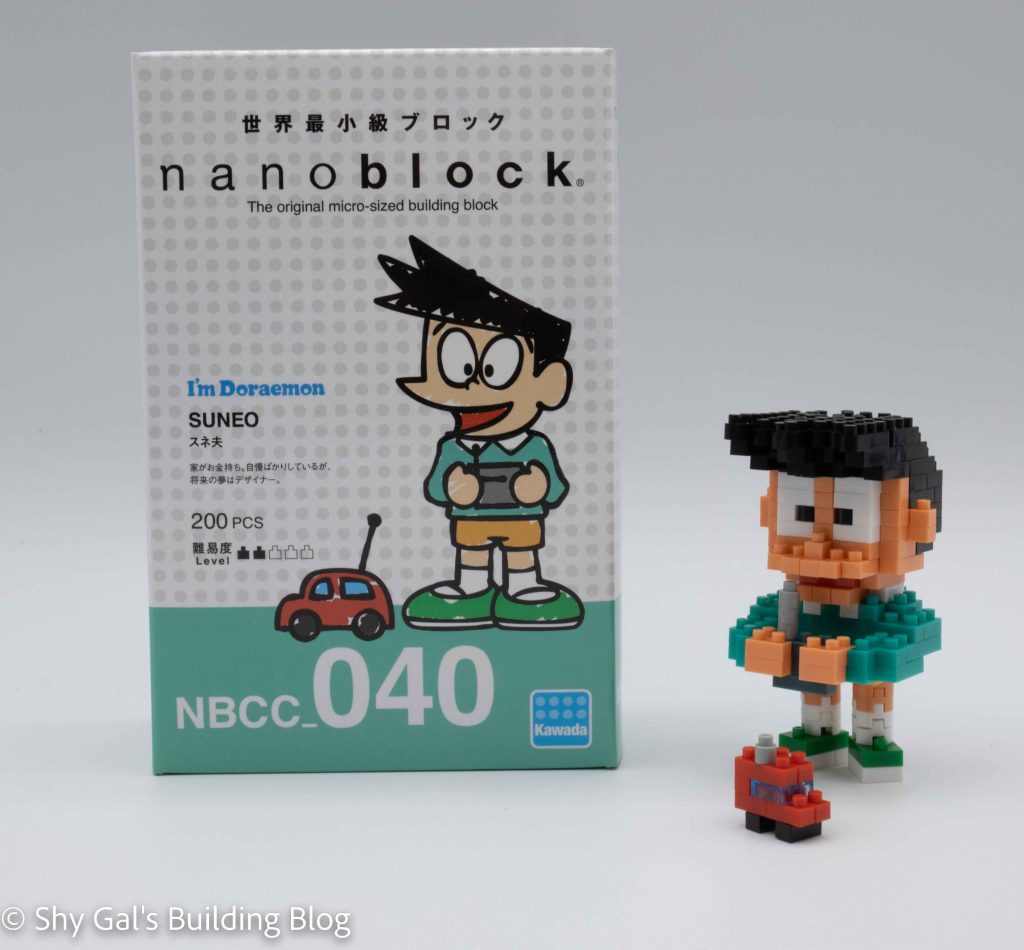
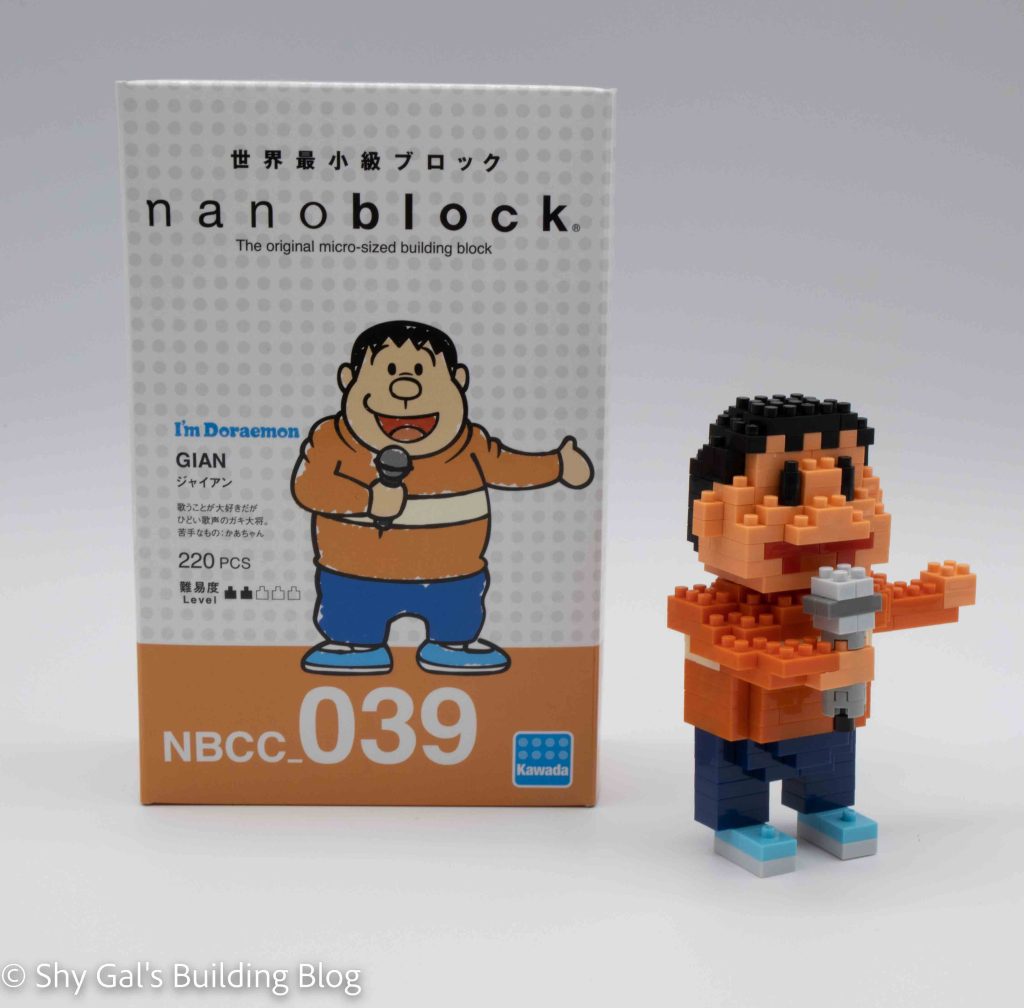
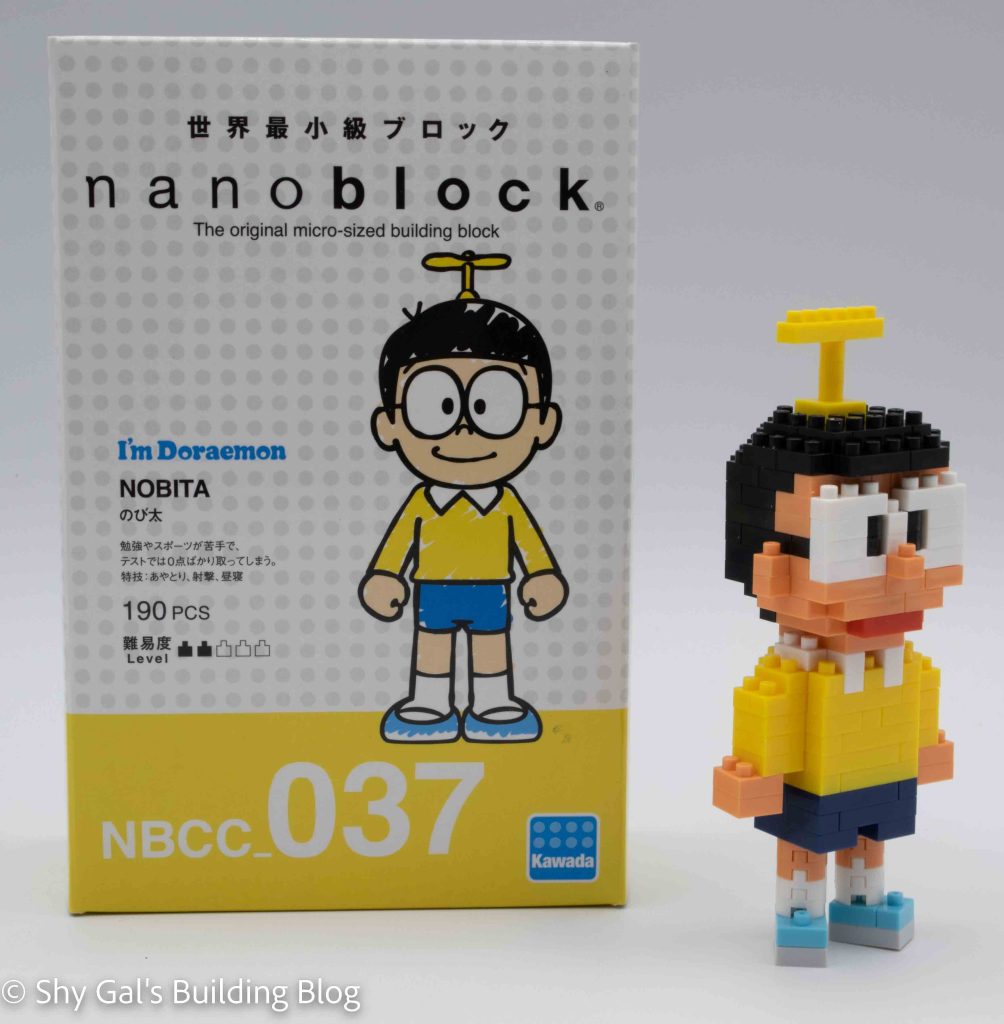
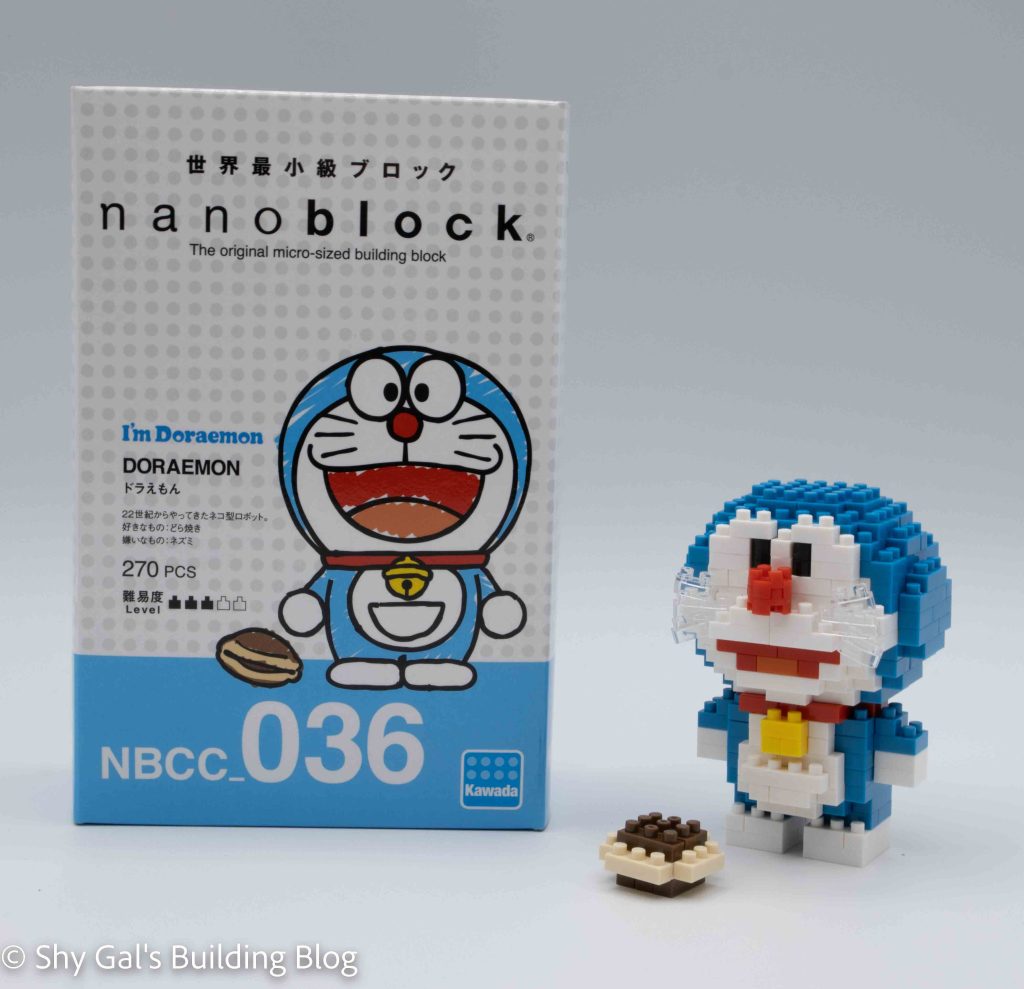
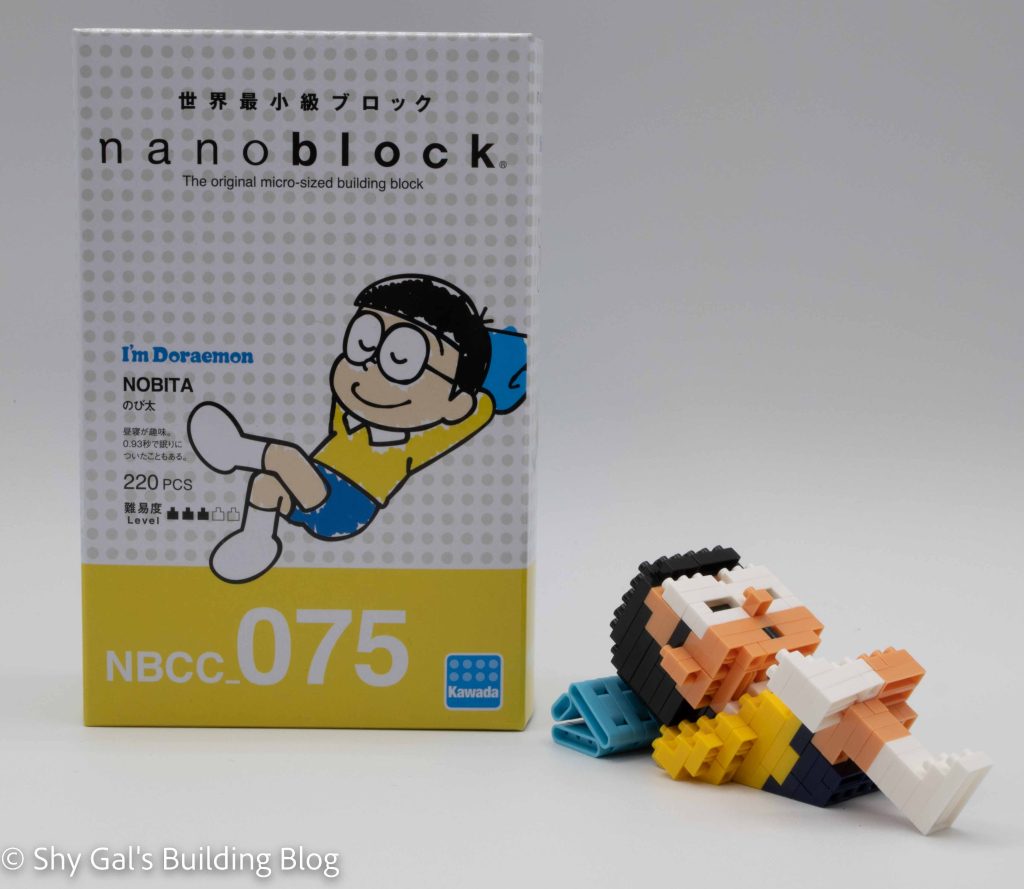
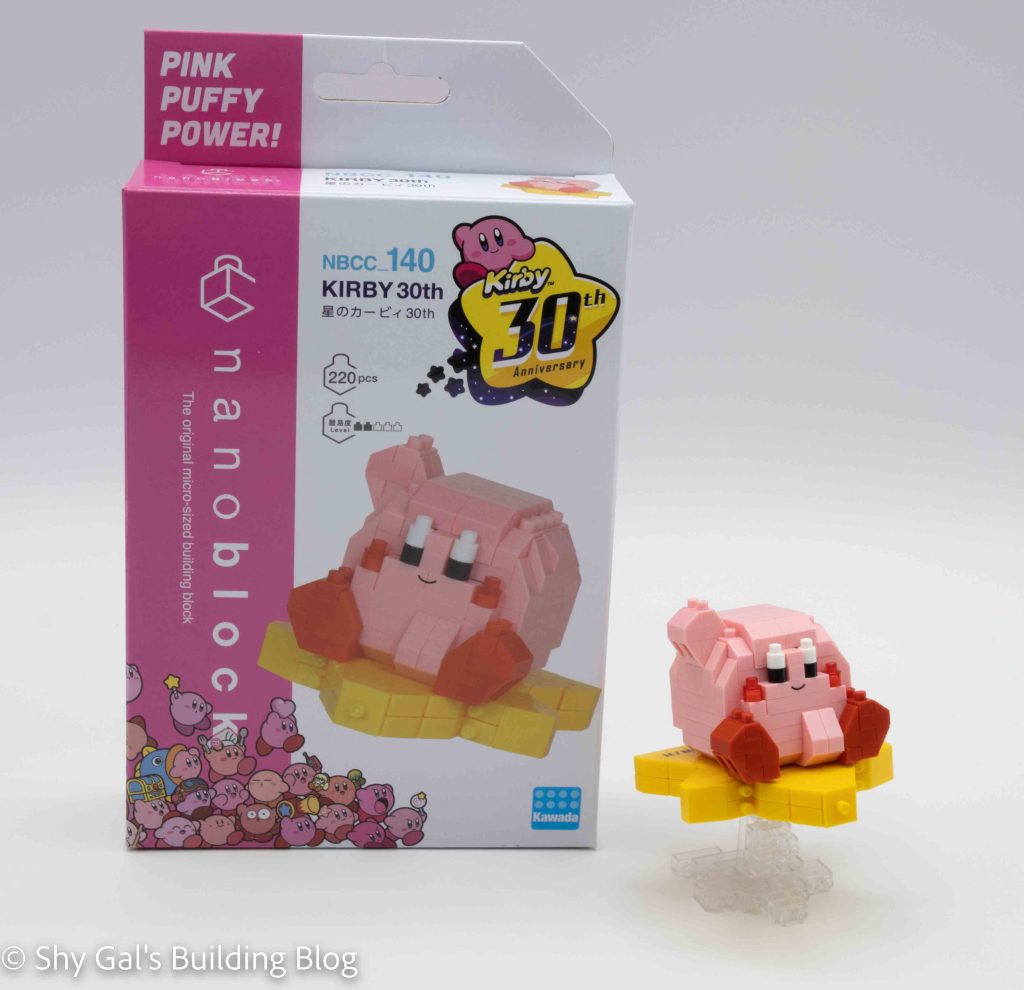
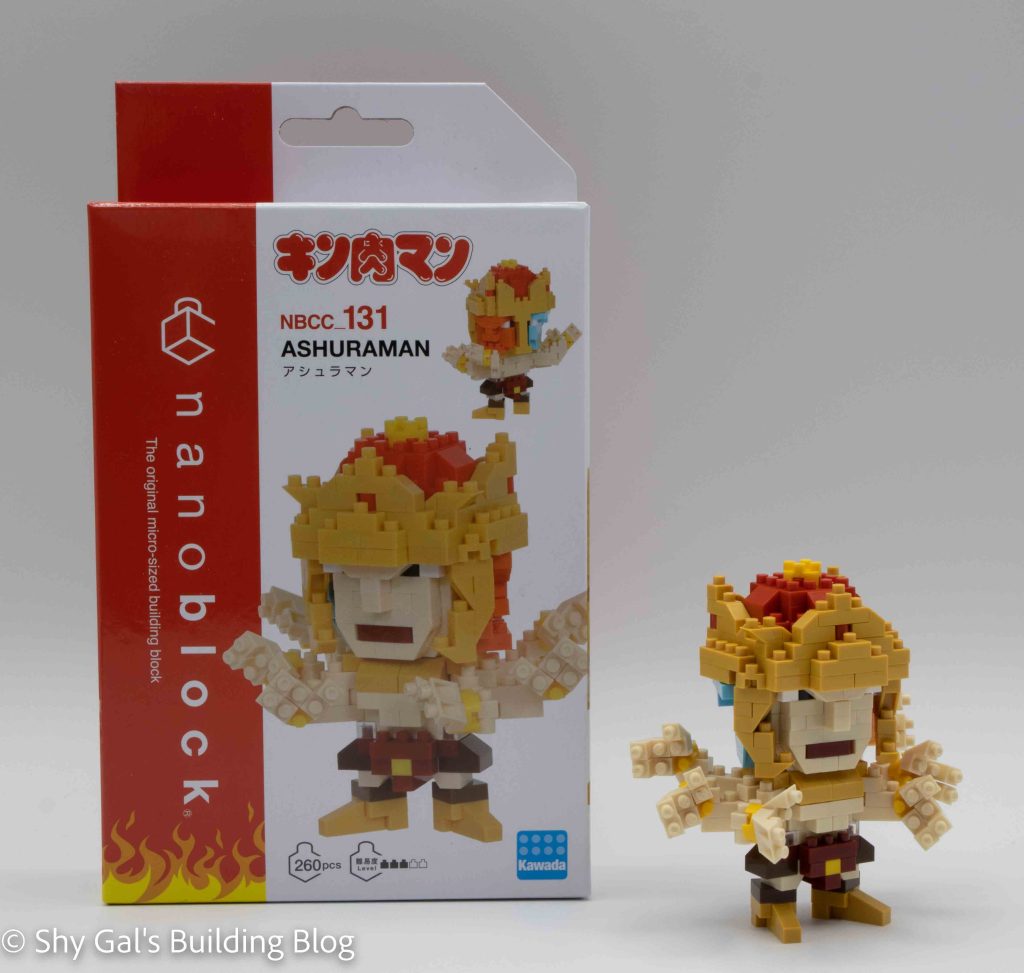
Number: NBCC_042
Number of Pieces: 290
Difficulty Rating: 3/5
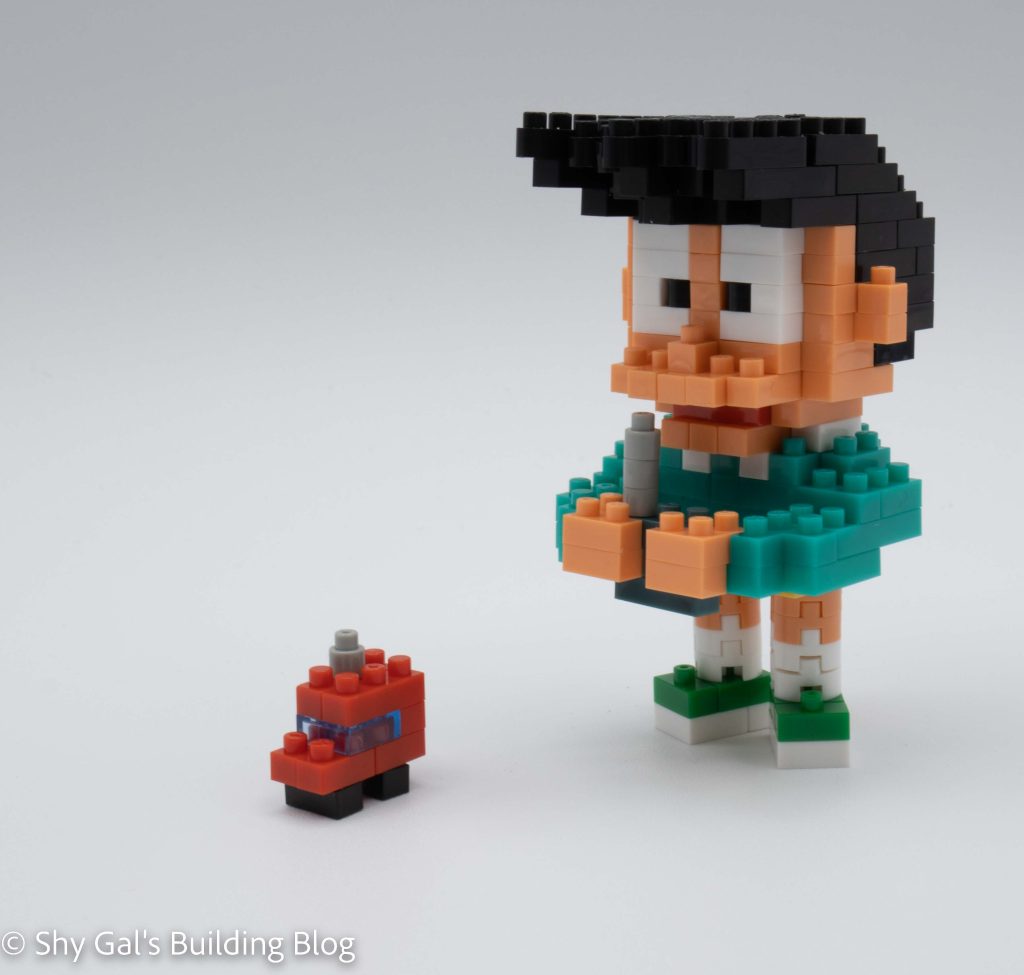
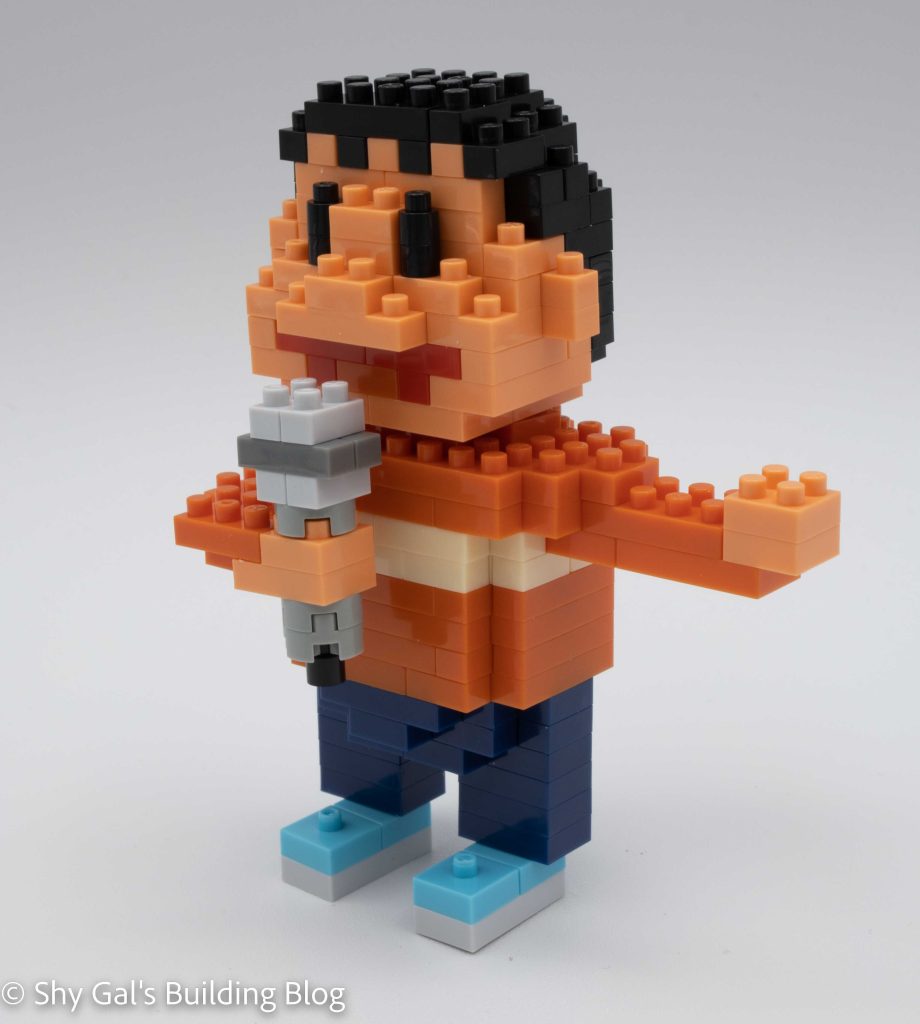
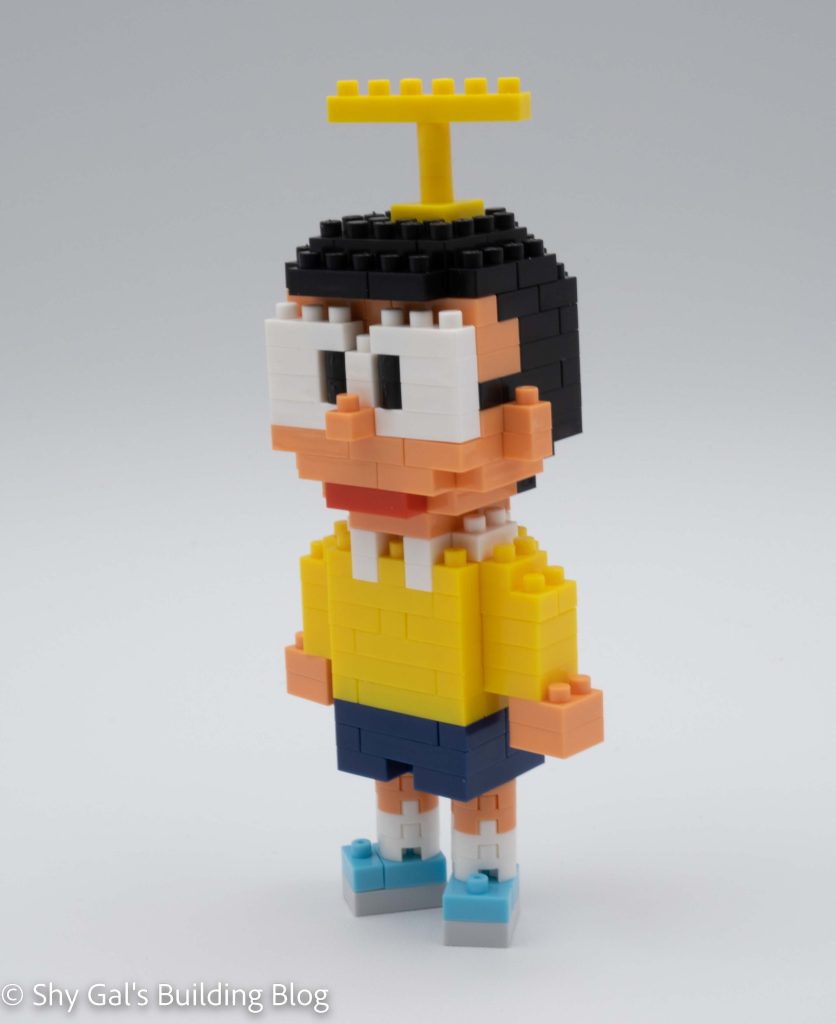
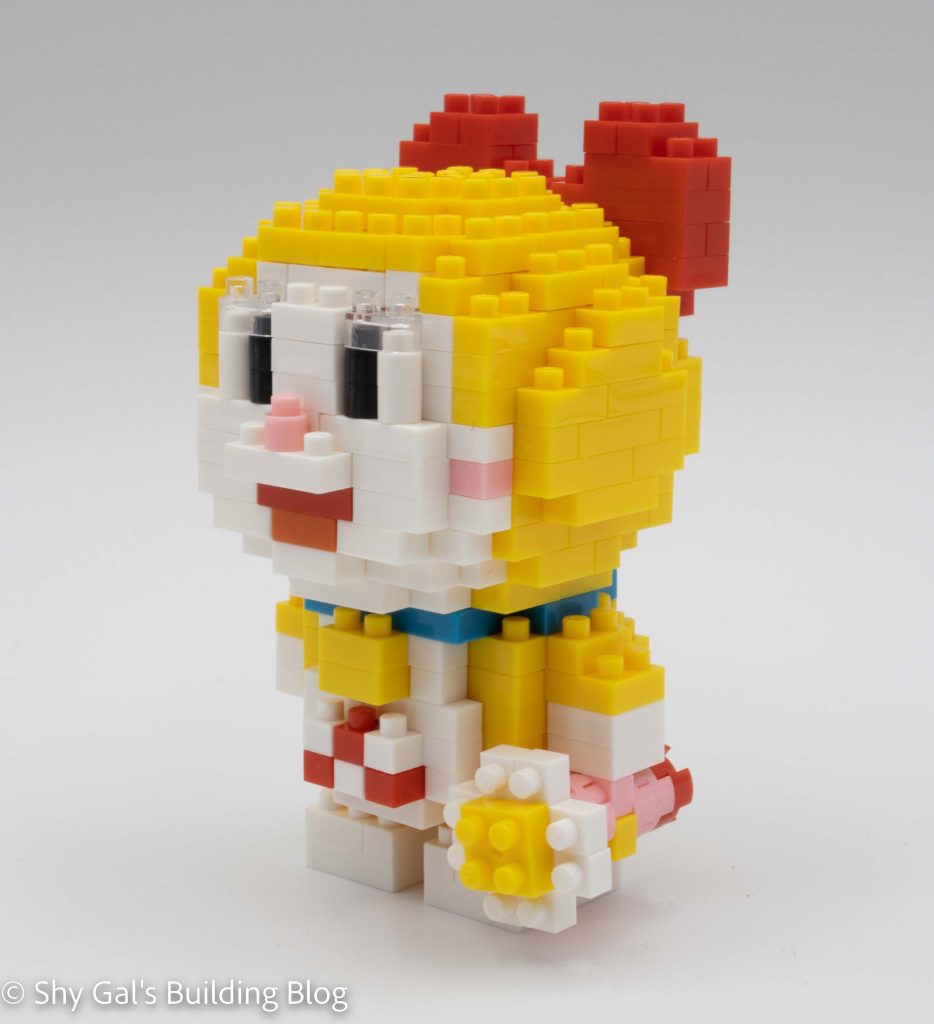
Dorami is the younger sister of Doraemon. She is bright yellow with a red bow. For more information about Dorami, check out her wiki page here.
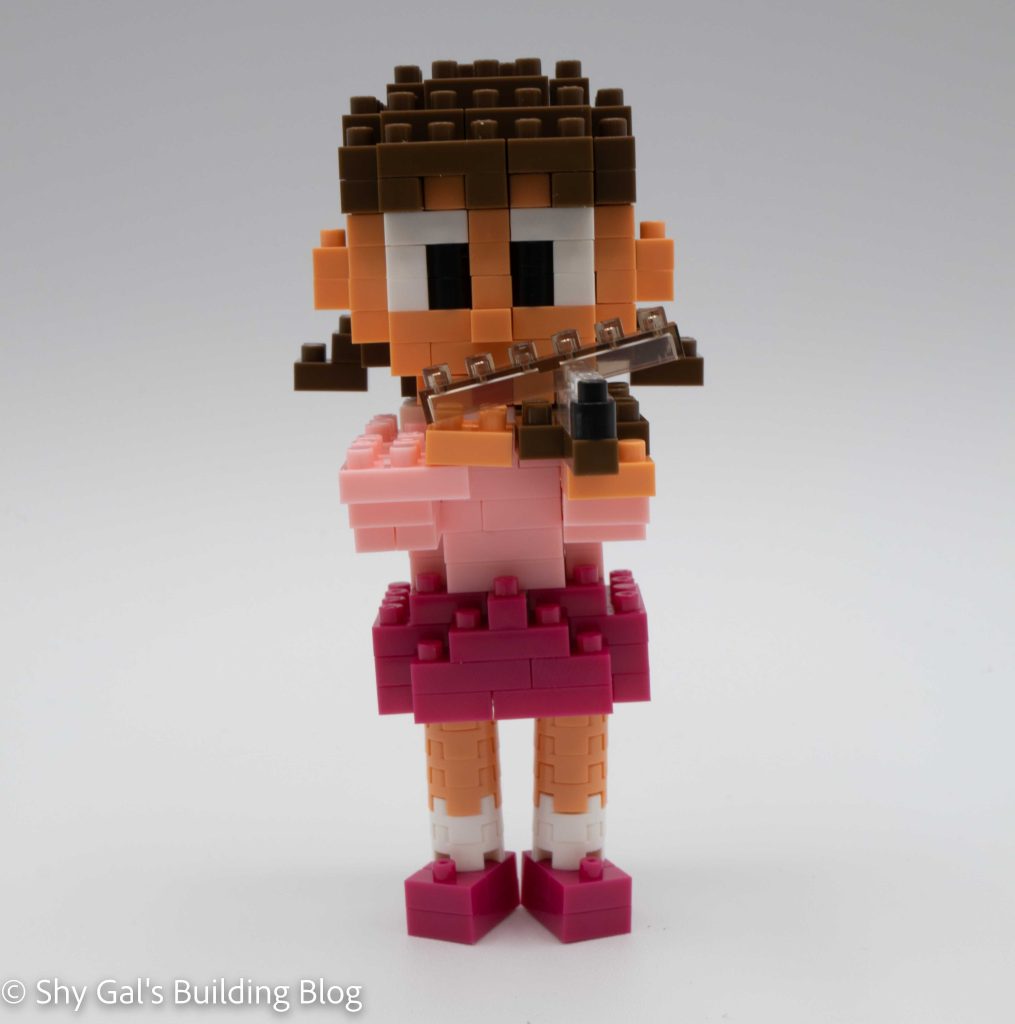
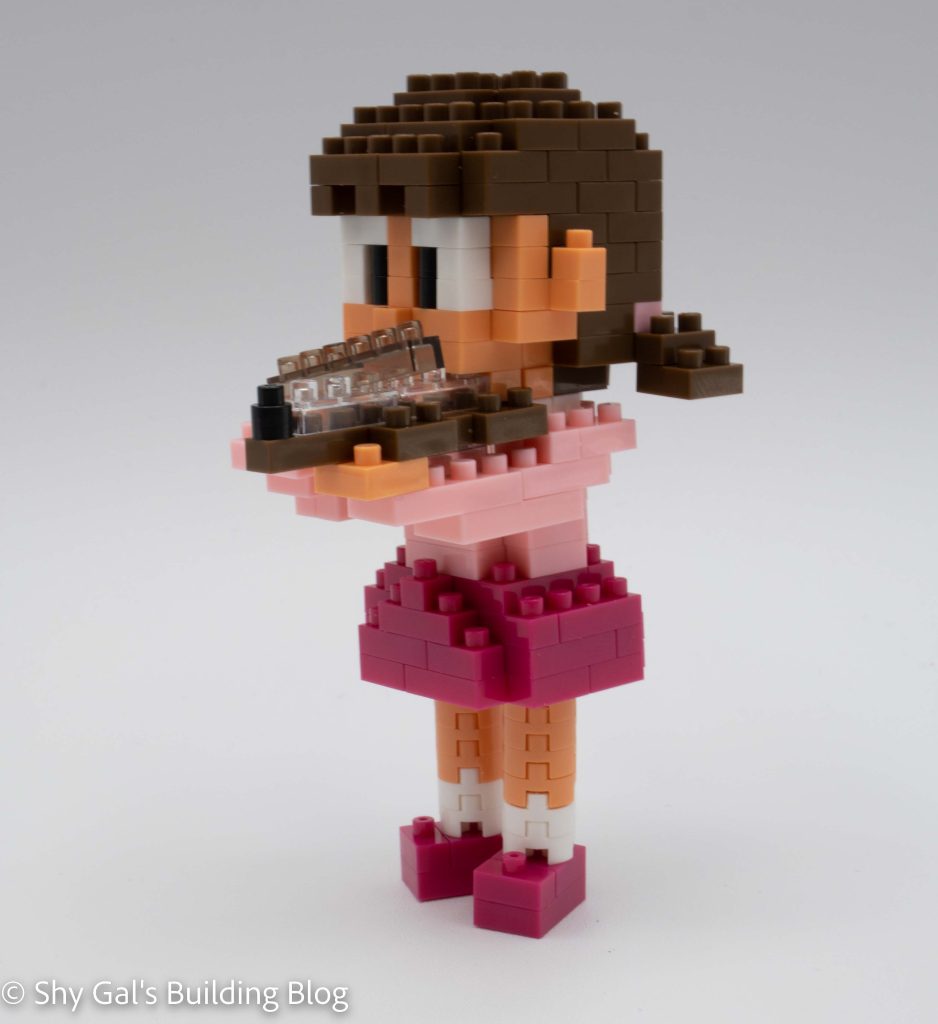
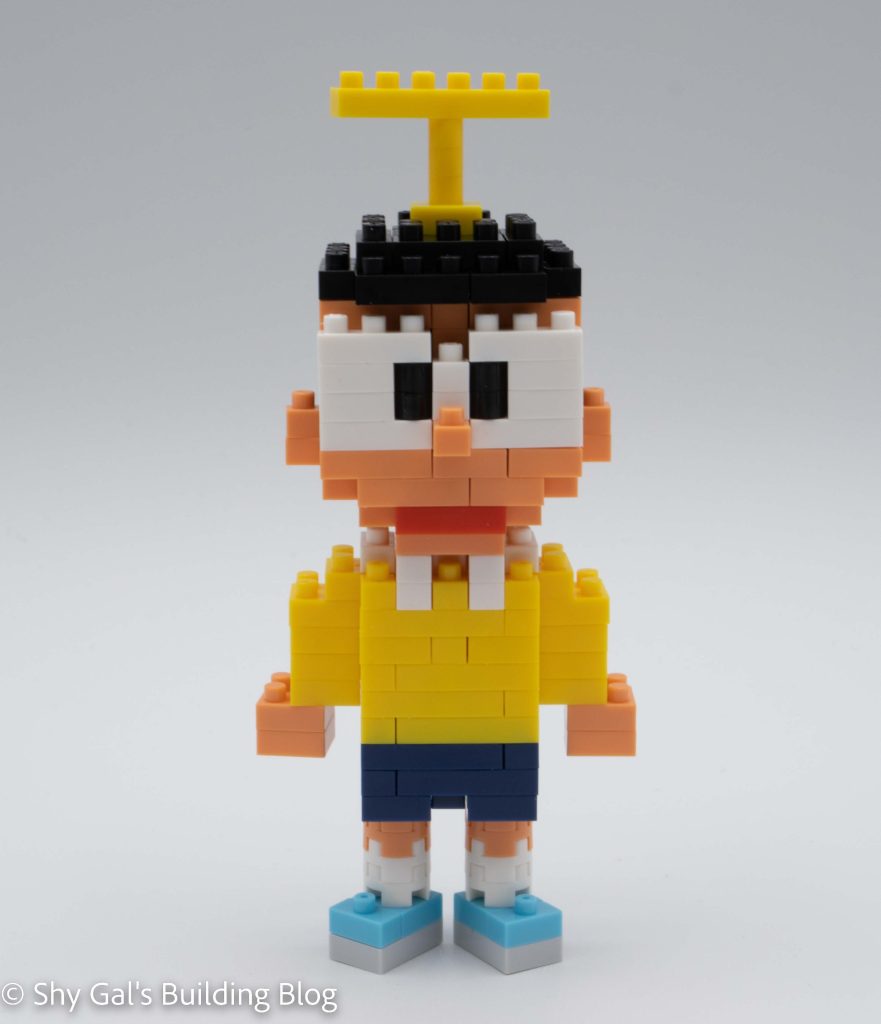
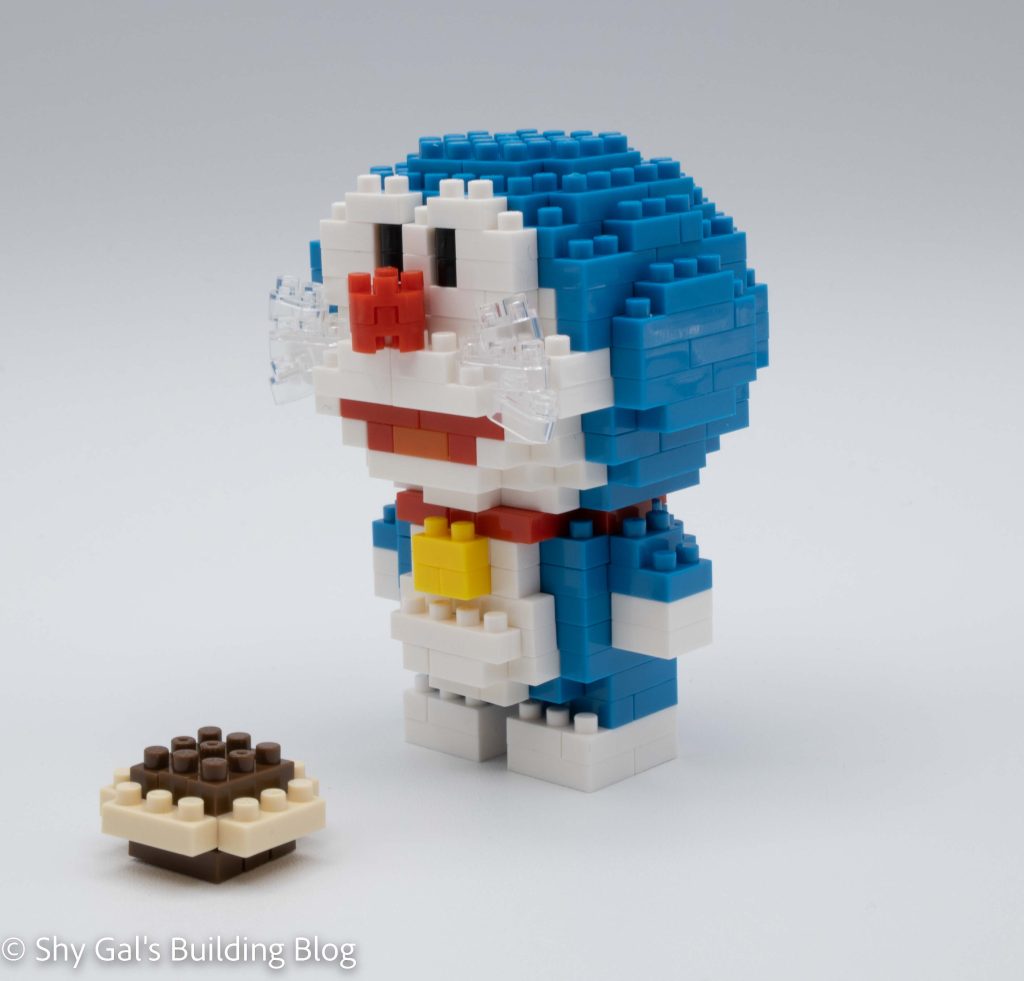
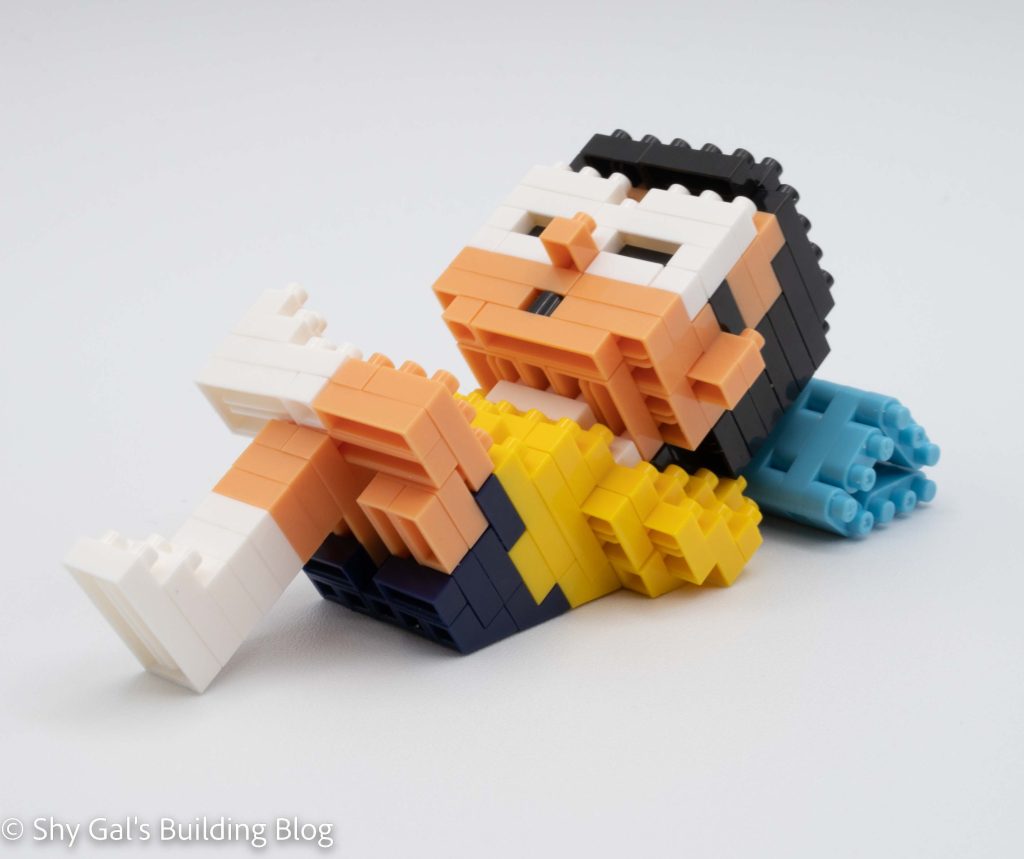
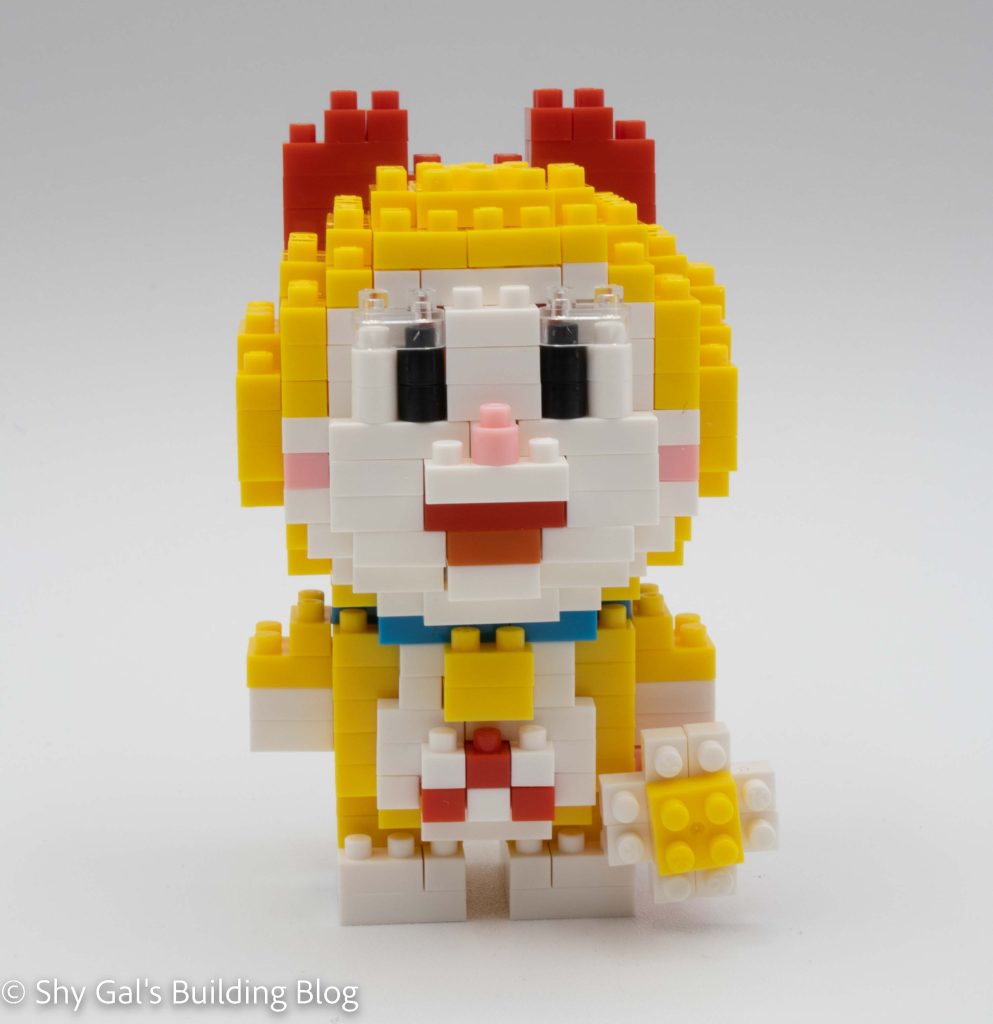
Dorami’s nanoblock build has 2 pieces. There is a head and a body. She also has a gadget that she can hold.

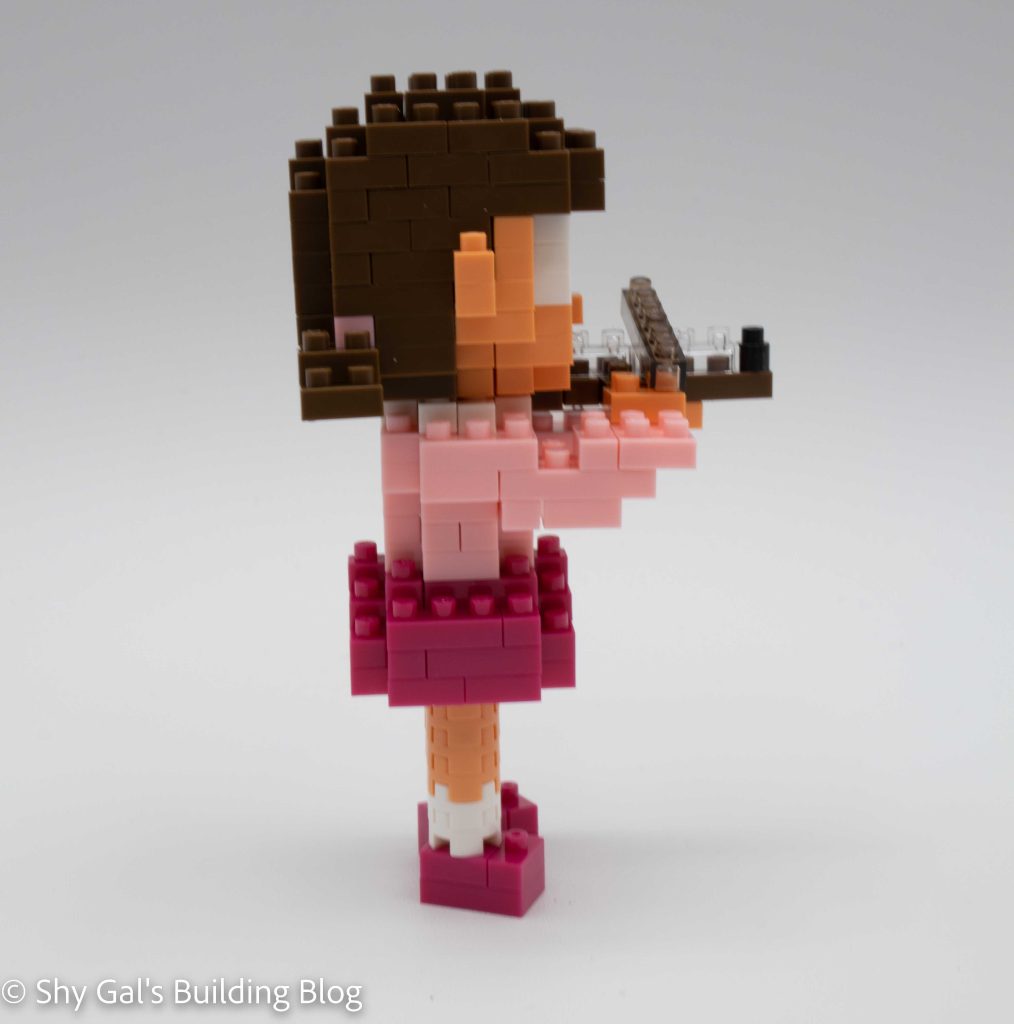
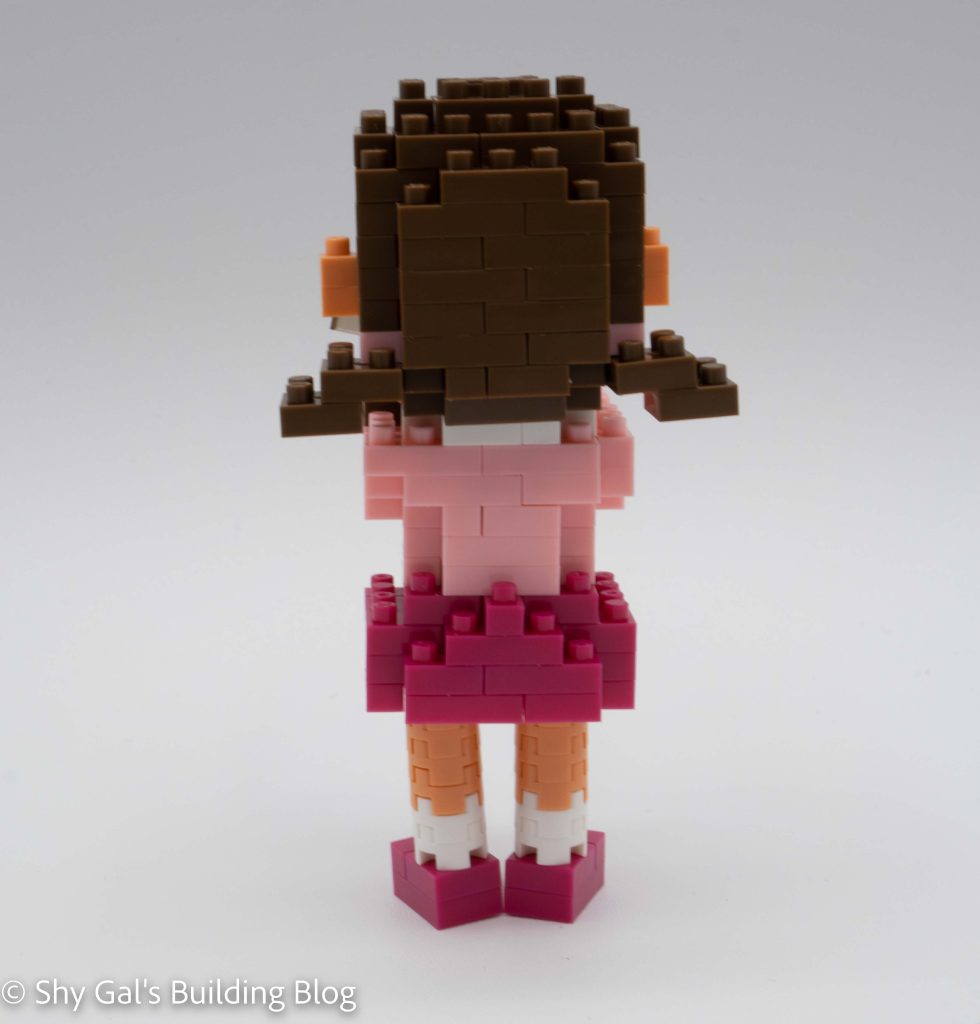
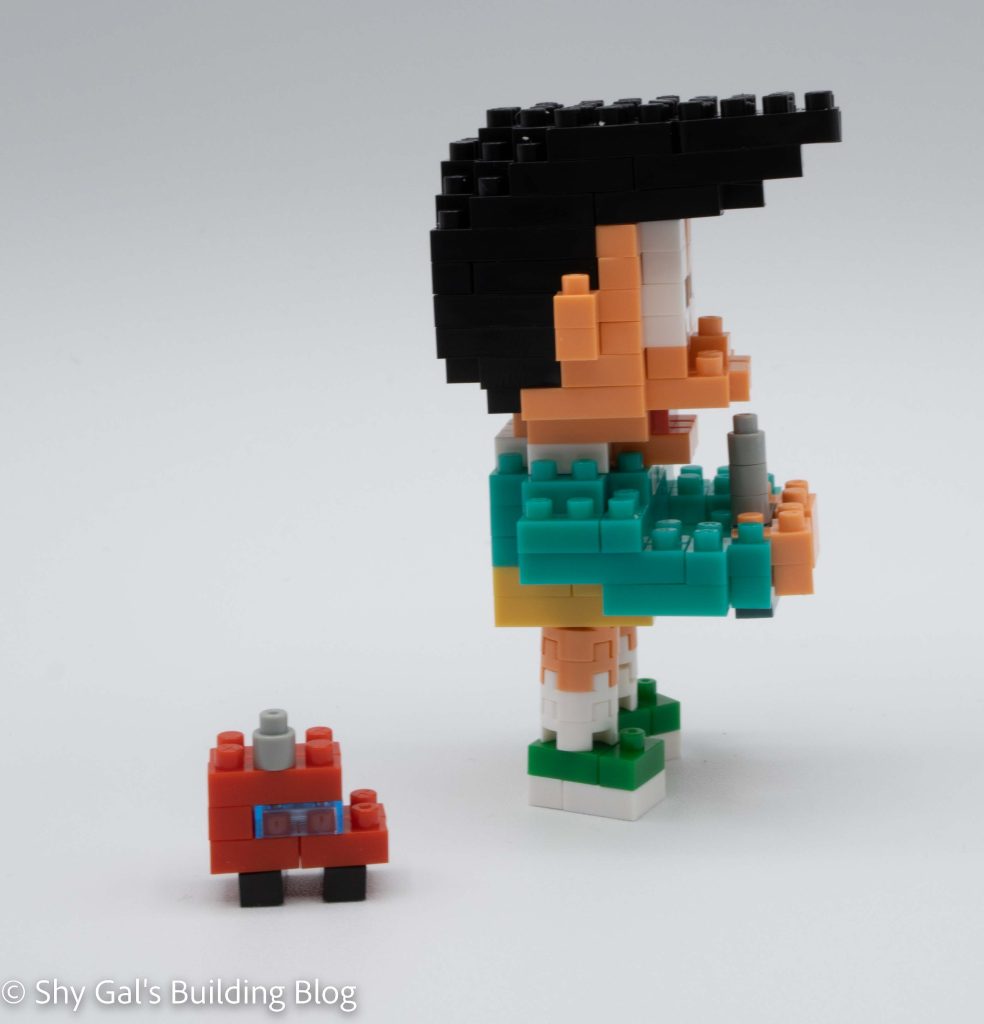
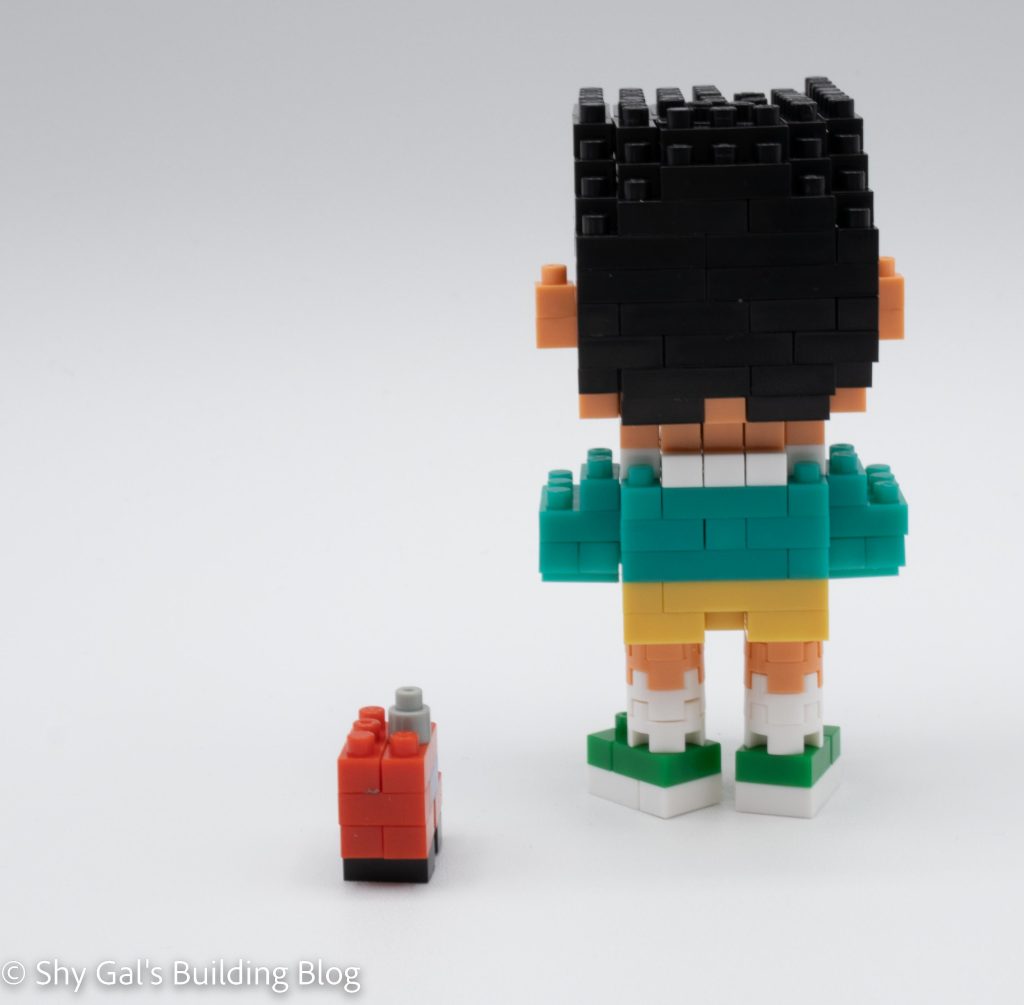
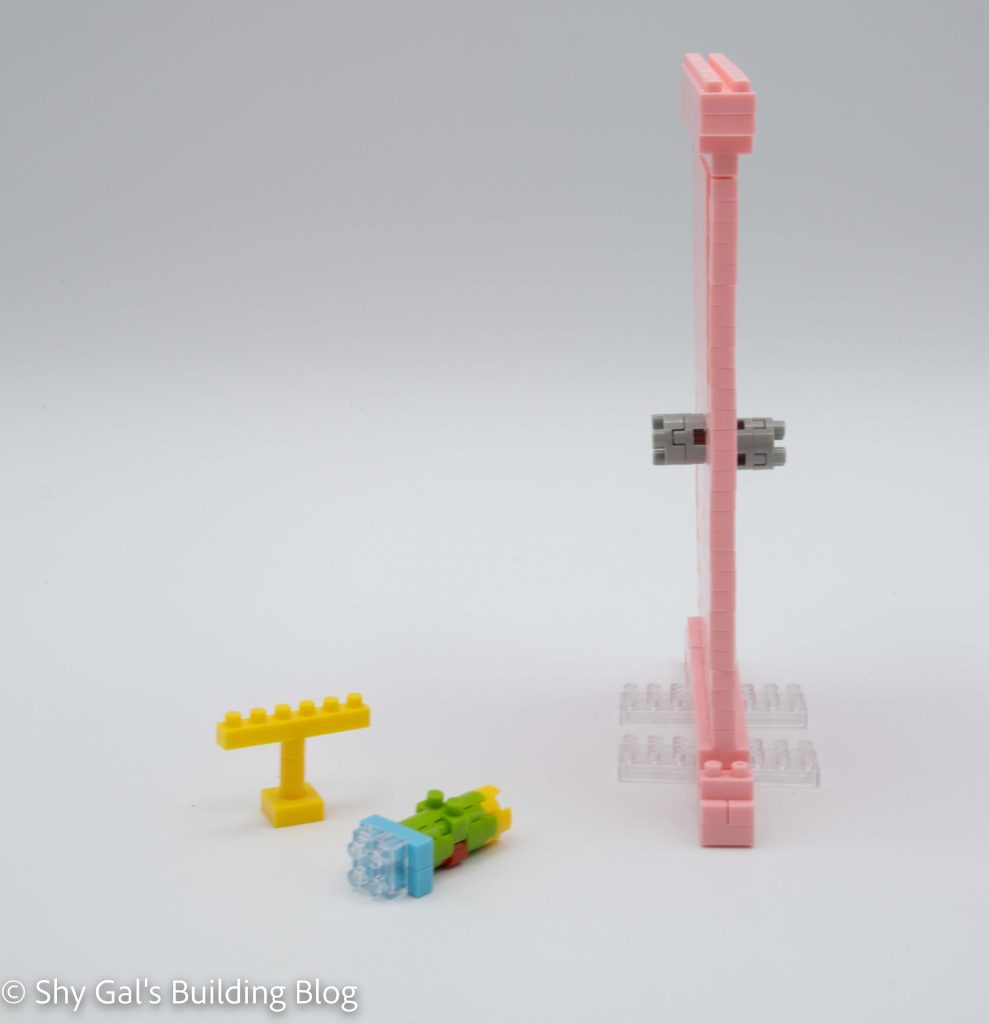
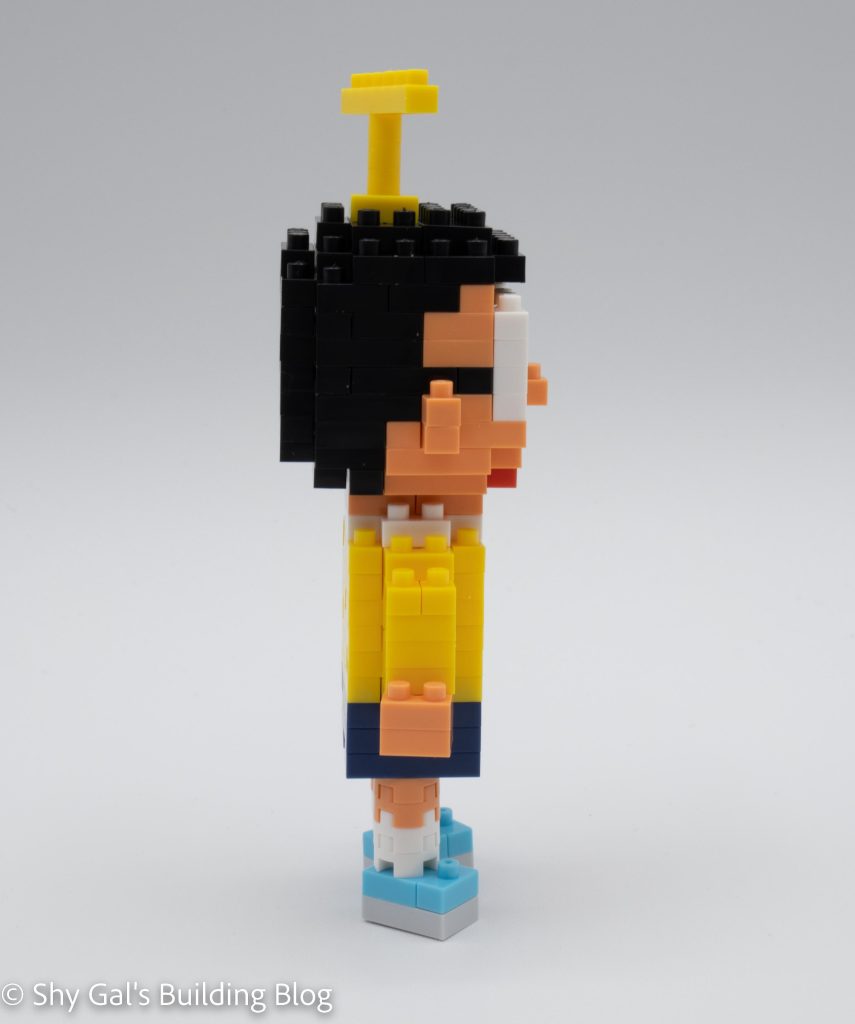
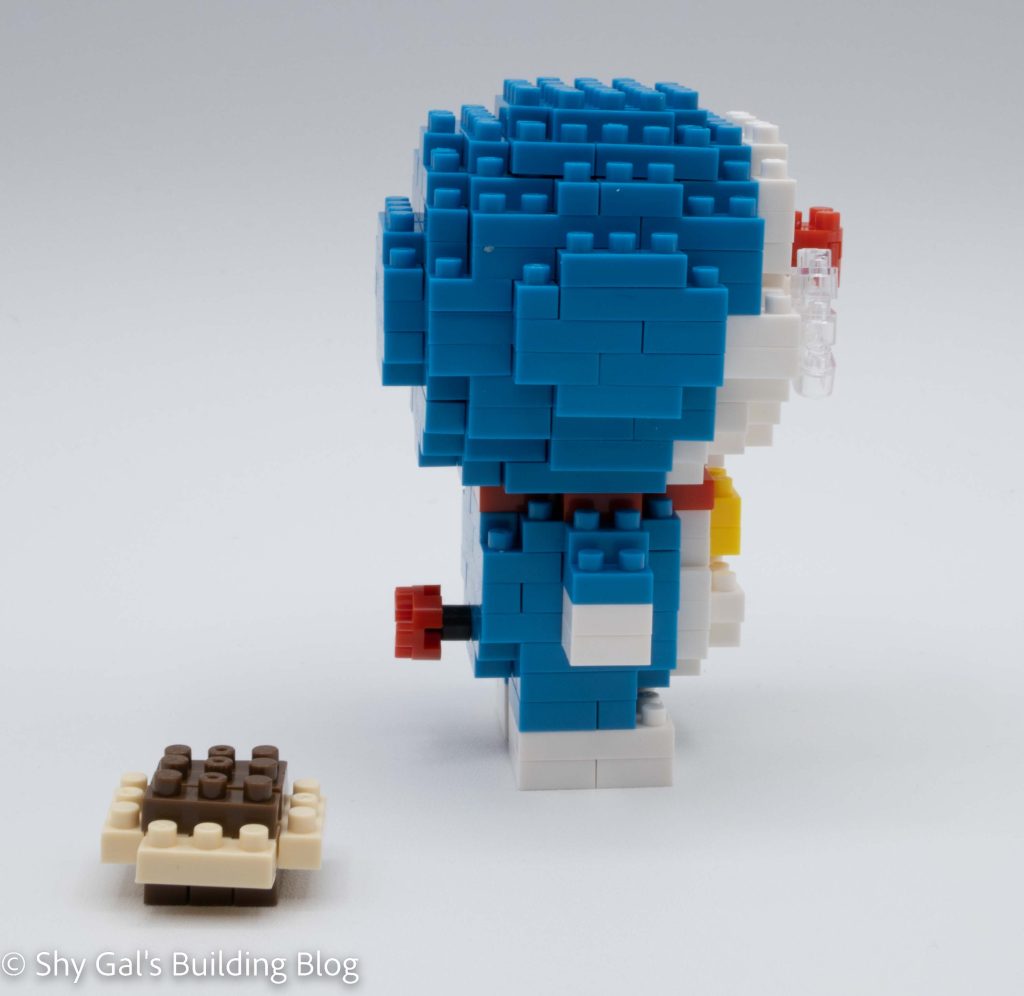
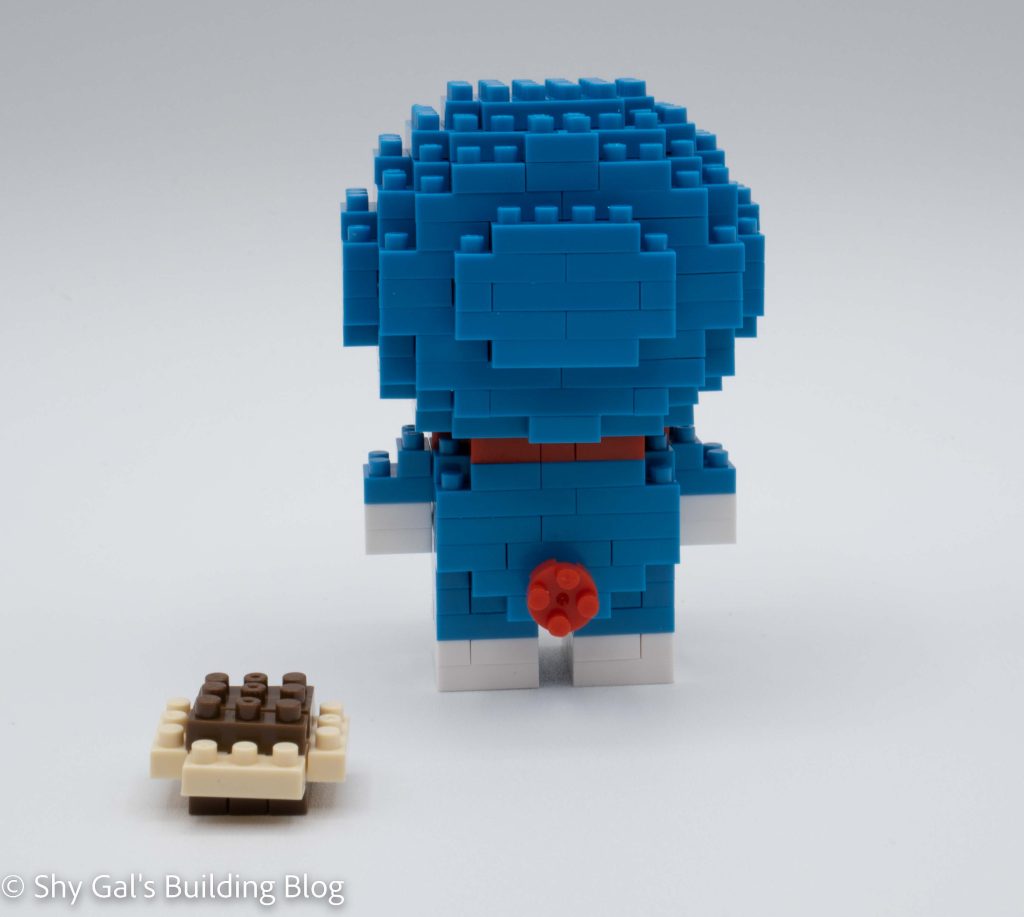
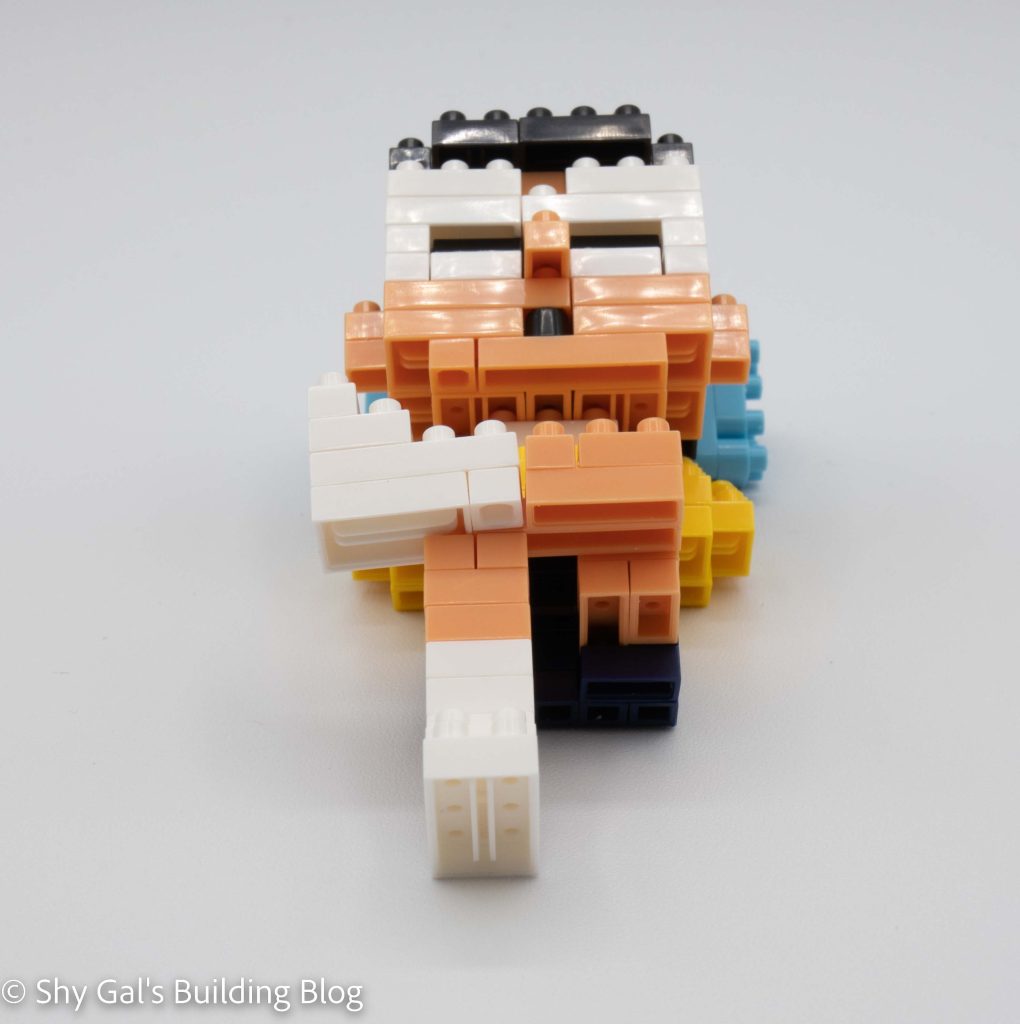
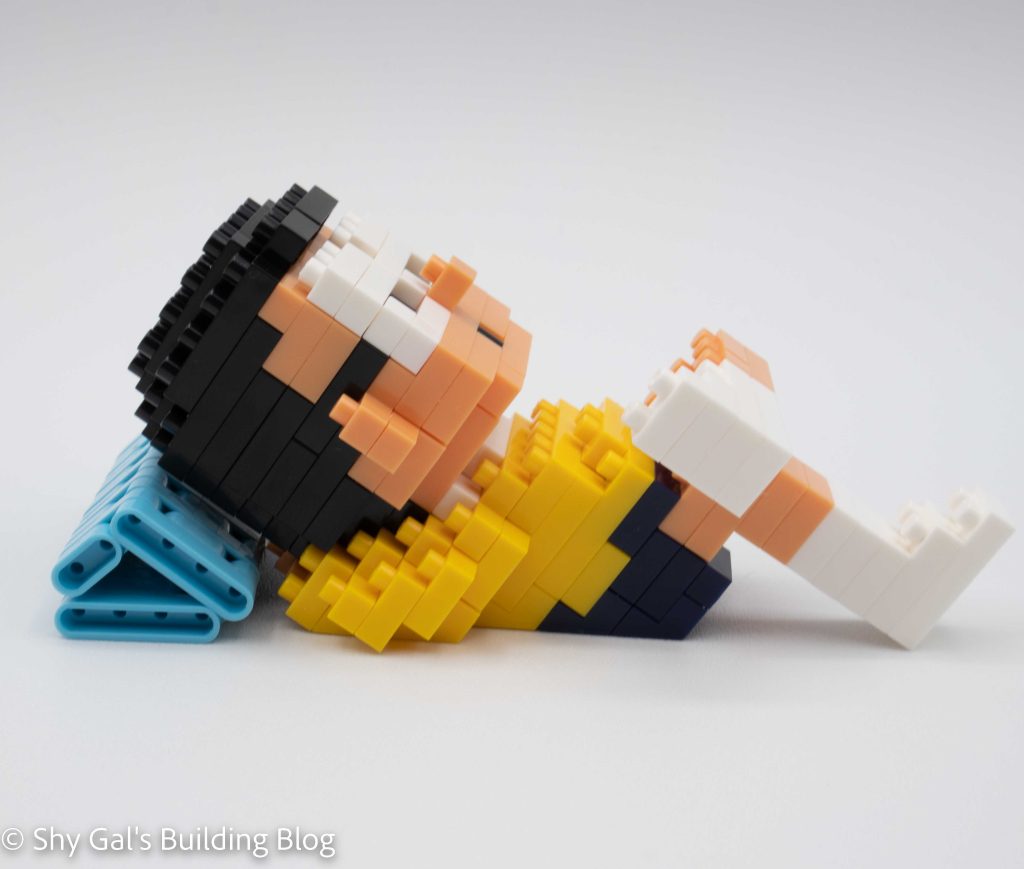
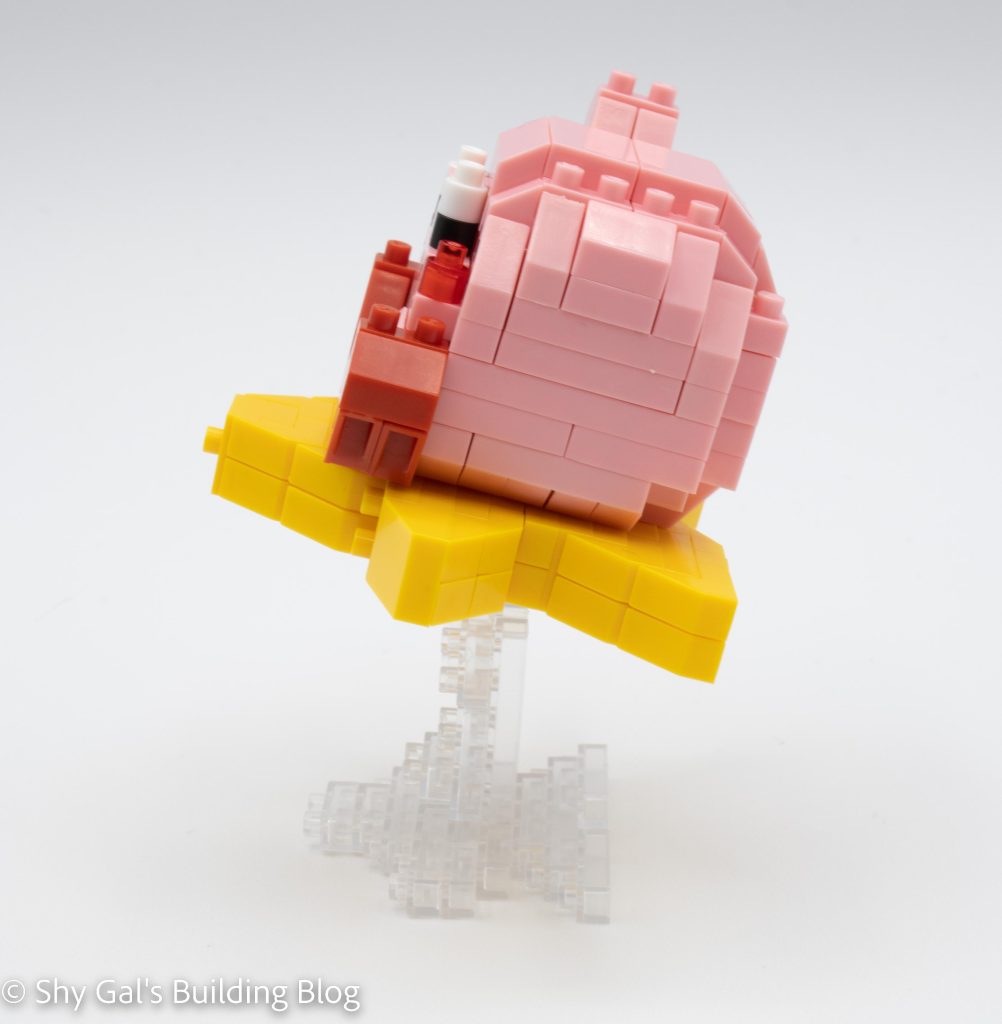
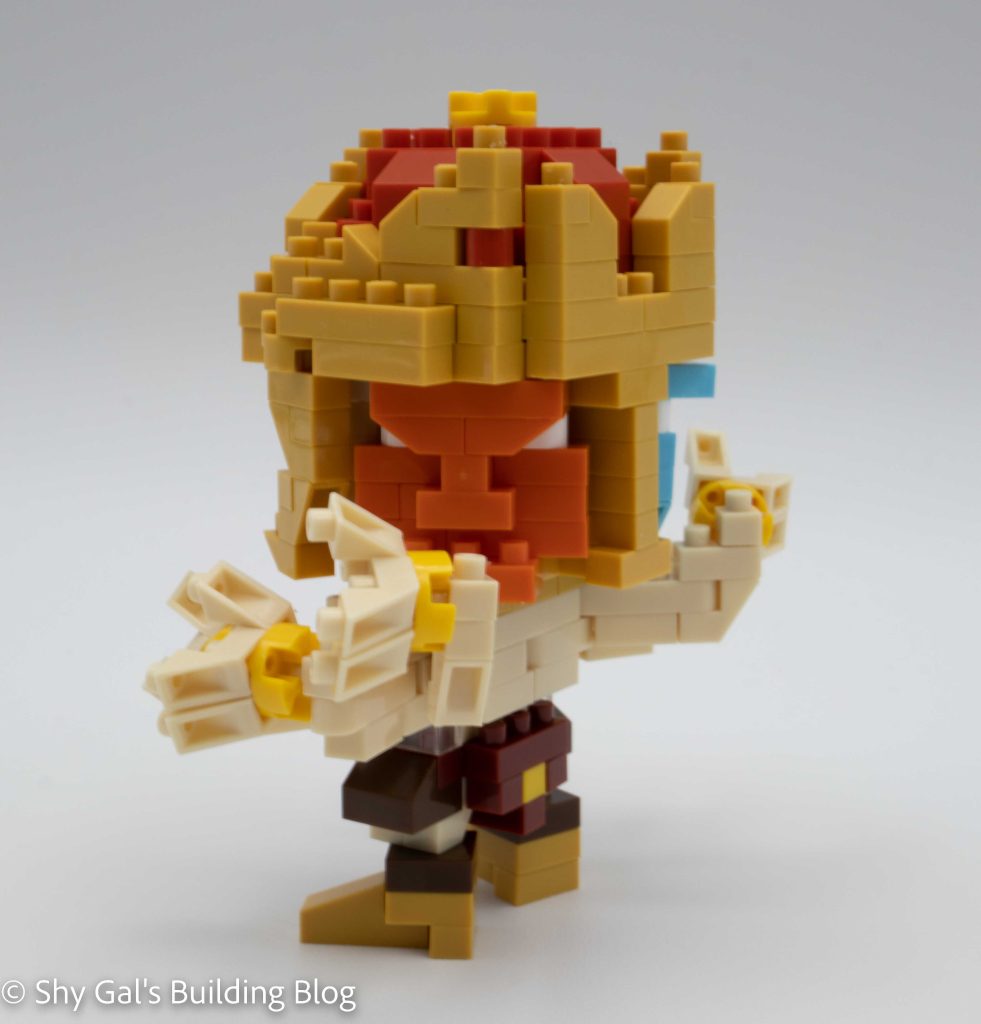
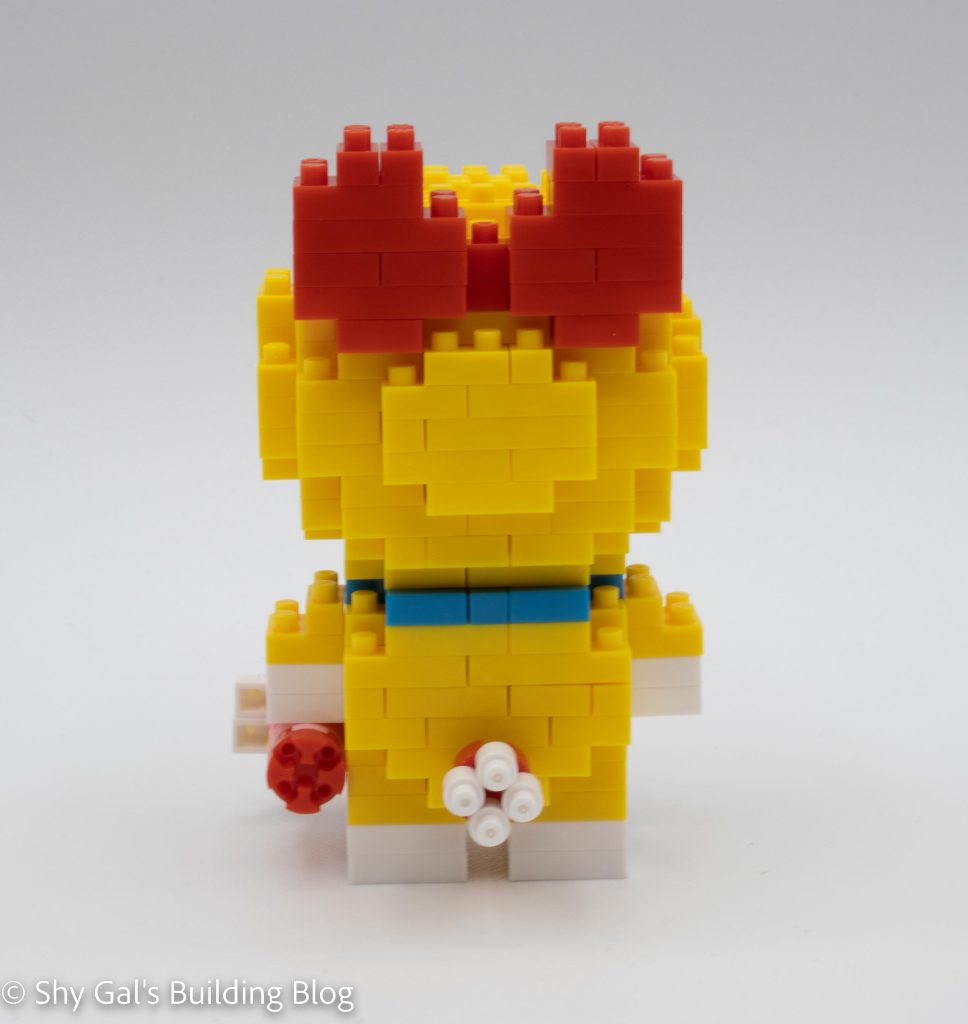
The body starts with a base layer of mostly yellow bricks. As you build the body, you add her pouch and her arms. Once you have made the core of the body, you add the feet and the tail.
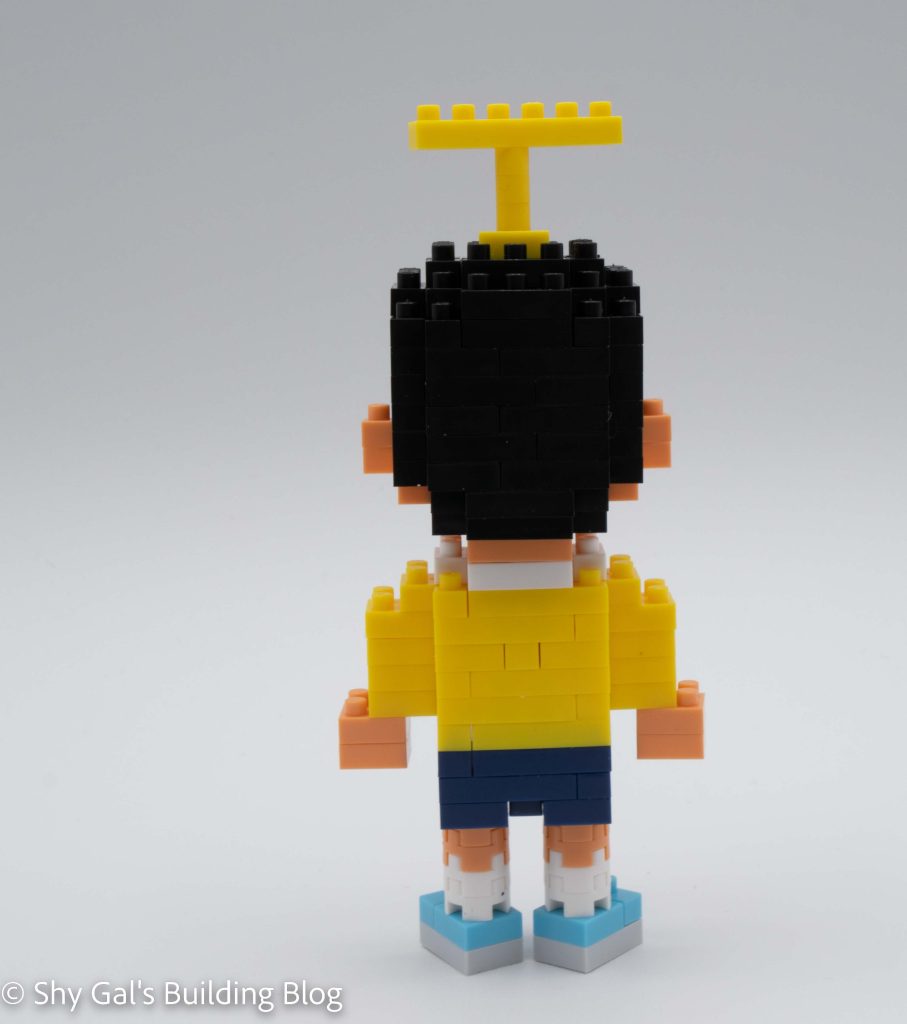
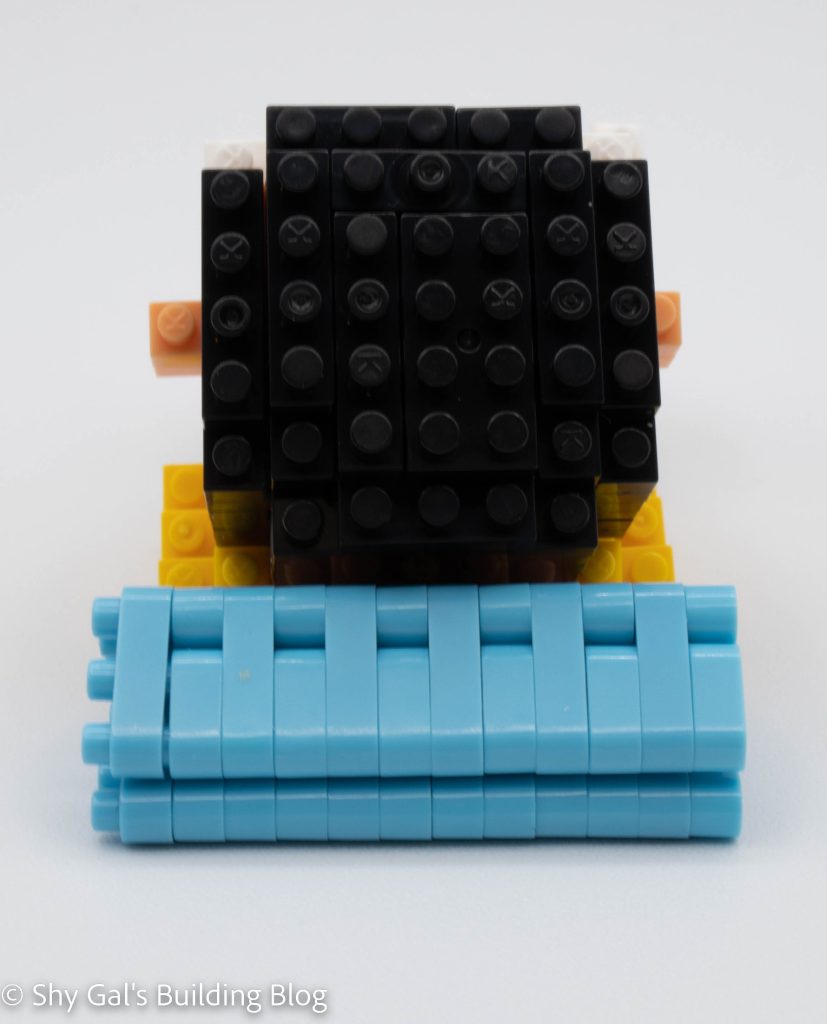
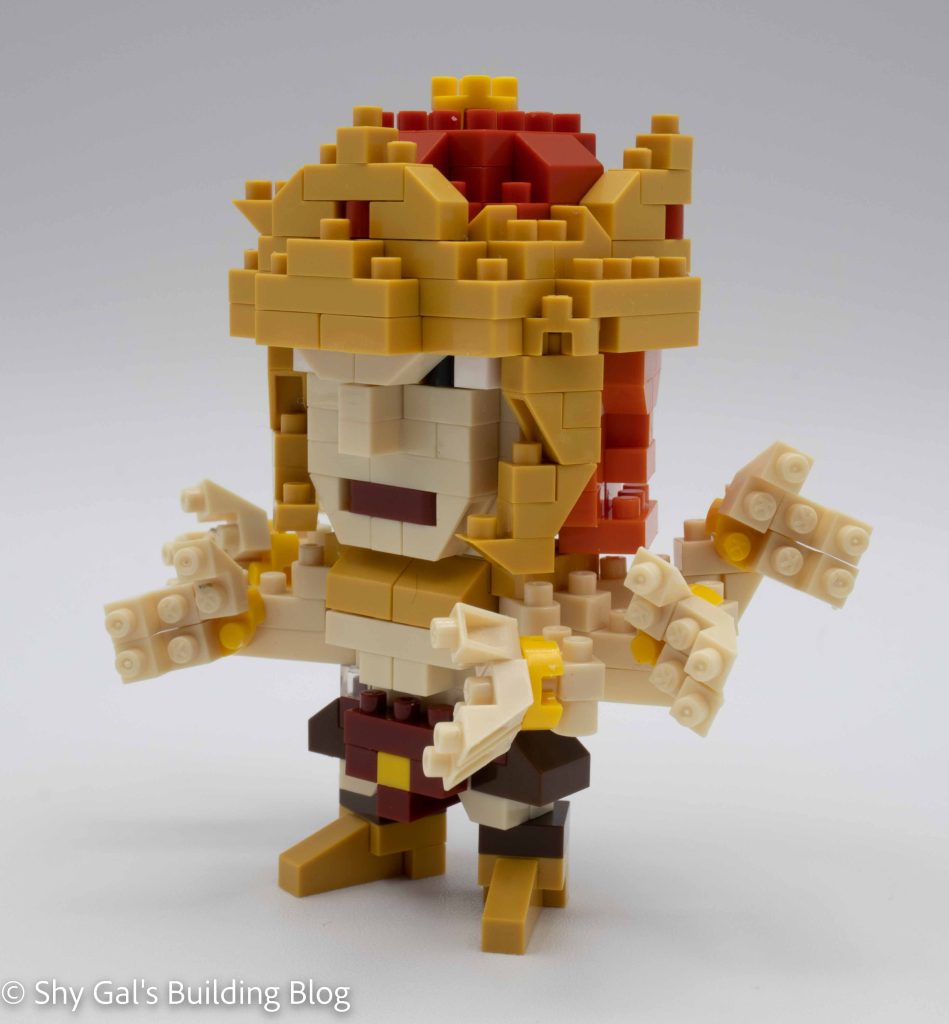
After building the body, you make the head. Building the head is basically building a sphere while adding the facial details. Dorami has eyes, cheeks, nose, and a mouth. You also add the base for her bow. Once you build the sphere, you add the bow to the back of her head.
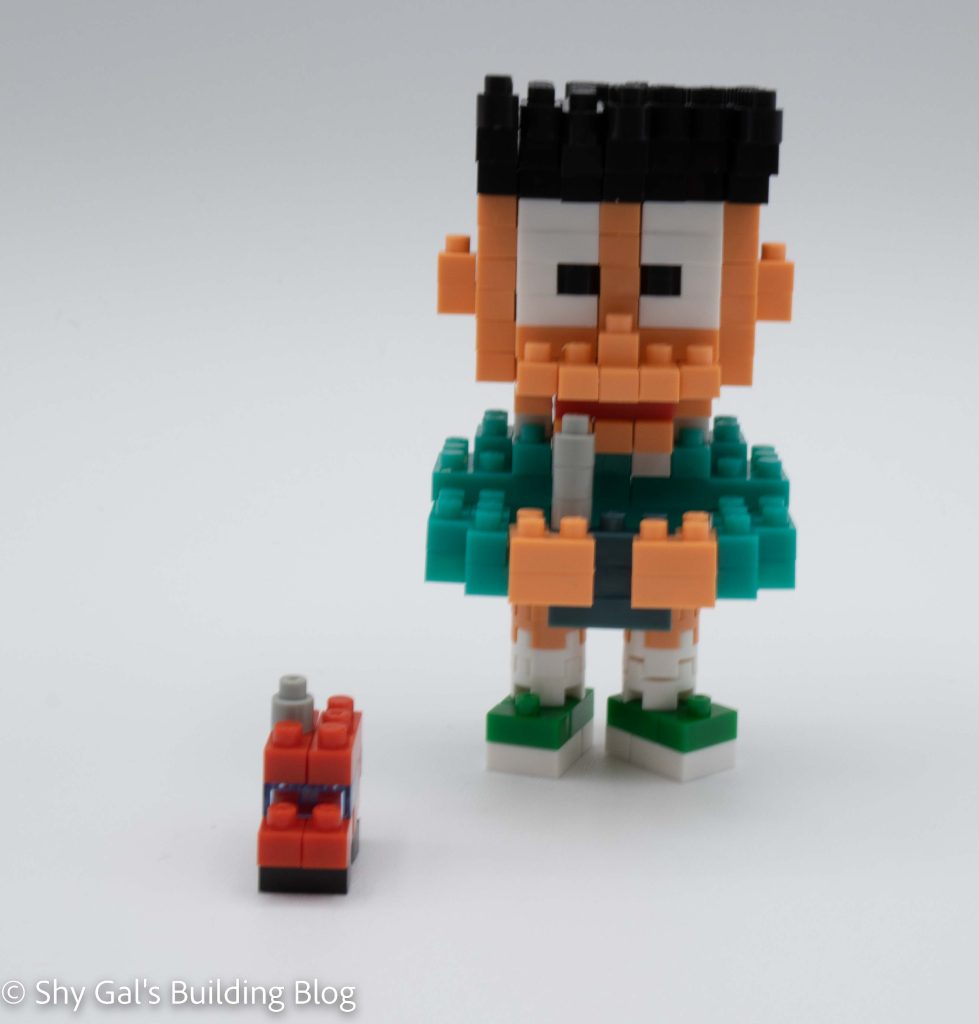
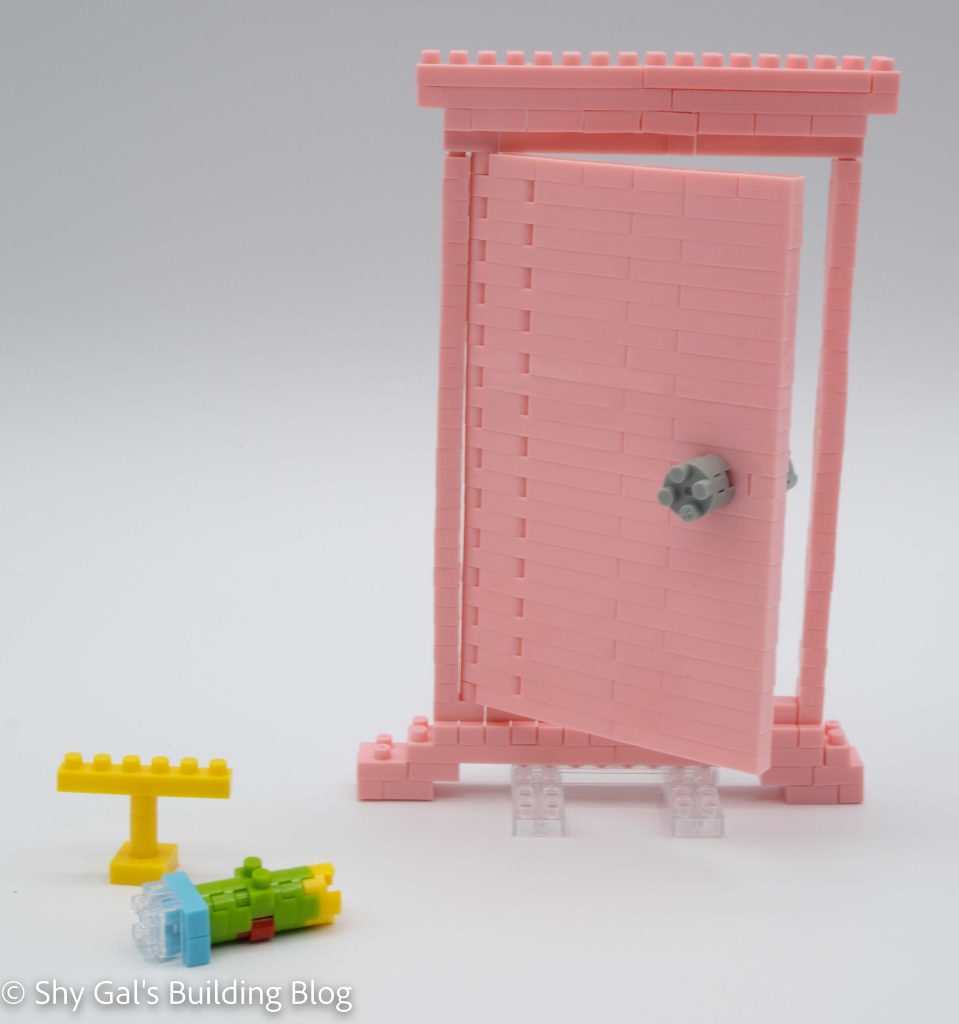
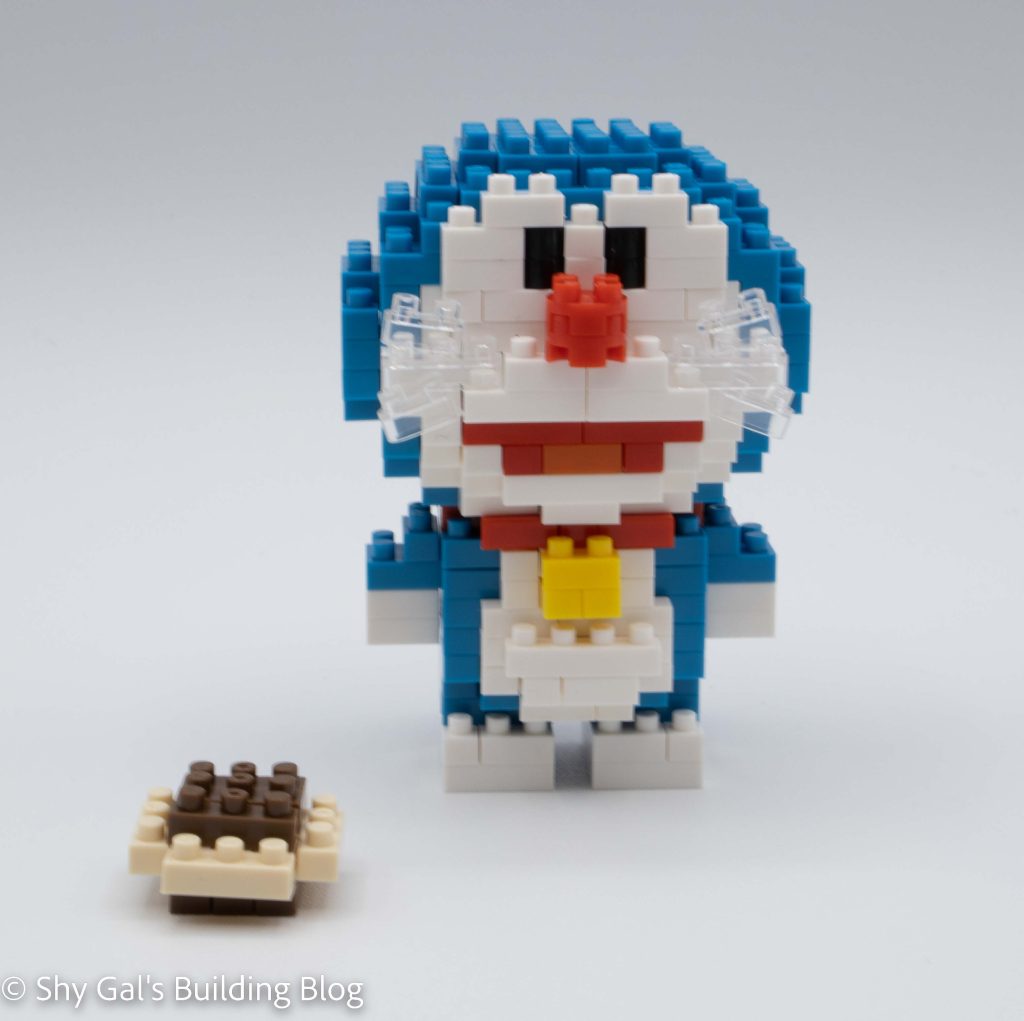
Dorami has a gadget that she can hold. I think it is the Small Light that is also included in the Dokodemo Door. It is a very straightforward build.
Things I liked:
- I loved that they made one of the other Robot Cats from the series. I wish they would make more.
Things I didn’t like:
- Dorami has a pocket unlike Doraemon, but I’m not sure that is clear what it is in this build