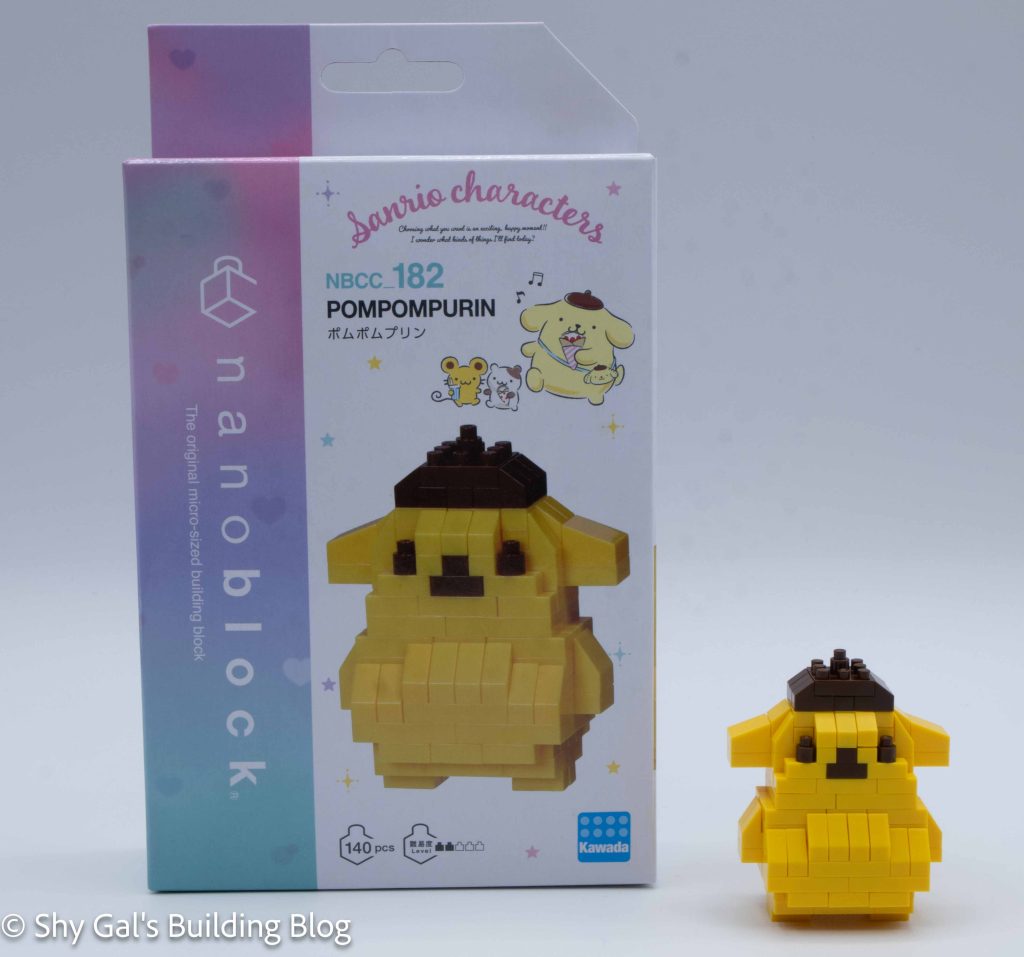
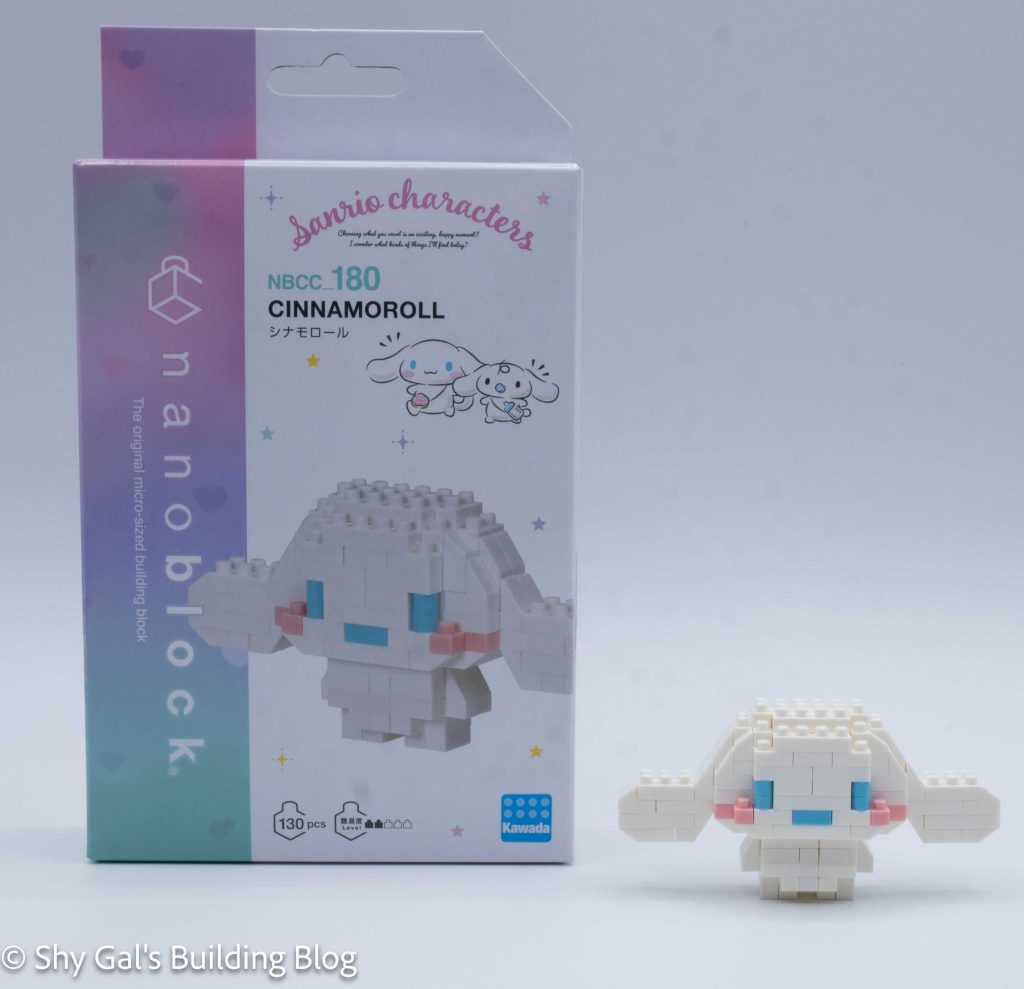
This post is a review of the nanoblock Kirby Ice build. Kirby Ice is part of the nanoblock Character collection. Wondering what else is part of the Character collection? Click here for a list.
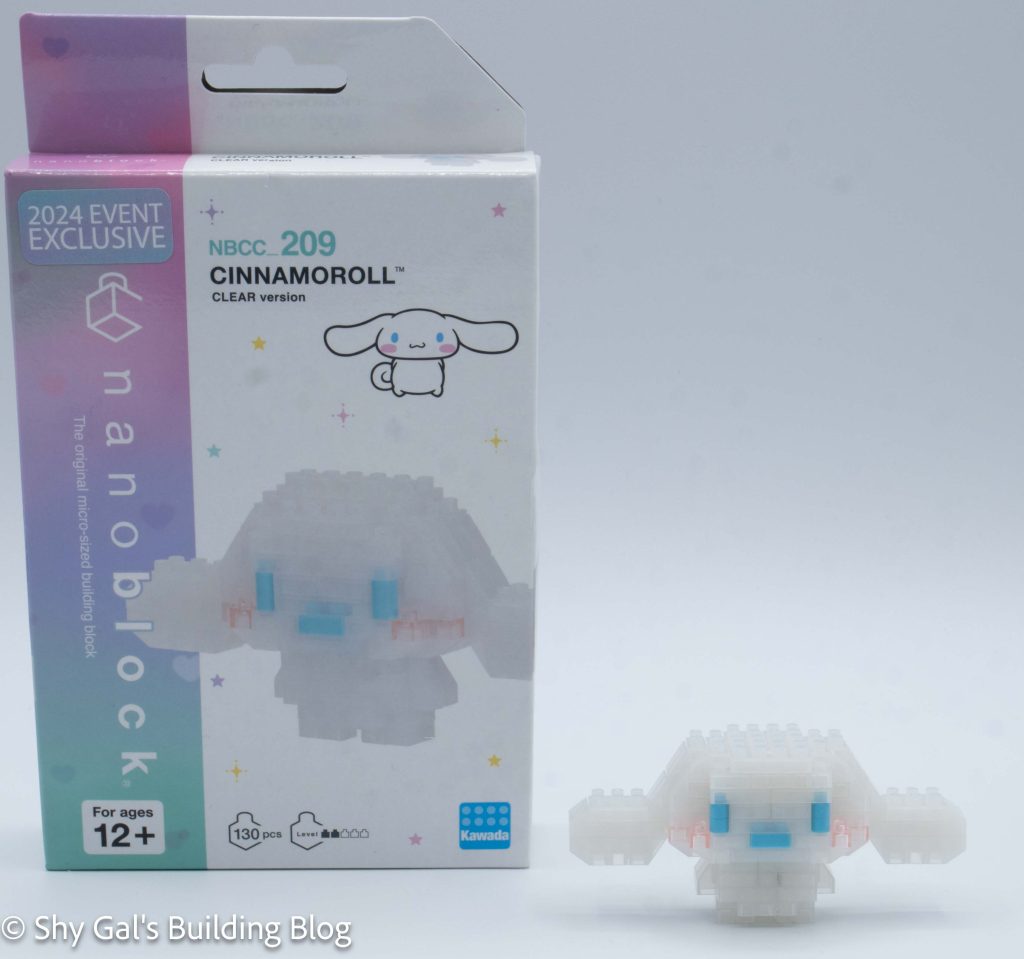
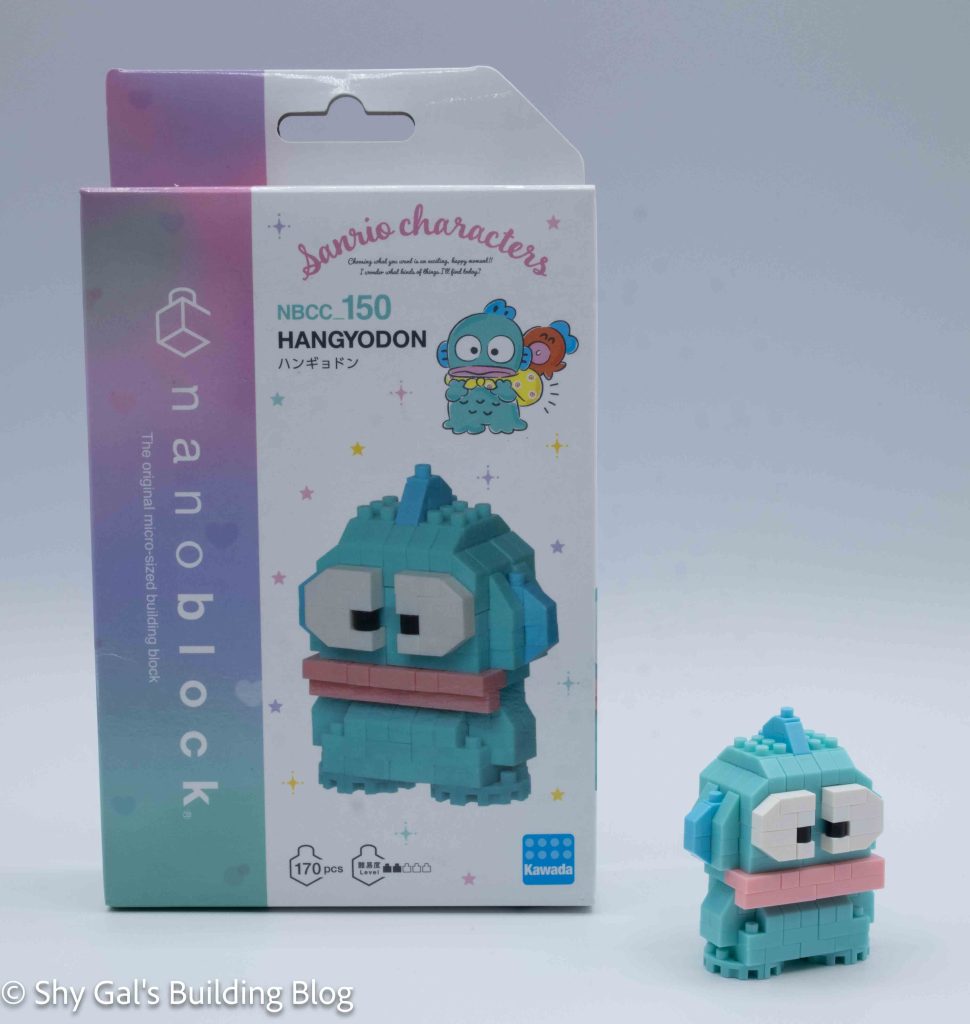
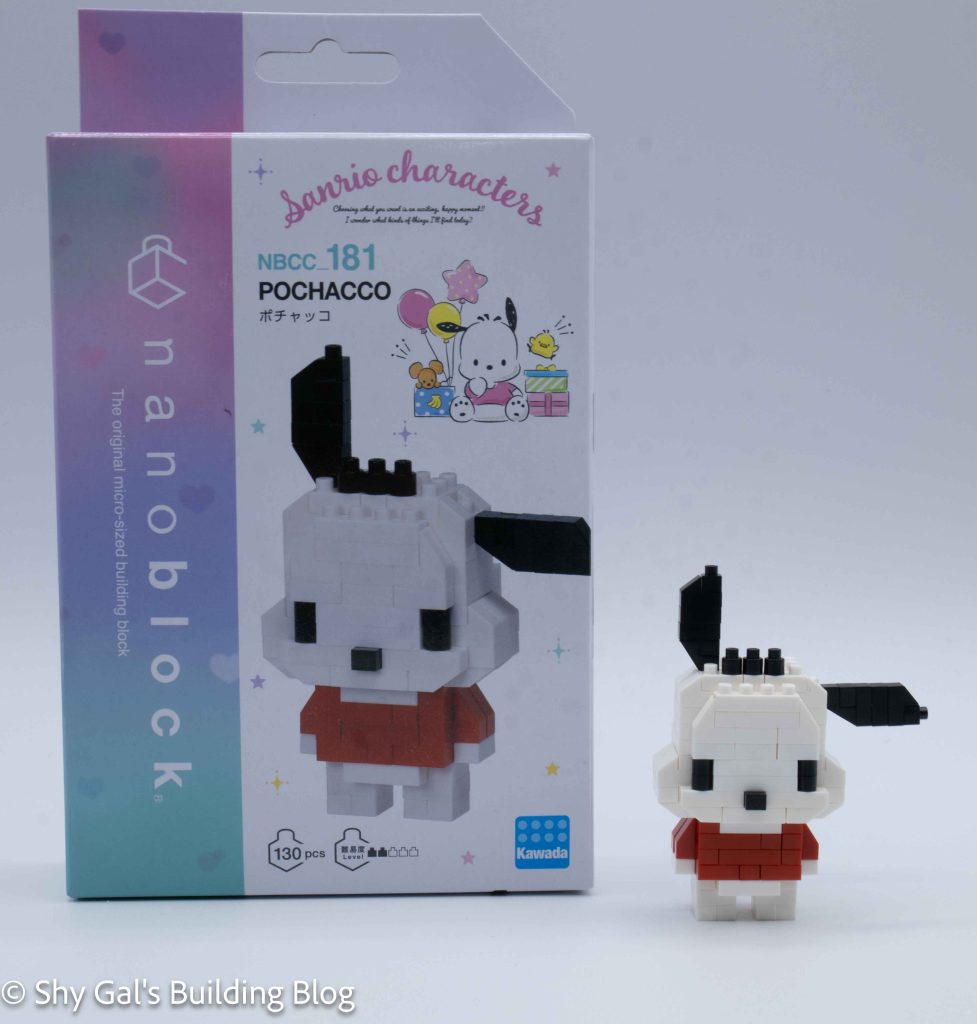
Number: NBCC_199
Number of Pieces: 250
Difficulty Rating: 2/5
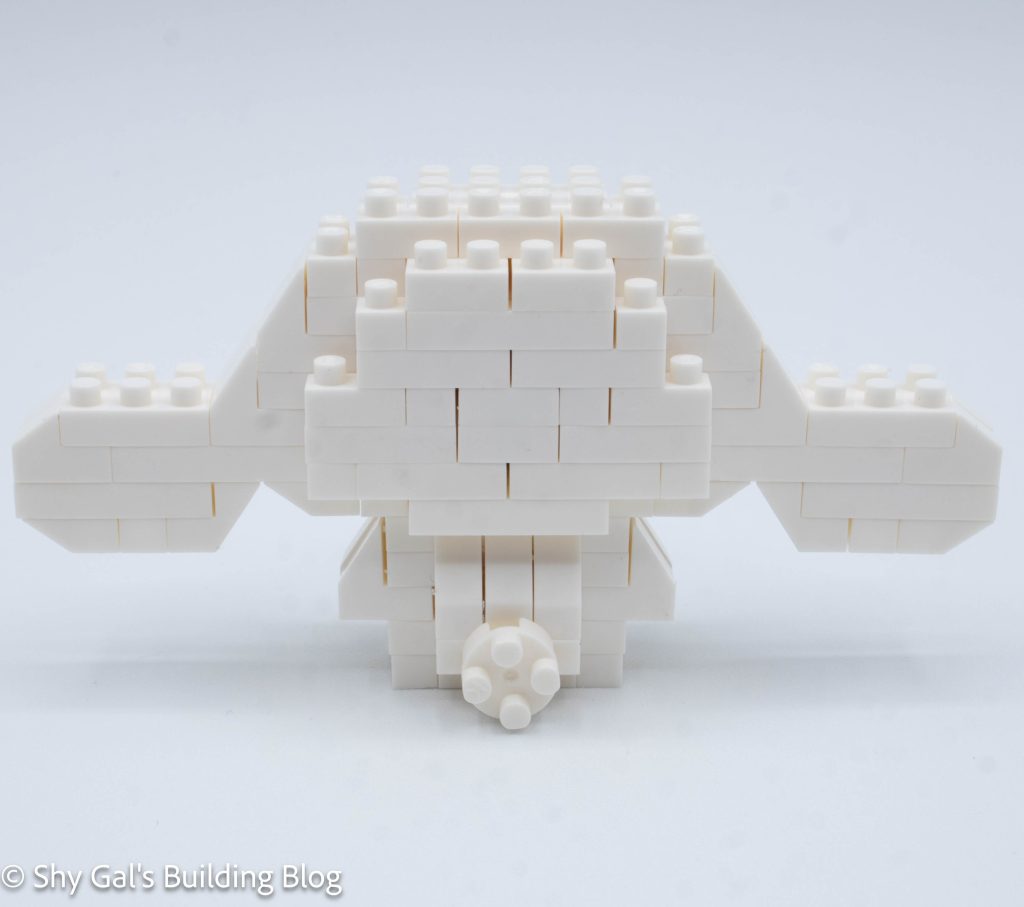
The build begins by creating the base of the Kirby. It takes several steps to make the base.
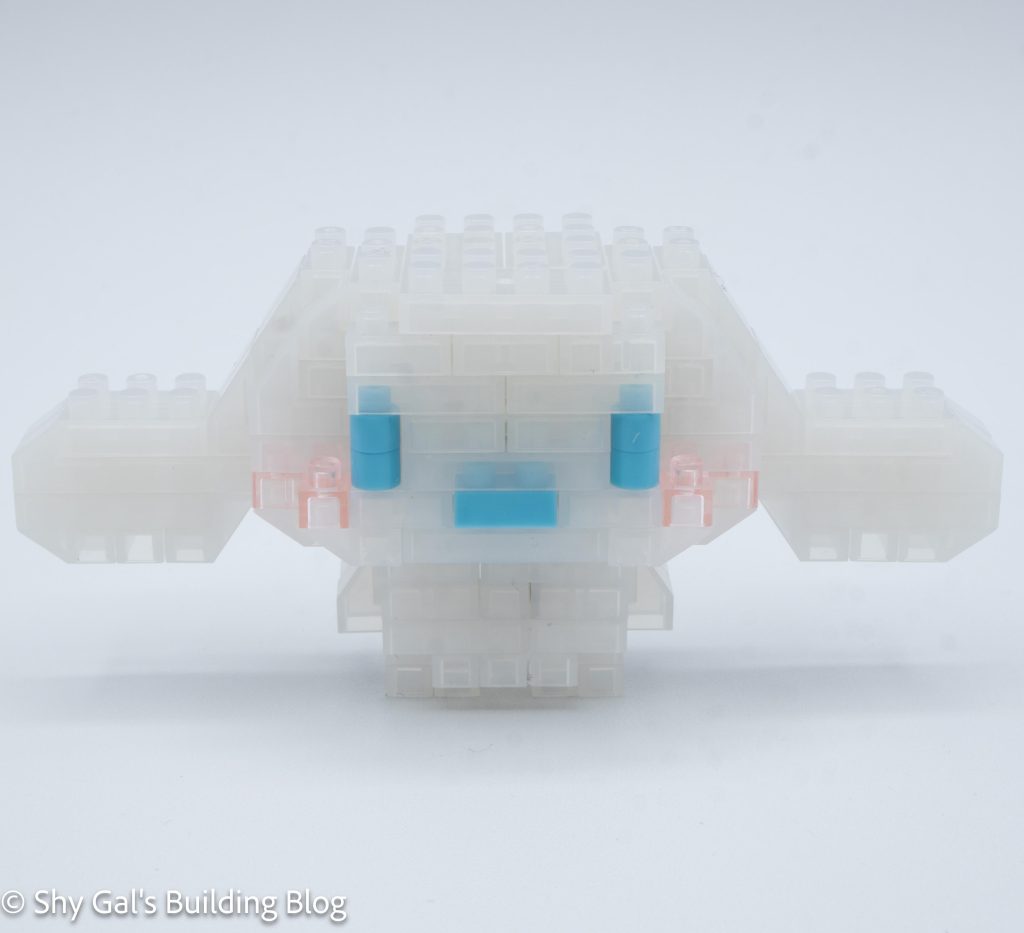
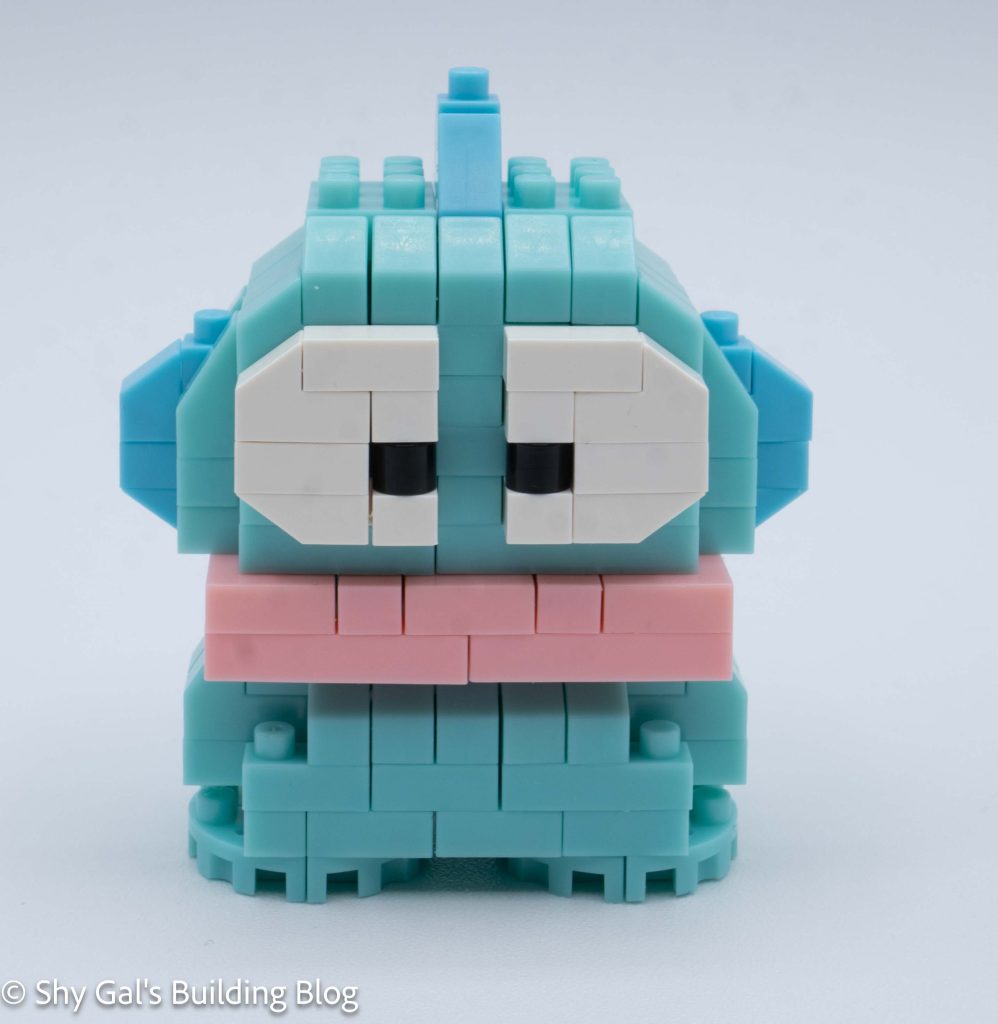
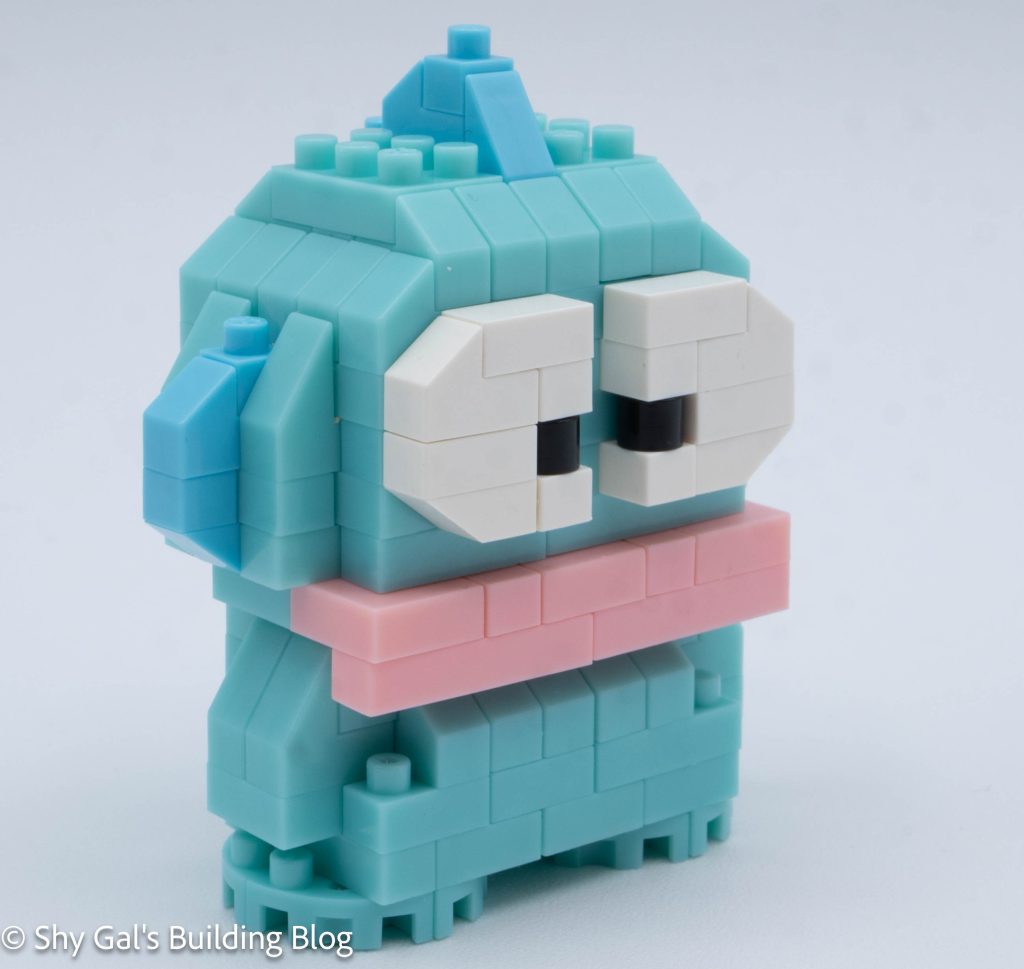
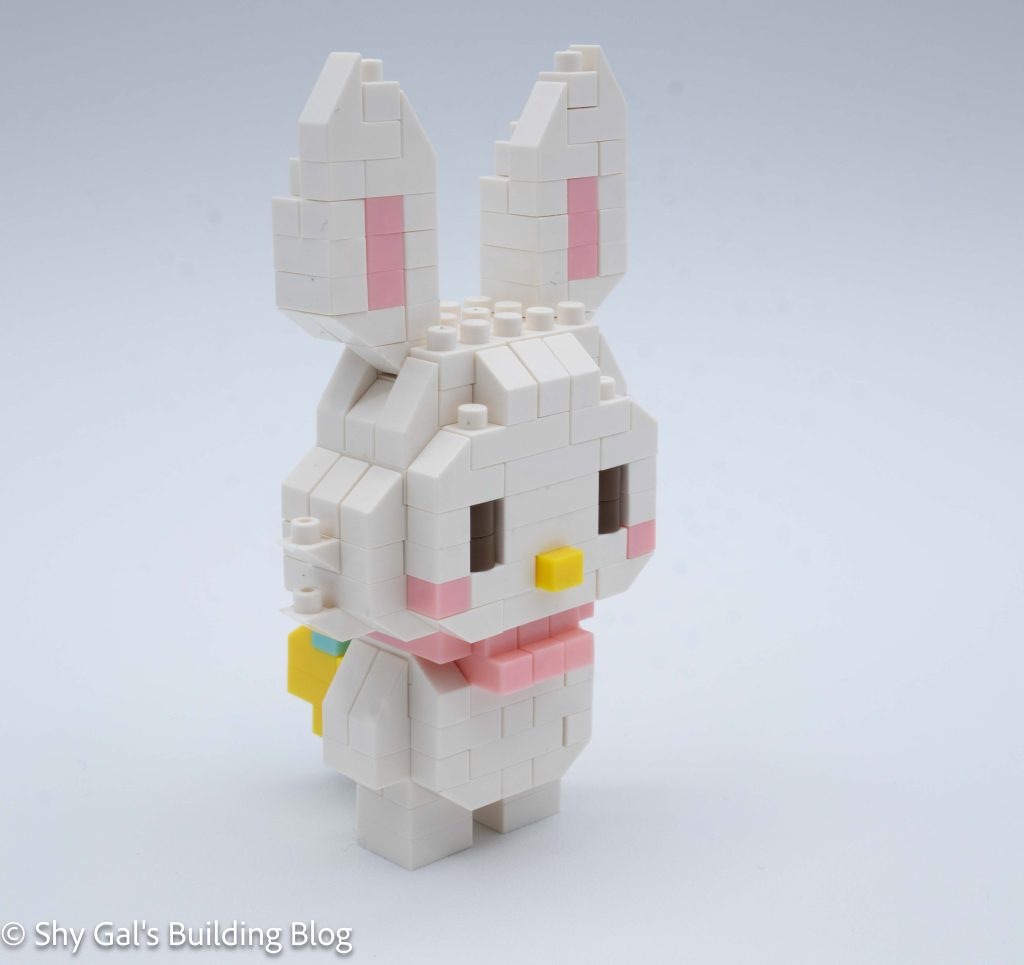
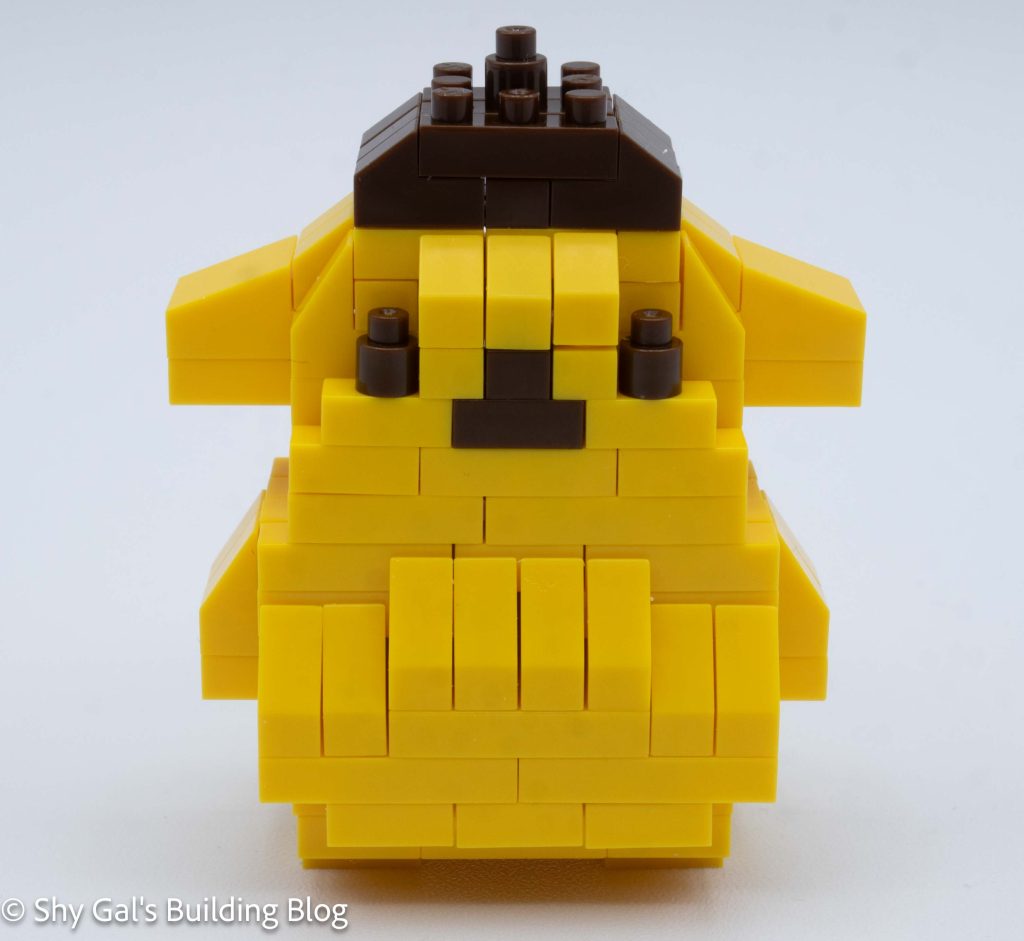
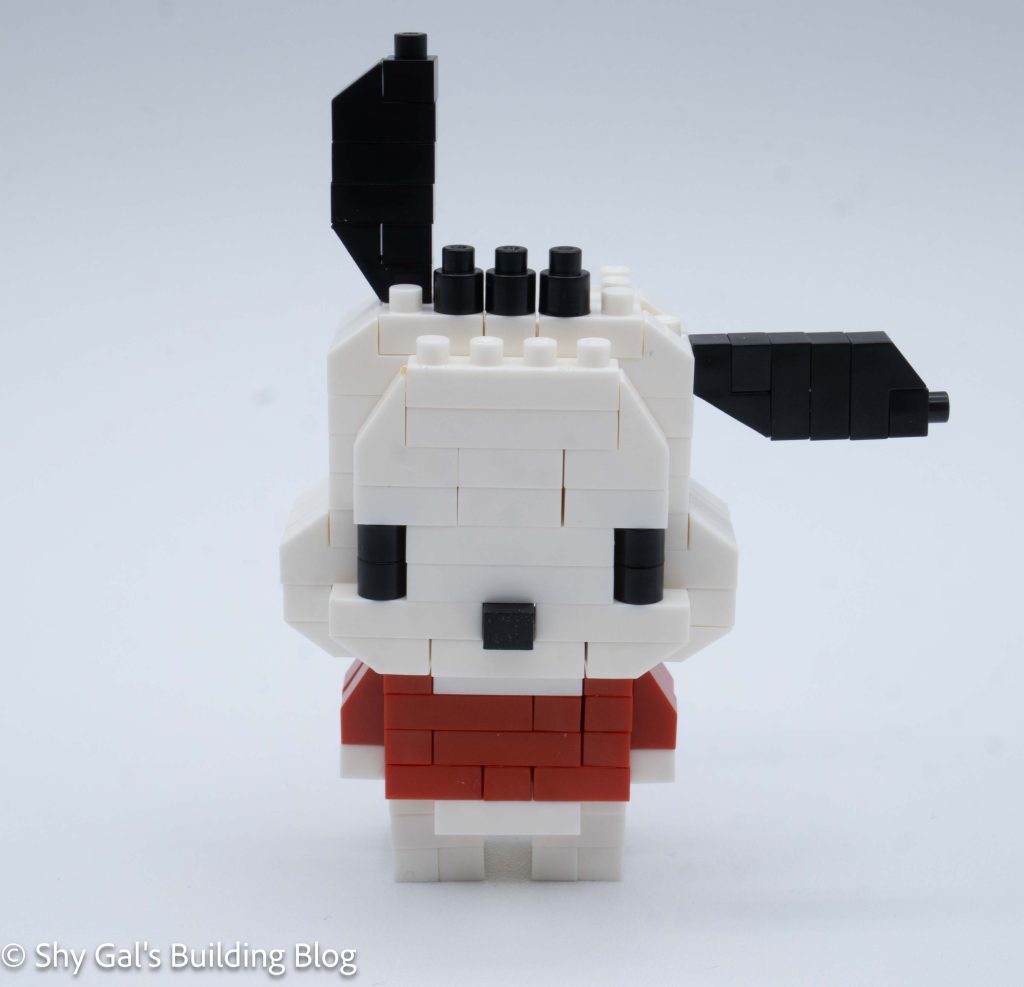
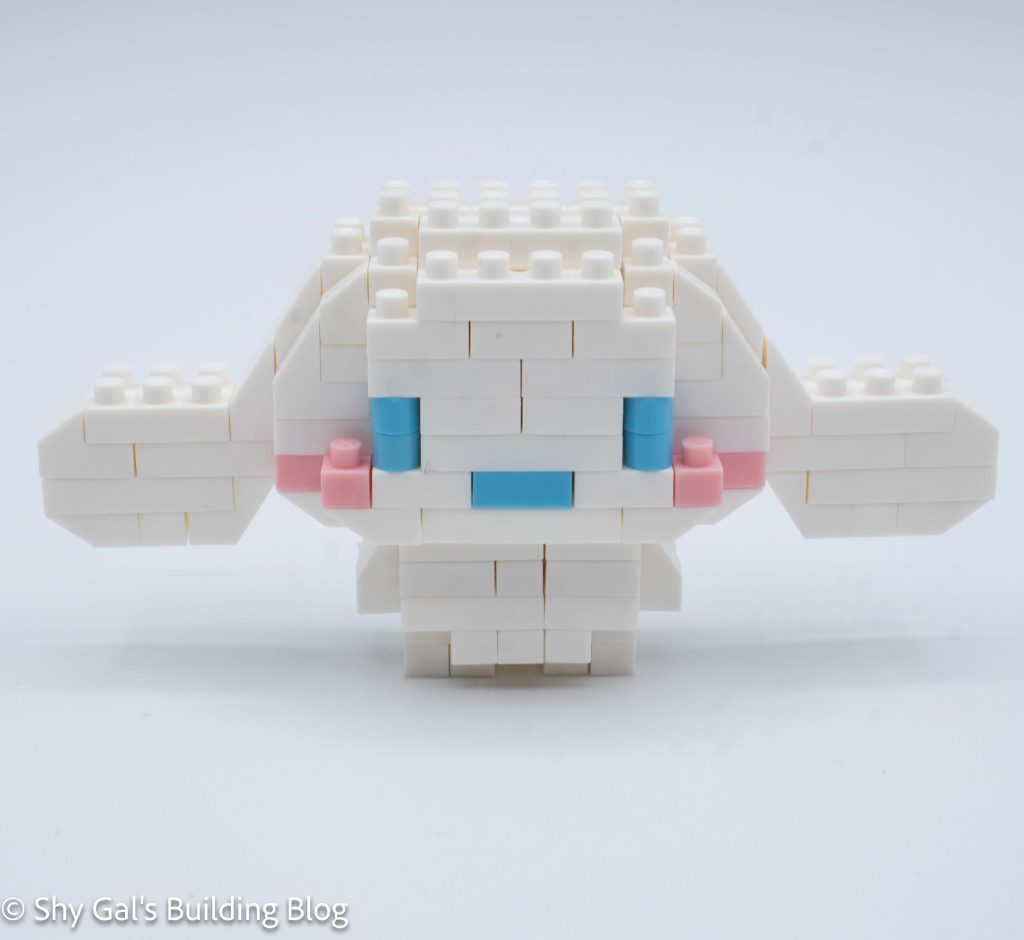
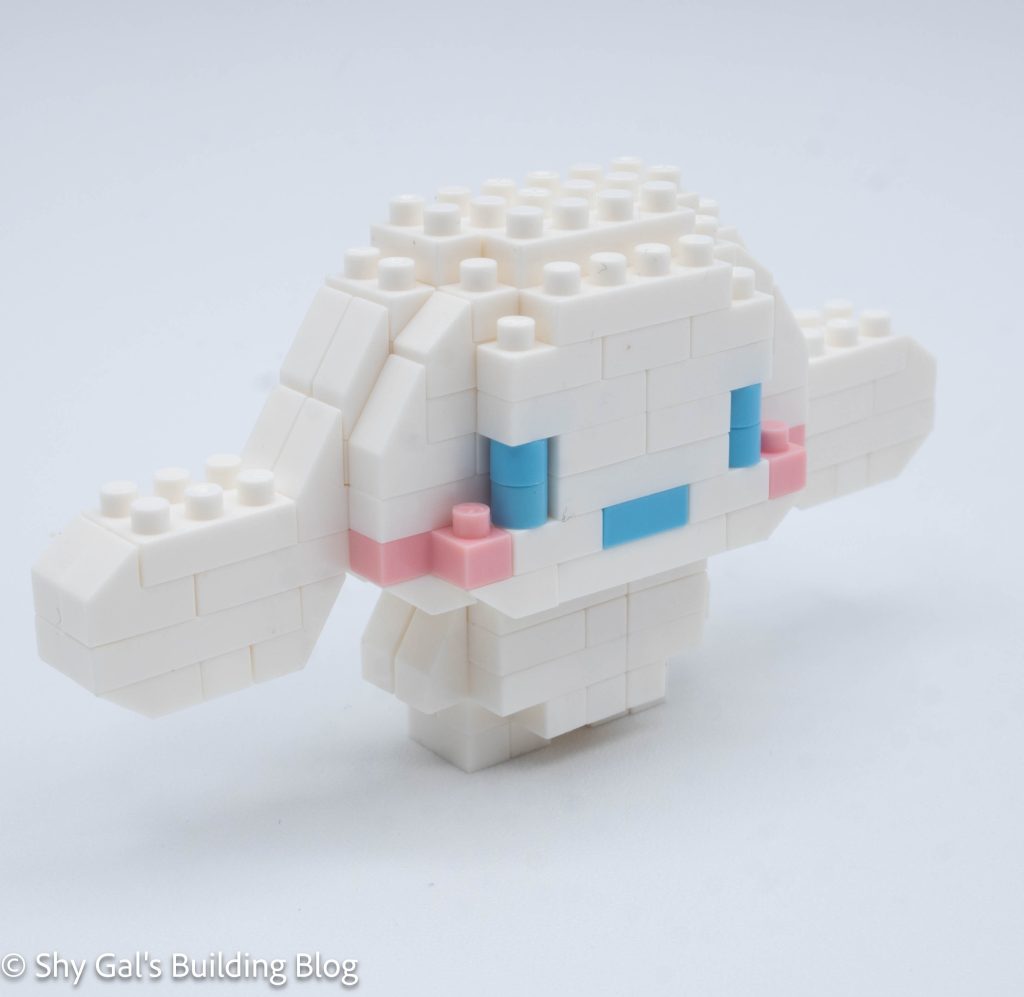
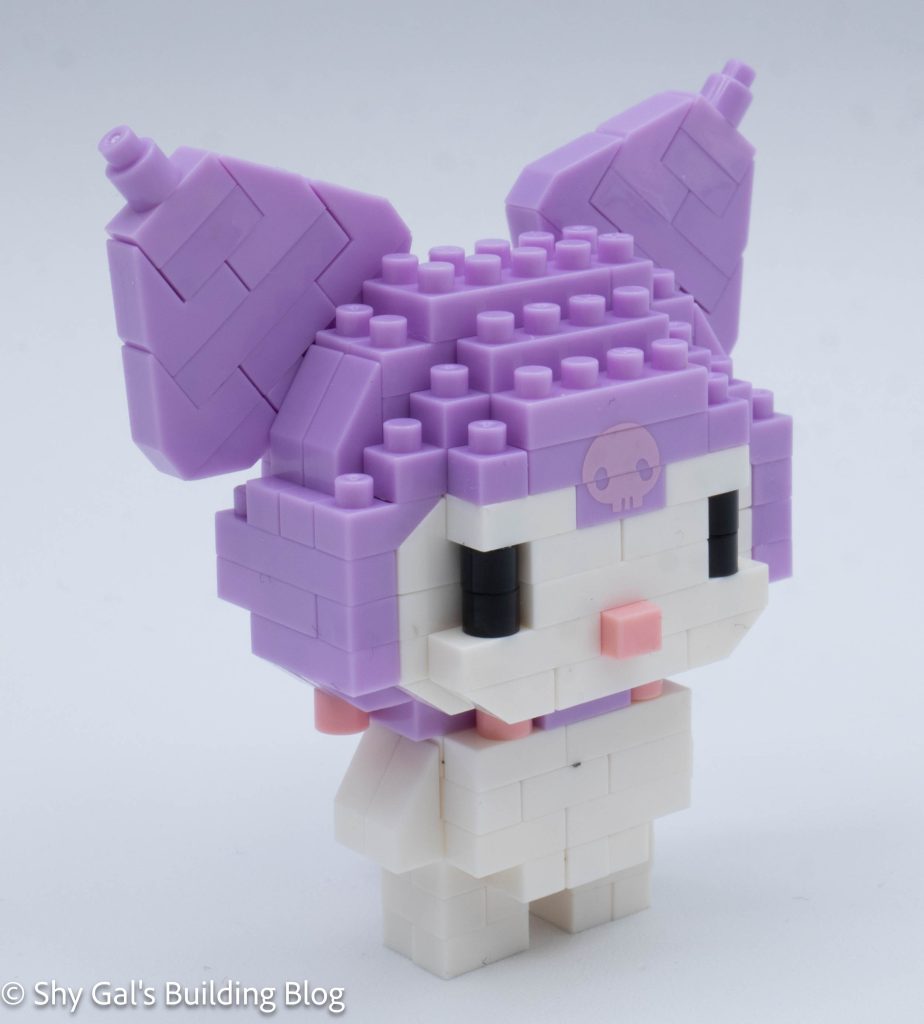
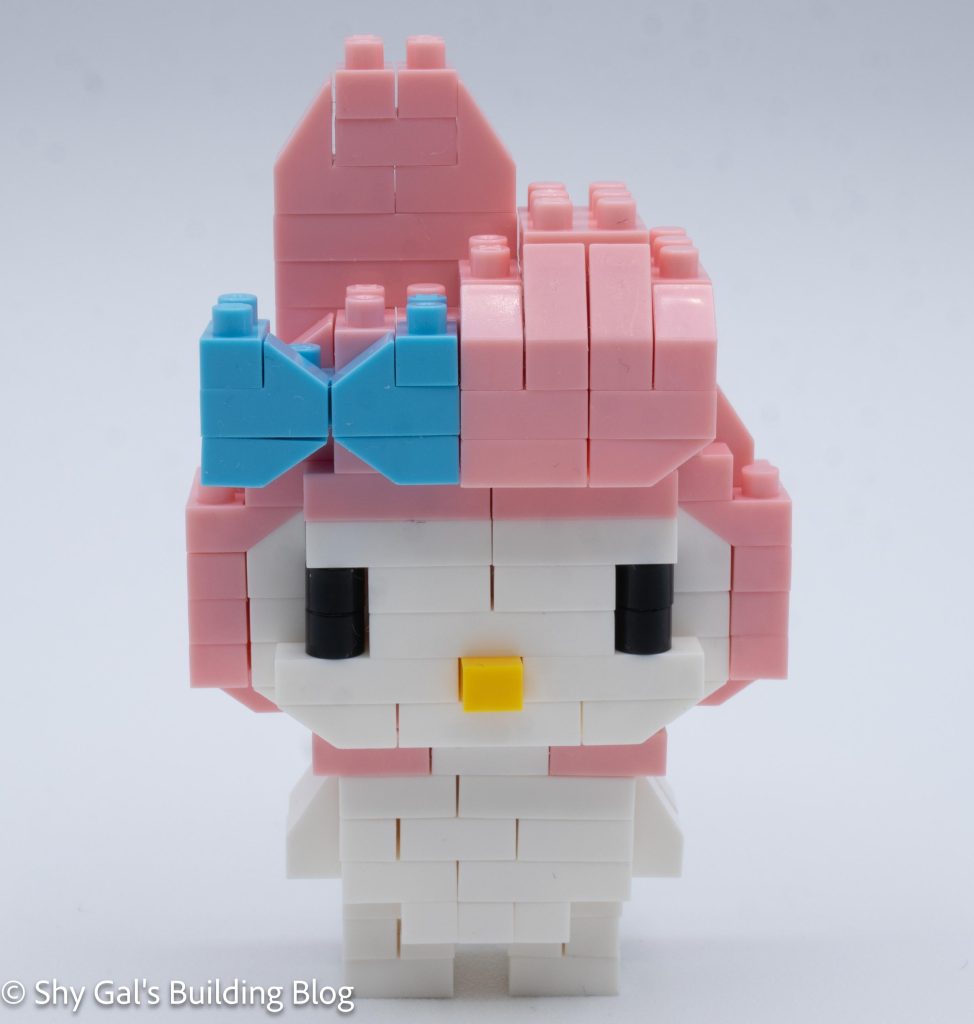
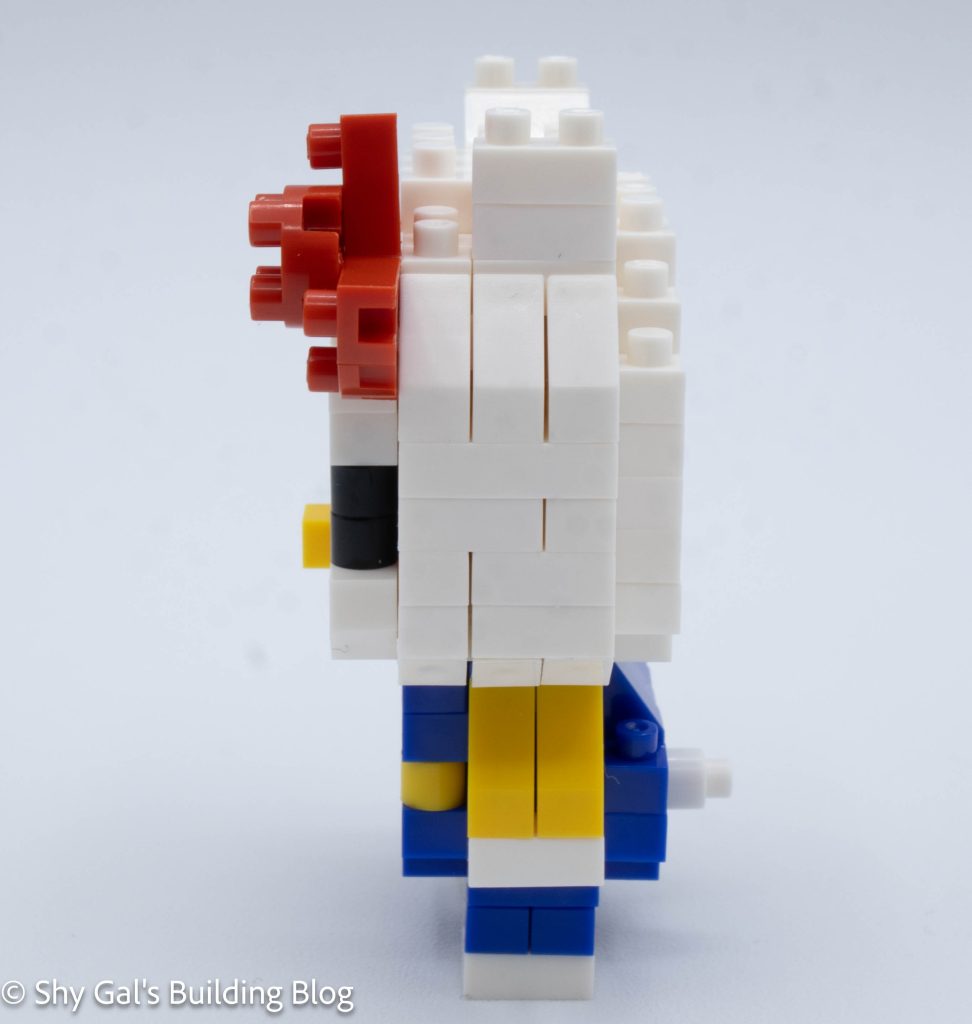
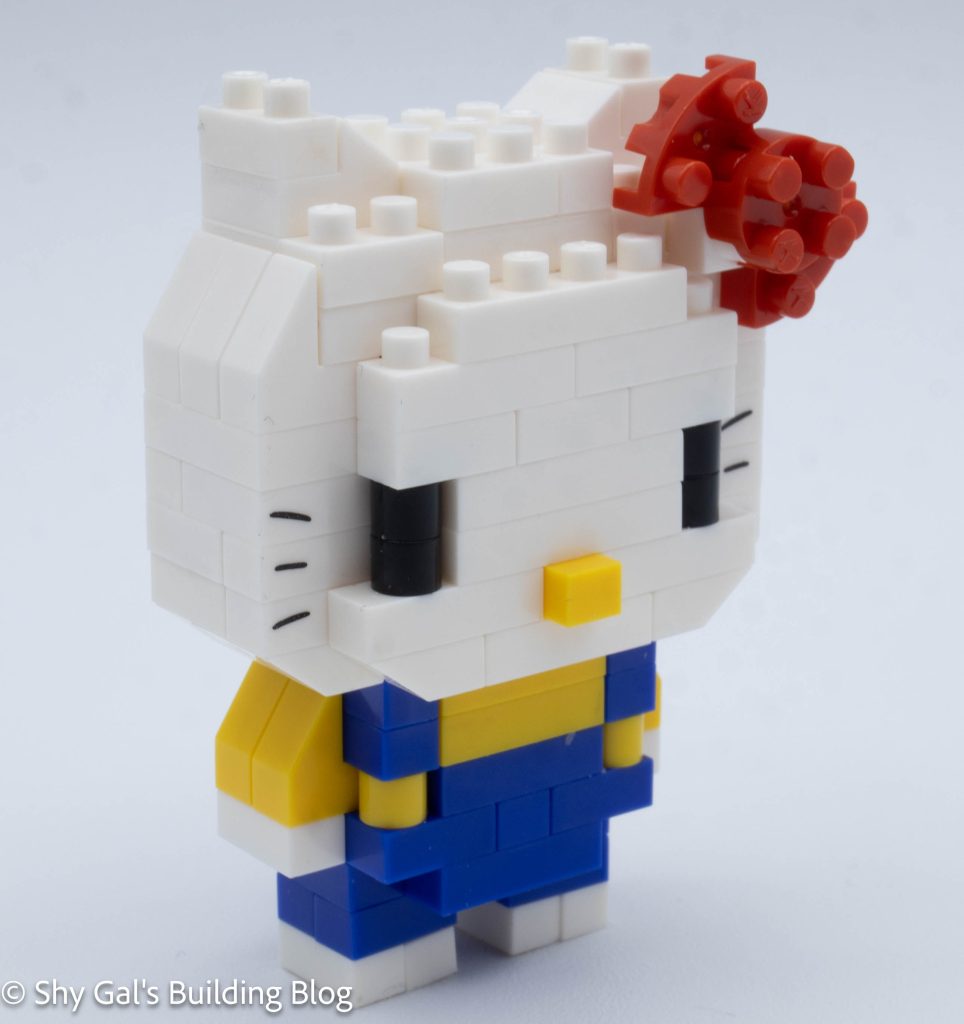
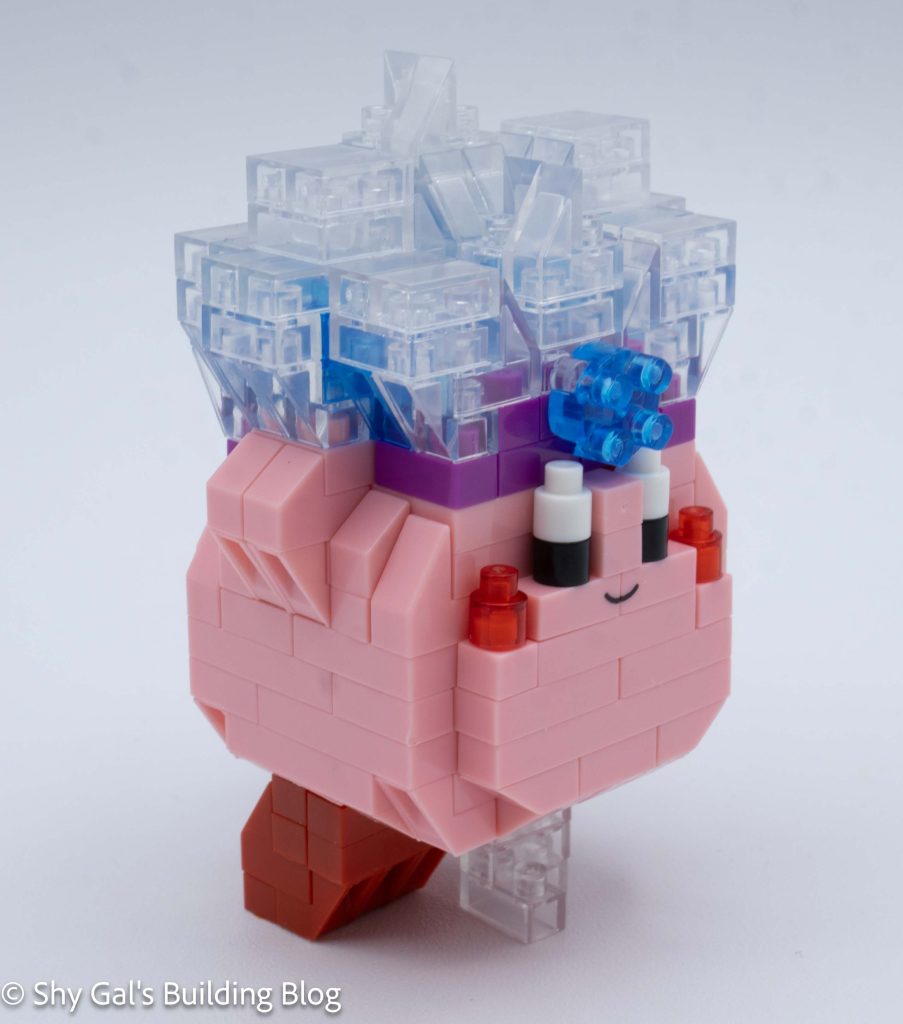
After the base is created, the main body of Kirby is built. These steps use the custom-printed blocks, which I much prefer to stickers. In the steps to make the body, you add Kirby’s arms, cheeks, and eyes.
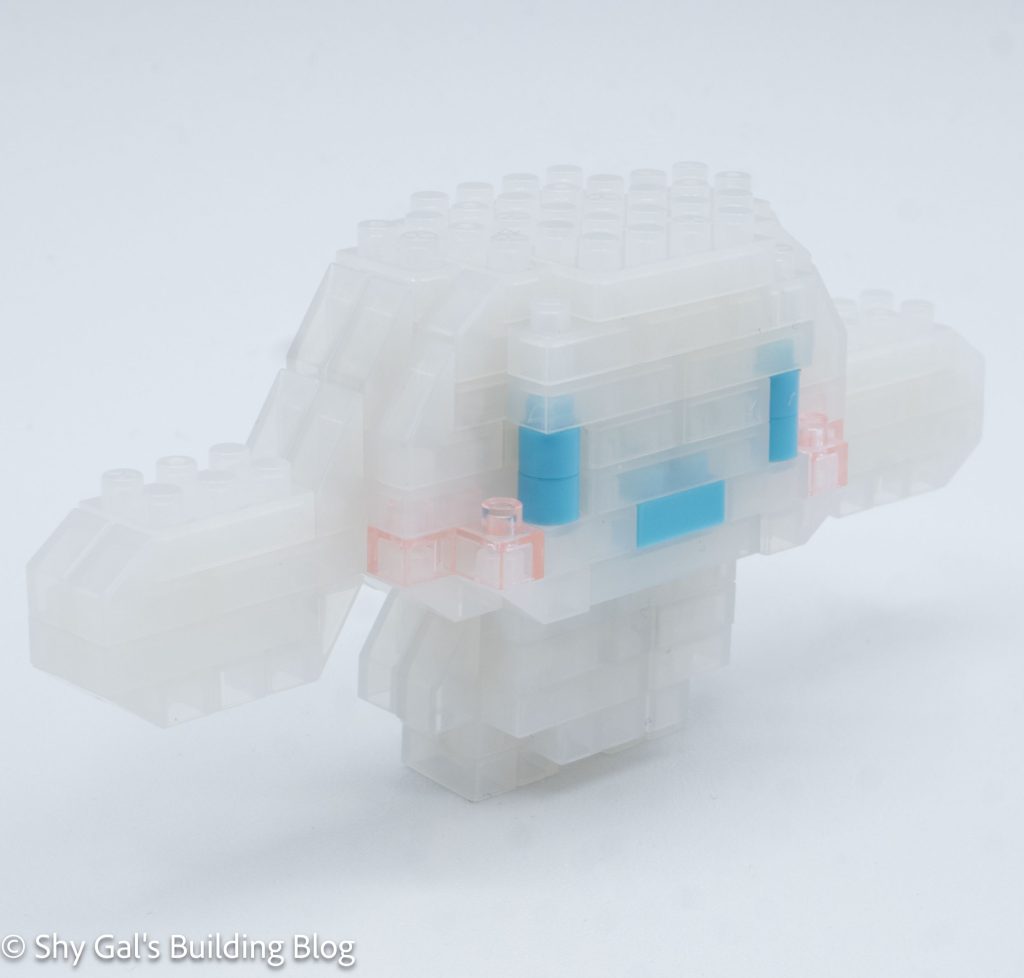
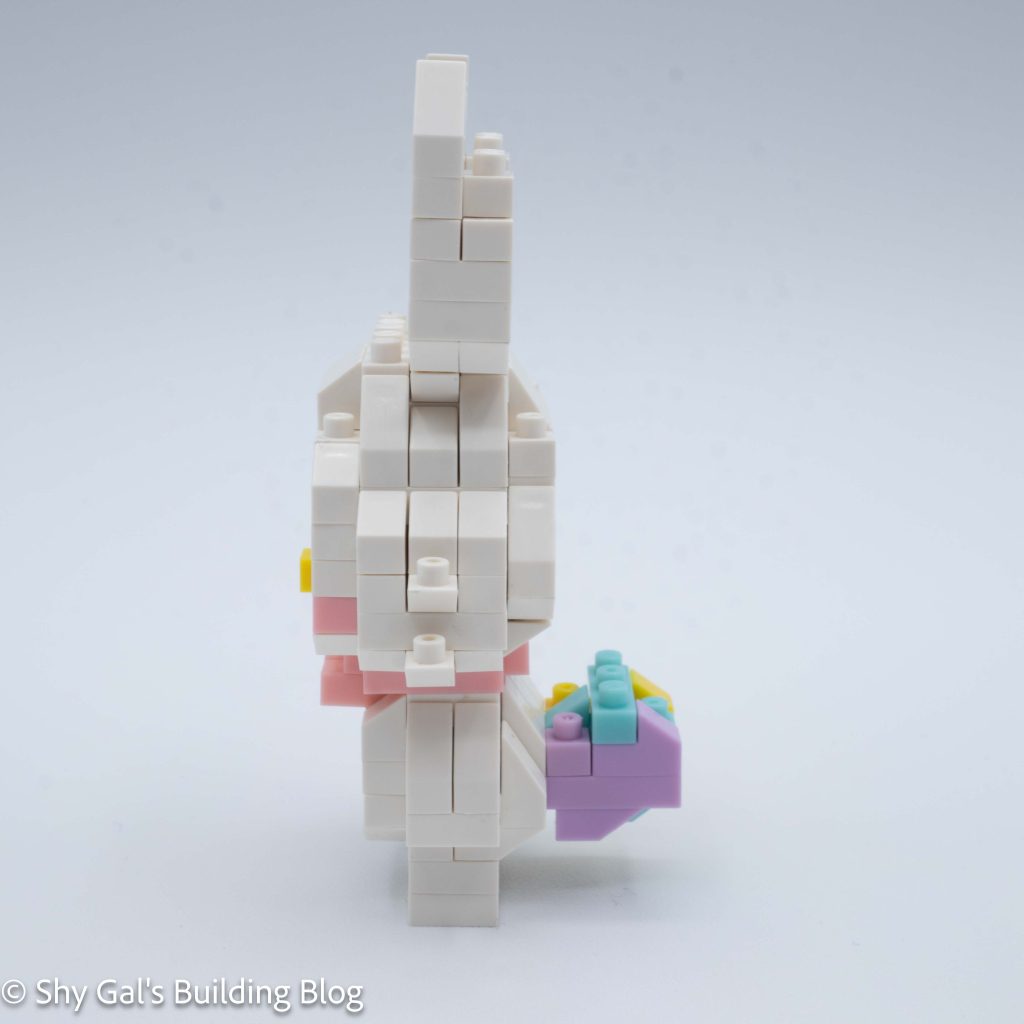
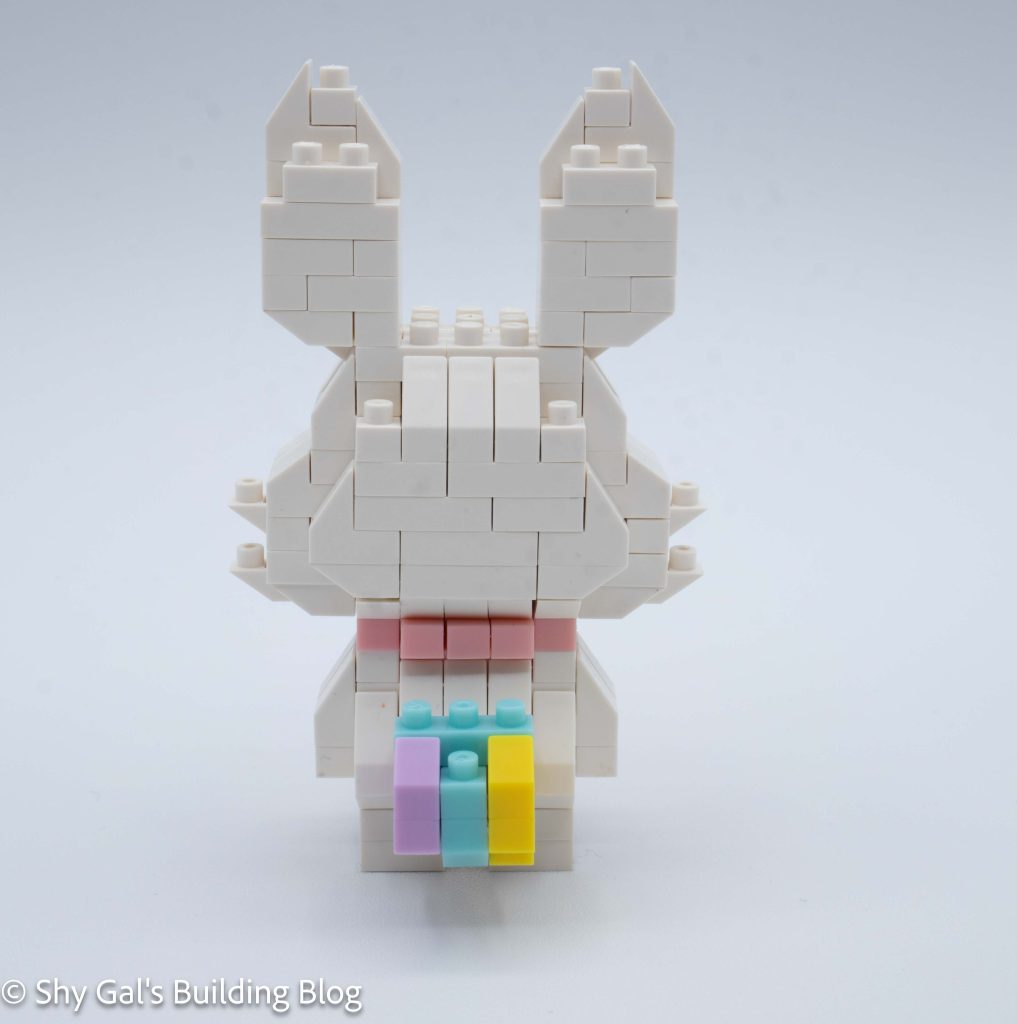
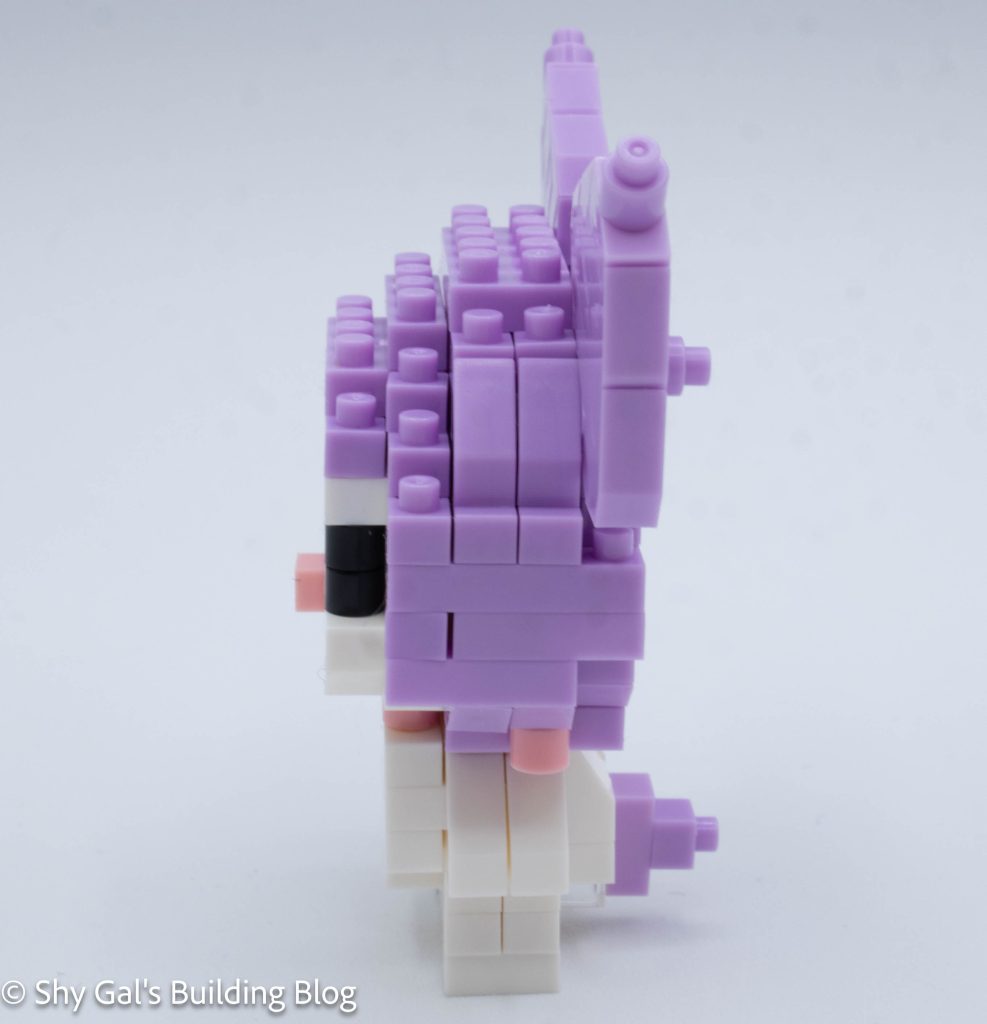
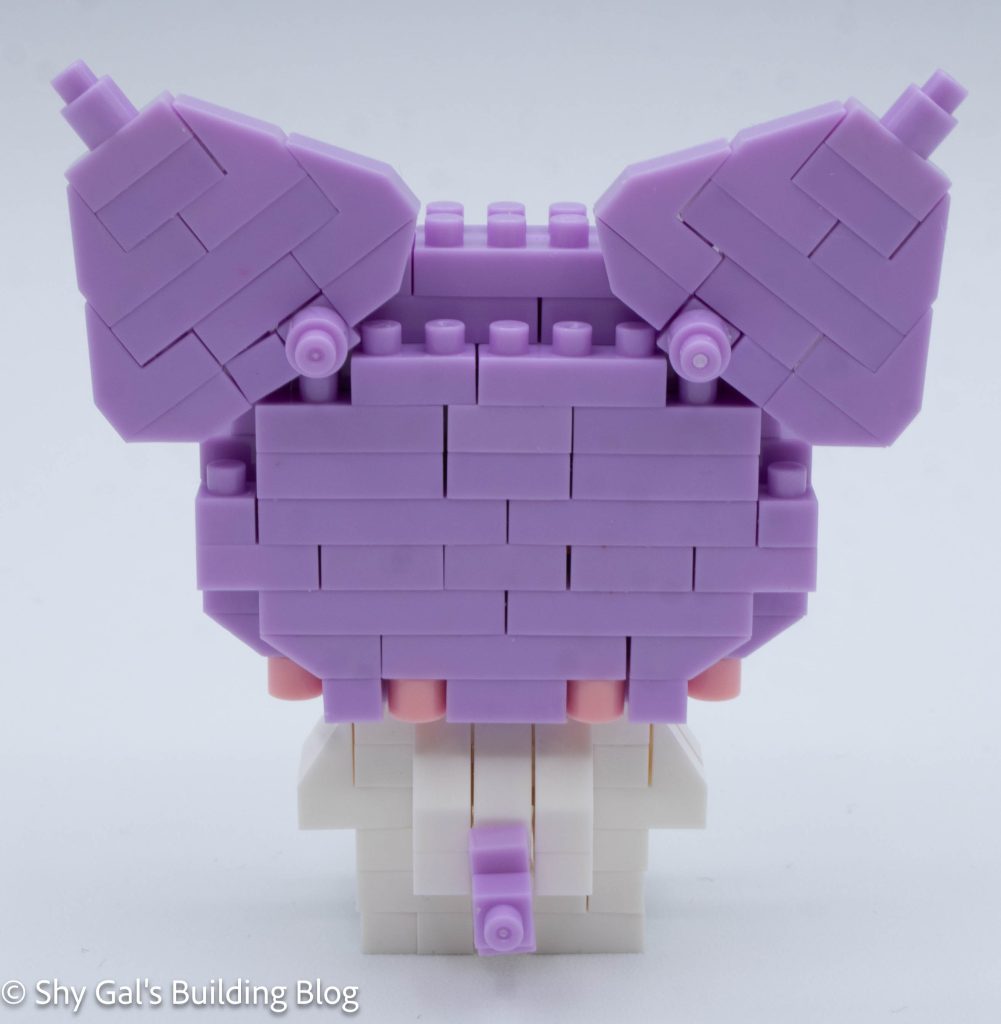
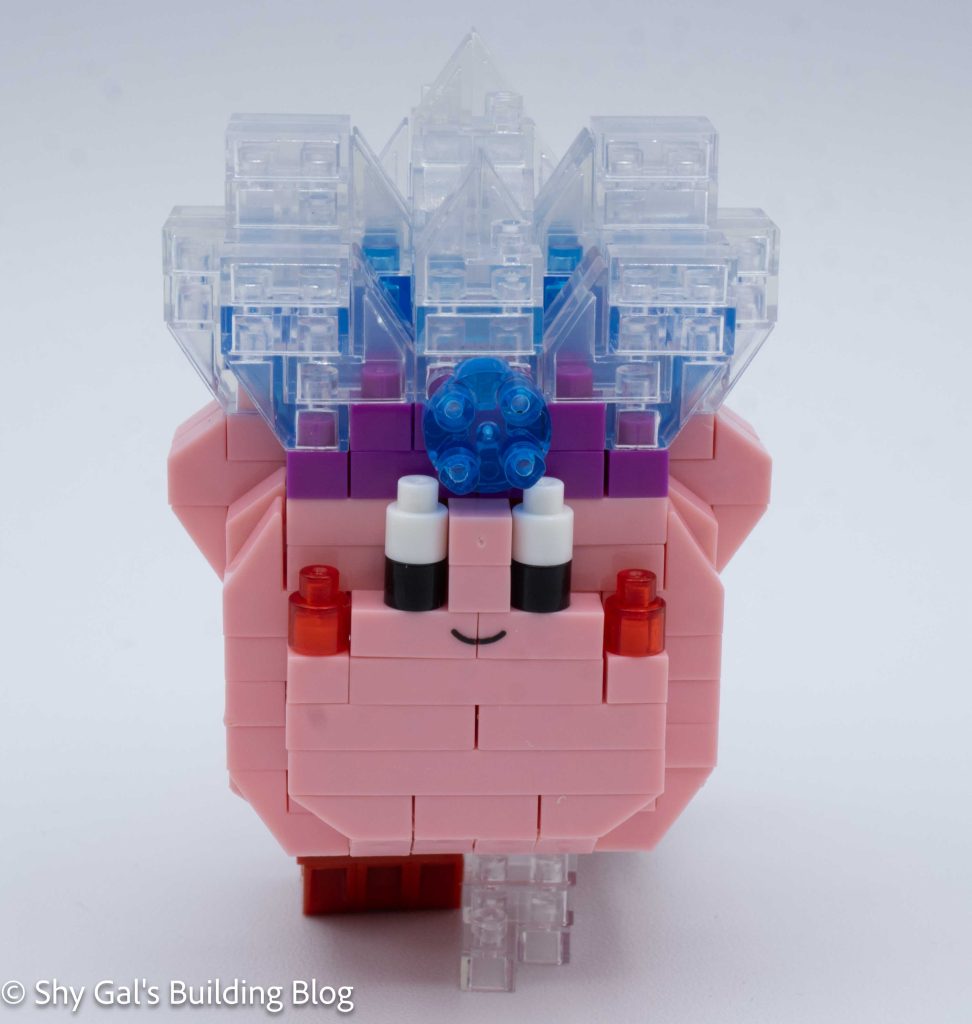
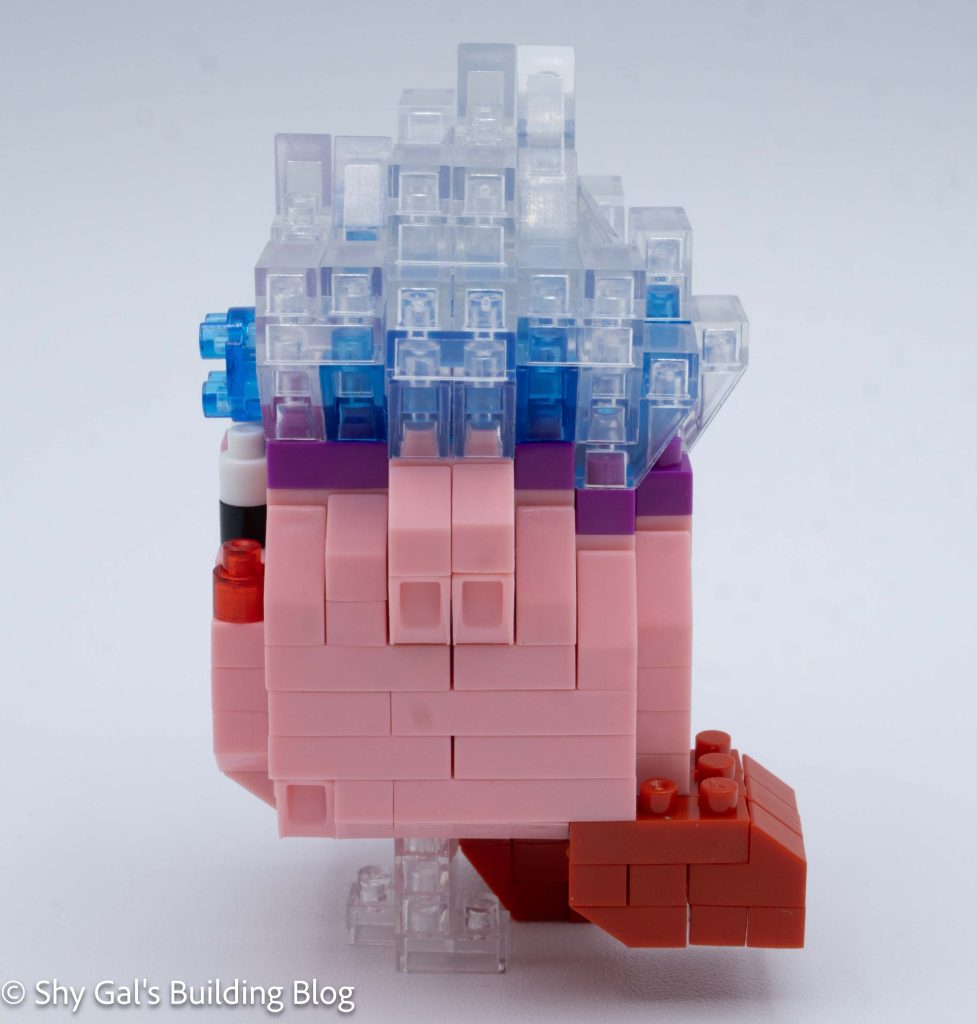
The following section is about building the ice crown. First, a purple base is built around Kirby’s head. Then, the clear blue and clear bricks create the spiky crown.
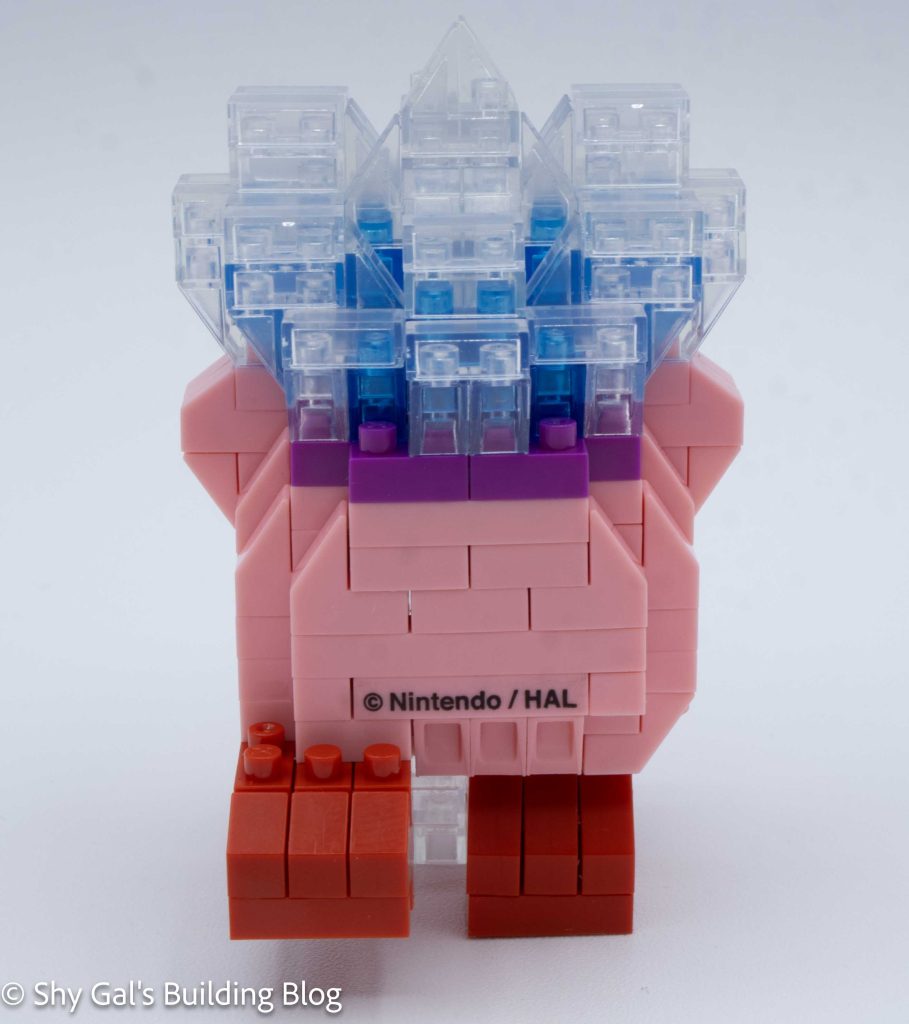
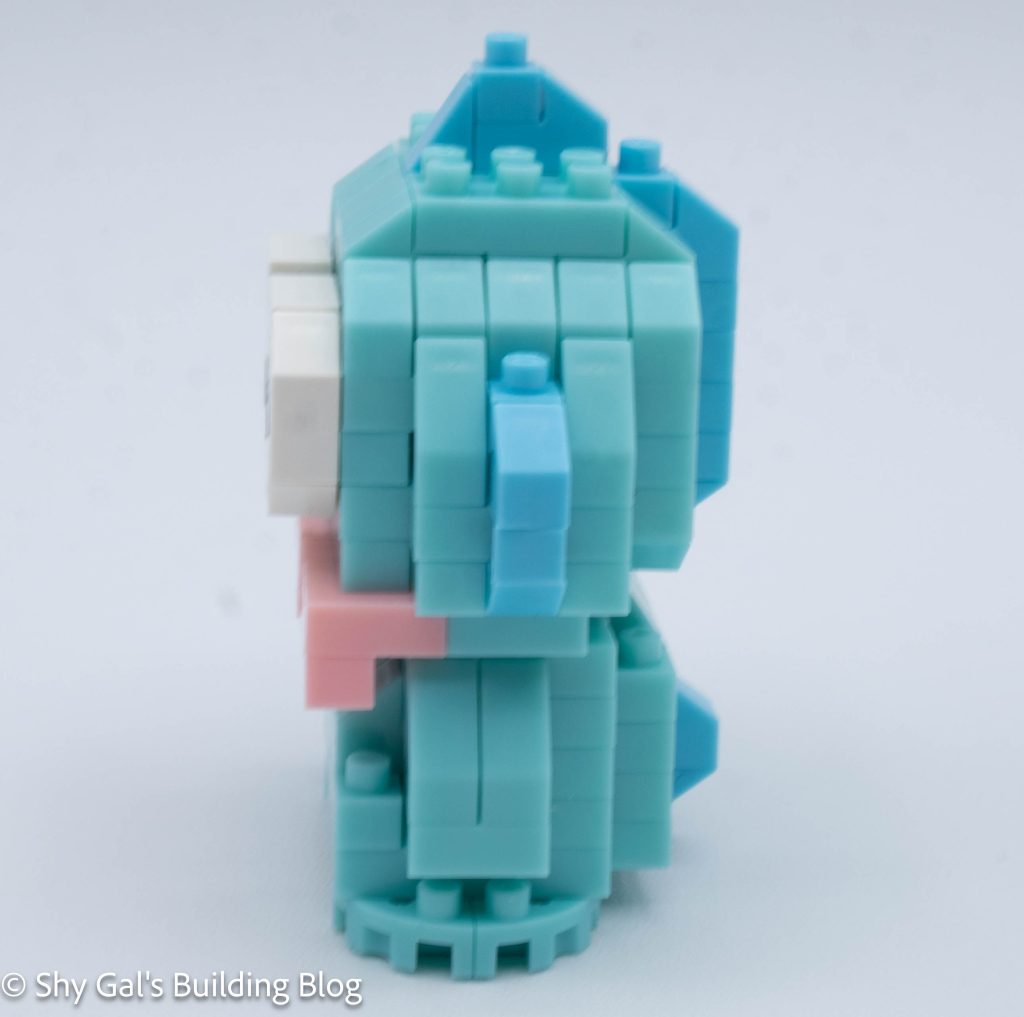
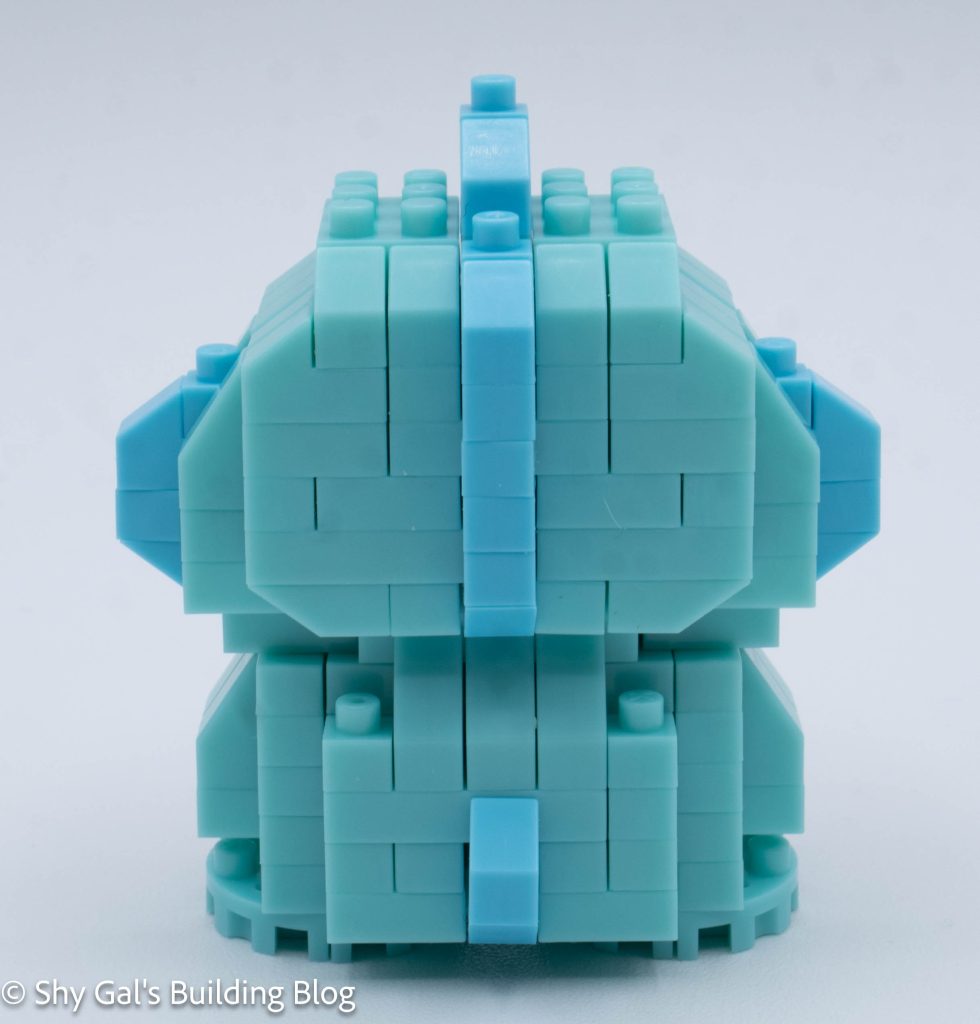
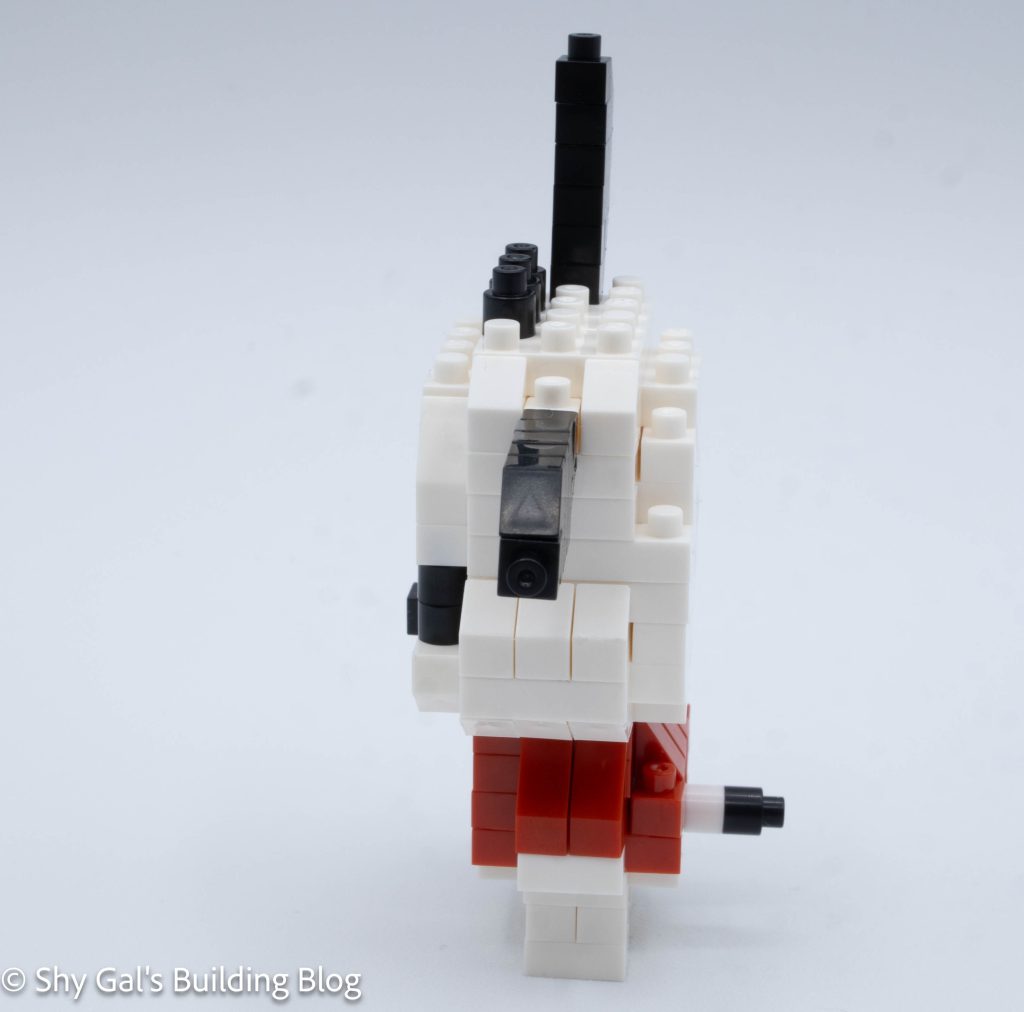
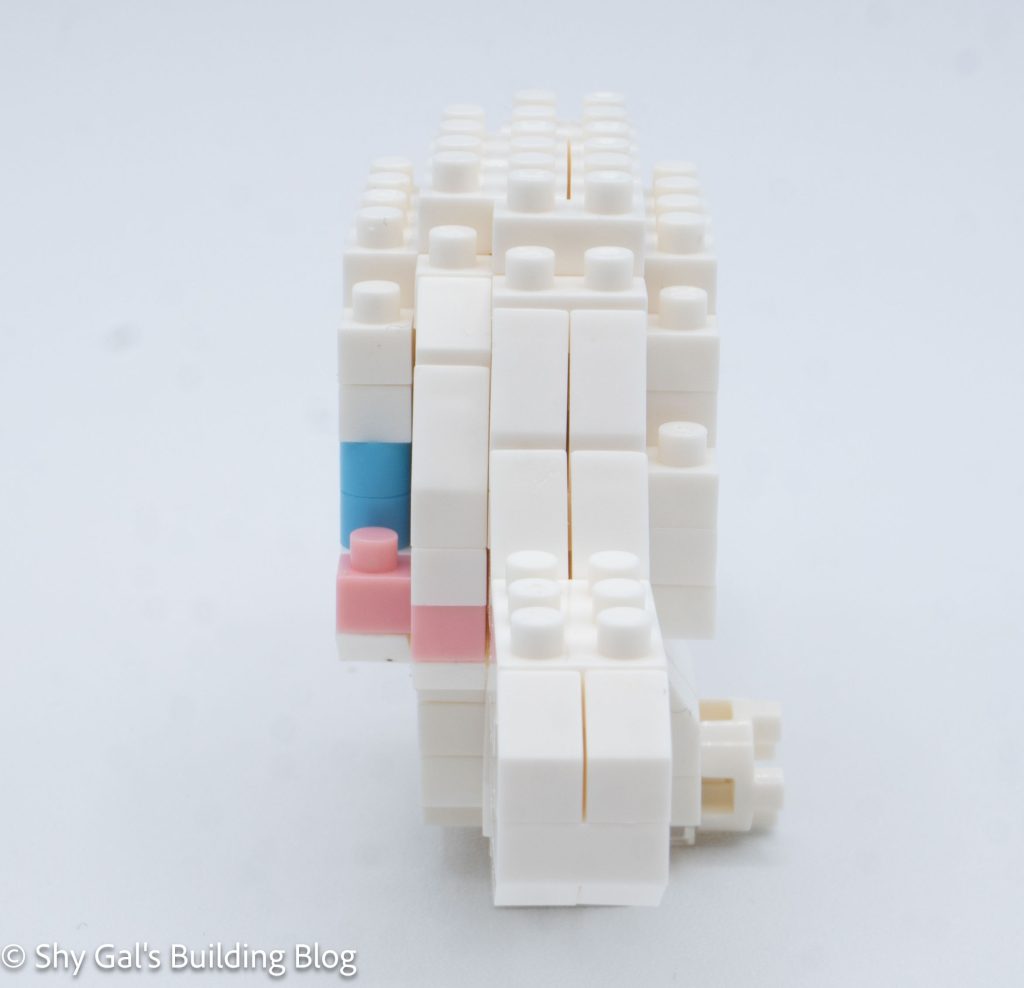
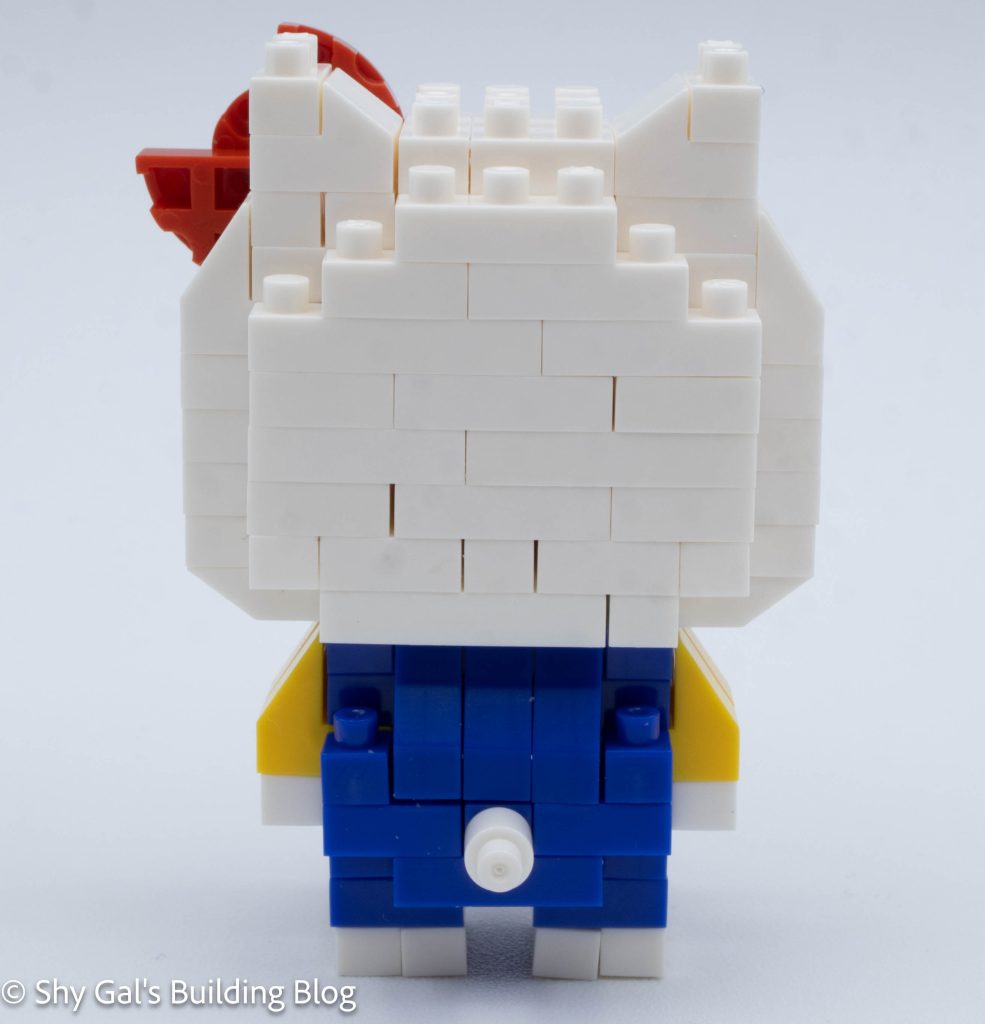
The next step is to build and attach Kirby’s feet. Since they are in an action pose, the legs aren’t identical.
Things I liked:
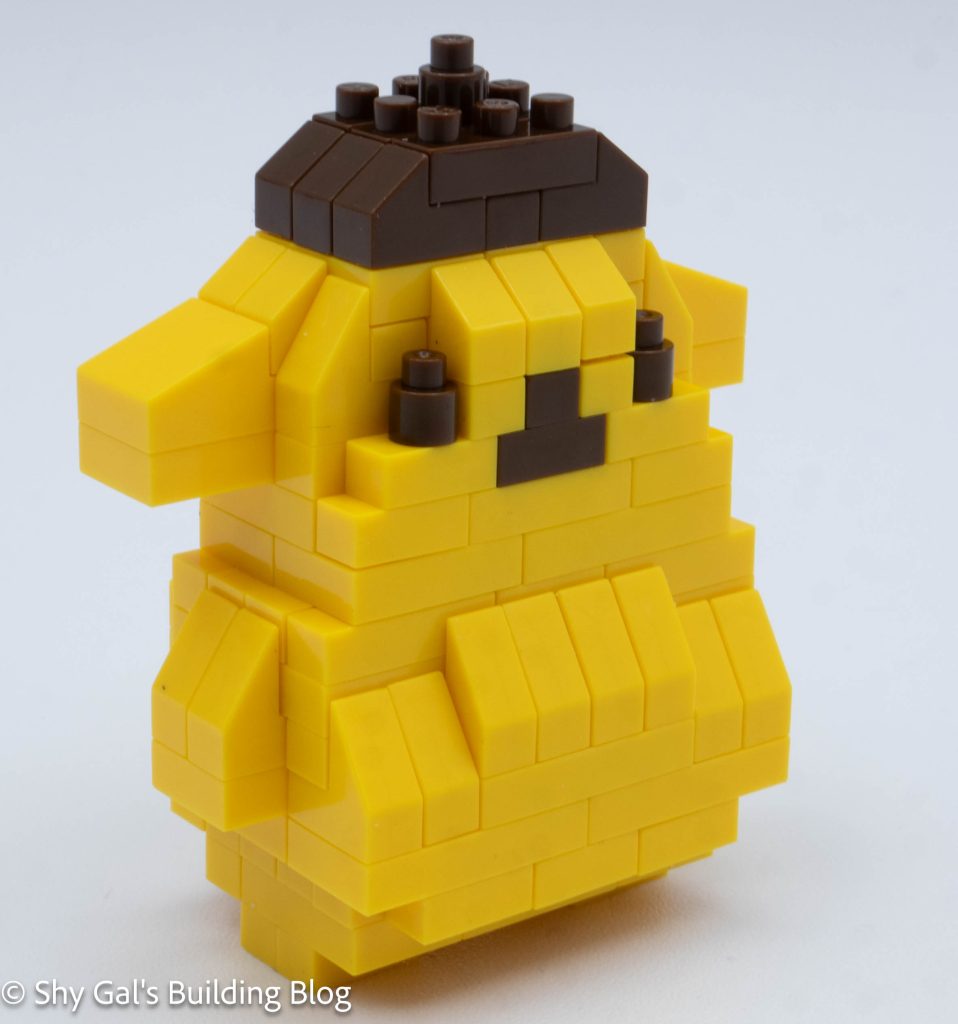
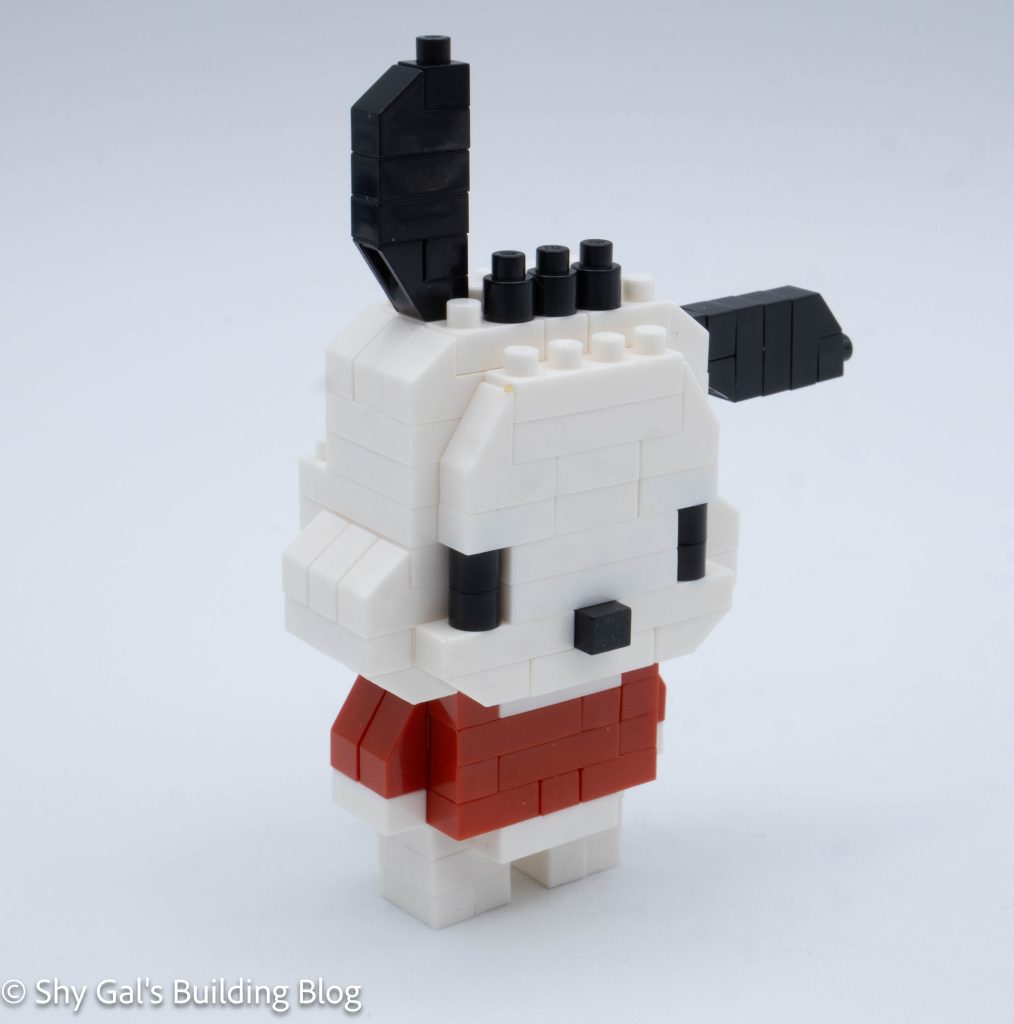
- I really like how dynamic the pose is for Kirby. He really does appear to be midstep
Things I didn’t like:
- I wish there was a light blue clear brick instead of using clear bricks to create the crown