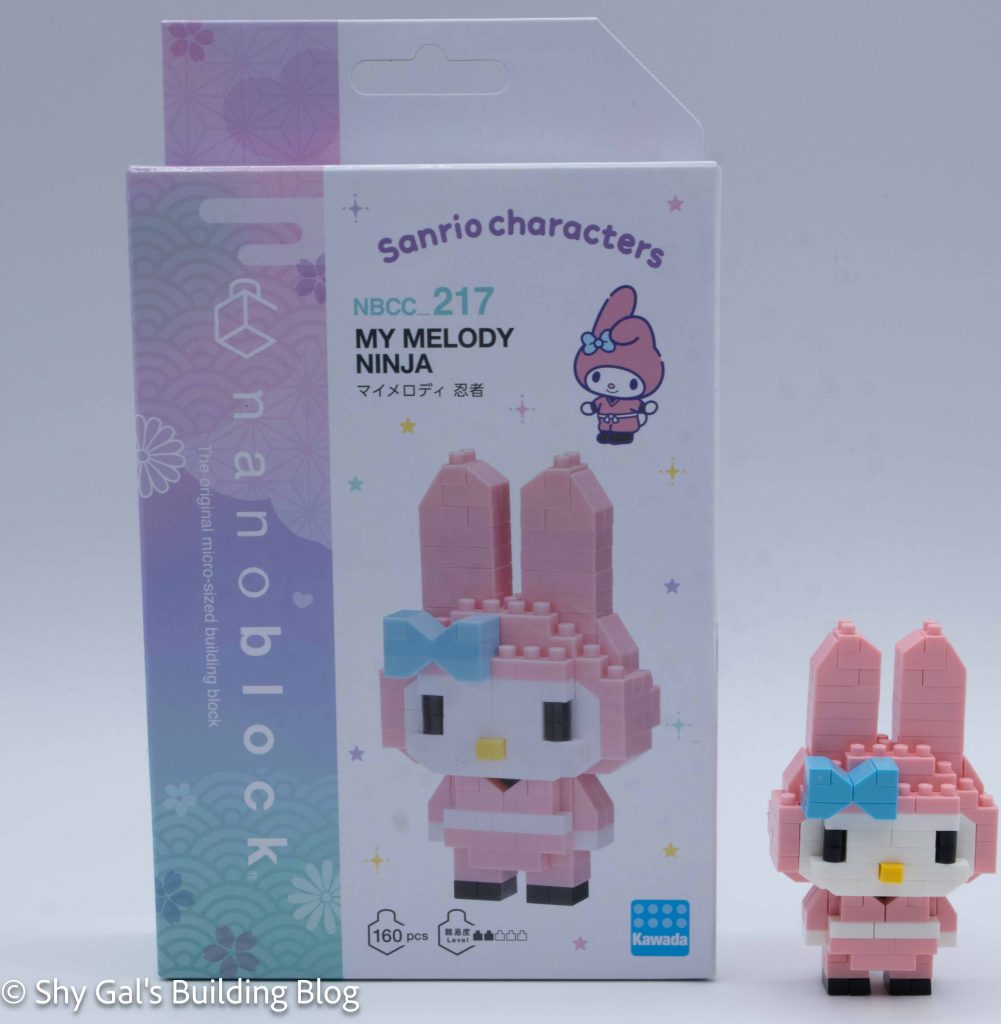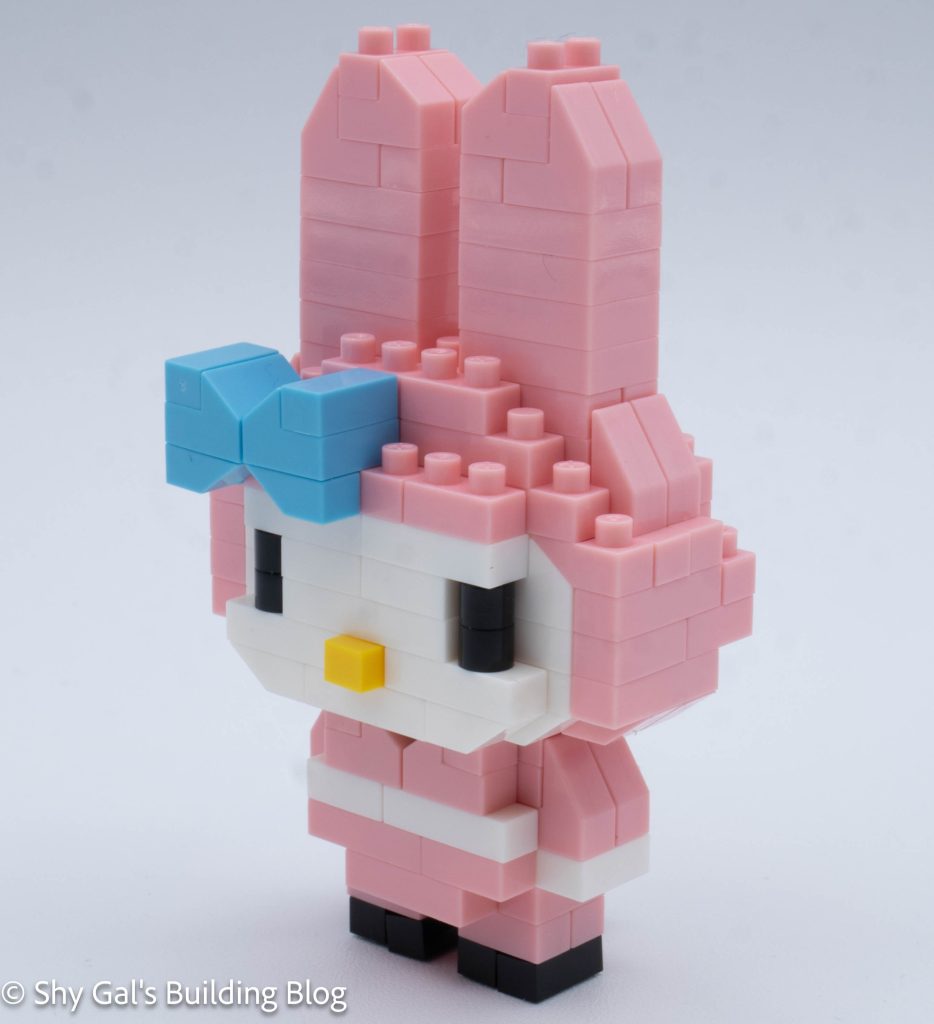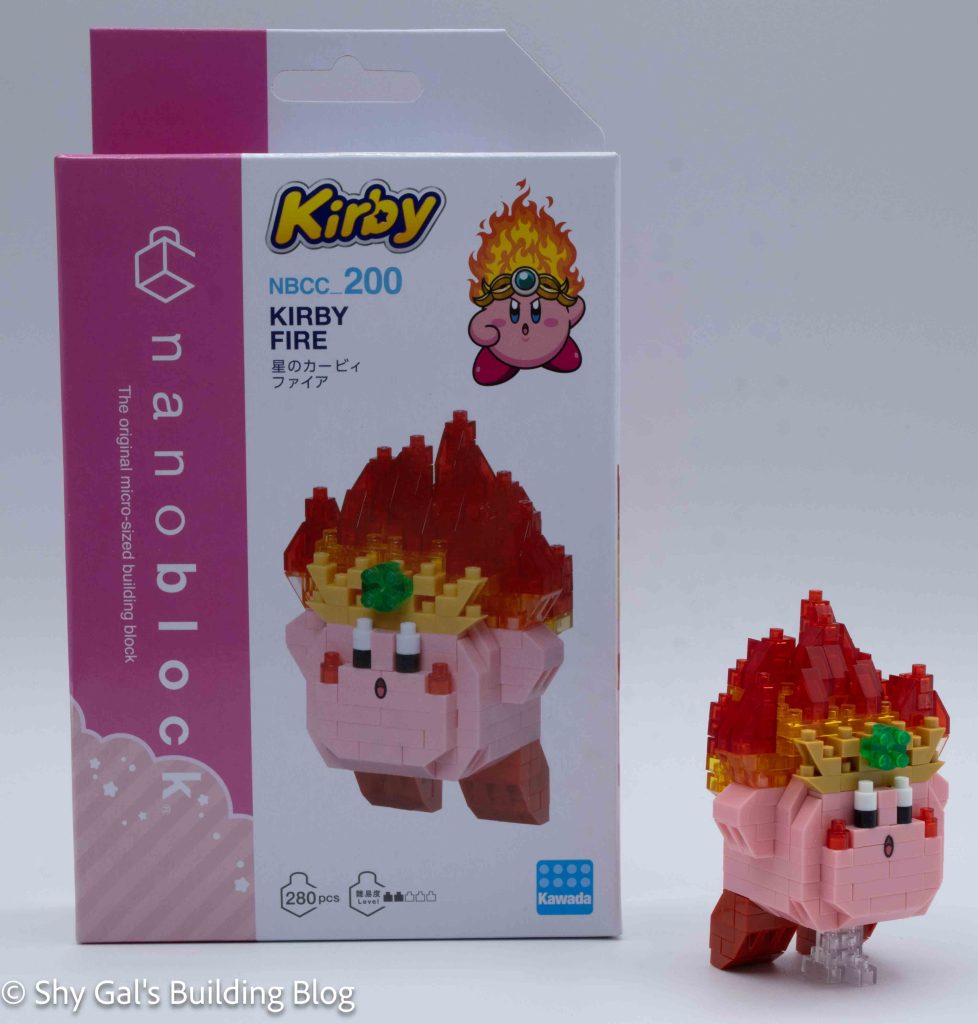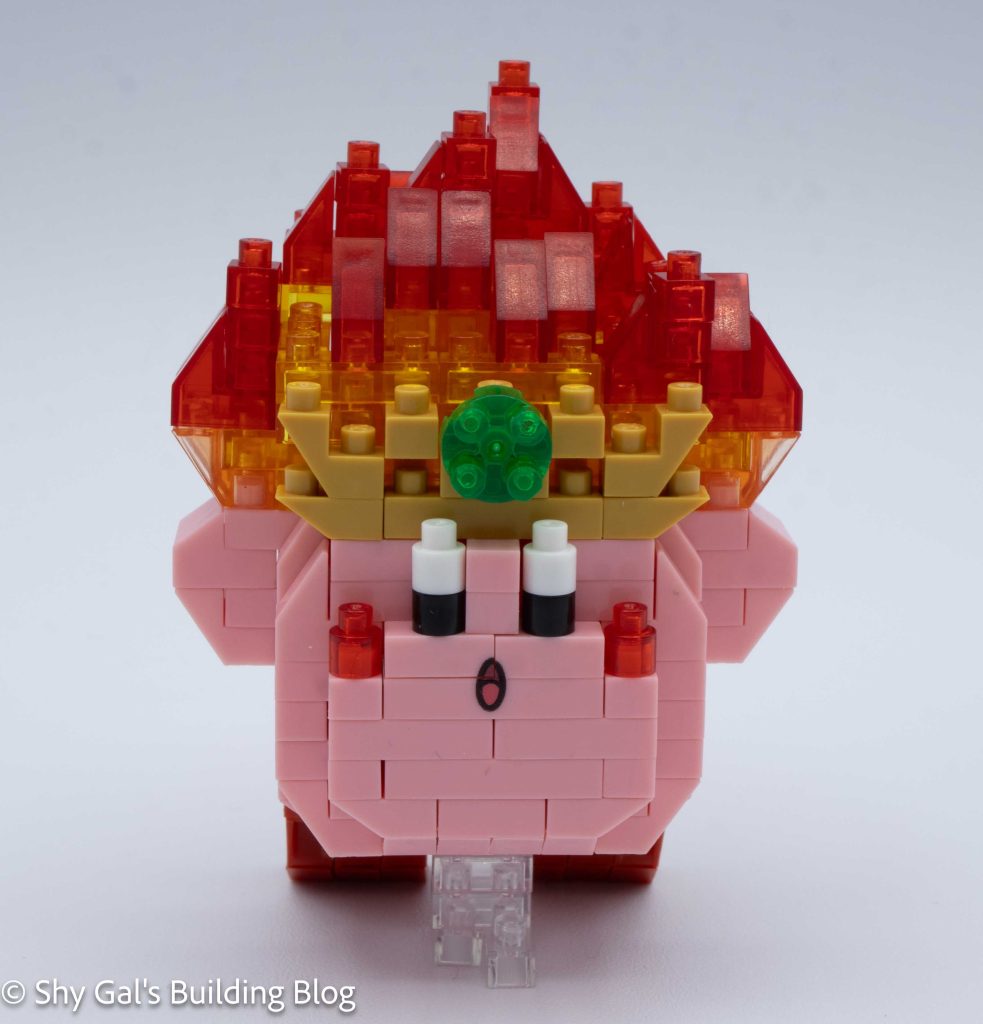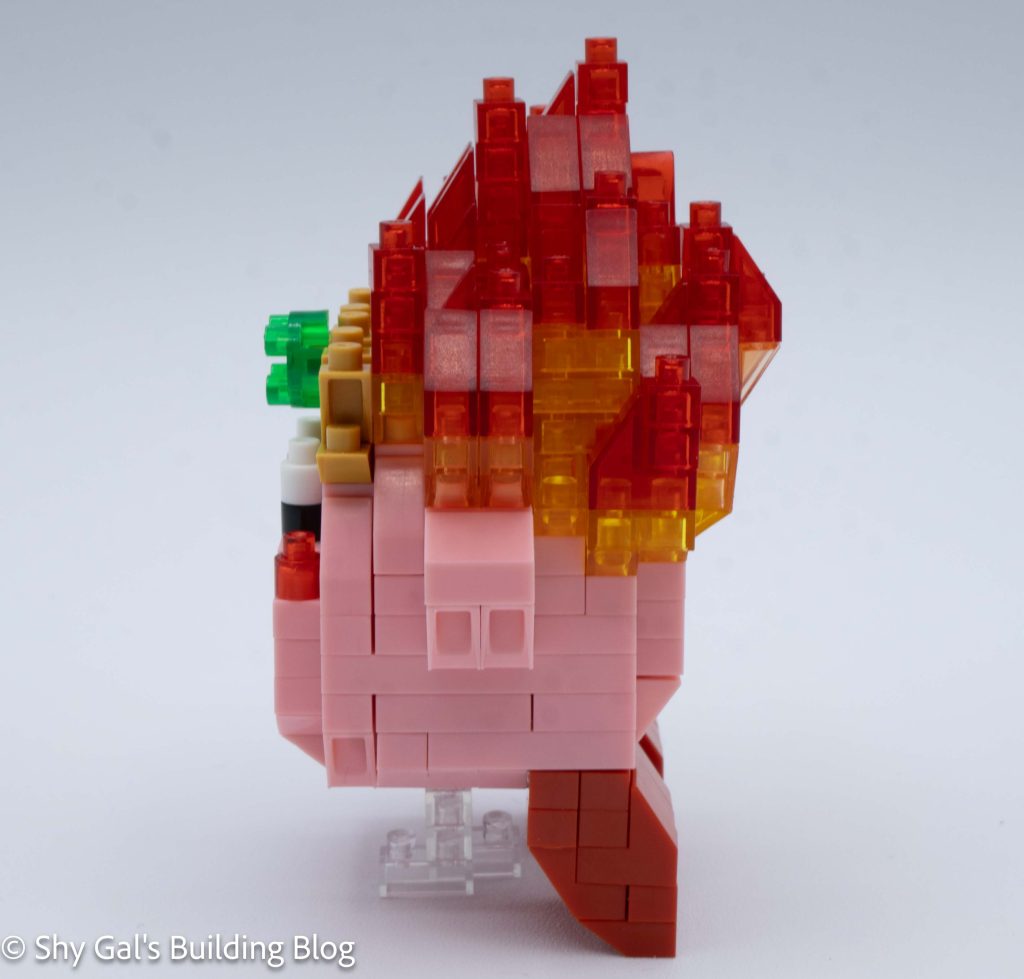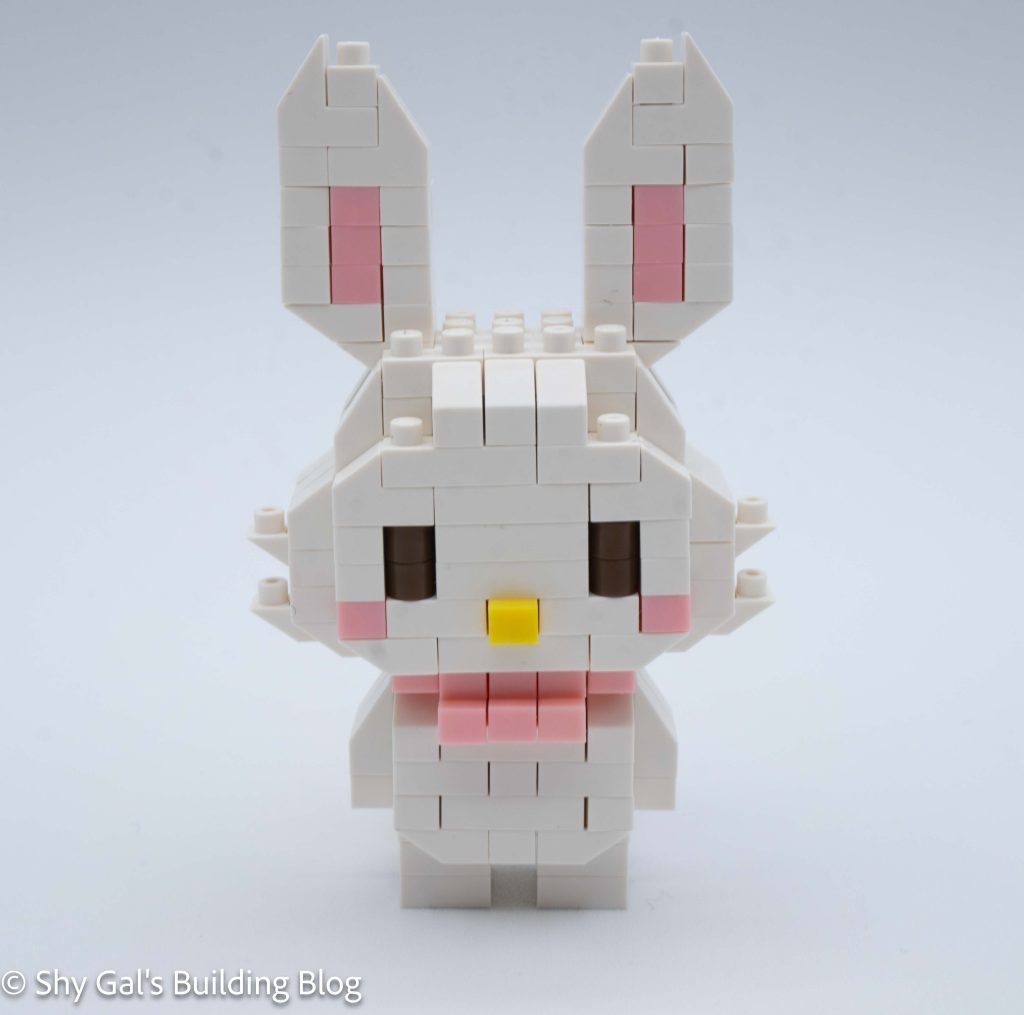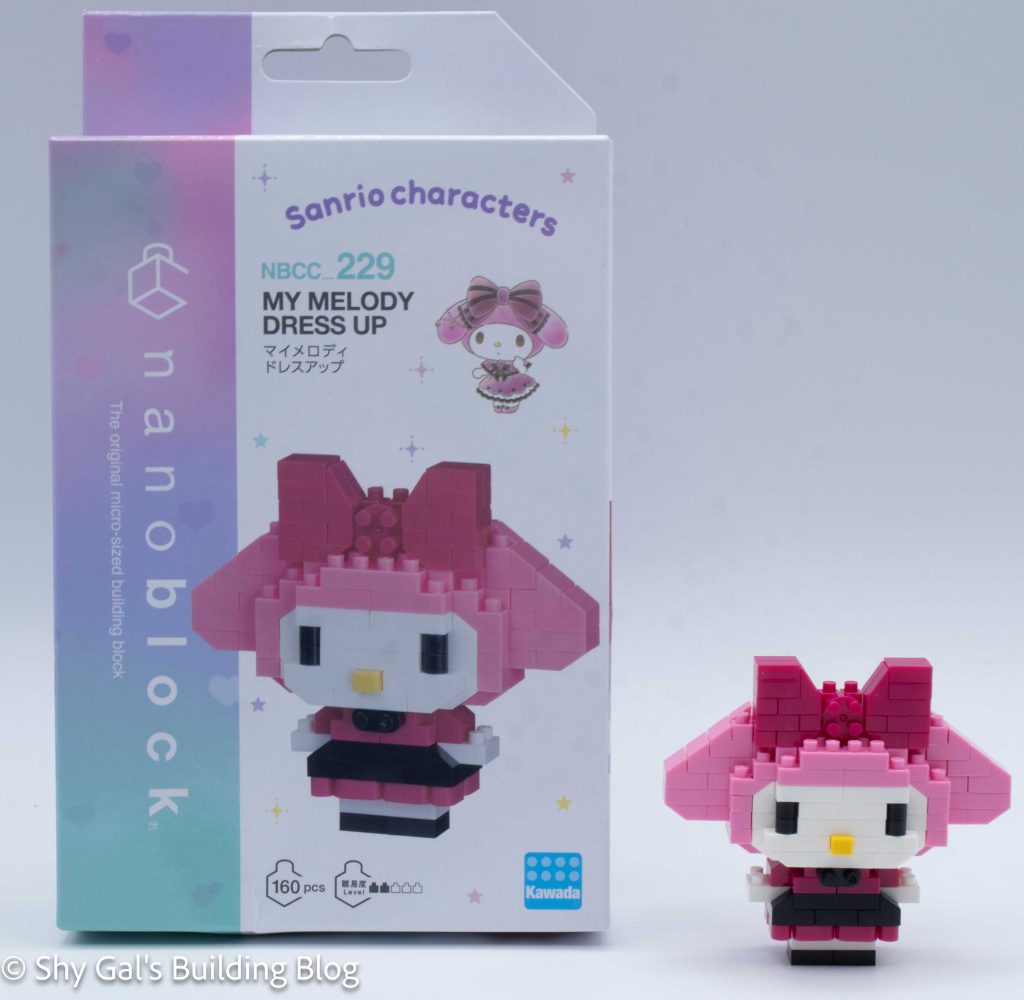
This post is a review of the nanoblock My Melody Dress Up build. My Melody Dress Up is part of the nanoblock Character collection. Wondering what else is part of the Character collection? Click here for a list.
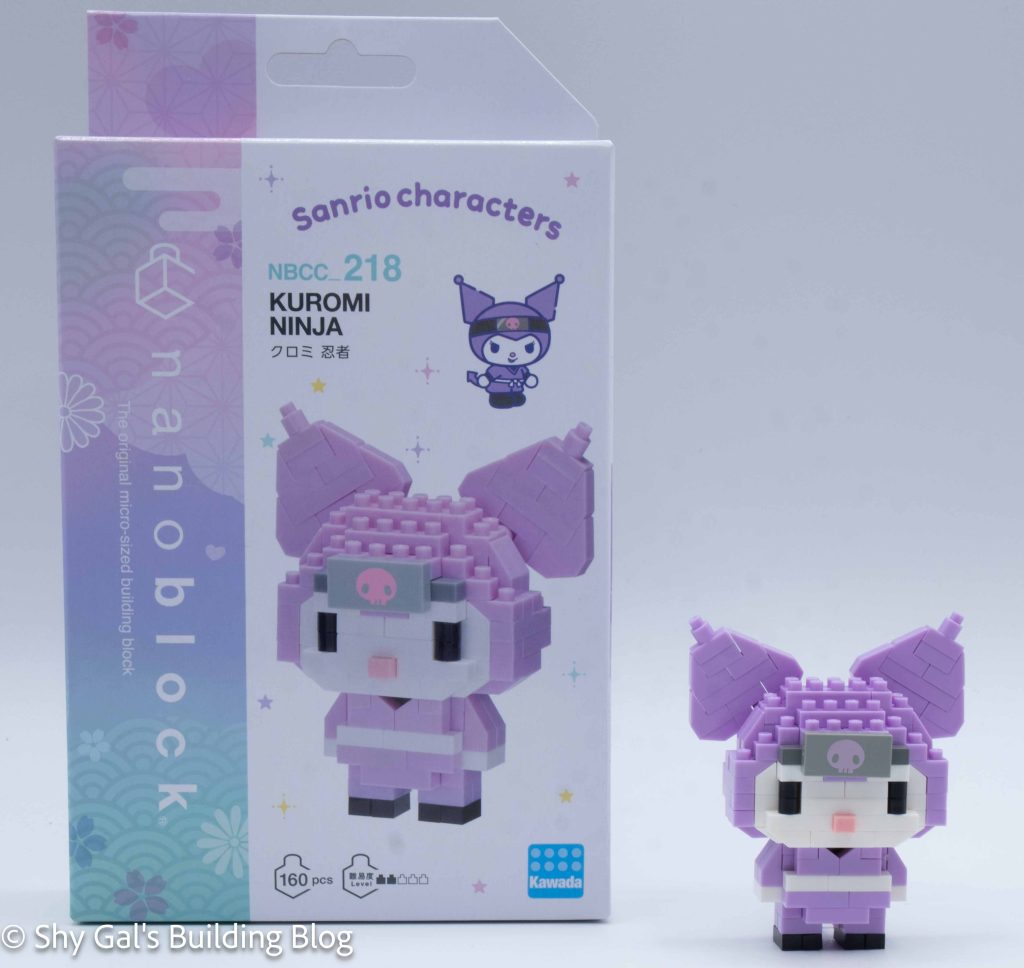
Number: NBCC_229
Number of Pieces: 160
Difficulty Rating: 2/5
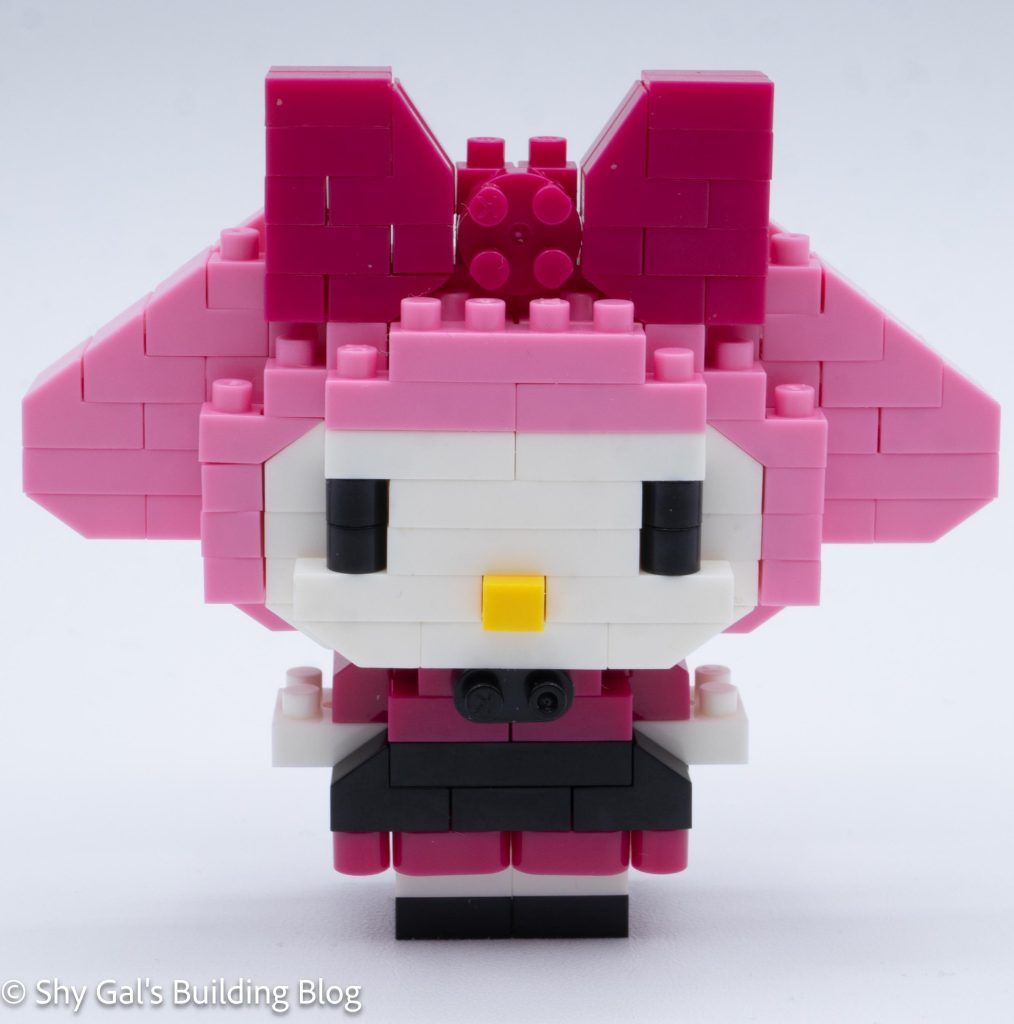
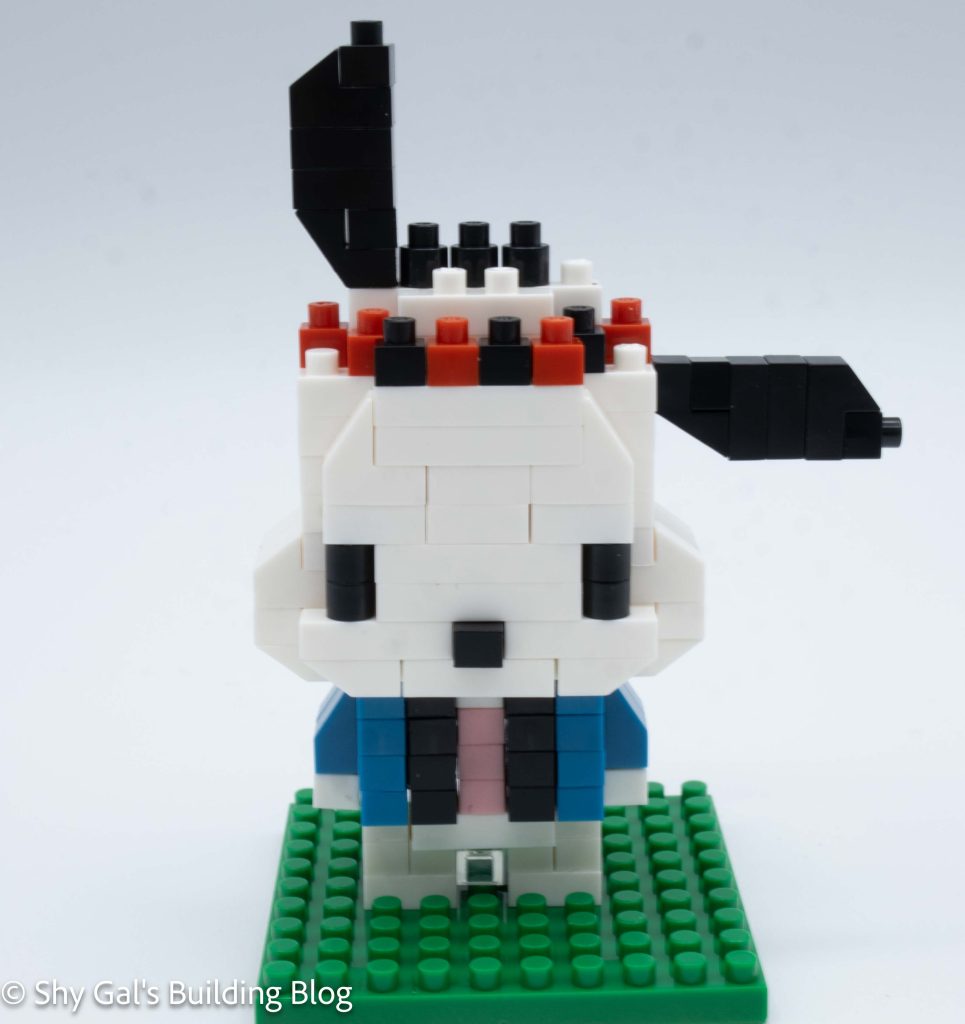
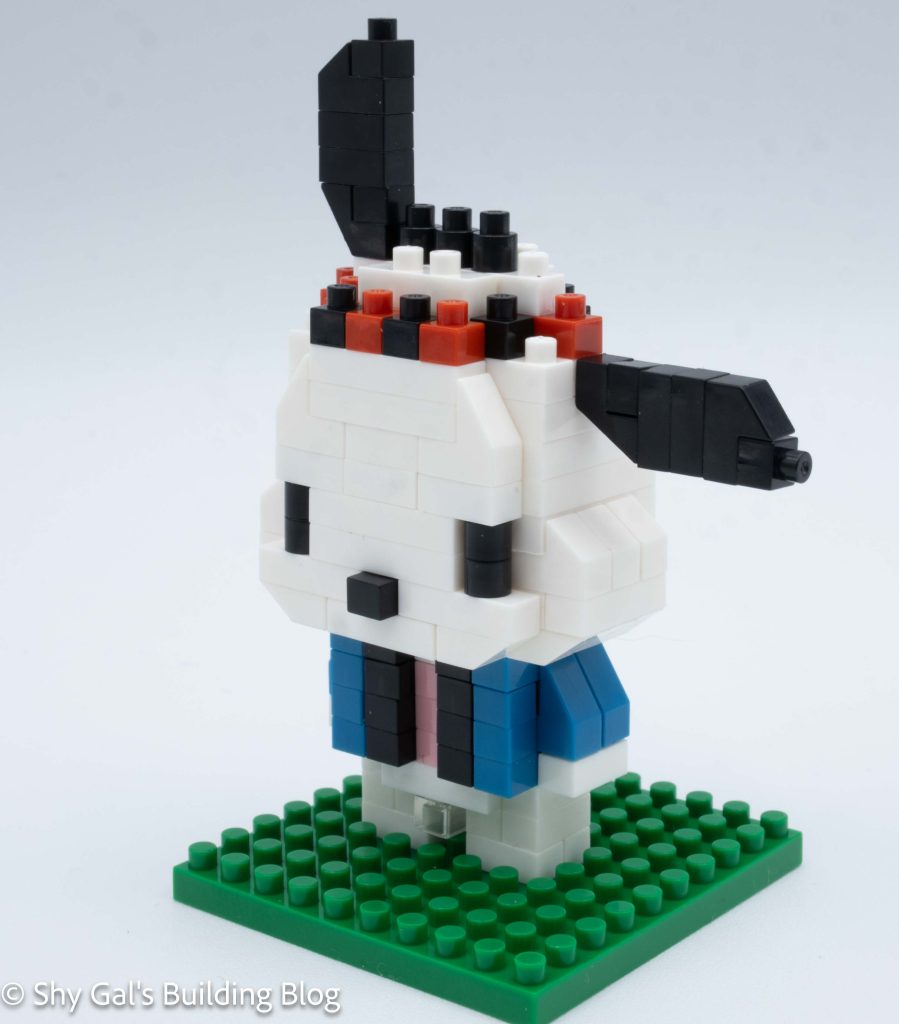
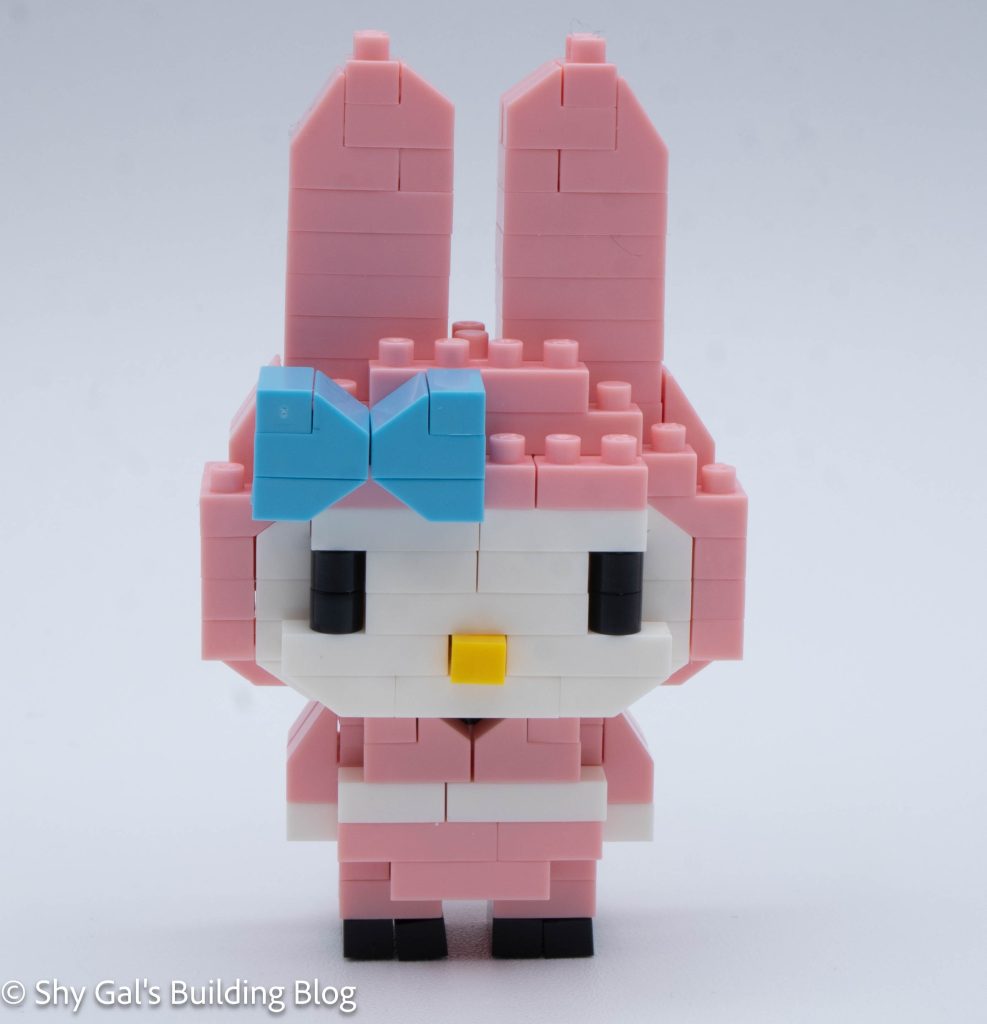
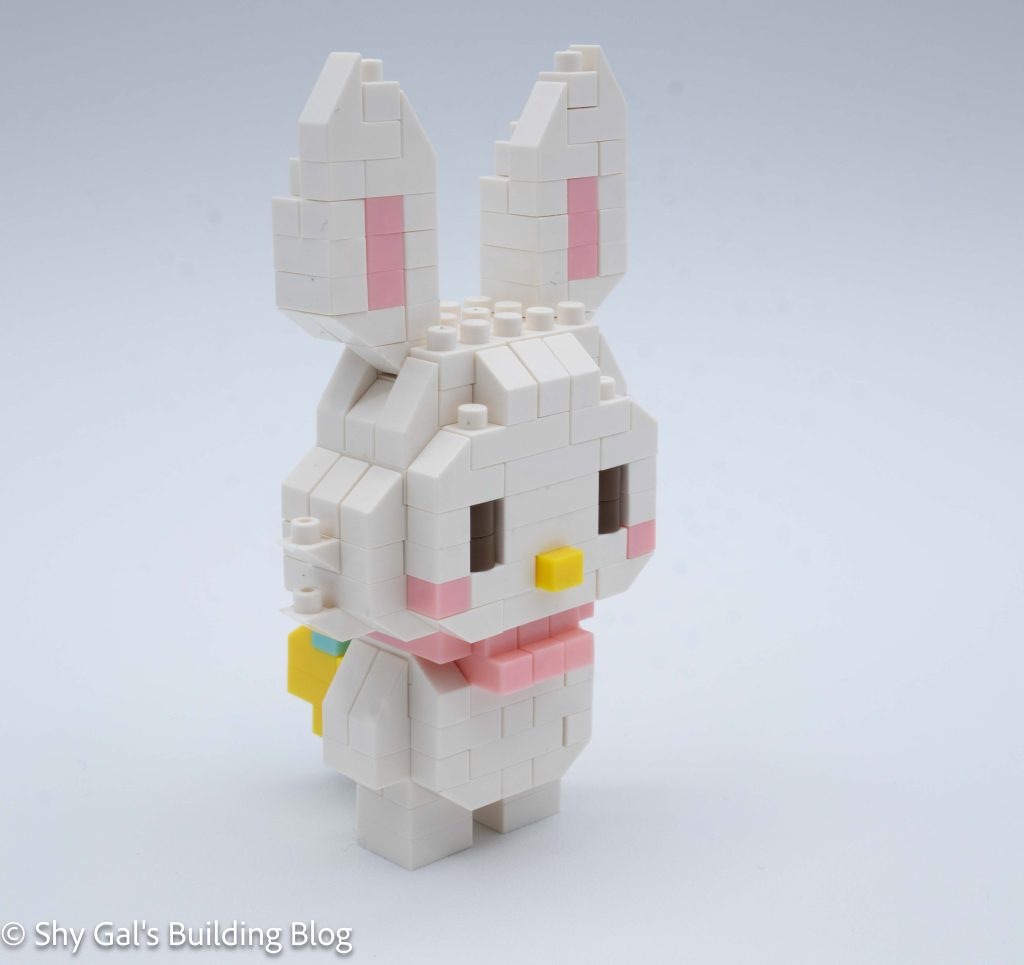
This build is made up of 2 sections: the head and the body.
The head begins with building 2 sections that are connected. Then the front center is built and added to the face. Overall, getting the base layer of the head takes a total of 6 instructions. At this point, the head was a bit flimsy and tried to fall apart on me.
The next layer takes 4 steps, but locks all the loose bricks into place.
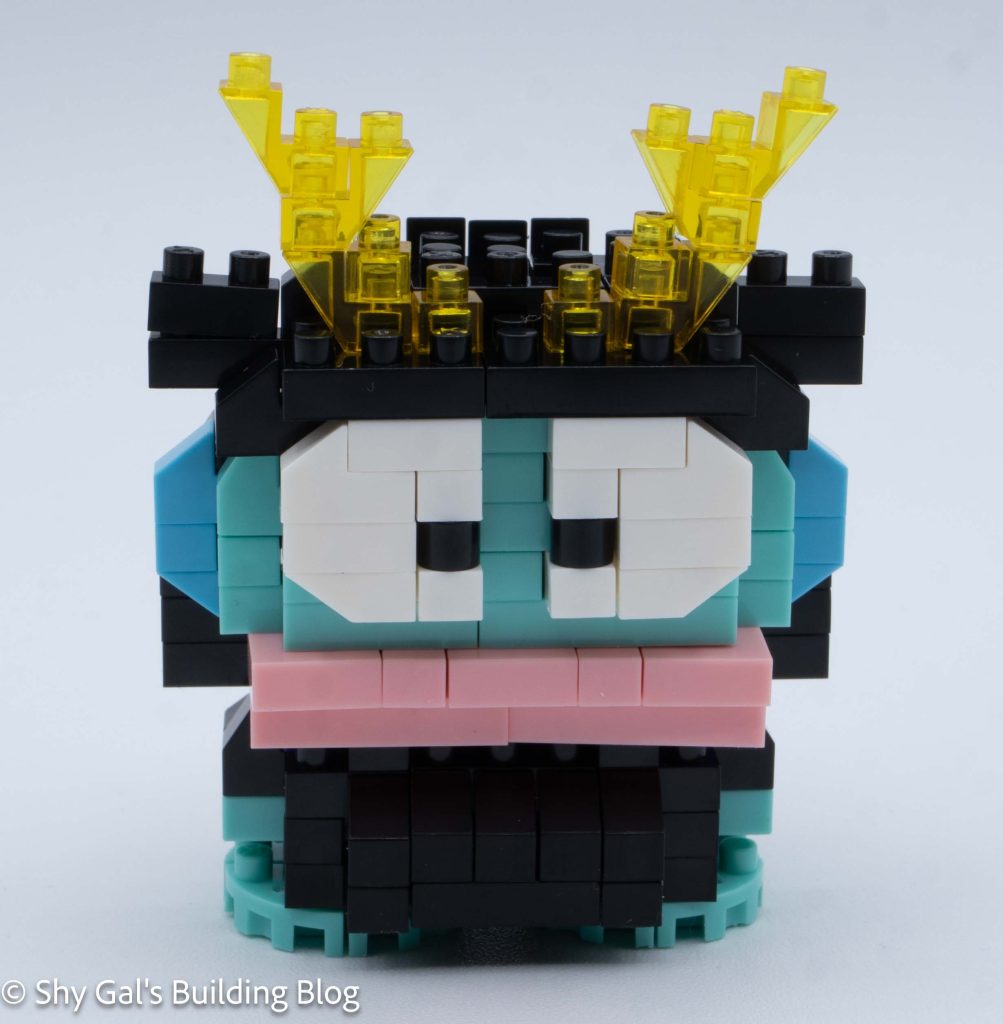
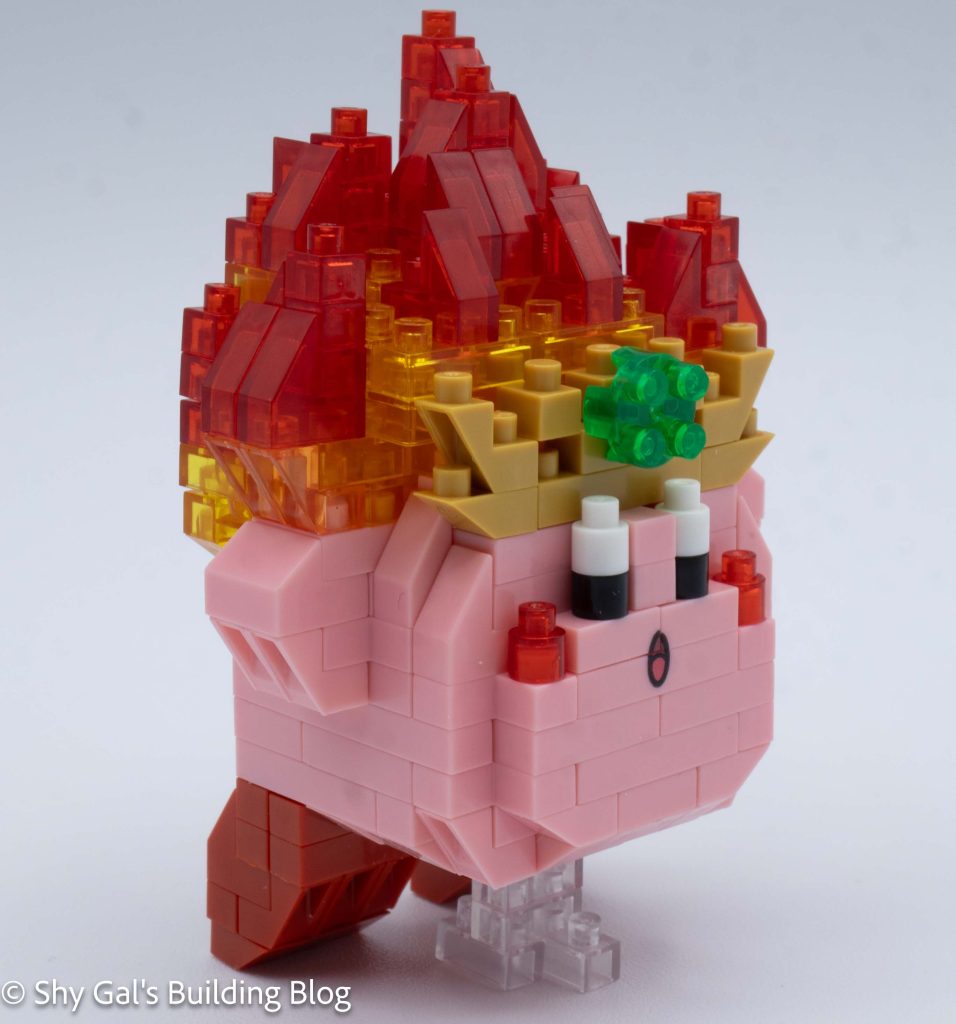
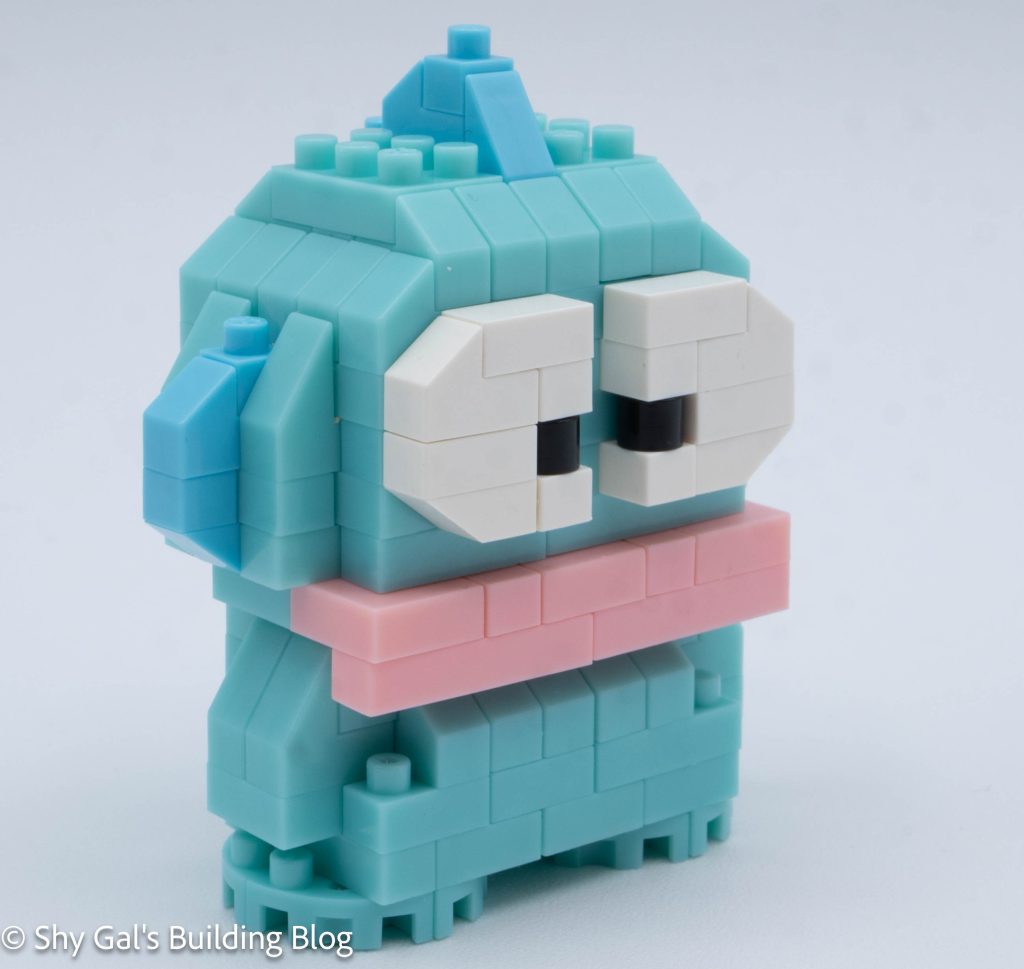
The rest of the head is fairly straightforward, going up in layers. At one point, I began to build the bow, so I needed to be careful to use the correct pink in each step.

After completing the bow, I added the center of the bow.
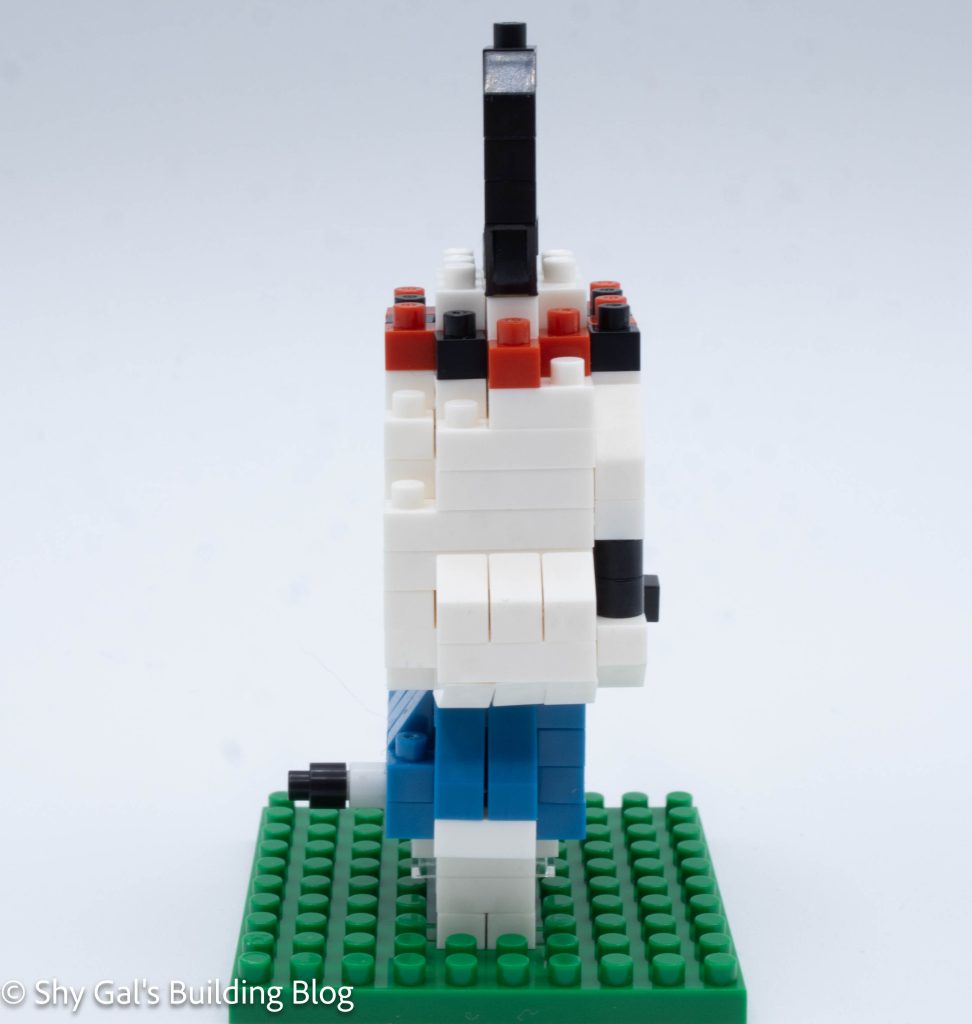
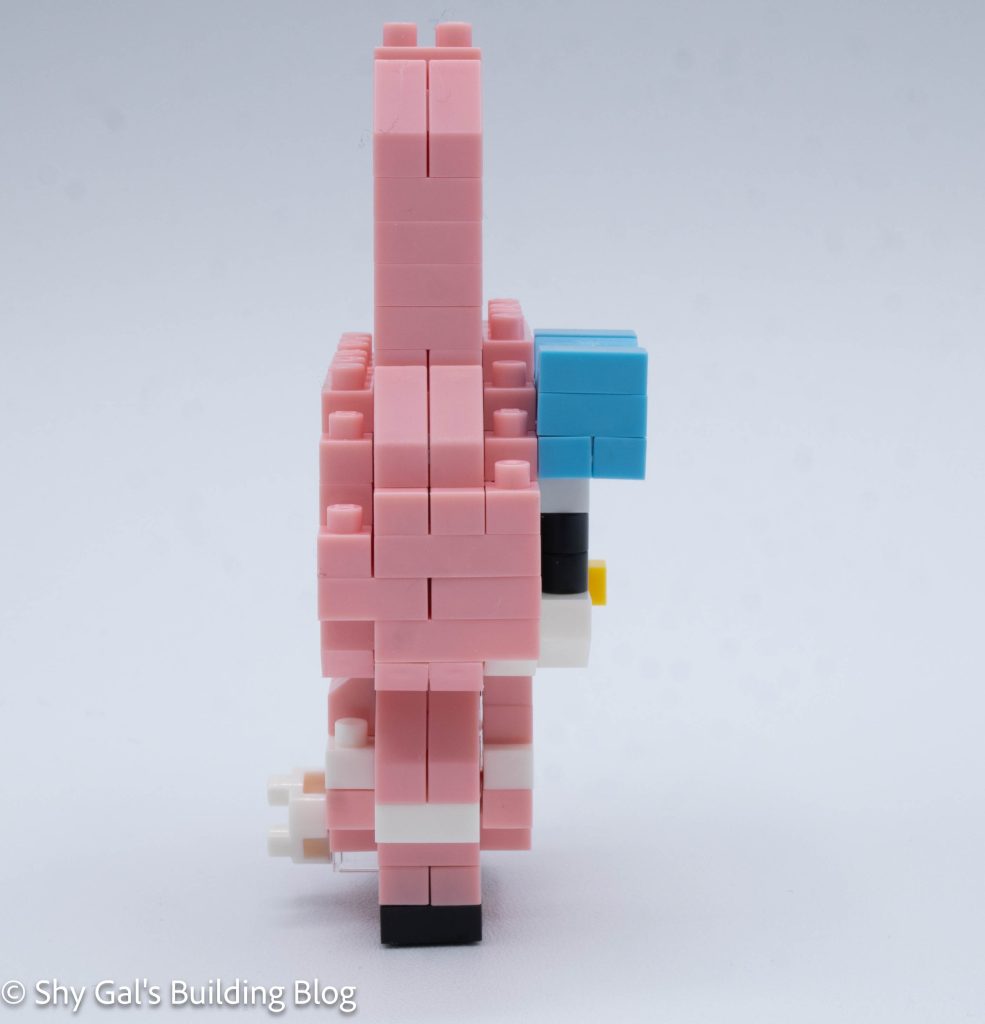
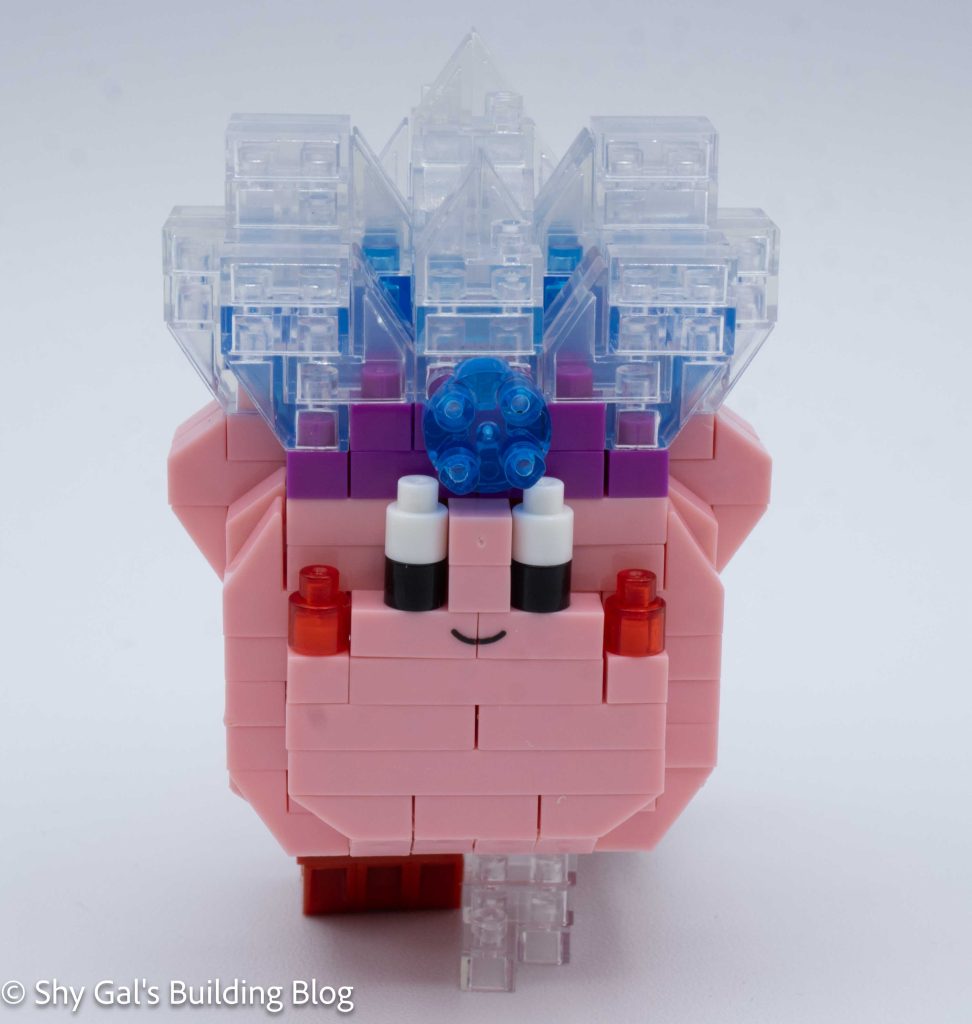
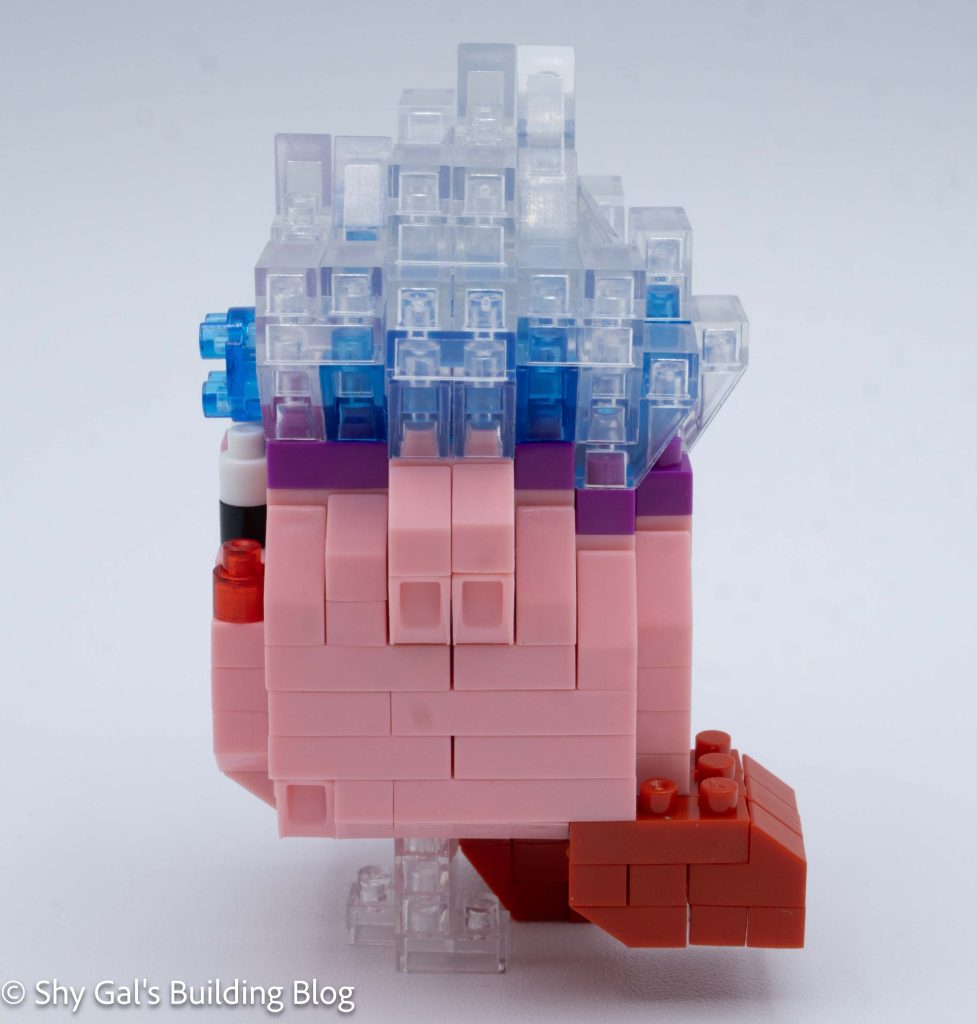
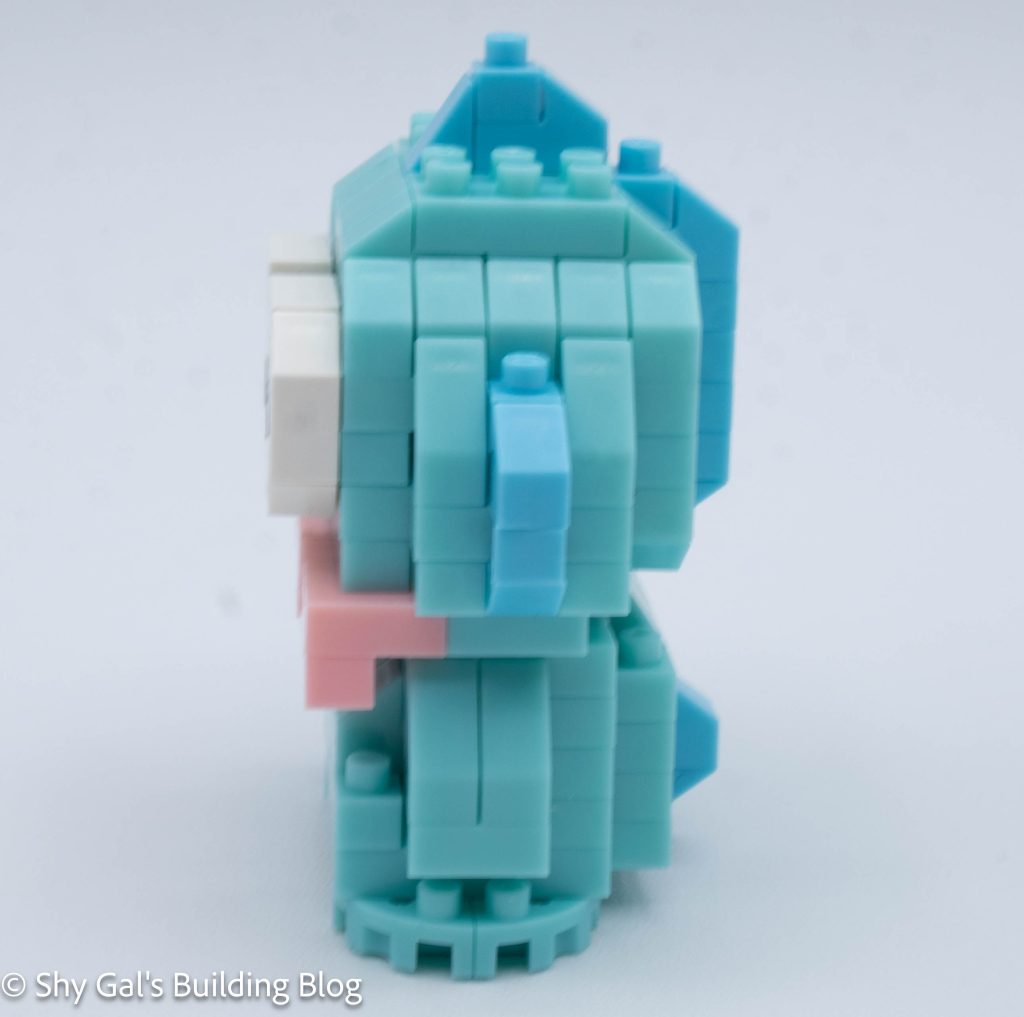
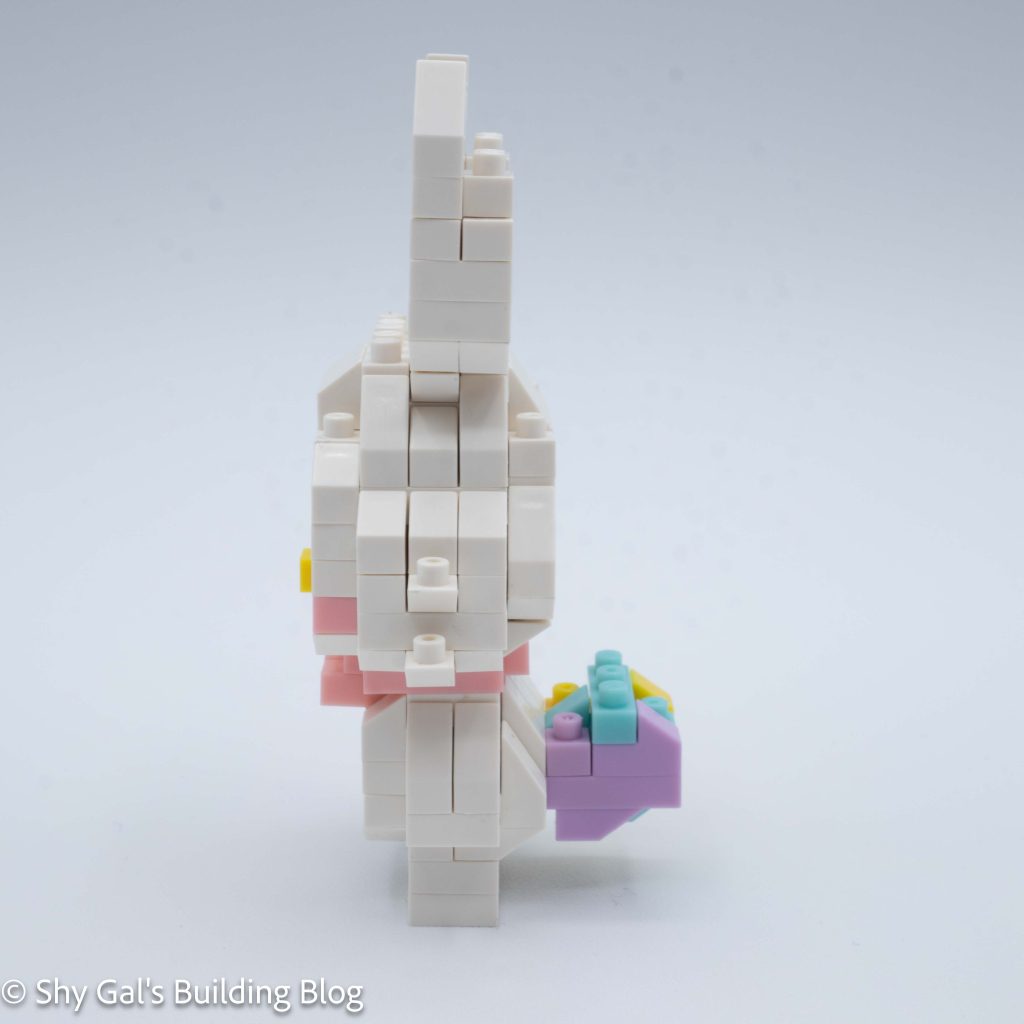
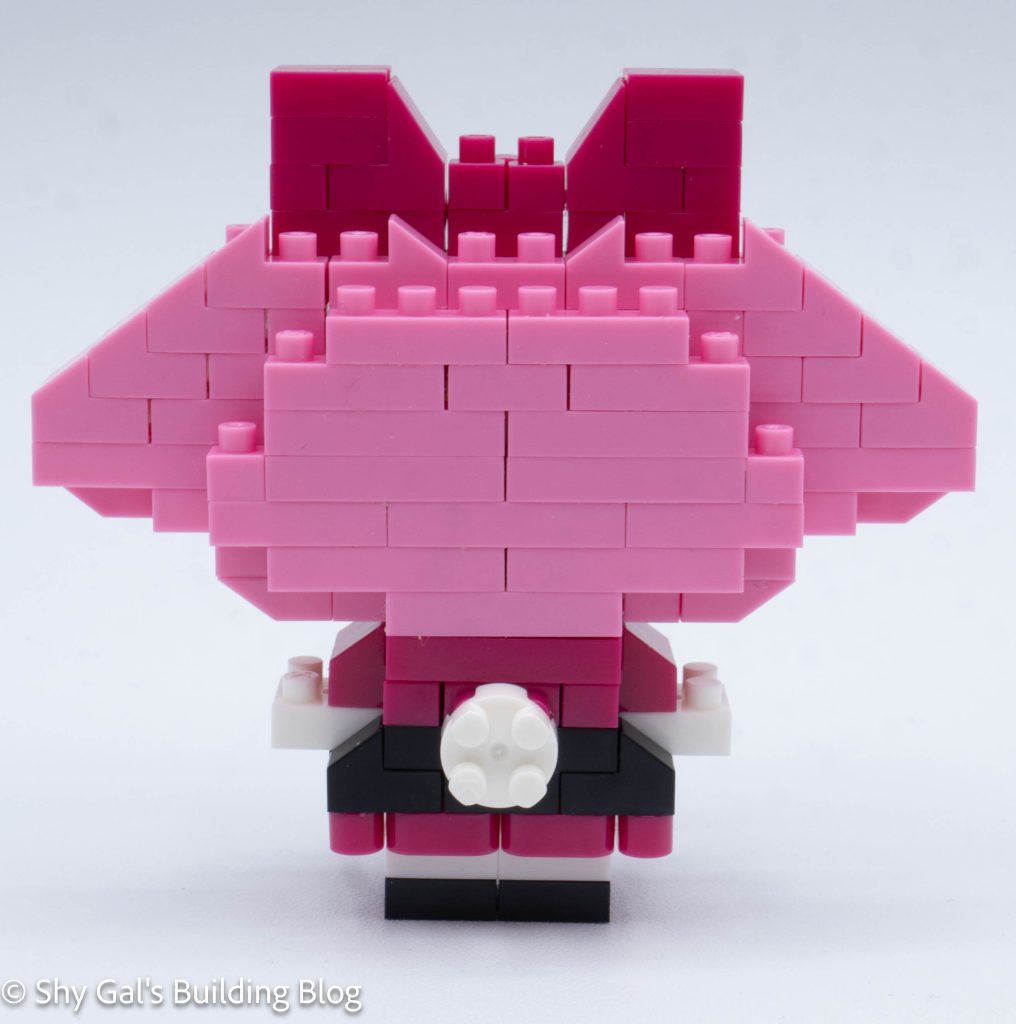
Next, I flipped the head over and added details to the underside to round out the head.
The final step of the head is to add what appears to be a random brick to the front of the build.
Next was the time to build the body. I was able to build the body on my nanoblock pad, which made it very simple. The body goes up in straightforward layers.
After building up the body, I flipped the build over and added the legs.
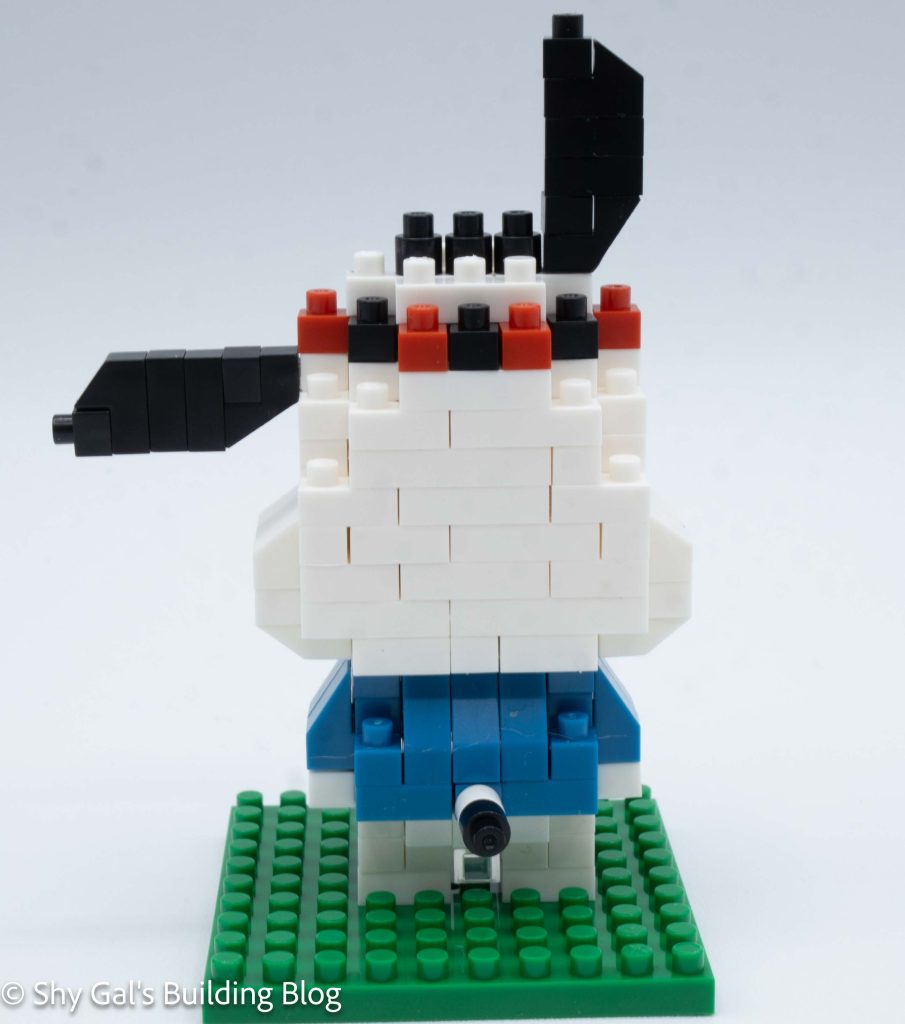
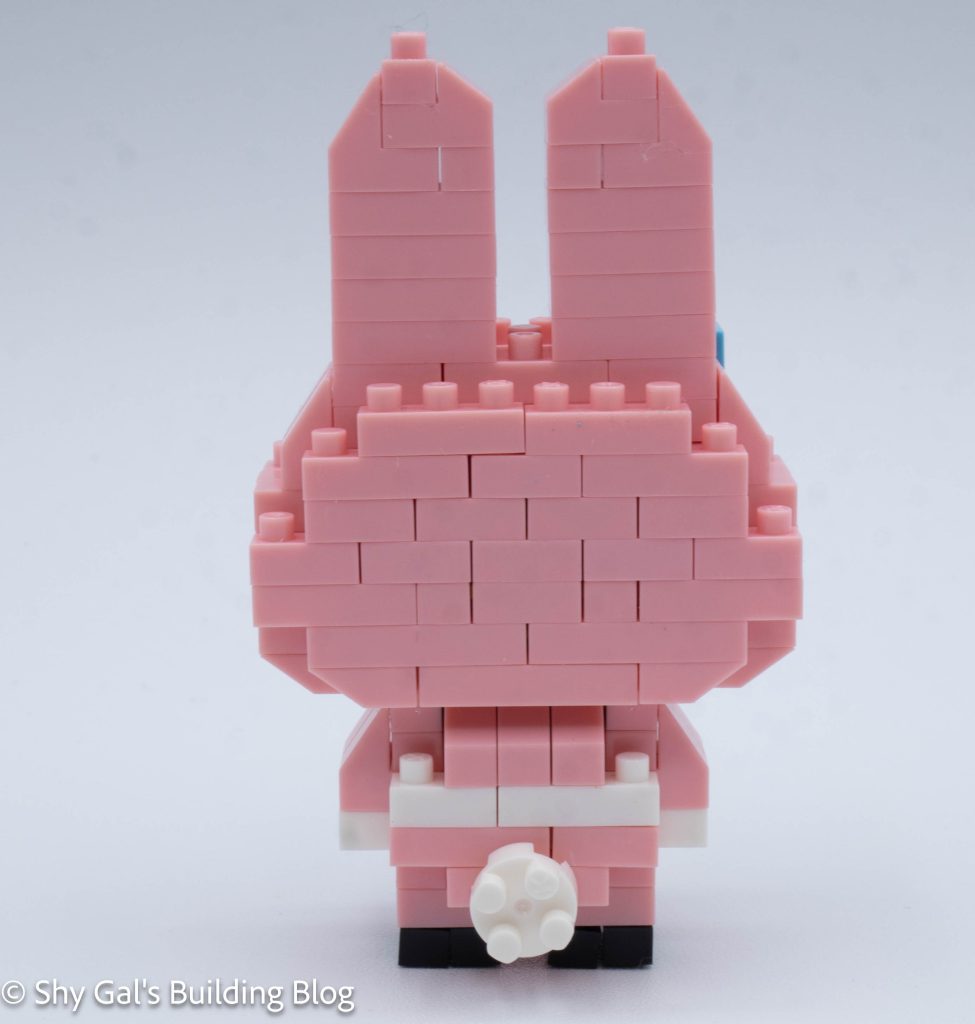
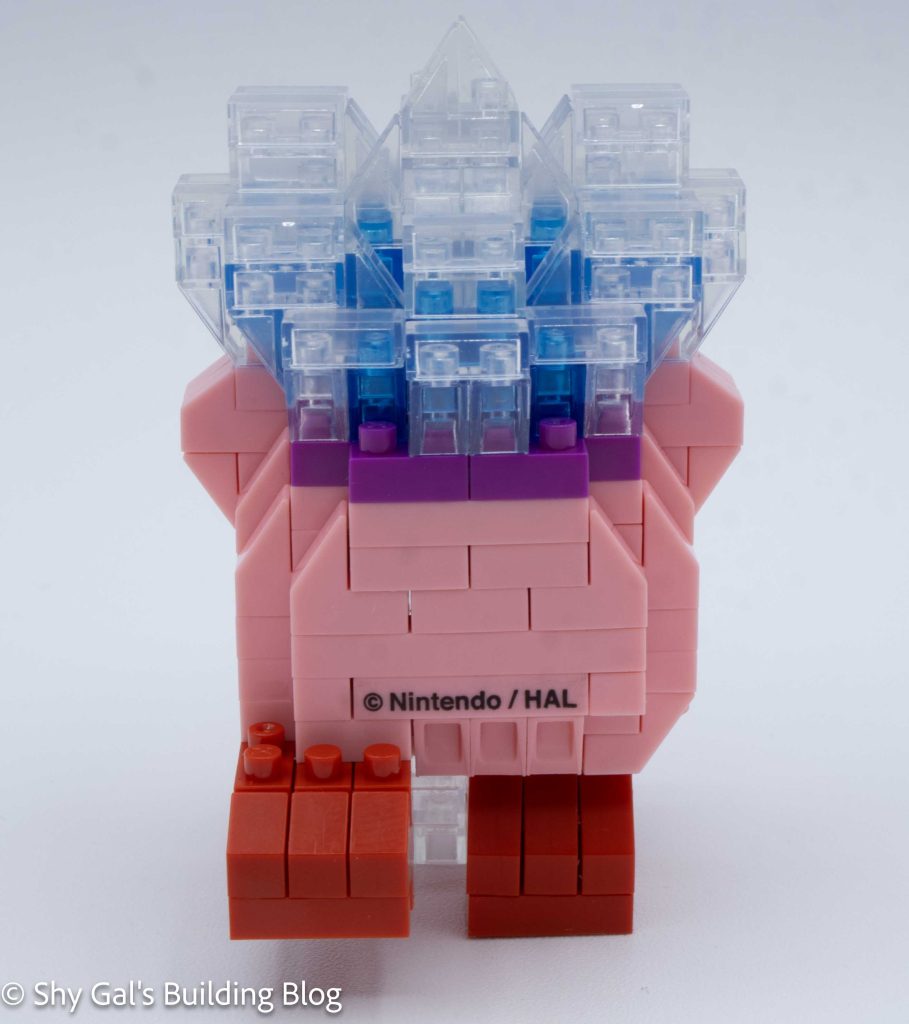
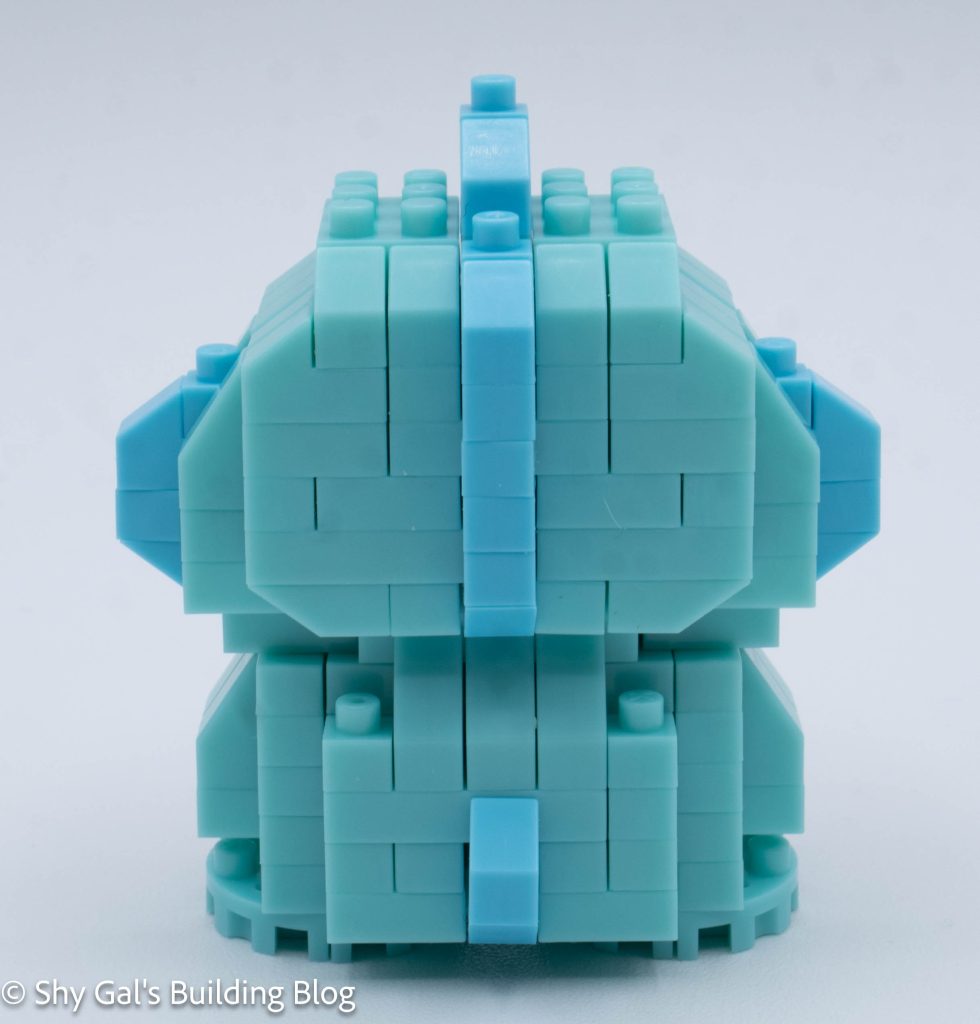
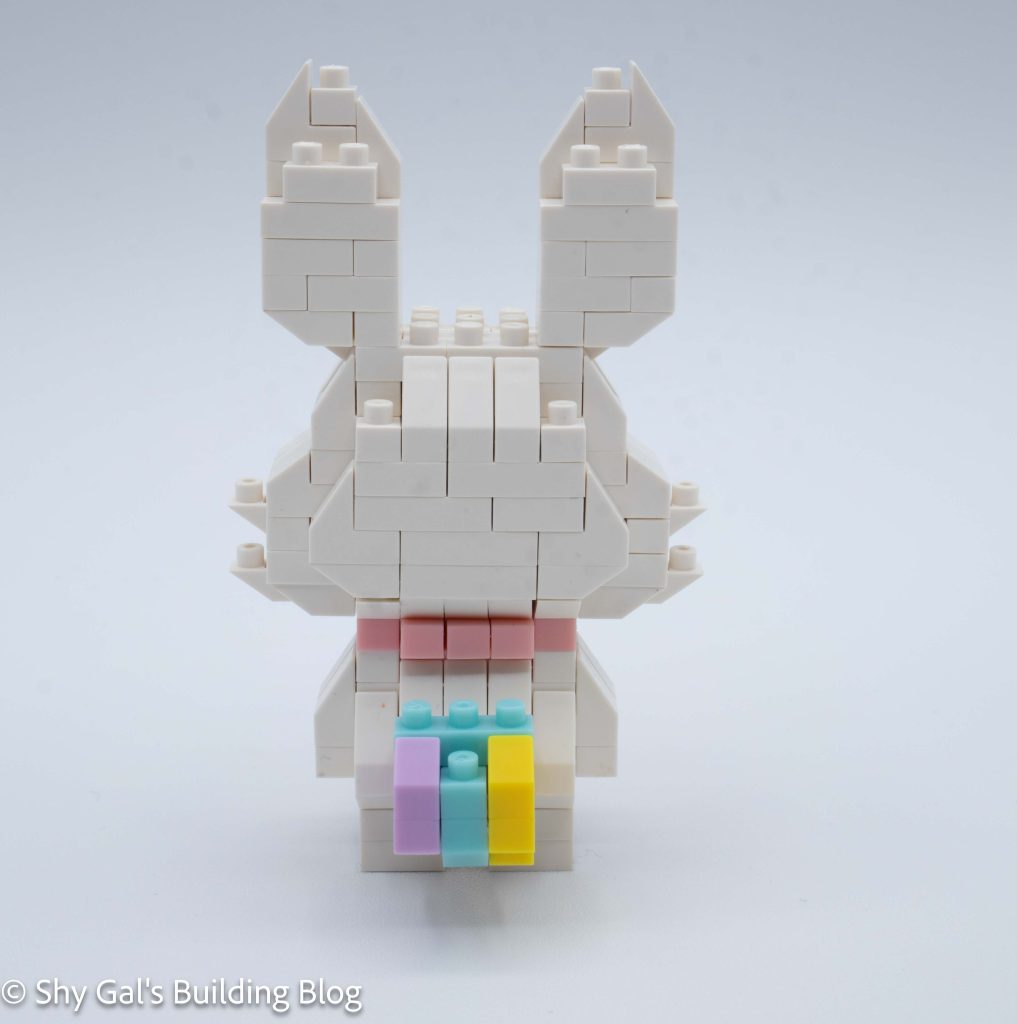
The final step was to add the details to the back of the outfit.
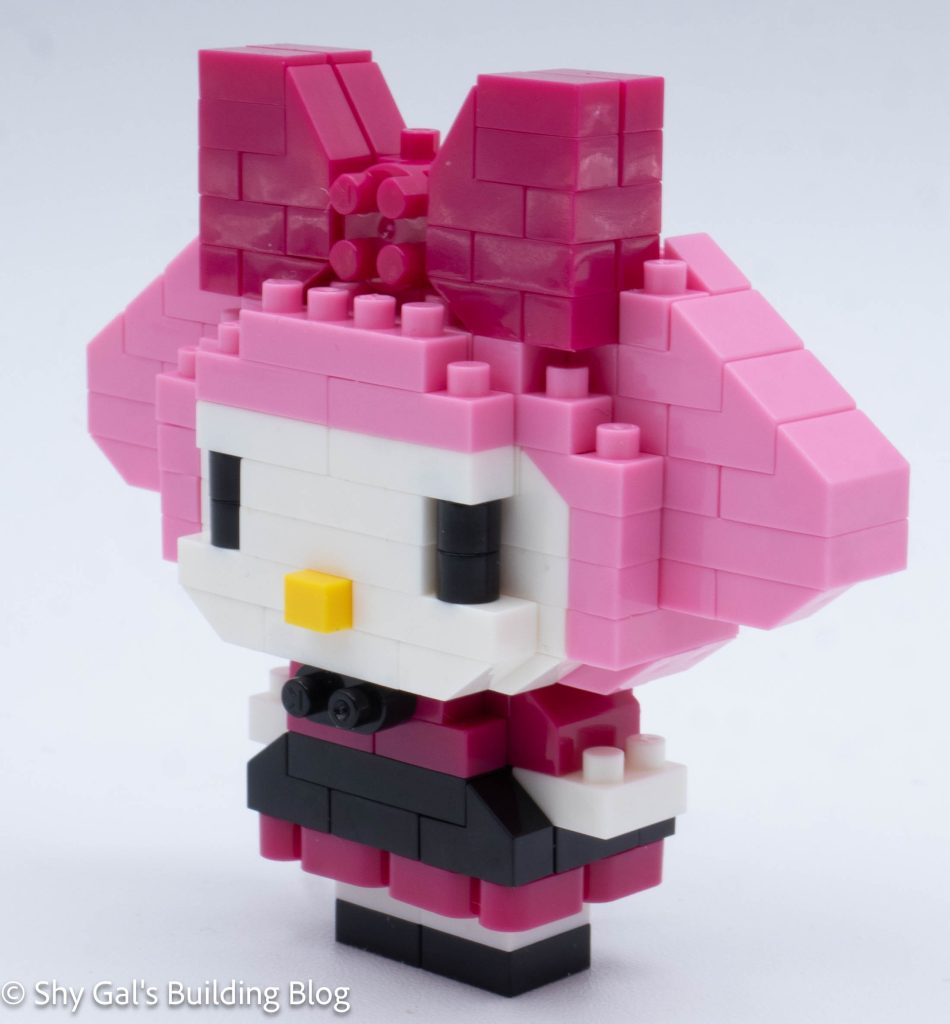
Finally, connect the head to the body. The random brick on the head became a bow on the body.
Things I liked:
- I really like the details throughout the dress, such as the bows and use of rounded bricks
Things I didn’t like:
- I didn’t really like how loose the head was, and the bricks were going in various directions when I tried to push the bricks together.