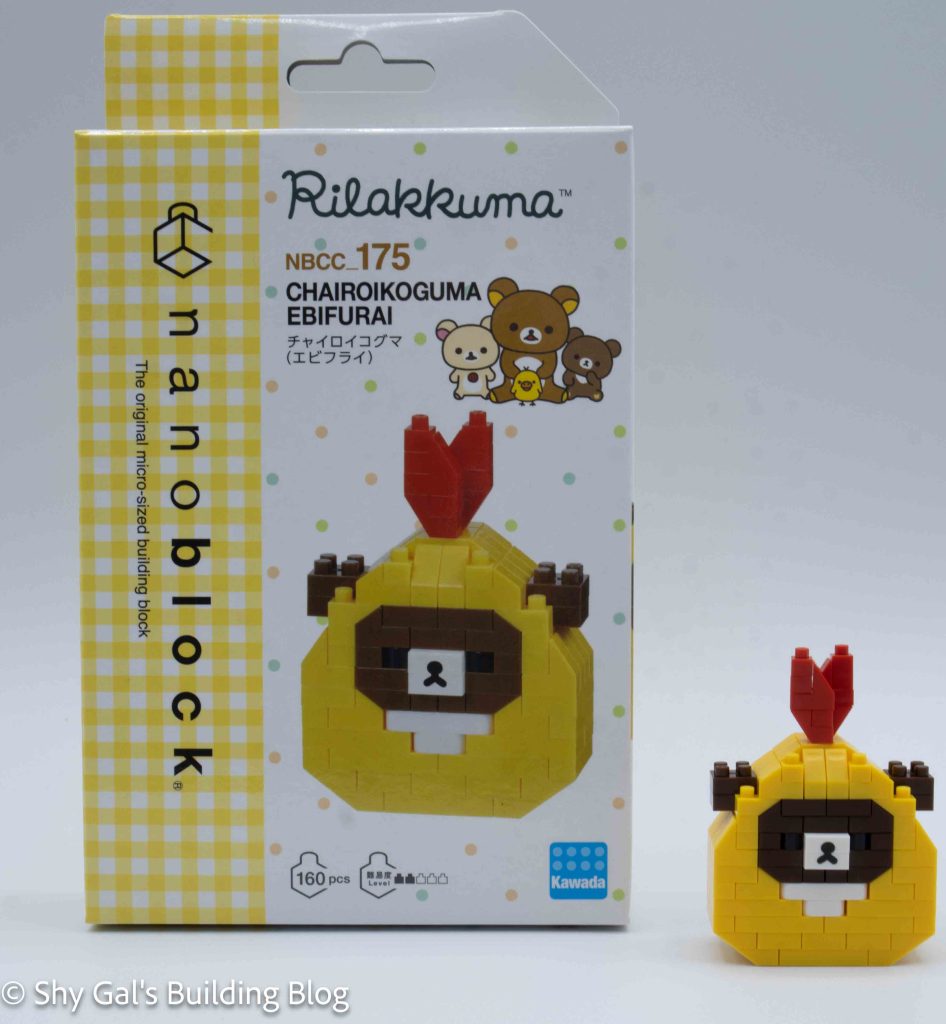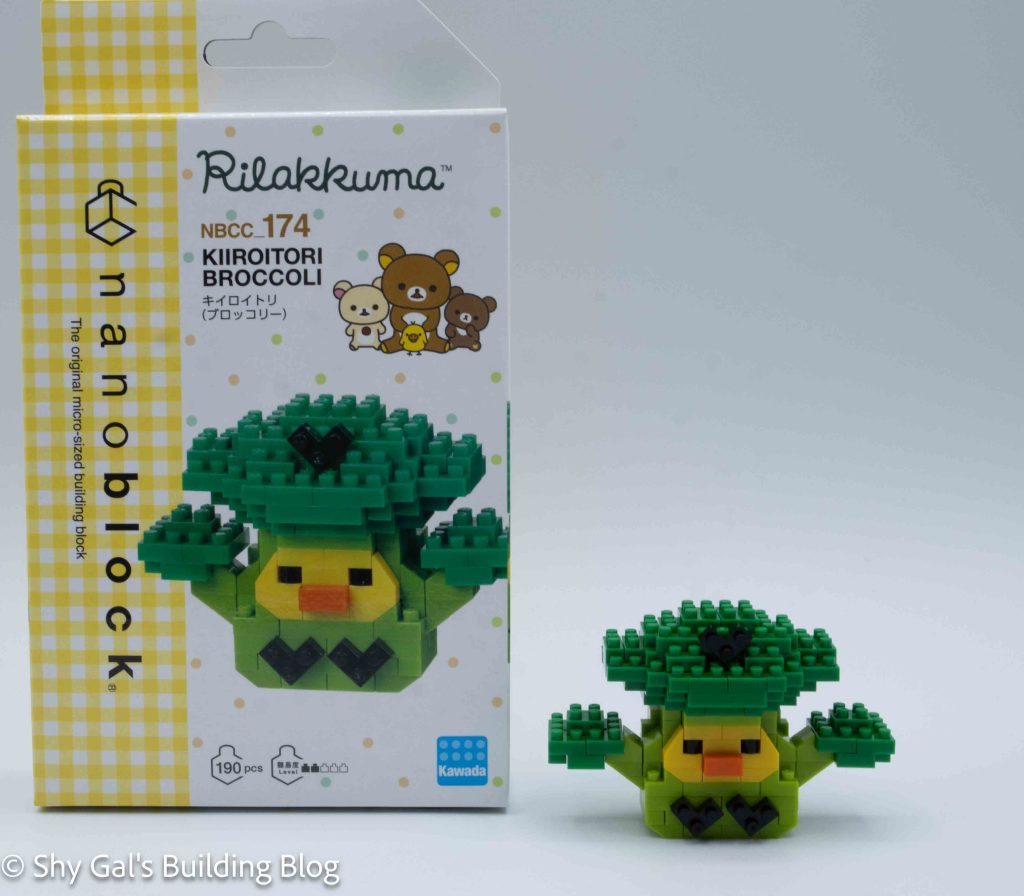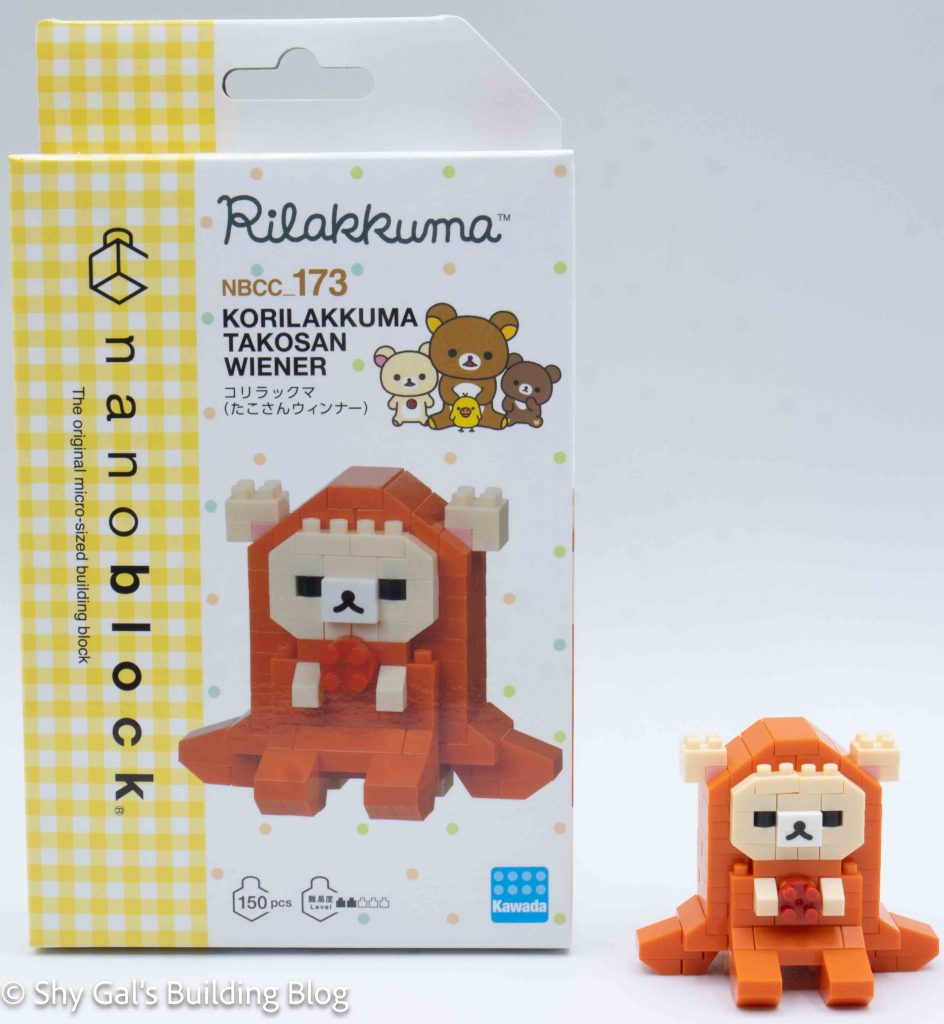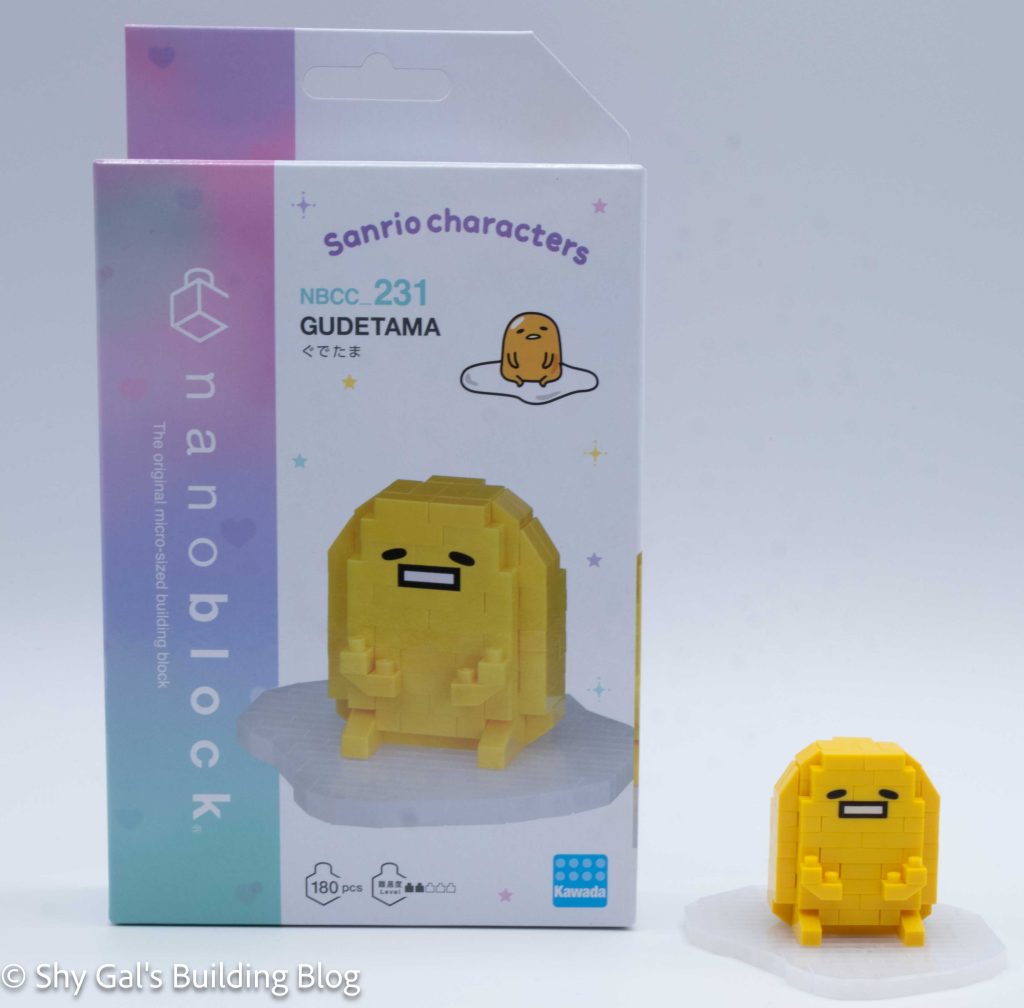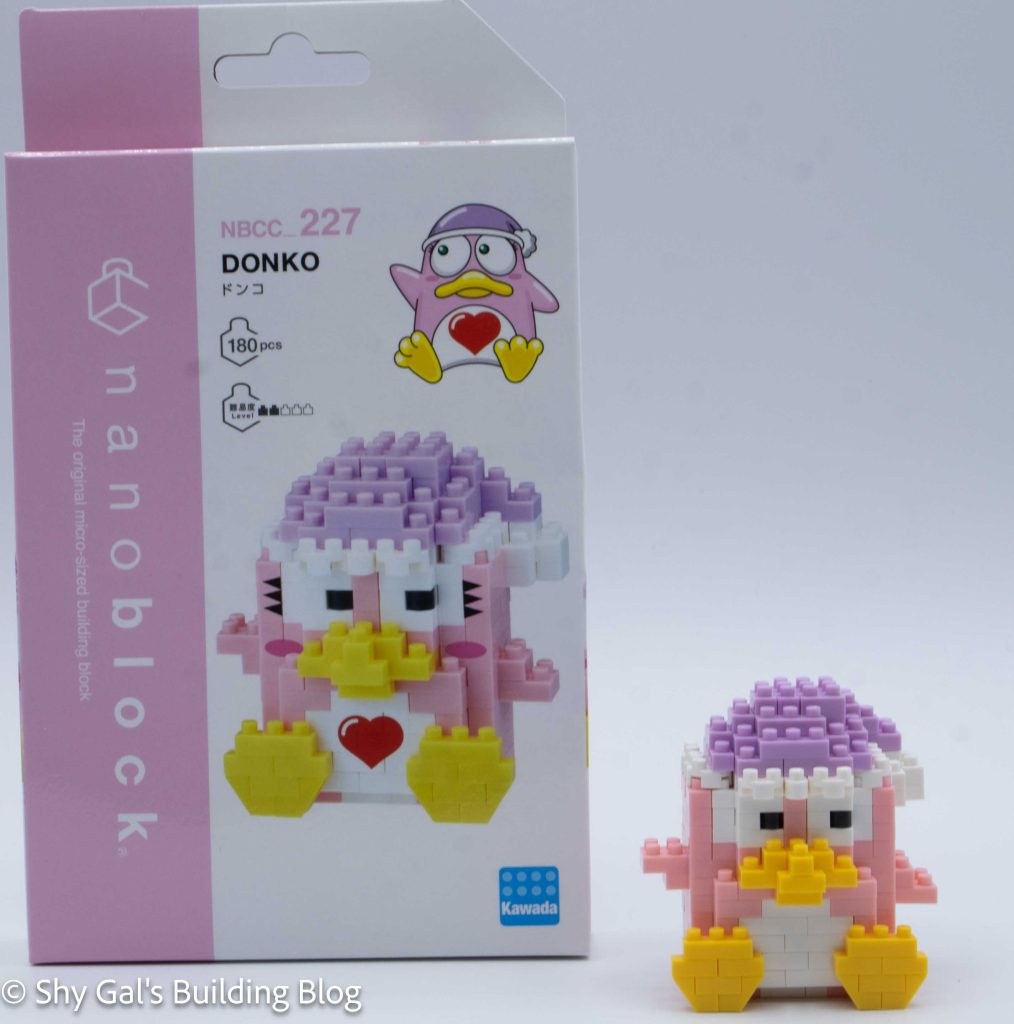
This post is a review of the nanoblock Donko build. Donko is part of the nanoblock Character collection. Wondering what else is part of the Character collection? Click here for a list.
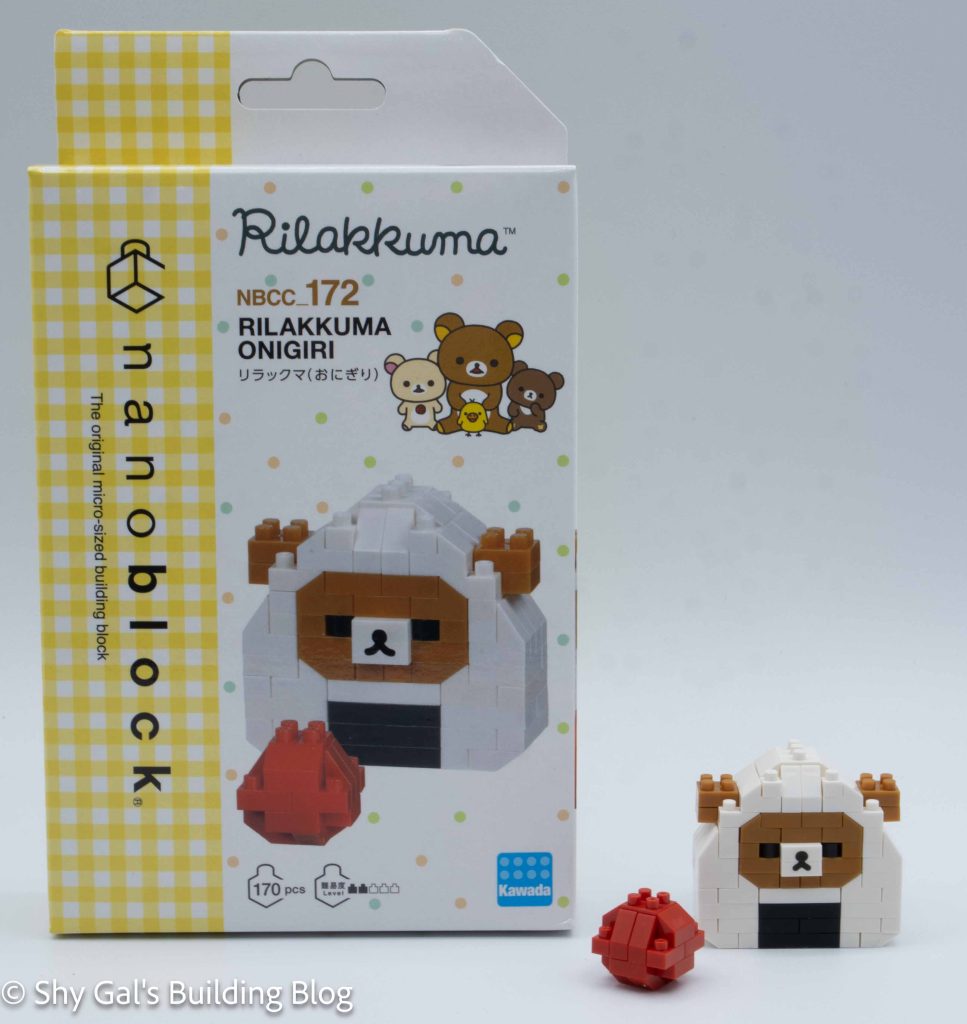
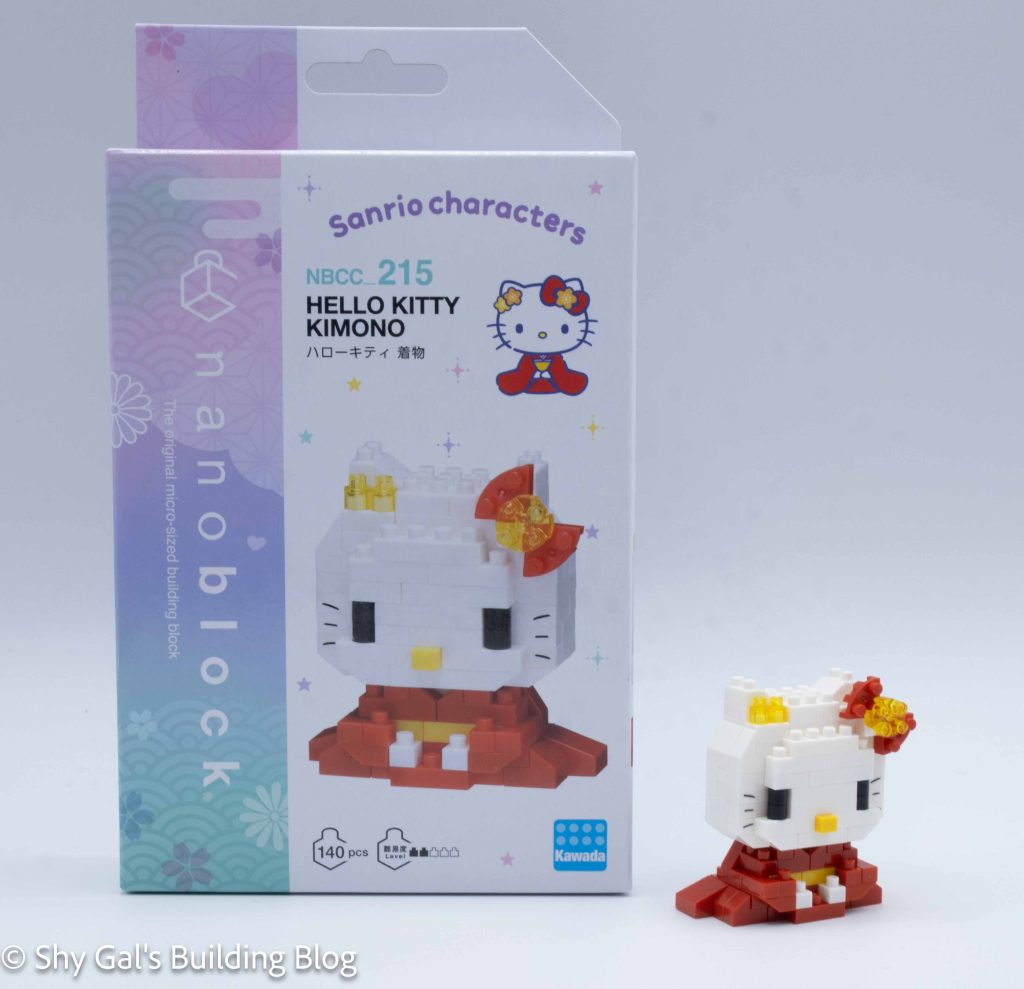
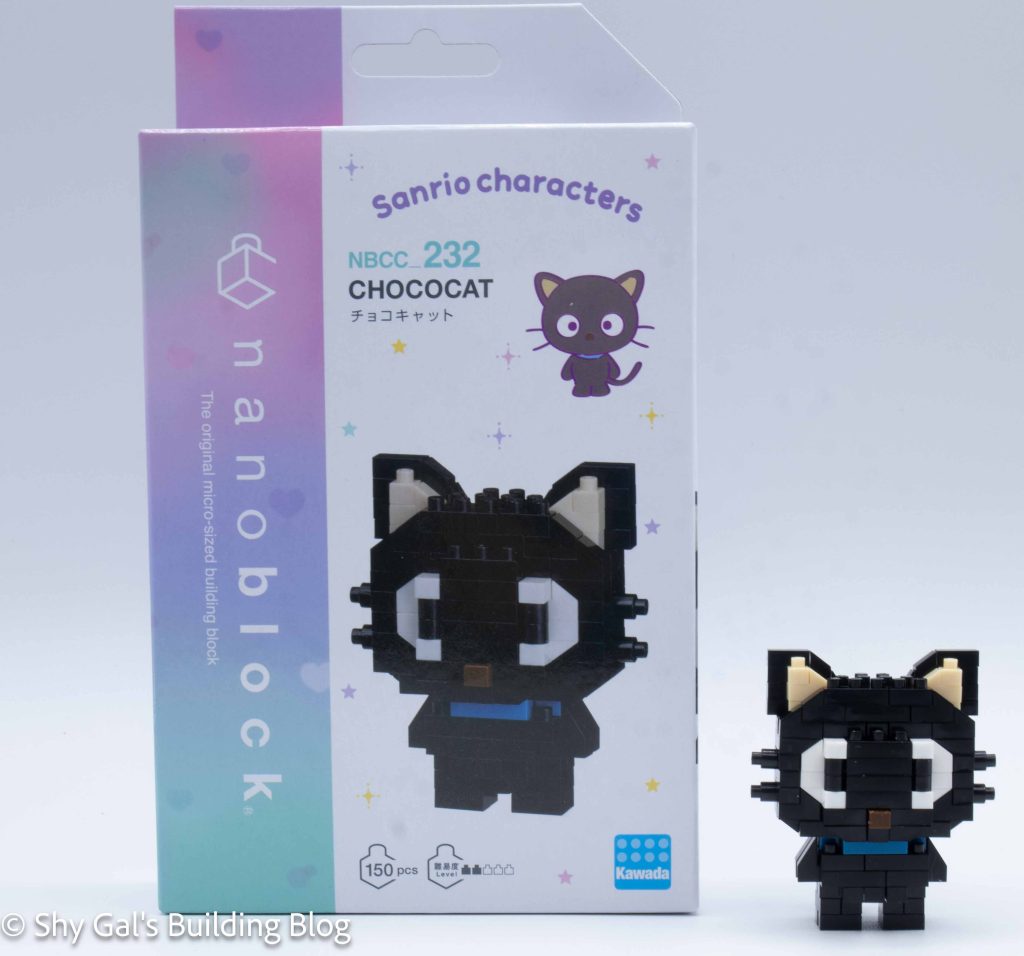
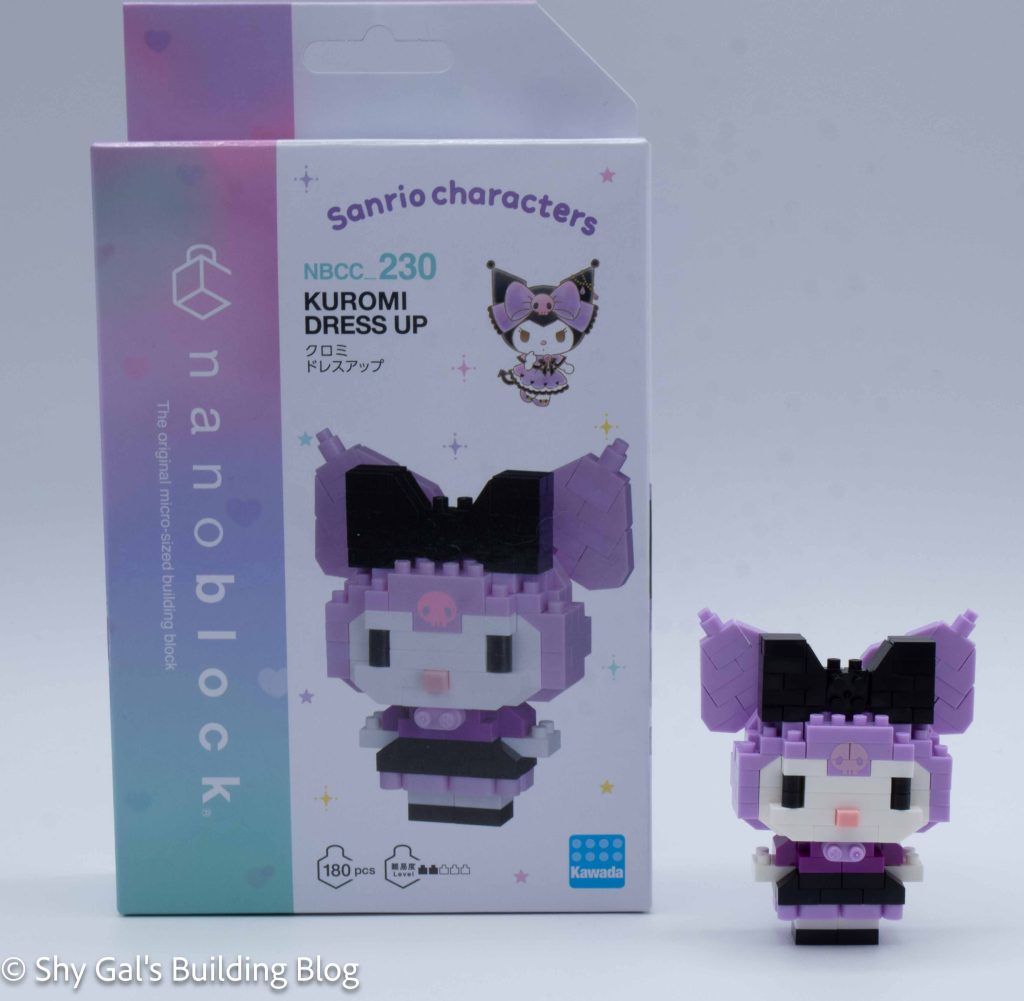
Number: NBCC_227
Number of Pieces: 180
Difficulty Rating: 2/5
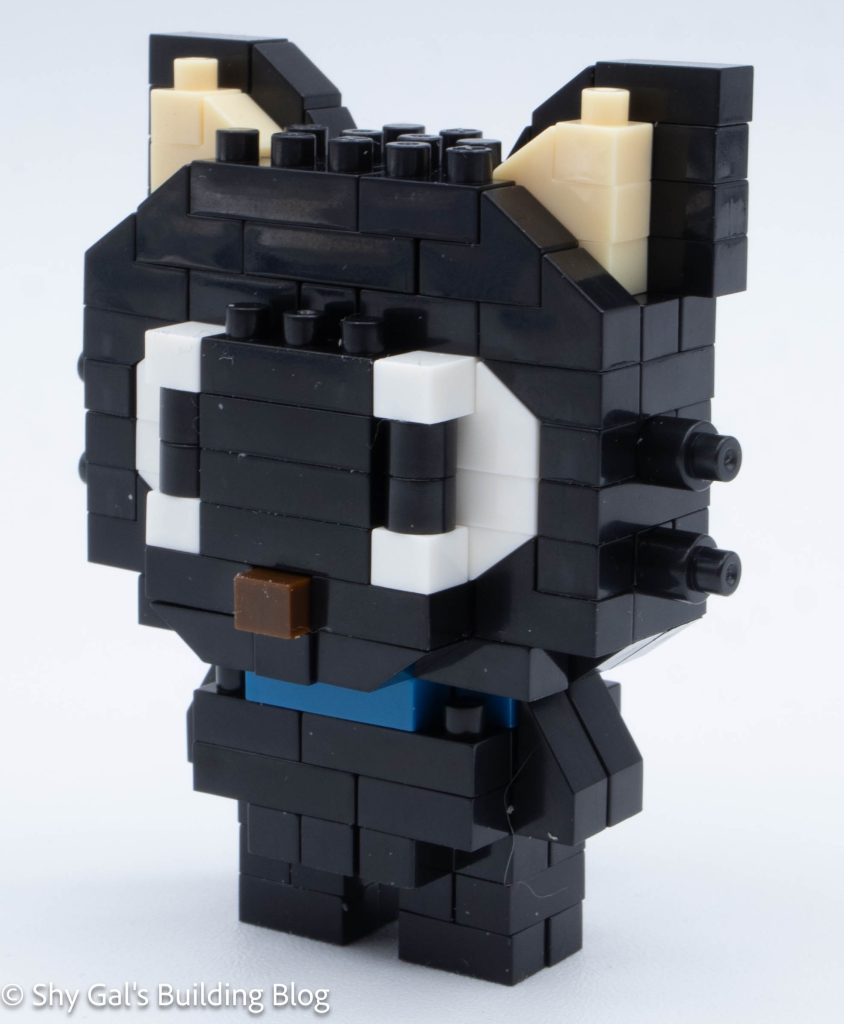
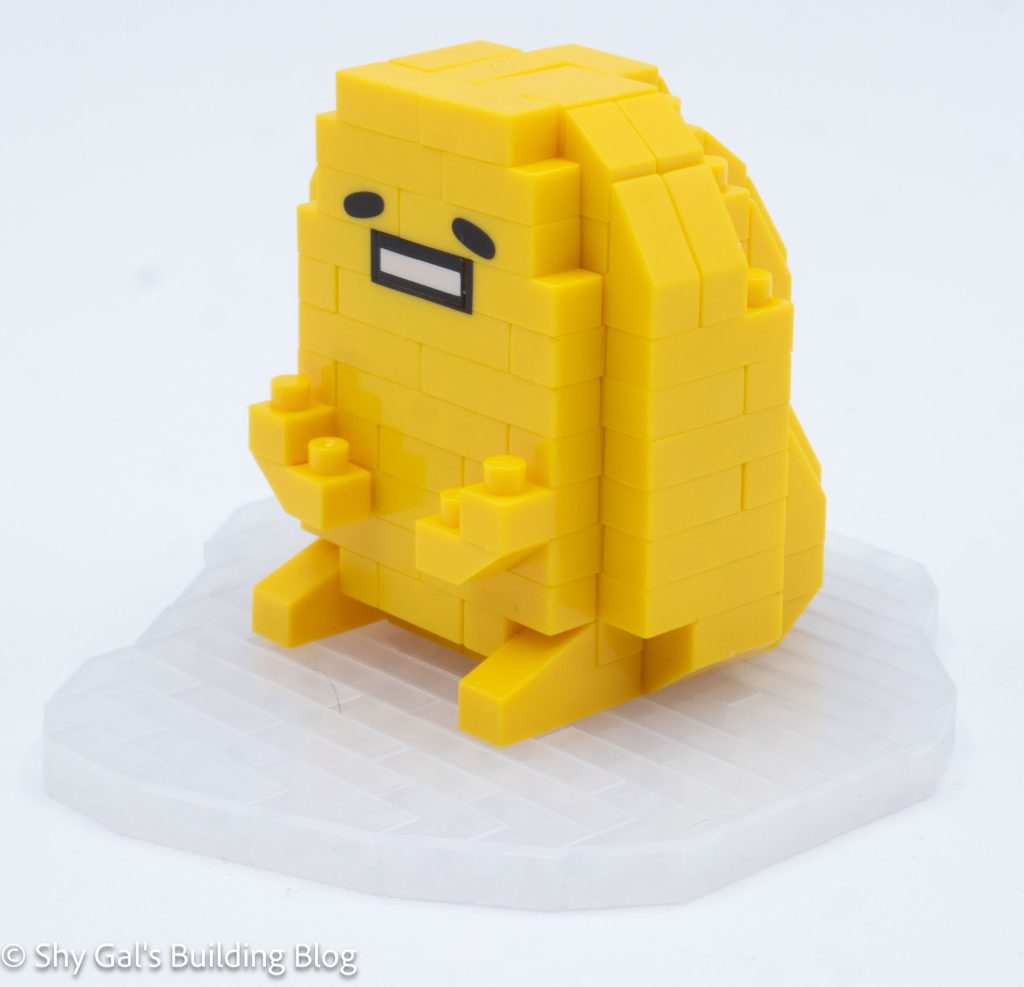
I think that Donko is one of the Donki mascots for the mega stores in Japan. I’m not sure, but there is a link to donki.com’s official character page on the directions.
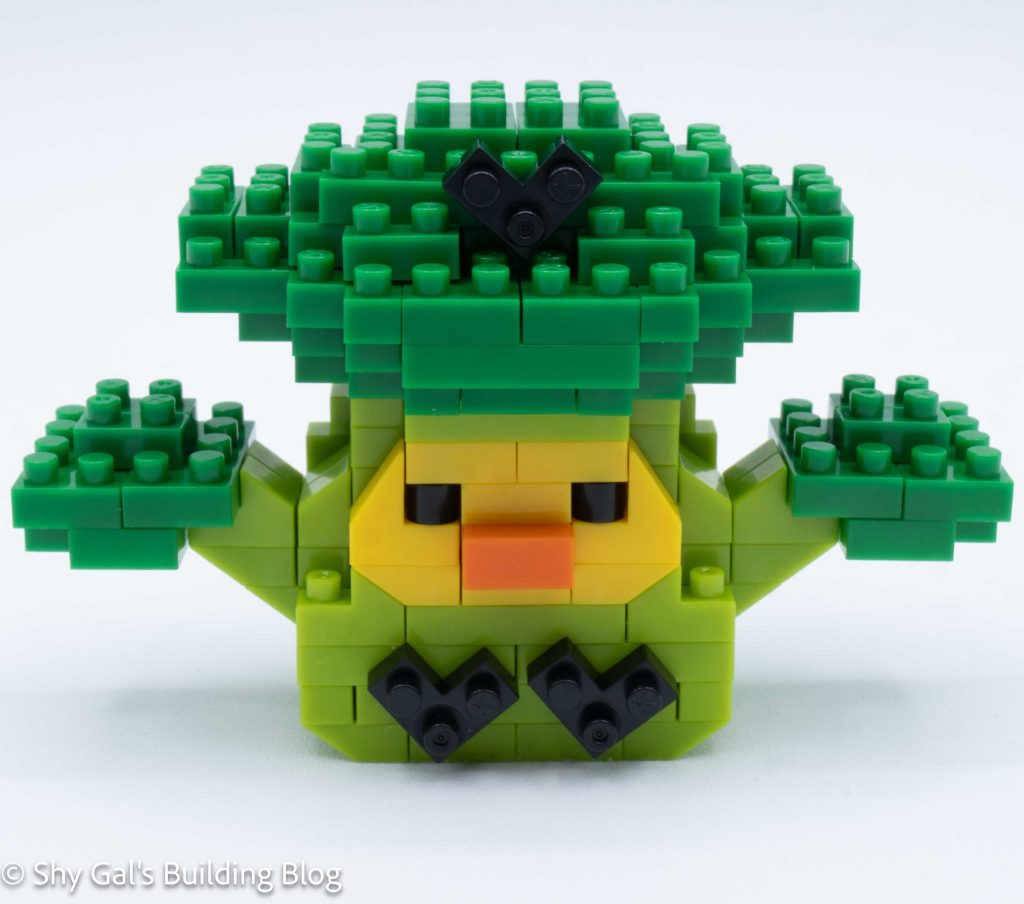
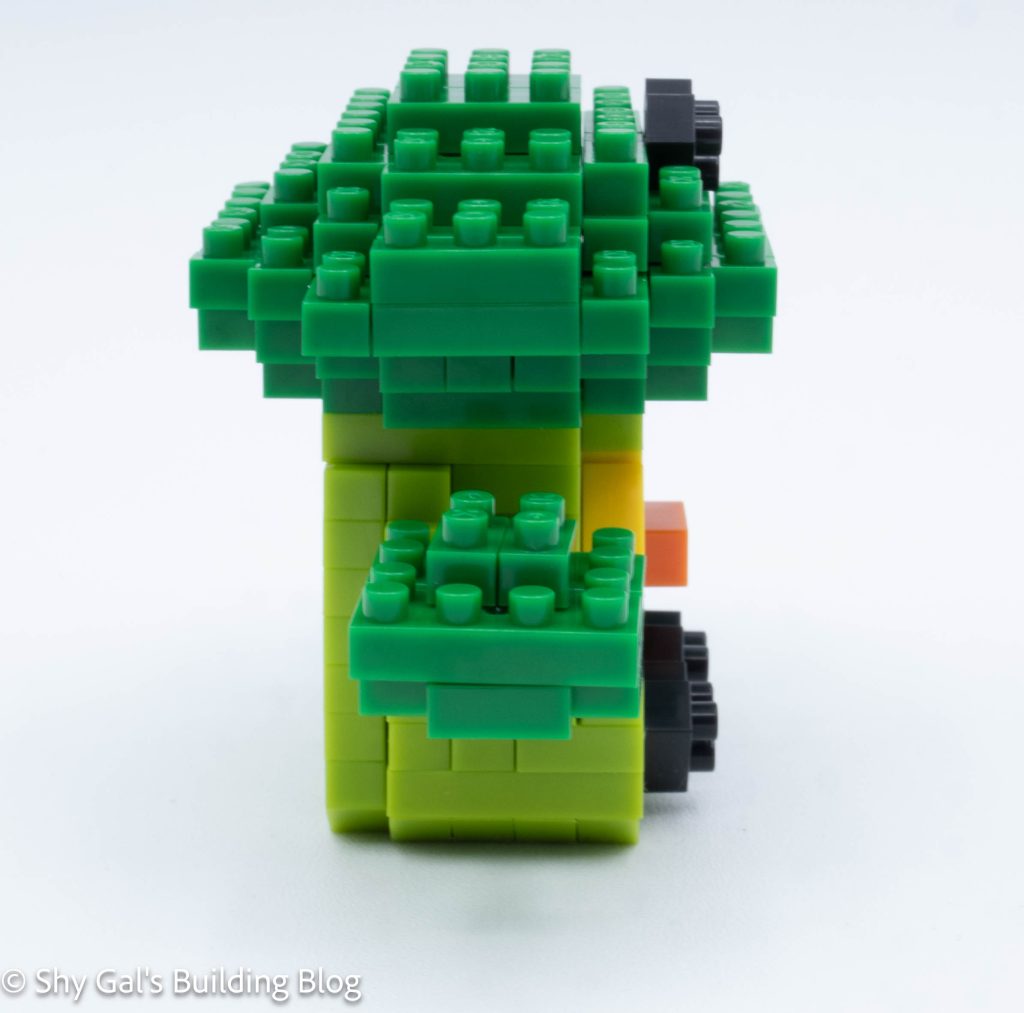
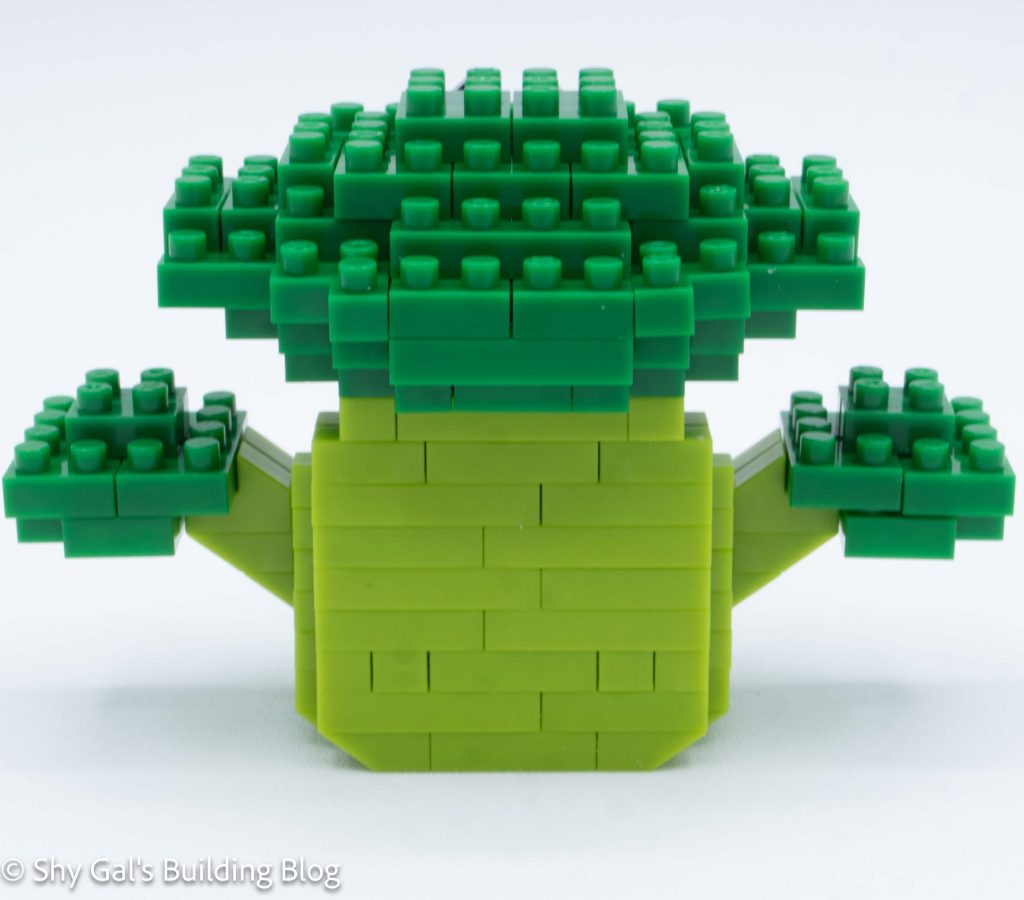
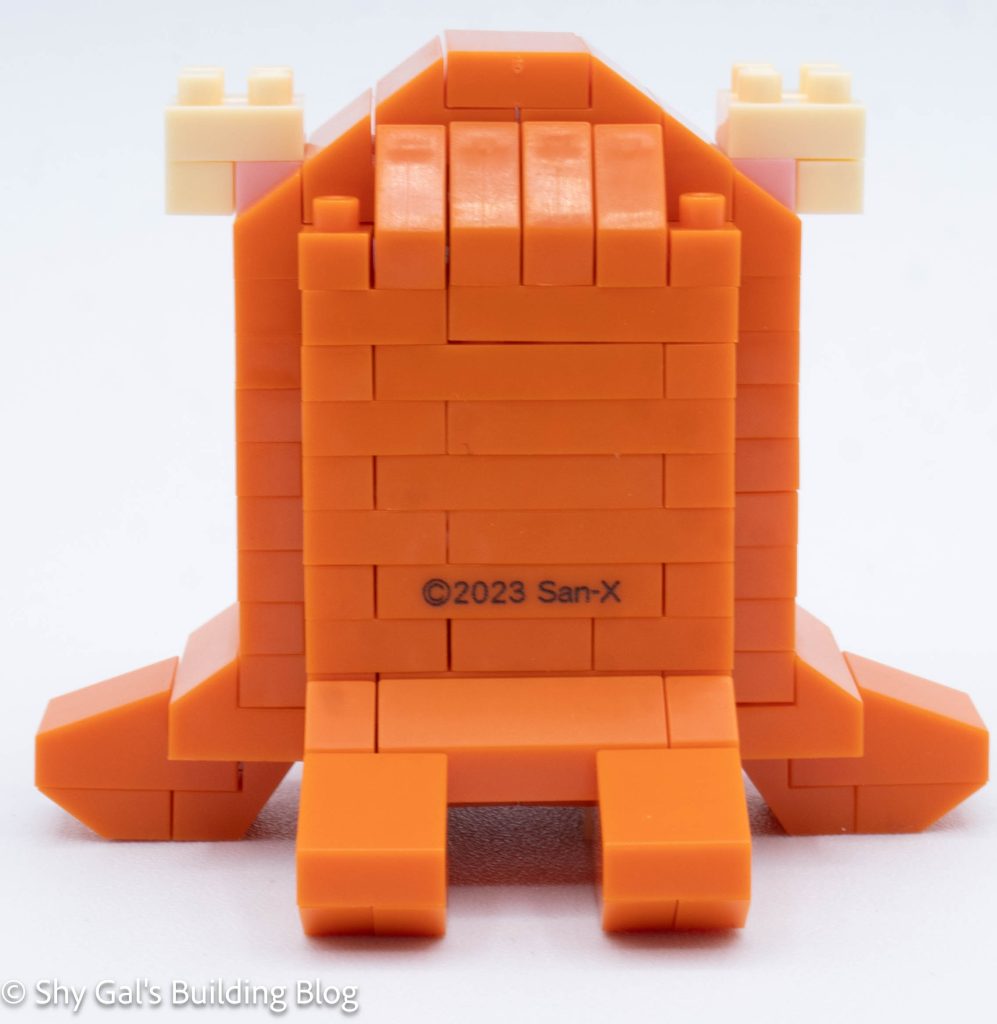
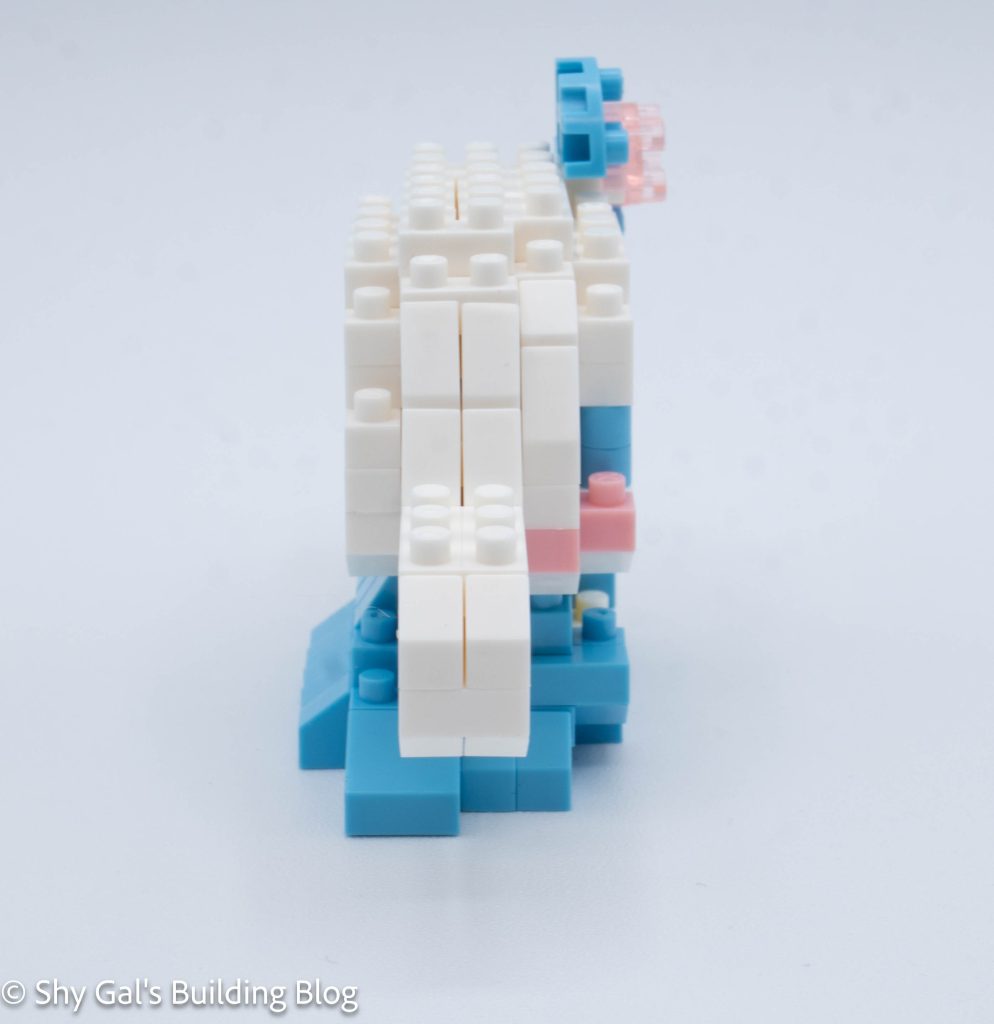
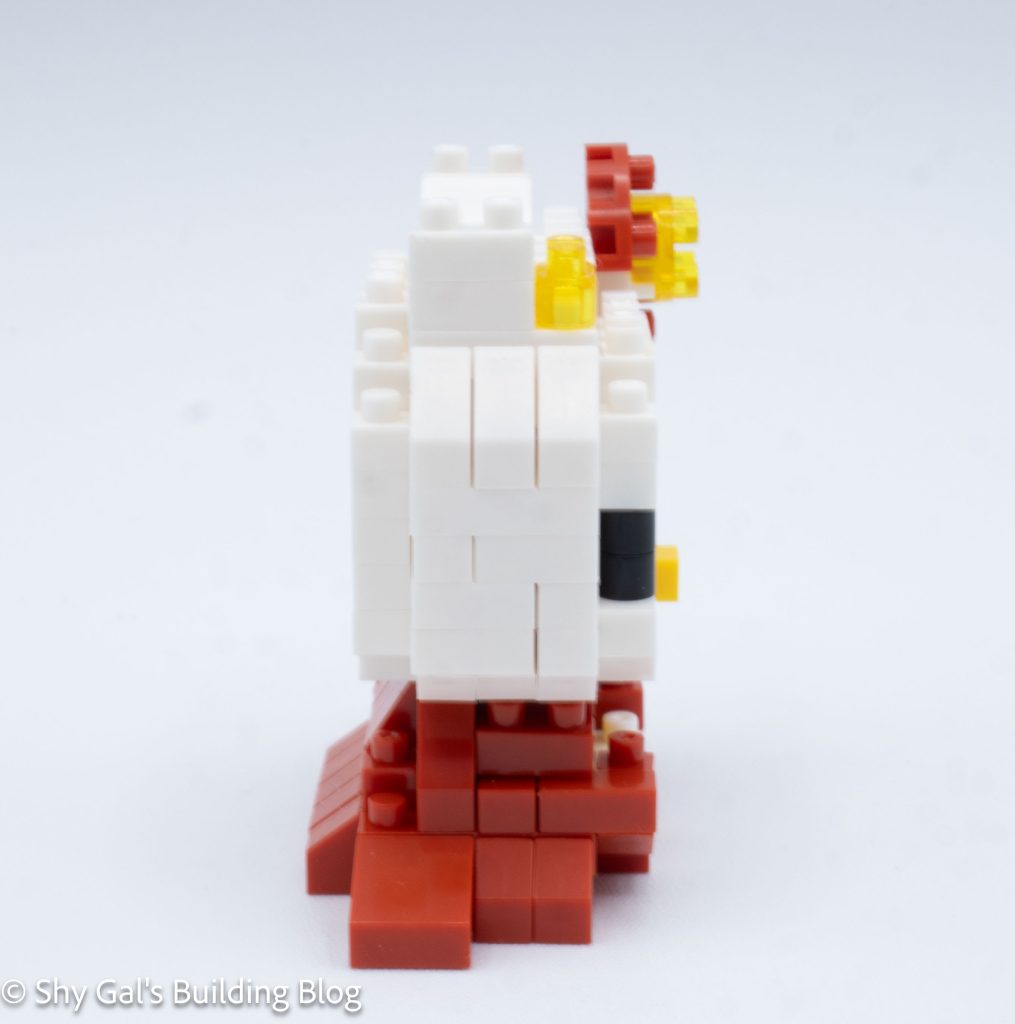
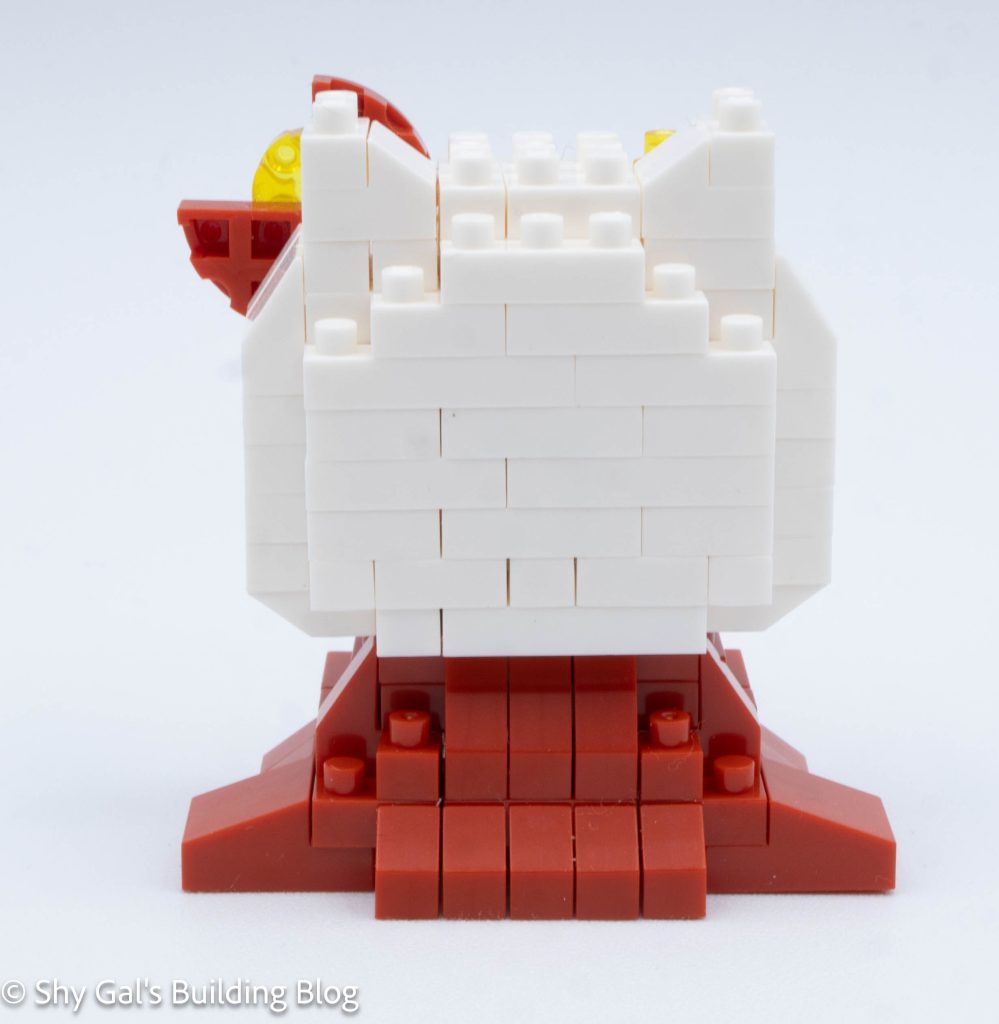
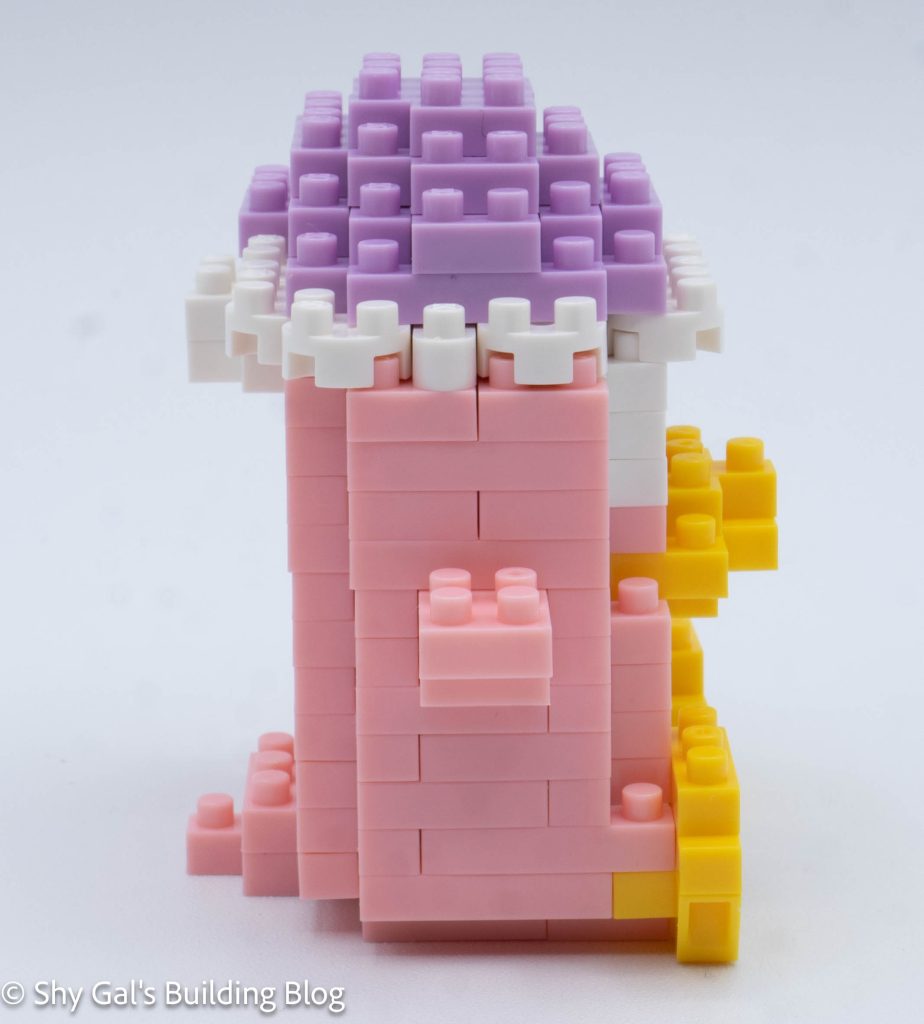
The build begins by laying a base layer of bricks out. I used my nanoblock pad. Over the first couple of steps, the base is enlarged and creates the solid base of the build and Donko’s feet.
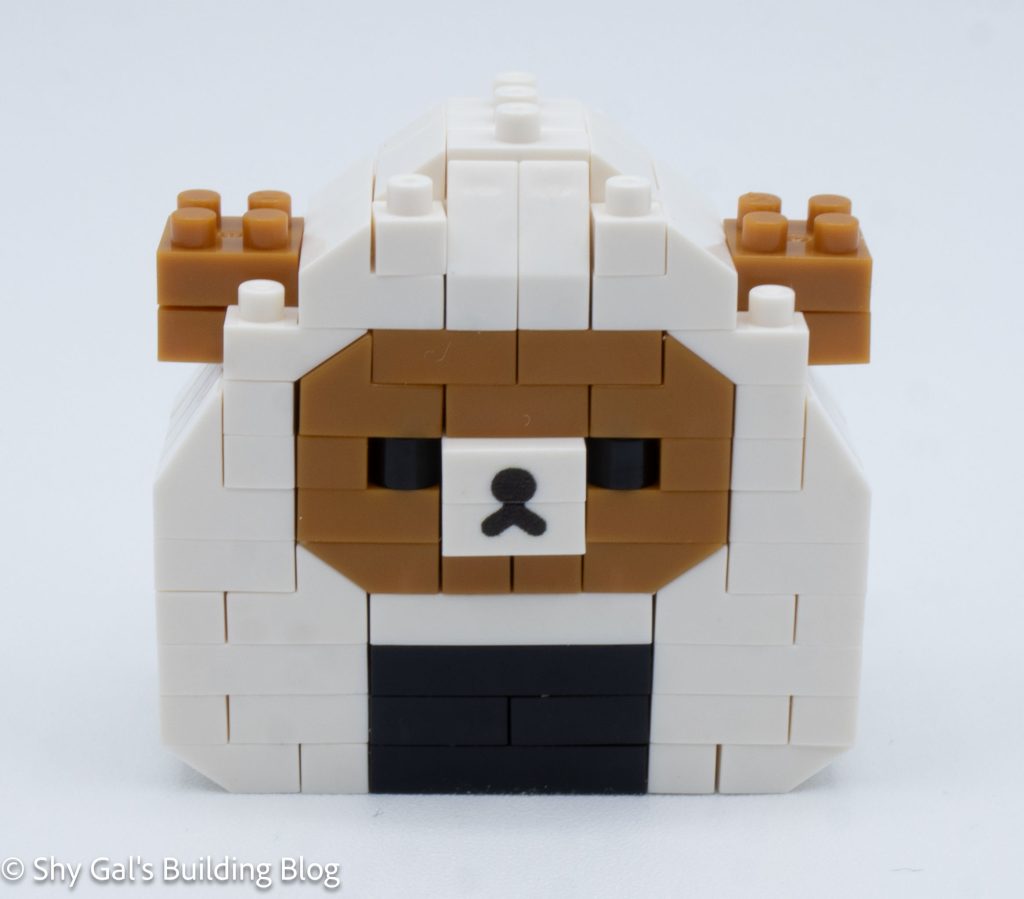
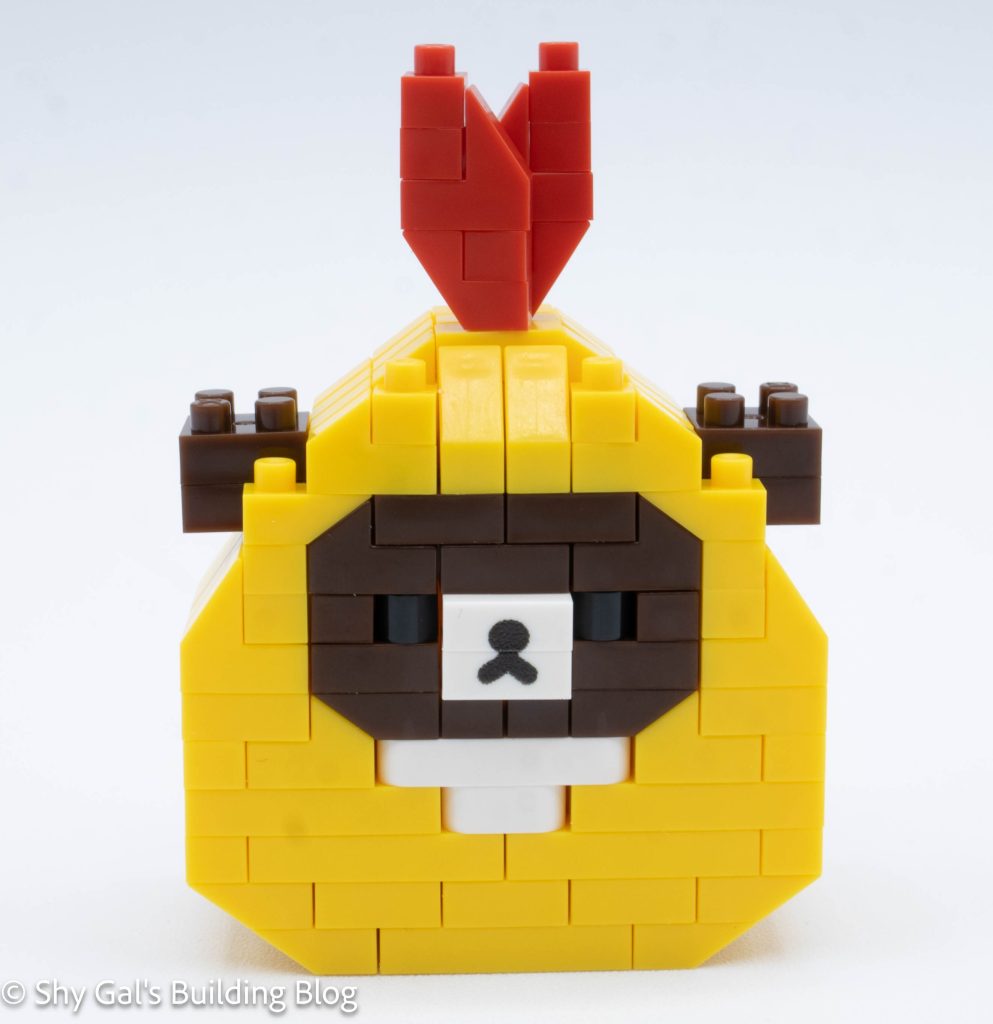
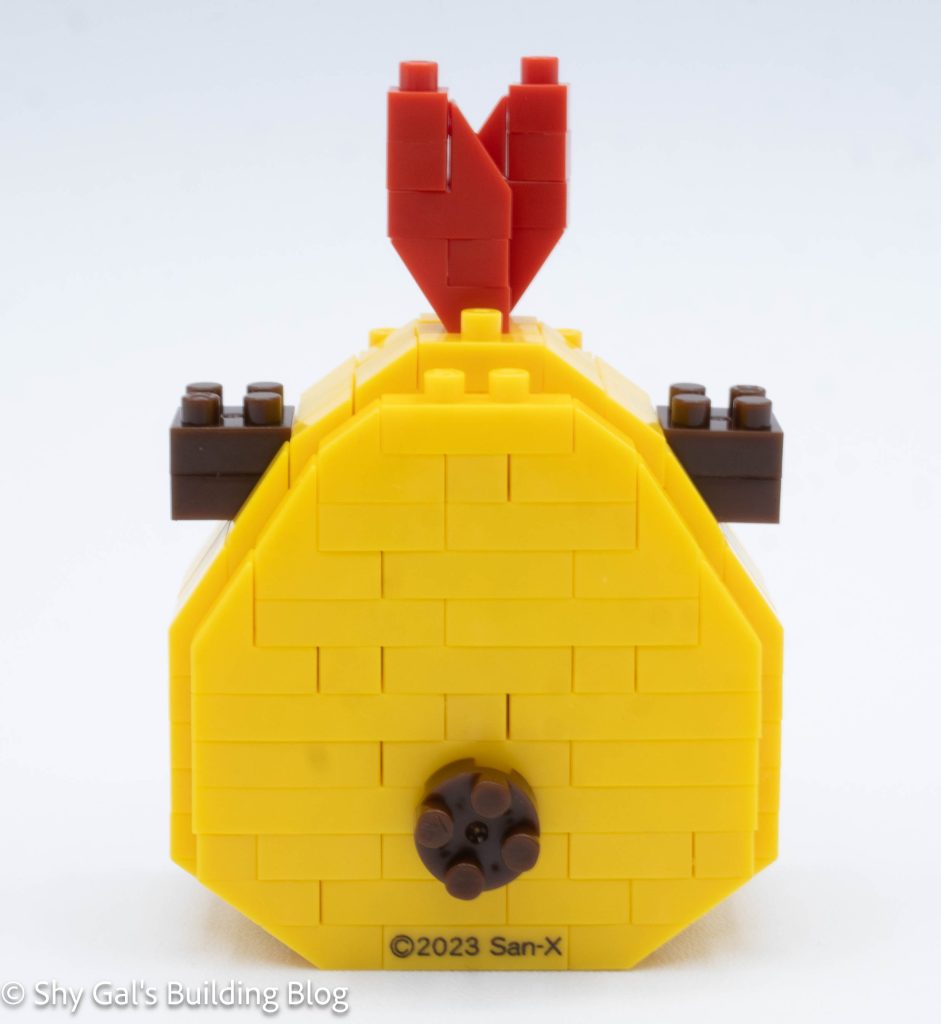
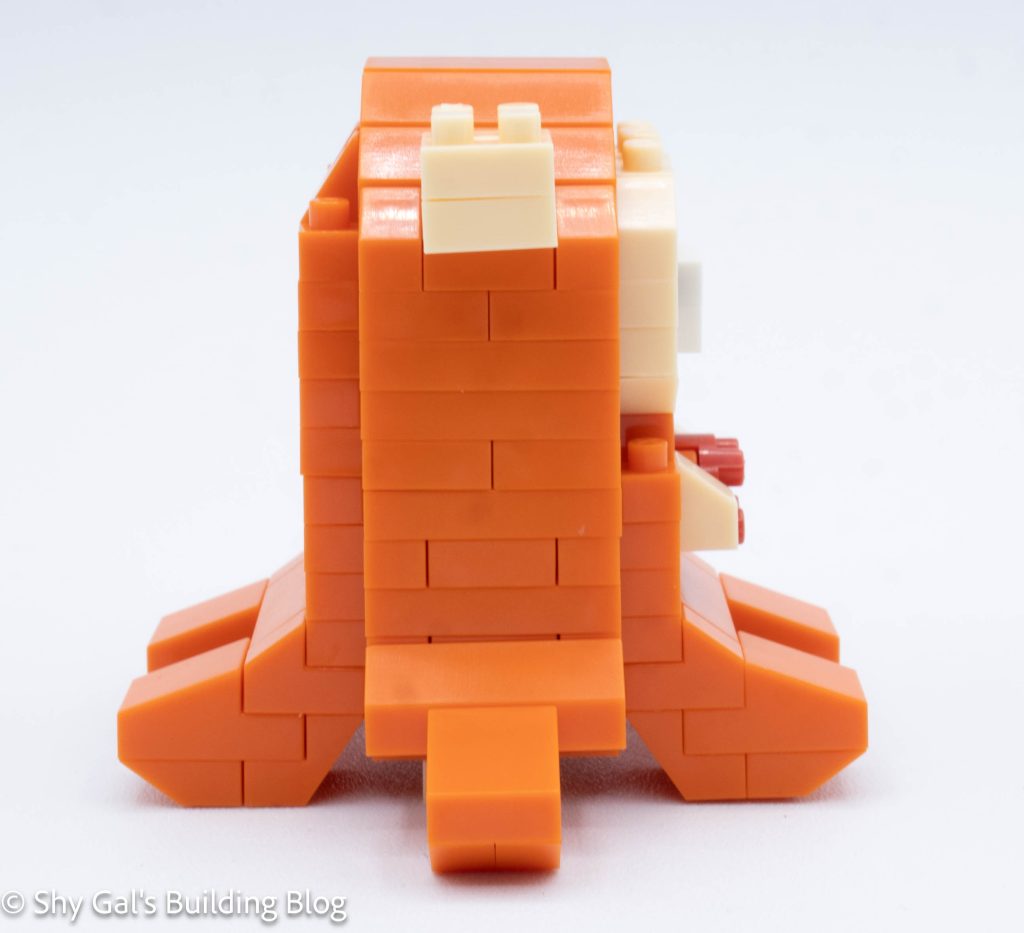
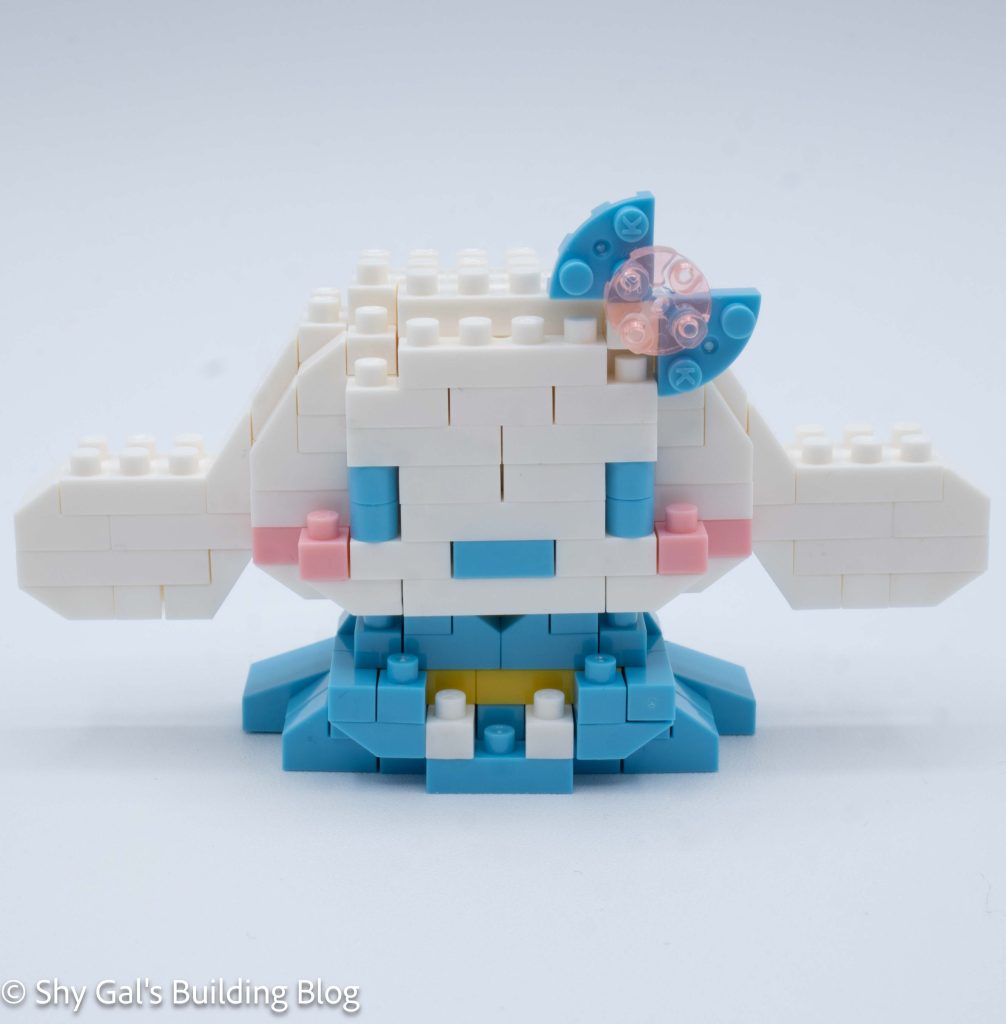
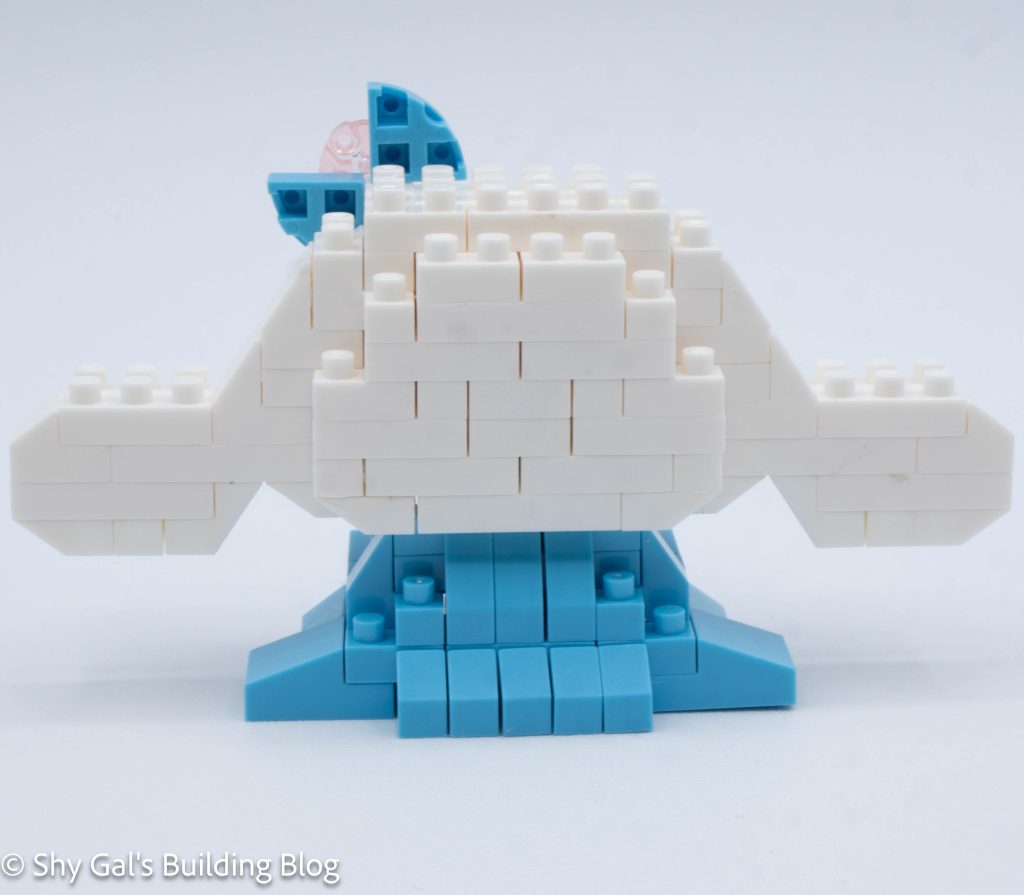
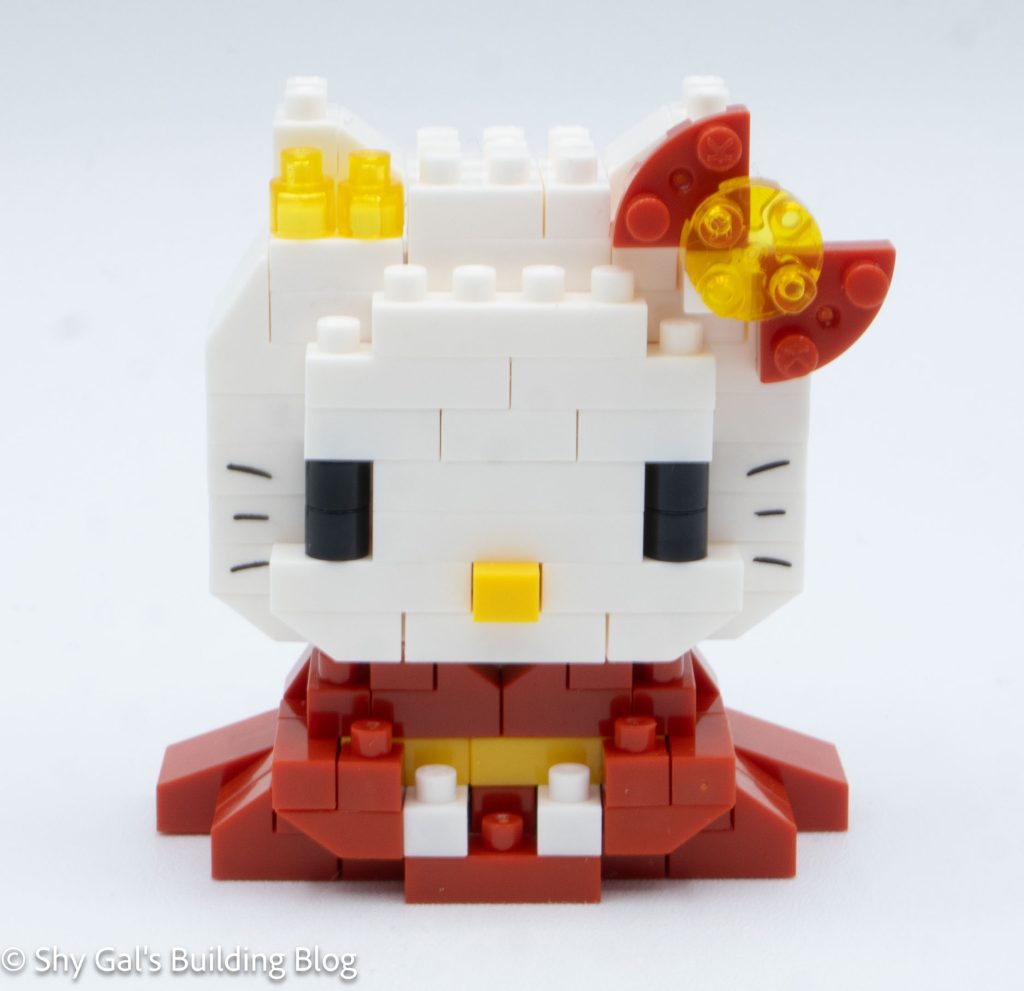
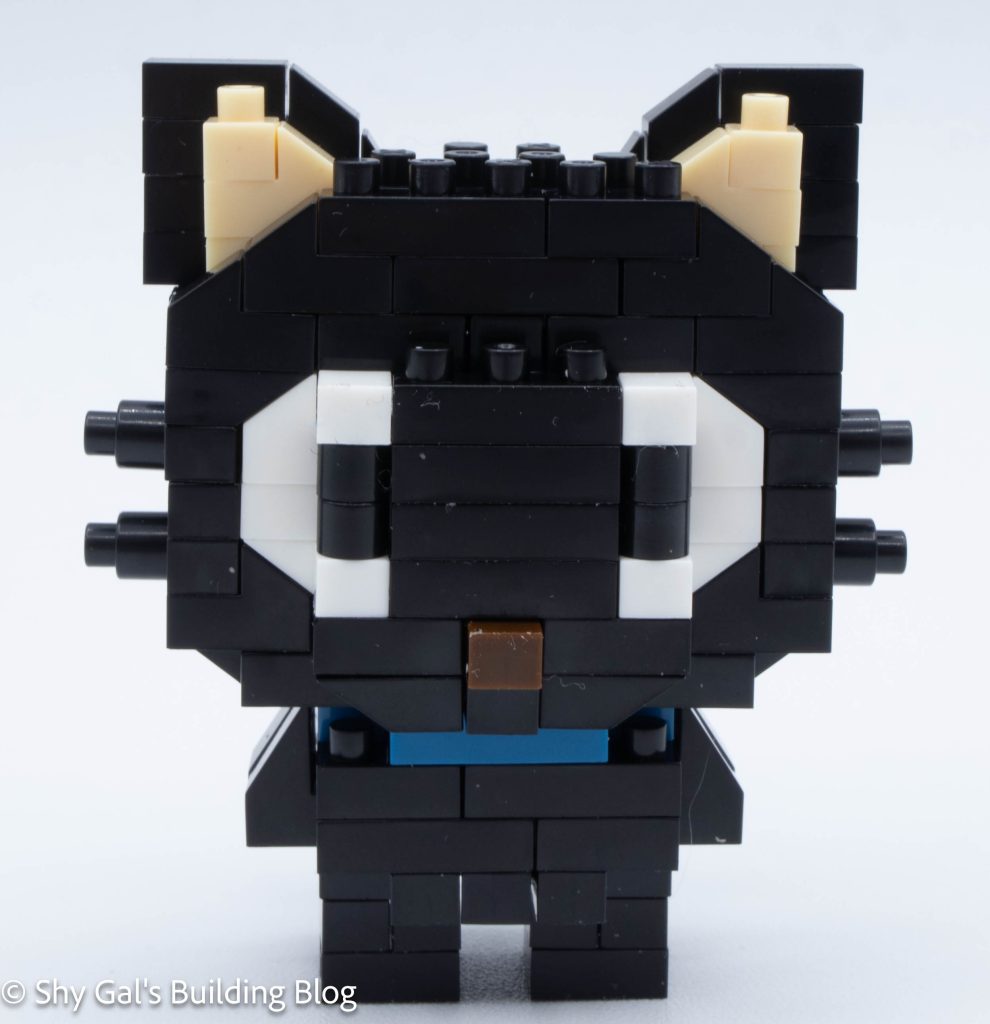
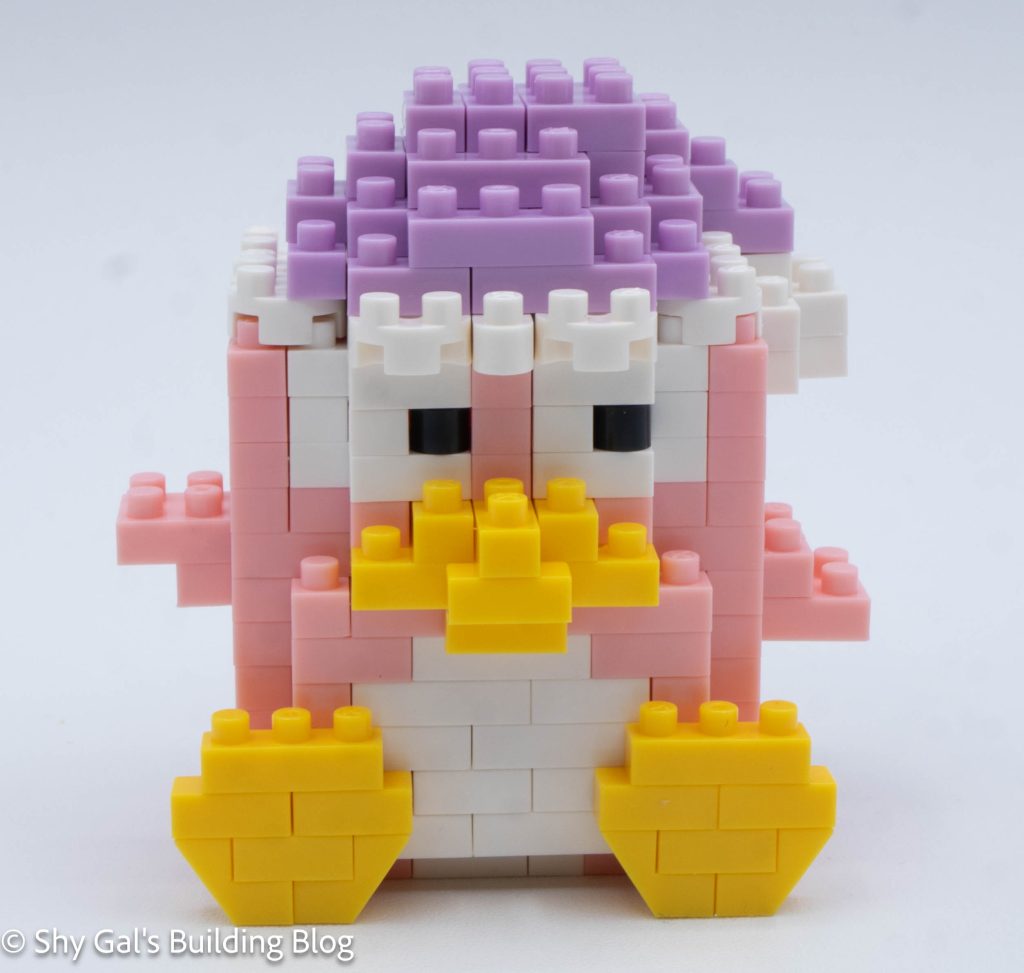
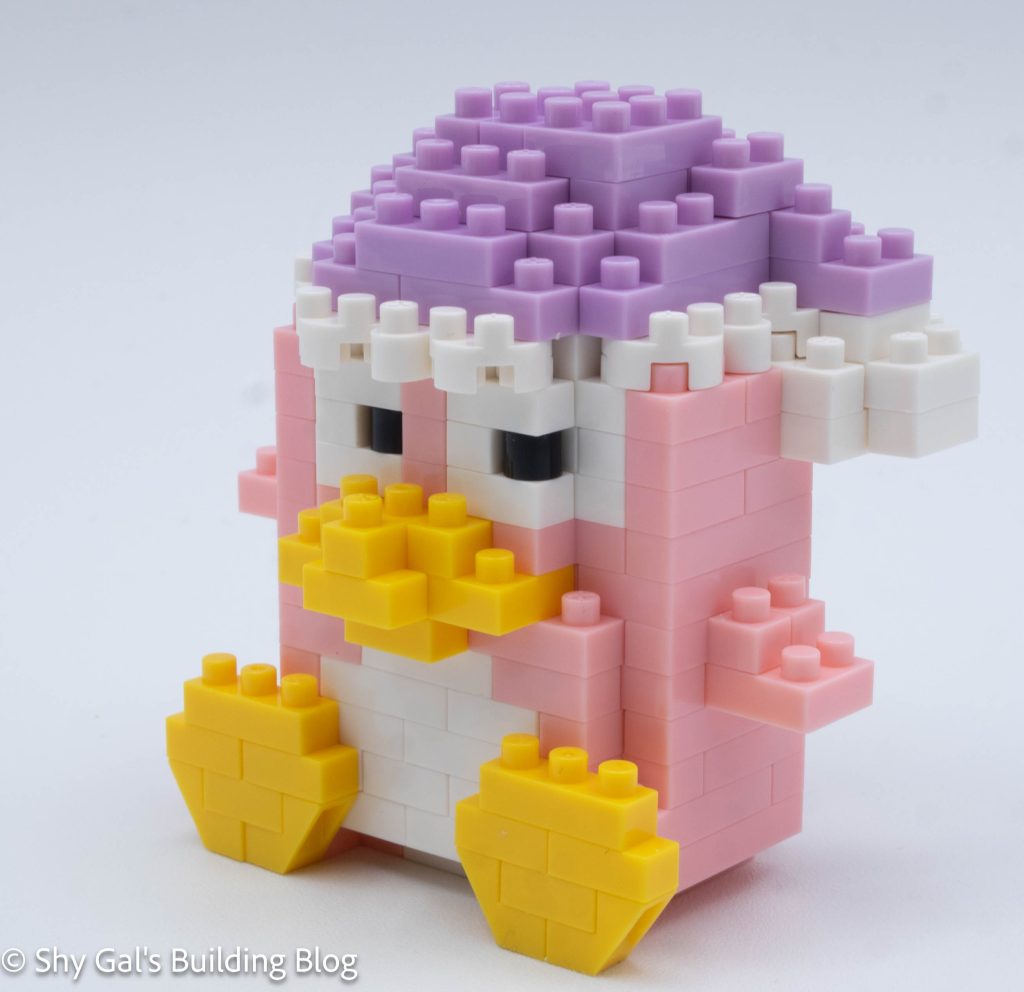
The Donko build goes up in straightforward layers, tracing around the outline of the build. Wings, eyes, and a beak are added, sticking out from the outline.
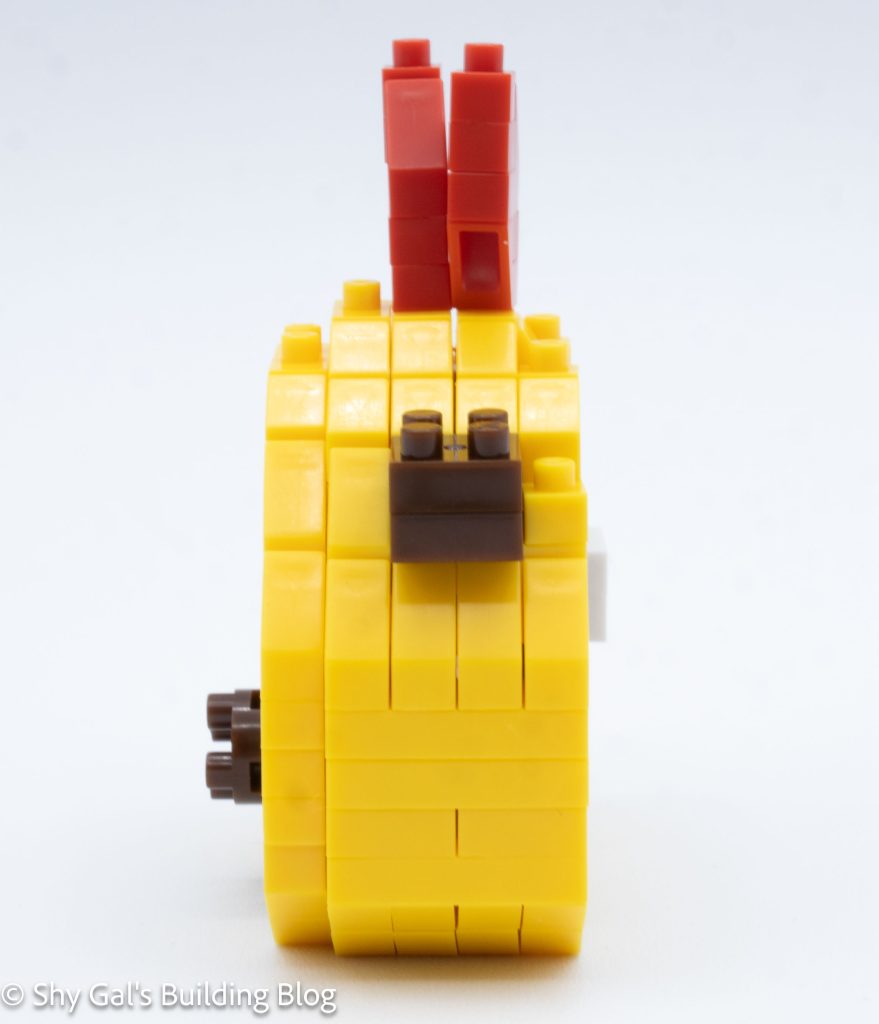
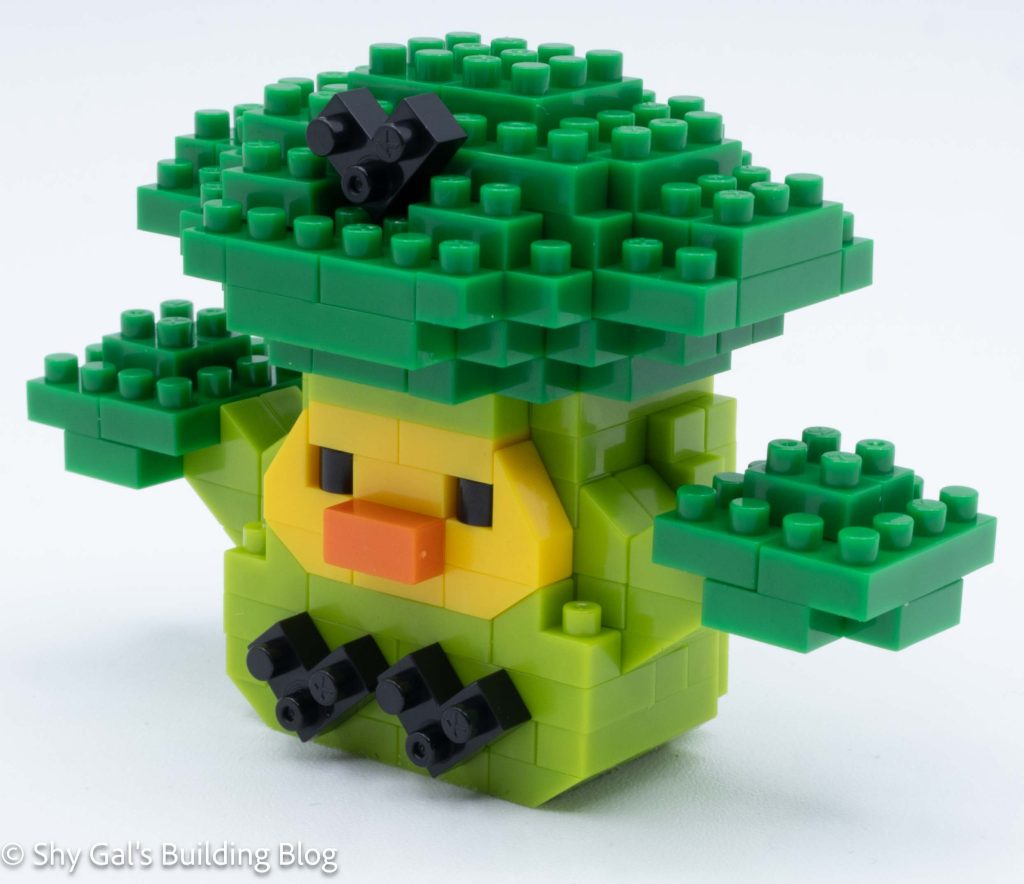
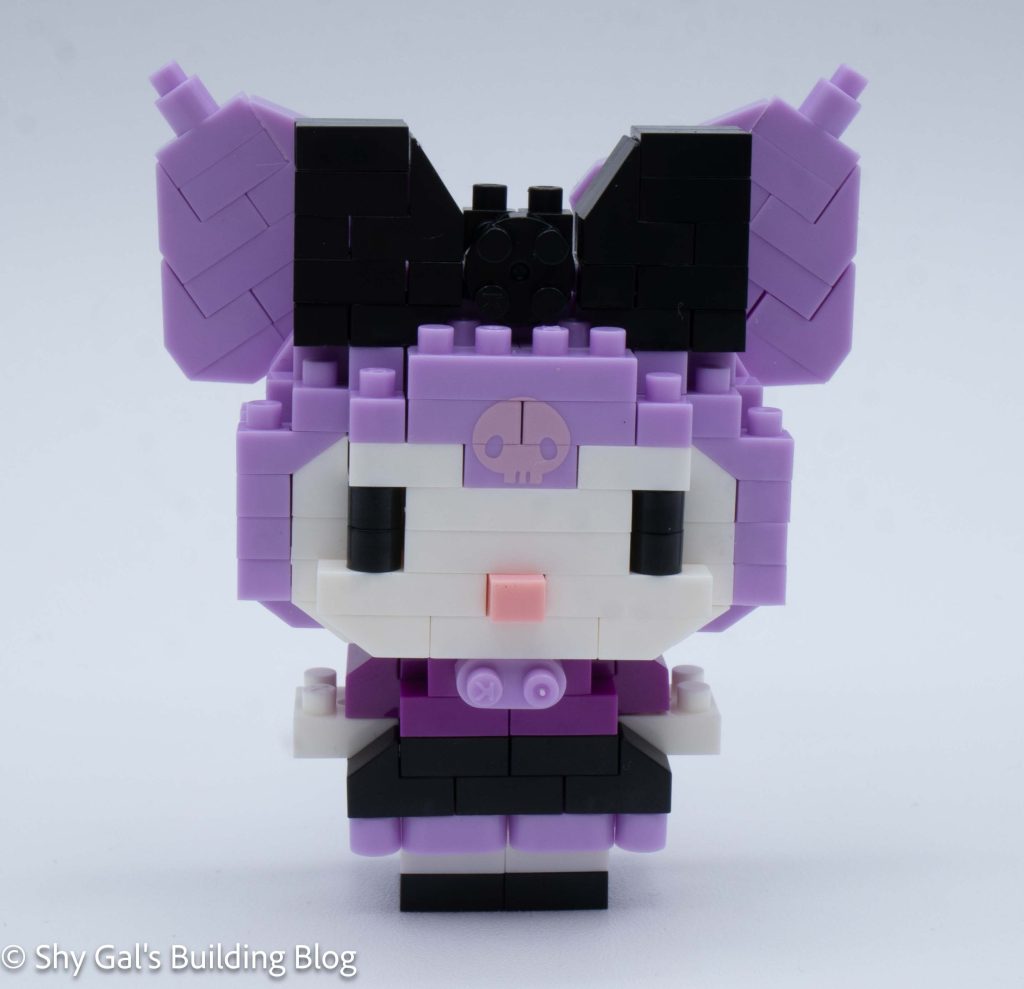
The build begins to narrow after the eyes, and the head is closed up. At the same time, the puff on the hat is added.
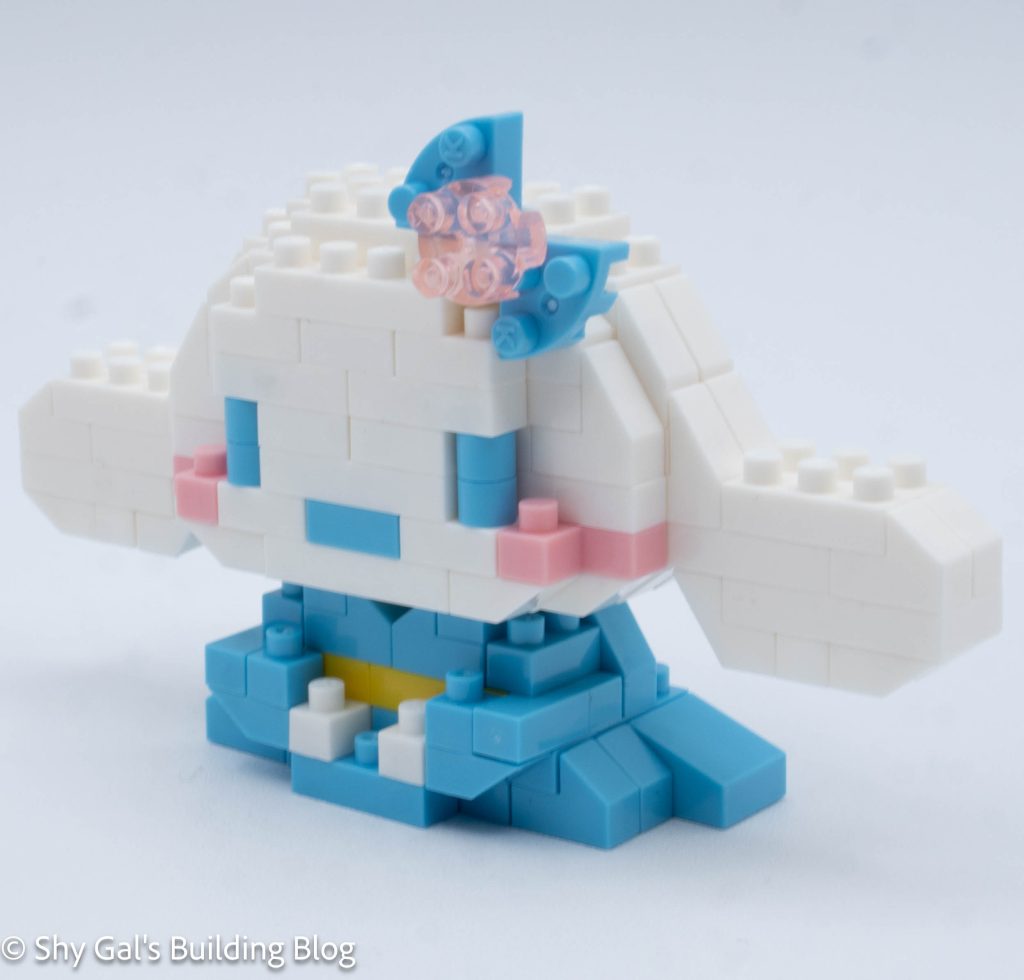
Creating the base of the hat was a bit tricky because I wasn’t completely sure where each brick went, because there was so much overhang.
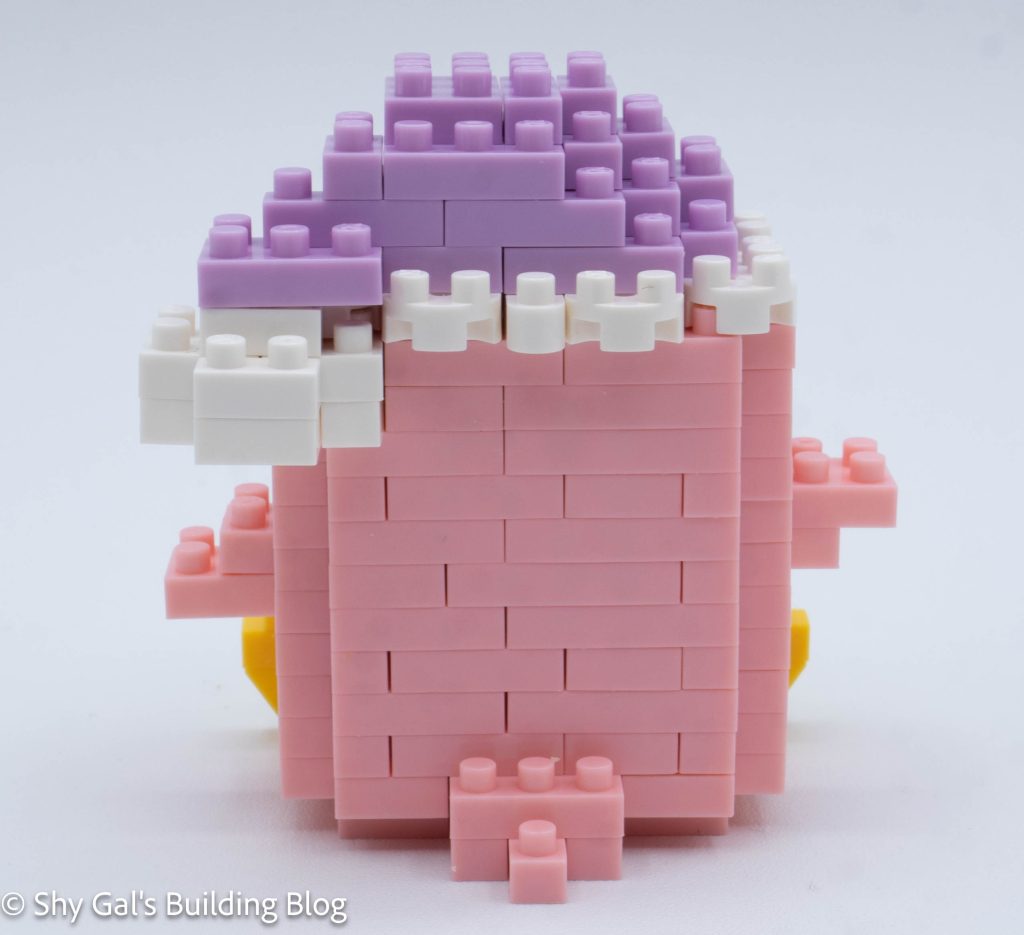
After the white hat base layer, the purple is very straightforward to build and close up the hat.
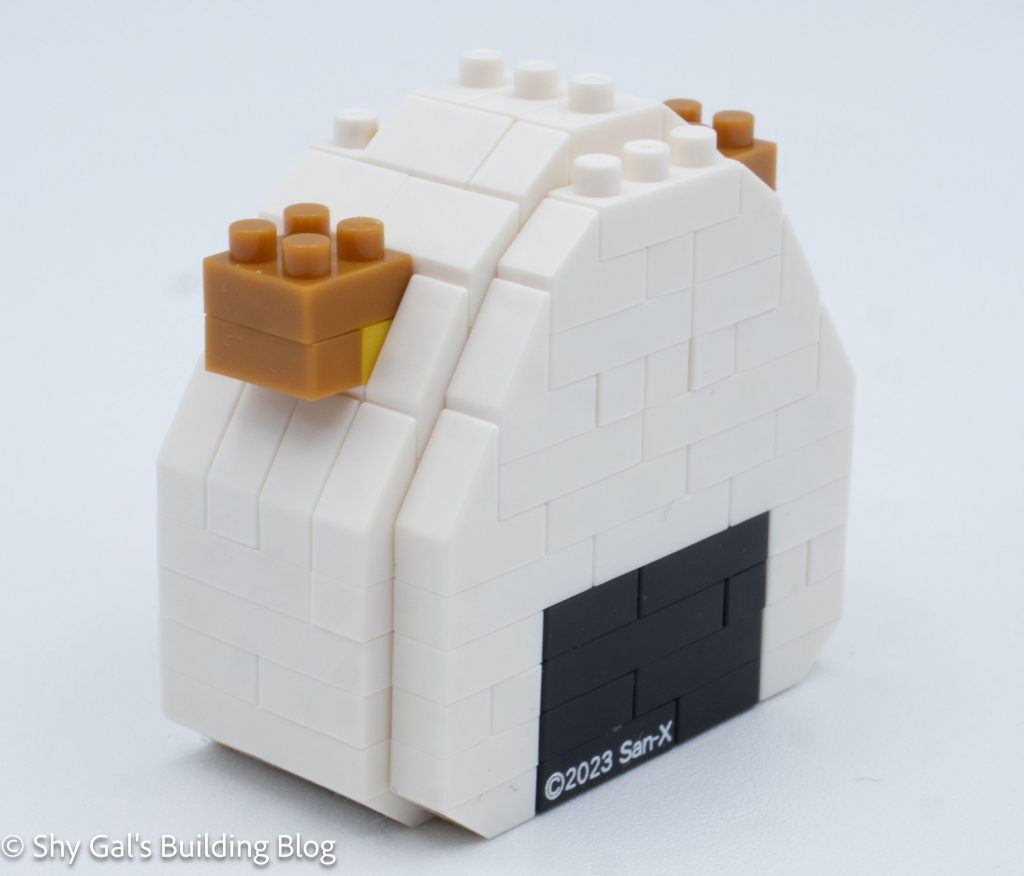
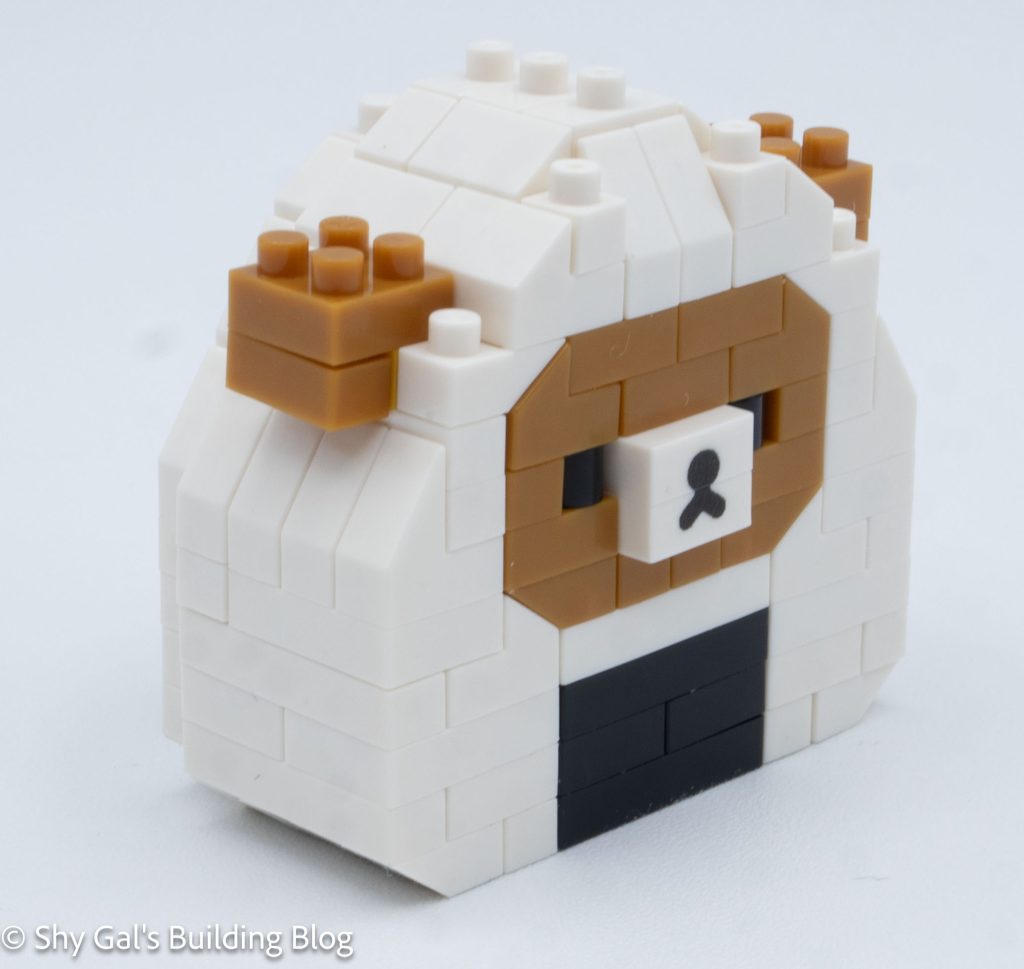
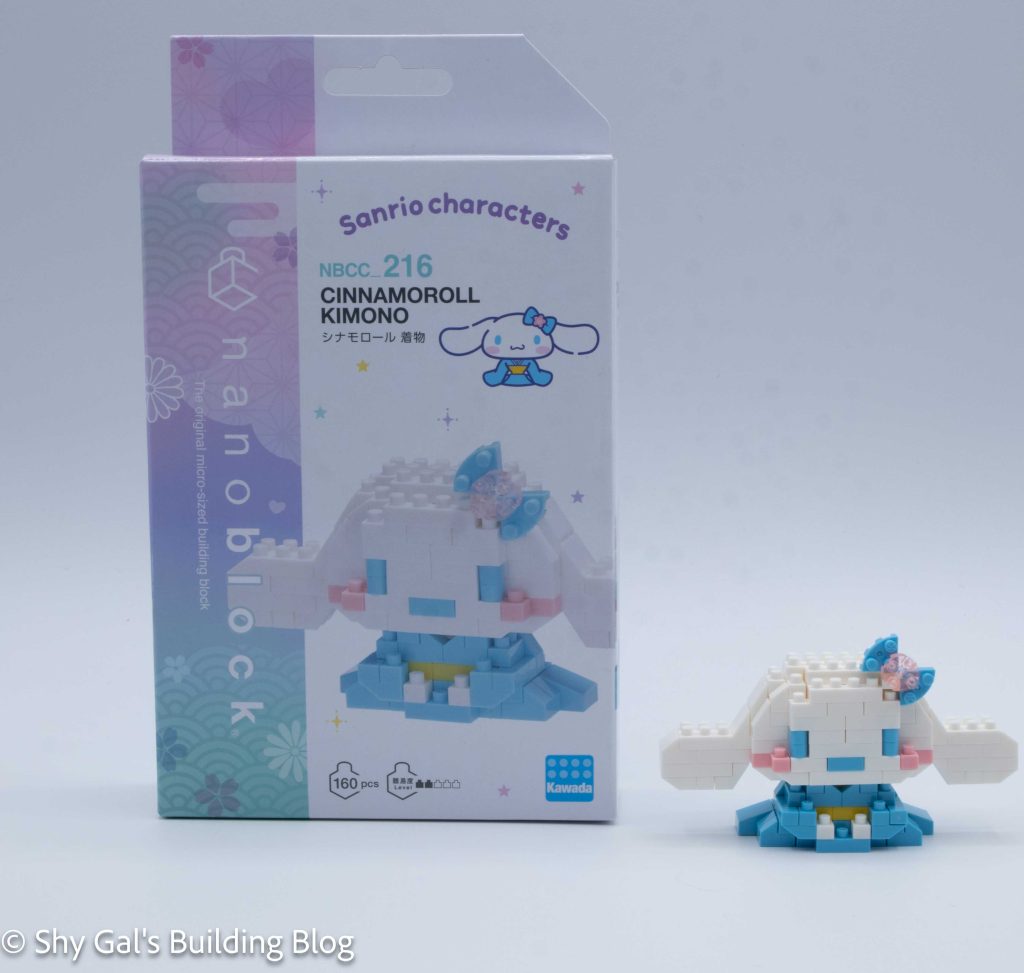
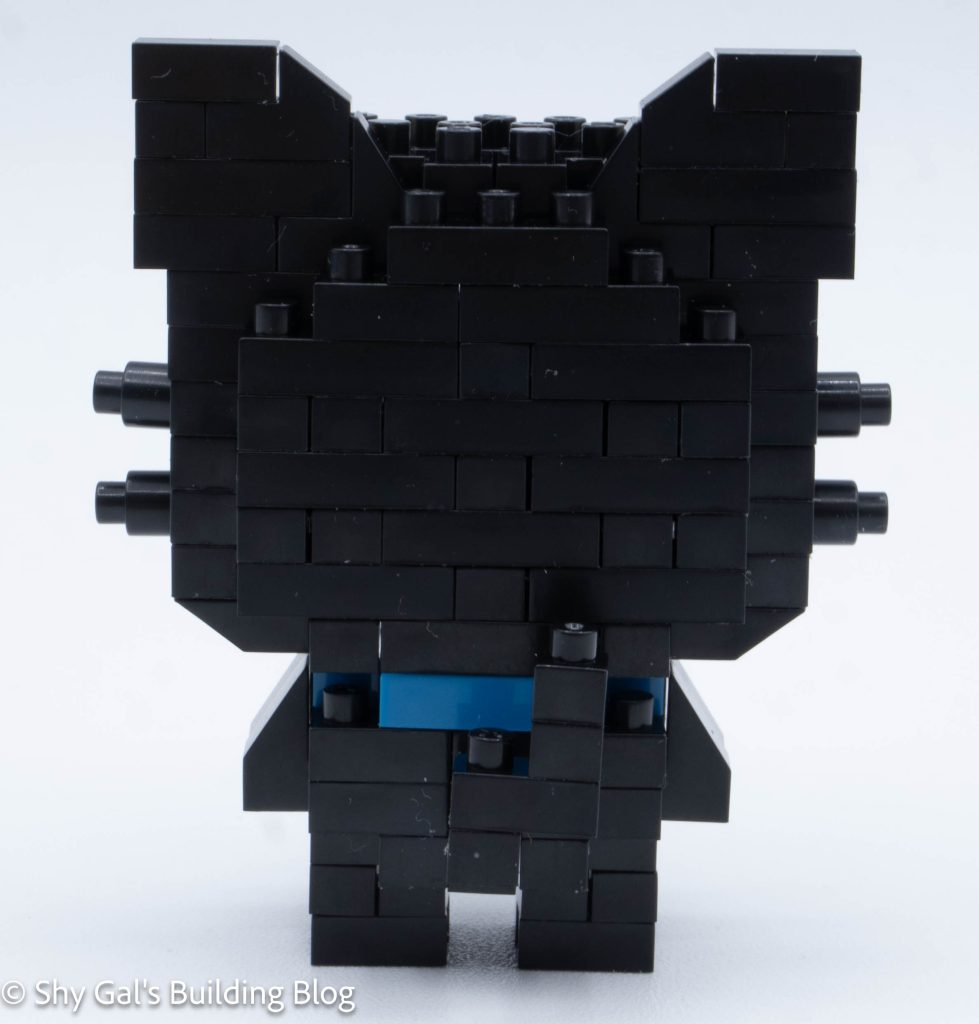
My finished build doesn’t exactly match the box because I didn’t put on the stickers. I generally don’t put stickers on my build because it means I can’t take the build apart for storage.
Things I liked:
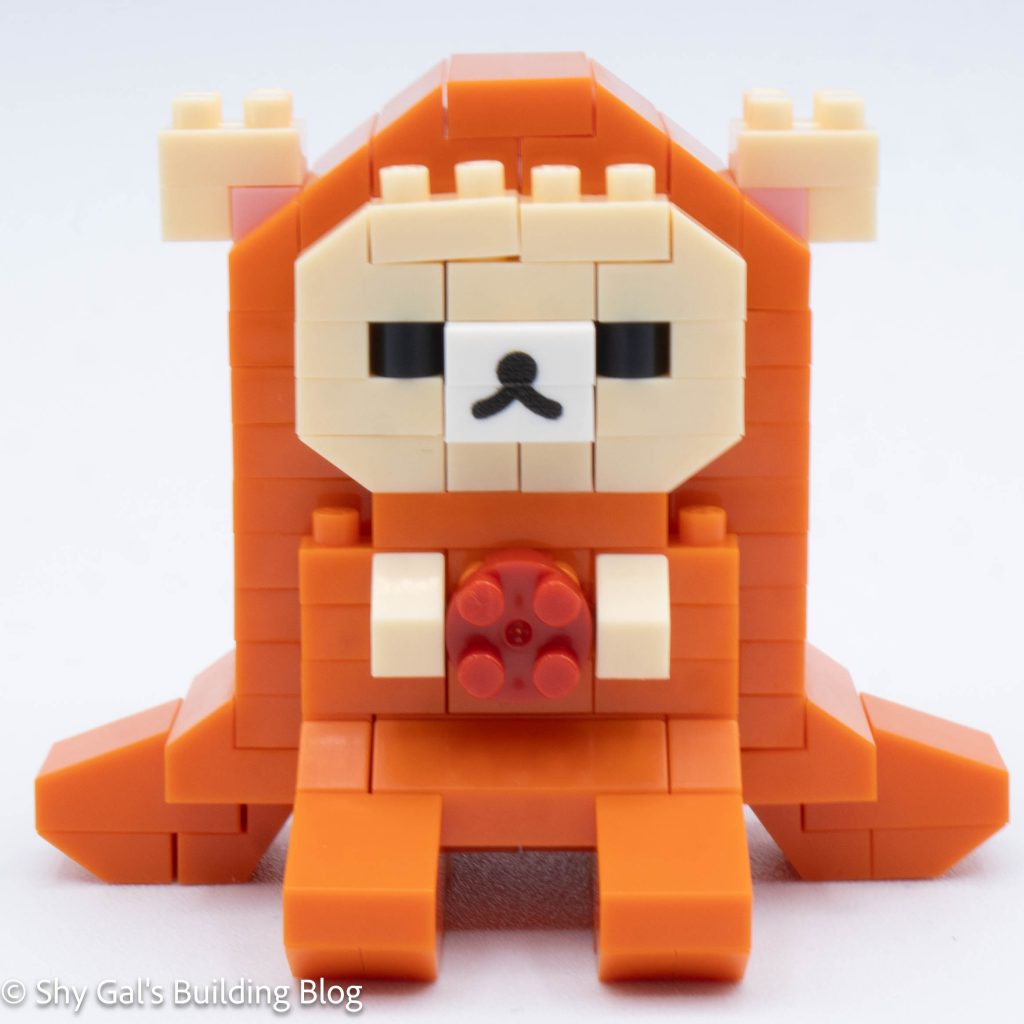
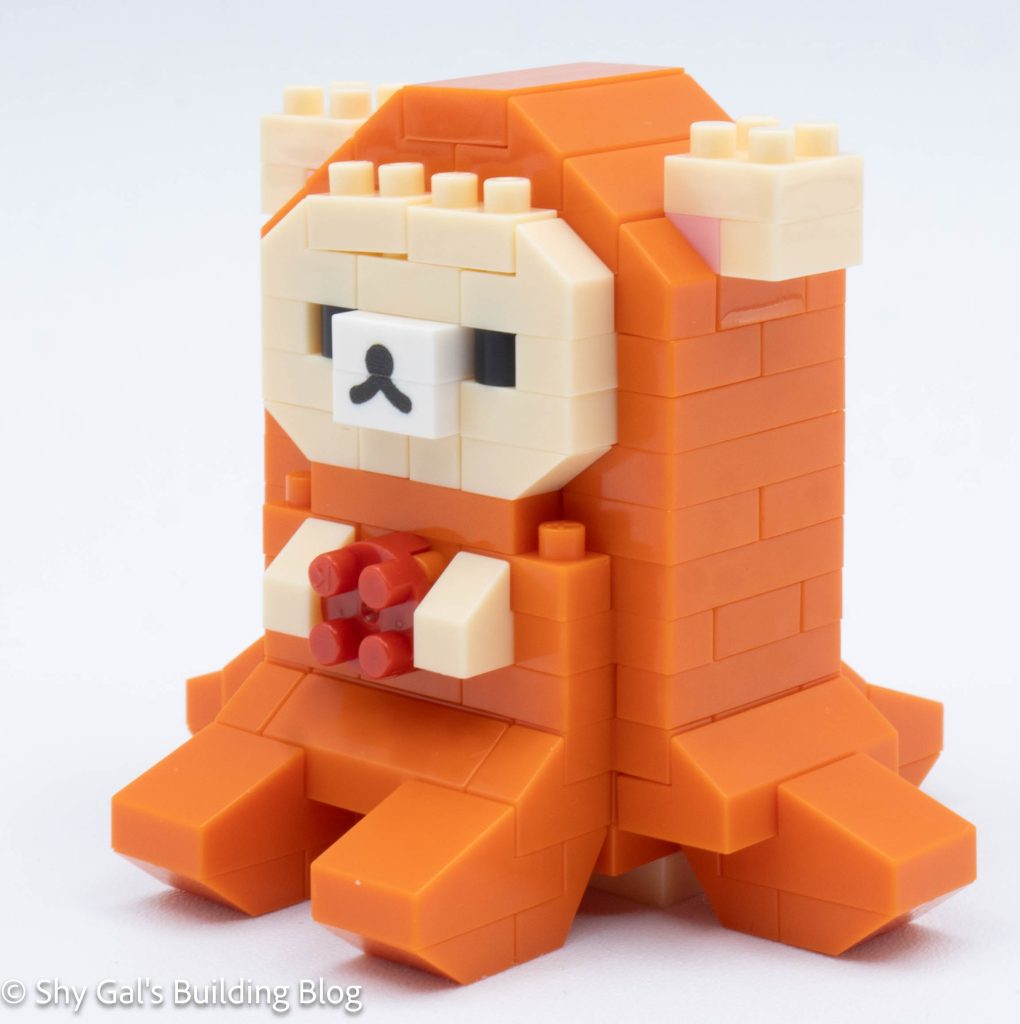
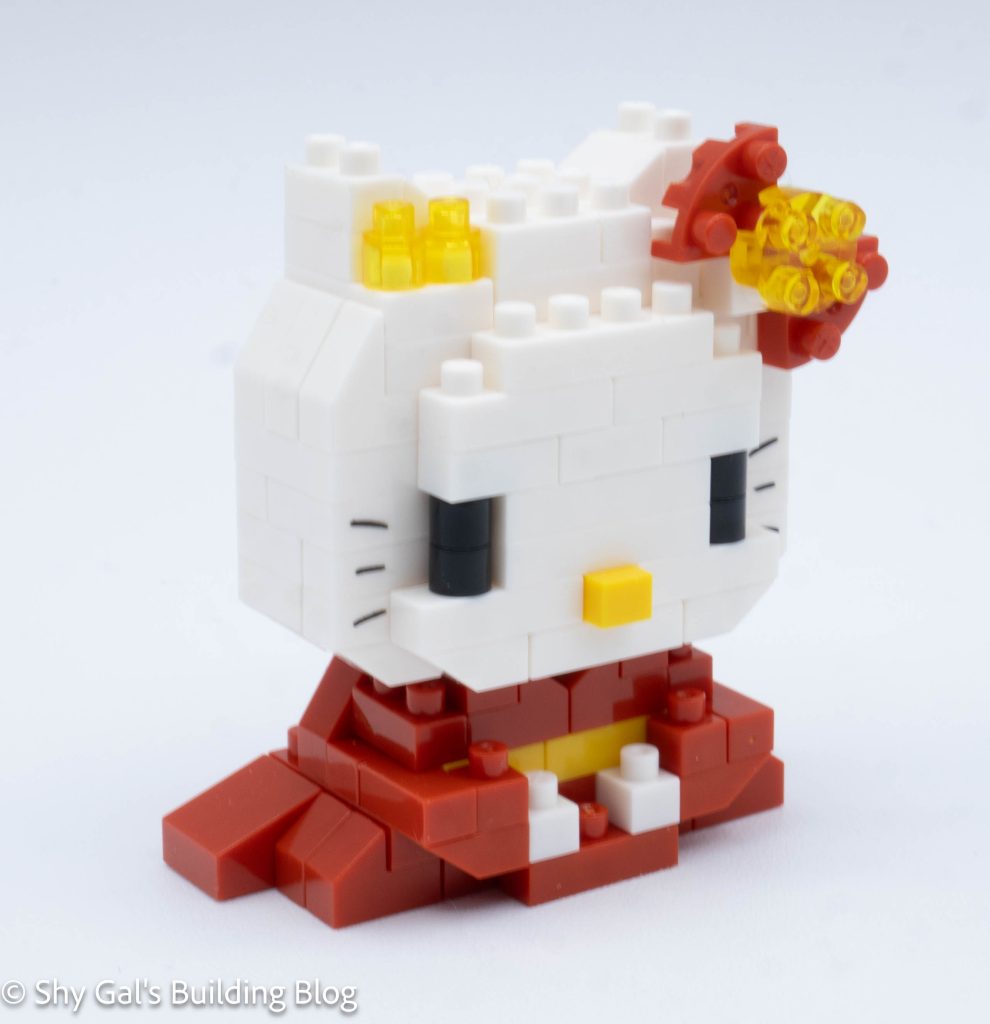
- I went to the Donki site and looked at Donko, and I feel that the build does a good job of capturing her
Things I didn’t like:
- I was disappointed that this kit included stickers because nanoblock has been doing so many printed bricks