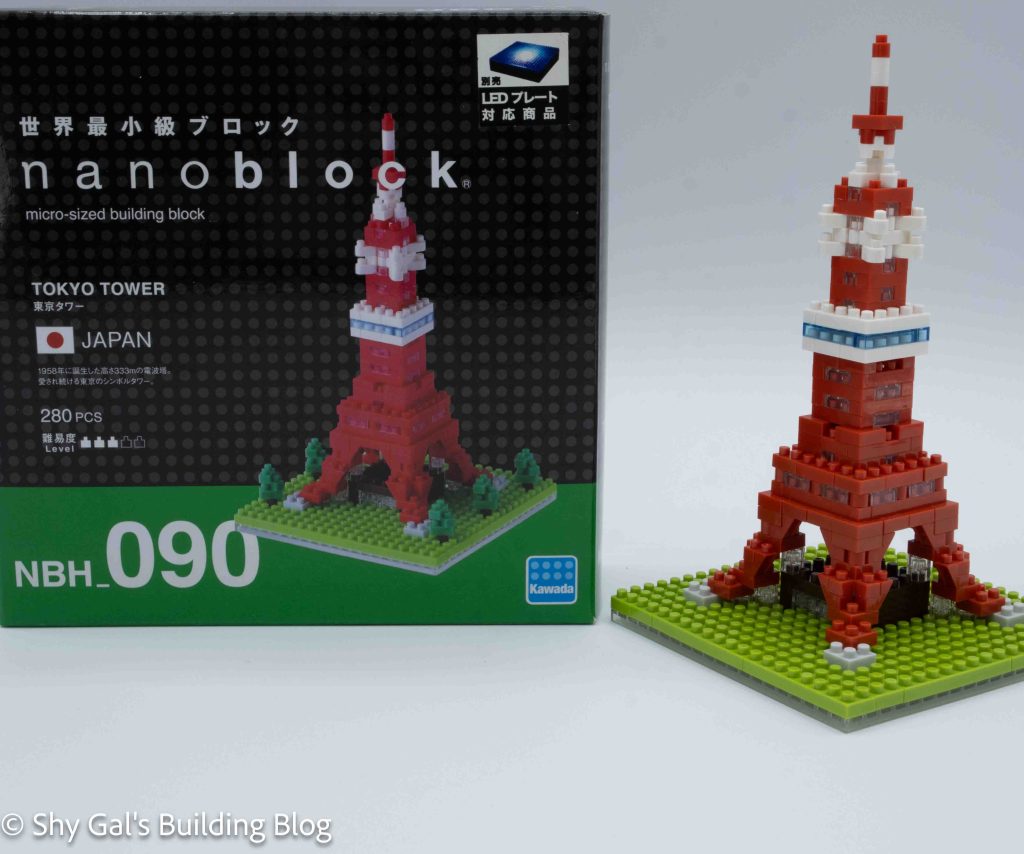
This post is a review of the nanoblock Tokyo Tower build. Tokyo Tower is part of the nanoblock Sights to See collection. Wondering what else is part of the Sights to See collection? Click here for a list.
Number: NBH_090
Country: Japan
Number of Pieces: 280
Difficulty Rating: 3/5
This is at least the second version of Tokyo Tower. The original is NBH_001. This kit has a gap in the bottom base so it can be used with one of the LED plates.
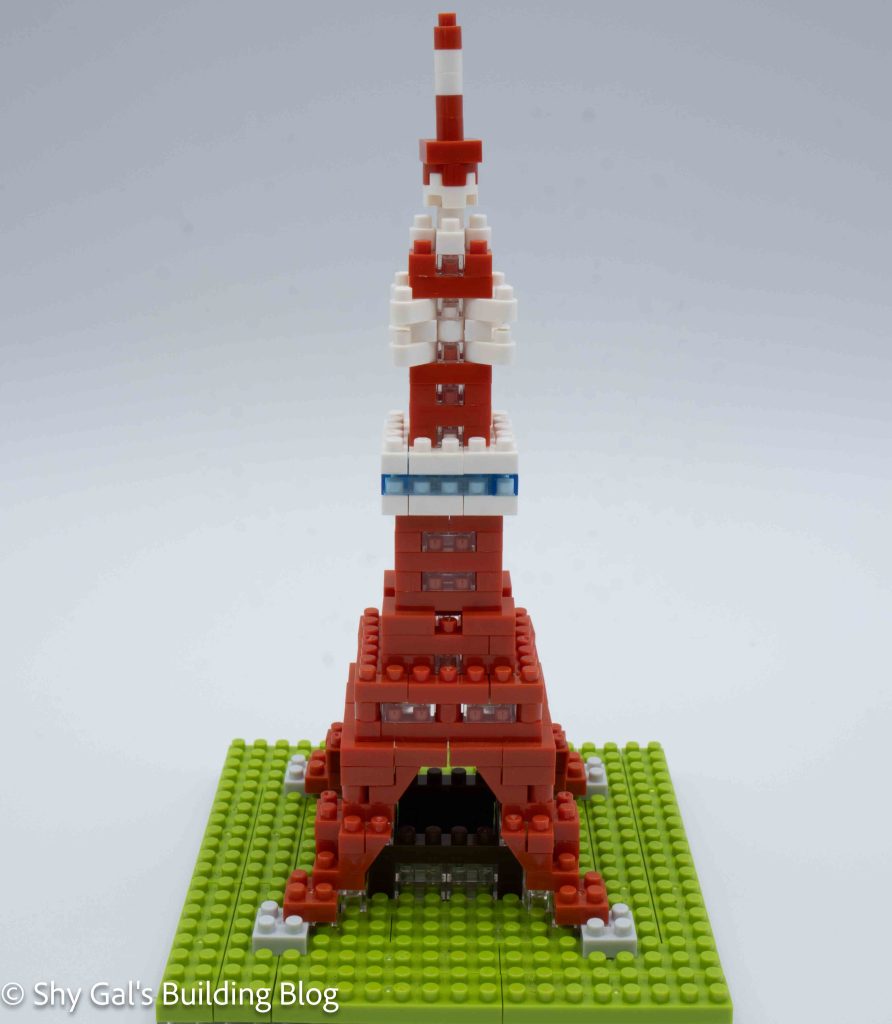
This kit begins by preparing the base plate. It consists of laying out green on a clear 20×20 baseplate. There is a gap in the green so that the light from the LED baseplate could come through.
The next few steps create the bottom of the tower and the building directly under the tower.
This build is unusual because each section of the building is built off the base and connected.
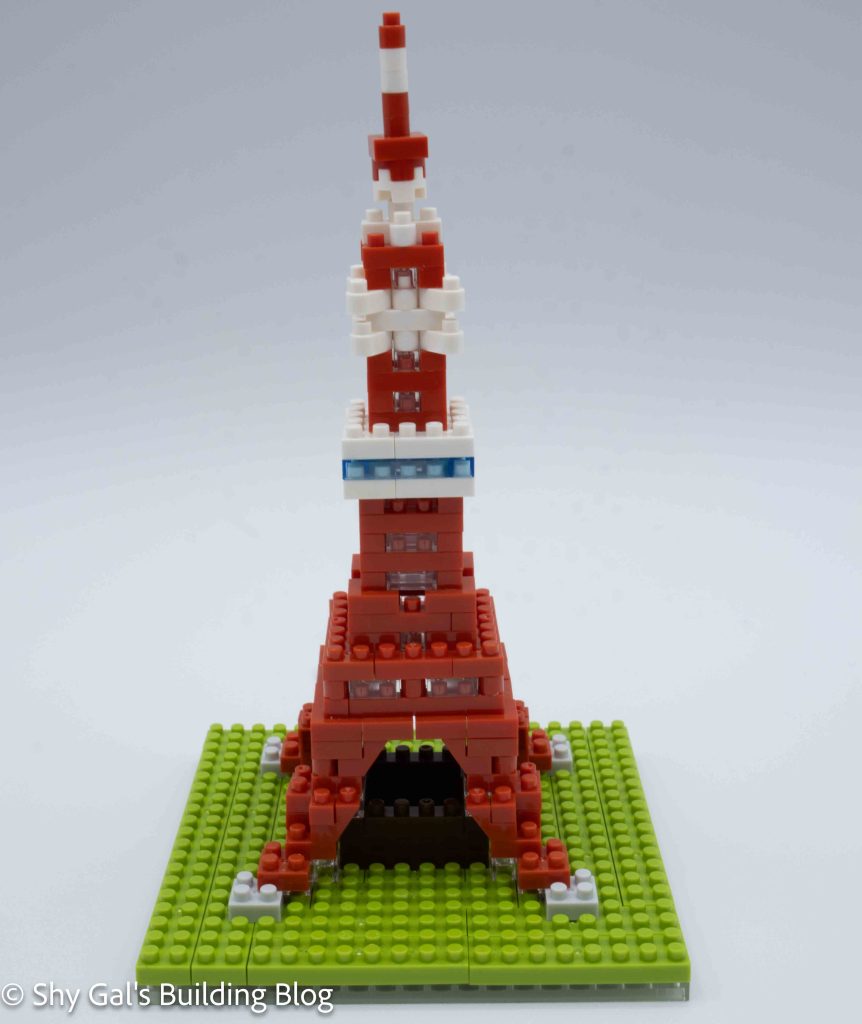
The first section is to build the base of the tower, which goes from 4 separate legs to 1 tower. I really liked how the arches were built.
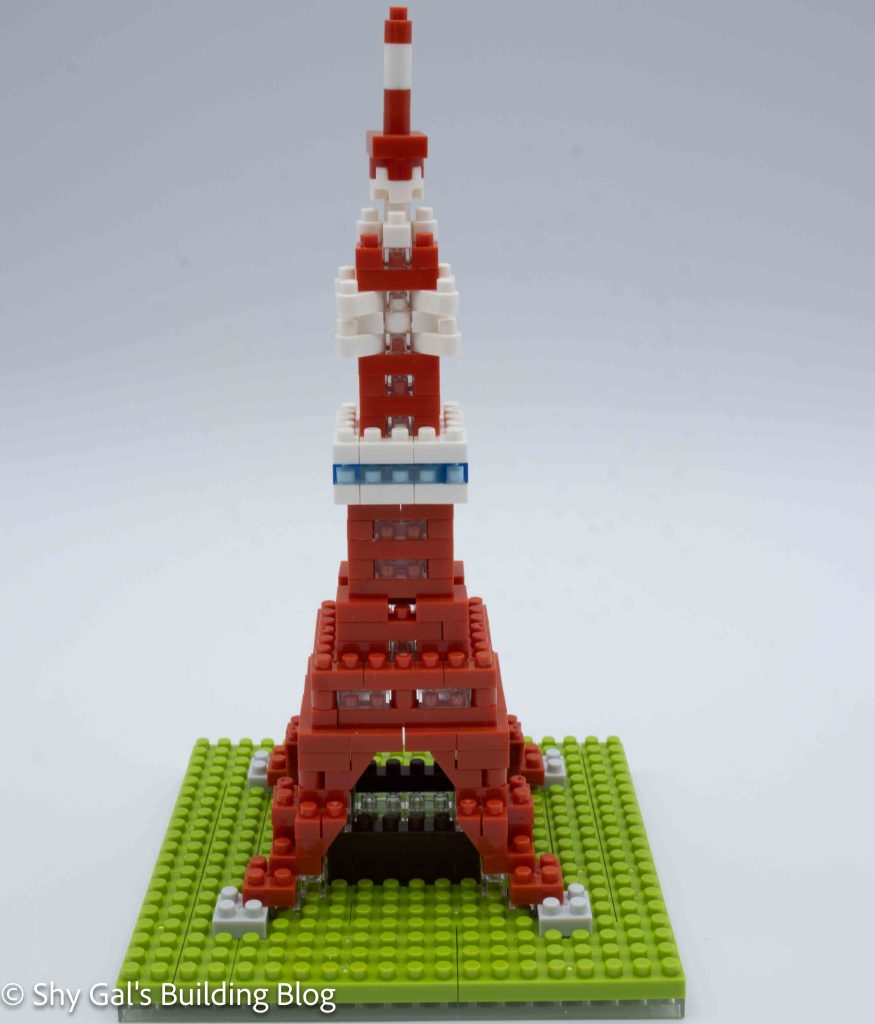
The next section is building the rest of the tower. Each step is very straightforward. I like the amount of detail in each layer.
Note: I didn’t include the trees around the base. I don’t like how the trees look, so I left them off.

Things I liked:
- I really like how the points where the legs become one tower
Things I didn’t like:
- I didn’t like the trees, so I left them off