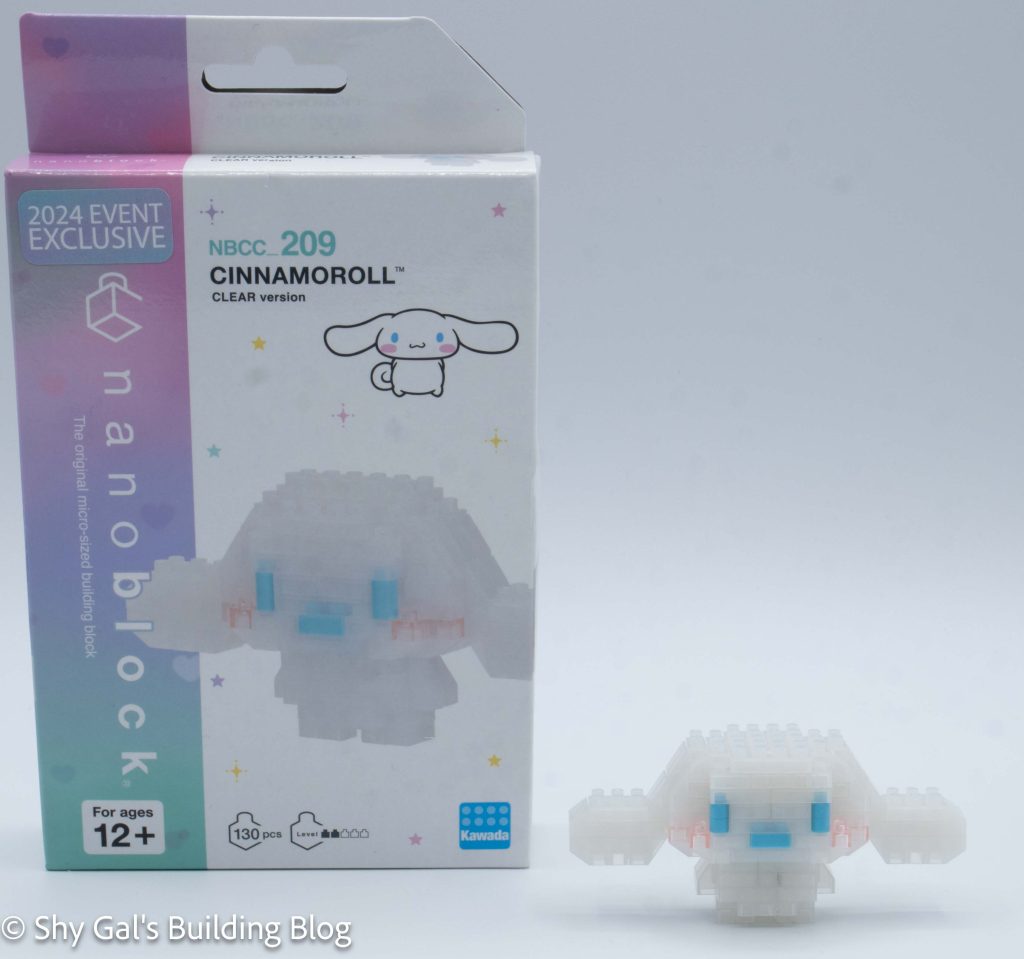
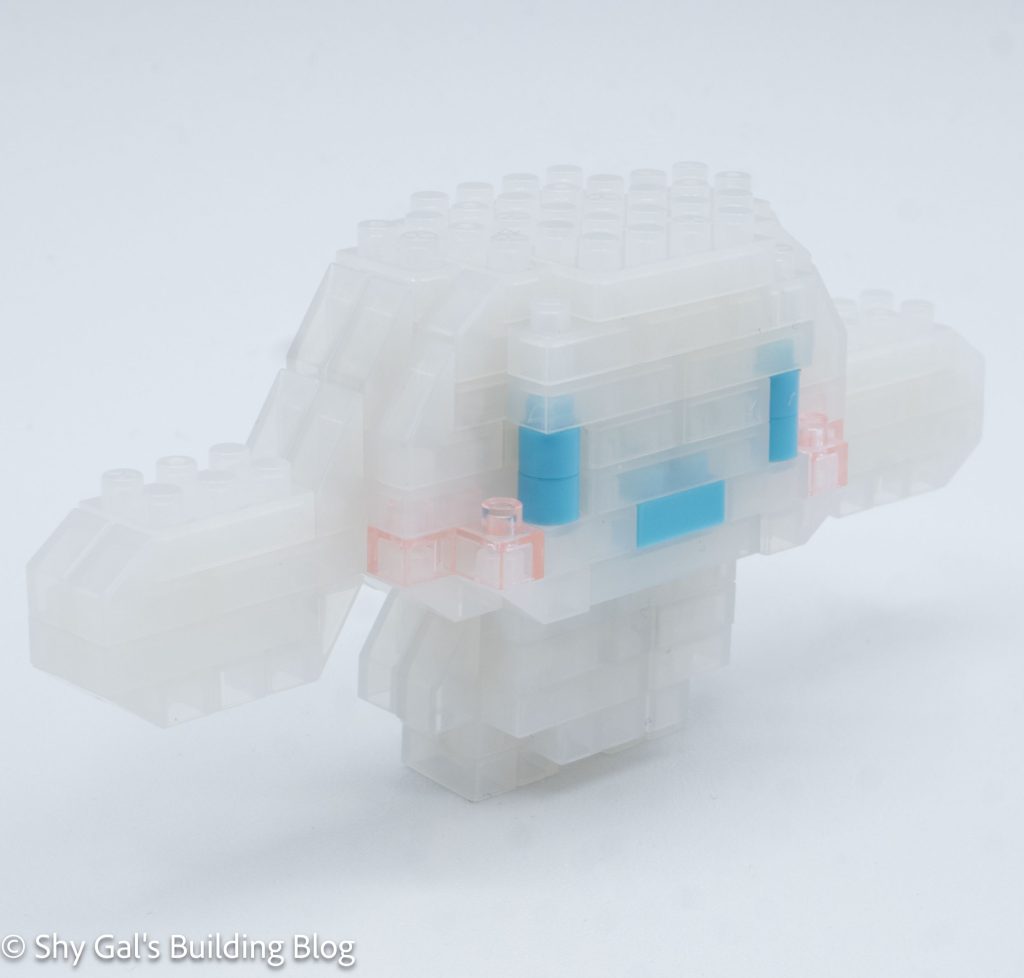
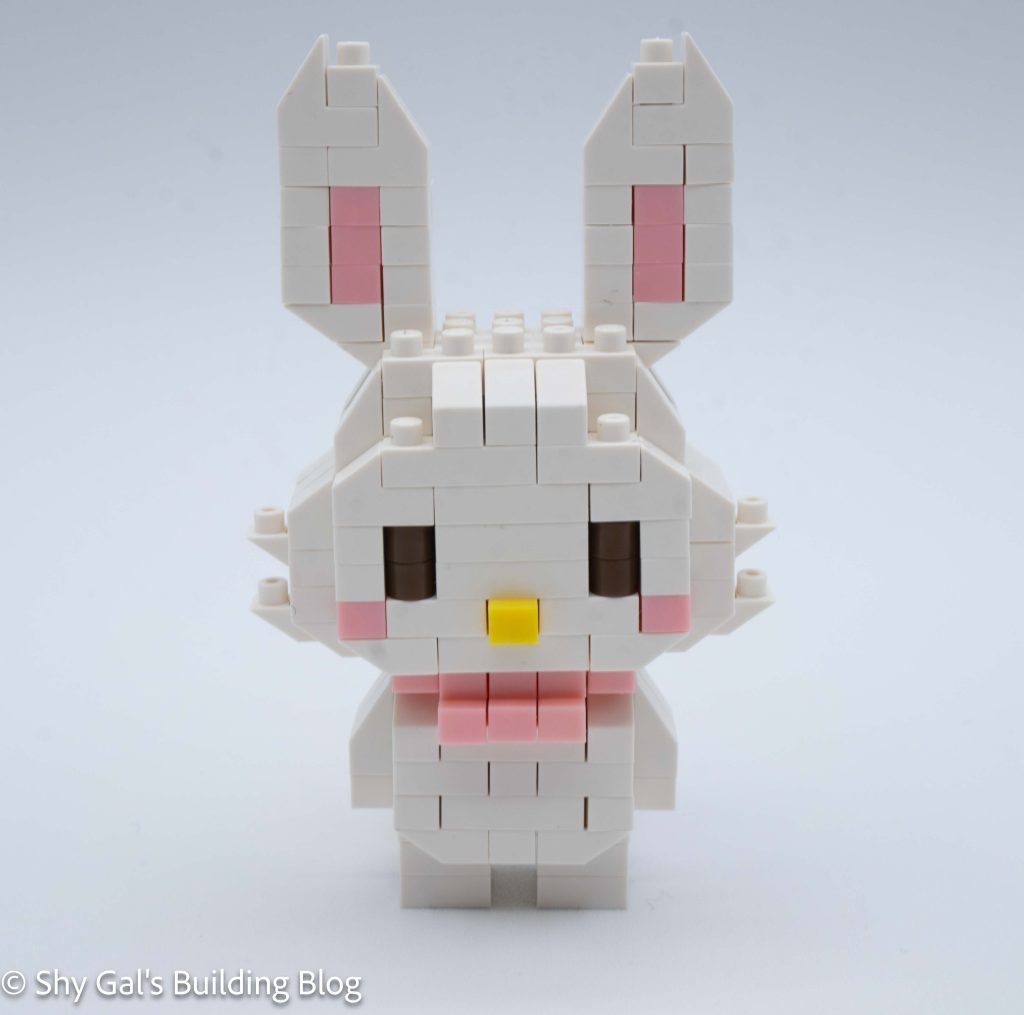
This post is a review of the nanoblock Cinnamoroll Clear Version build. Cinnamoroll Clear Version is part of the nanoblock Character collection. Wondering what else is part of the Character collection? Click here for a list.
Number: NBCC_209
Number of Pieces: 130
Difficulty Rating: 2/5
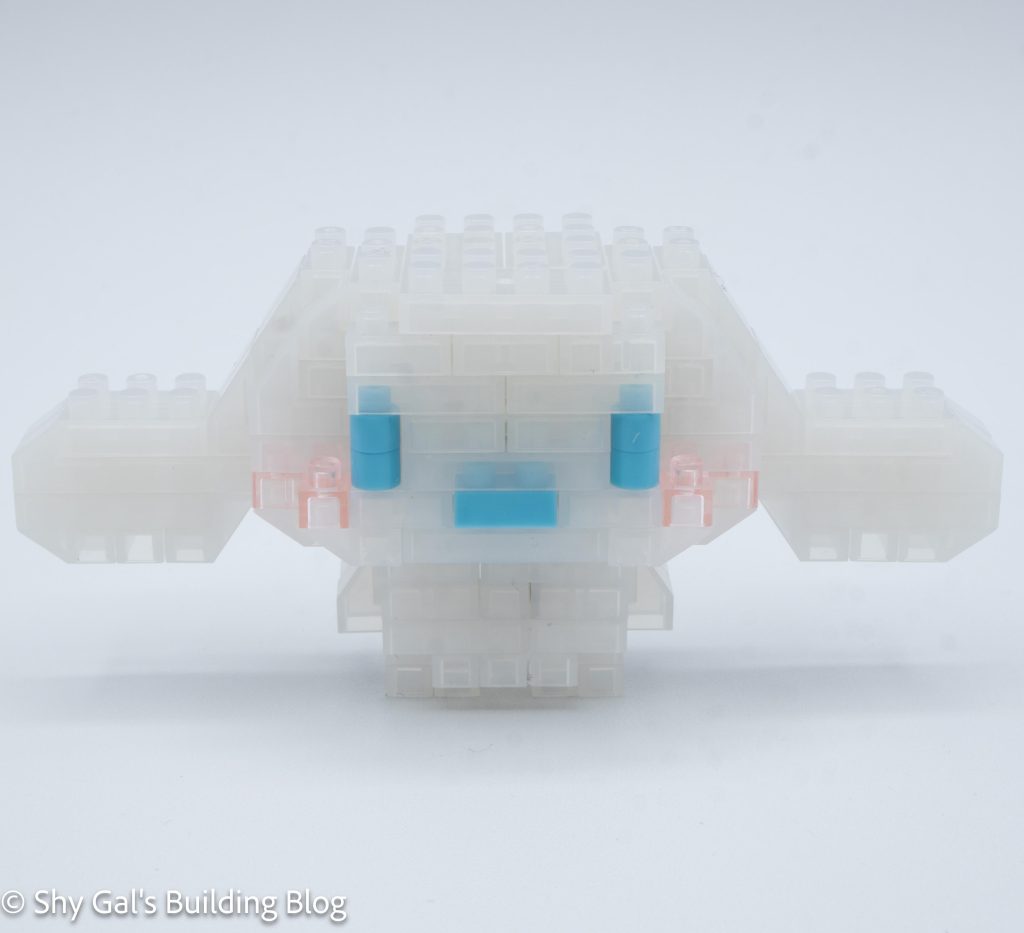
The first step is to build the head. It takes about 6 to make the main section of the head. At that time, I added the mouth, cheeks, and eyes.
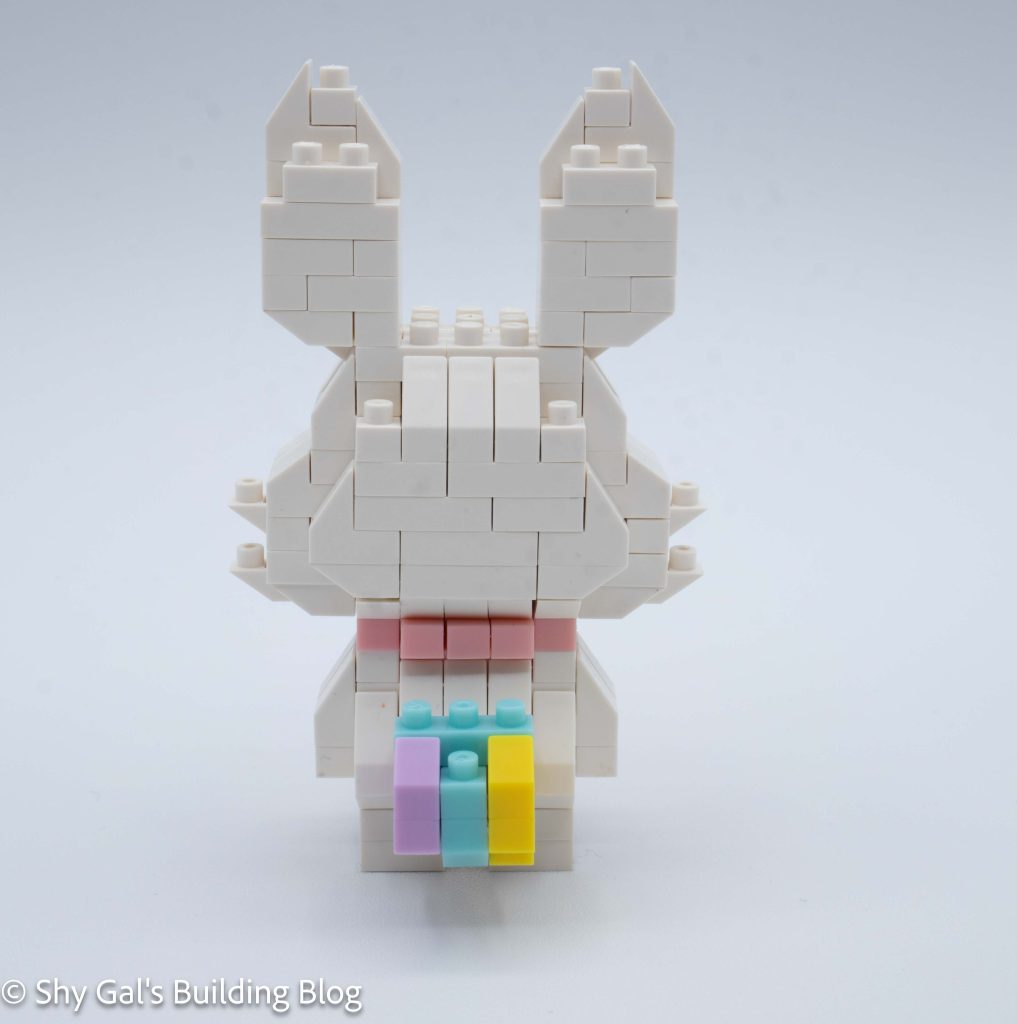
The next step is to build the ears. They are very straightforward and are built and attached in 1 step.
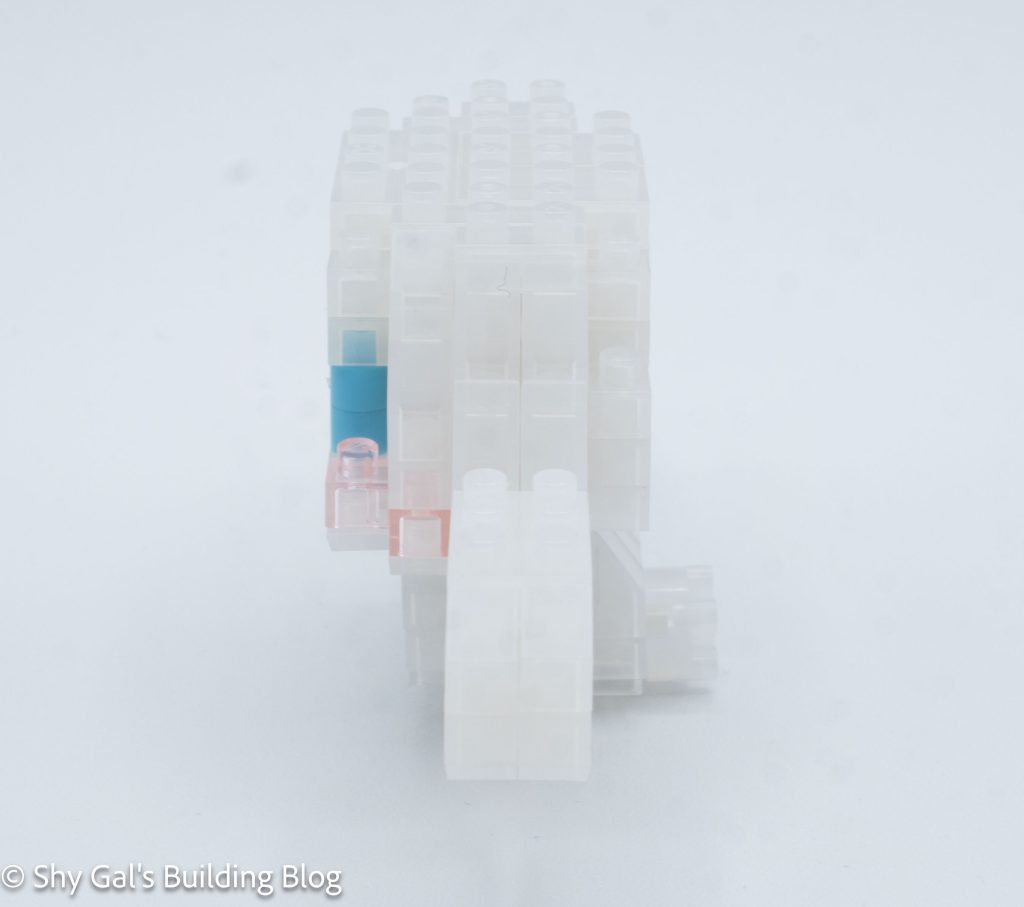
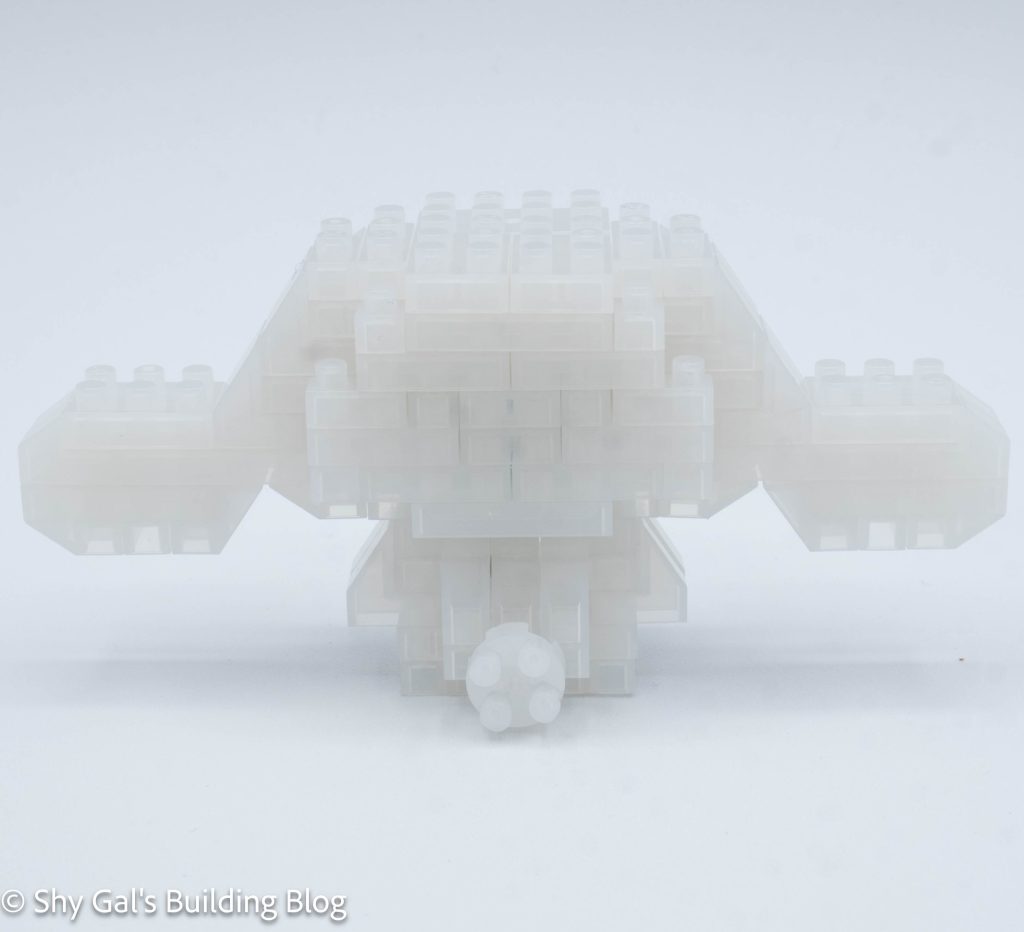
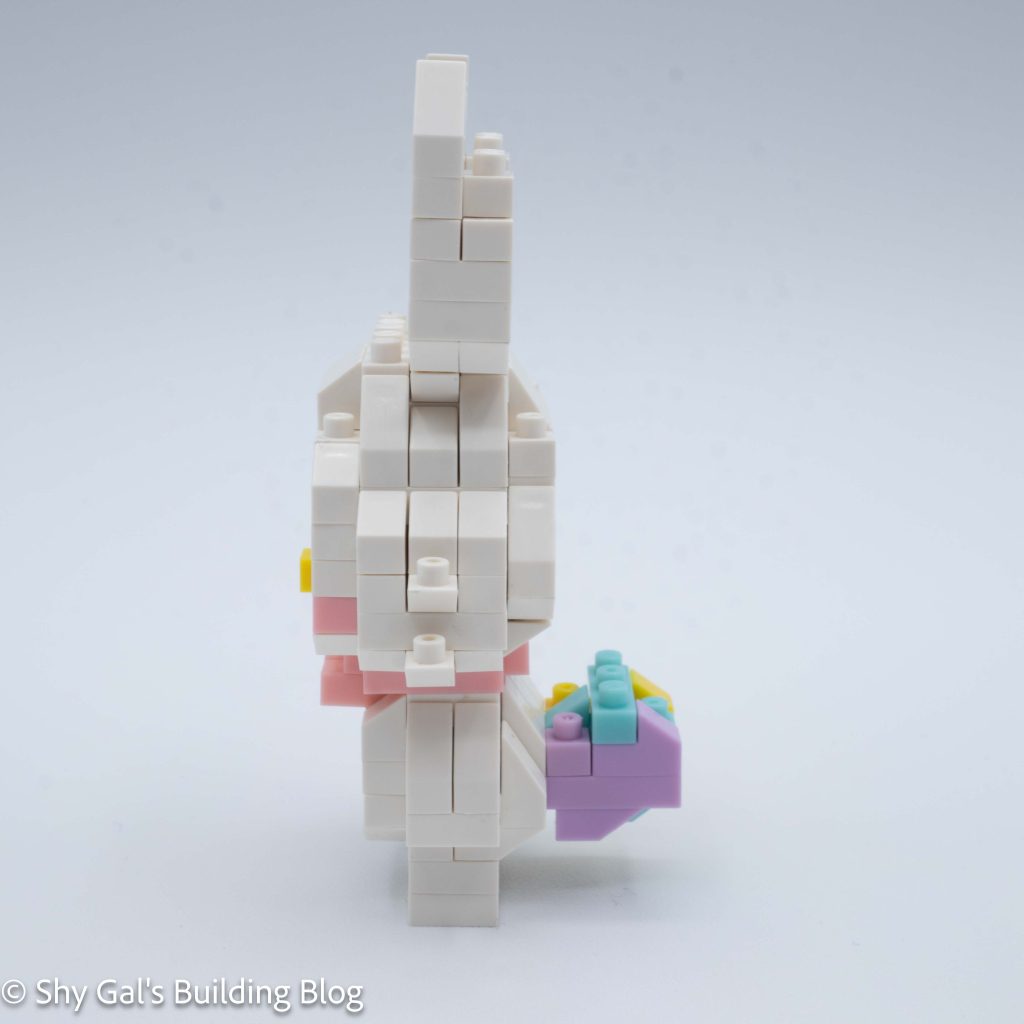
The next step is to build the body. This was fairly straightforward. When I added the legs and the clear brick to stabilize the build.
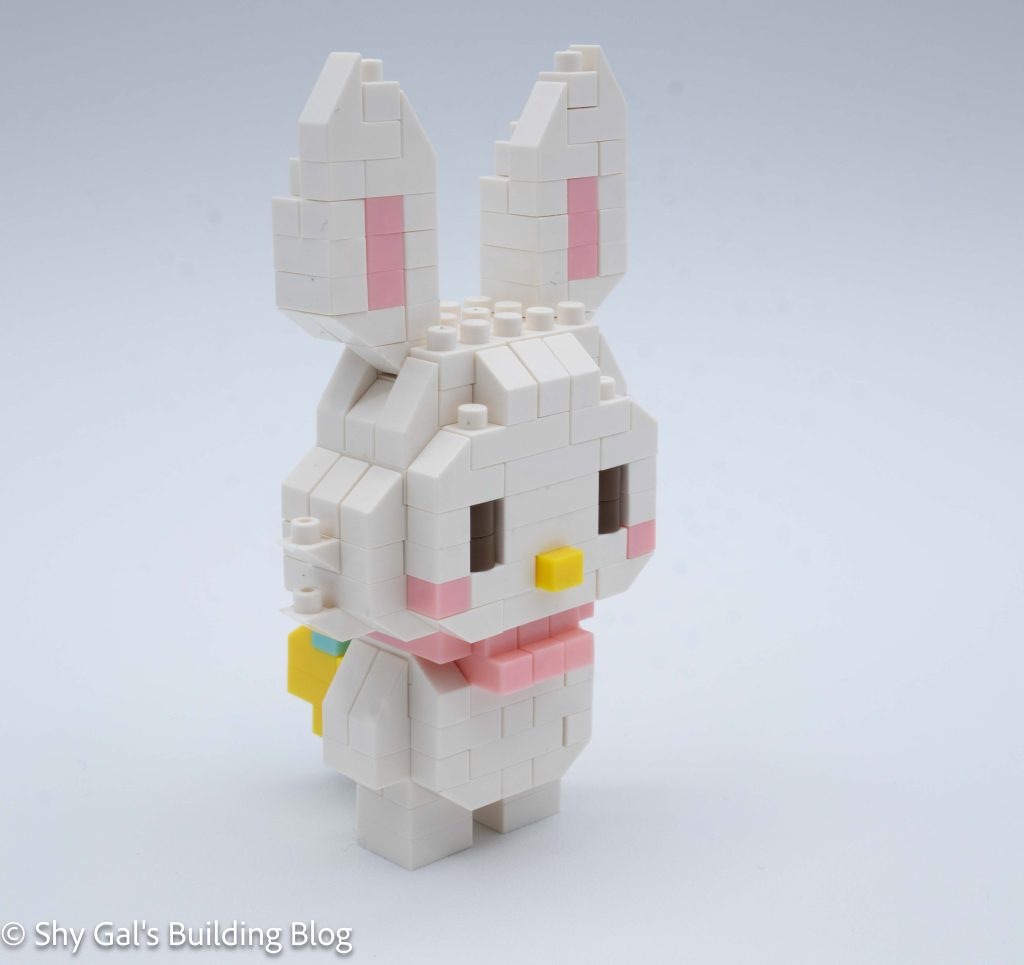
The last step is to attach the head to the body. When I added the head, the body became very tippy.
Things I liked:
I really like the clear white bricks that are used for this build
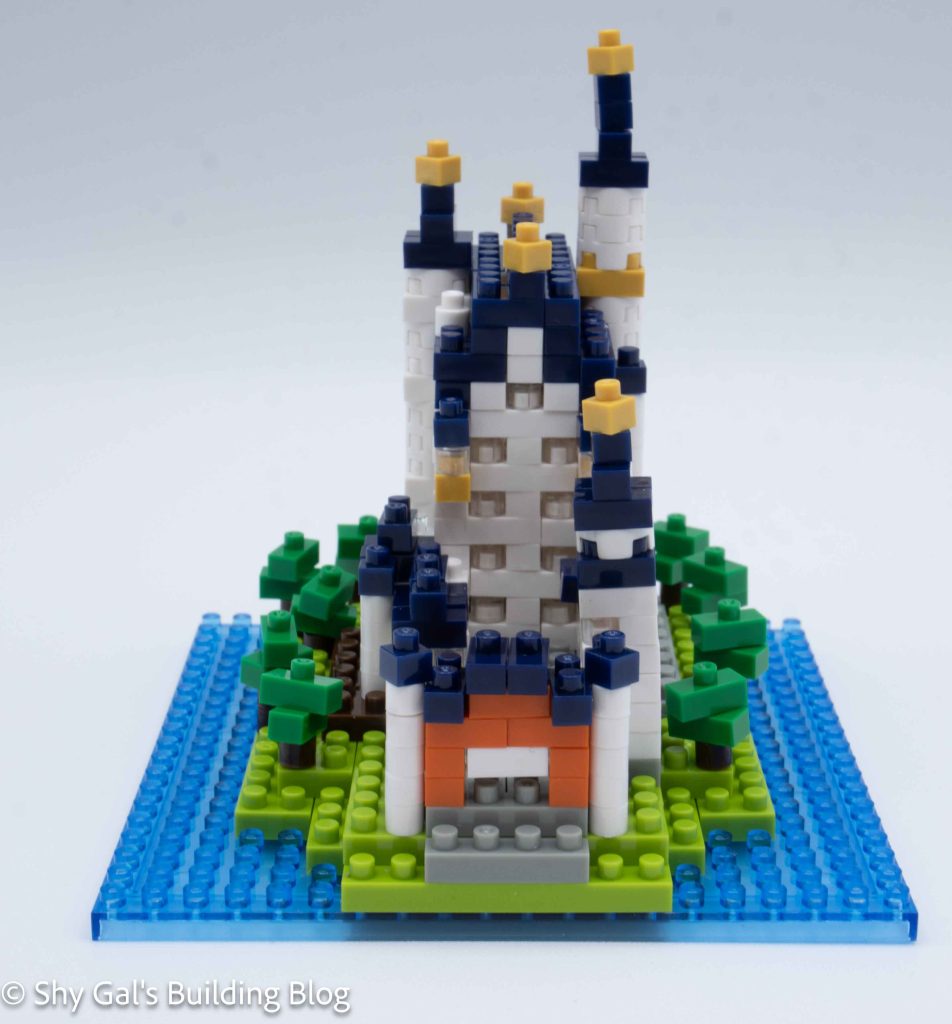
This post is a review of the nanoblock Schloss Neuschwanstein build. Schloss Neuschwanstein is part of the nanoblock Sights to See collection. Wondering what else is part of the Sights to See collection? Click here for a list.
Number: NBH_106
Country: Germany
Difficulty Rating: 2/5
This is an update of Schloss Neuschwanstein NBH_010. It includes newer bricks such as round 2×2 and a clear blue base.
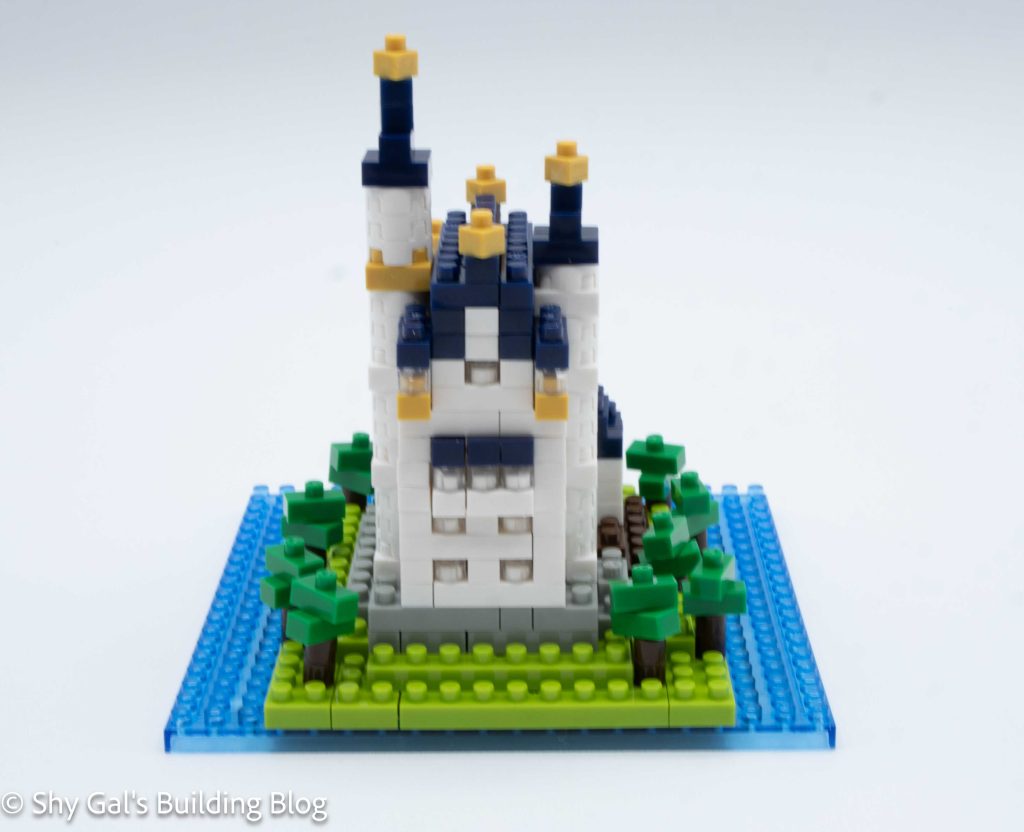
This build could be lit using one of the LED base plates because it is on a clear blue base. If it was on an LED base, all the windows in the castle would light up.
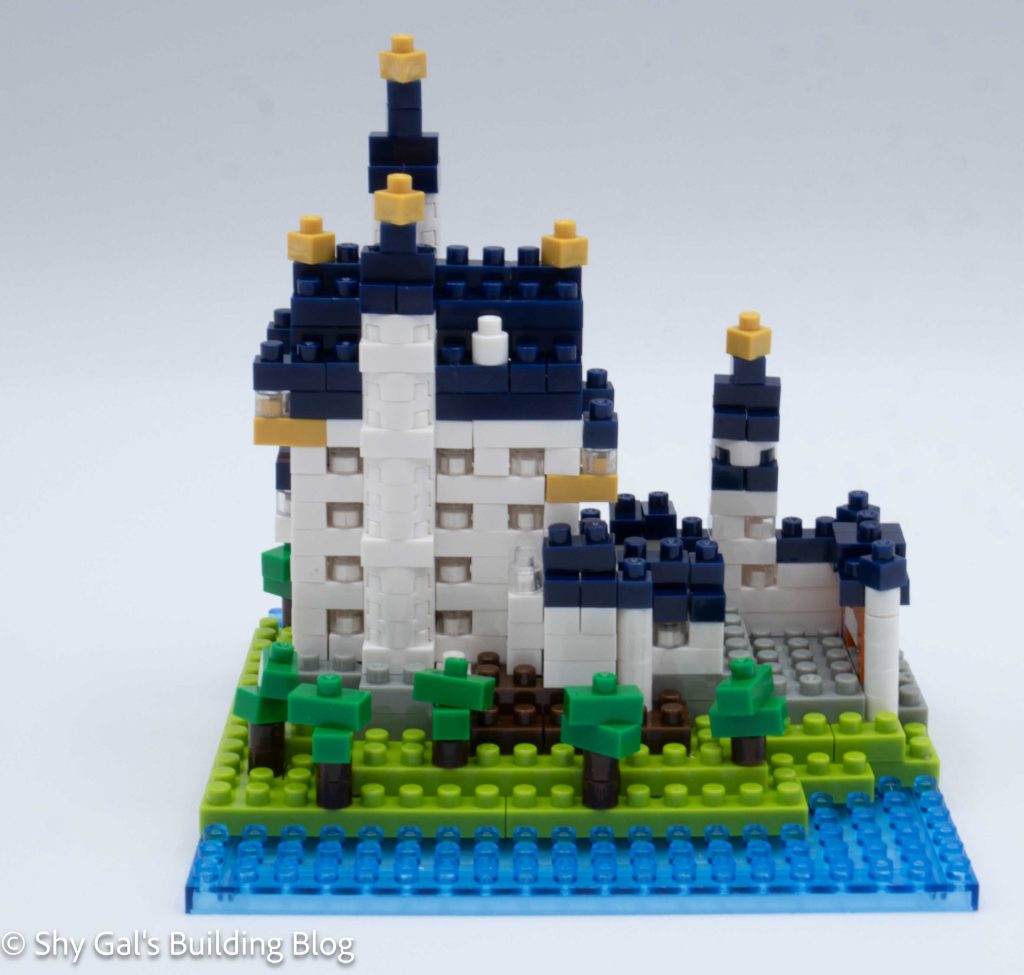
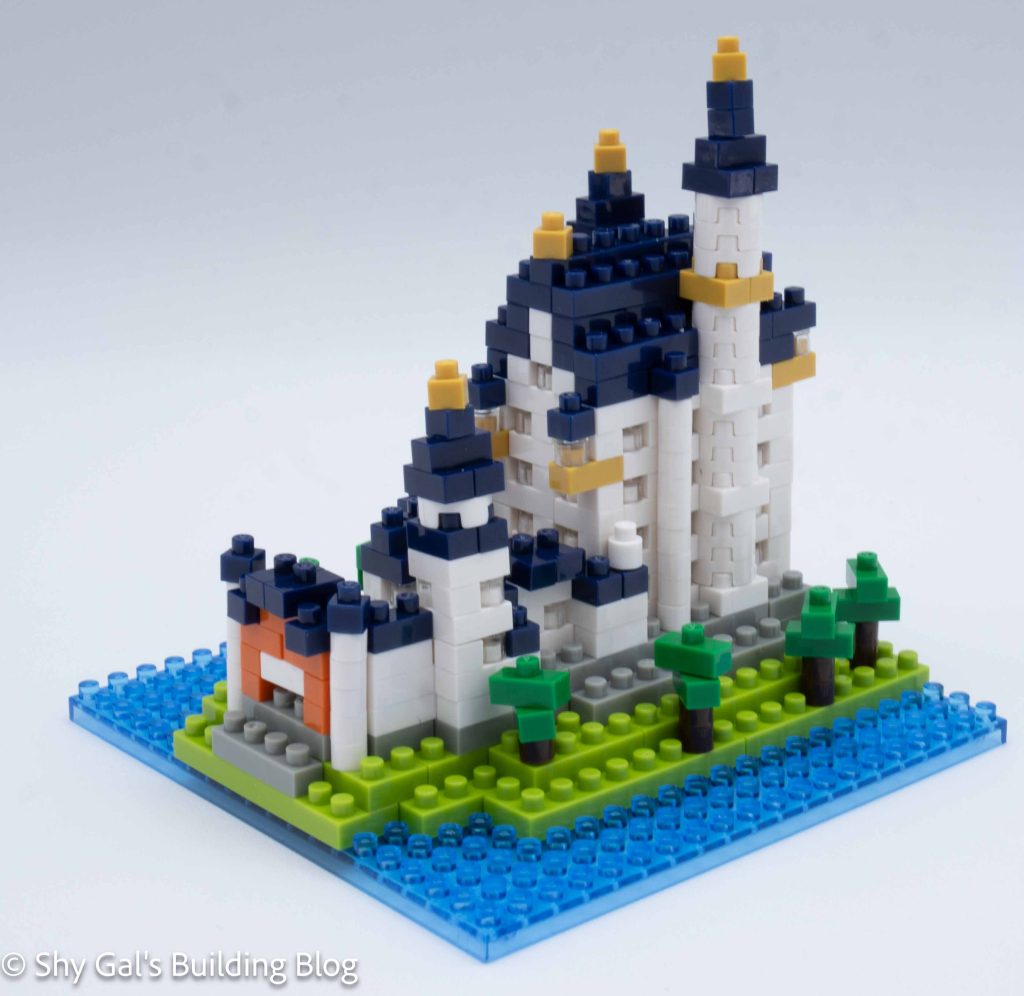
The build begins by laying the green base layer out on the 20×20 base plate. A bit of the center section remains uncovered which is why I think that putting it on the LED baseplate would light the windows. There are a couple layers of green grass to represent the hill the castle is on. Then, there are a couple of layers of grey castle foundation.
While I was building the actual castle, I needed to be careful to check each instruction for when there were additional bricks scattered around that build that needed to be added. Sometimes, I missed the bricks and needed to go back and add them in when I noticed.
Then, I began adding the layers of the actual castle. In general, there are 2 kinds of layers. 1 layer is solid white, and the other alternates between white and clear bricks. Each layer is very clear and straightforward. I just needed to be careful to not lose my place while going between the directions and the build.
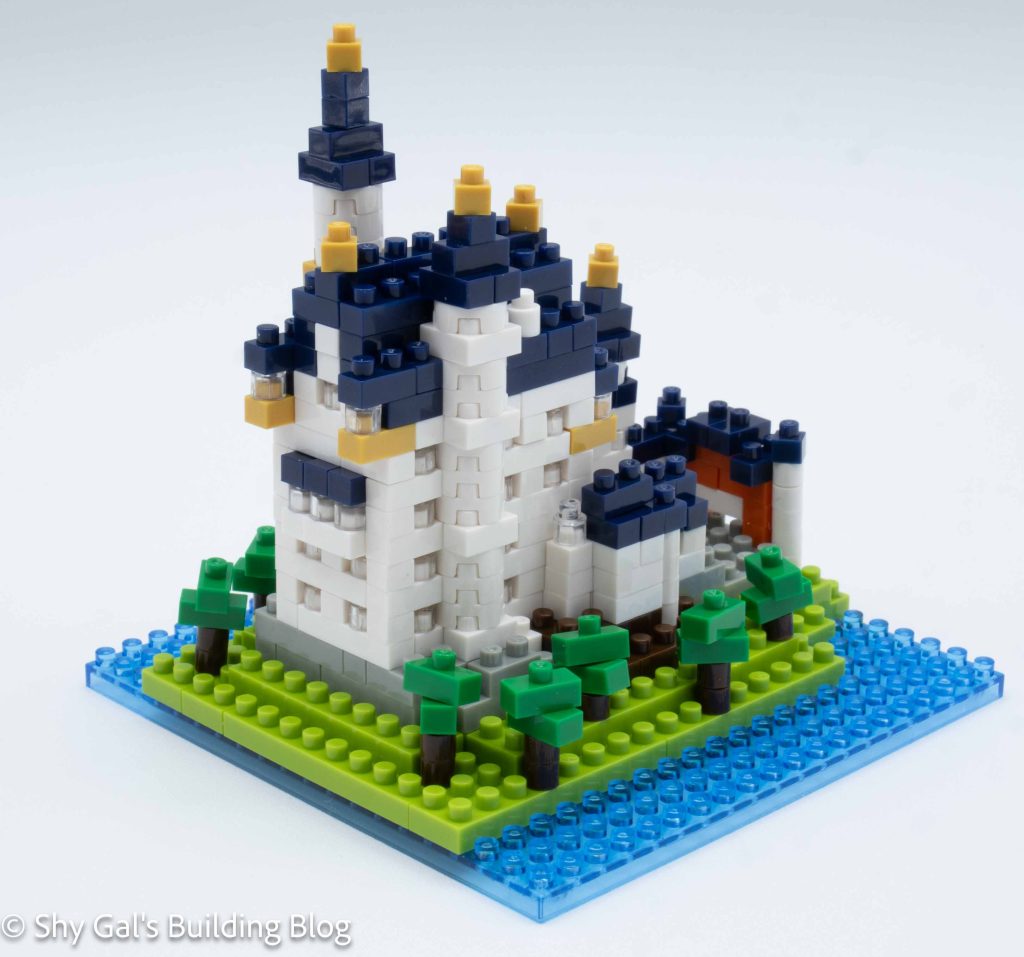
After several layers to create the walls of the castle it is time to add the roof. The roof is navy blue with gold details. White is also added to finish the main body of the castle.
After the roof is added, the final details are added to the towers on the side of the castle. The towers start at the beginning of the build and rise until they are the highest point in the building.
Things I liked:
I like the update. I feel that the towers are a lot more stable and clear than the original version
Things I didn’t like:
I don’t like how the instructions kept cutting more out of the picture. It made it hard to see when to add bricks around the outside
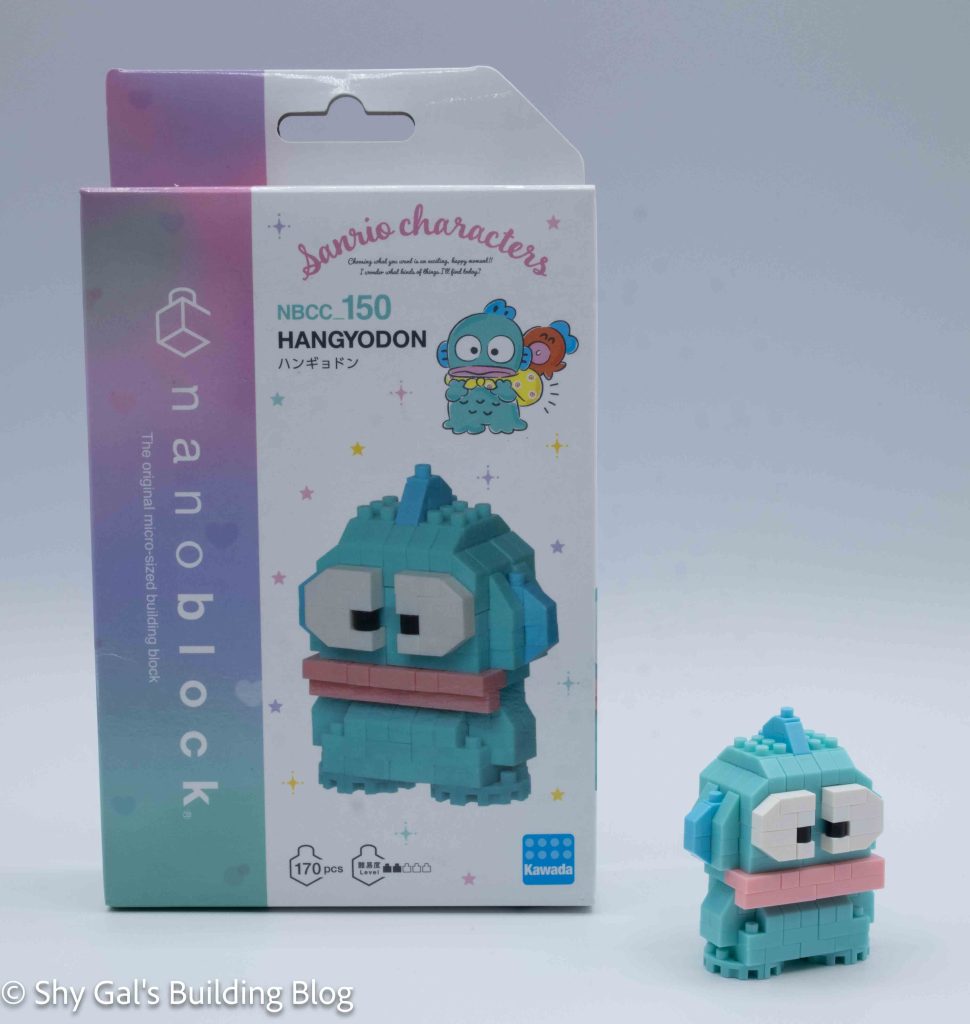
This post is a review of the nanoblock Hangyodon build. Hangyodon is part of the nanoblock Character collection. Wondering what else is part of the Character collection? Click here for a list.
Number: NBCC_150
Number of Pieces: 170
Difficulty Rating: 2/5
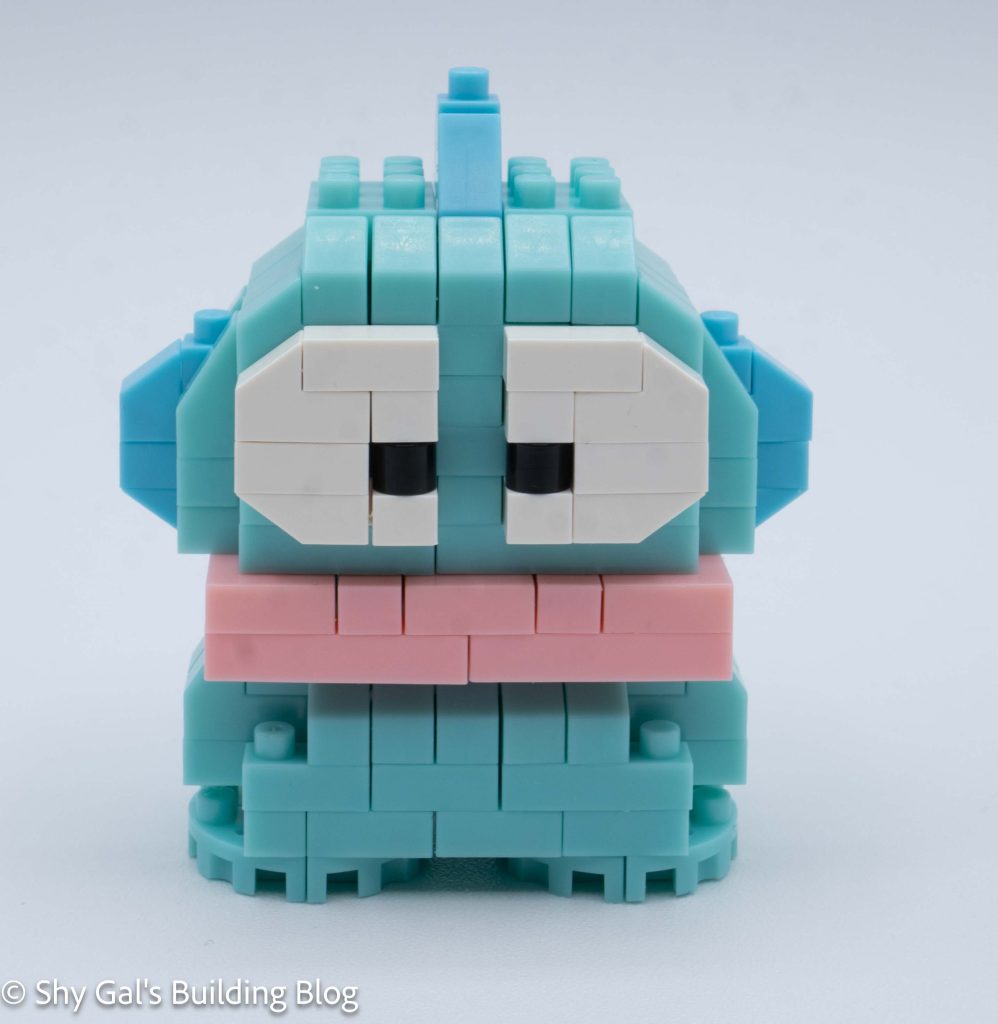
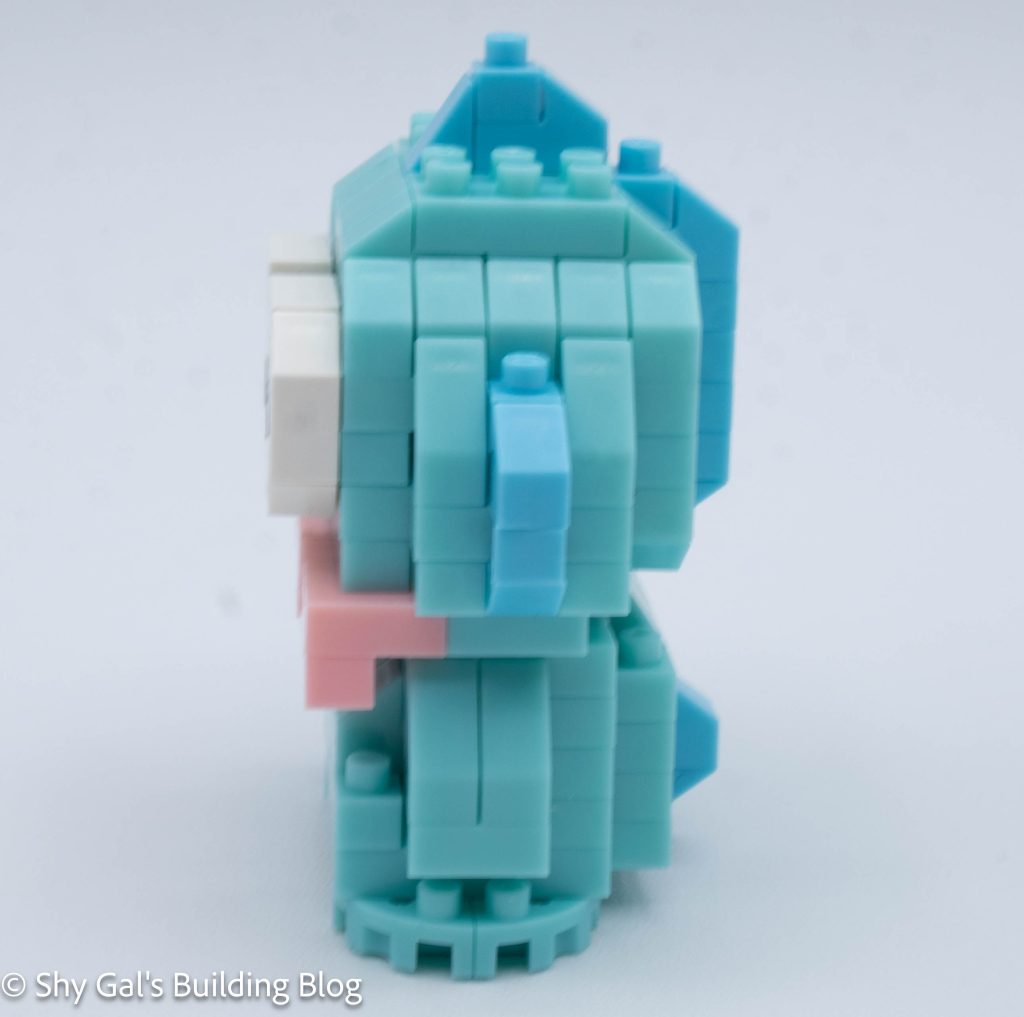
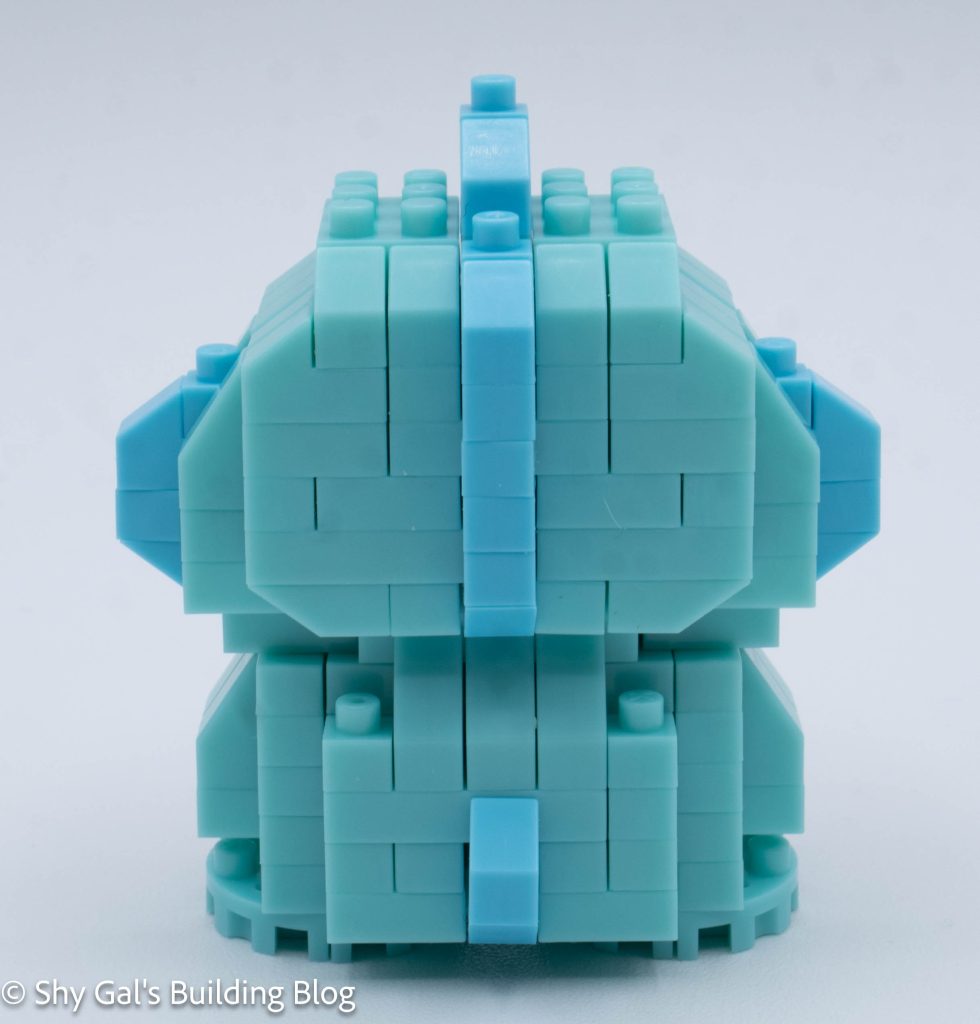
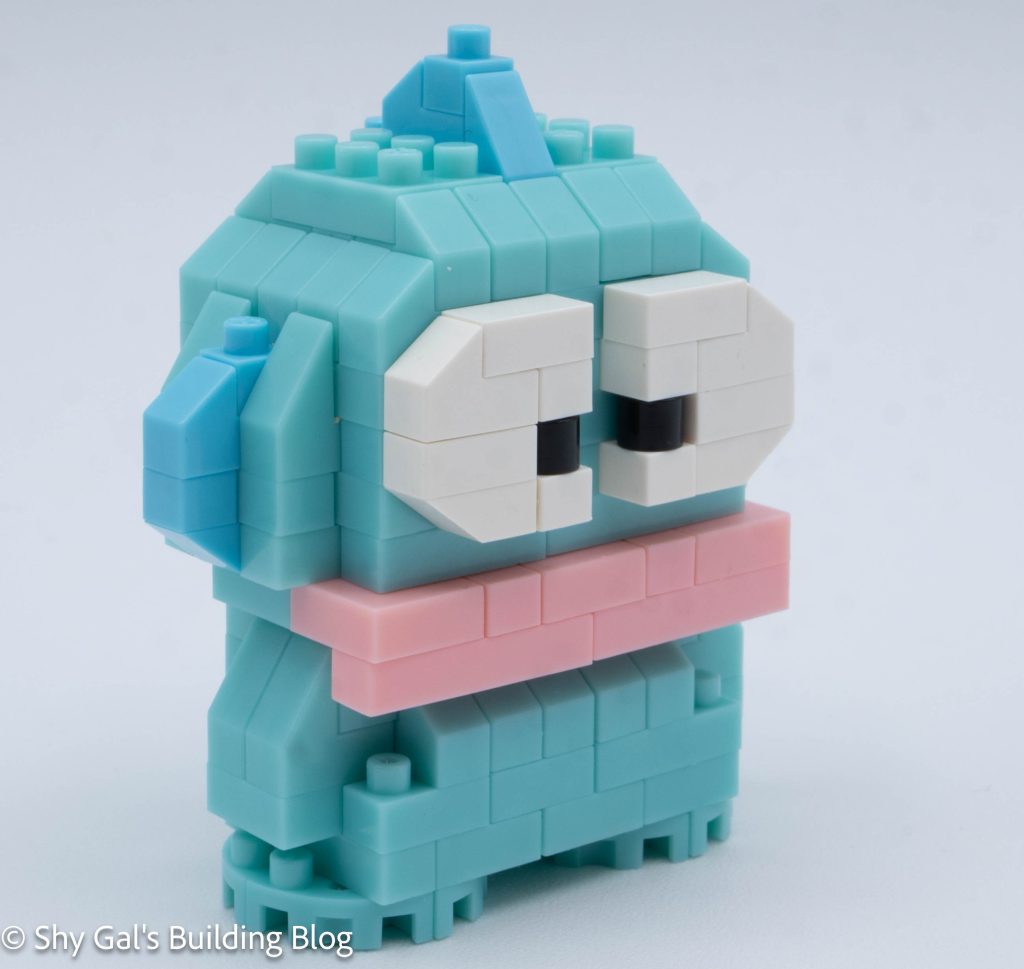
The build begins with the head. It begins with a layer of mint blue. Then the large eyes are started.
The head goes up in straightforward layers. I needed to be careful to watch for which slanty pieces to use because there are a lot of slanty pieces.
After building to the top of the head, I flipped the head over to add the neck details and the mouth.
The next section is to build Hangyodon’s body. It also begins with a layer of mint blue bricks.
The body goes up in fairly straightforward layers. There are more slanty pieces in the body.
After building the body, I flipped the body over to add the tail and feet.
Things I liked:
I really like the mint blue color. It isn’t a color that is used a lot
I really like how the extra large details make the character super recognizable
Things I didn’t like:
I felt the colors marking which light blue slanty pieces to use didn’t have a lot of difference, so it was unclear which to use
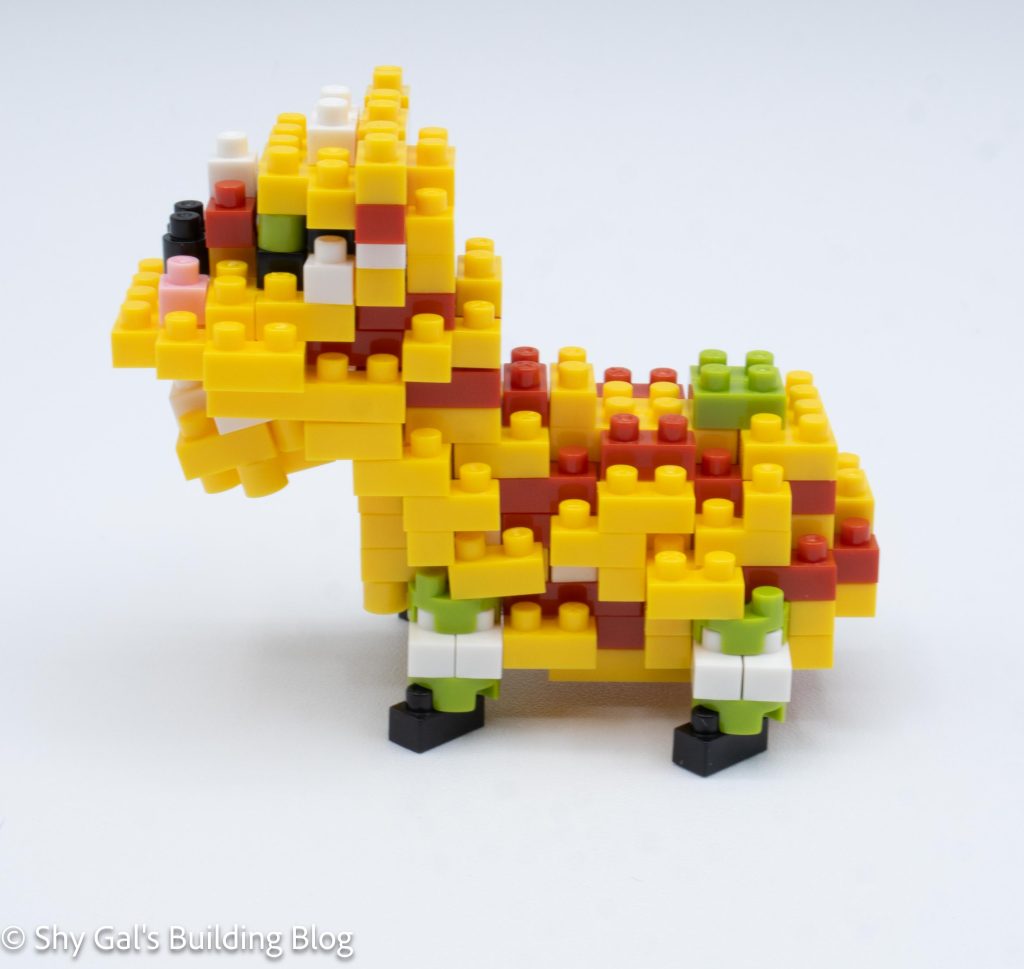
This post is a review of the nanoblock Lion Dance build. Lion Dance is part of the nanoblock Mini Collection. Wondering what else is part of the Mini Collection? Click here for a list.
Number: NBC_239
Number of Pieces: 180
Difficulty Rating: 3/5
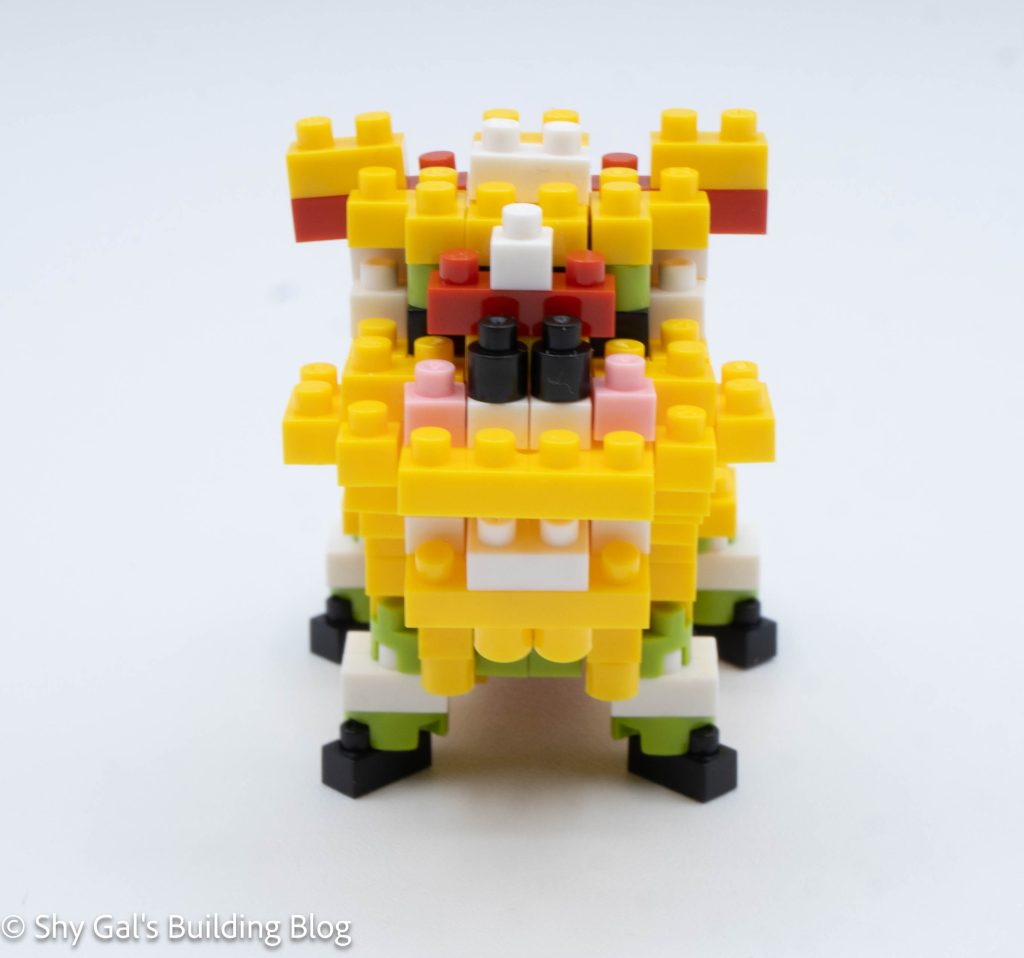
This build began with a base layer of a lot of little bricks, so I laid the layer out on my nanoblock pad. I like that even the rounded pieces can be laid on the pad.
I then proceeded to add the layers that created the main body of the lion. While I was building, I wasn’t sure how things would look because there were bricks coming out from everywhere on the build. This does create the hair effect the lion dance costumes have in the finished build, but it did seem a little random while building.
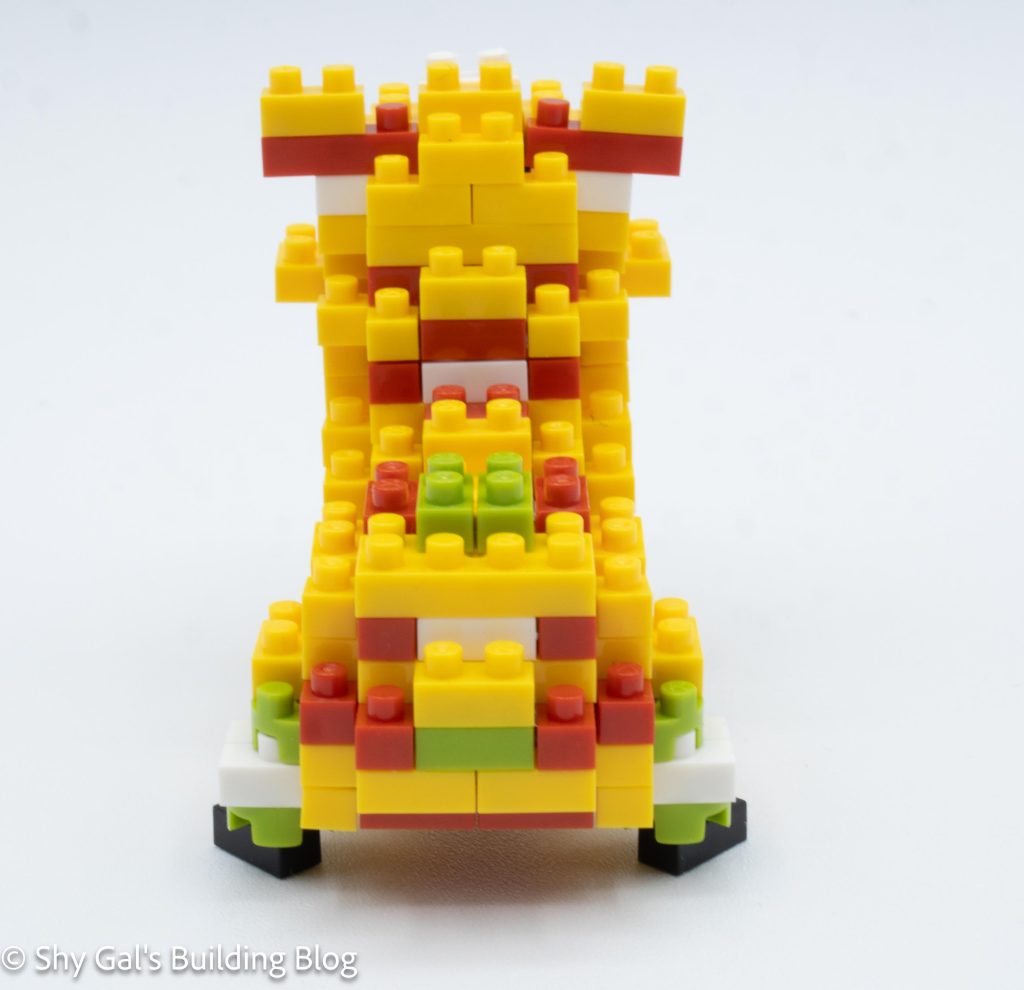
After building the main body, I built and attached the lower jaw.
Then, I flipped the build over and added some more details along with the legs and feet. The directions for building the feet were a bit unclear because the image was at an angle.
Next, I built the top section of the head. The instructions were clear, but again, the base was a bunch of small bricks, so I used my nanoblock pad to create the head.
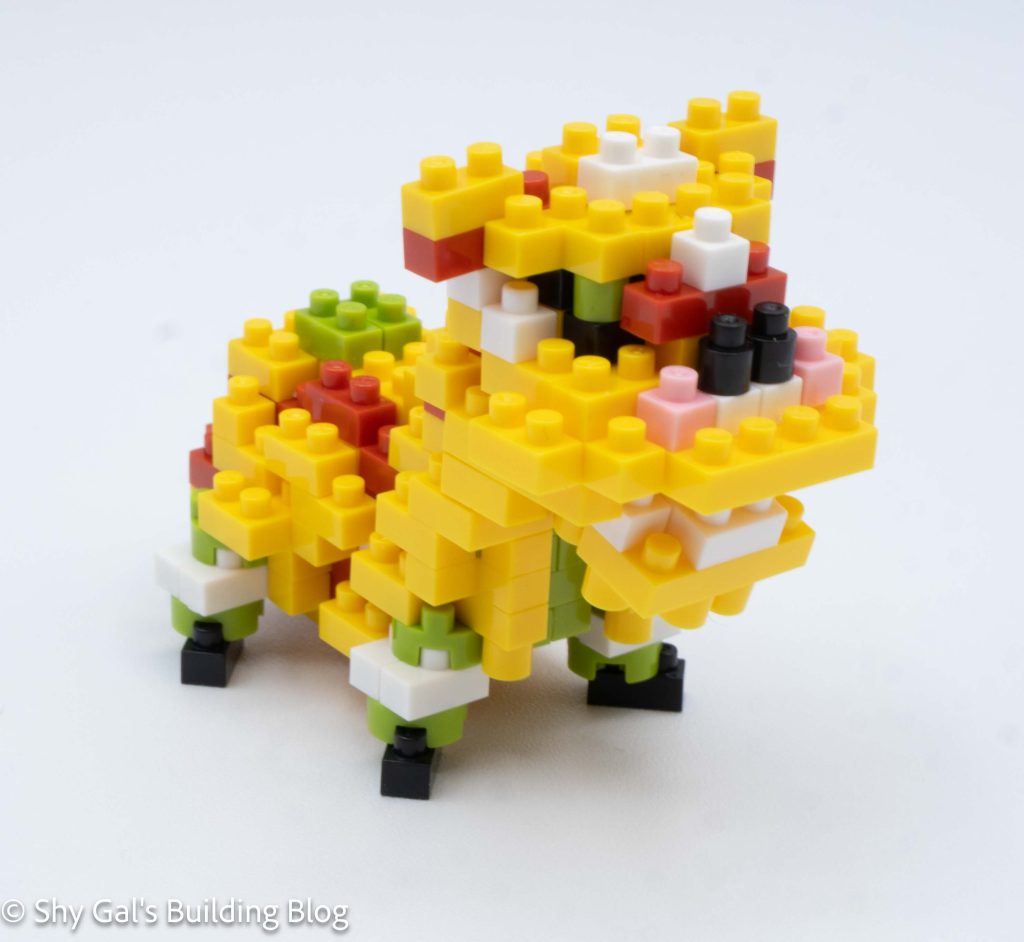
The last step is to attach the head to the build. This was straightforward because the directions were so clear.
Things I liked:
I like how the build catches some of the flow of the lion dance costume
Things I didn’t like:
The instructions for the feet were a little bit confusing
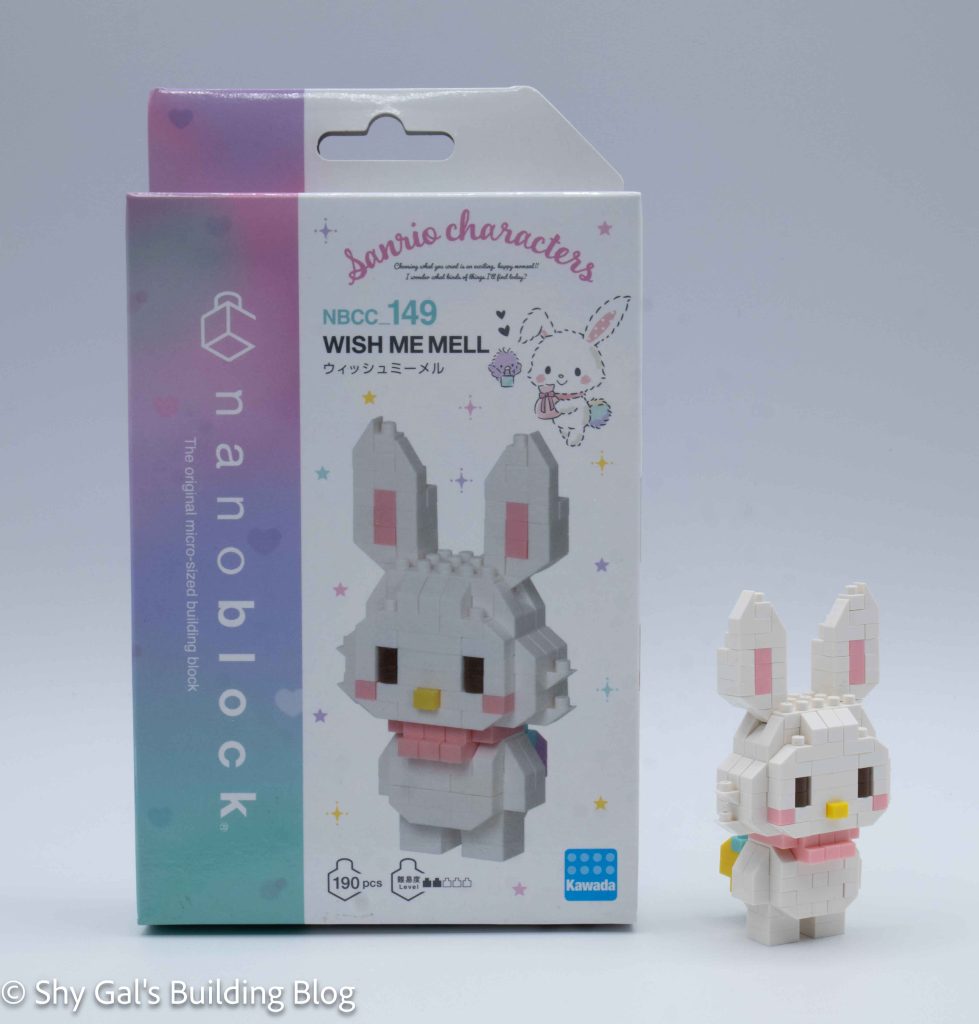
This post is a review of the nanoblock Wish Me Well build. Wish Me Well is part of the nanoblock Character collection. Wondering what else is part of the Character collection? Click here for a list.
Number: NBCC_149
Number of Pieces: 190
Difficulty Rating: 2/5
The build begins with the head. I laid the base layer out on my nanoblock pad. When I added the nose, I could no longer use the pad to build the head because the nose wasn’t square with the rest of the build. The rest of the head goes up in straightforward layers.
The next step is to build the main section of the body. I once again laid the body out on the nanoblock pad. One of the first steps was to add Wish Me Well’s distinctive rainbow tail. The rest of the body is relatively straightforward.
The next step is to attach the head to the body. This was surprisingly difficult. I think it’s because most of the pieces can slide, so getting things lined up can be tricky.
The next step is to add the ears, which are mirrors of each other.
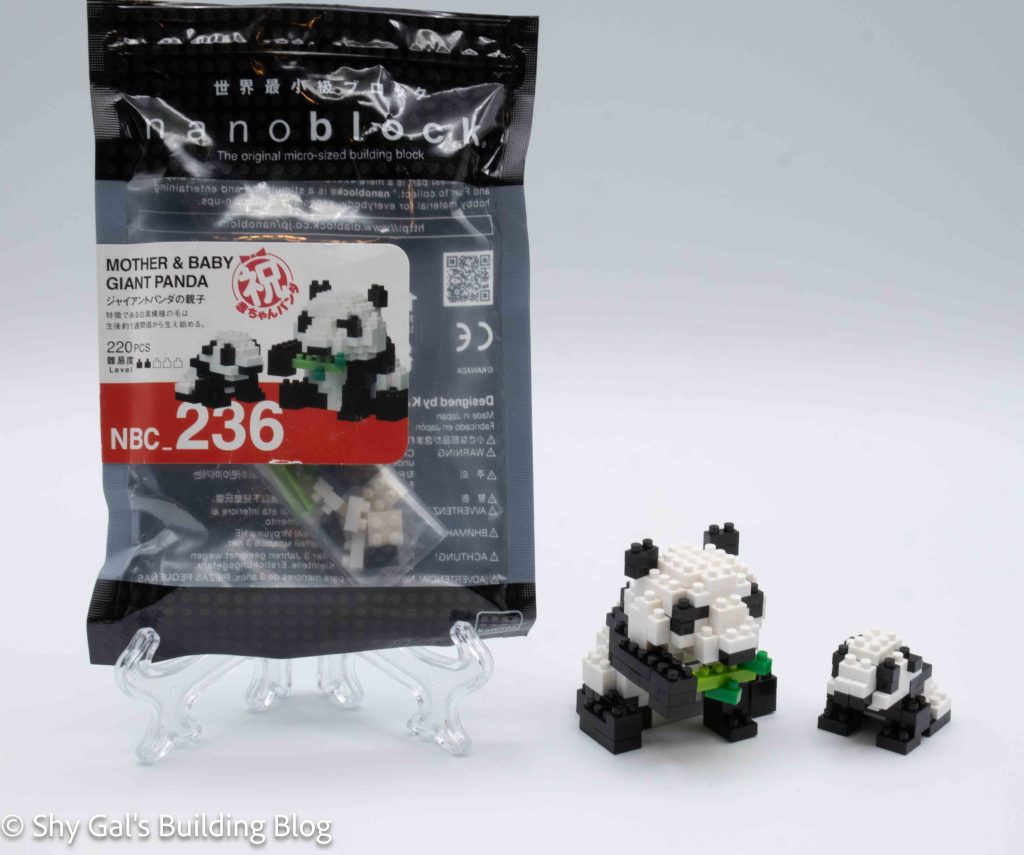
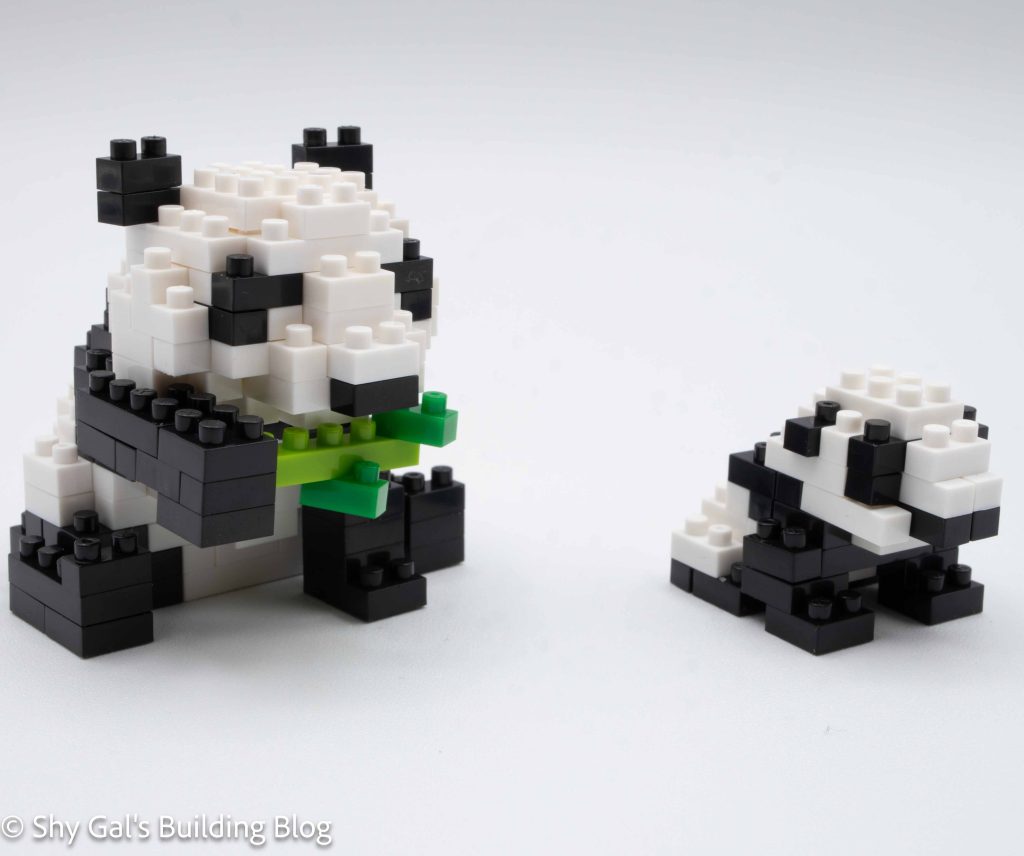
This post is a review of the nanoblock Mother & Baby Giant Panda build. Mother & Baby Giant Panda is part of the nanoblock Mini Collection series. Wondering what else is part of the Mini Collection? Click here for a list.
Number: NBC_236
Number of Pieces: 220
Difficulty Rating: 2/5
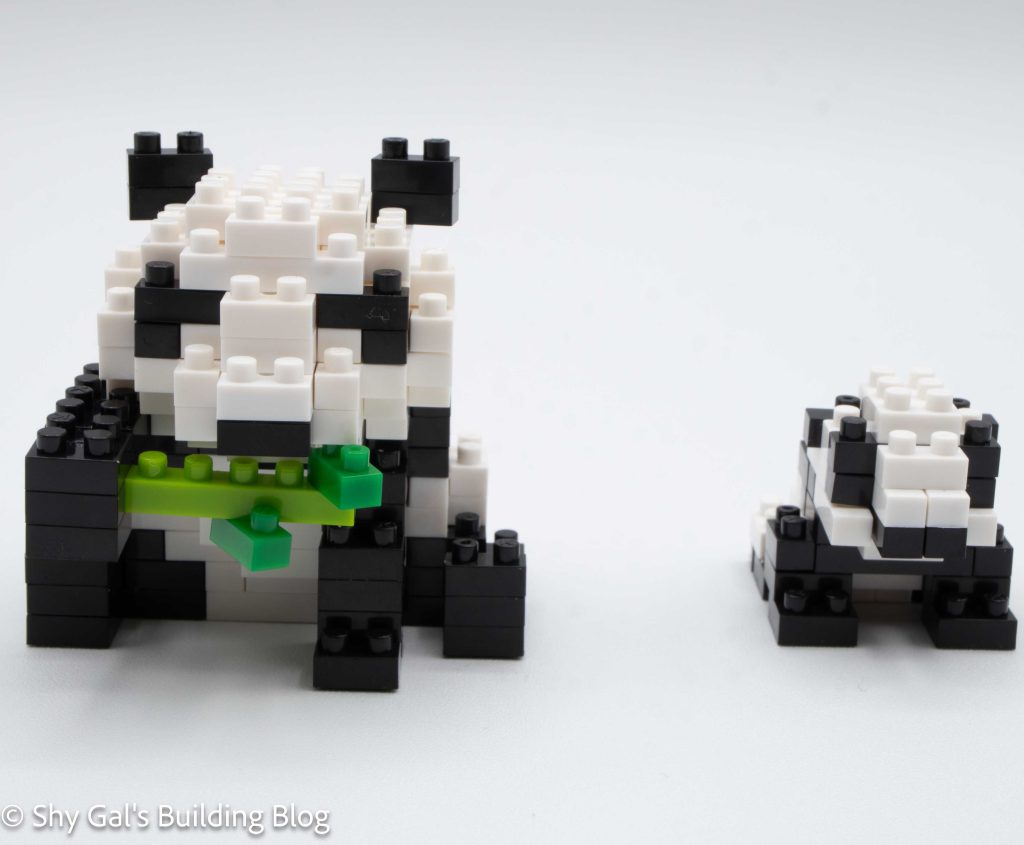
This kit contains 2 builds: the mother and the baby.
Mother
The mother panda begins with a layer of black and white bricks. I laid the base layer out on my nanoblock pad. Each direction adds 2 more layers to the build. I had to take my panda off the pad to add the front paw, but I was able to place it back on the pad to complete the build.
Overall, the mother panda is straightforward, with simple layers of bricks. I enjoyed how quickly I could tell I was building a panda instead of feeling like I was blindly placing bricks.
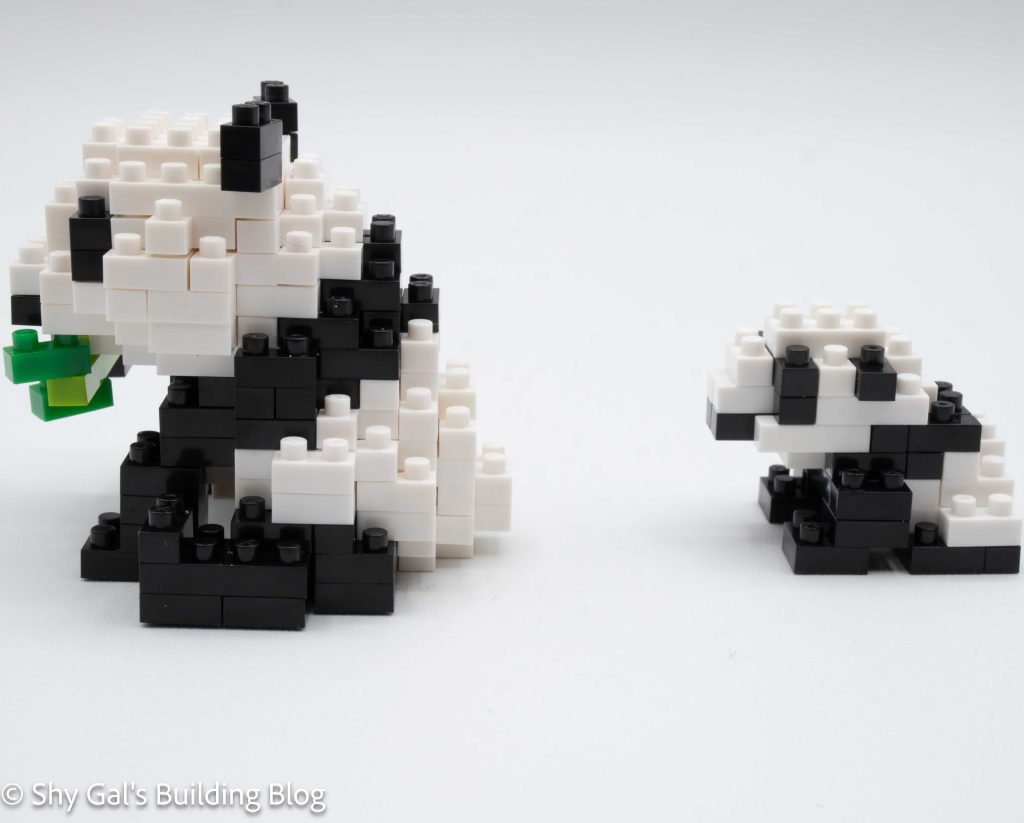
After the top layers of the panda were added I added the other front arm, which is holding bamboo.
Baby
I actually found the baby harder to build than the mother panda. This is because, in the later steps, a lot of bricks with different sizes of tops and bottoms were used. Each time, I needed to make sure the top stud was lined up with with studs for the next layer, which meant stages weren’t always square.
Things I liked:
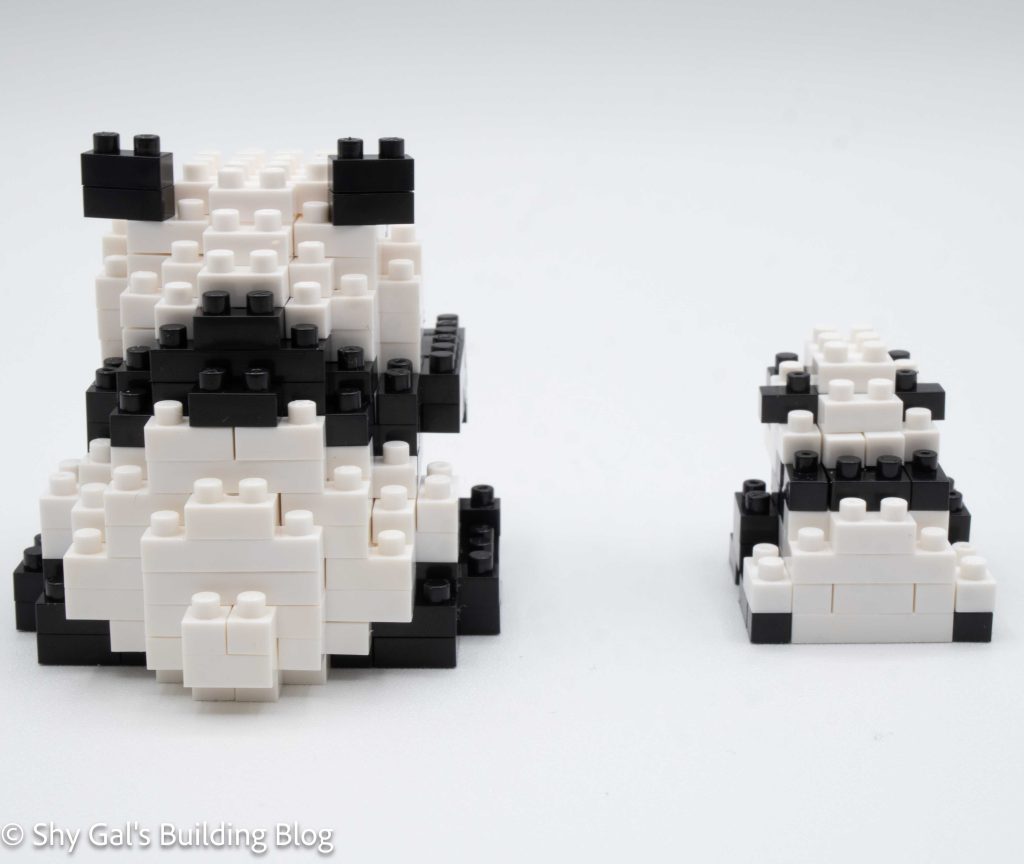
I like that the mother is actually doing something active
I liked the creative brick usage to create the compact build
Things I didn’t like:
I don’t love how the baby panda looks. The black sections are simply too large
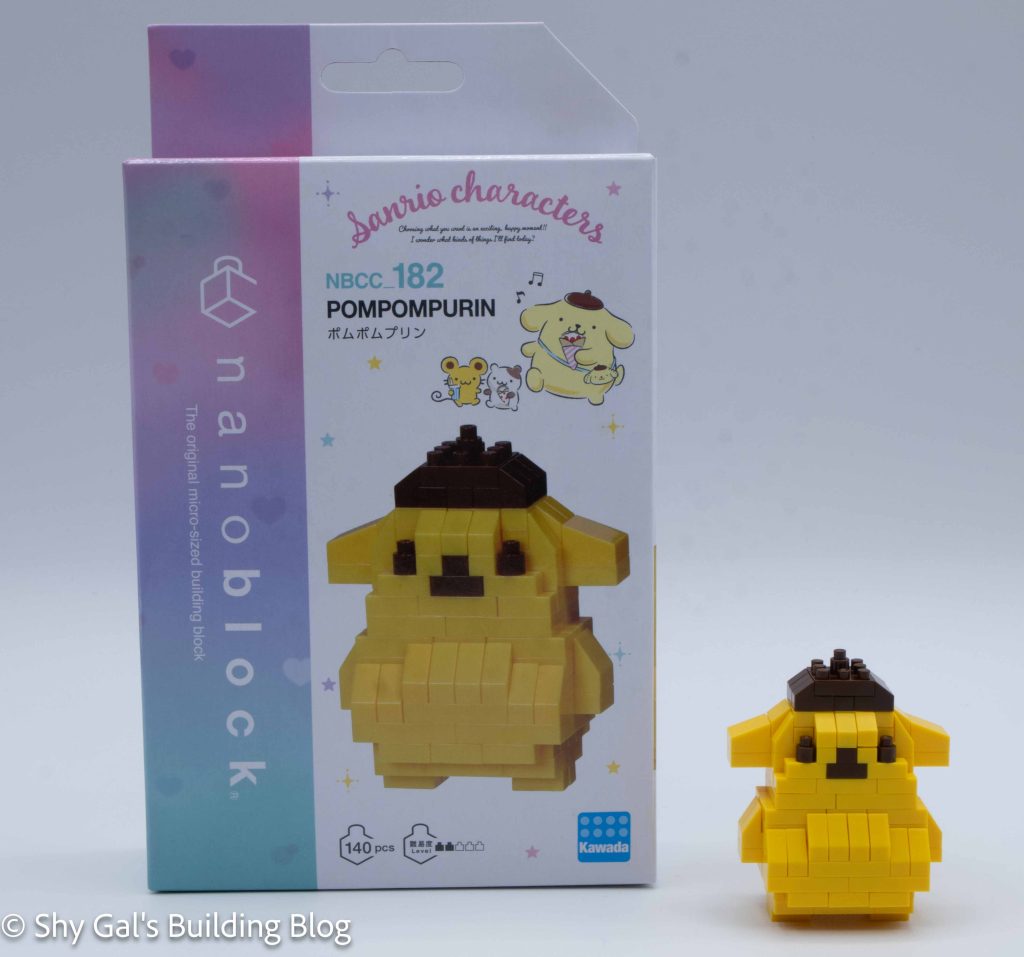
This post is a review of the nanoblock Pompompurin build. Pompompurin is part of the nanoblock Character collection. Wondering what else is part of the Character collection? Click here for a list.
Number: NBCC_182
Number of Pieces: 140
Difficulty Rating: 2/5
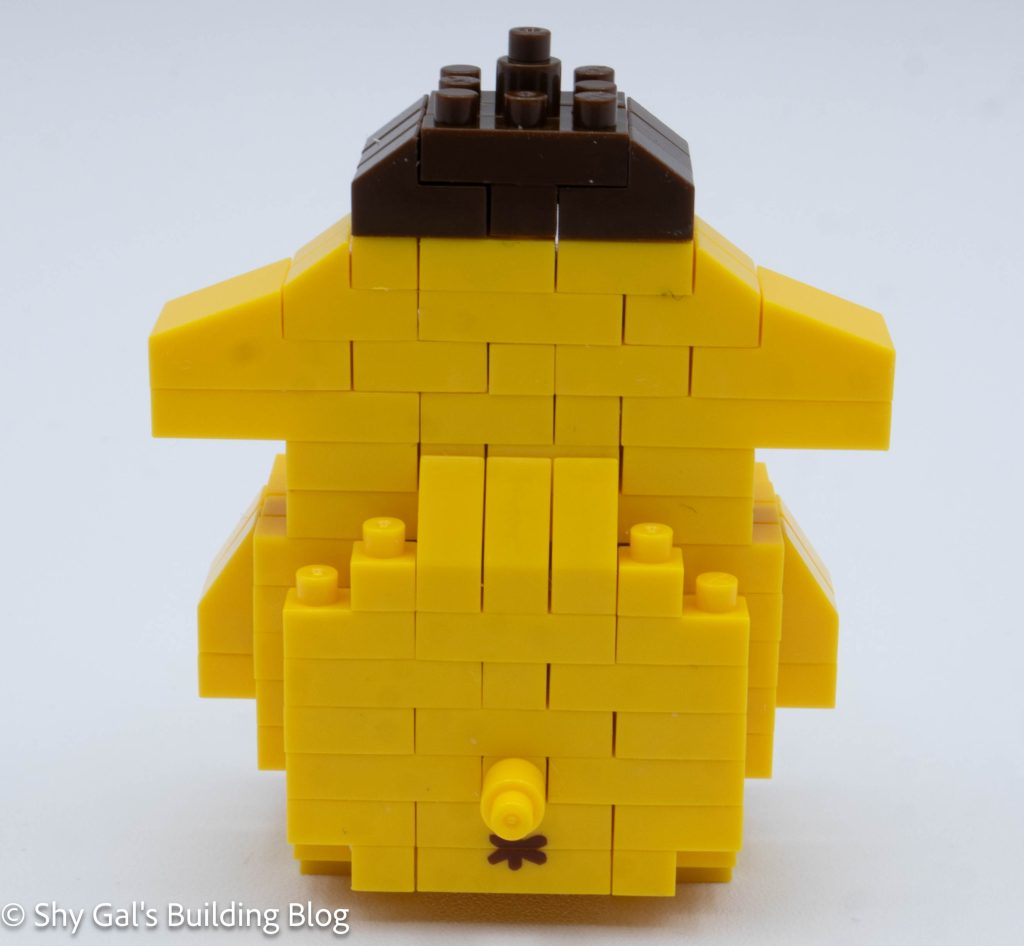
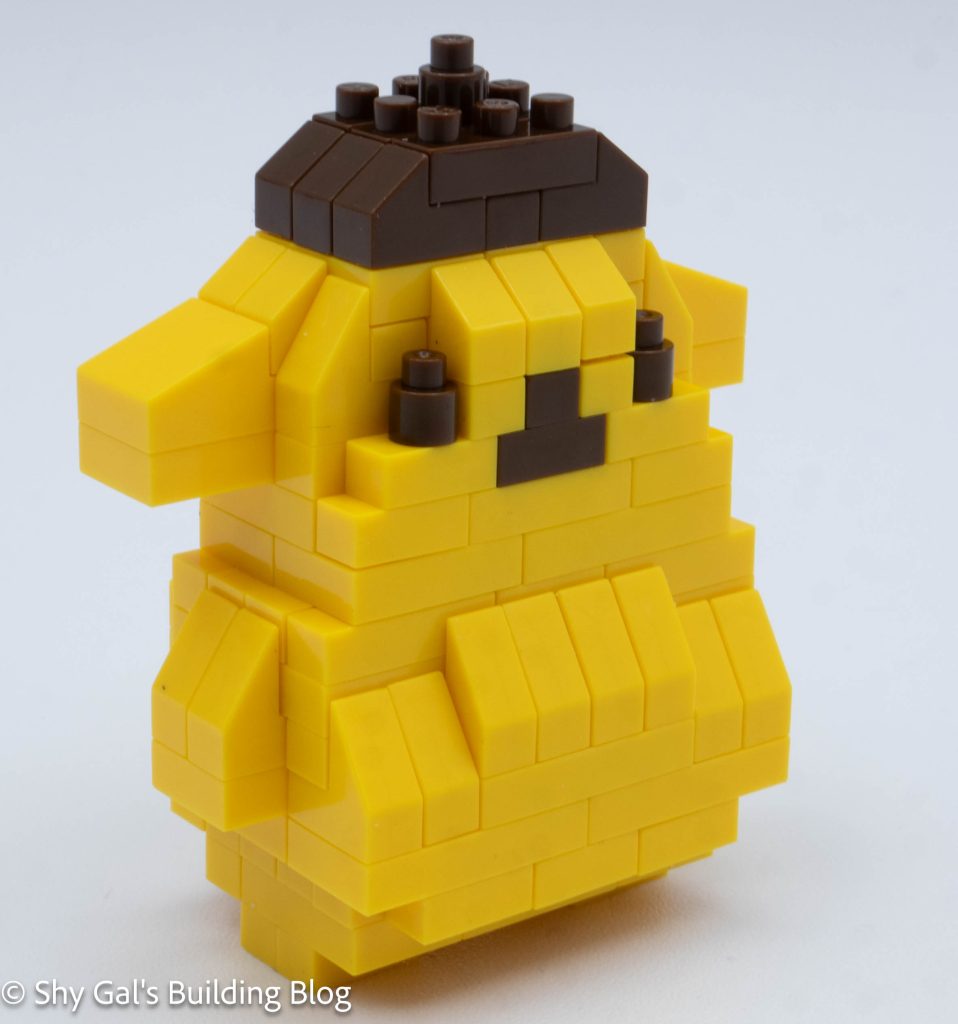
This build begins with the building of the bottom of Pompompurin’s body. It starts by building a base layer that includes the custom printed brick.
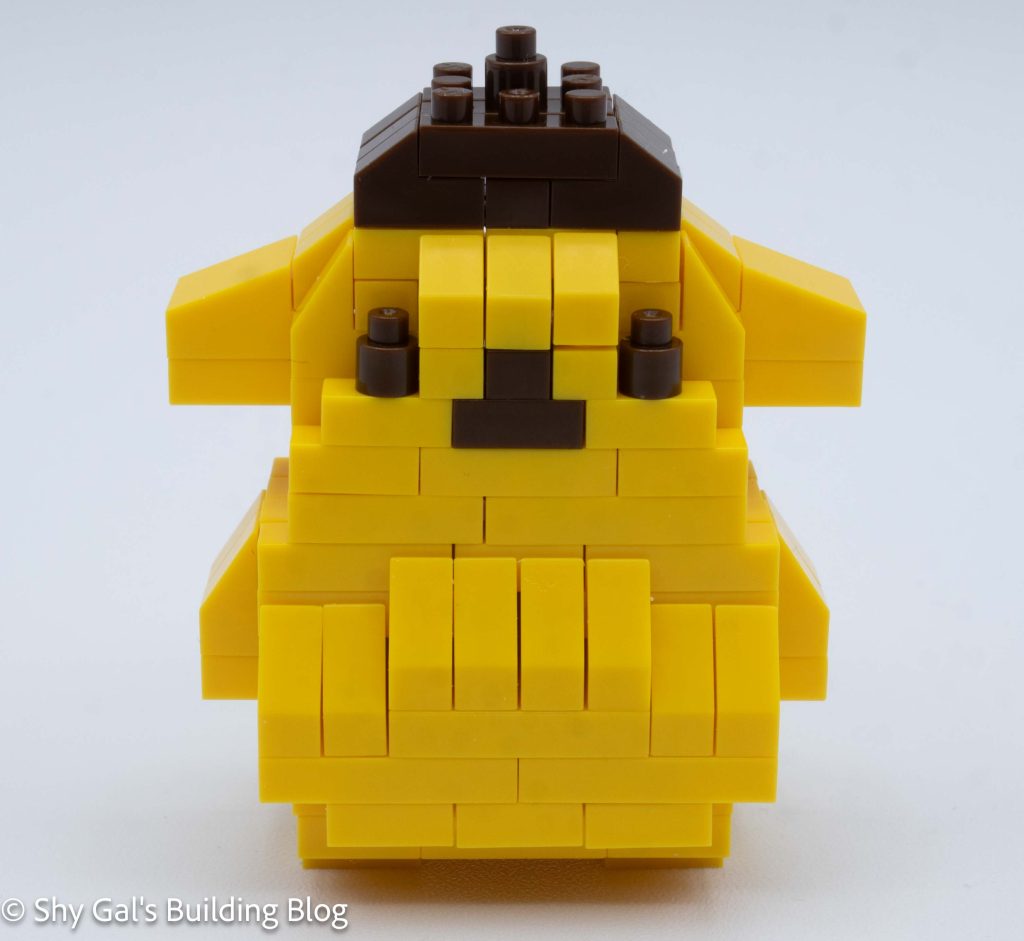
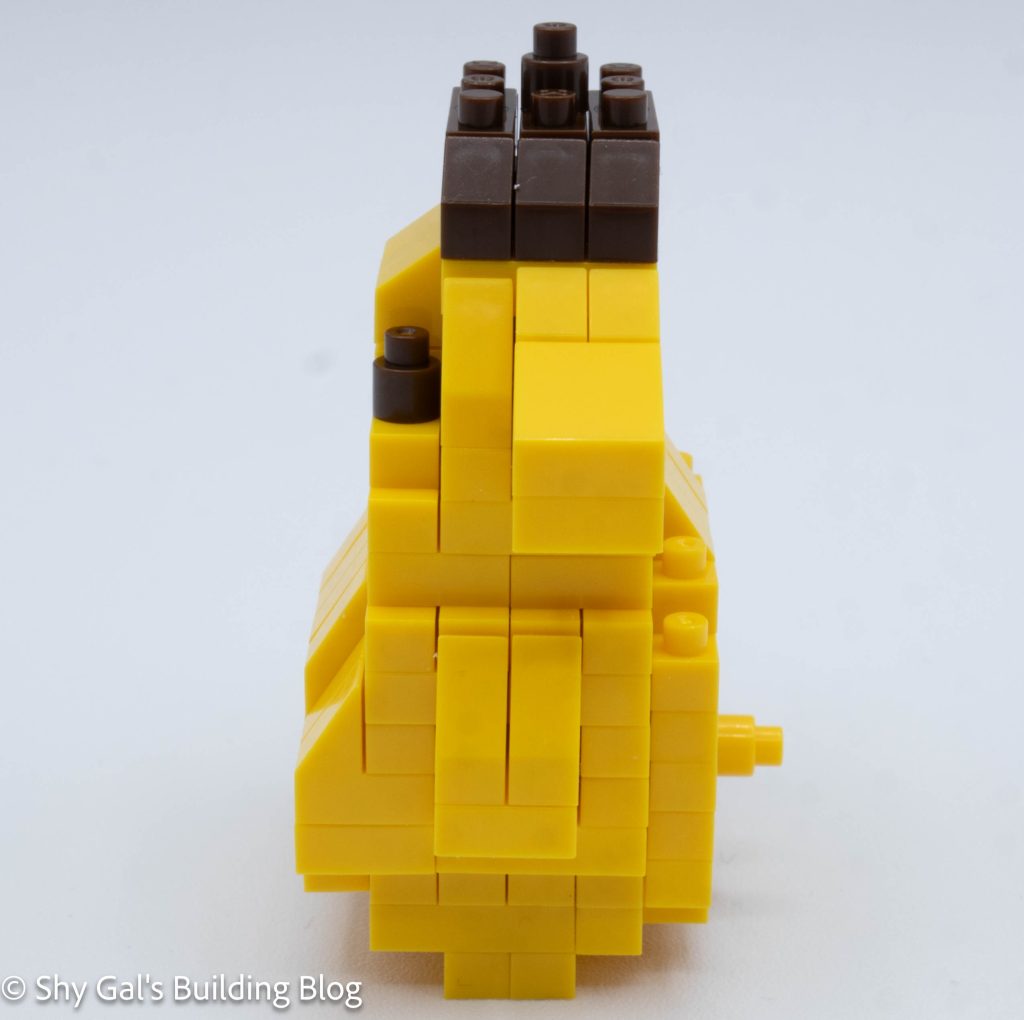
Then, the body goes up in layers. There are a ton of slanted bricks to create Pompompurin’s curves.
After the body is built, the head is built directly on the body in continuing layers. The head includes adding the eyes, ears, and mouth.
The final step is to build Pompompurin’s hat, which is built directly on his head.
Things I liked:
I like how the curves are created
Things I didn’t like:
Compared to the other Sanrio builds that came out at the same time (nearby NBCC numbers), I feel that Pompompurin has a lot less detail
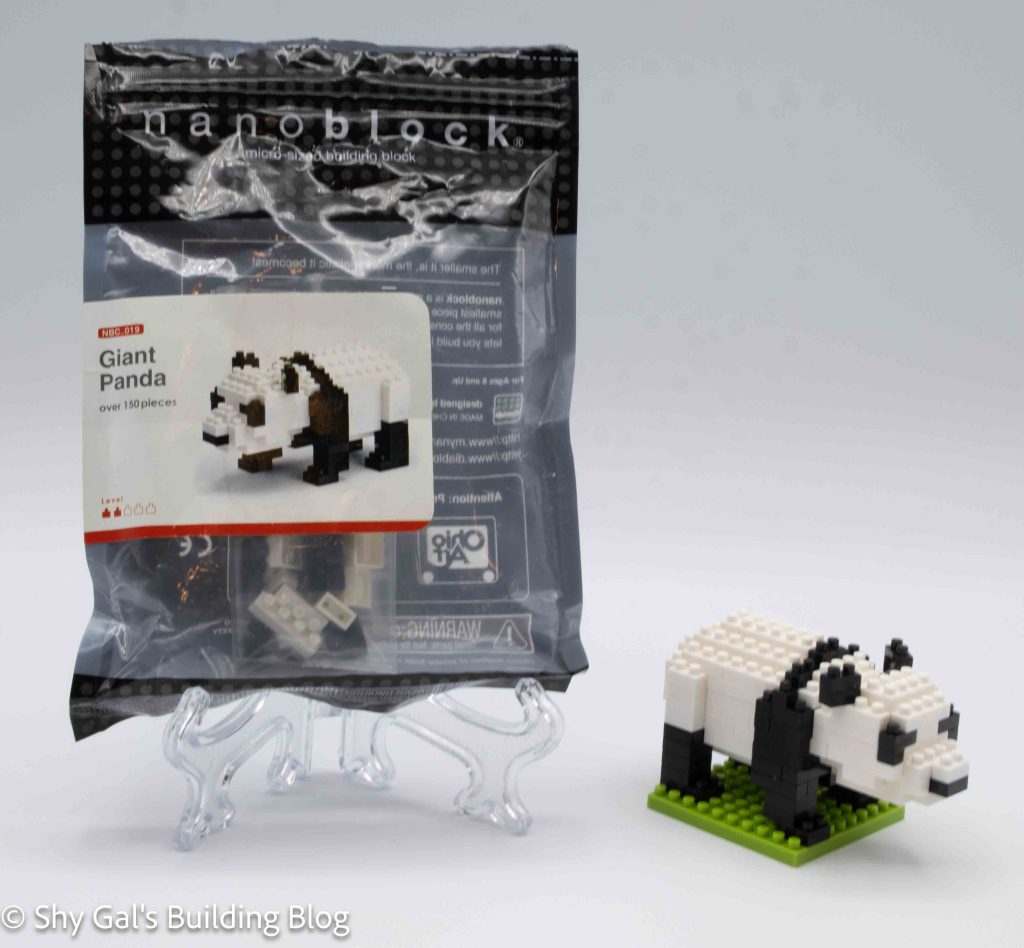
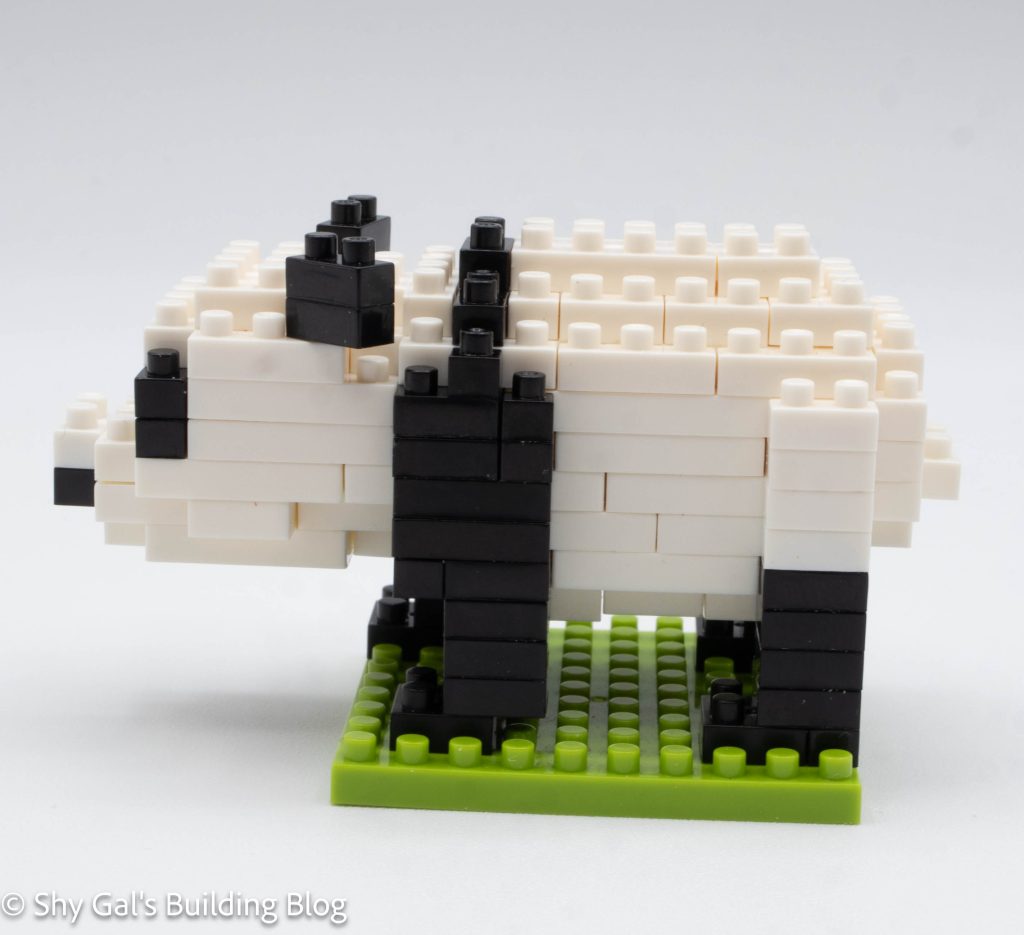
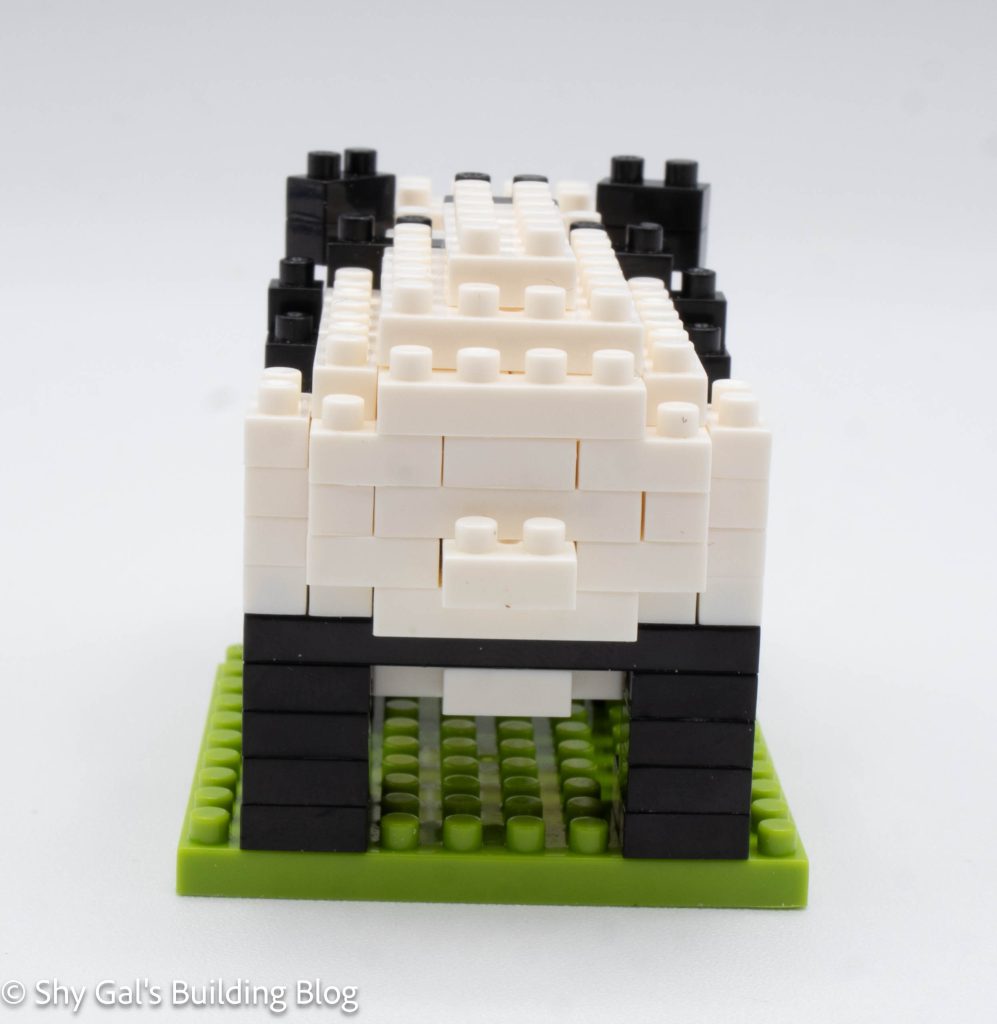
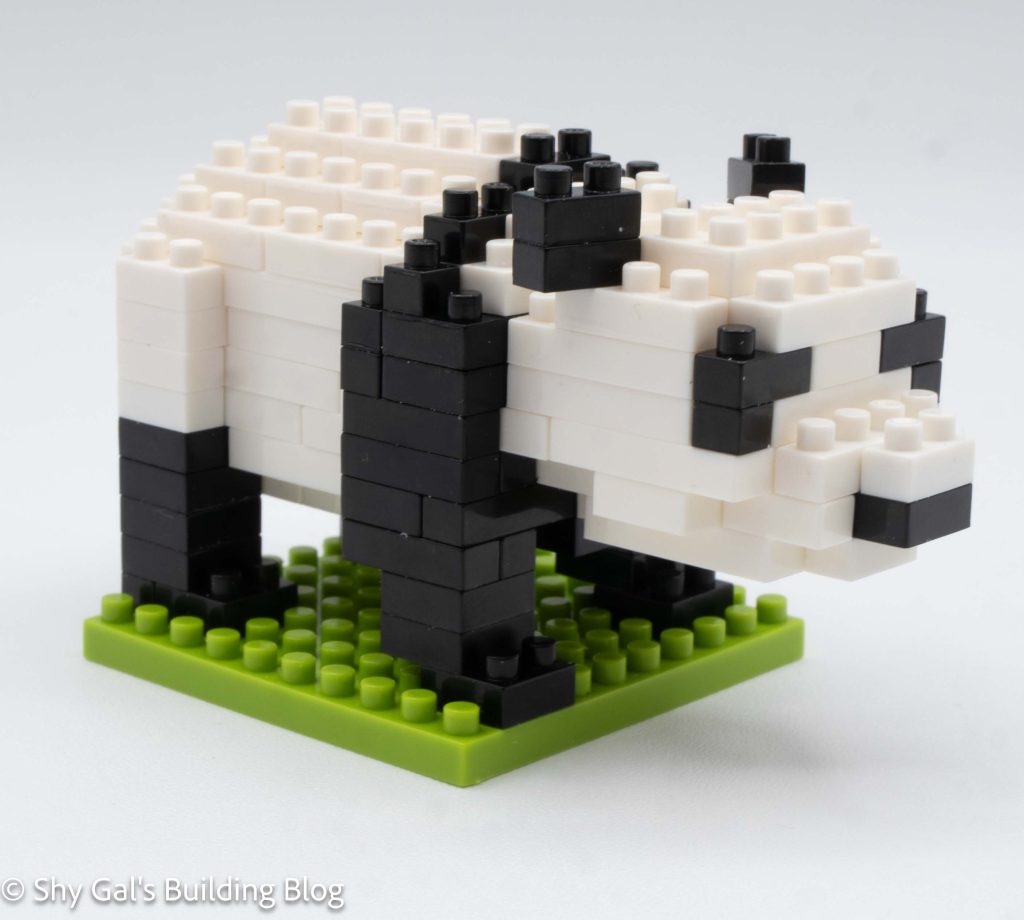
This post is a review of the nanoblock Giant Panda build. Giant Panda is part of the nanoblock Mini Collection series. Wondering what else is part of the Mini Collection? Click here for a list.
Number: NBC_019
Number of Pieces: 150
Difficulty Rating: 2/5
I bought this kit used, knowing I would at least get the instructions. I ended up additionally getting all the bricks to complete the kit. Sadly, however, the white has become yellow with age. The discolored bricks may be visible in my photographs.
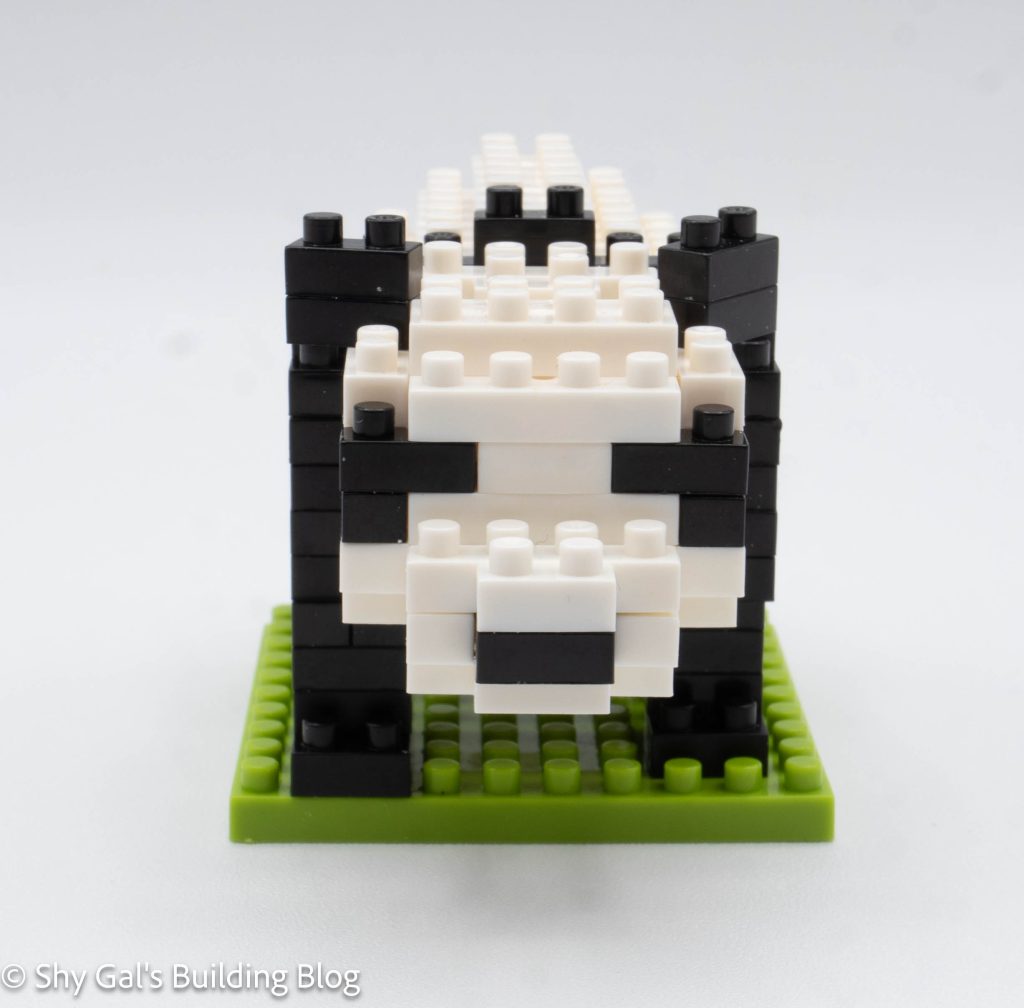
The build begins with a layer of block making the bottom of the Panda. Then, a couple layers of bricks are added. These layers are a bit fragile, so I built this section on my nanoblock pad.
The next step is to build the base of the head in a few layers of bricks. The bottom of the head is then added to the body section. The build is fairly stable at this point, so I could hold it to finish it.
The next several layers create the back of the panda. It is fairly straightforward to add each layer.
Next, all 4 legs are added. The instructions are a bit compressed, and everything is upside down, so getting the legs lined up is a bit tricky.
At this point, I put the panda on the included base and added the ears. I think the fact the ears are at an angle gives a bit of variety to a very static build.
Things I liked:
I like how the ears are at an angle
Things I didn’t like:
I don’t like how simple of a build this is. (I feel this way knowing more detailed pandas have been released since this original panda was released.)
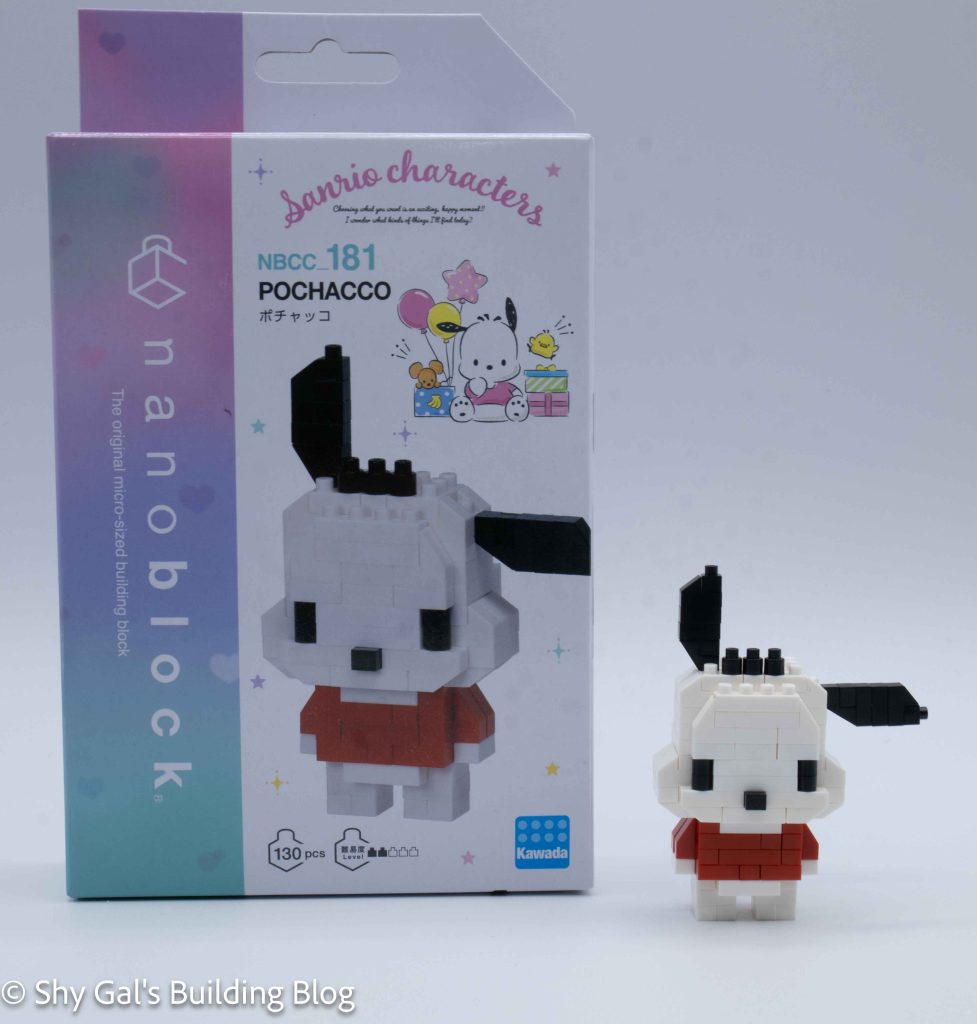
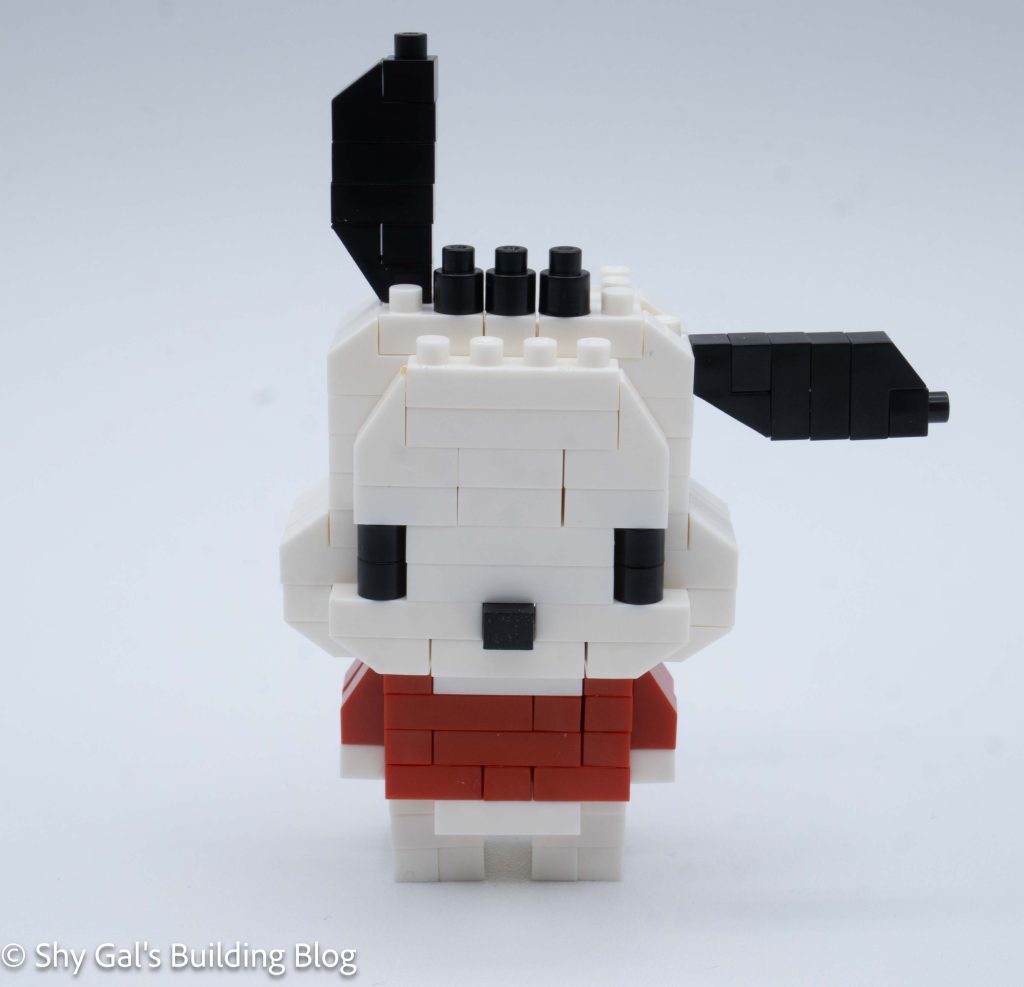
This post is a review of the nanoblock Pochacco build. Pochacco is part of the nanoblock Character collection. Wondering what else is part of the Character collection? Click here for a list.
Number: NBCC_181
Number of Pieces: 130
Difficulty Rating: 2/5
The kit begins by building the head. The first step is to create the base. The second step adds the nose and the first layer of the eyes. I like that the nose is 3d and sticks out a bit. I needed to be careful because the piece with the nose kept liking to pop off the main head section. The rest of the head went up in straightforward layers.
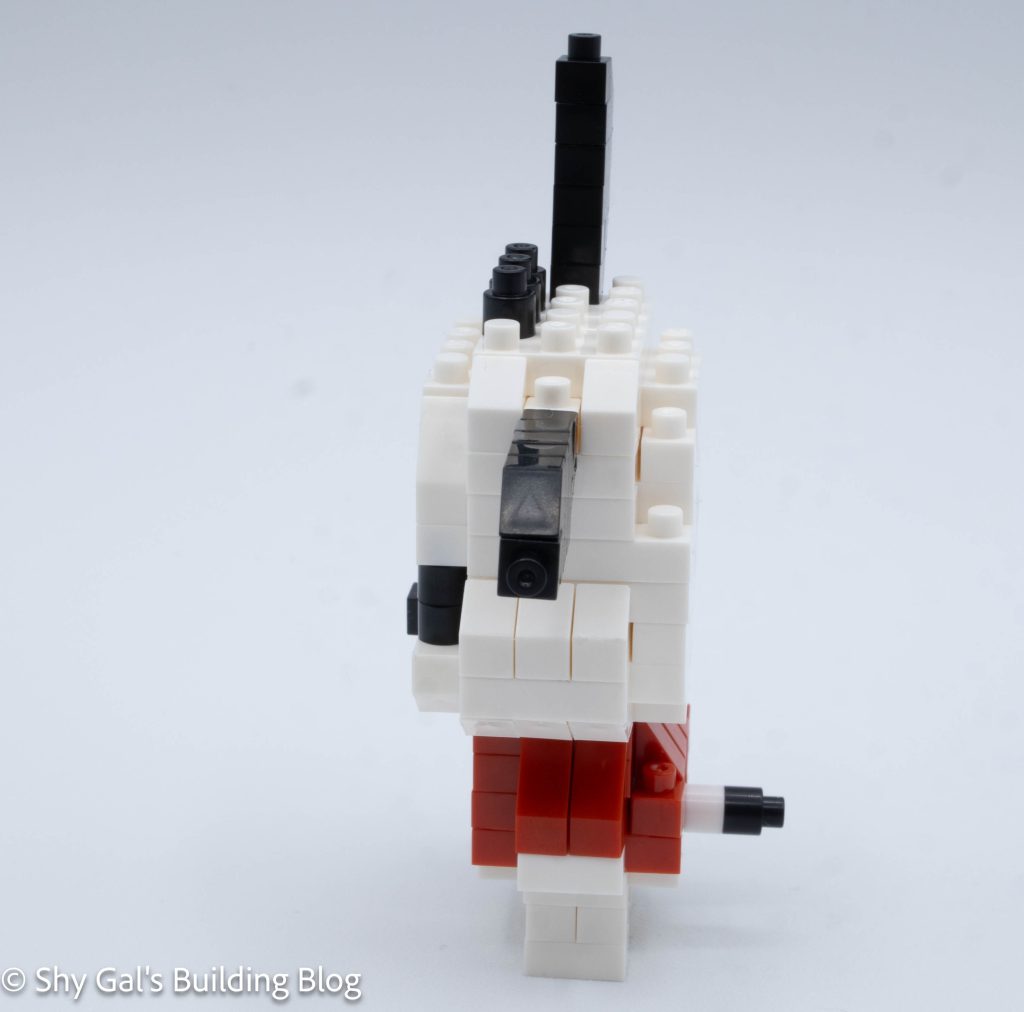
After building to the top of the head, I flipped the head over and added the details at the bottom of the head.
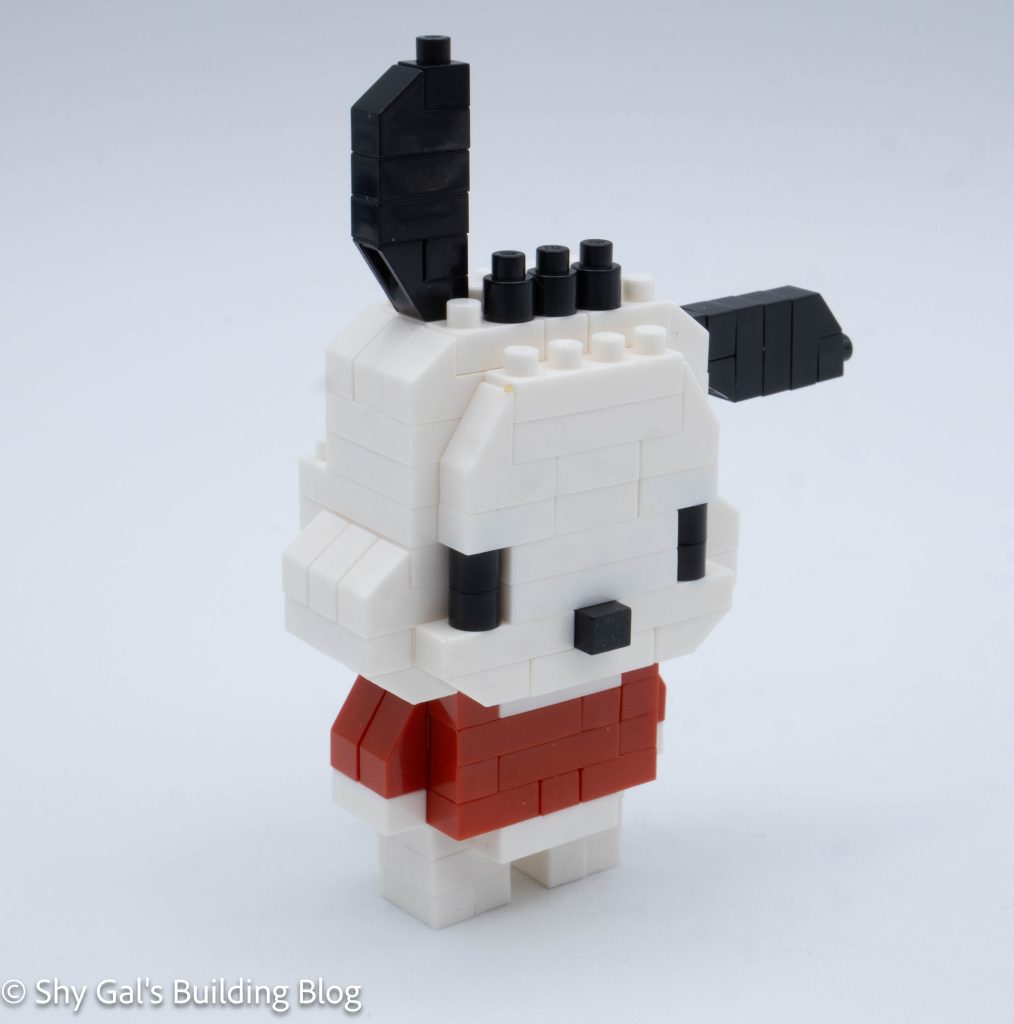
The next section is to build the body. Pochacco wears a red shirt, so the body uses white and red bricks. I like how the arms are created and stick out.
The next step is to attach the body to the head.
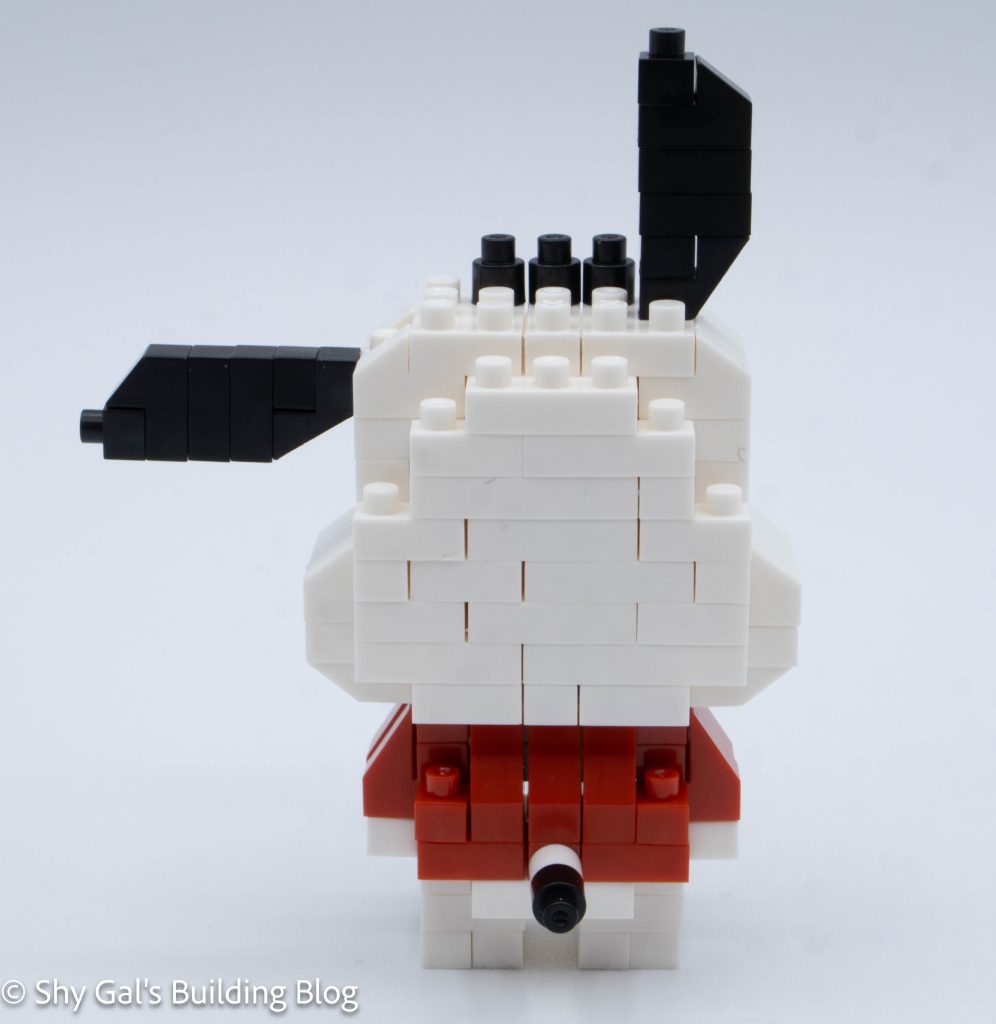
Next, I built and added the ears.
The final step was to attach Pochacco’s little tail.
Things I liked:
I like how Pochacco’s nose is 3d and pokes out a bit
Things I didn’t like:
The final build is tippy and is difficult to make it stand up straight