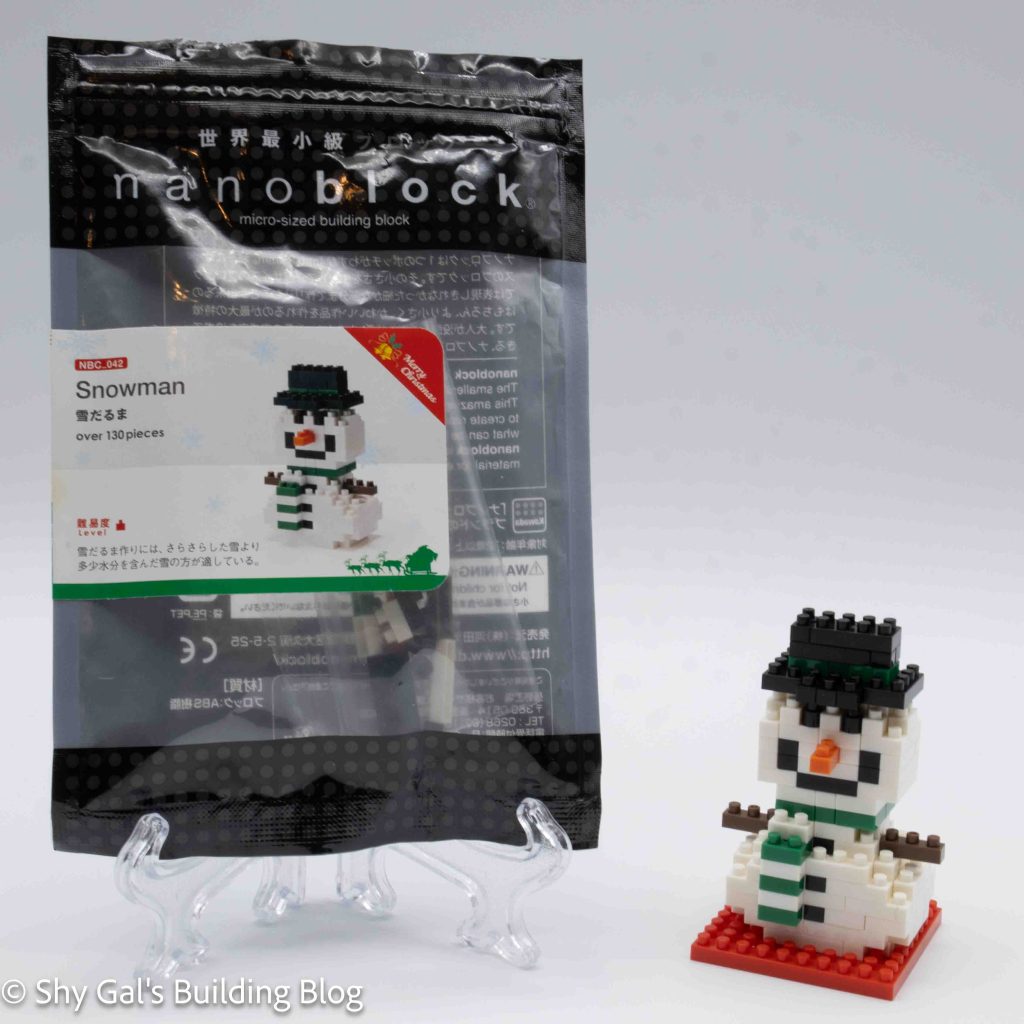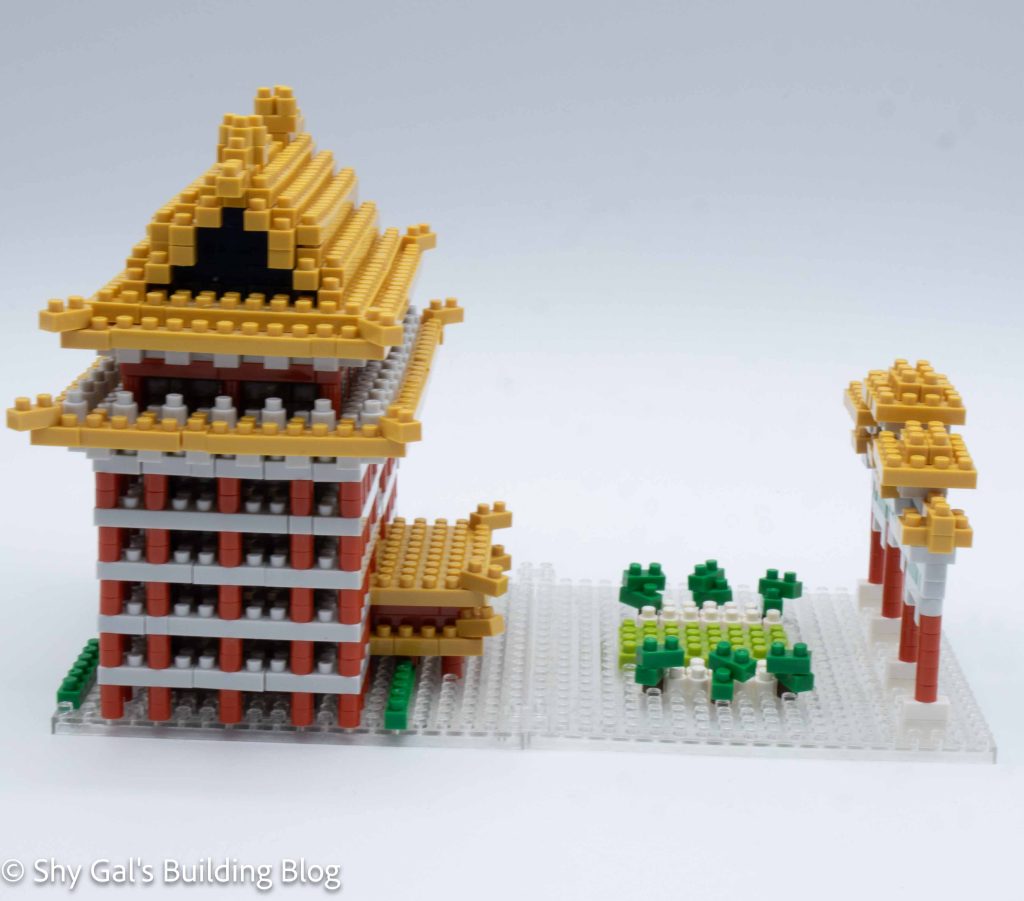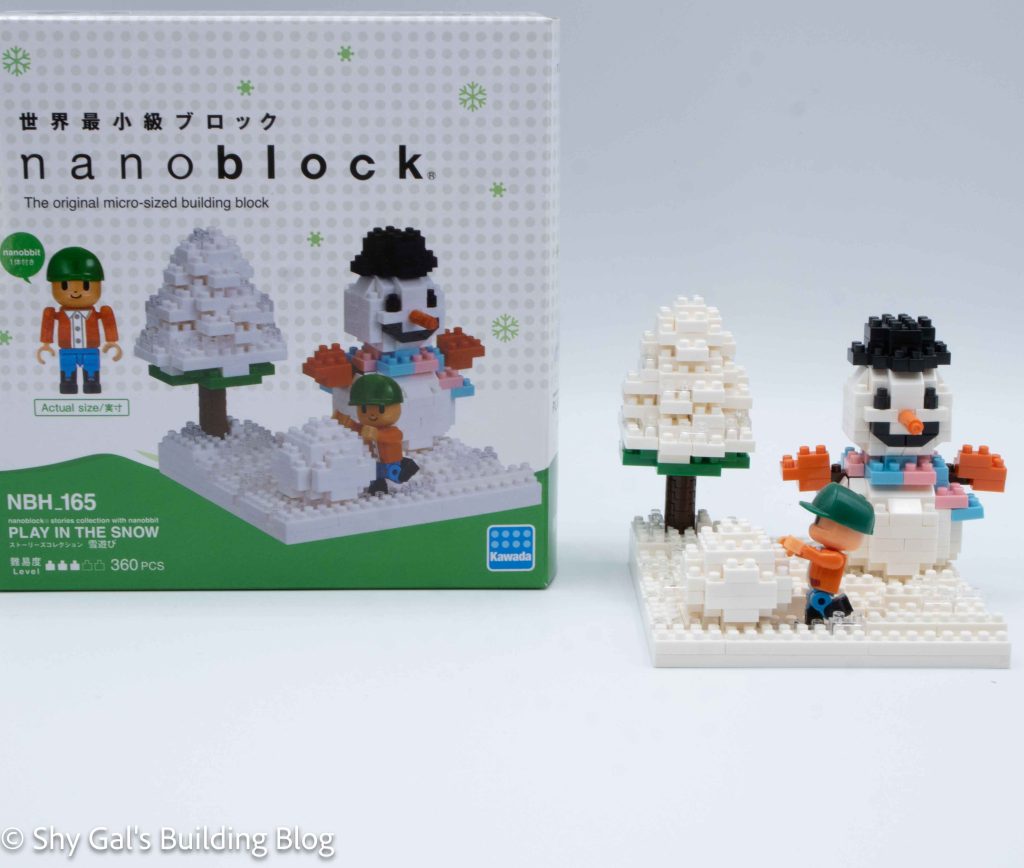
This post is a review of the nanoblock Play in the Snow build. Play in the Snow is part of the nanoblock Sights to See collection. Wondering what else is part of the Sights to See collection? Click here for a list.
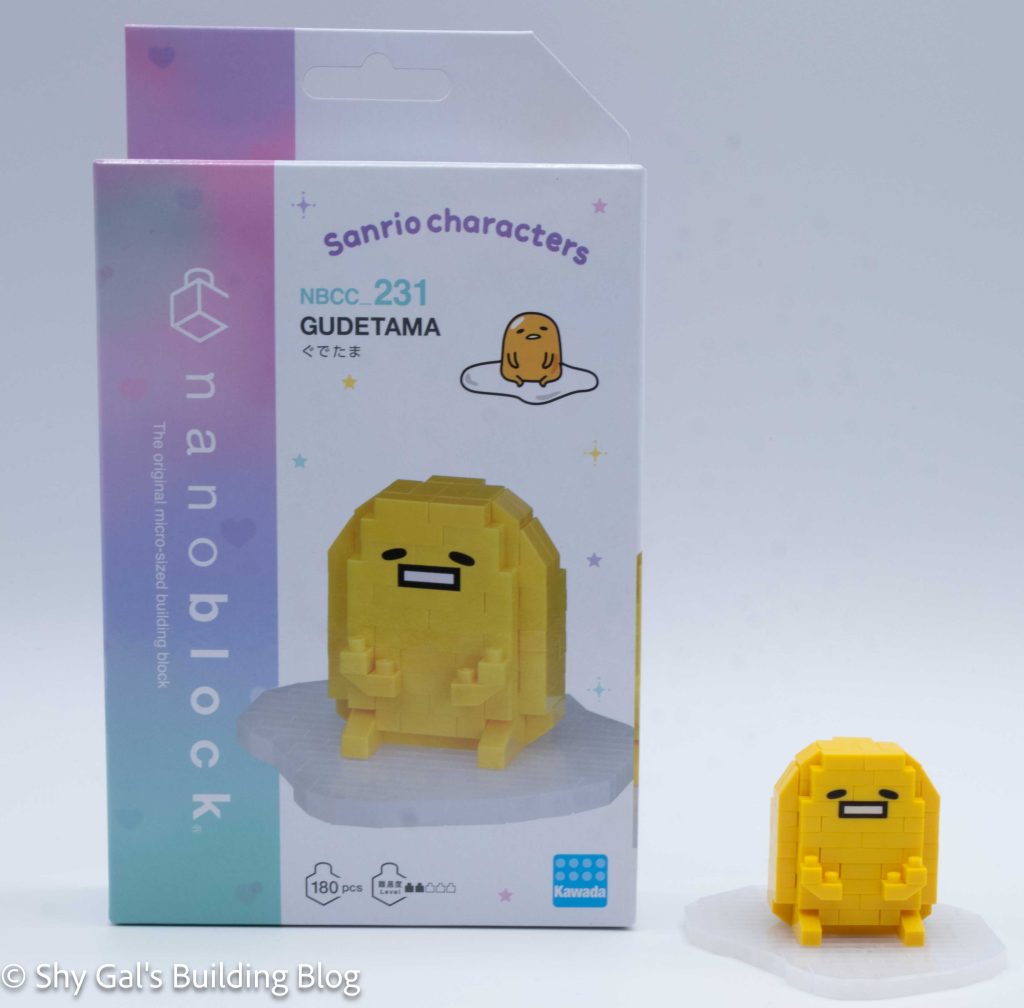
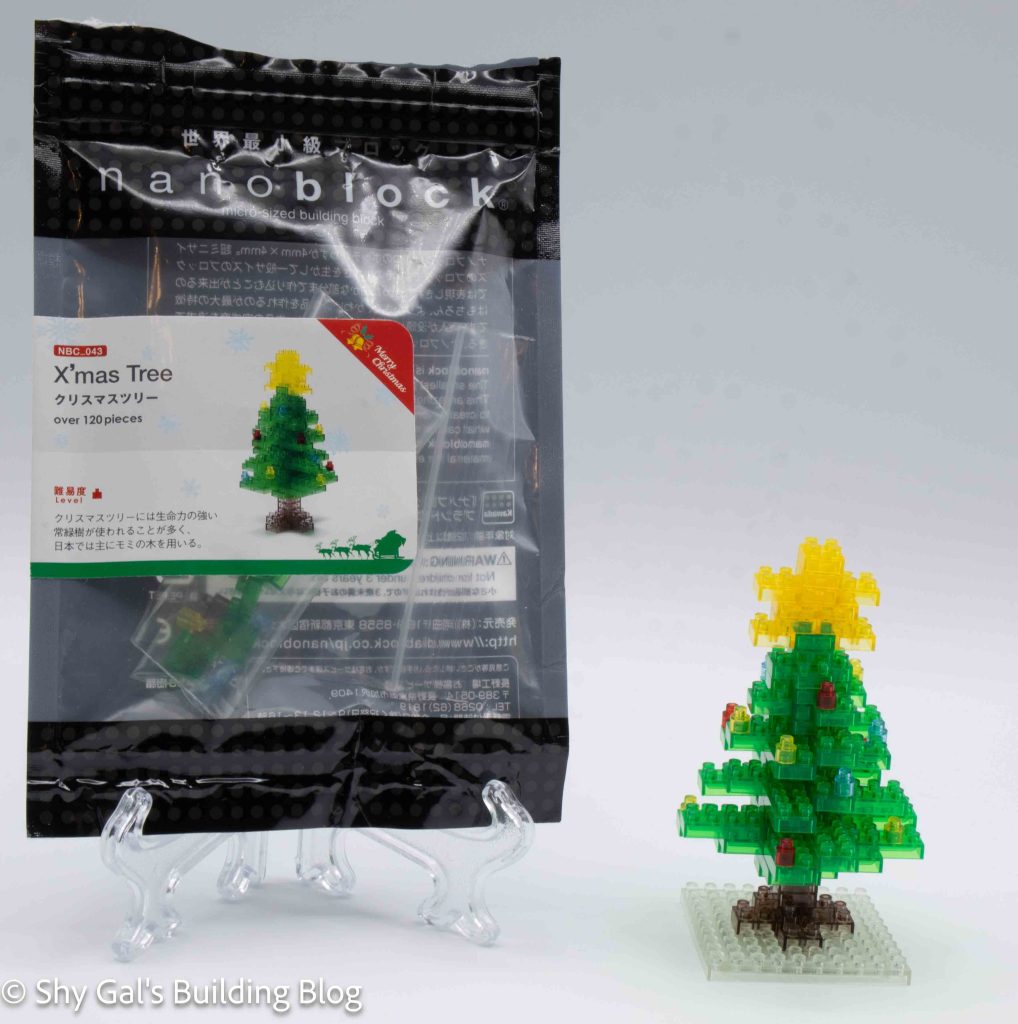
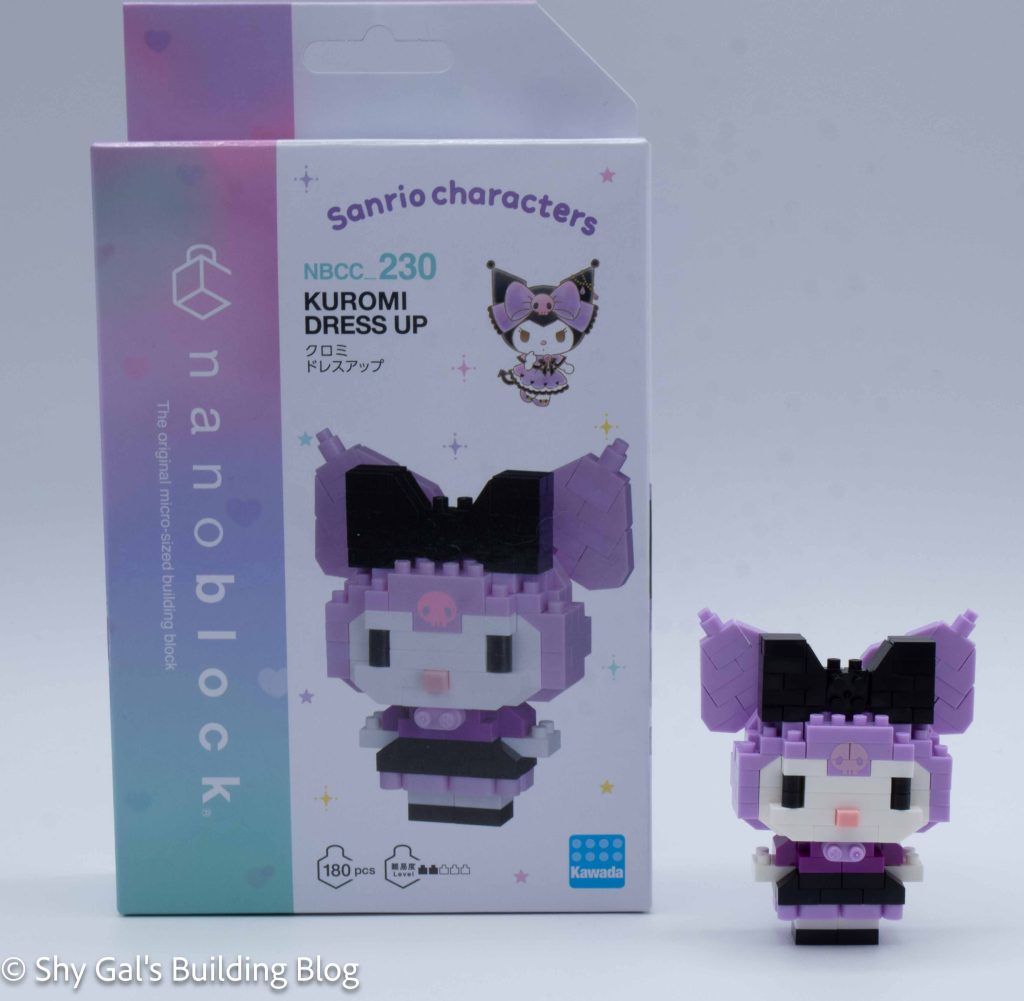
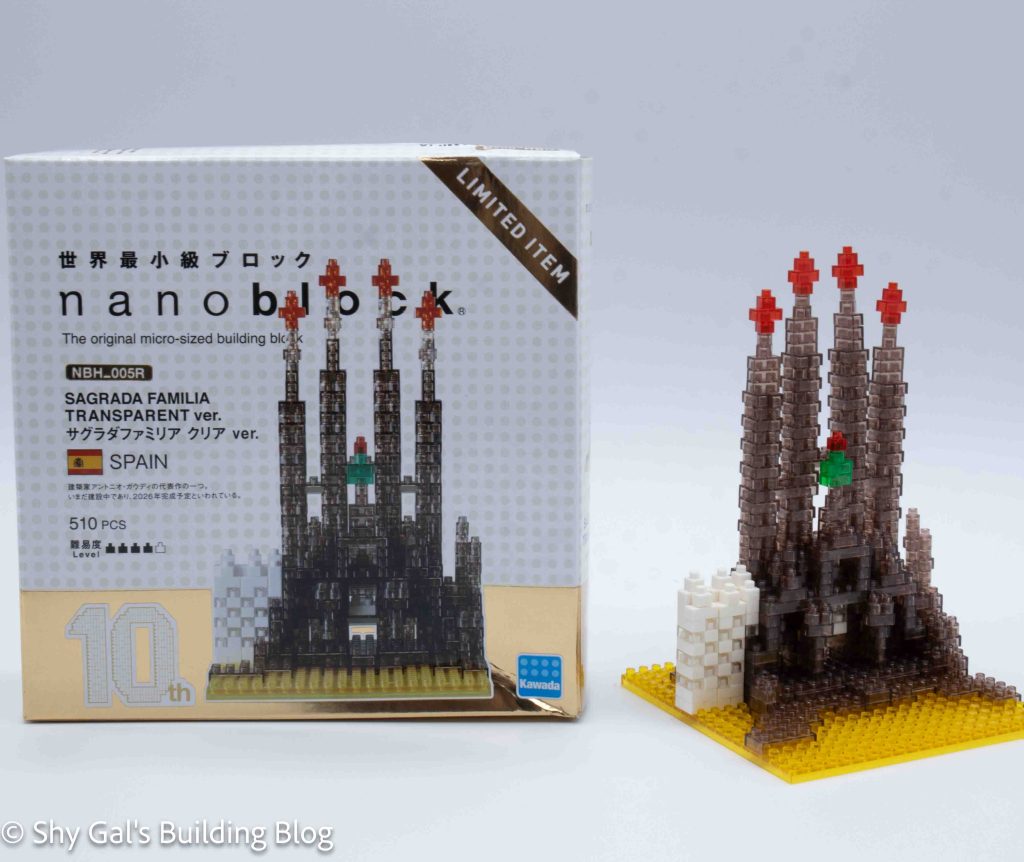
Number: NBH_165
Number of Pieces: 360
Difficulty Rating: 3/5
I bought this kit used, knowing I would at least get the instructions. Sadly, the bricks had yellowed, which may be visible in the photos. There are bricks that can’t be bought individually, so I couldn’t use my spare white bricks.
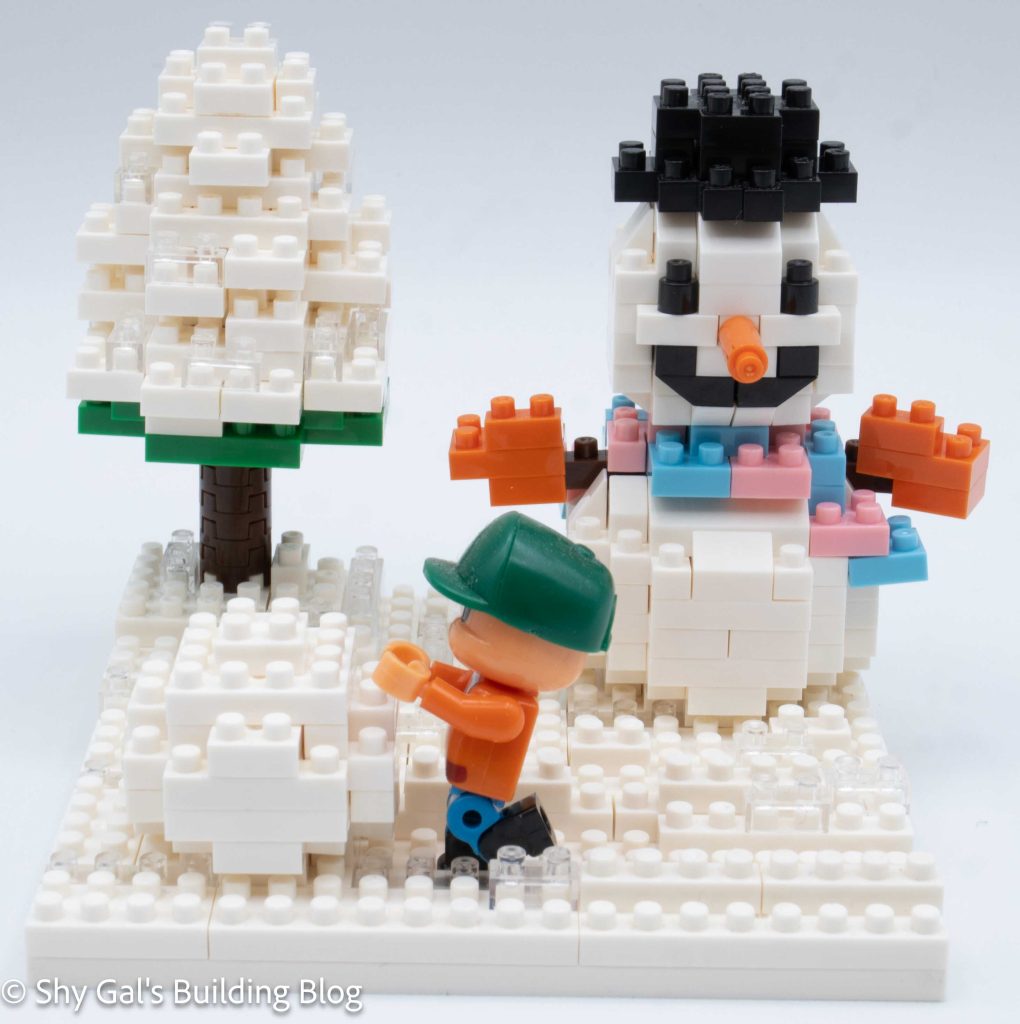
This build is broken up into 3 different sections. There is the snowball, the snowman, and the tree.
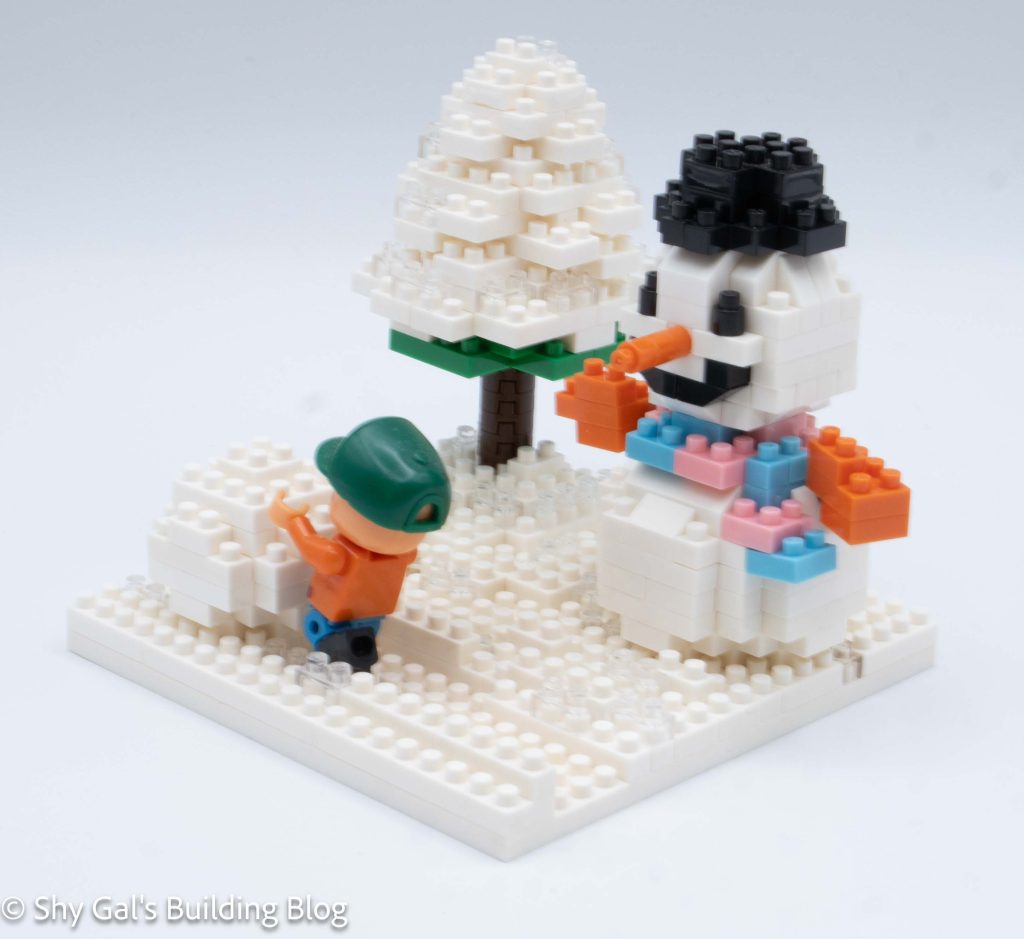
The first step is to prepare the base. It begins by laying a layer of clear and white bricks out on the white 20×20 base. I like how there is an indent where the path of the snowball that is being rolled would be. A couple more layers of white and clear bricks are added to the base.
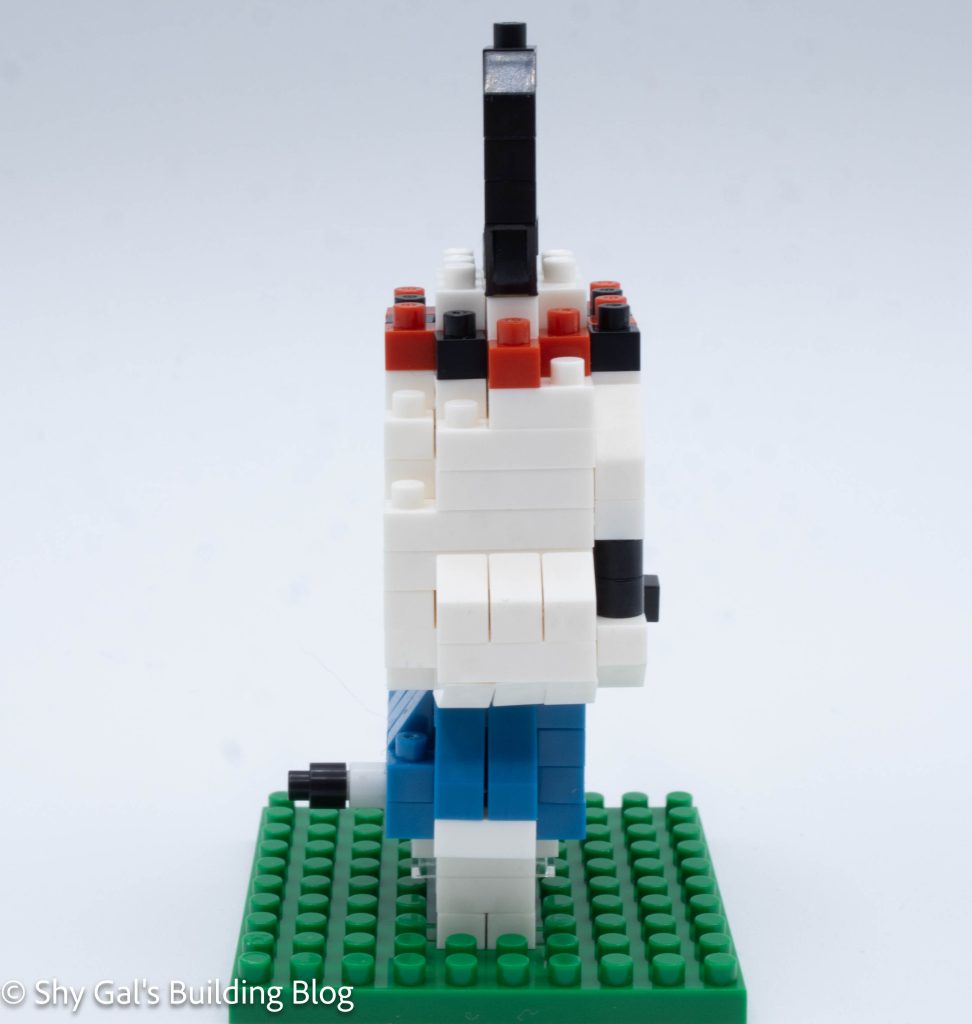
The next step is to build the snowball. The snowball goes up in straightforward layers, creating a rounded shape.
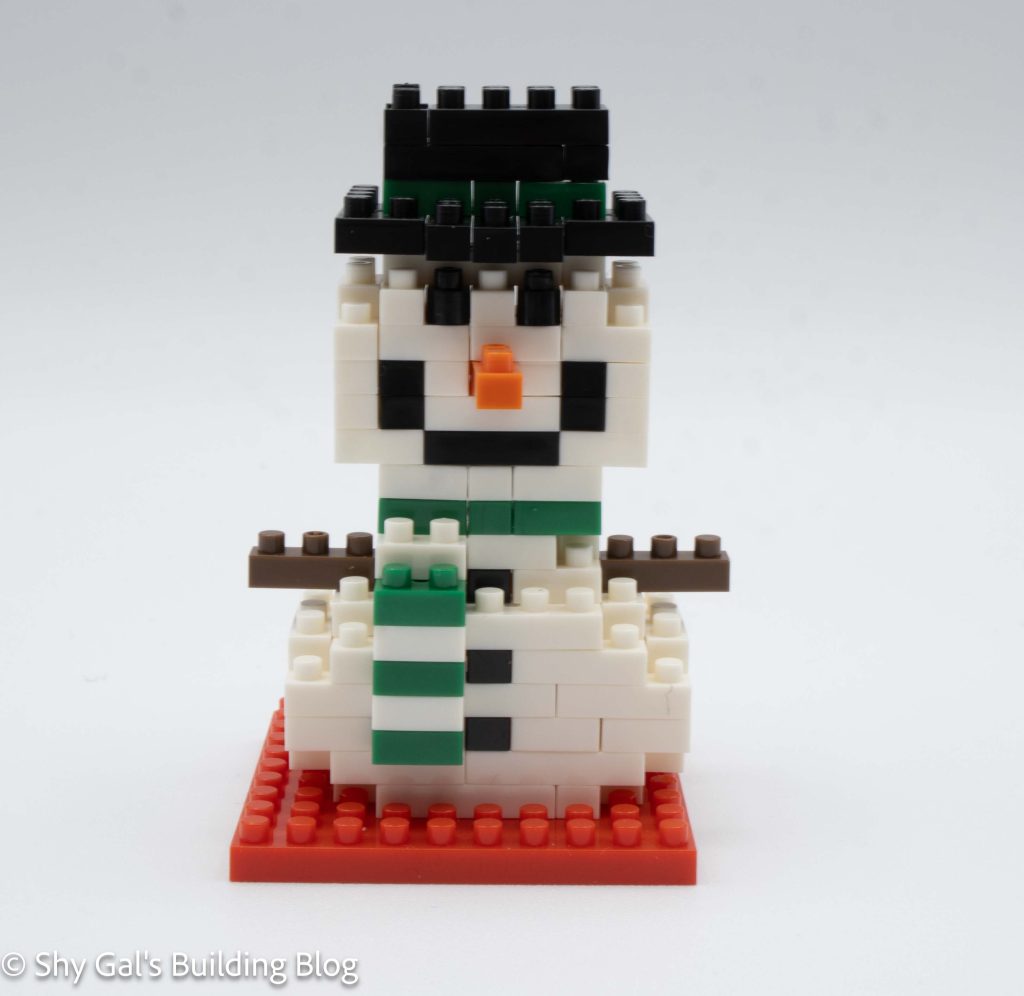
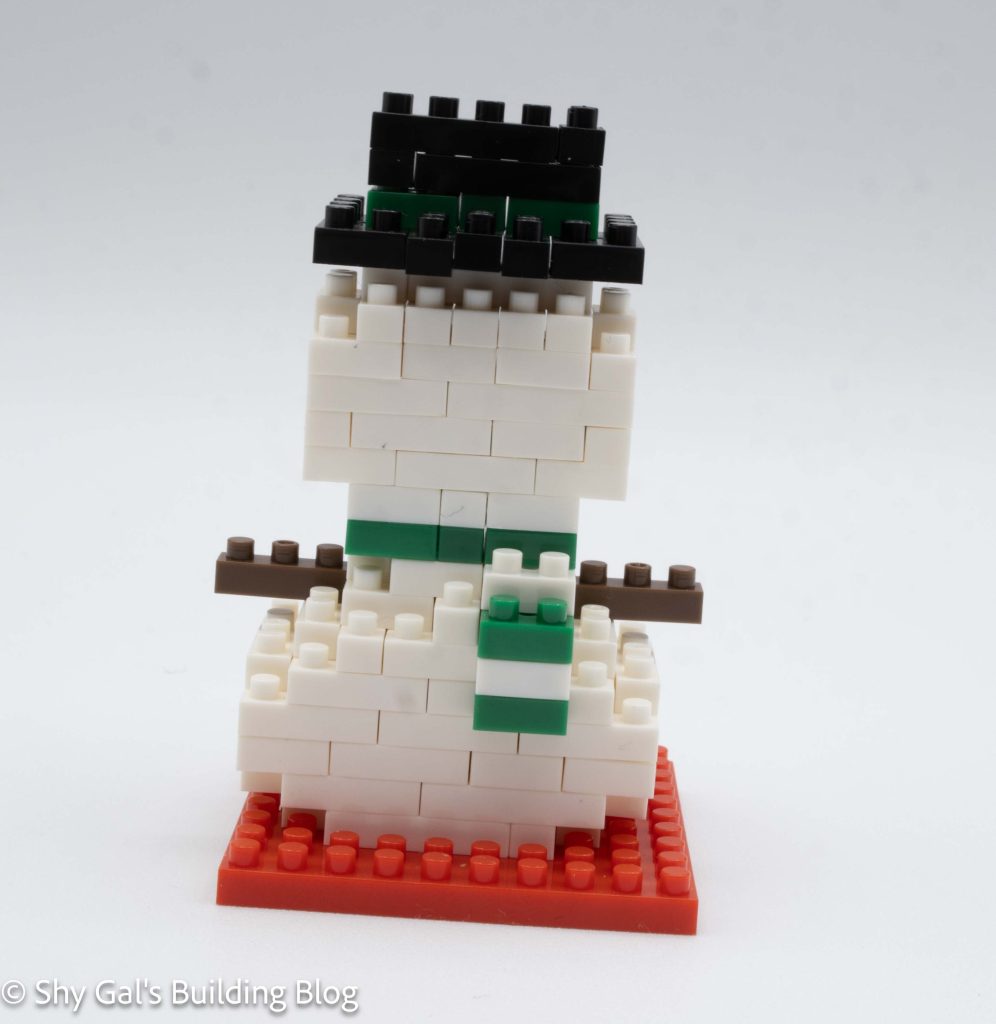
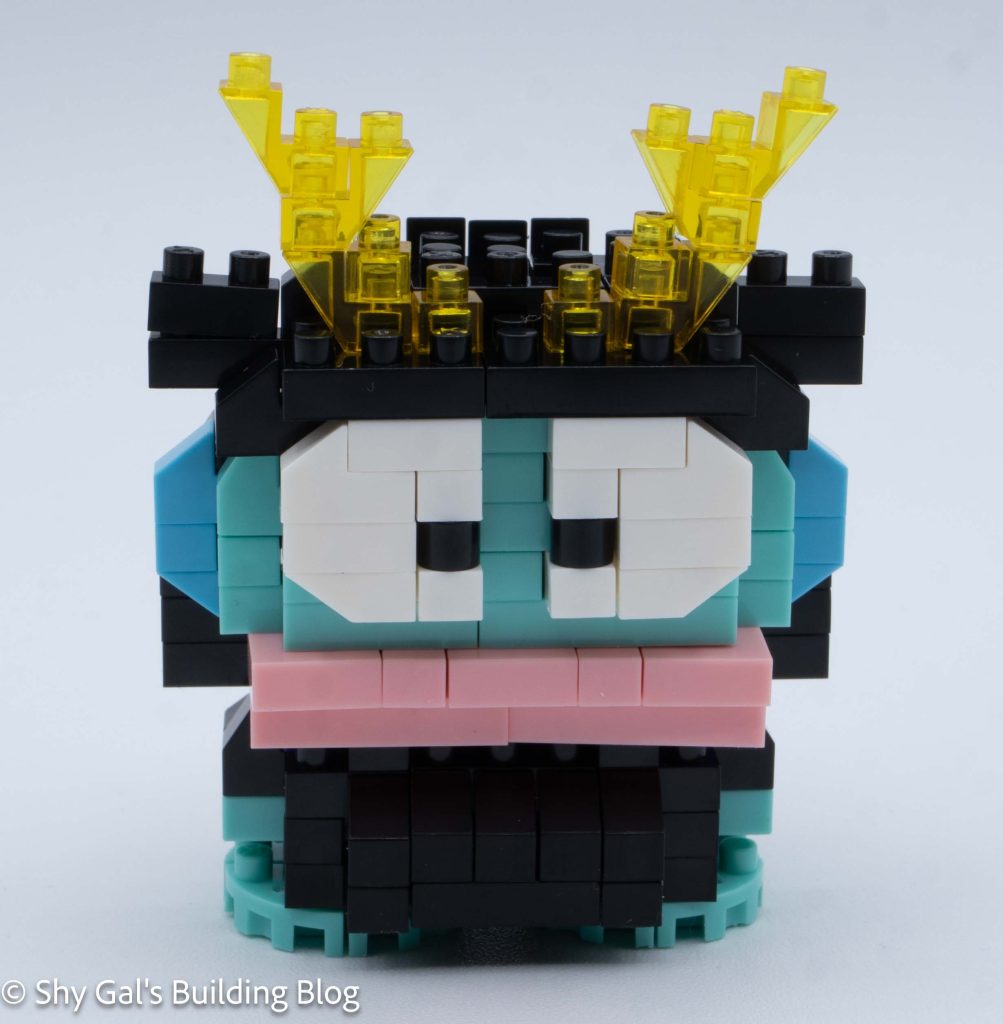
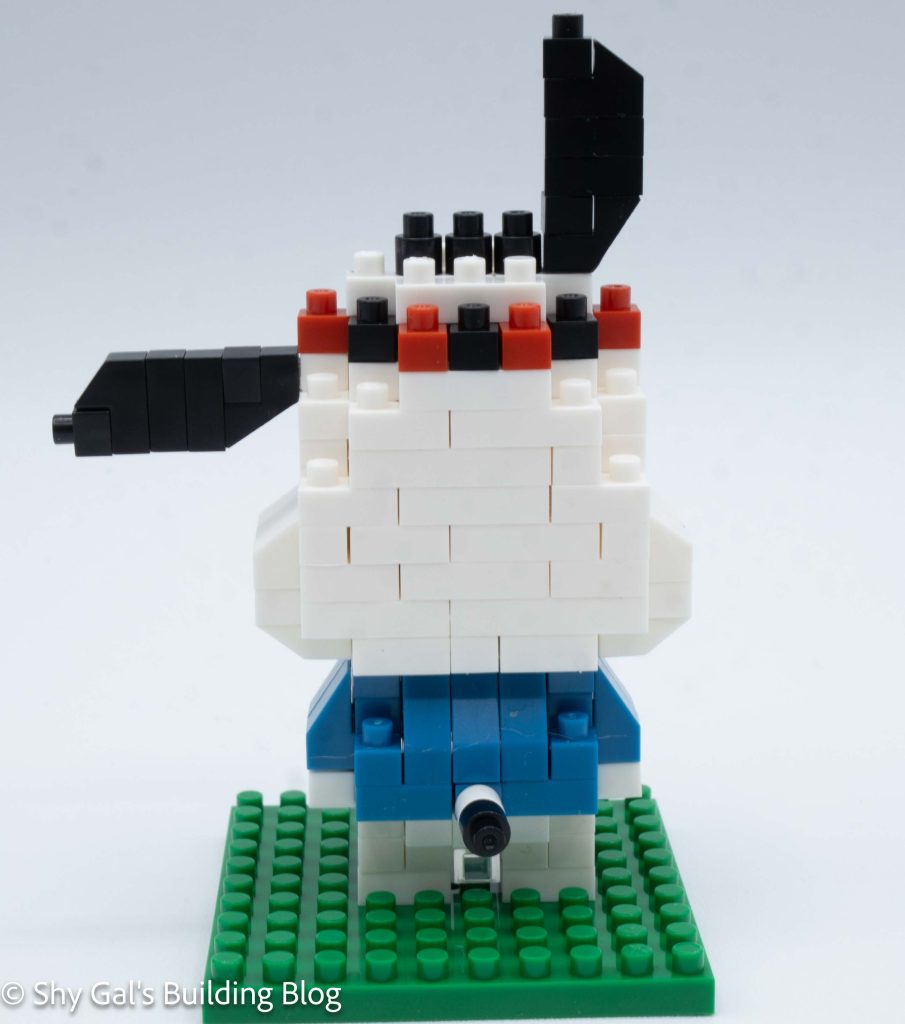
The next step is to build the snowman. The snowman has a body and a head. The most difficult thing about building the snowman is that there are 2 different slanted bricks. One is steeper than the other. The instructions used a symbol to denote which brick to use, but I kept getting the colors of the symbol confused.
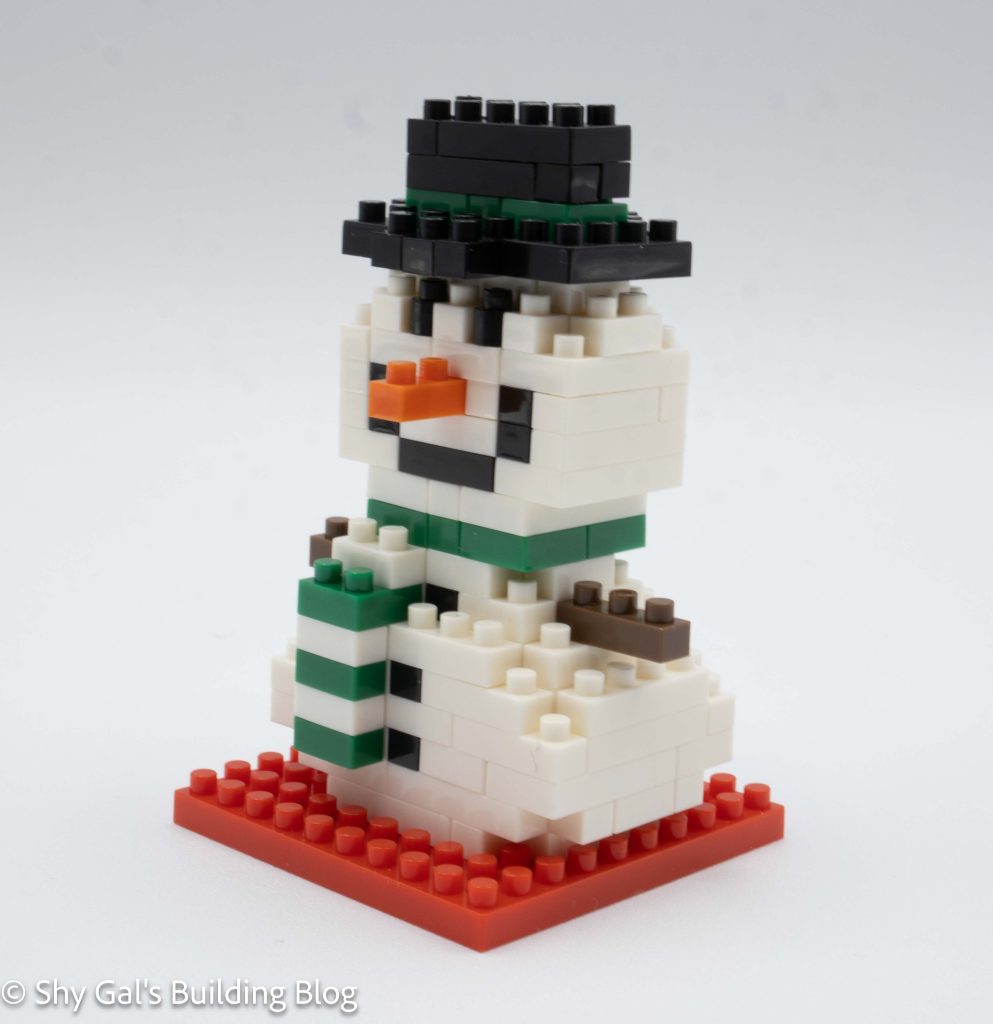
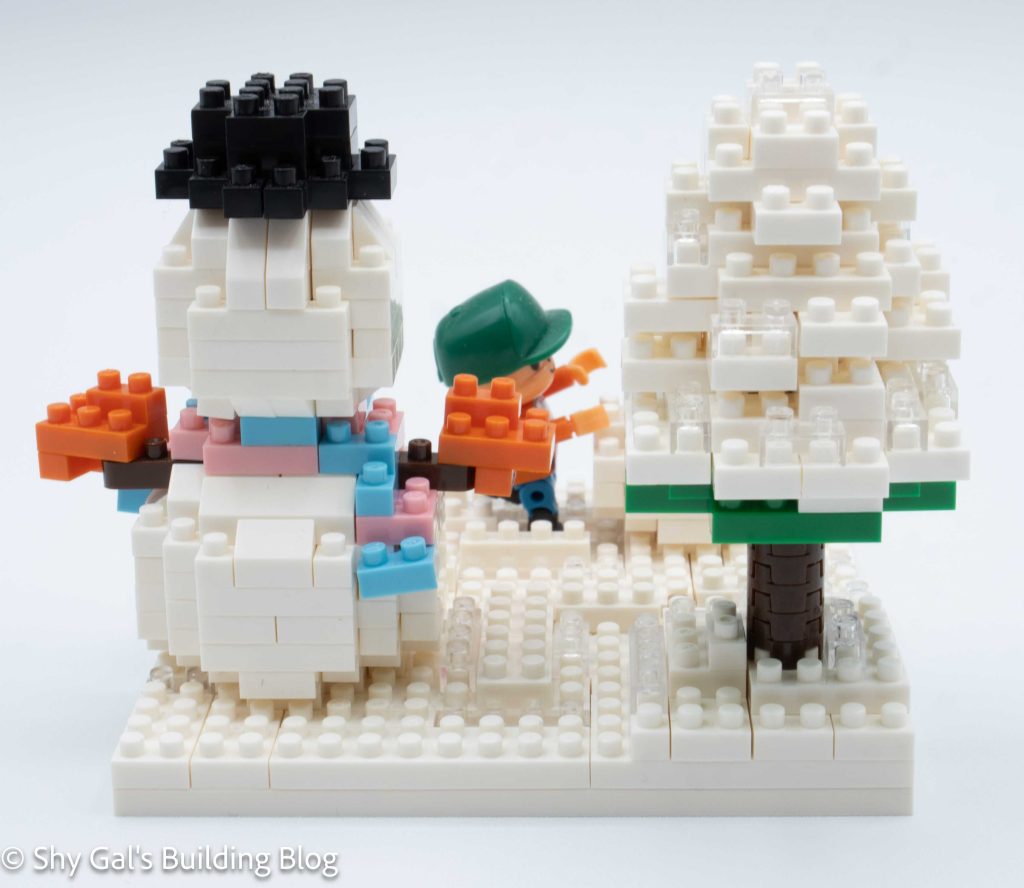
The body of the snowman is built on the base plate. There are several layers of white bricks, but eventually, various colors are used to create the scarf, arms, and gloves.
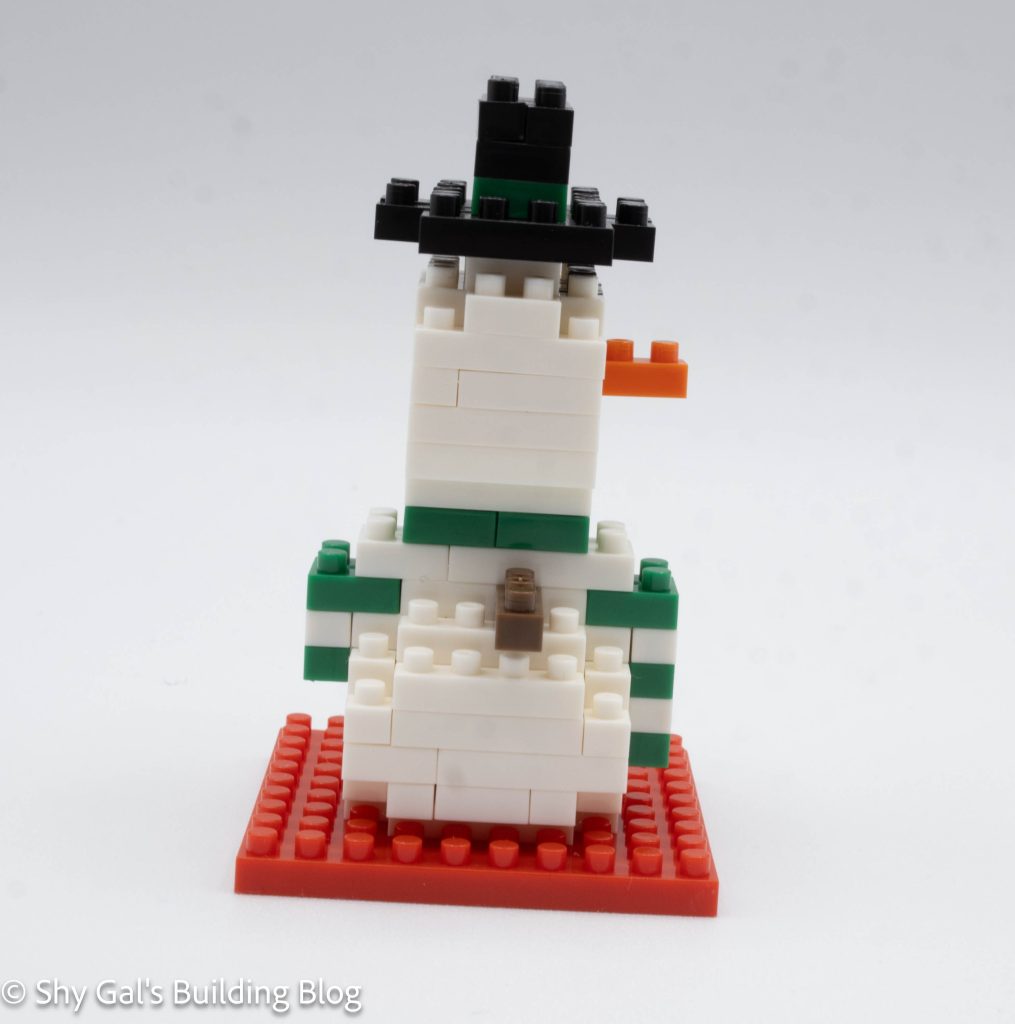
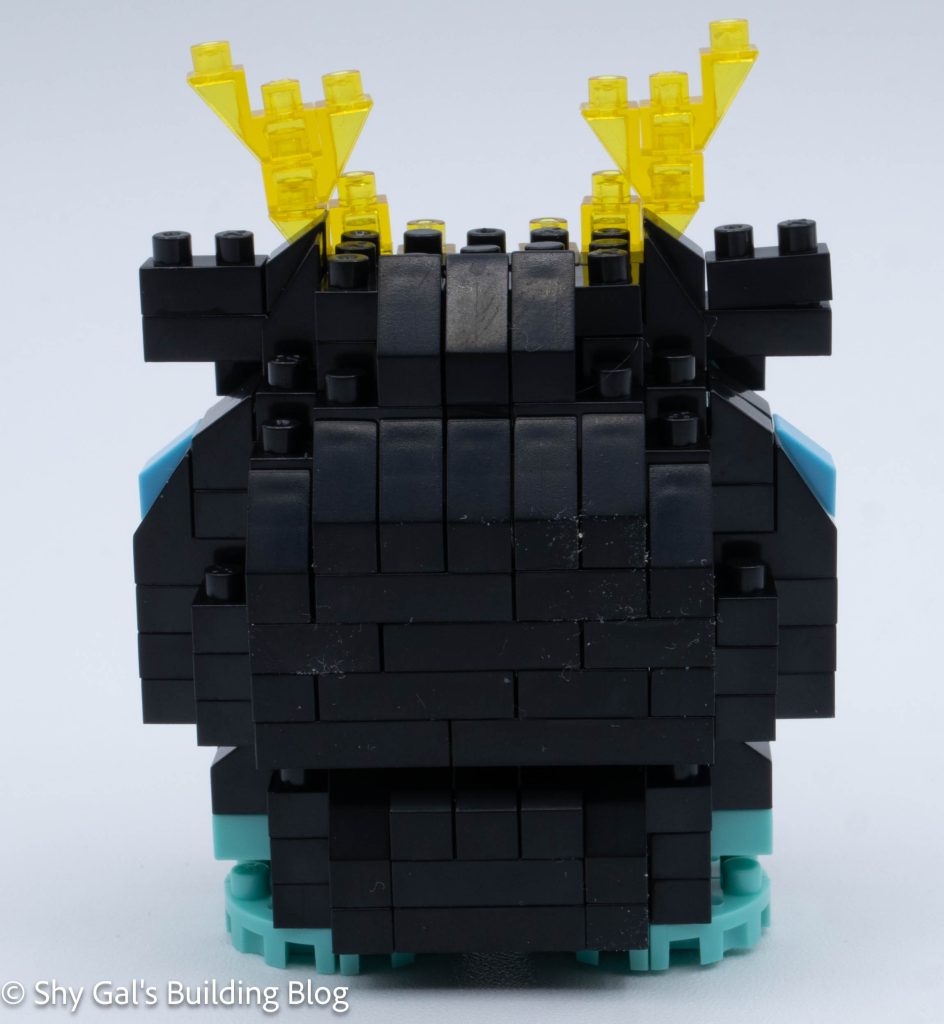
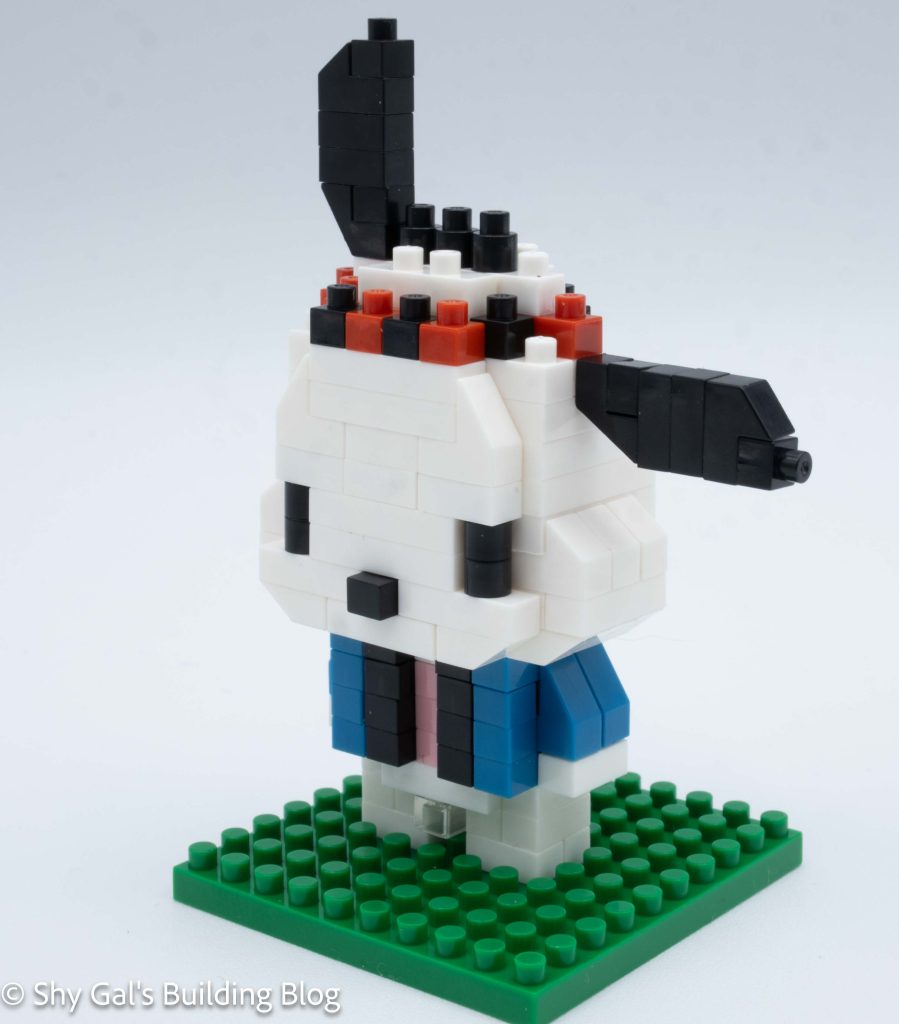
The head was pretty straightforward. I like that the snowman is smiling and how his carrot nose sicks out. After building the head, it it attached to the body.
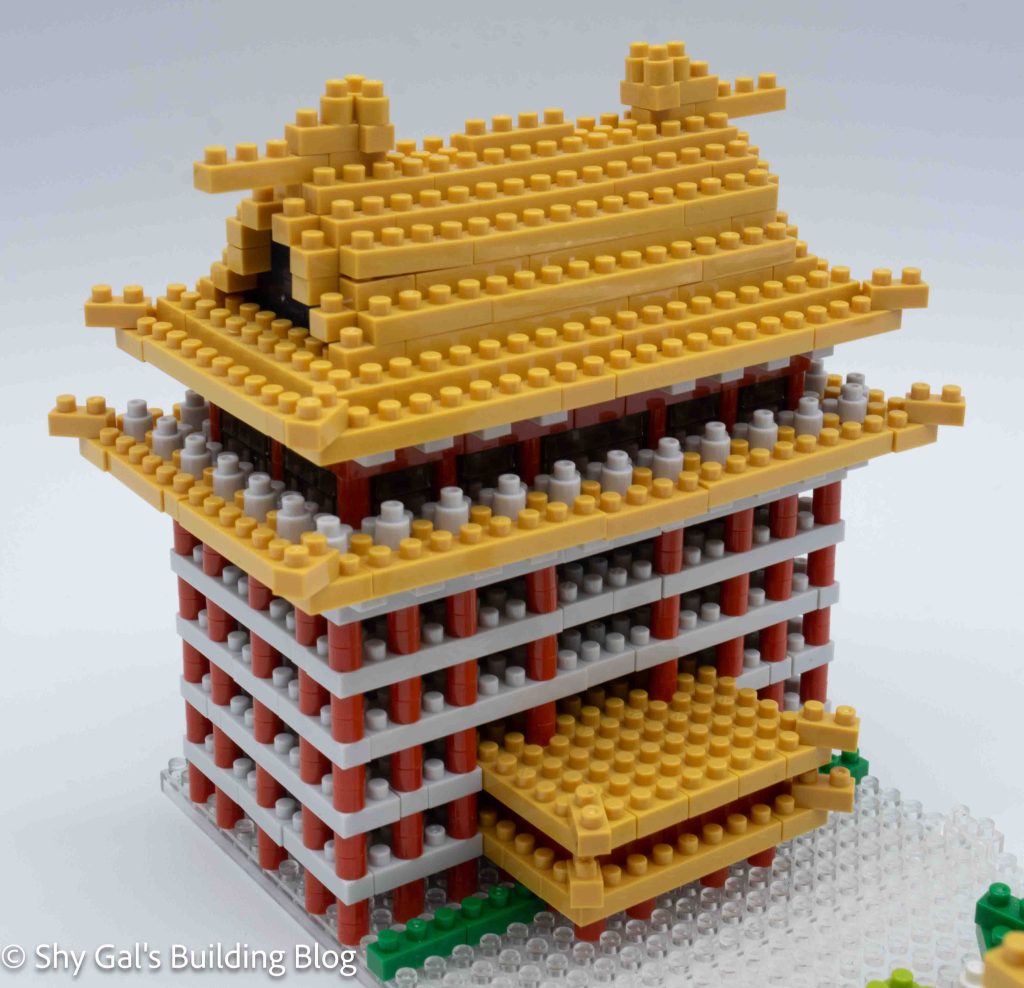
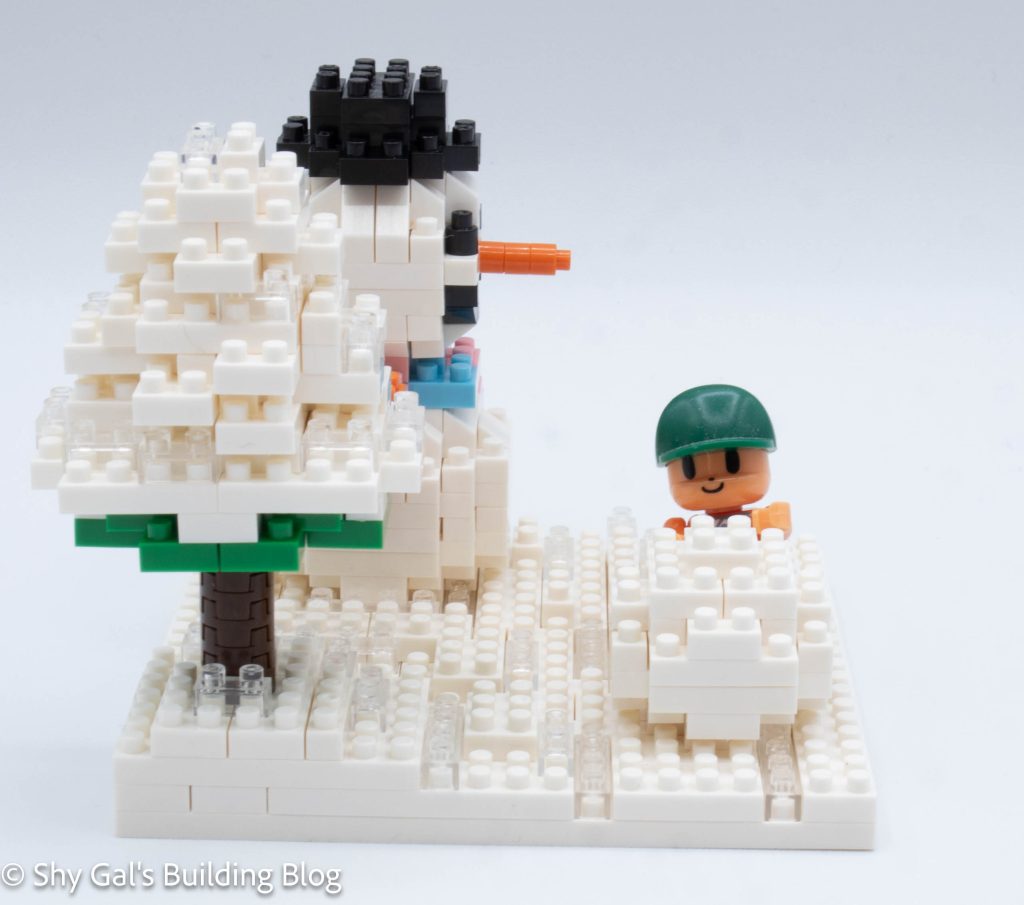
The tree was built off the base plate. It begins with a layer of green that quickly turns to white to show how the tree is snow-covered. The tree goes up in straightforward layers of white. The only tricky part was when there was an overhang making sure that the right amount was overhanging. Then, the tree is flipped over, and the truck is added. Then, the tree is attached to the base by the trunk.
A nice detail of the kit is that it comes with a nanobit. Since I got the kit used, it has already been built. It was easy to pose the nanobit so that it looked like he was rolling the snowball.
Things I liked:
- I really like the details of the various depths in the base plate, so it looks like the nanobit is walking in a trench made by the snowball
Things I didn’t like:
- I didn’t enjoy all the slanted pieces, but it’s my fault for buying a used kit