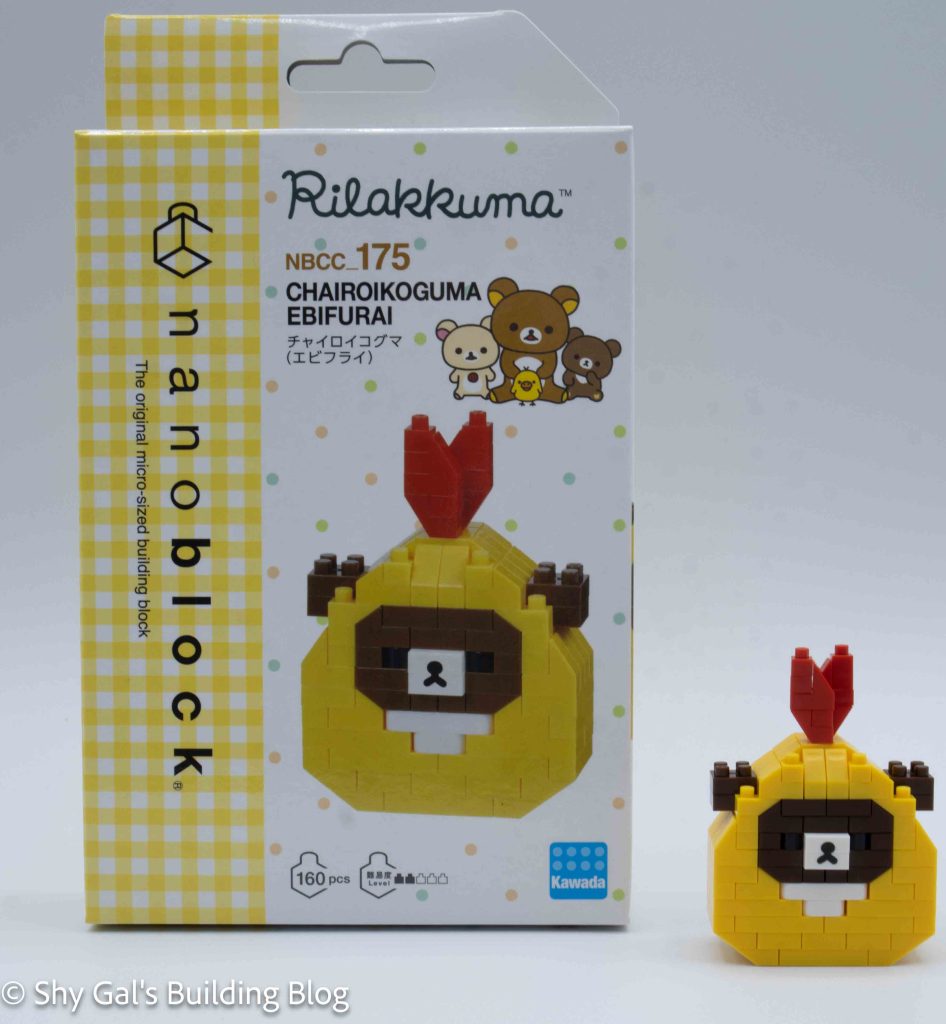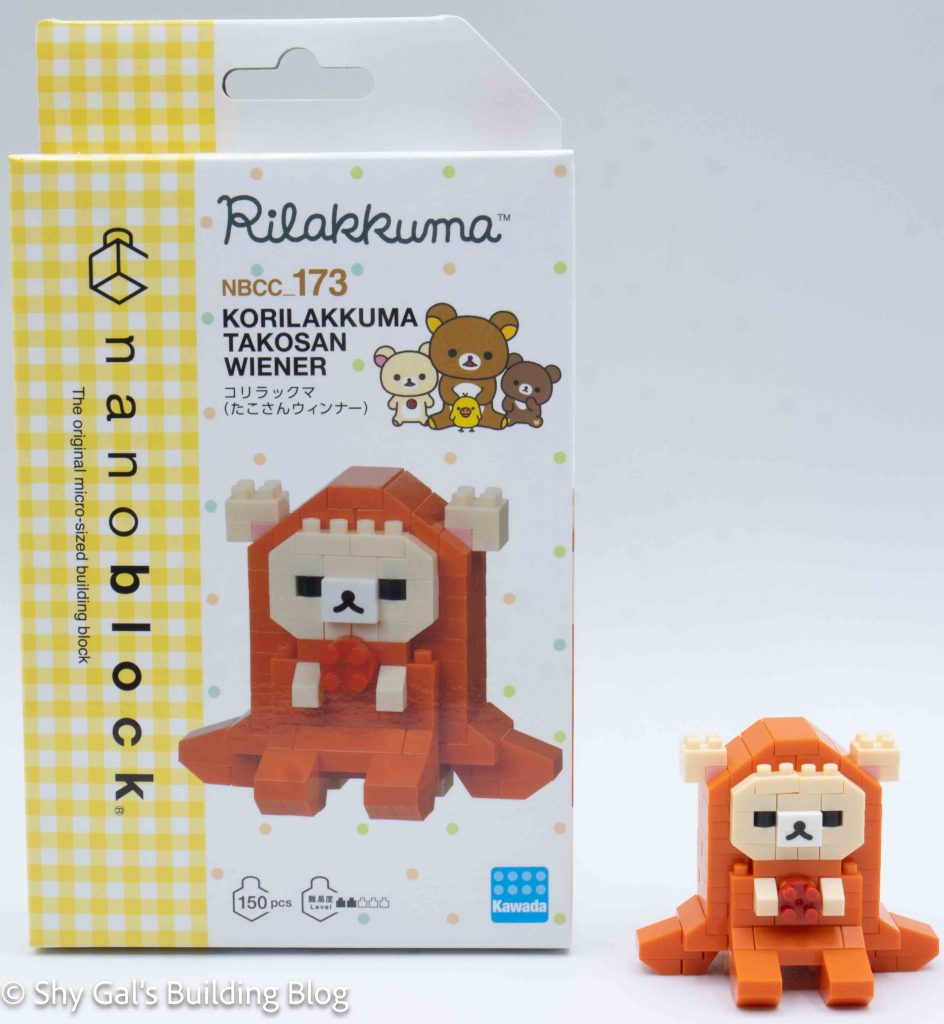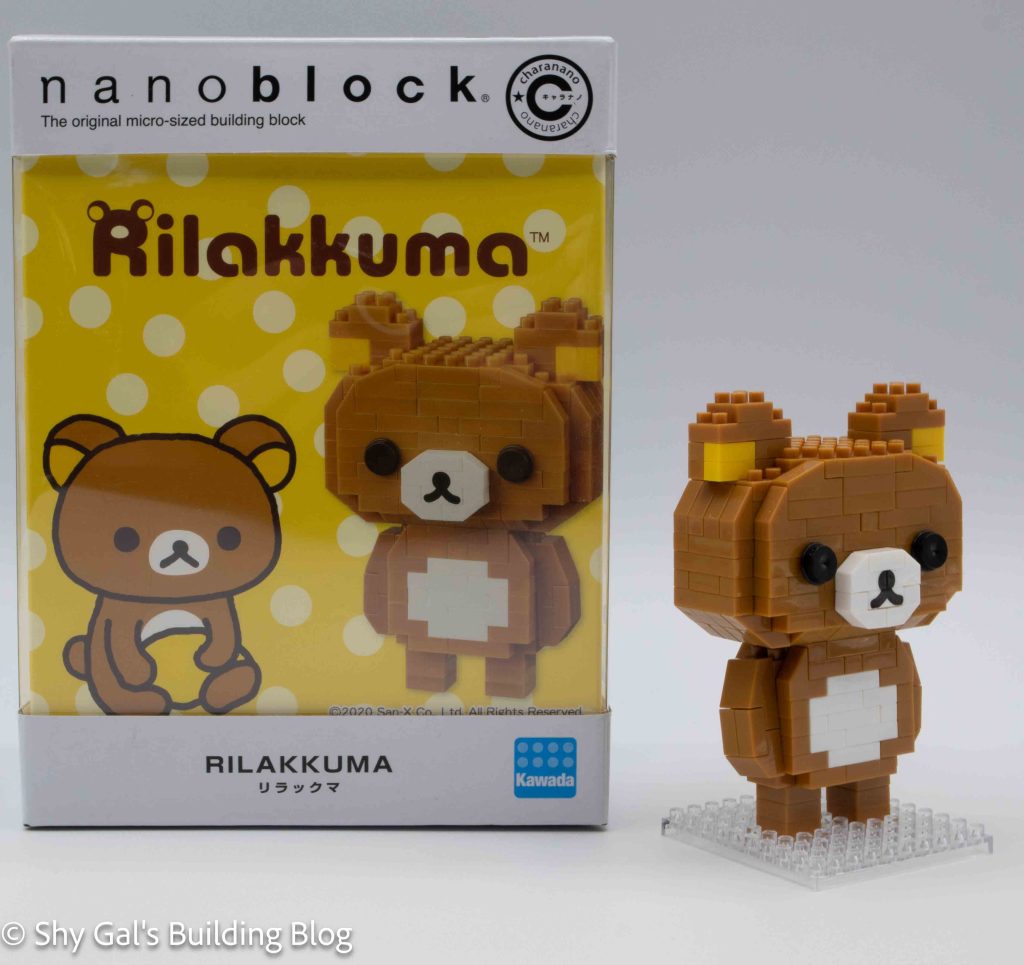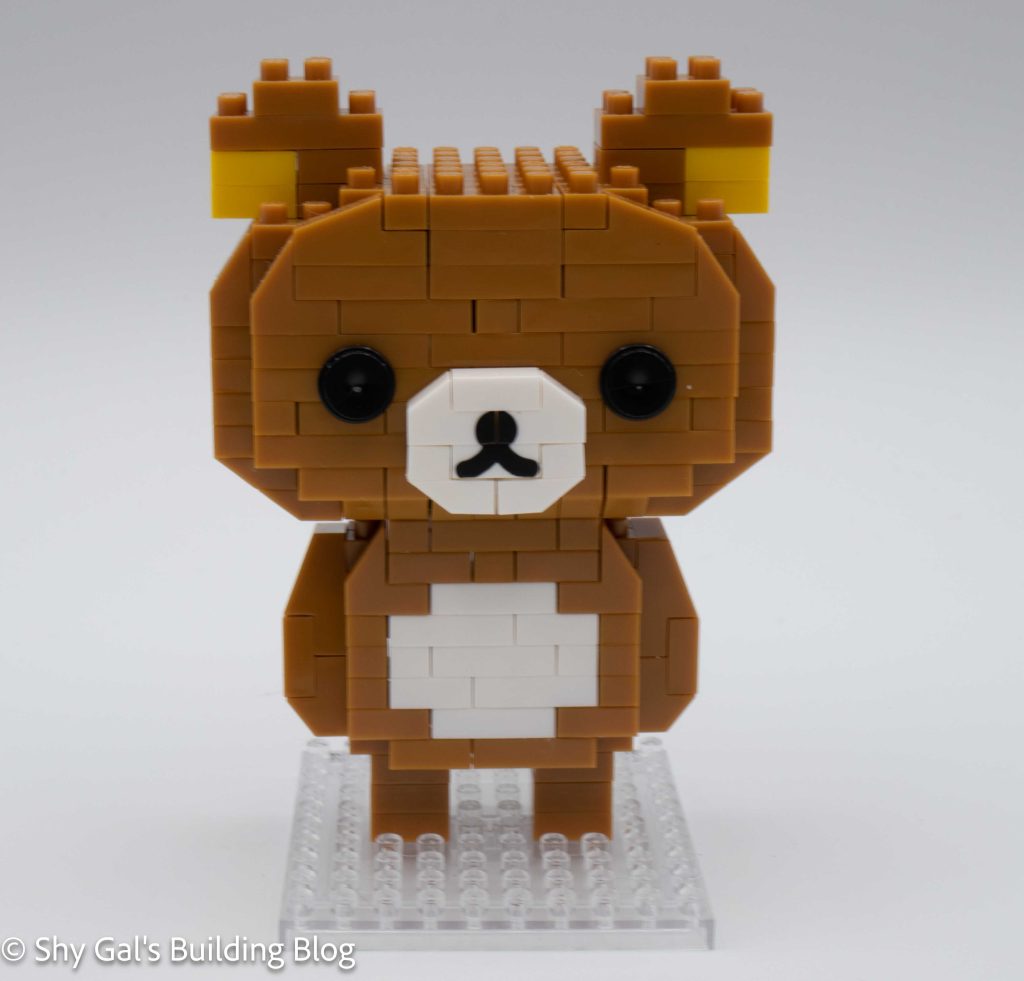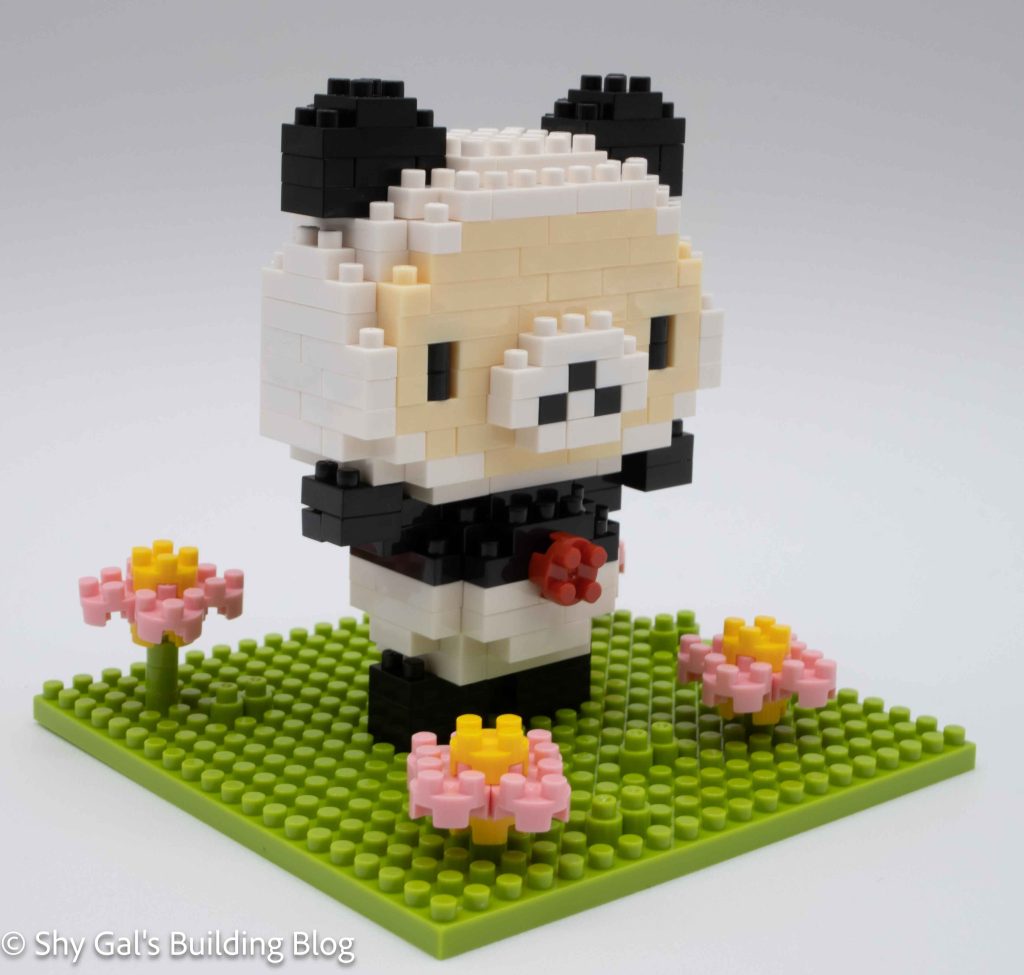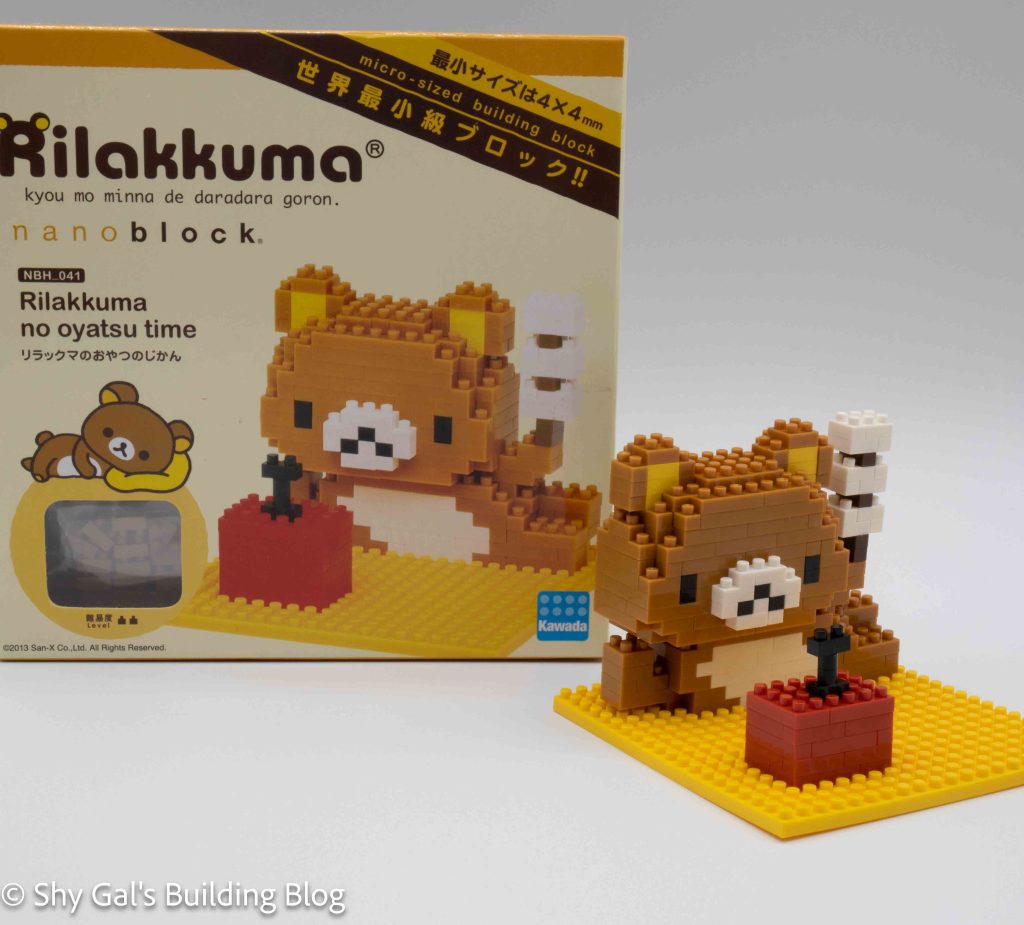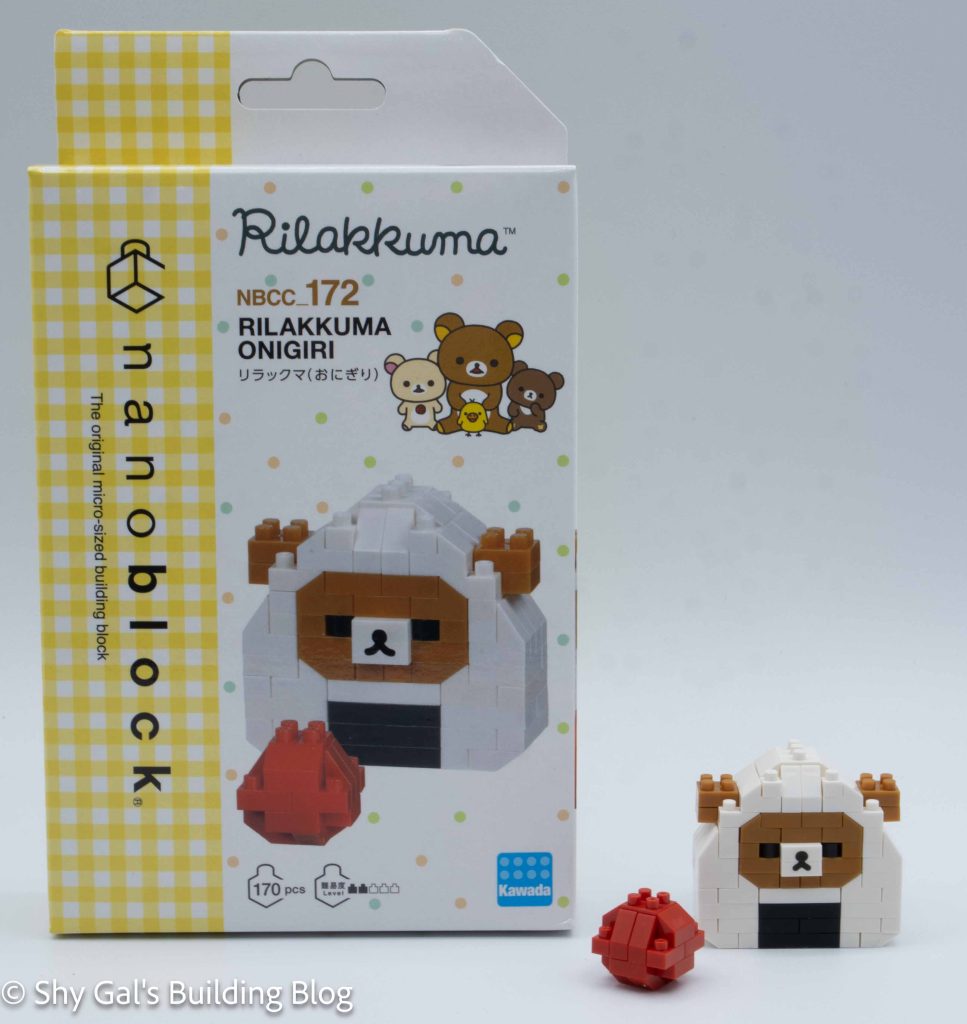
This post is a review of the nanoblock Rilakkuma build. Rilakkuma Onigiri is part of the nanoblock Character collection. Wondering what else is part of the Character collection? Click here for a list.
Number: NBCC_172
Number of Pieces: 170
Difficulty Rating: 2/5
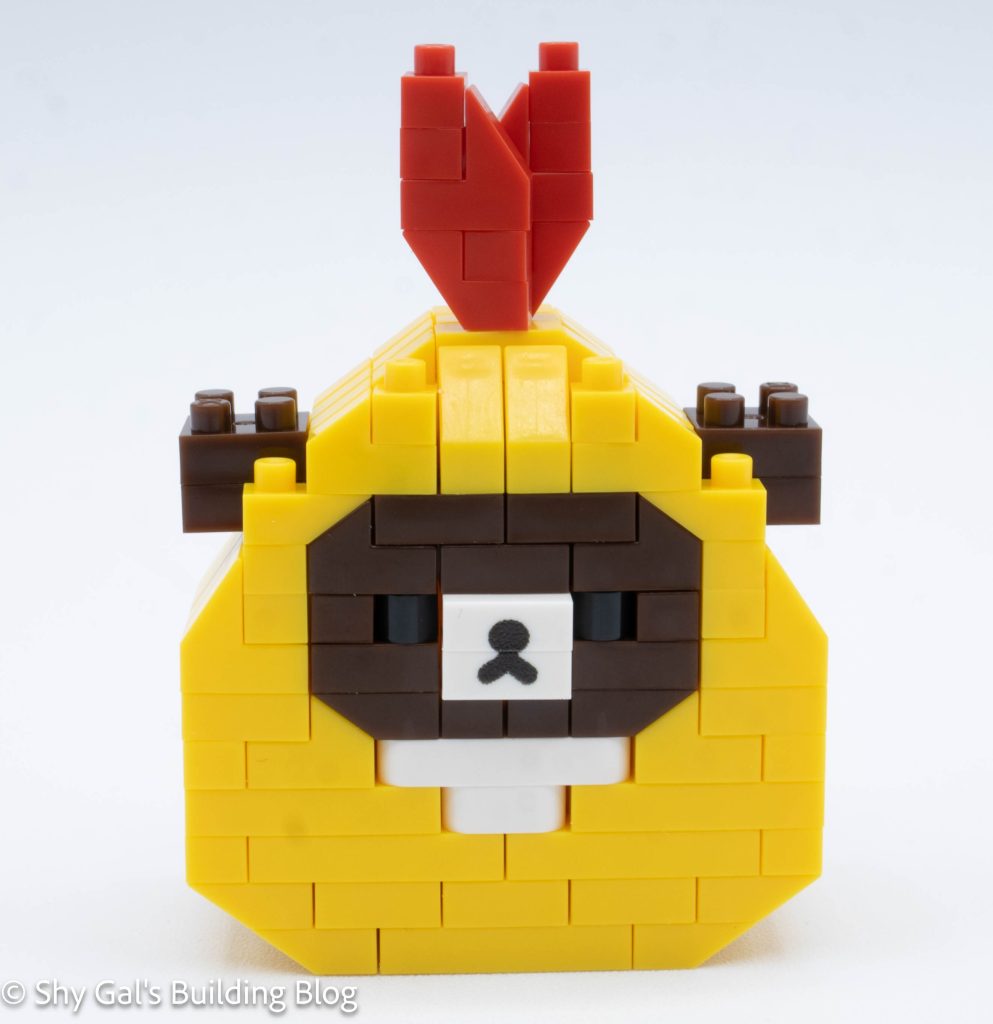
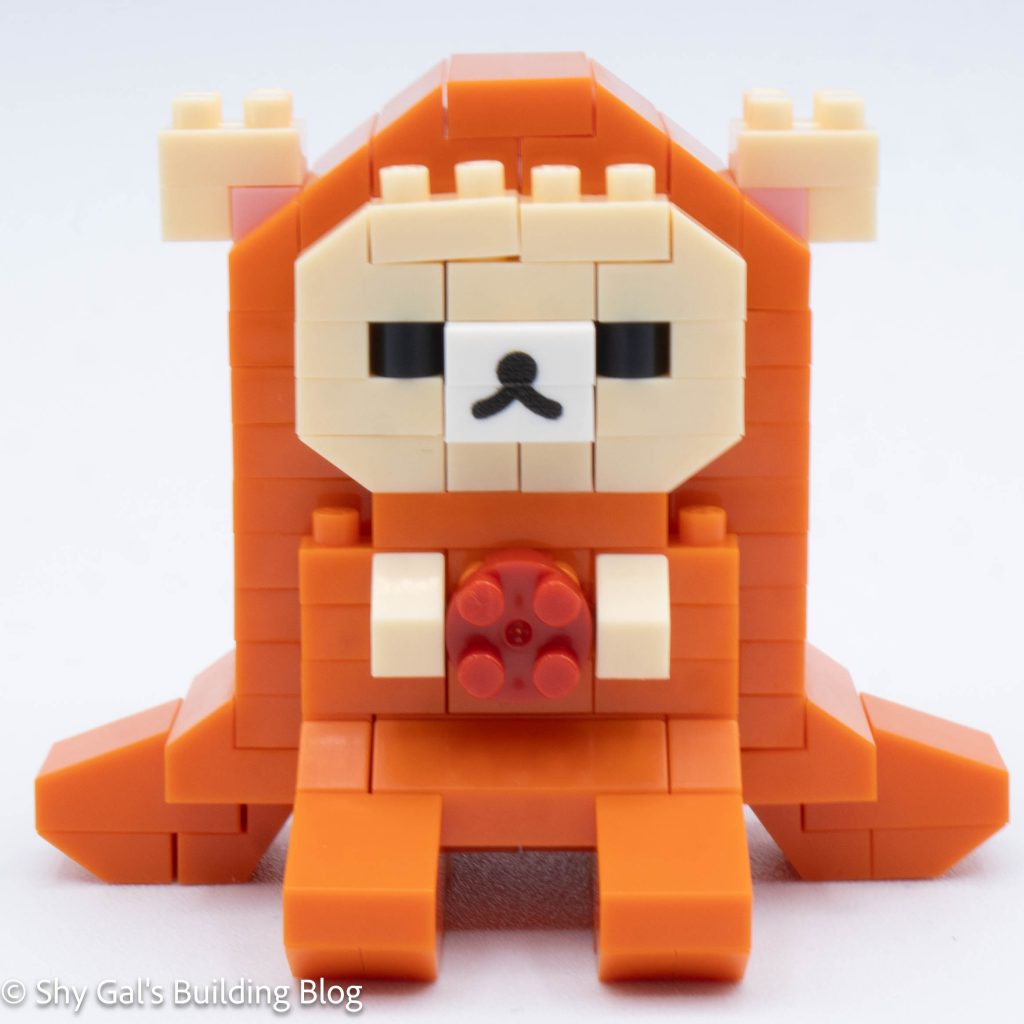
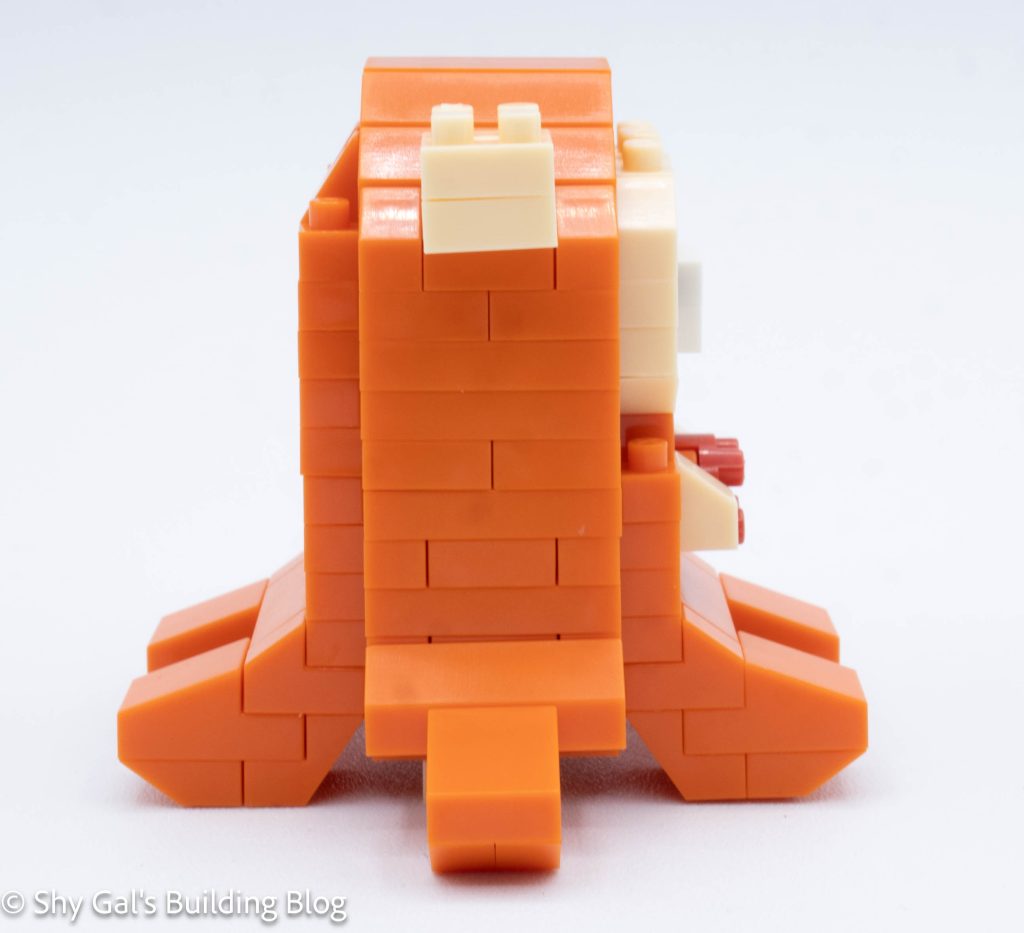
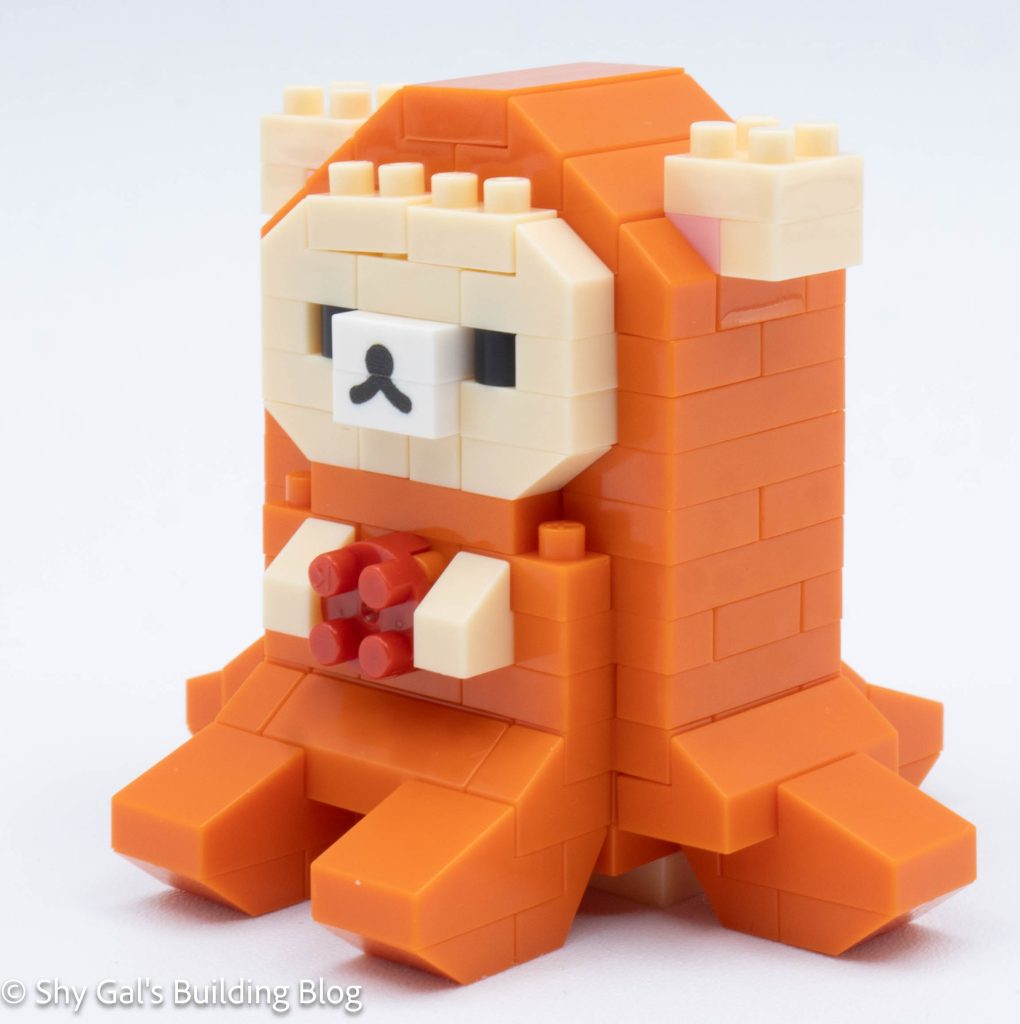
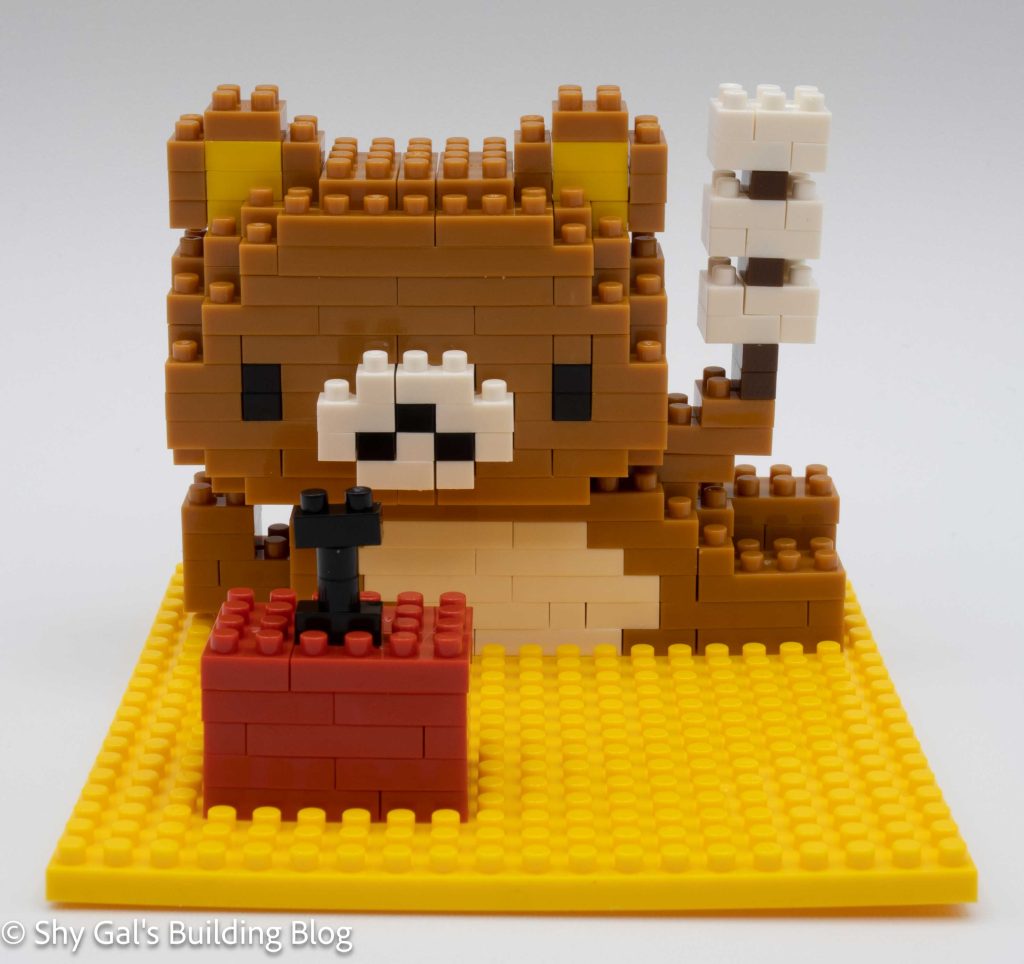
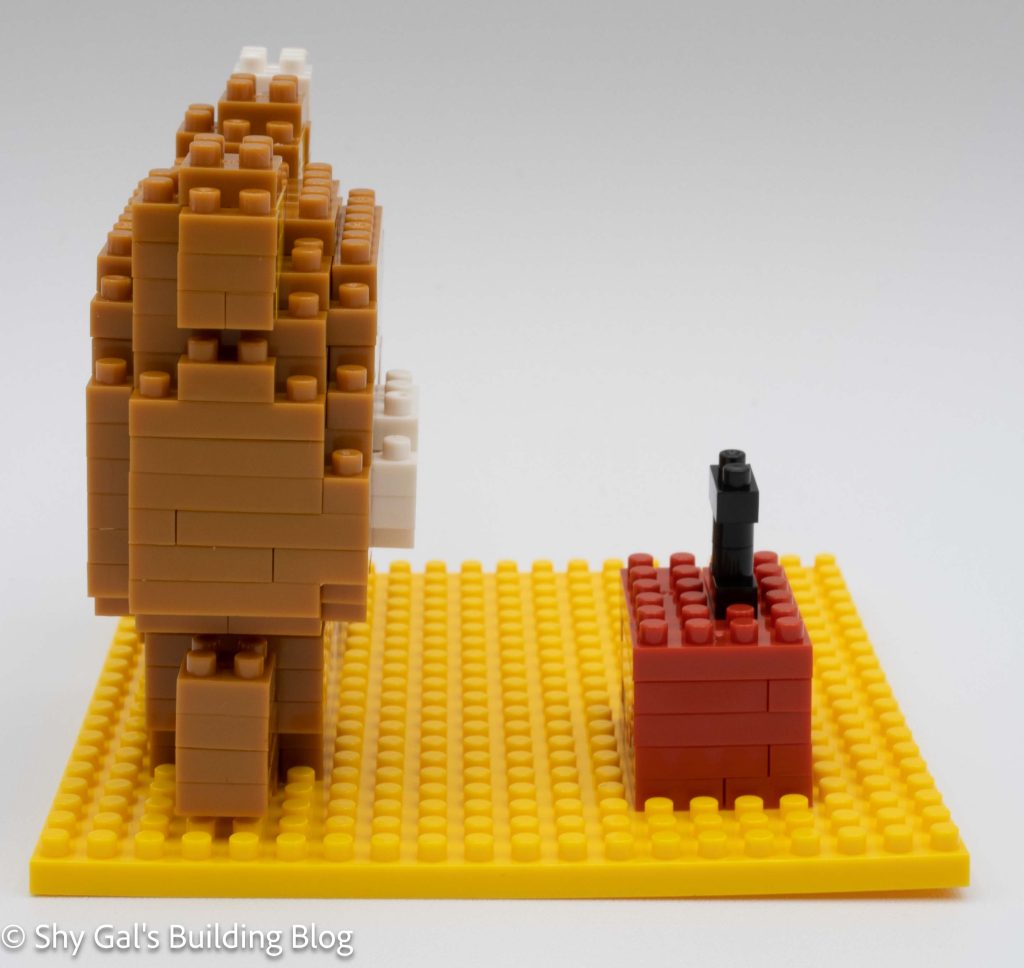
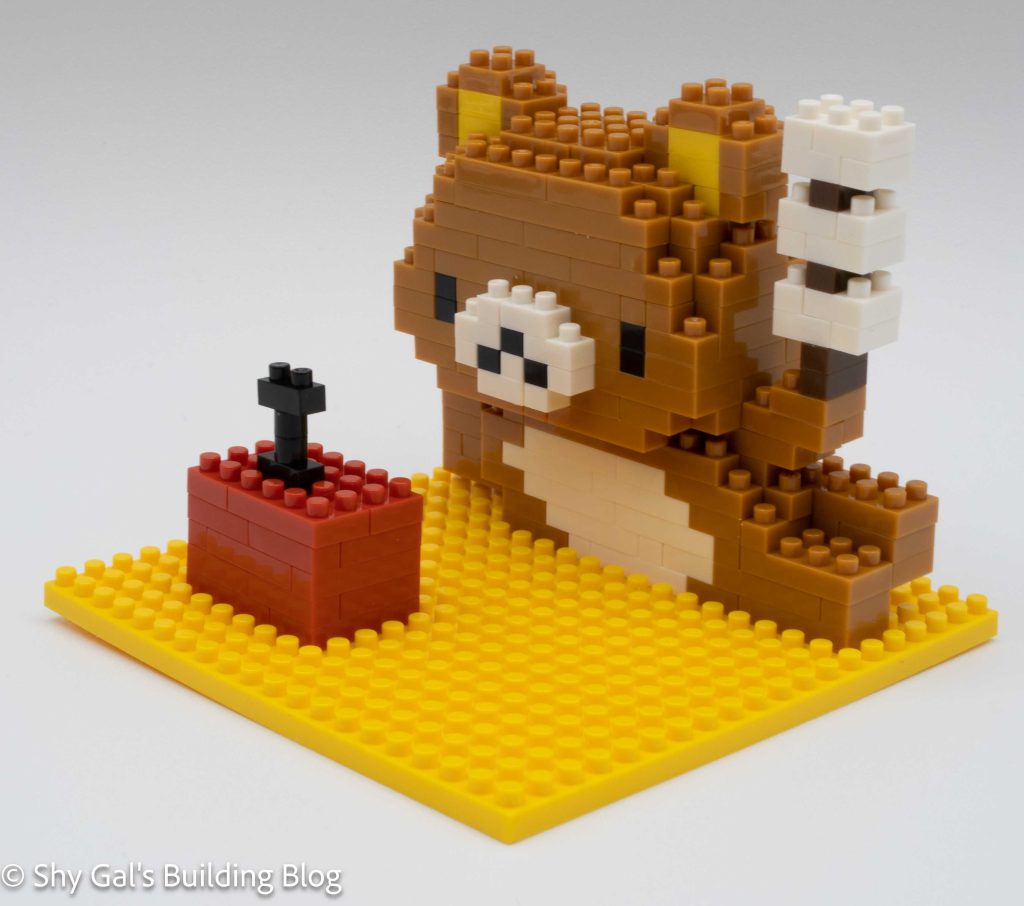
This kit is made up of 2 parts. There is the Rilakkuma rice ball and a red ball that I’m not sure what it is supposed to be.
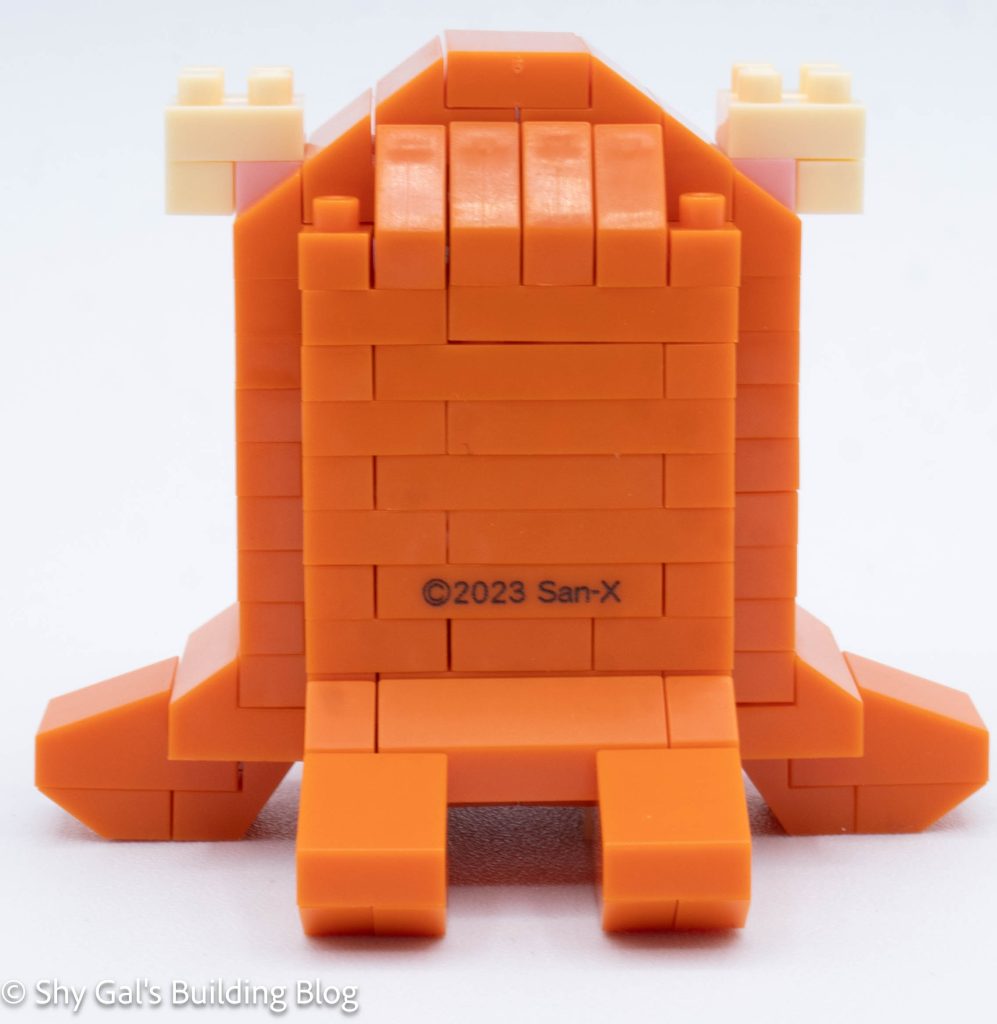
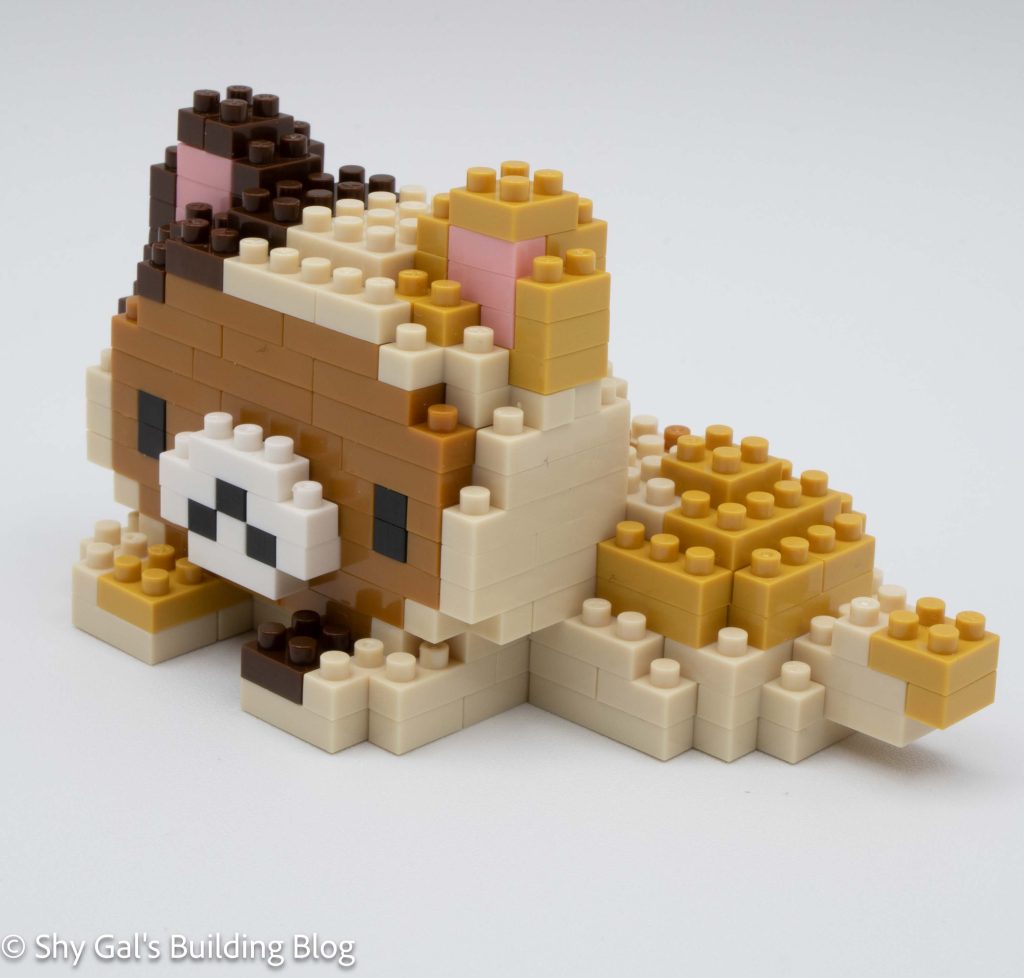
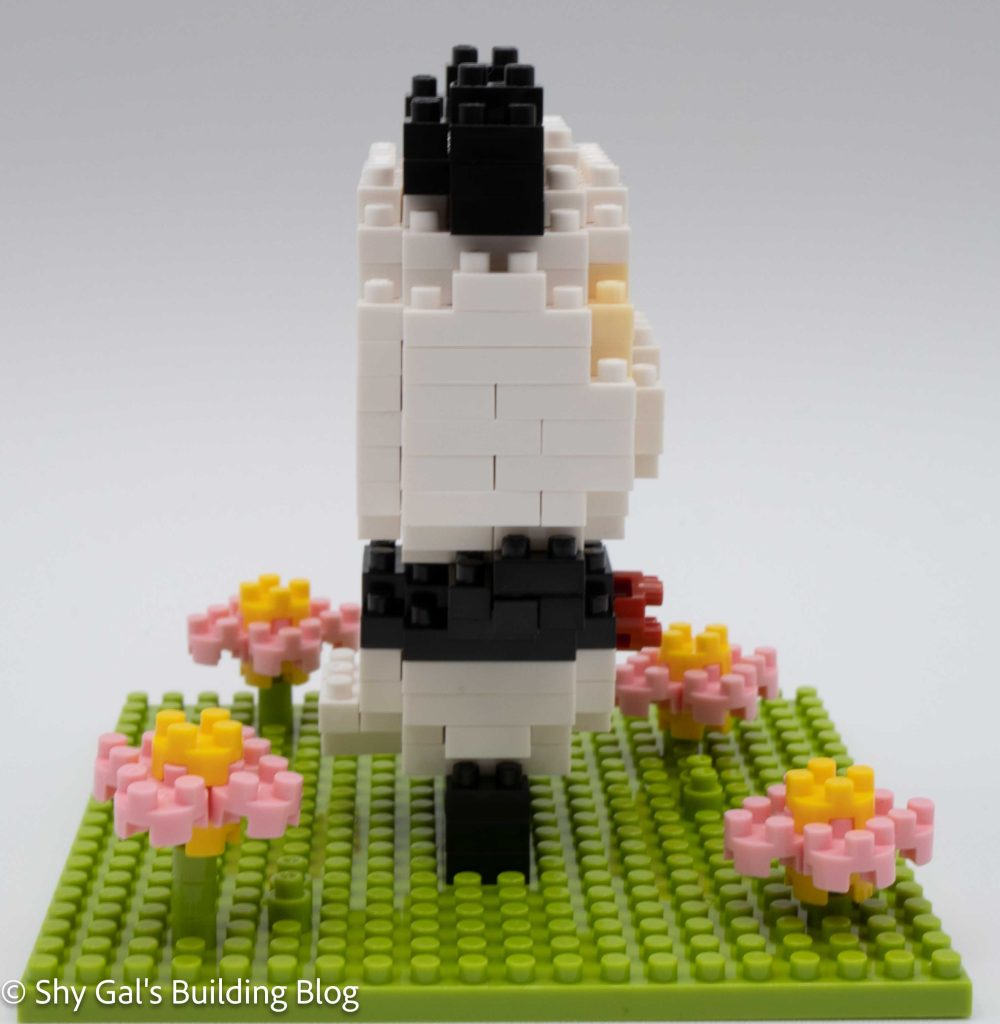
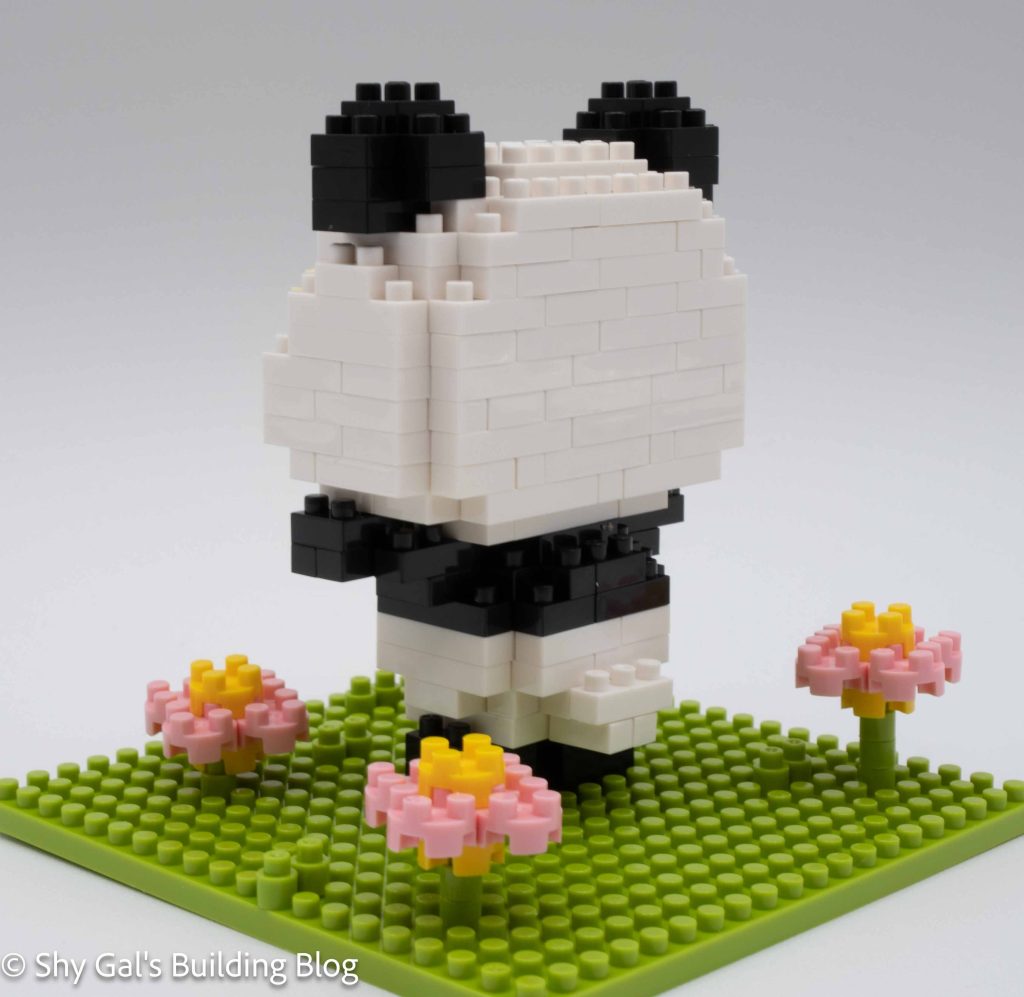
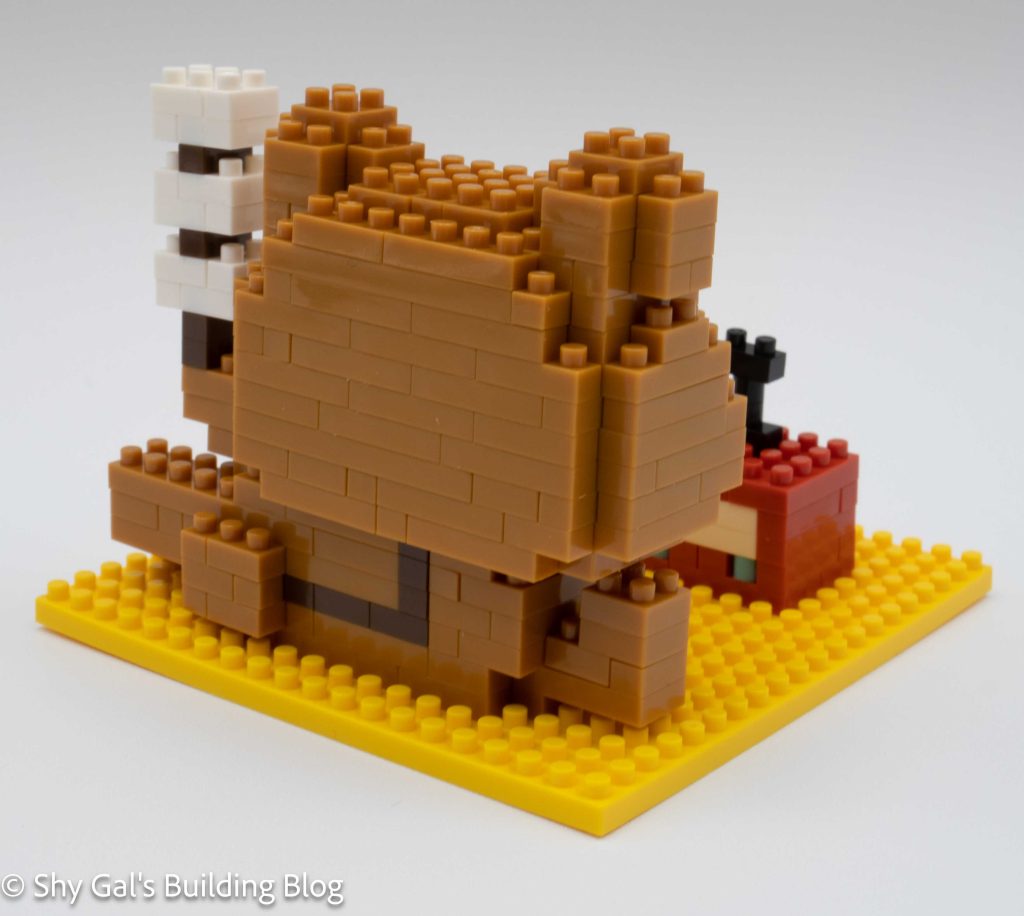
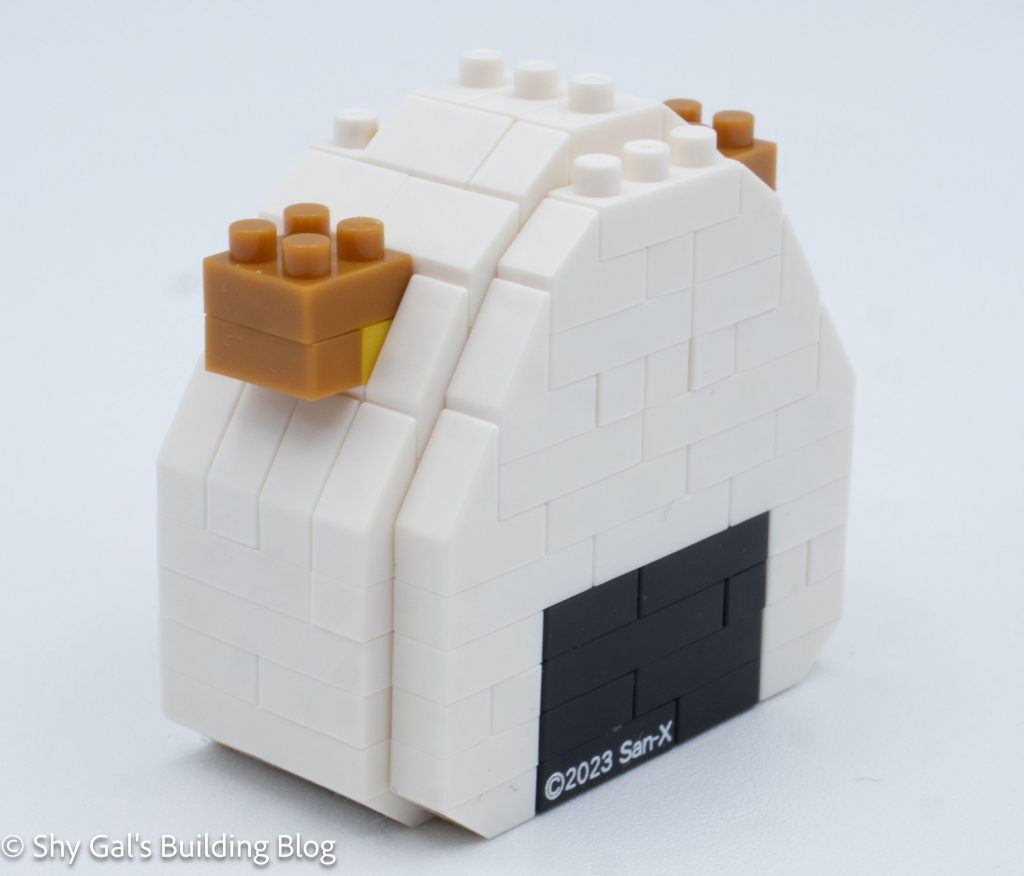
The first section is the actual Rilakkuma onigiri. It begins with a base layer of black and white.
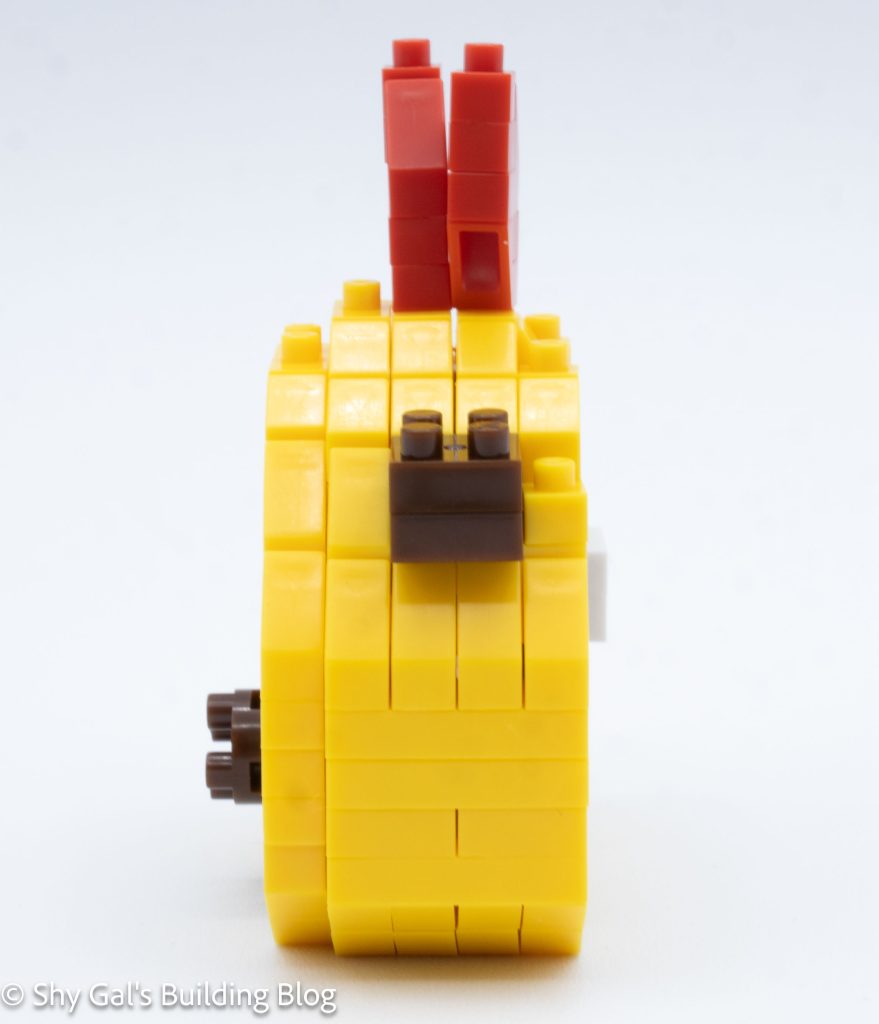
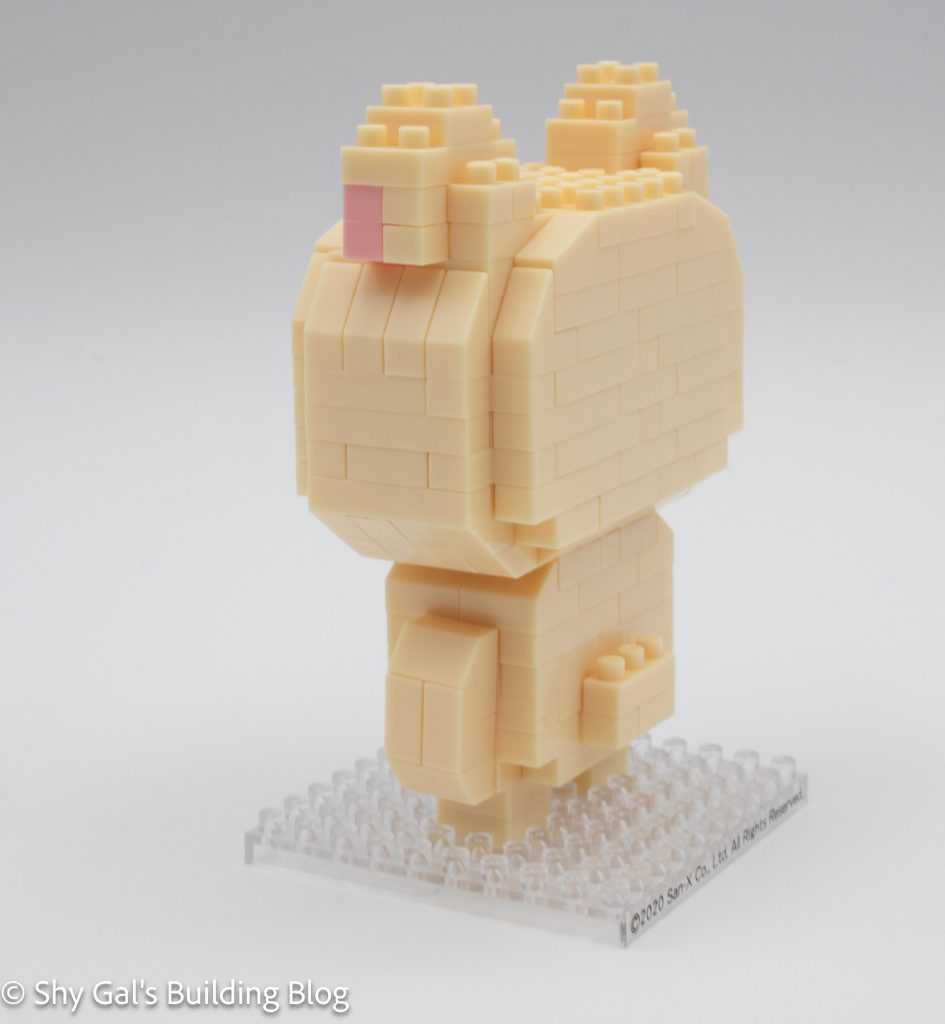
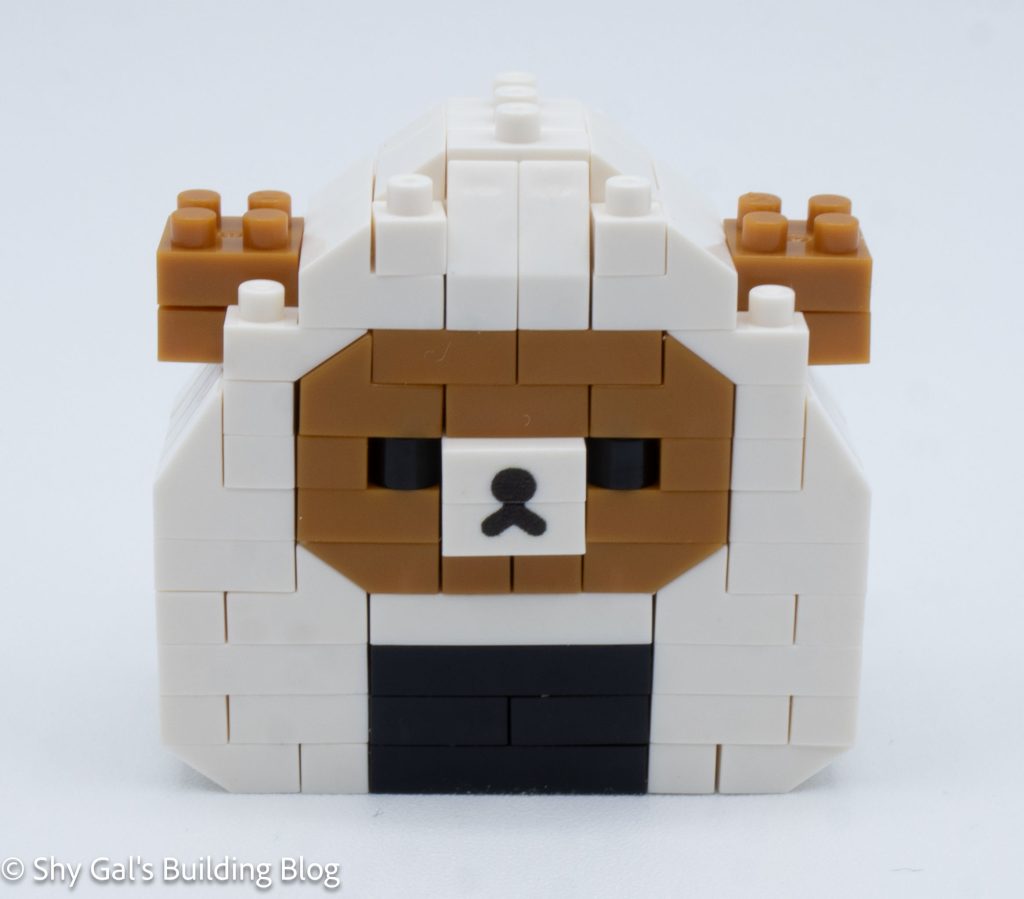
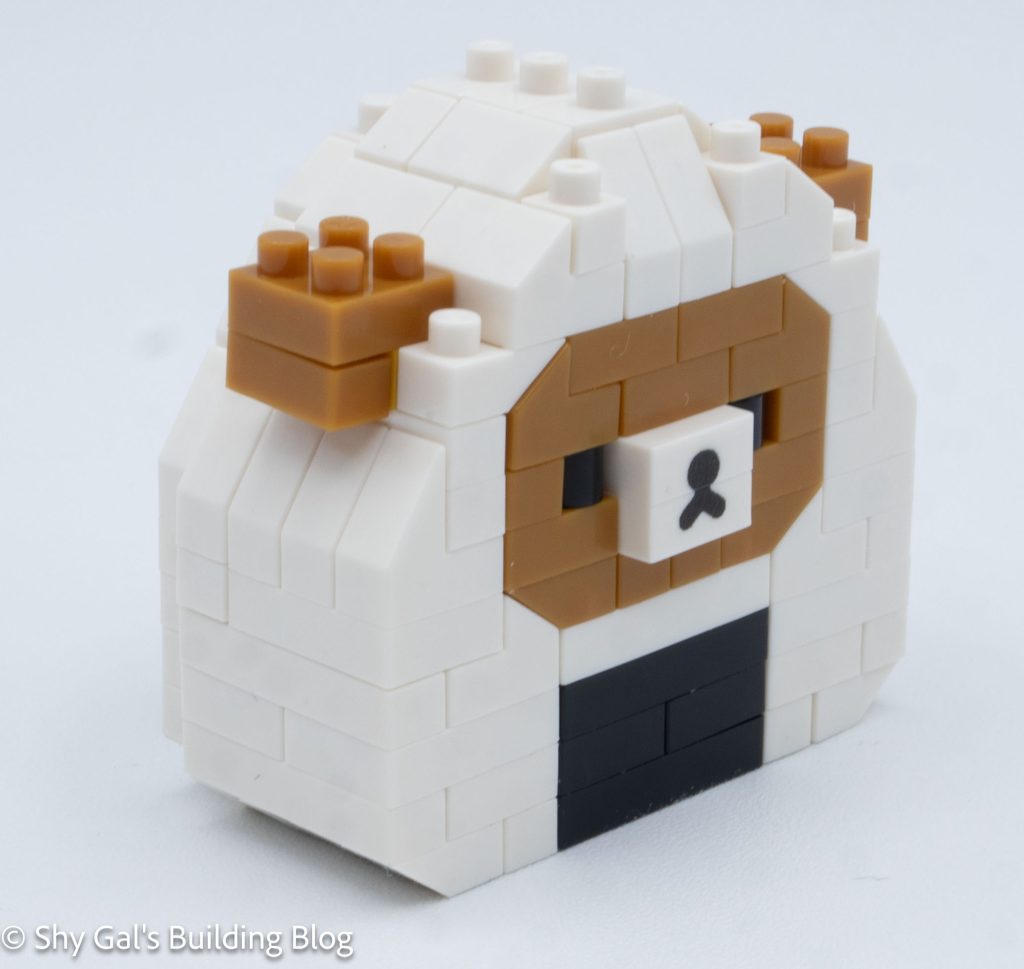
After building 4 layers, it is time to start building Rilakkuma. It’s a face with white on on the other 3 sides. There is a custom-printed brick to create Rilakkuma’s nose.
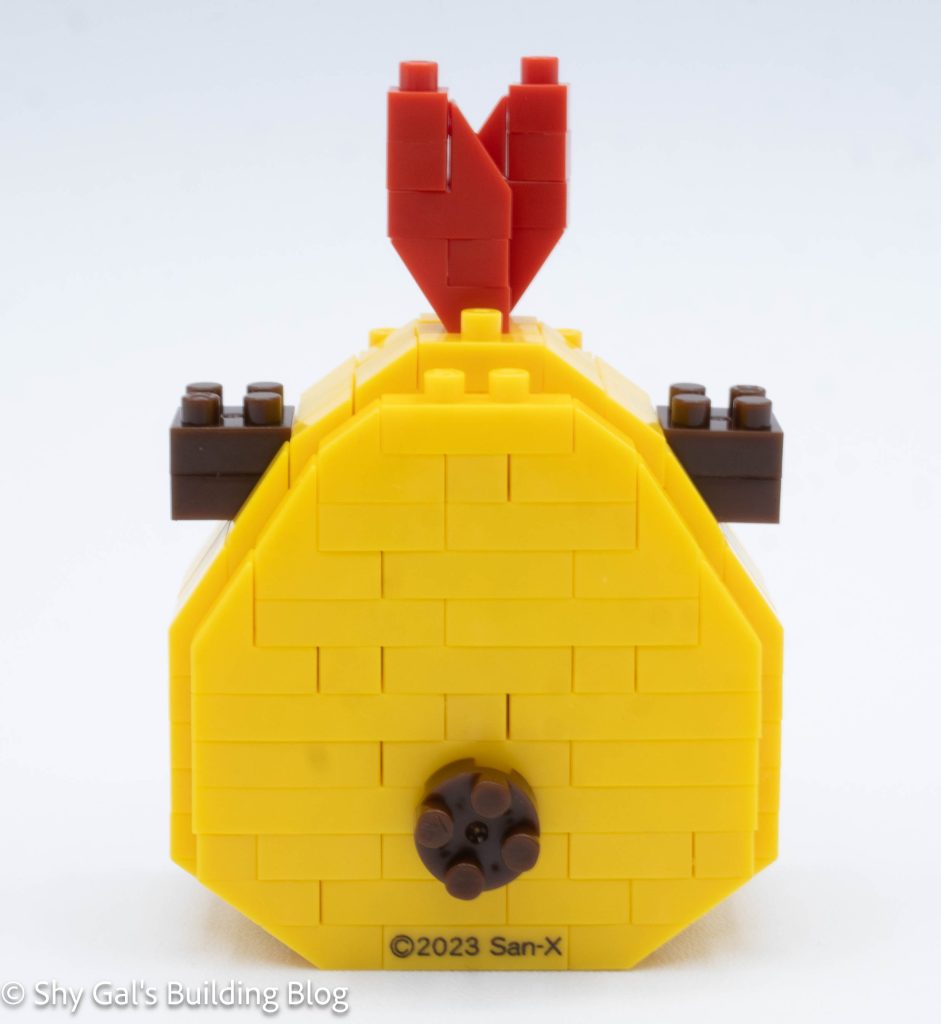
Then the rice ball was closed up using white bricks.
The final step is to add the ears on top of the riceball.
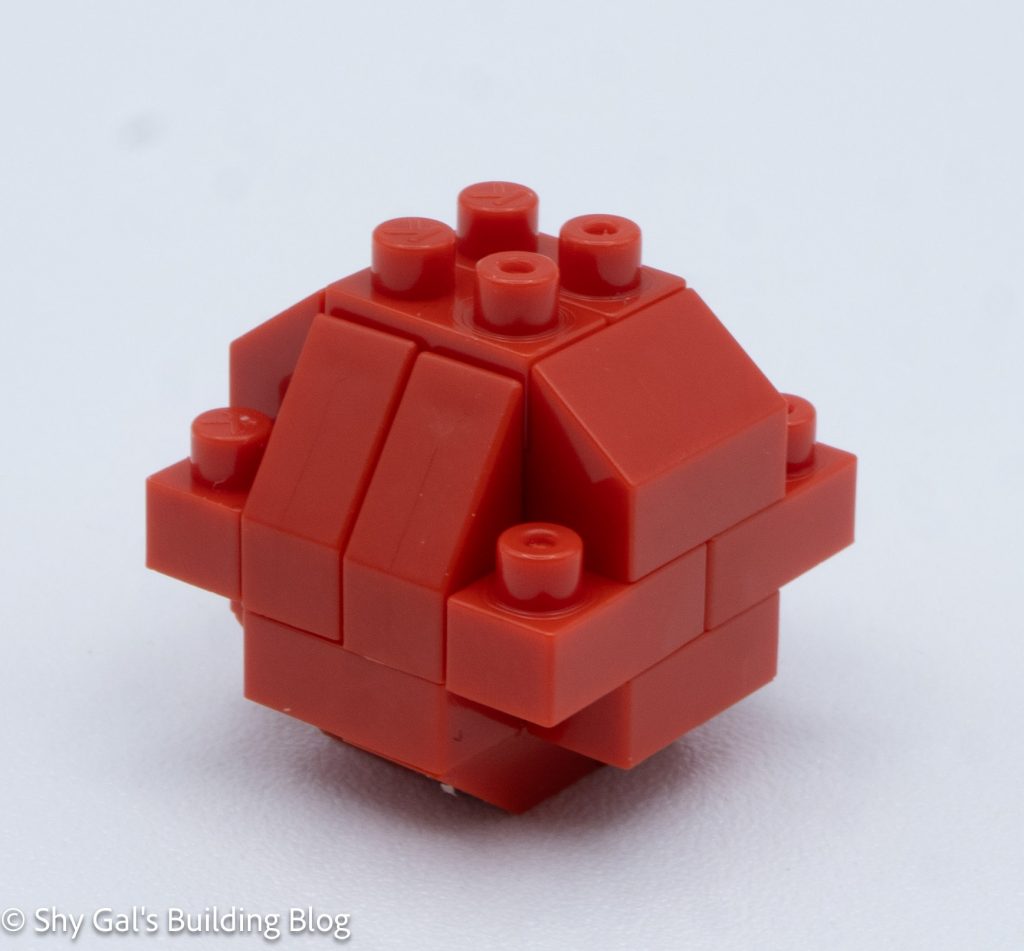
The second section is to build the red ball. I flipped around the first step, so I had to redo it a couple of times. Other than that, the entire ball was extremely straightforward.
Things I liked:
- I like the custom-printed nose brick
Things I didn’t like:
- Since I’m not sure what the red thing is supposed to be so I think it could be left off