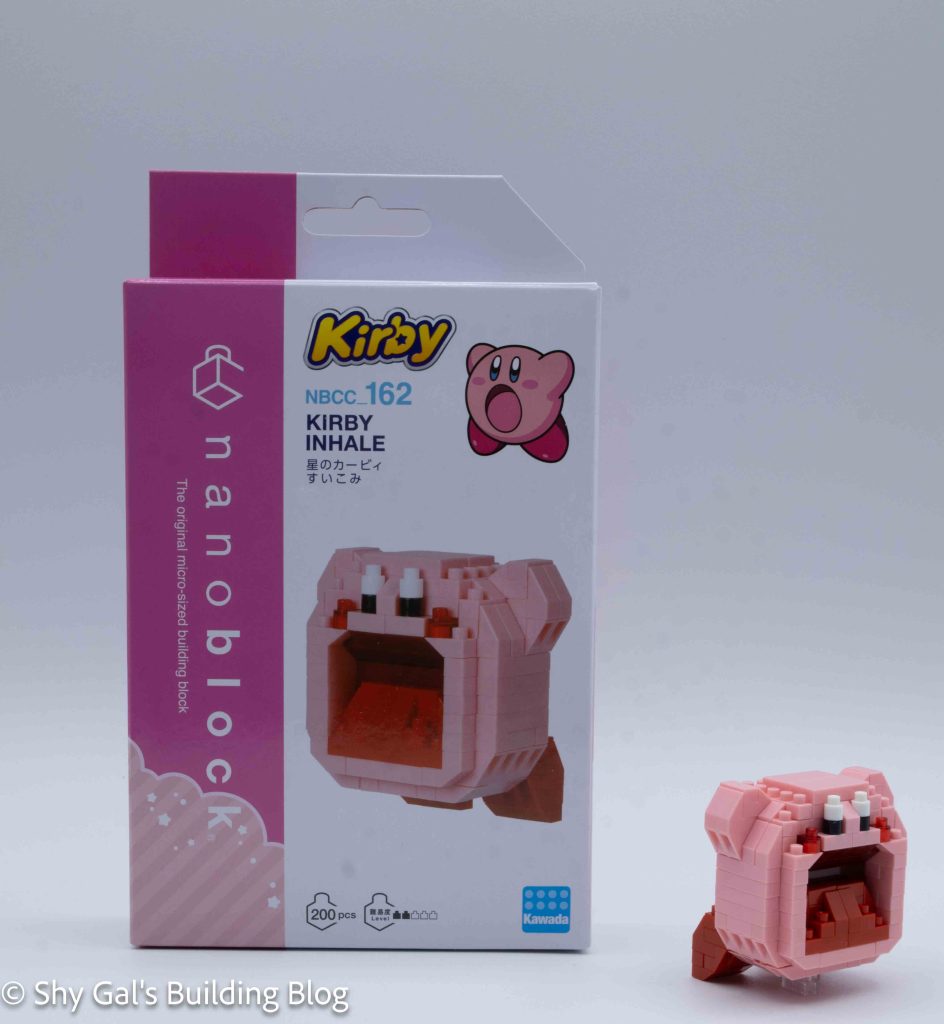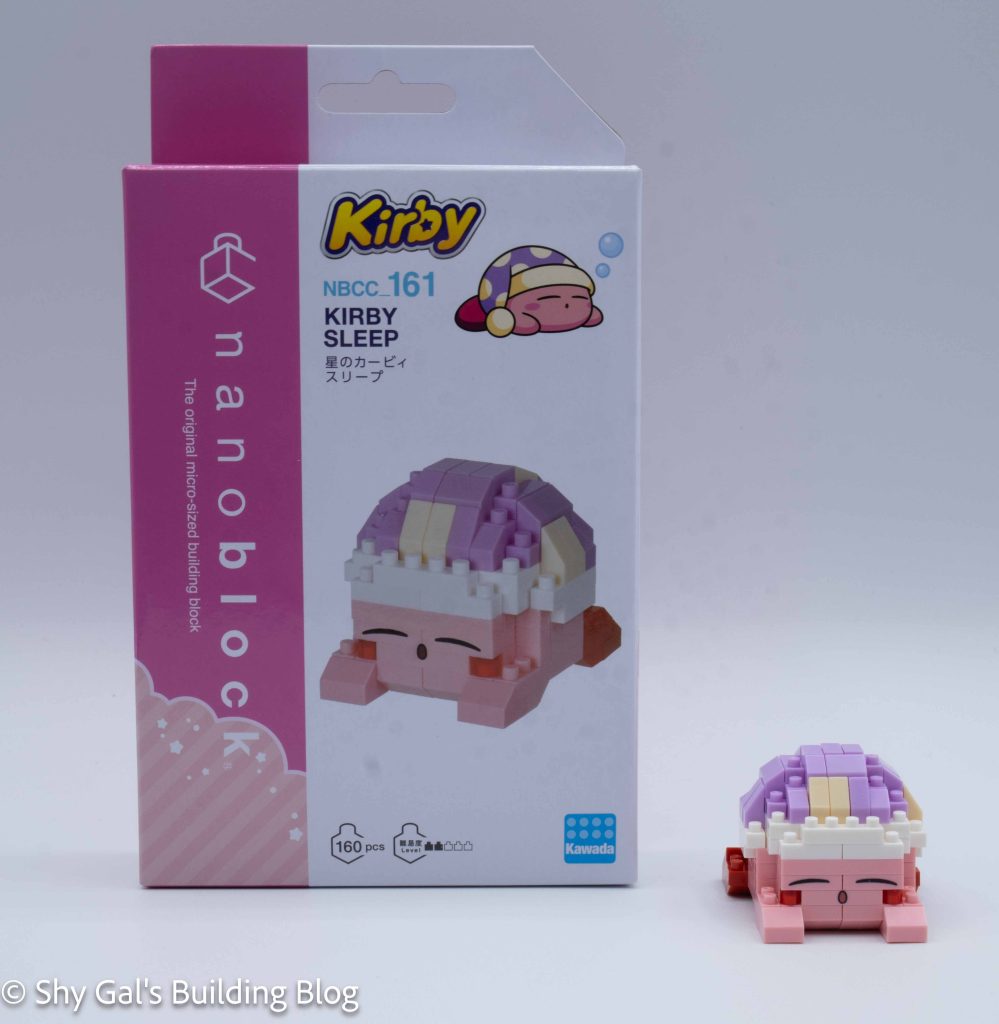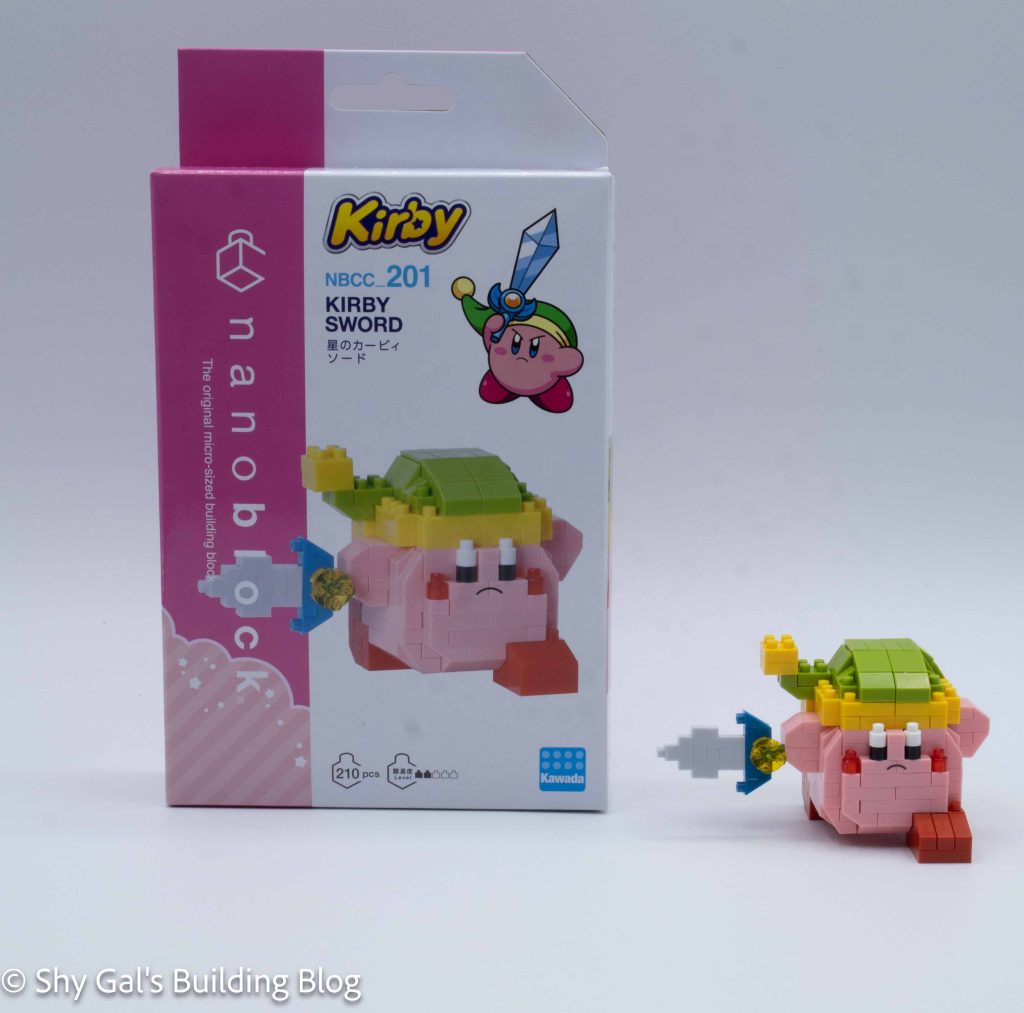
This post is a review of the nanoblock Kirby Sword build. Kirby Sword is part of the nanoblock Character collection. Wondering what else is part of the Character collection? Click here for a list.
Number: NBCC_201
Number of Pieces: 210
Difficulty Rating: 2/5
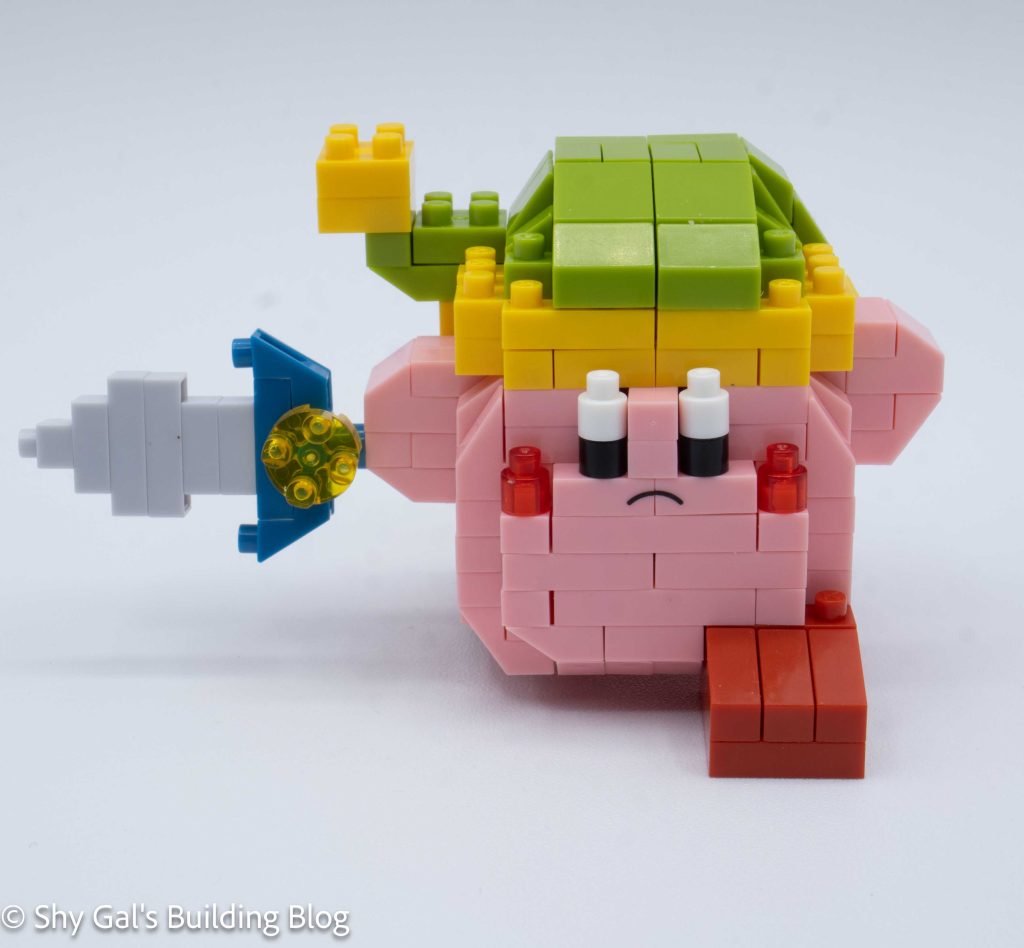
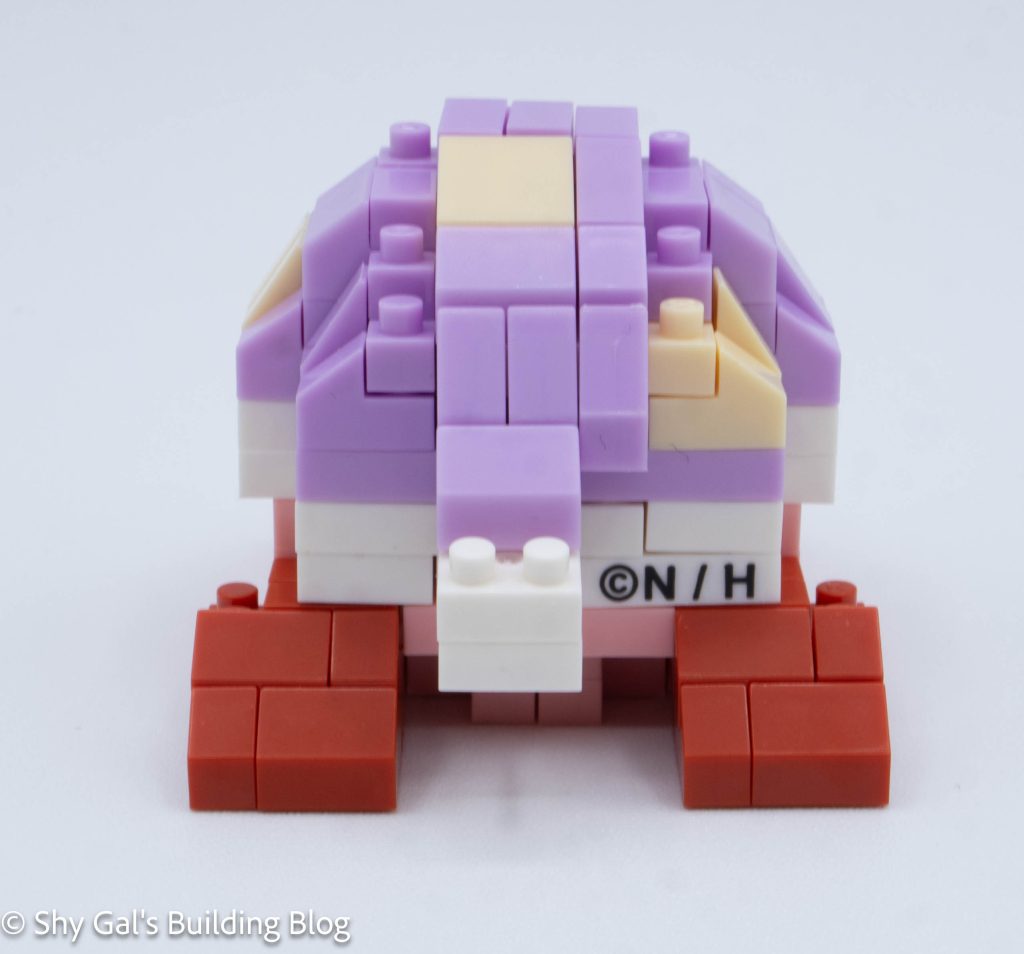
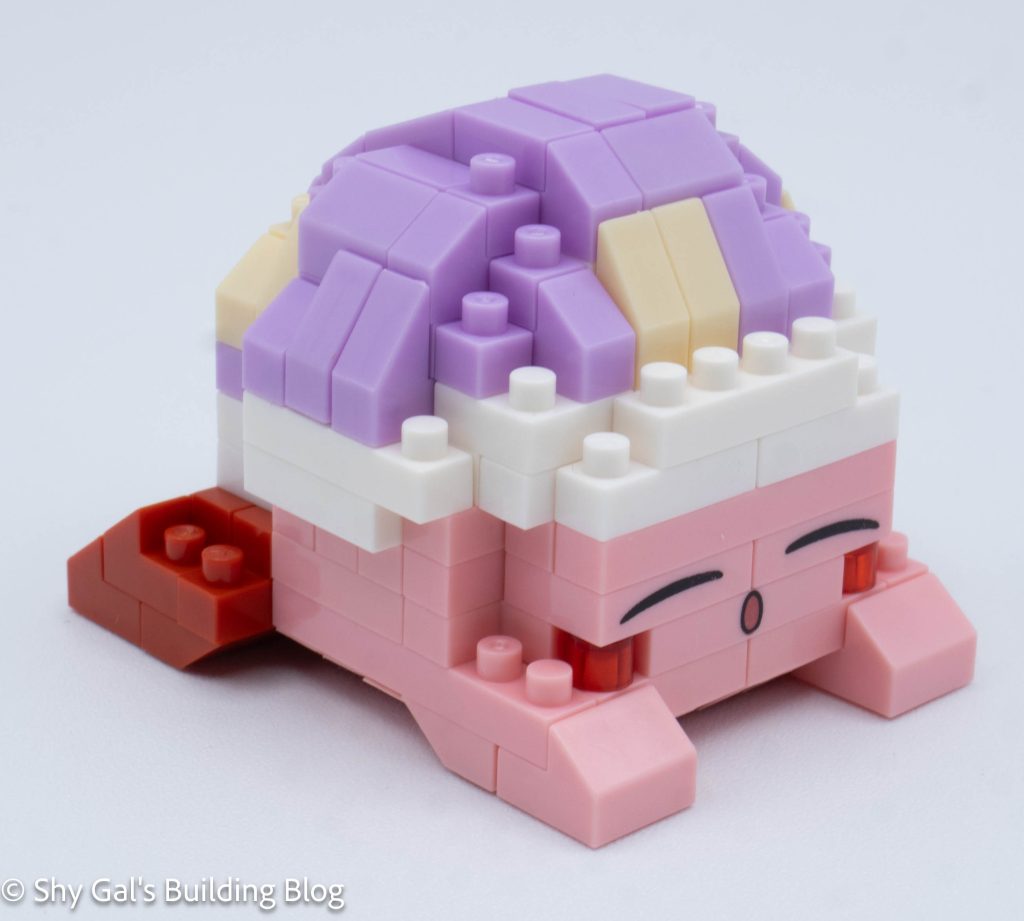
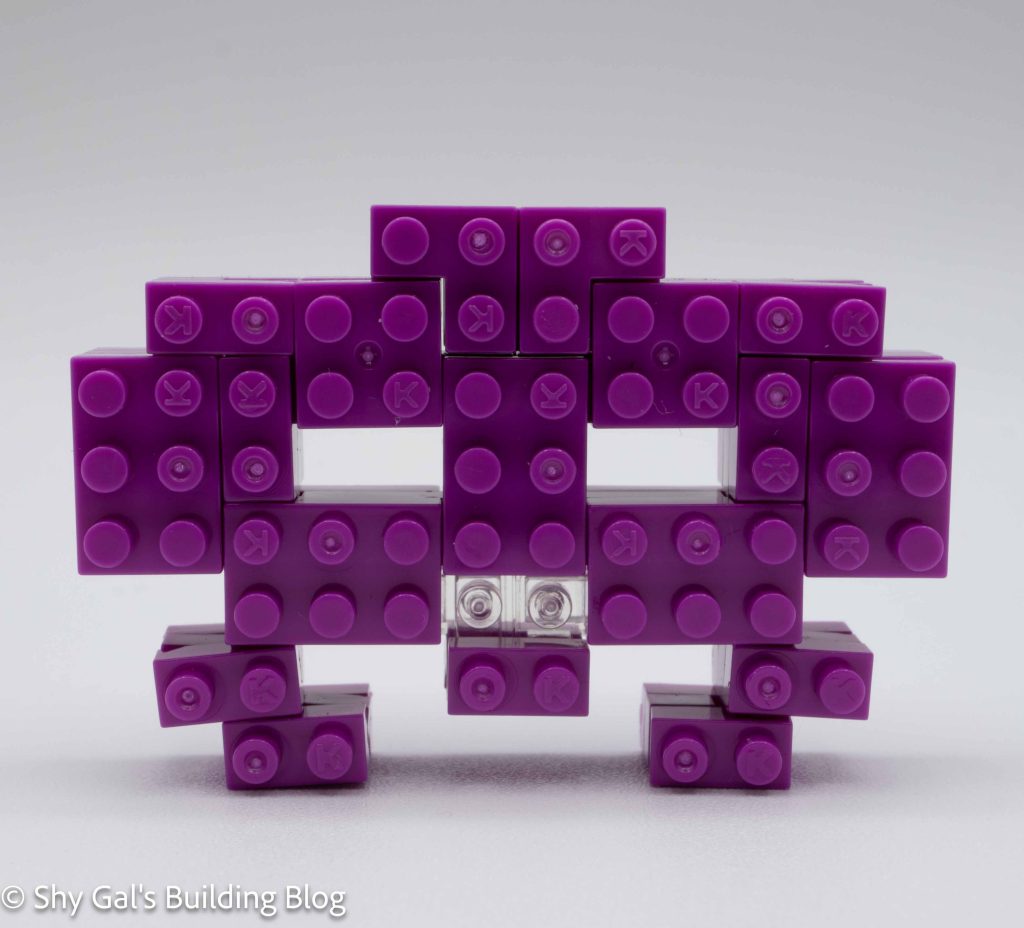
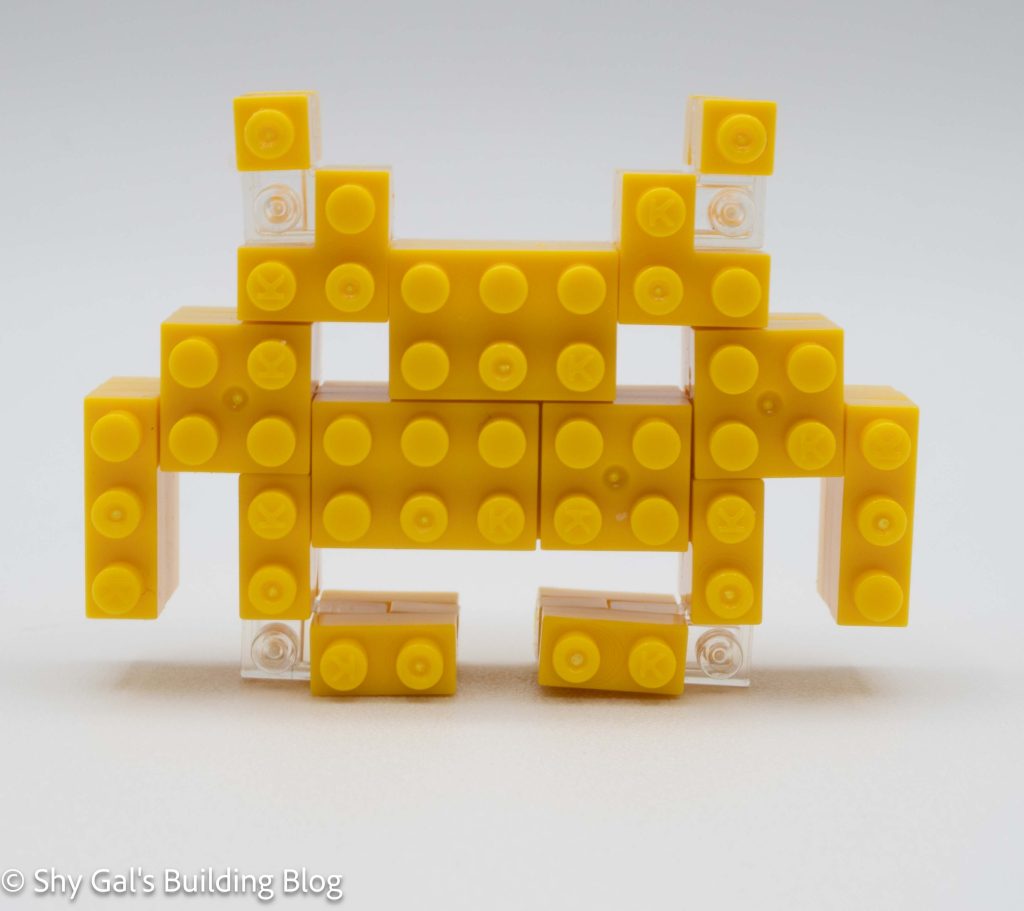
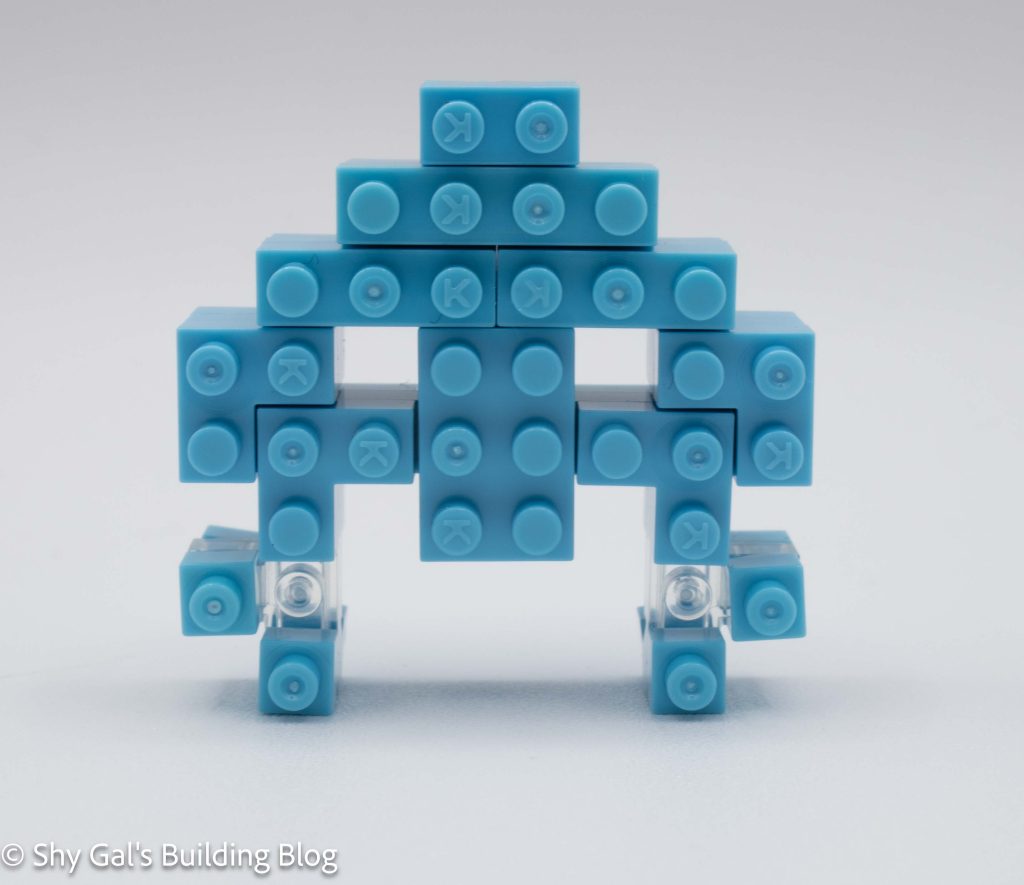
The build begins by creating the base of the Kirby. It took several steps to make the base, which looked a little odd. I decided it was likely because Kirby had his feet spread out mid-step.
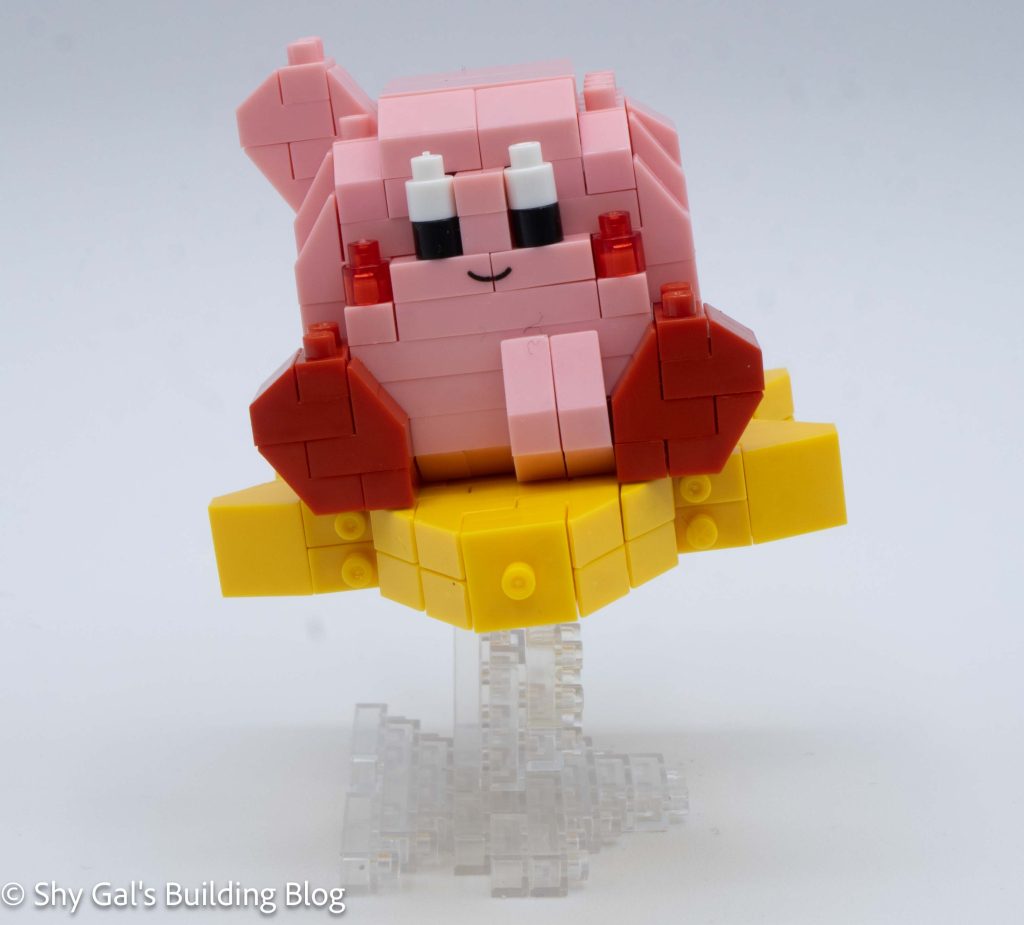
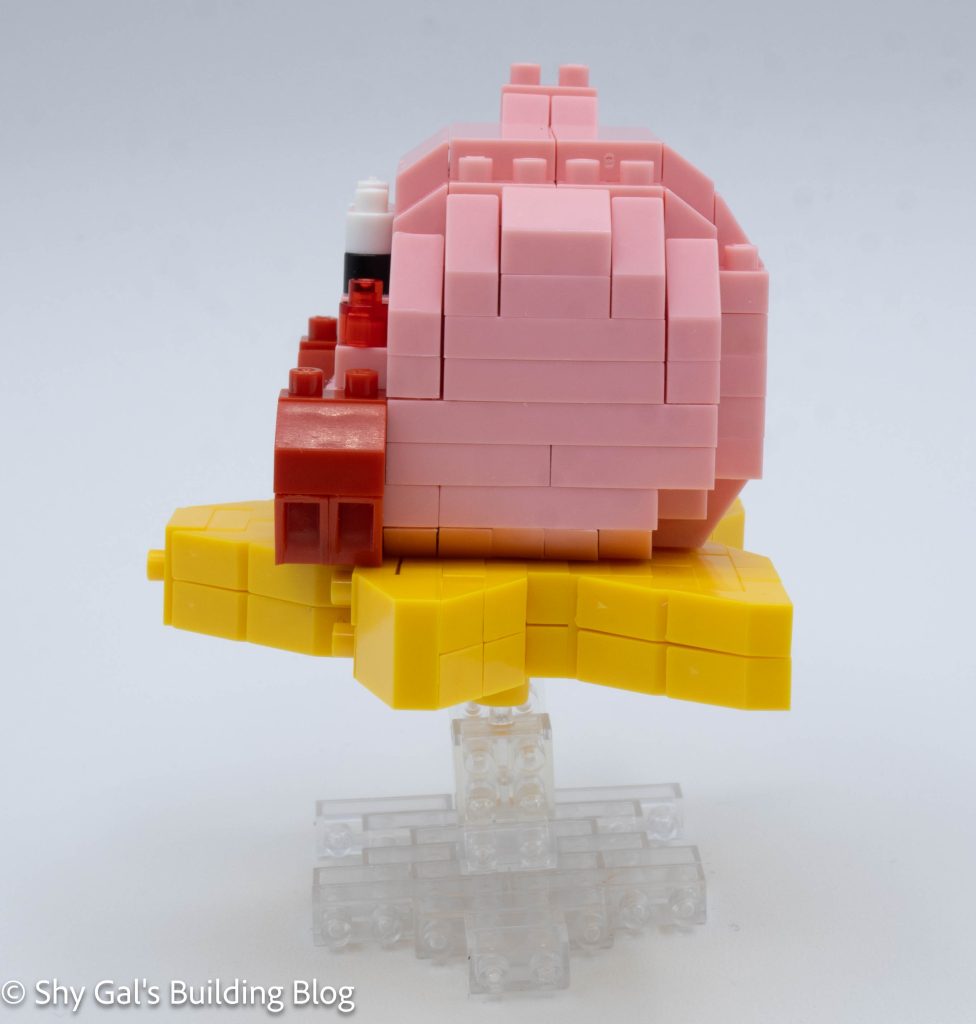
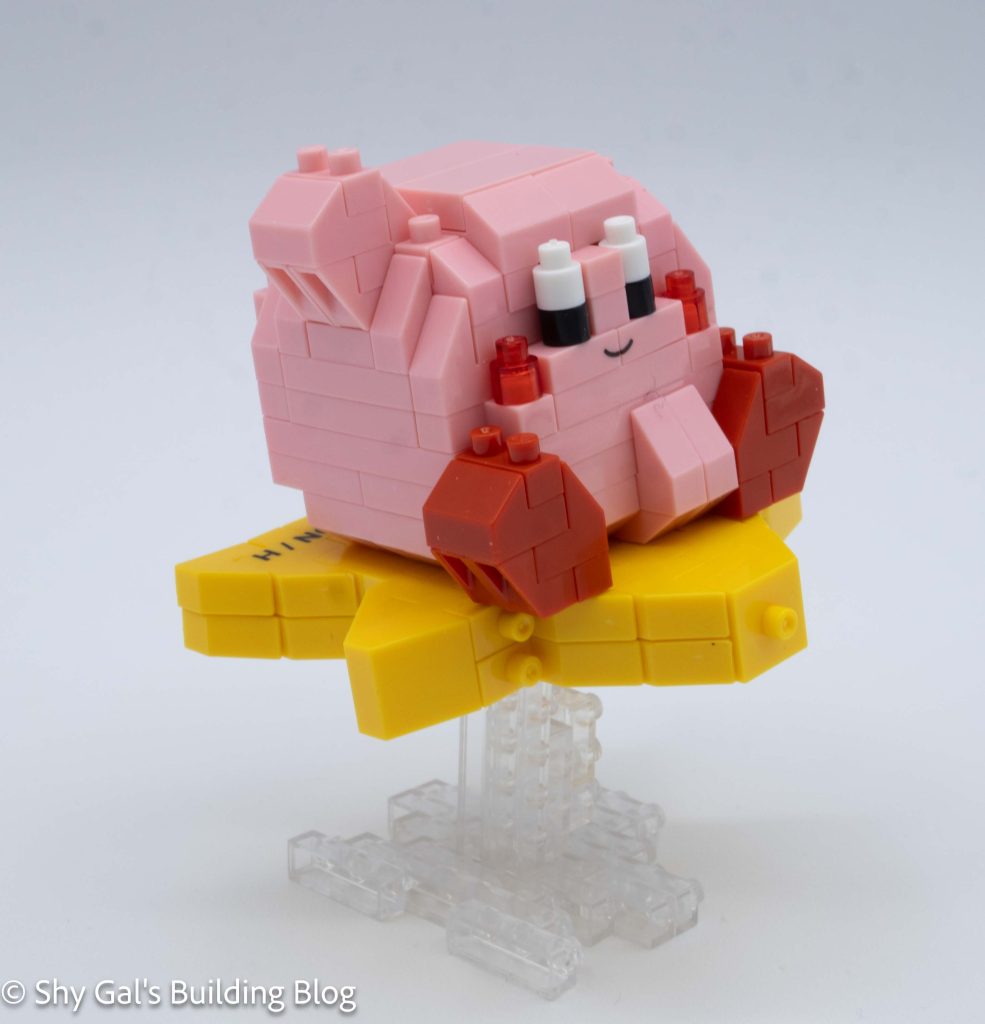
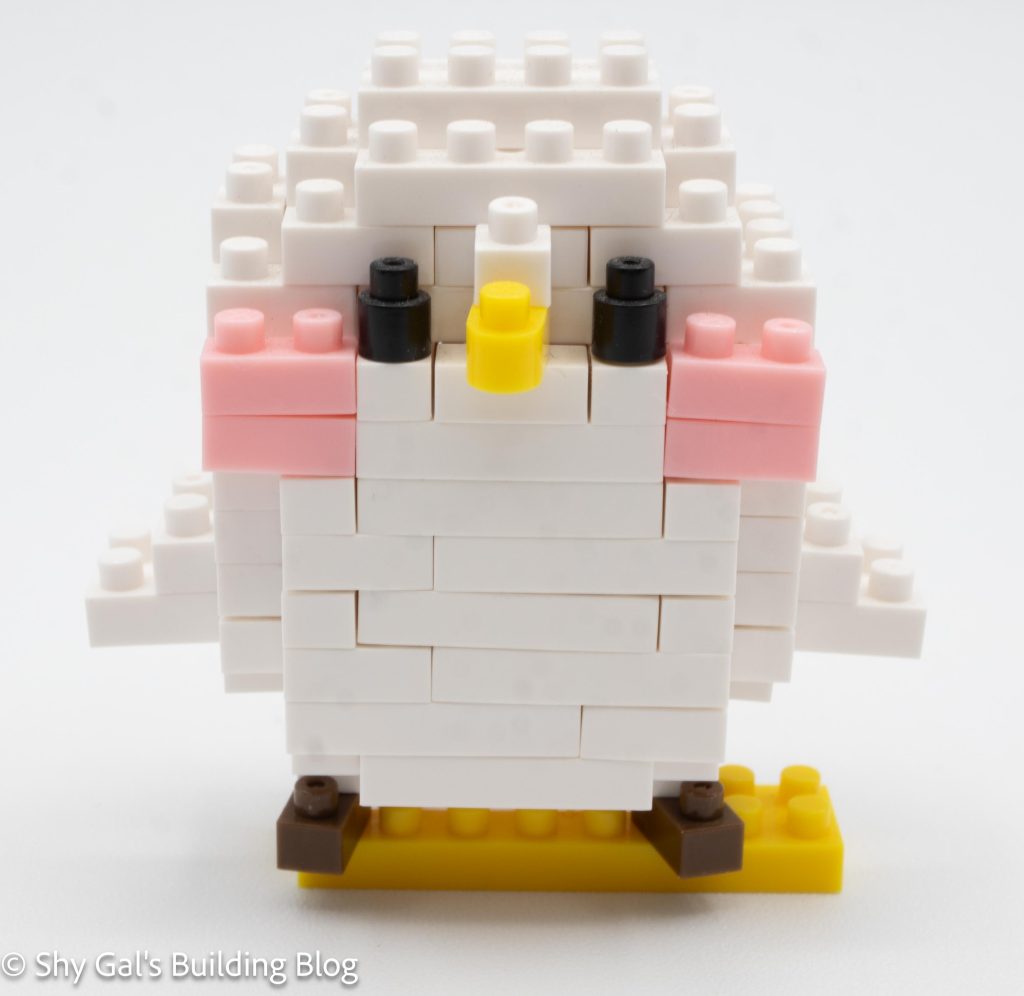
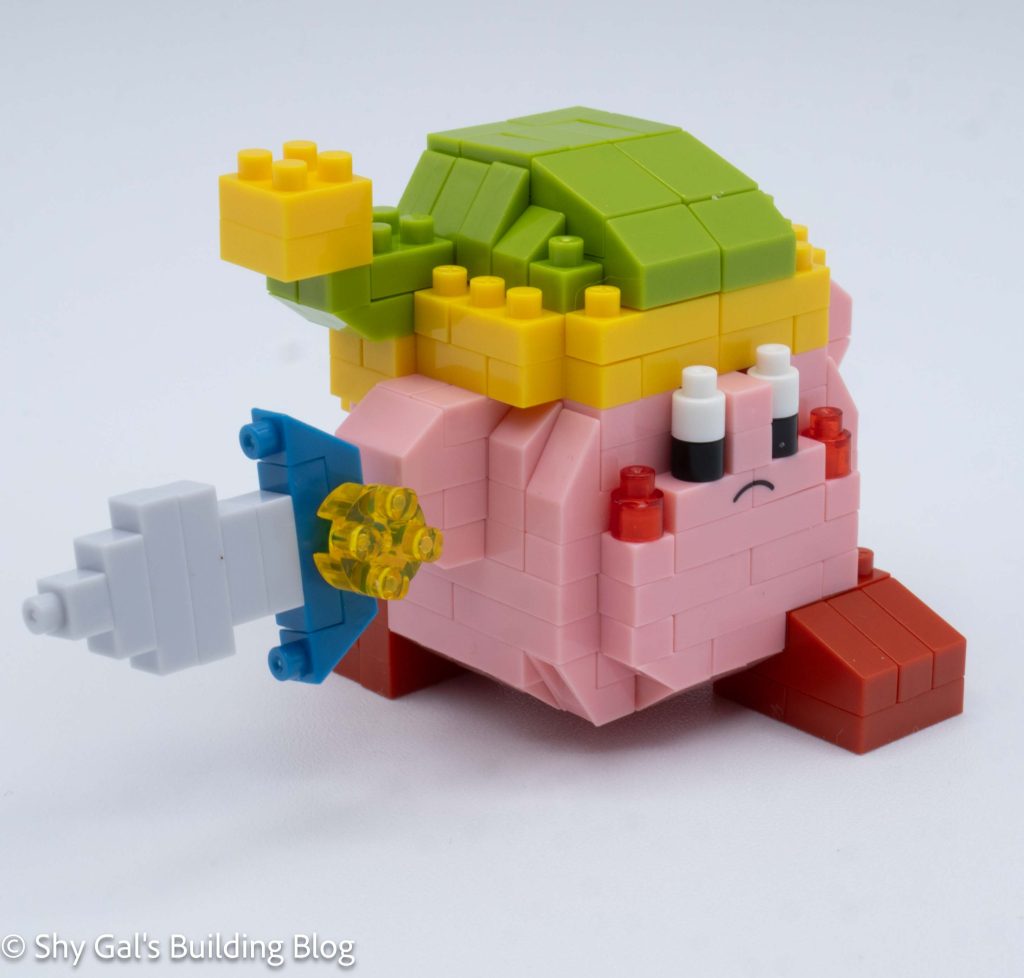
After the base is created, the main body of Kirby is built. These steps use the custom-printed blocks, which I much prefer to stickers. In the steps to make the body, you add Kirby’s arms, cheeks, and eyes.
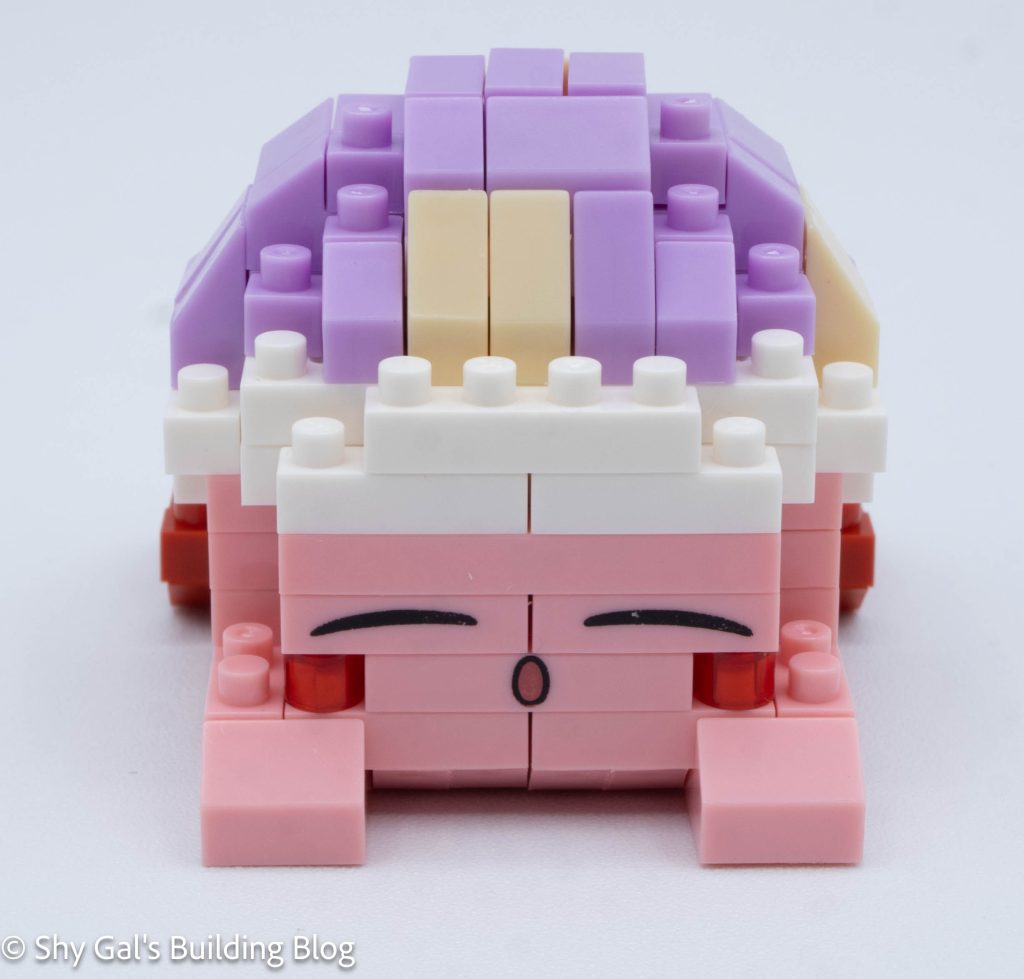
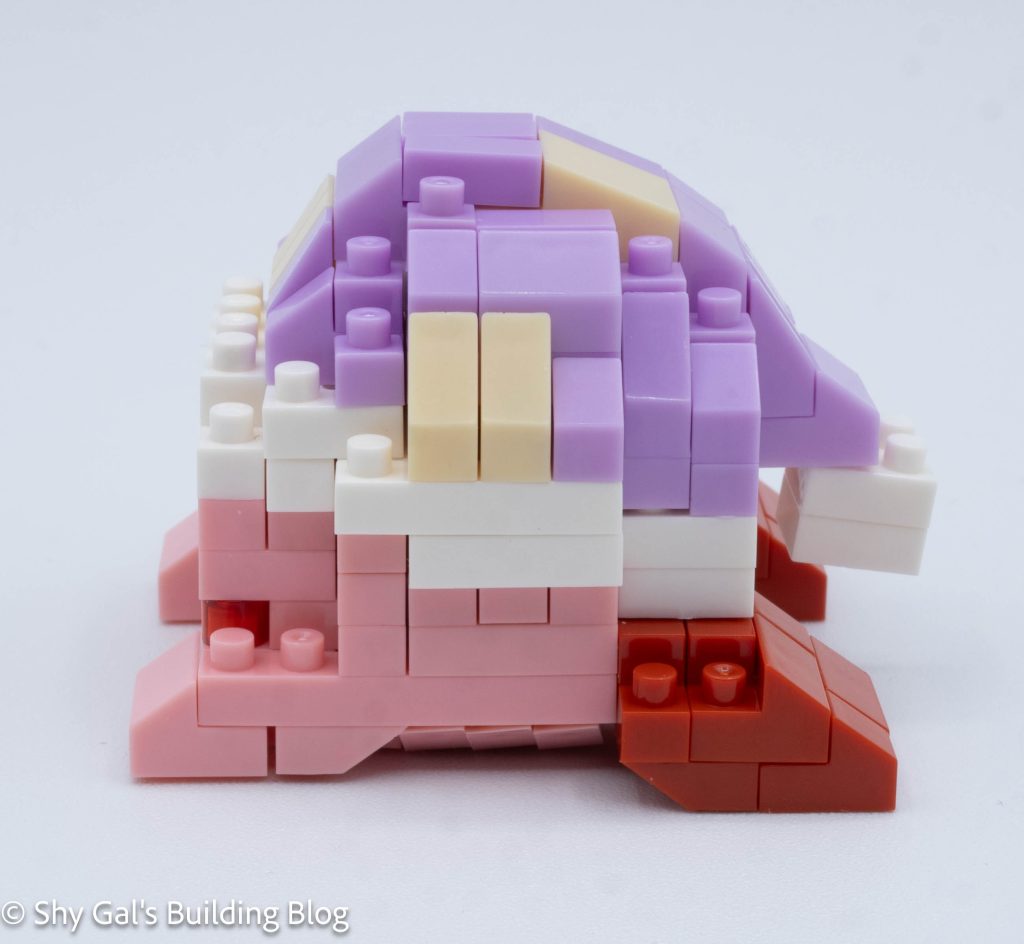
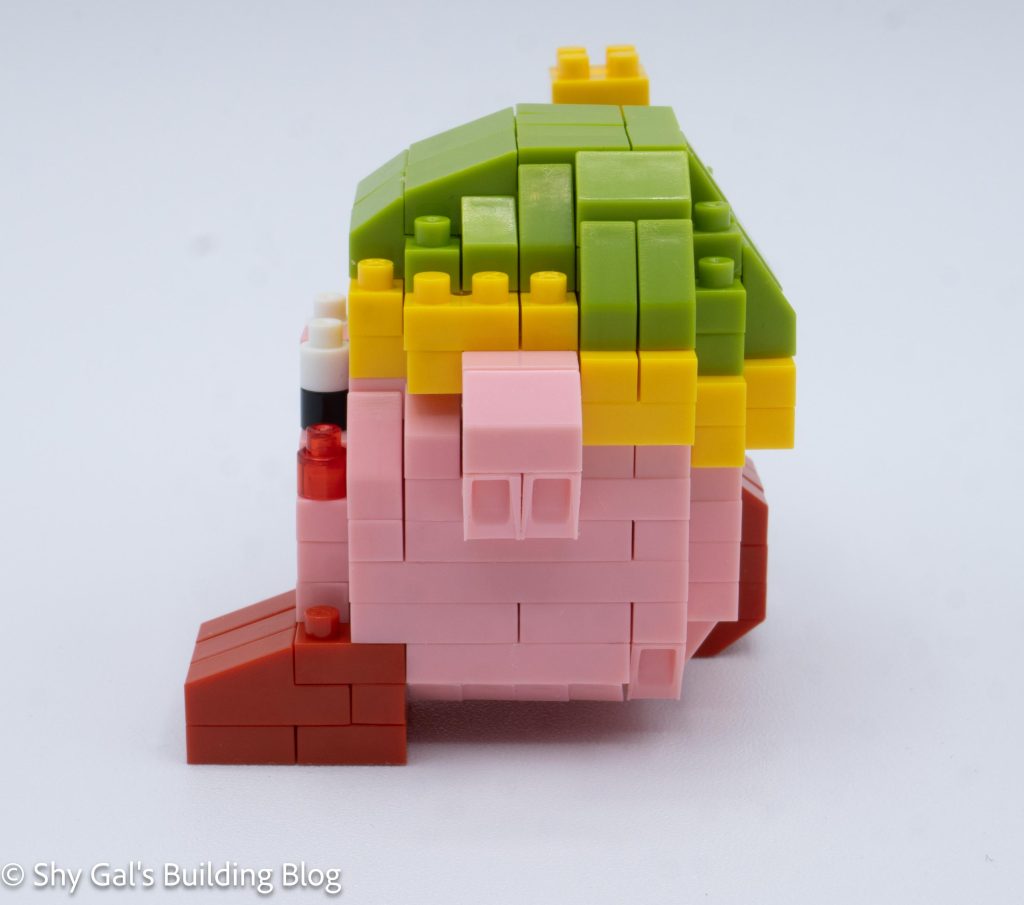
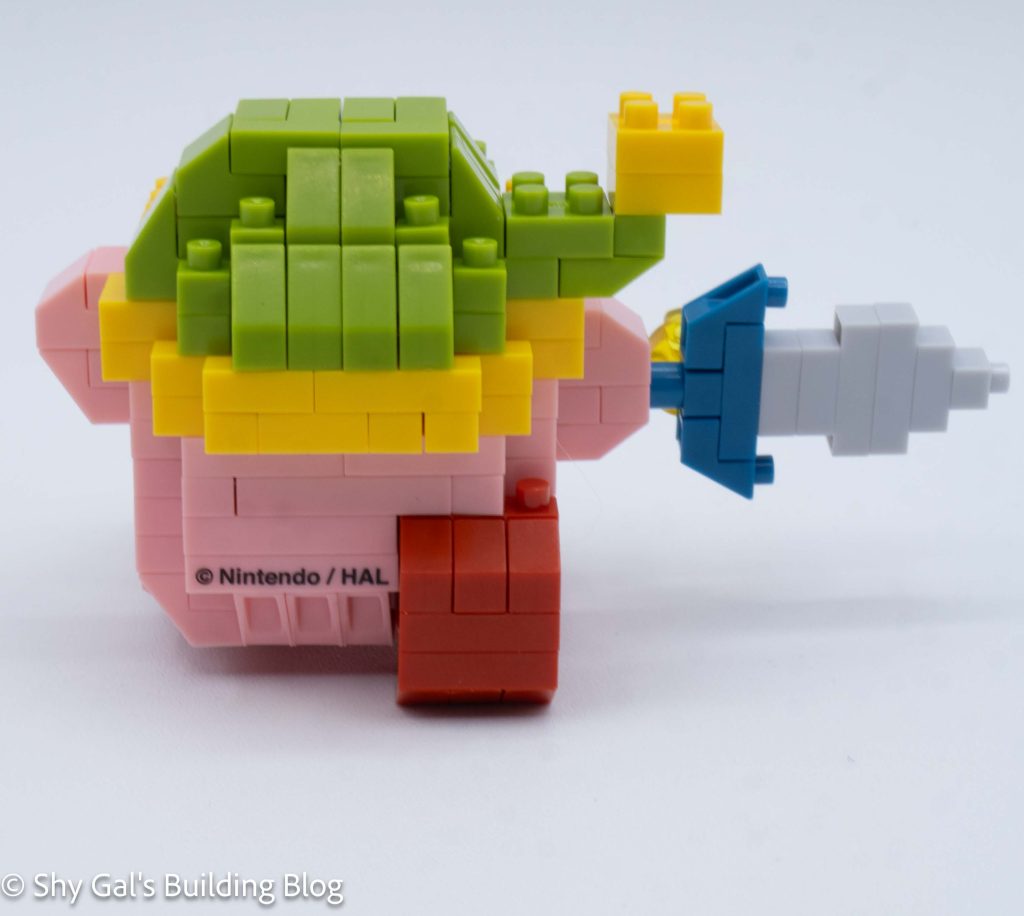
The following section is about building the green hat. First, a base of yellow is built around Kirby’s head. Then green is added, making smaller and smaller layers to close up the Kirby build. At the end, a yellow poof is added to the hat.
The next step is to build and attach Kirby’s feet. Since they are in an action pose, the legs aren’t identical.
The final step is to build the sword. The sword was very straightforward. Once the sword is built, it is placed in Kirby’s hand.
Things I liked:
- I really like how dynamic the pose is for Kirby. He really does appear to be midstep
Things I didn’t like:
- I feel that his hat still looks a bit chunky for how dynamic the rest of the pose is