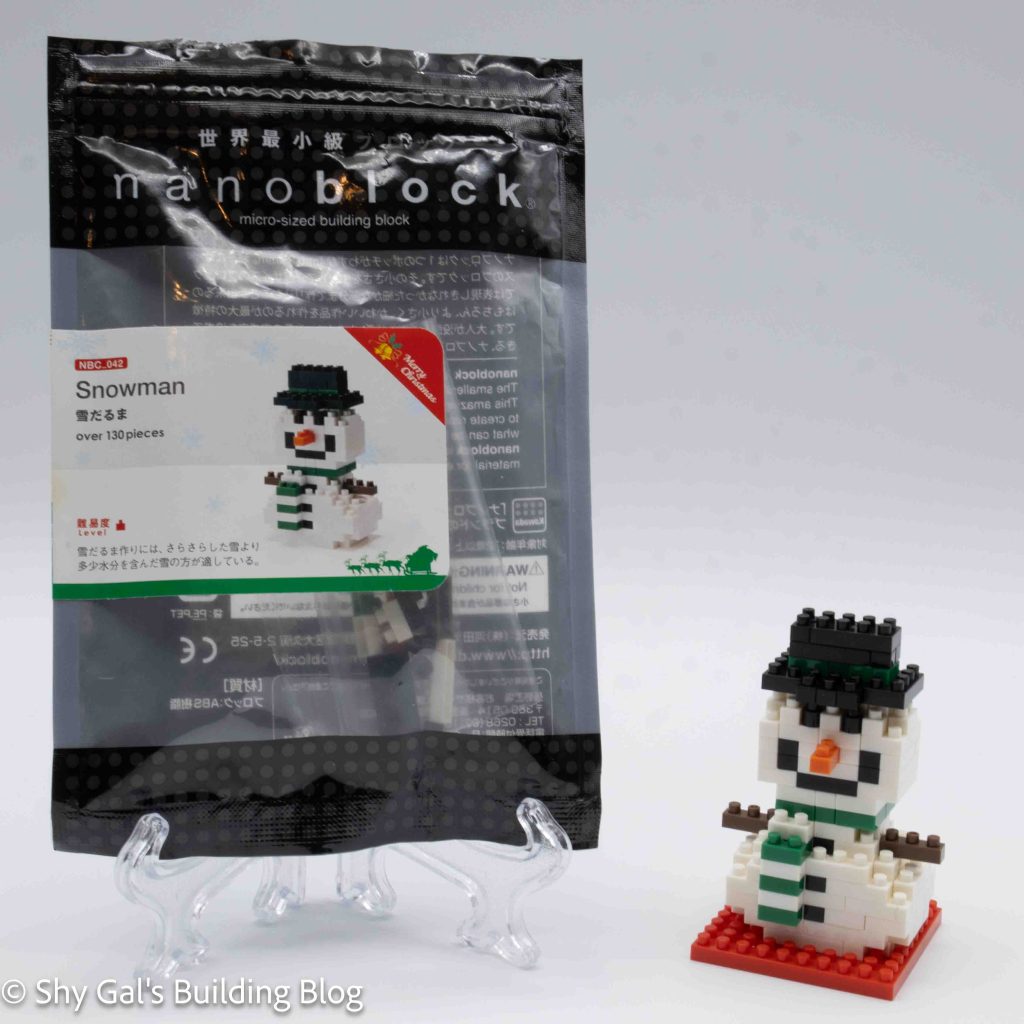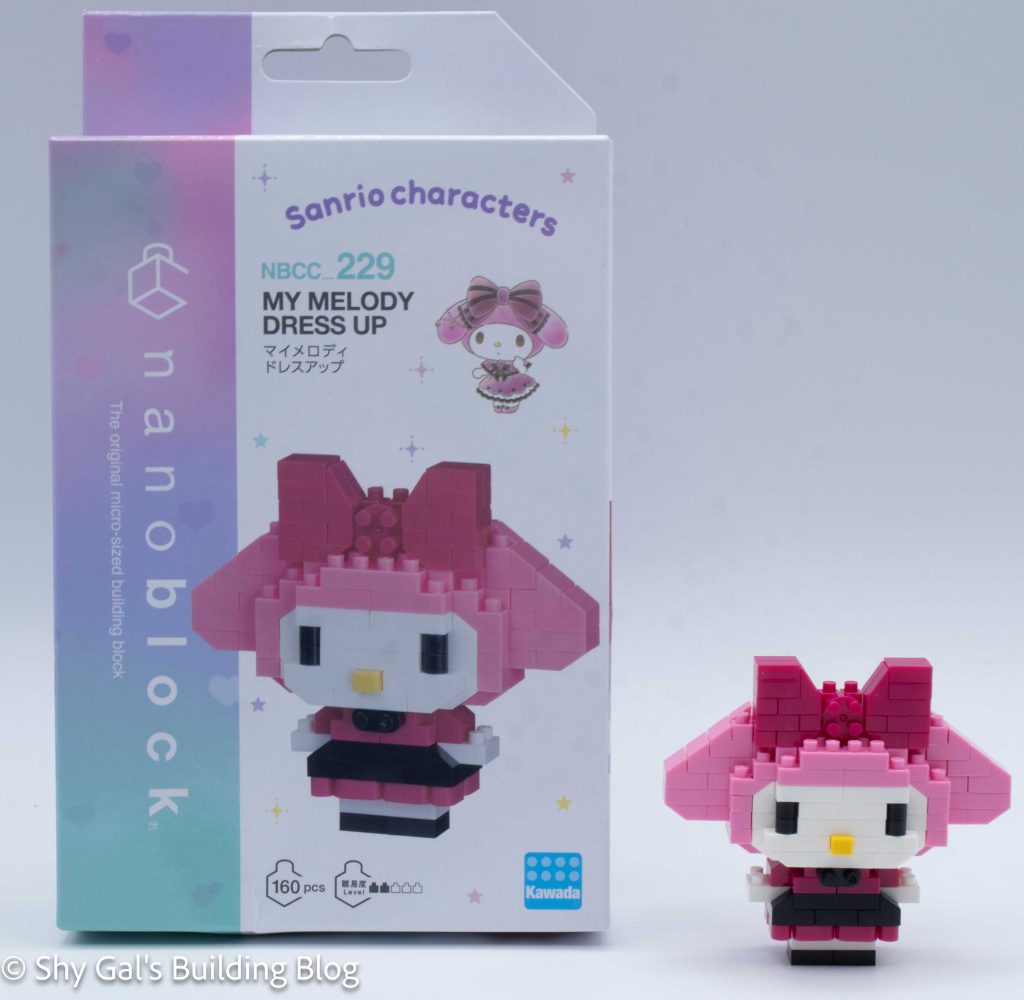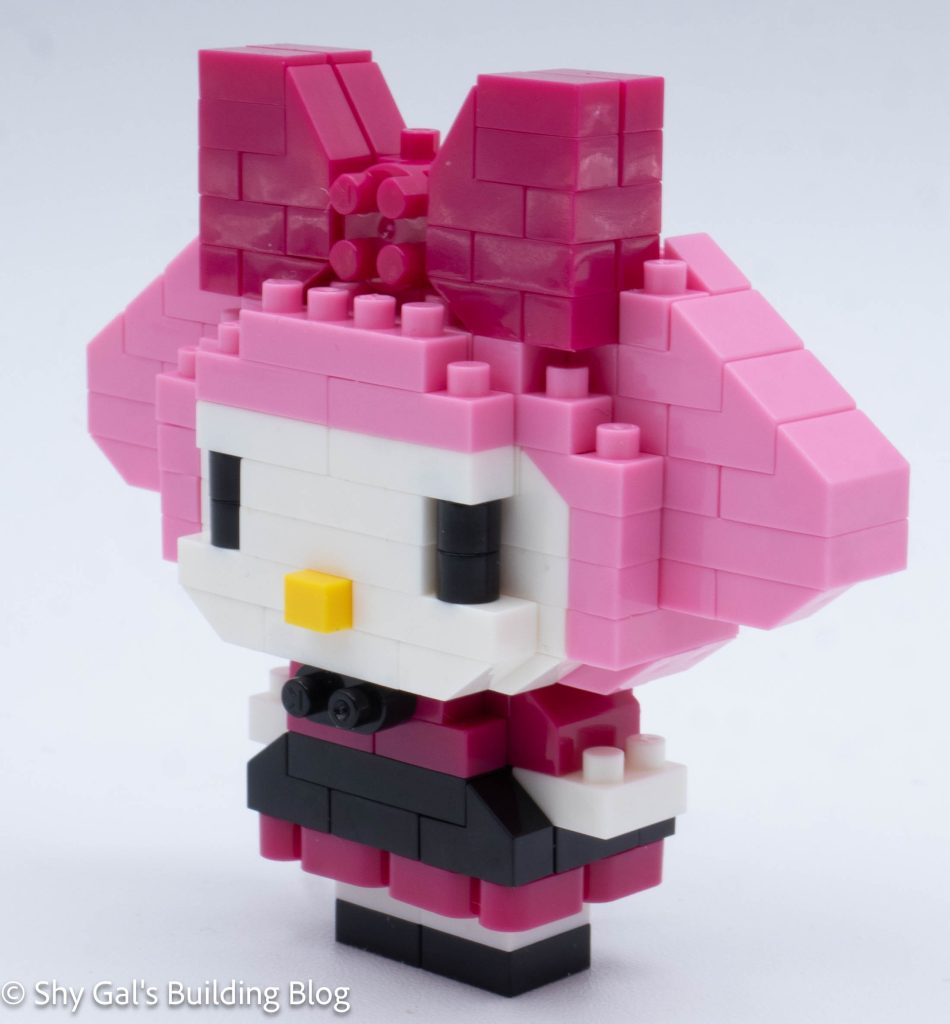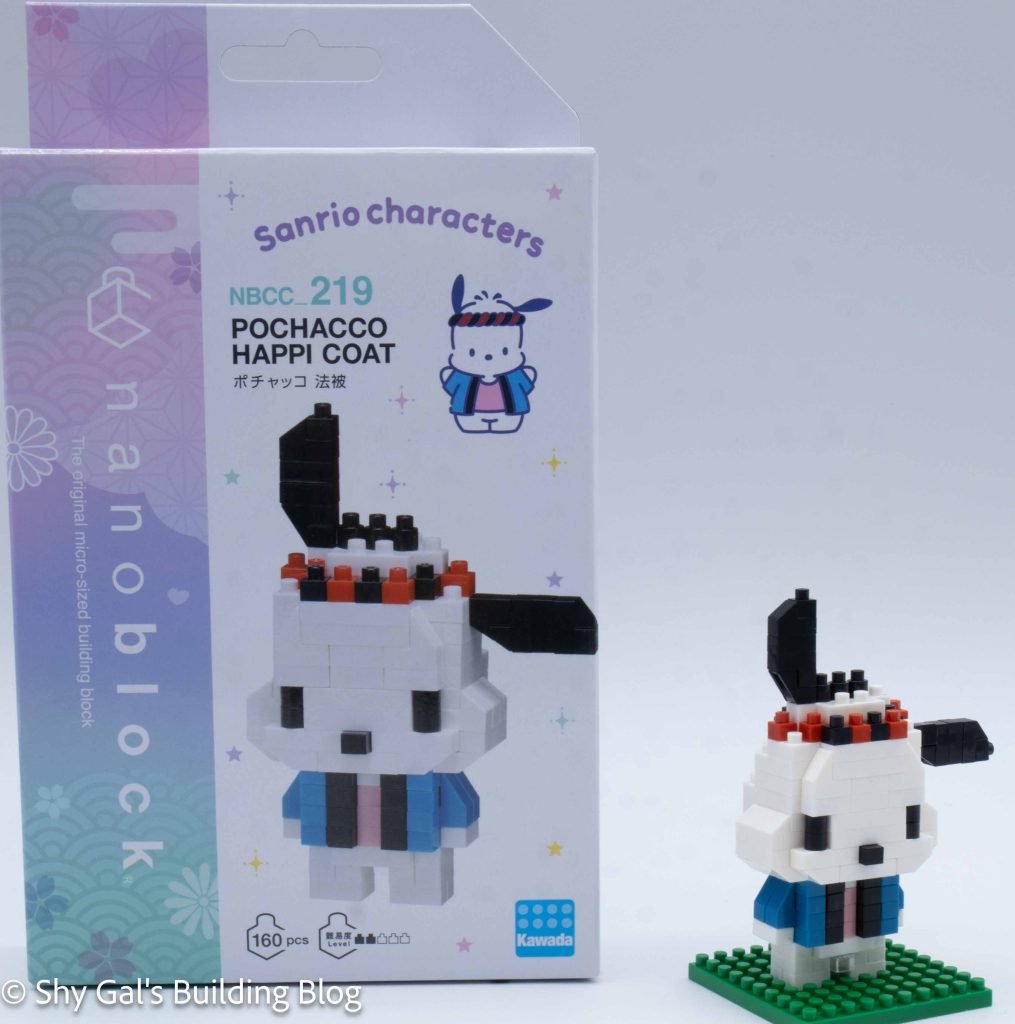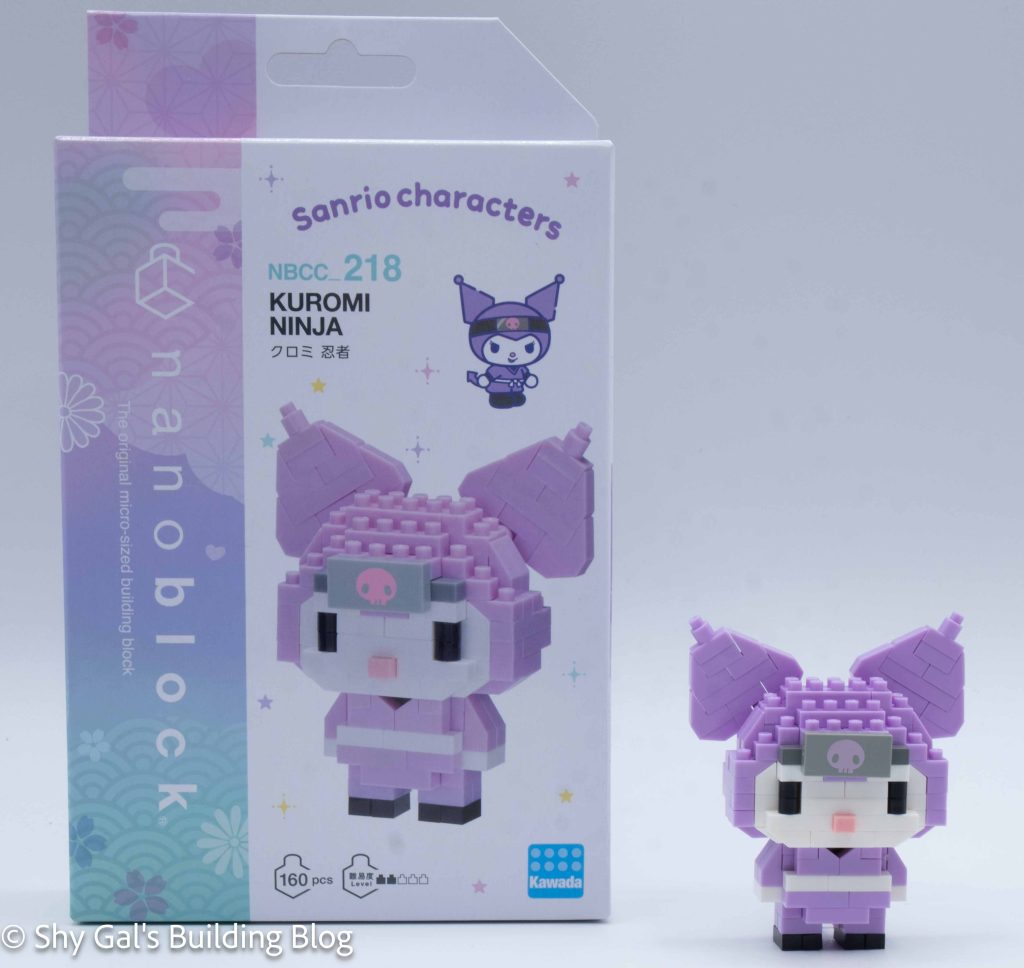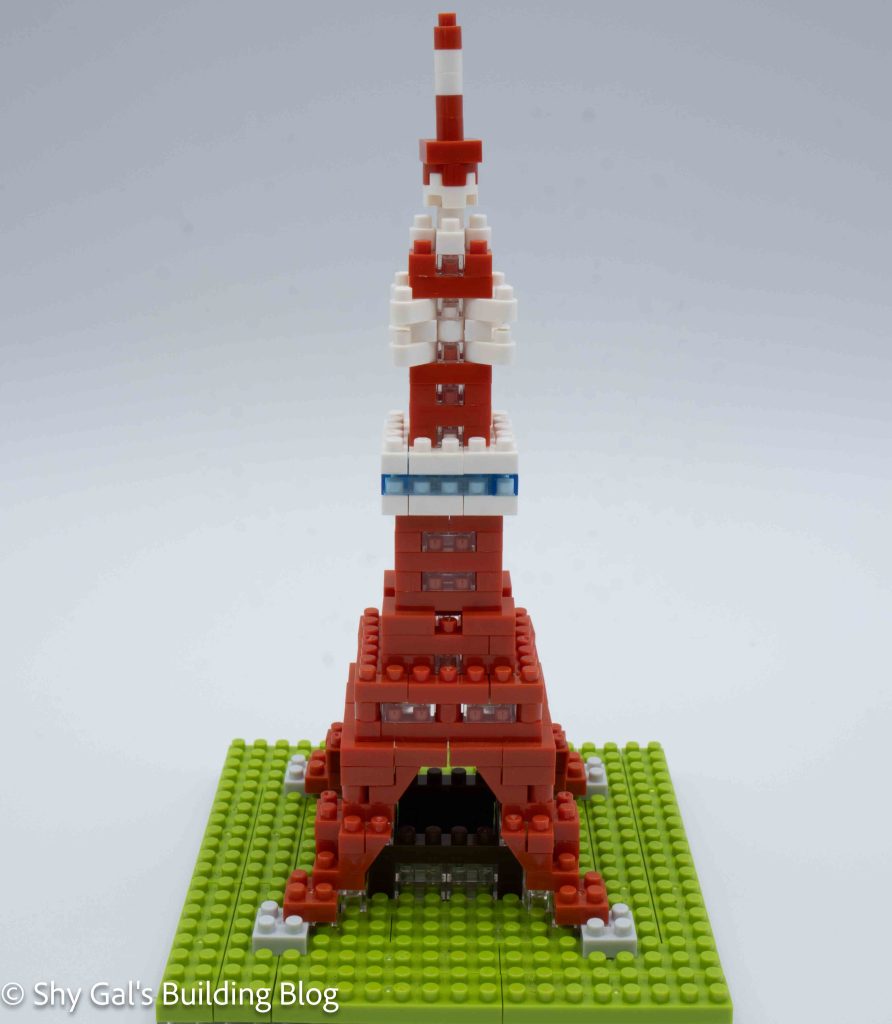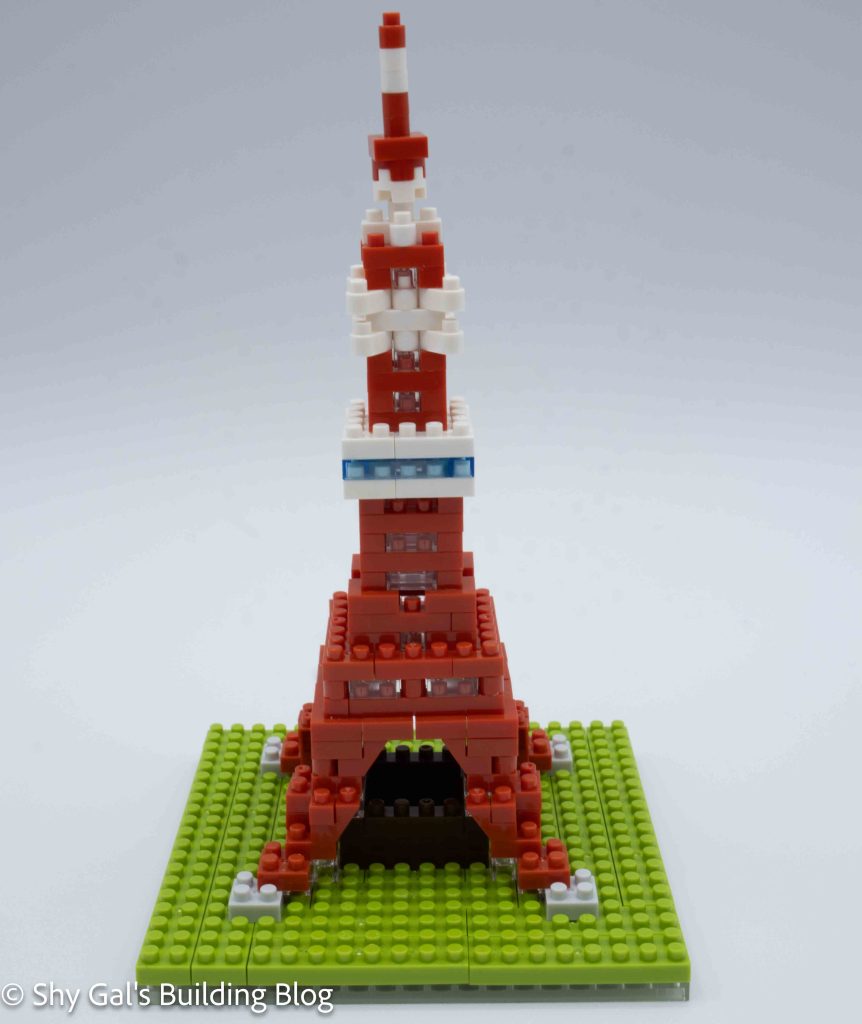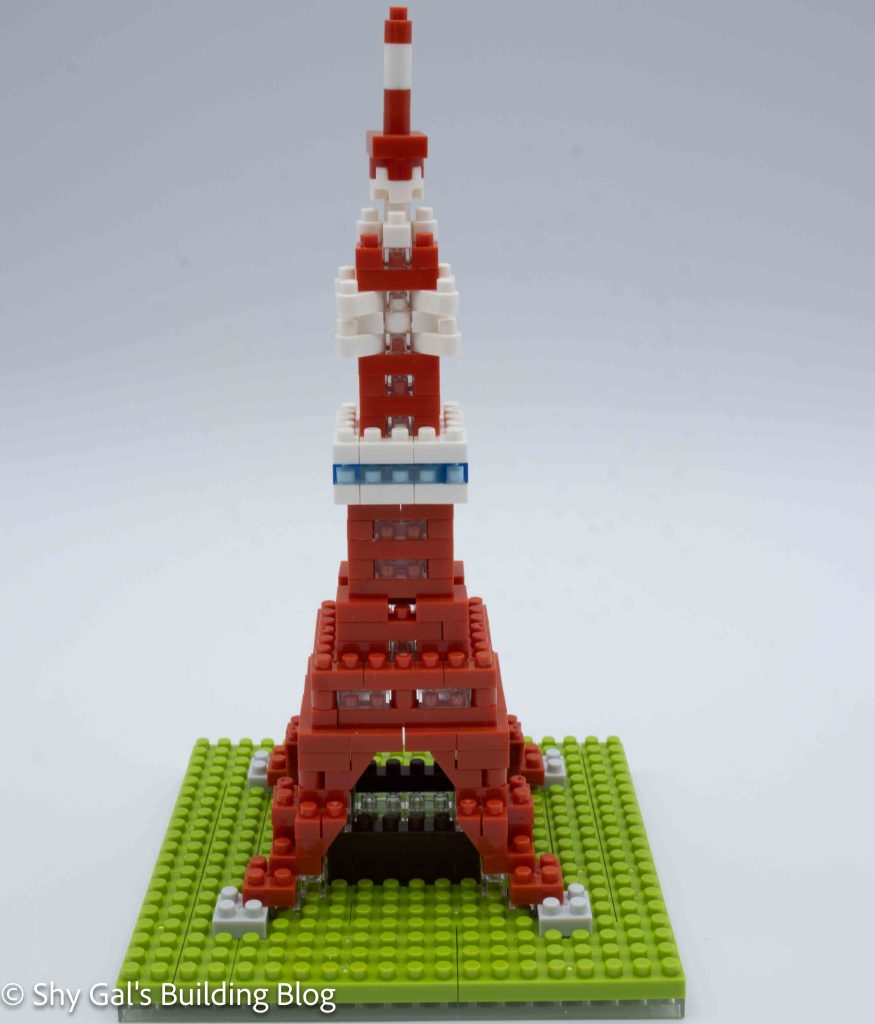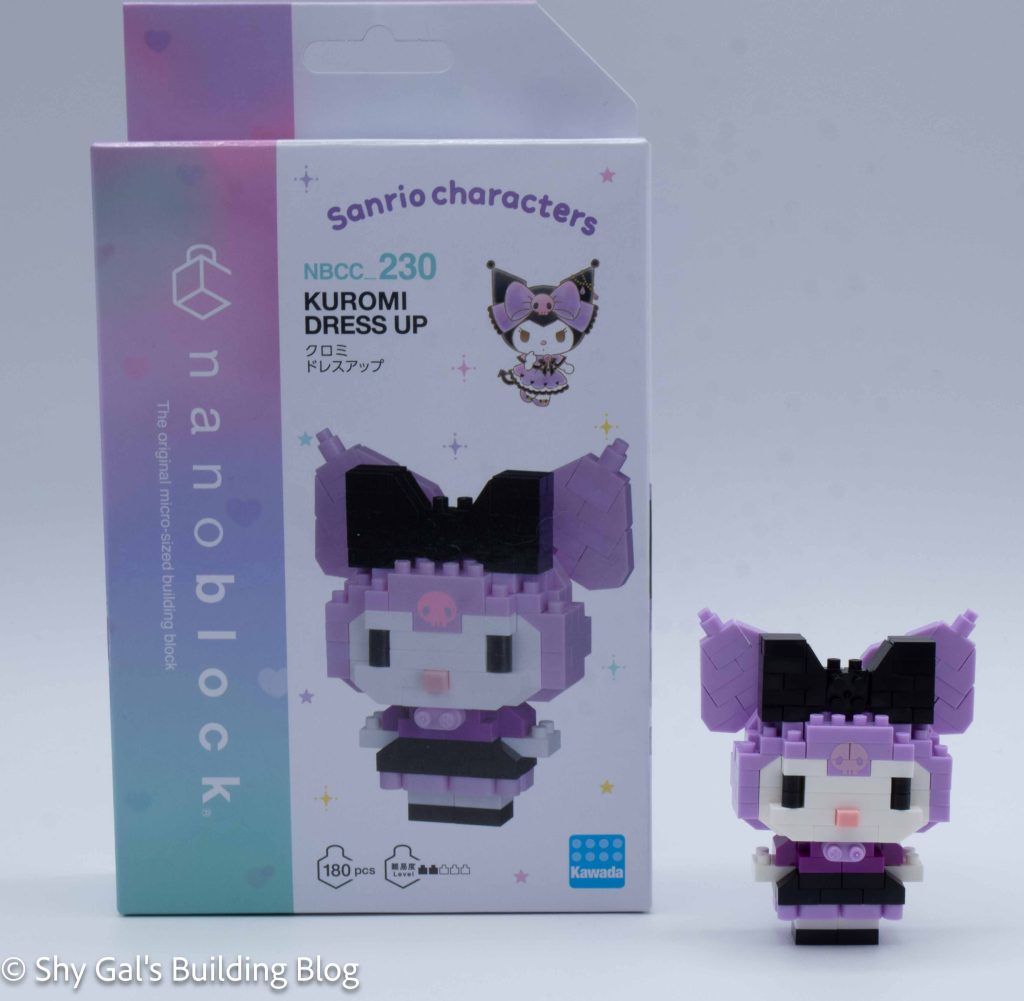
This post is a review of the nanoblock Kuromi Dress Up build. Kuromi Dress Up is part of the nanoblock Character collection. Wondering what else is part of the Character collection? Click here for a list.
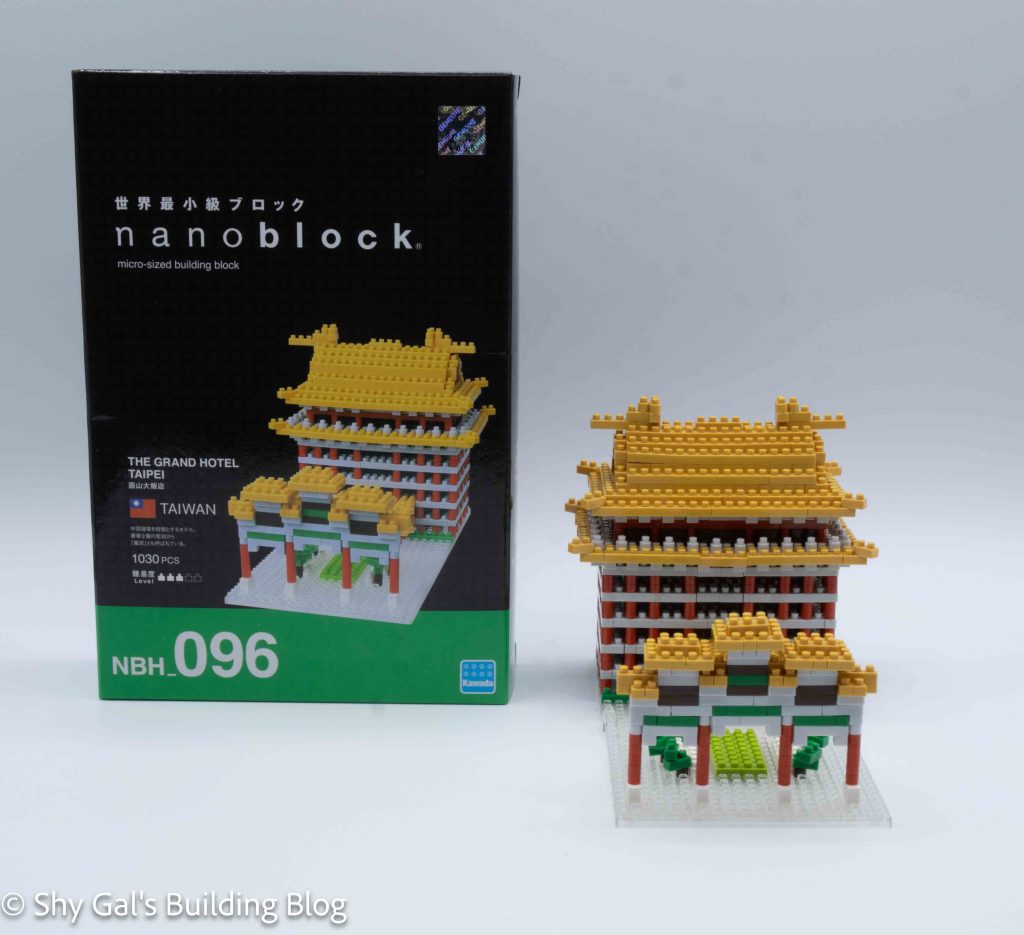
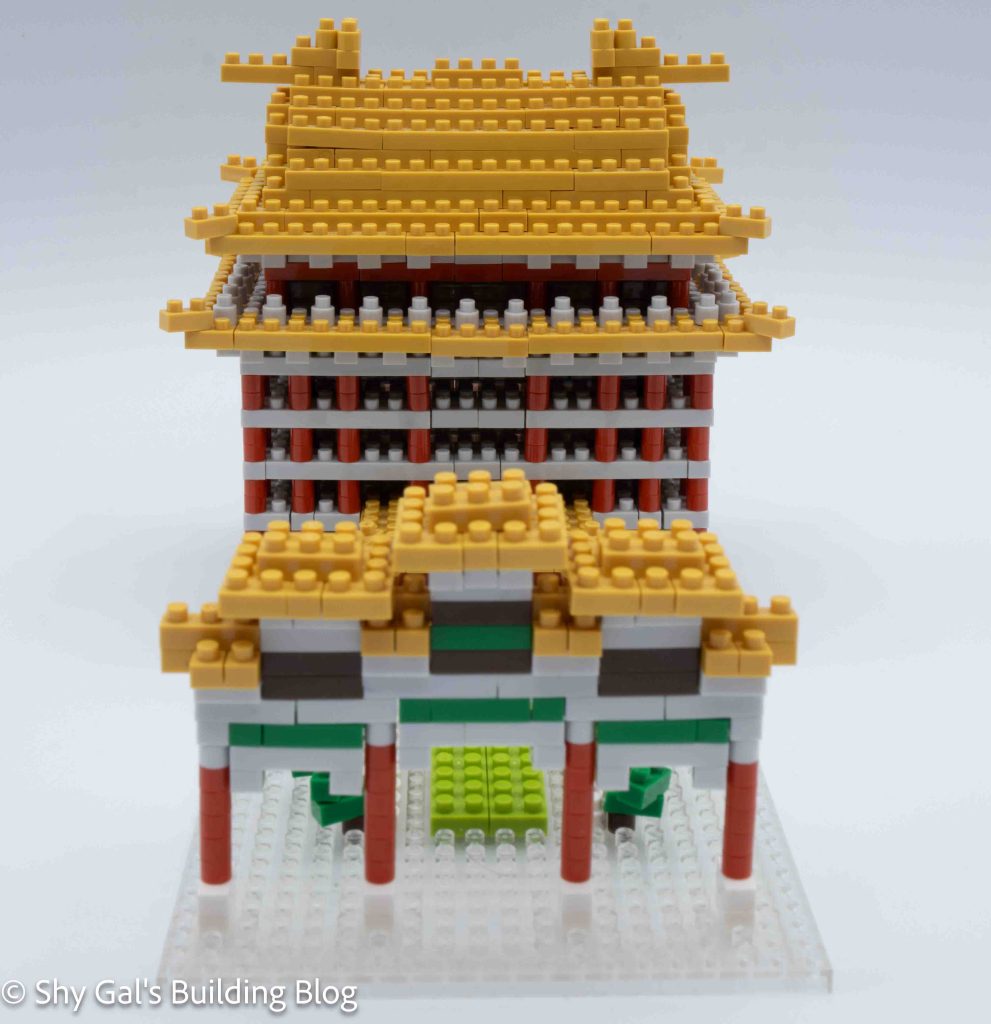
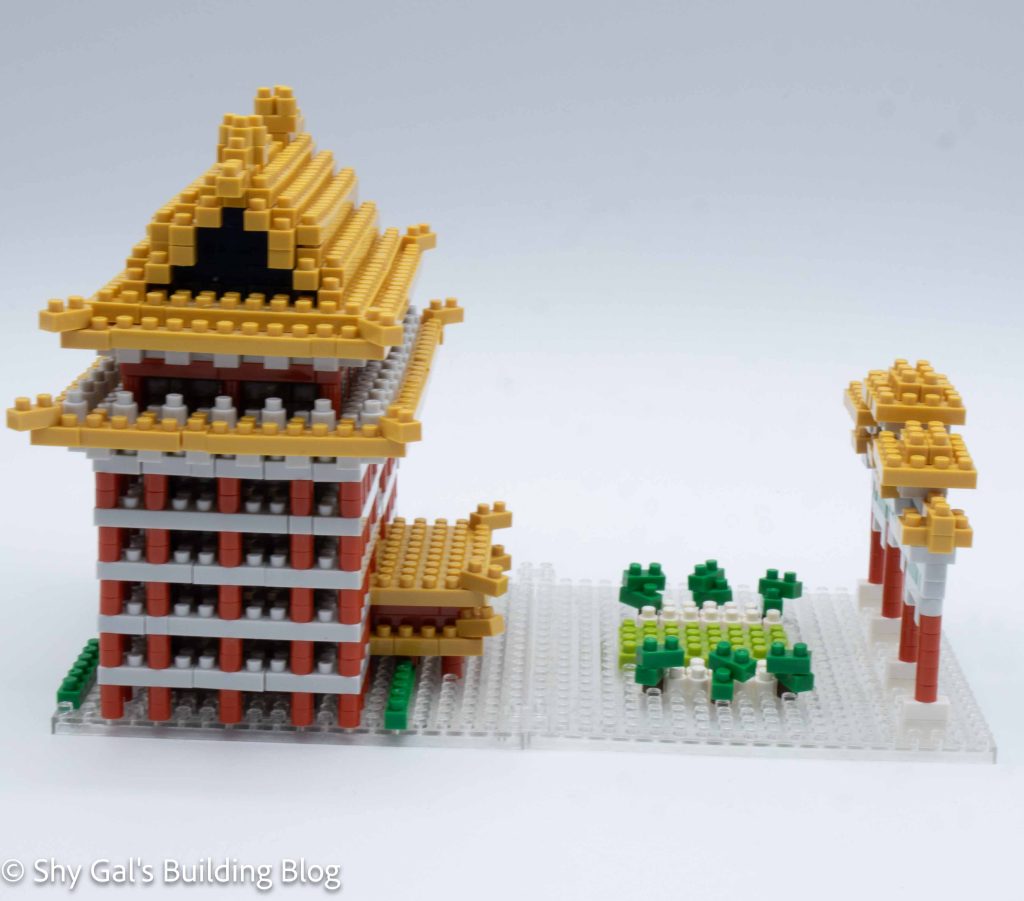
Number: NBCC_230
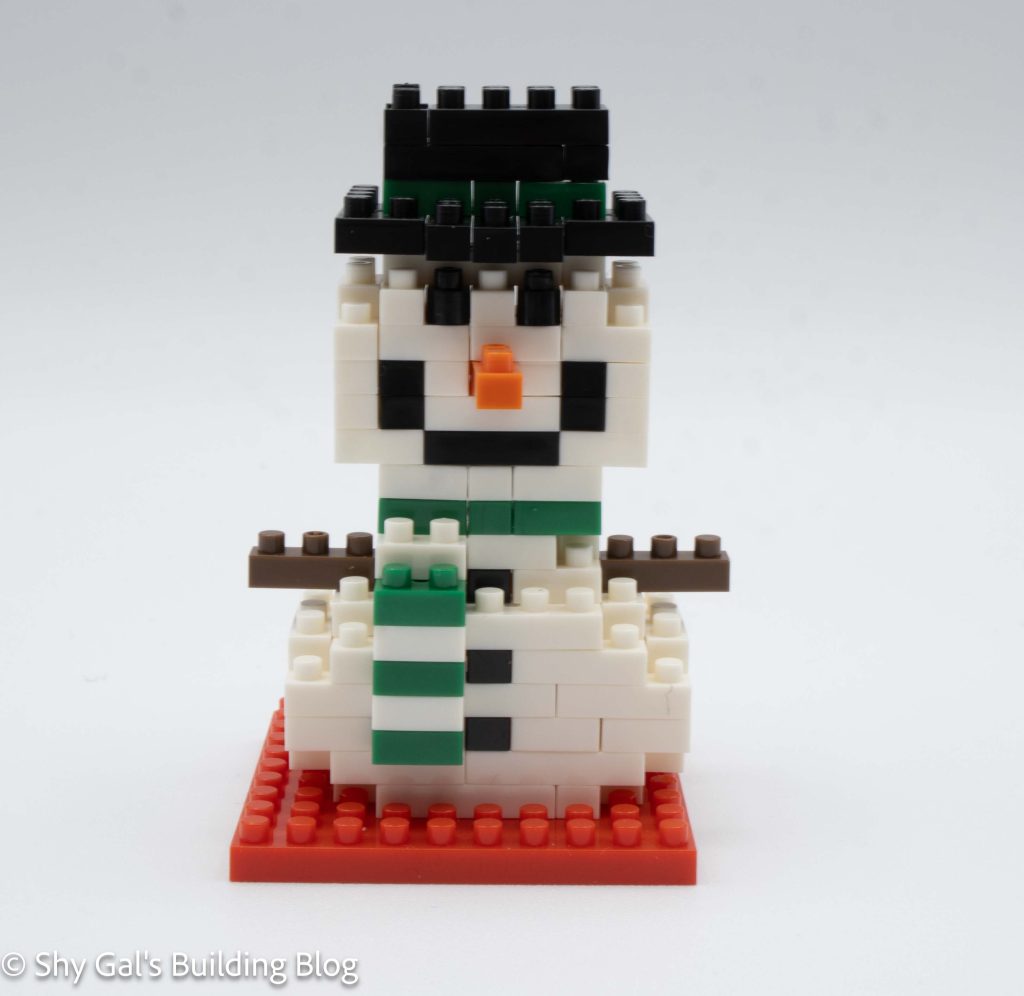
Number of Pieces: 180
Difficulty Rating: 2/5
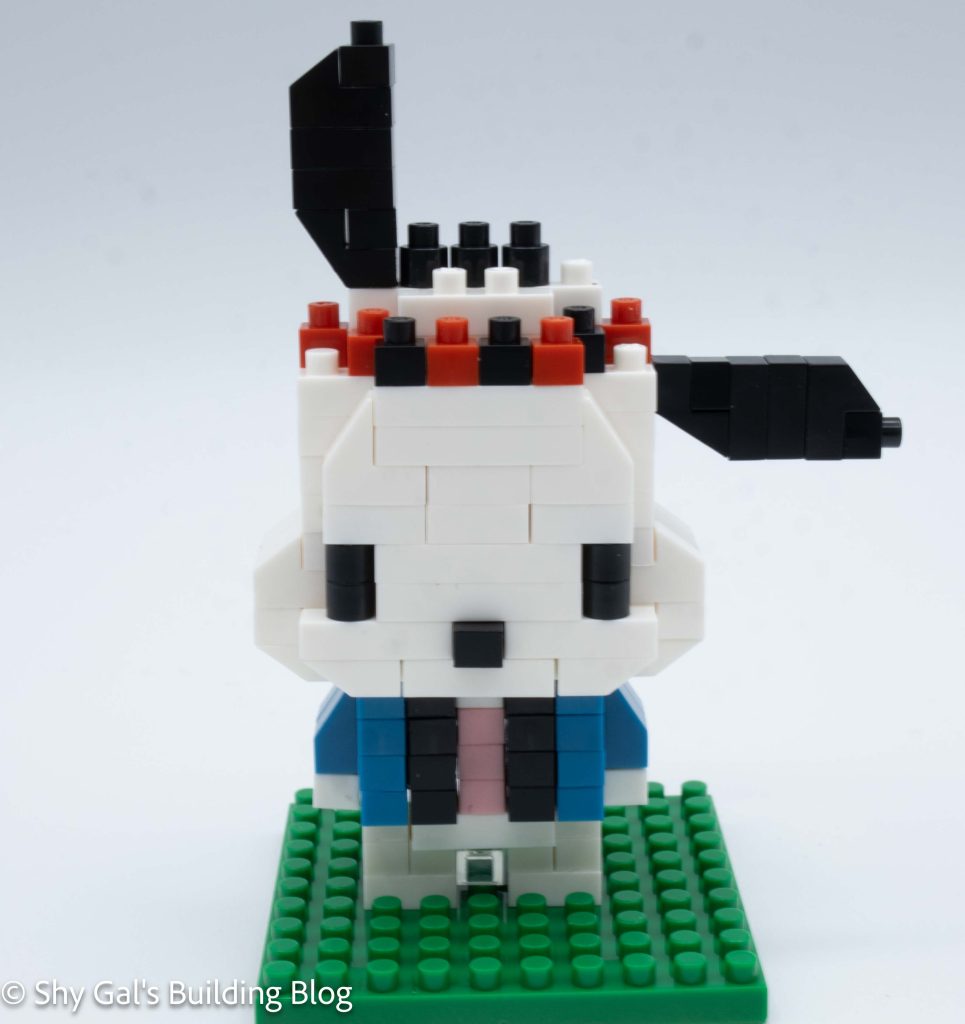
This build is made up of 2 sections. There is the head and the body.
The head begins by taking 6 steps to create the base 2 layers of the head.
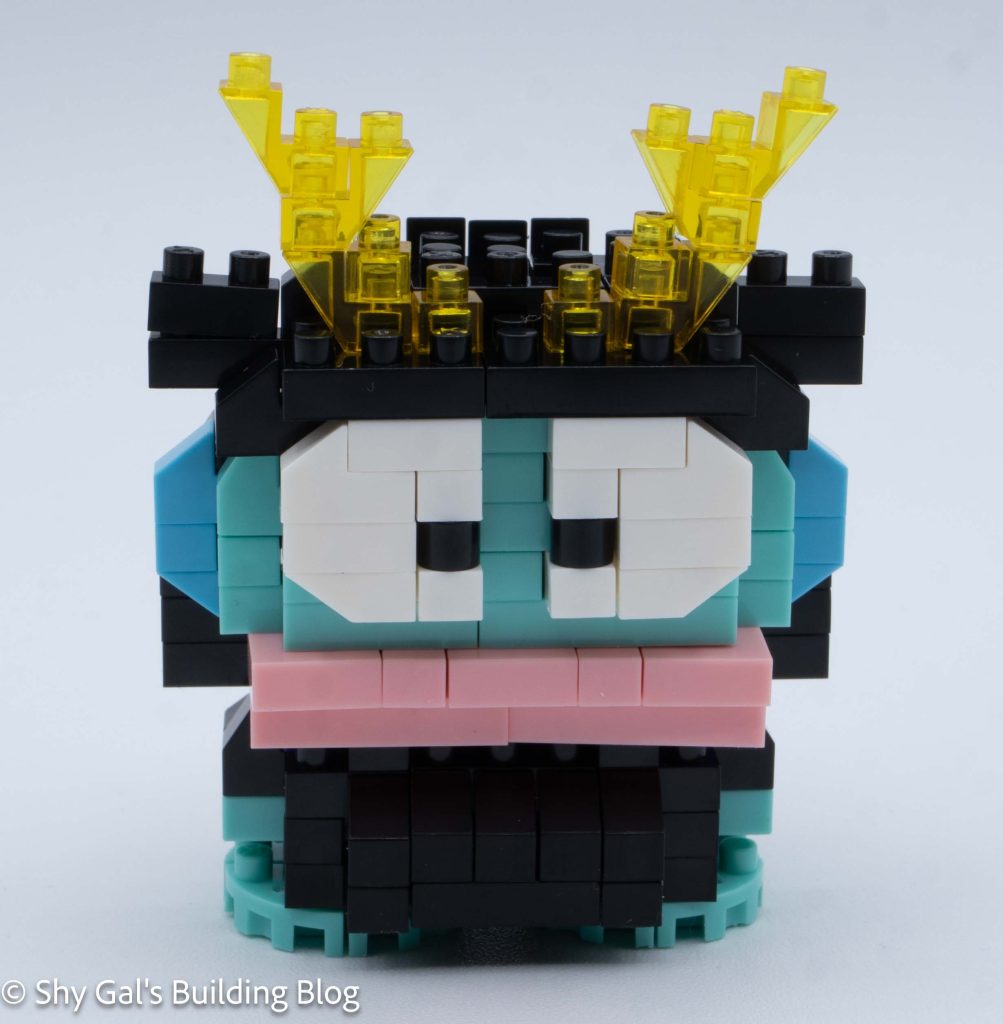
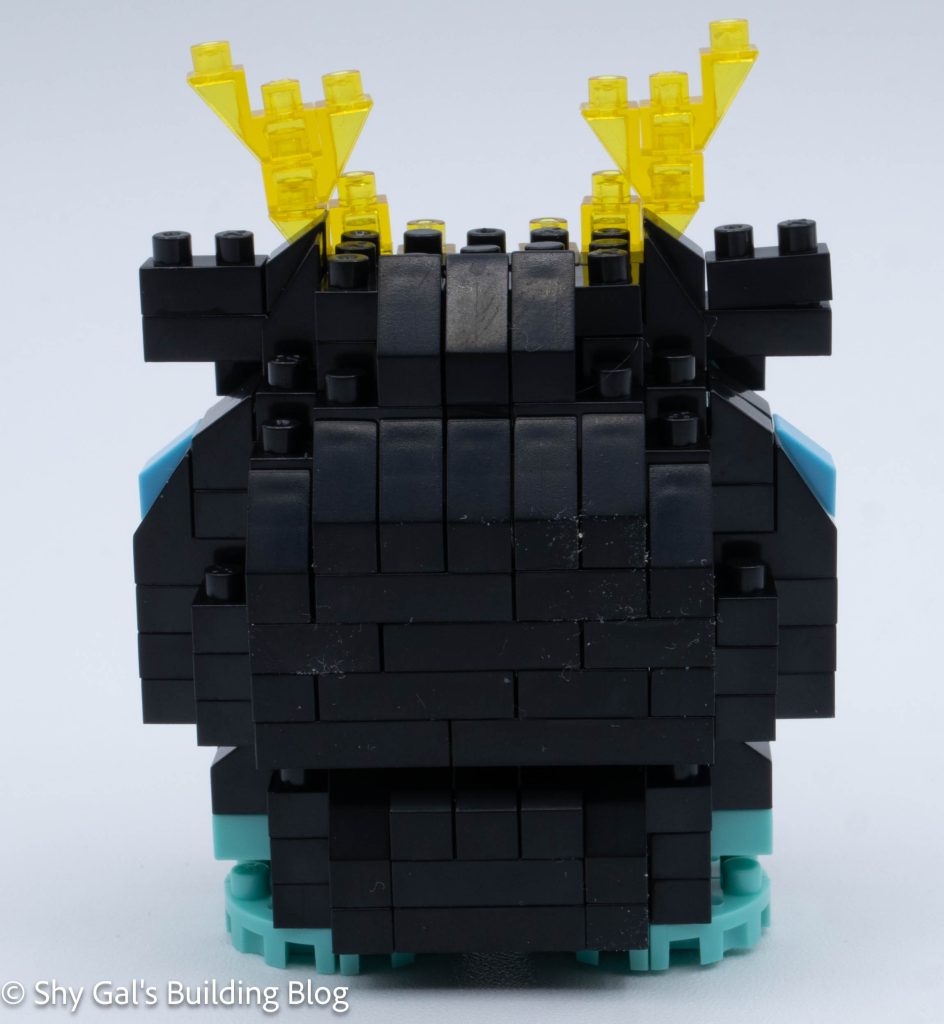
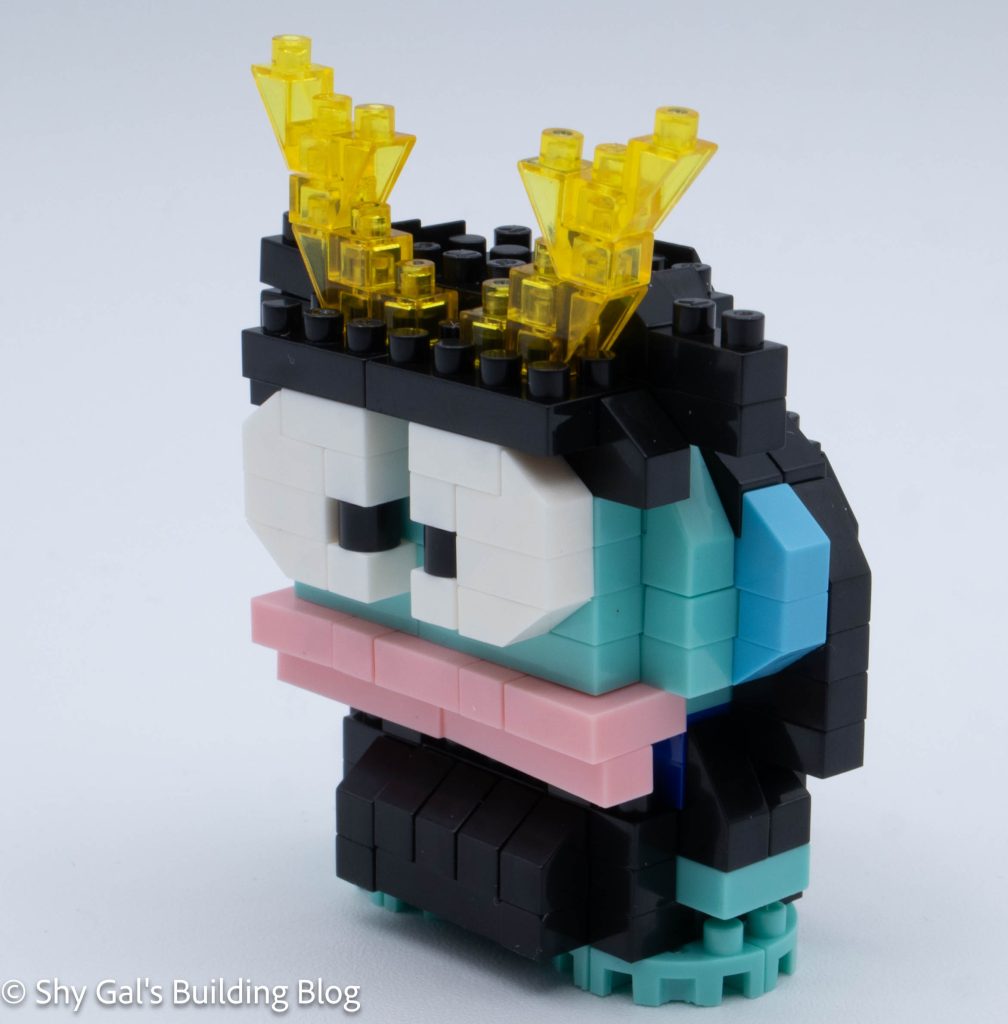
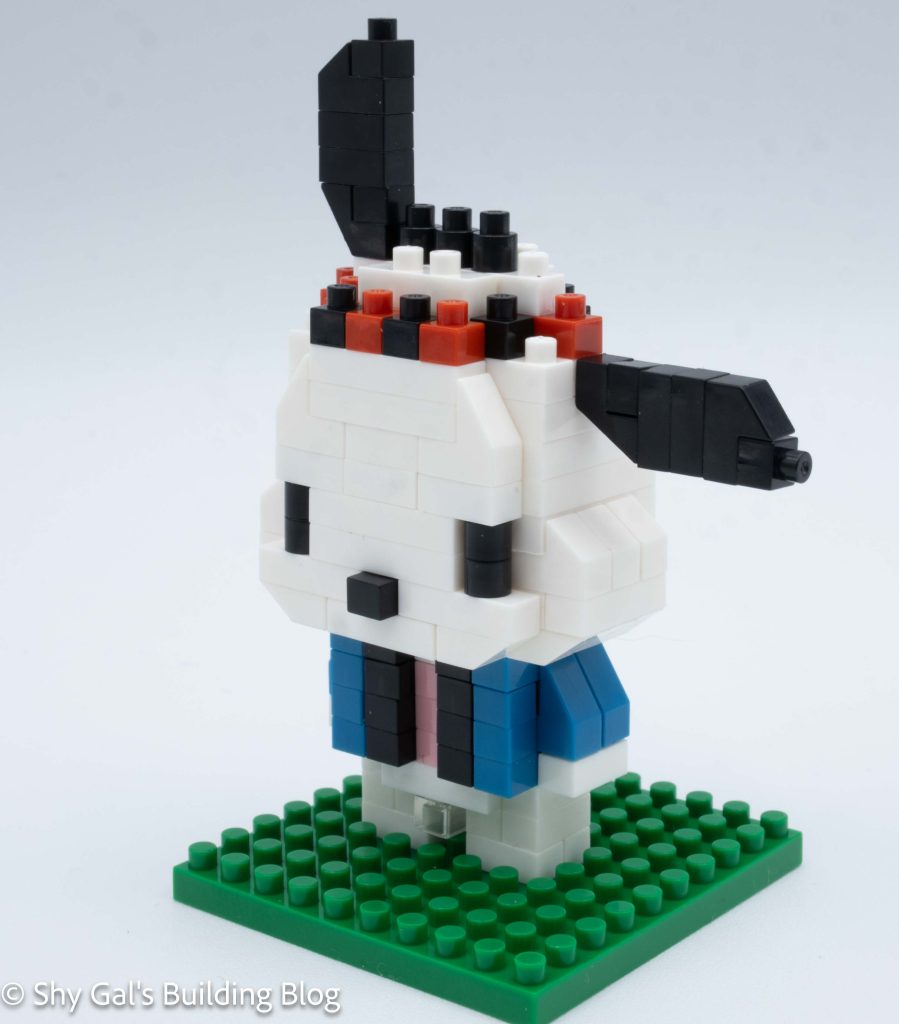
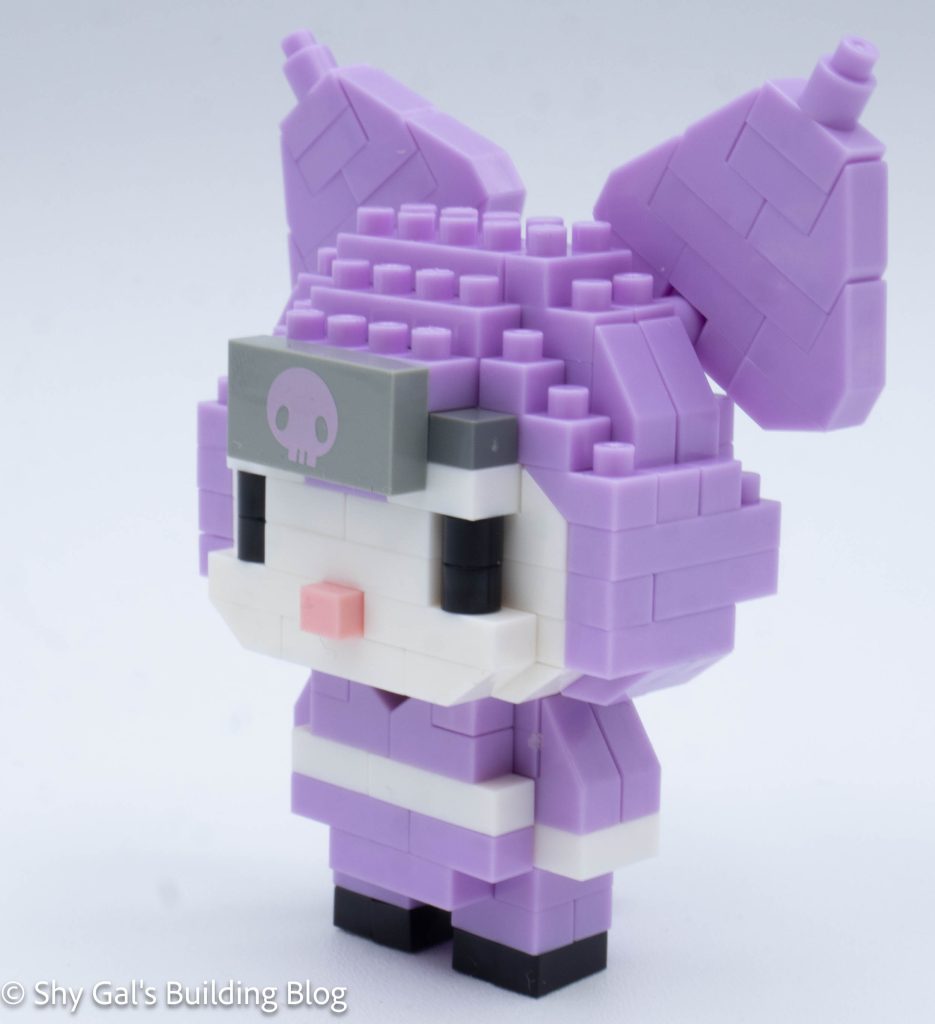
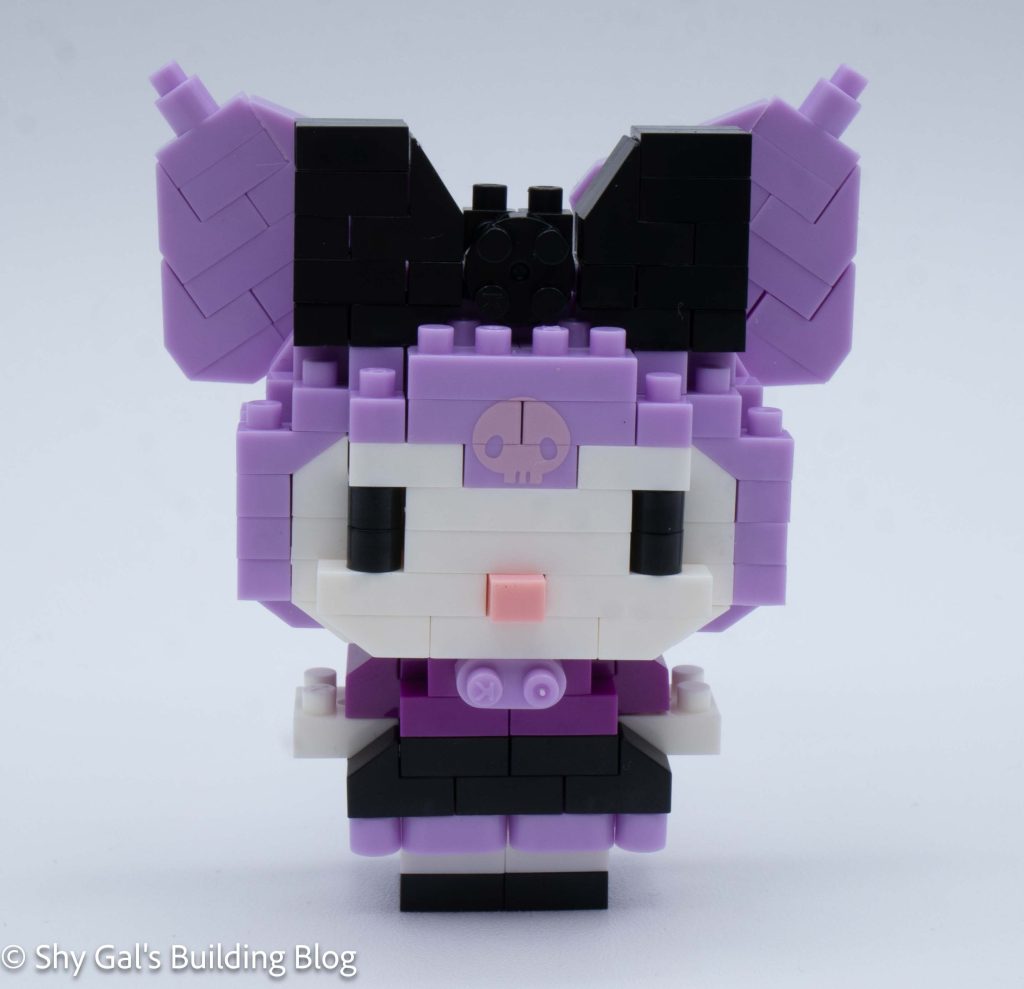
After building the base, the head goes up in layers that are straightforward. A hole is left so that the printed piece can be dropped into place right in front.
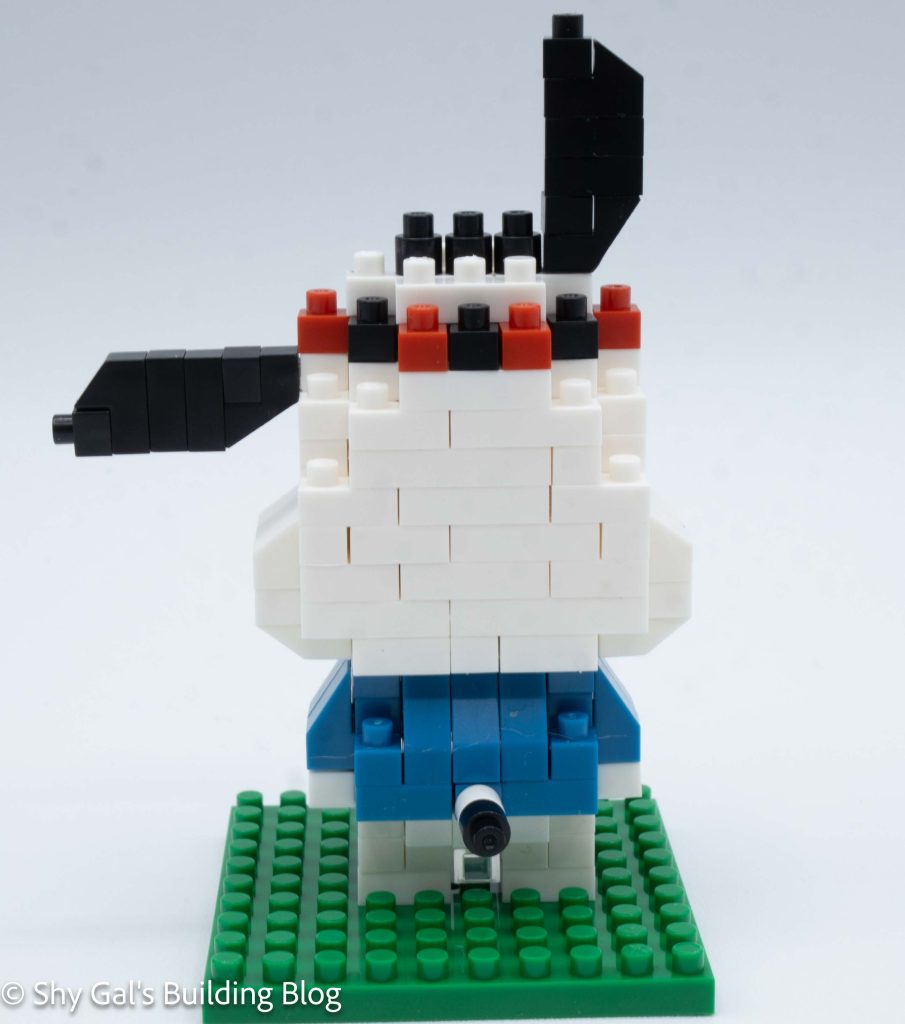
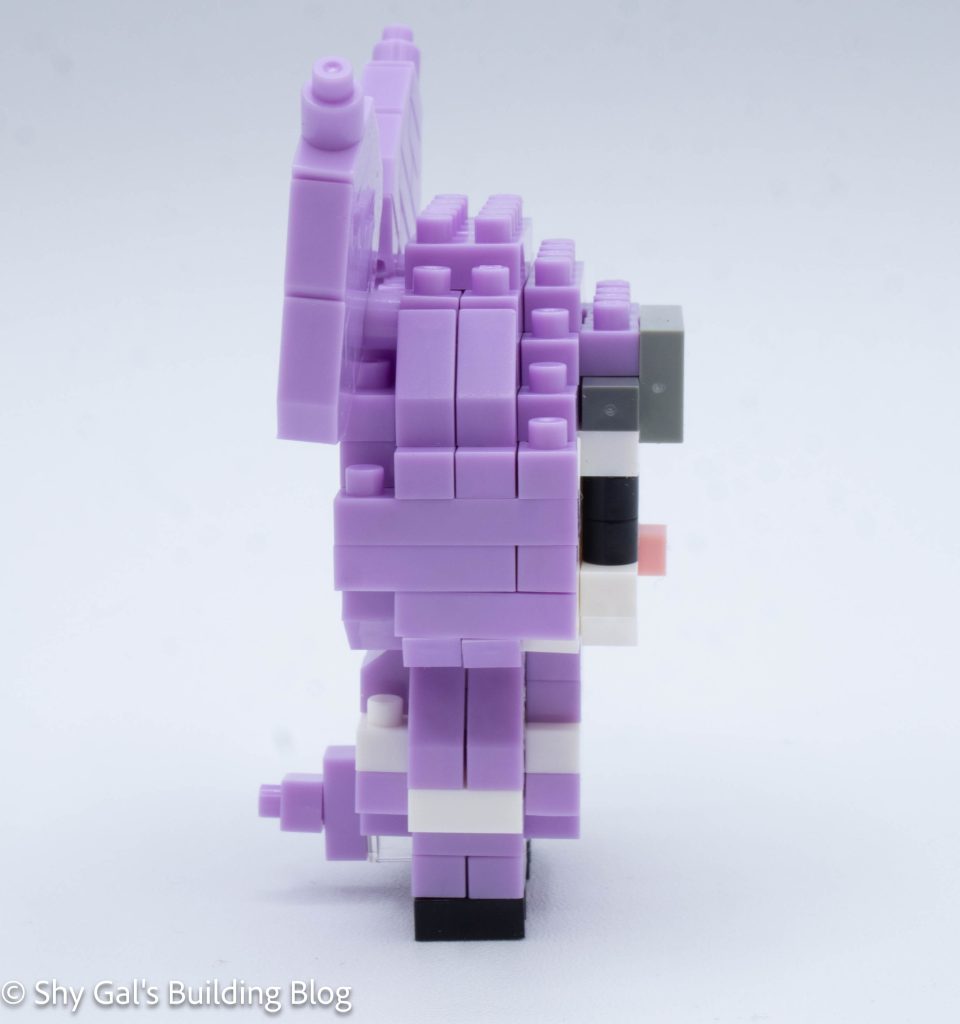
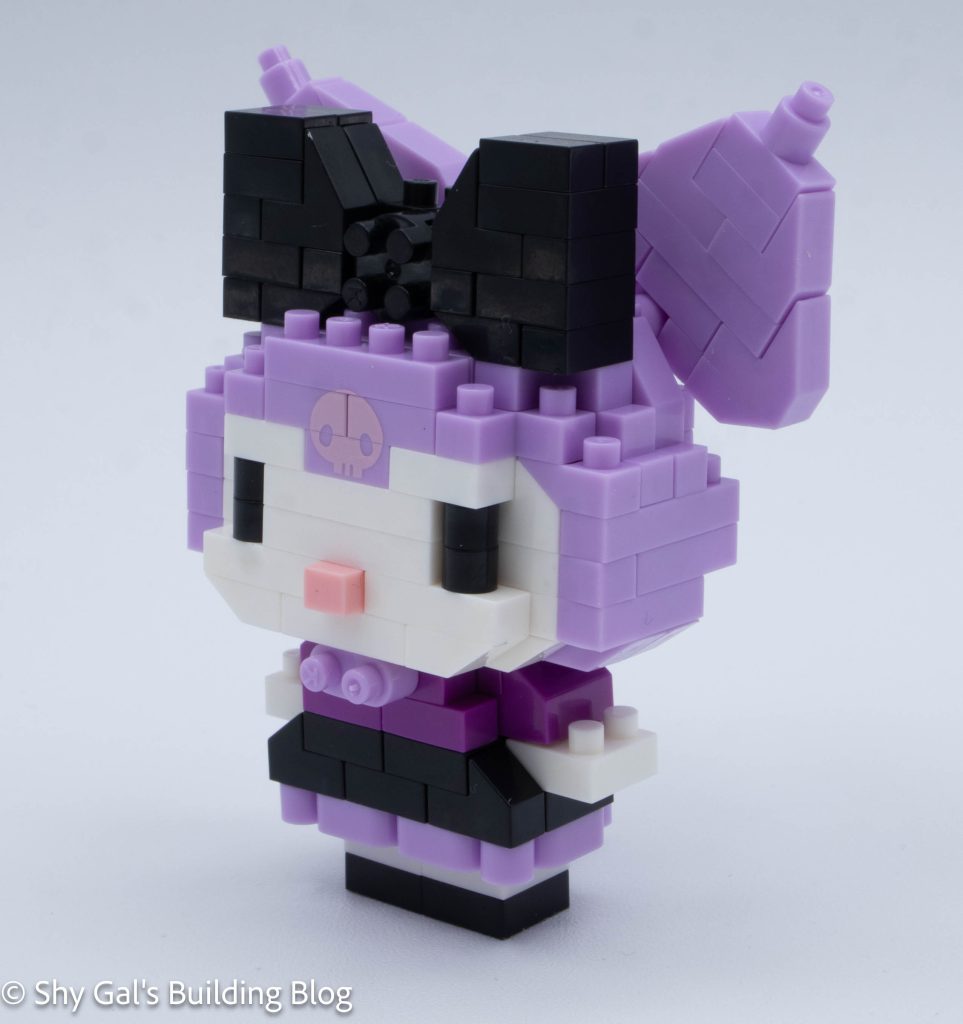
The head continues in layers, and eventually, I began the bow. After building the sides of the bow, I added the center of the bow.

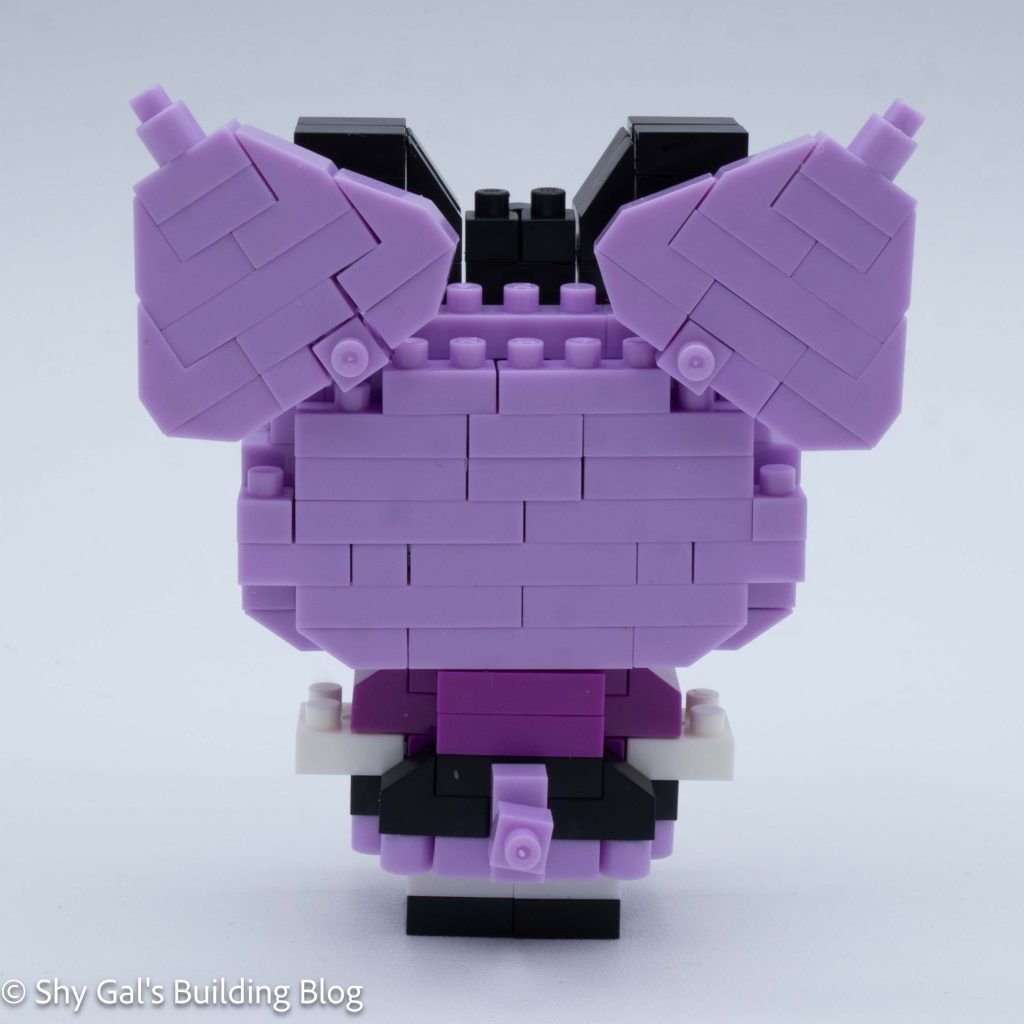
After finishing the bow, I flipped the head over and added the bottom of the head.
The final step of the head is to add a small brick that acts as a bow around Kuromi’s neck.
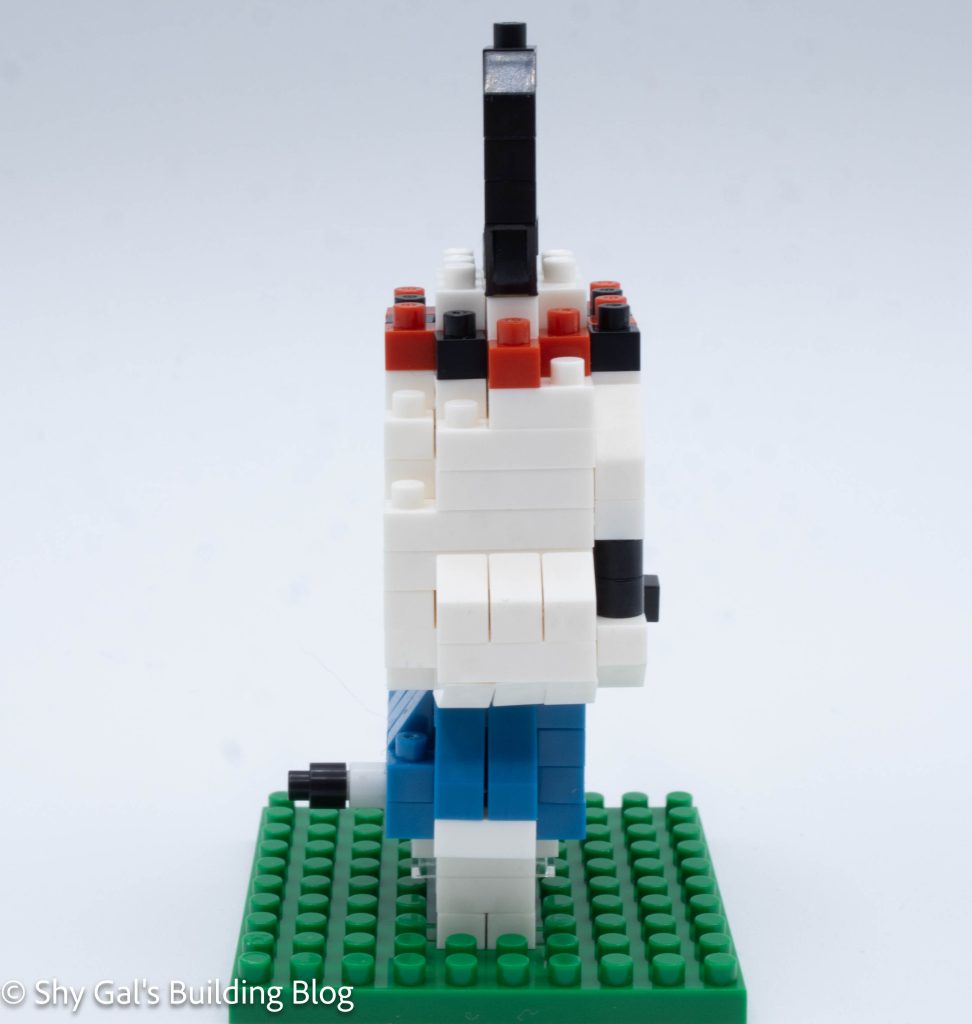
I began the body by laying the base layer out on my nanoblock pad. Bricks were added to the side over the next few steps.
Once I attached bricks to the back of the body. I stopped using my nanoblock pad because the studs didn’t line up.
The rest of the body goes up in straightforward layers.
Then I flipped the body over and added the legs and tail.
Next, attach the head to the body.
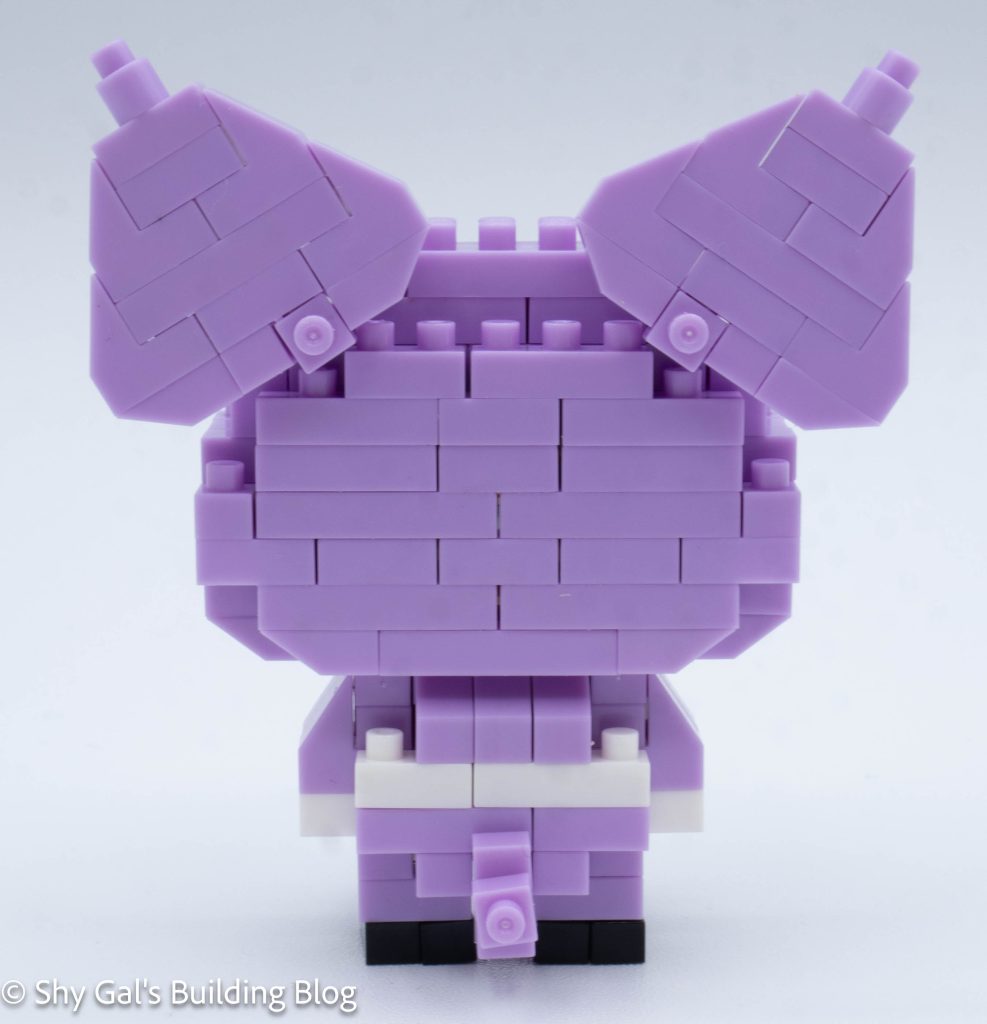
The final step is to build 2 identical ears and attach them to Kuromi’s head.
Things I liked:
- I really like that the skull on her hood is printed
Things I didn’t like:
- I don’t love how the purples look together