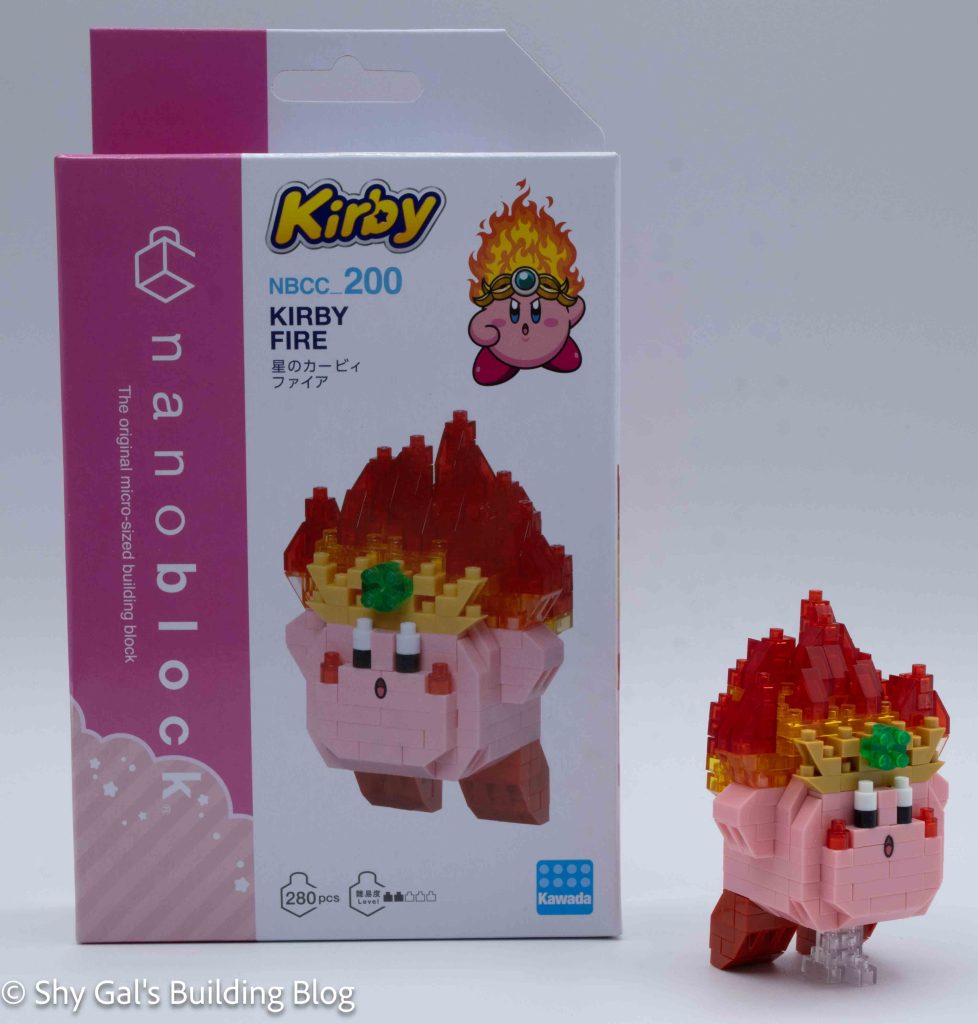
This post is a review of the nanoblock Kirby Fire build. Kirby Fire is part of the nanoblock Character collection. Wondering what else is part of the Character collection? Click here for a list.
Number: NBCC_200
Number of Pieces: 280
Difficulty Rating: 2/5
This build begins with creating the base for Kirby. There are gaps in the back where the feet will go.
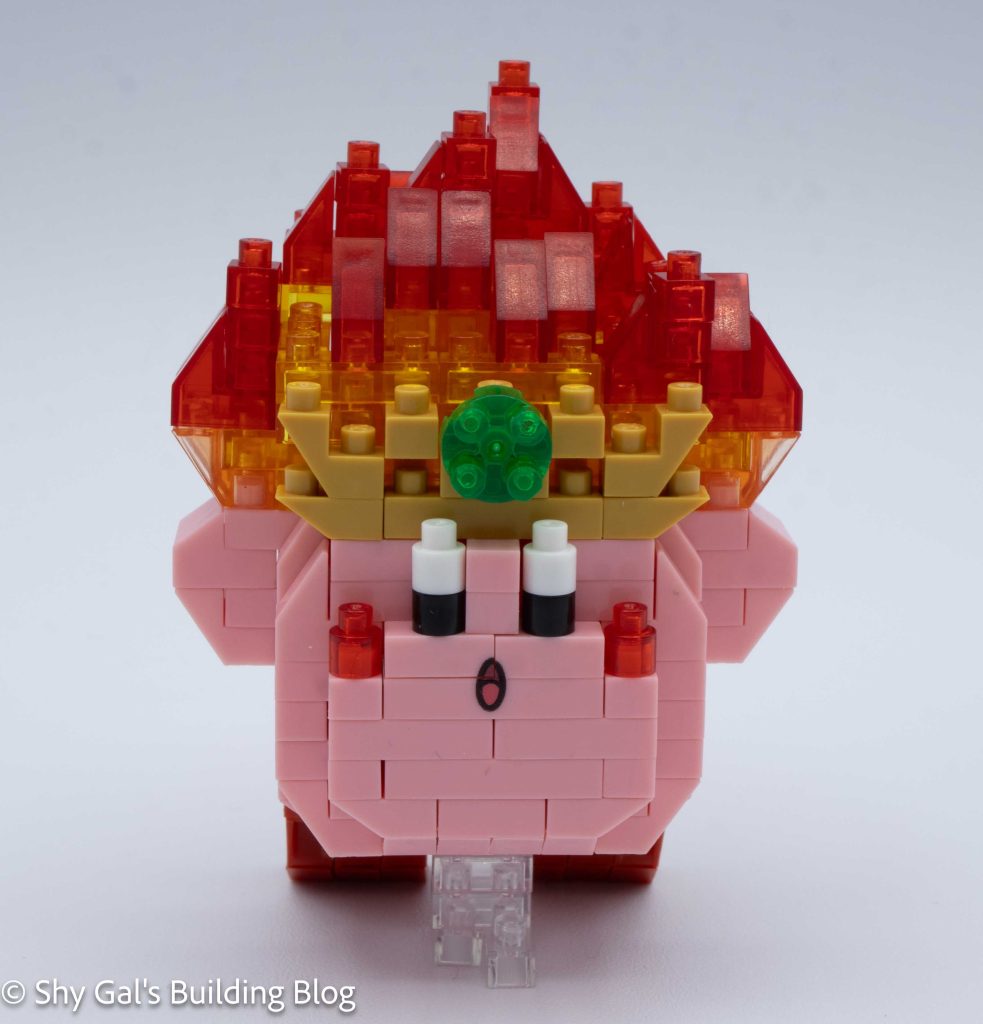
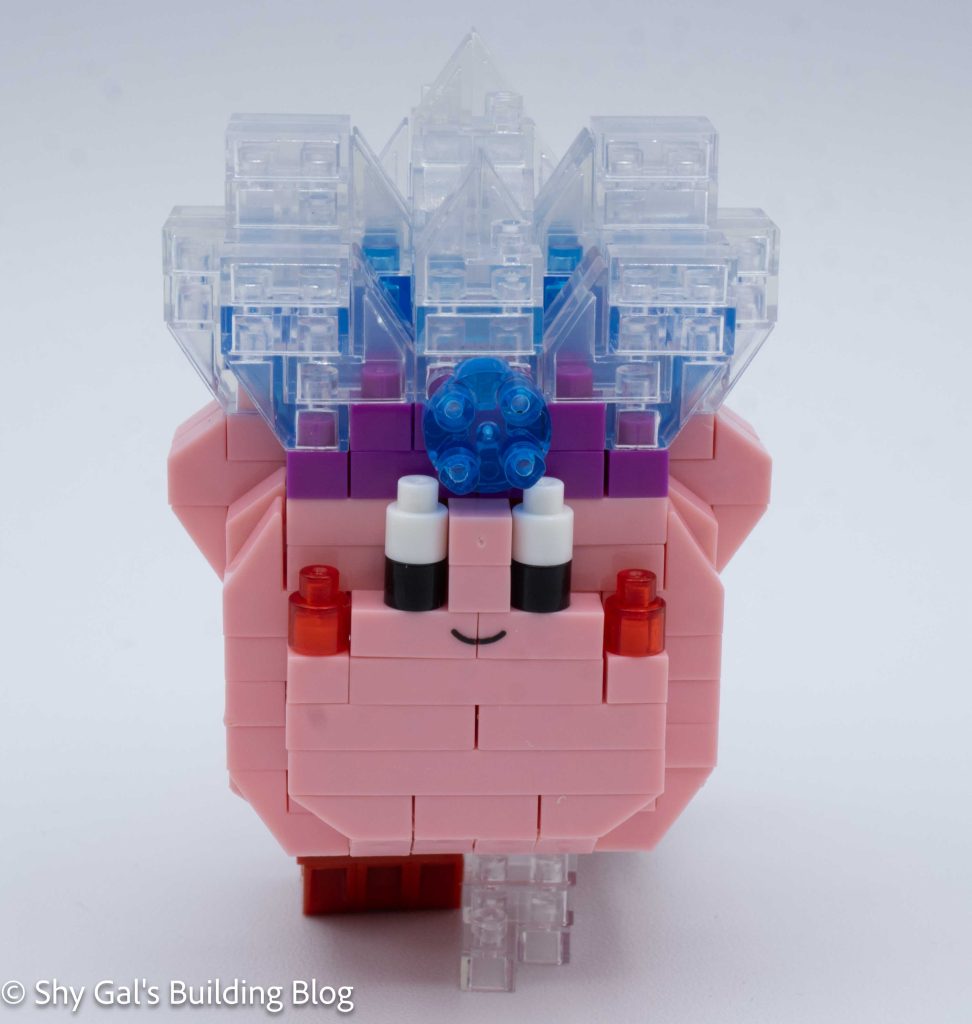
After the base is created, the main body of Kirby is built. These steps use the custom-printed blocks, which I much prefer to stickers. In the steps to make the body, you also add Kirby’s arms, cheeks, and eyes.
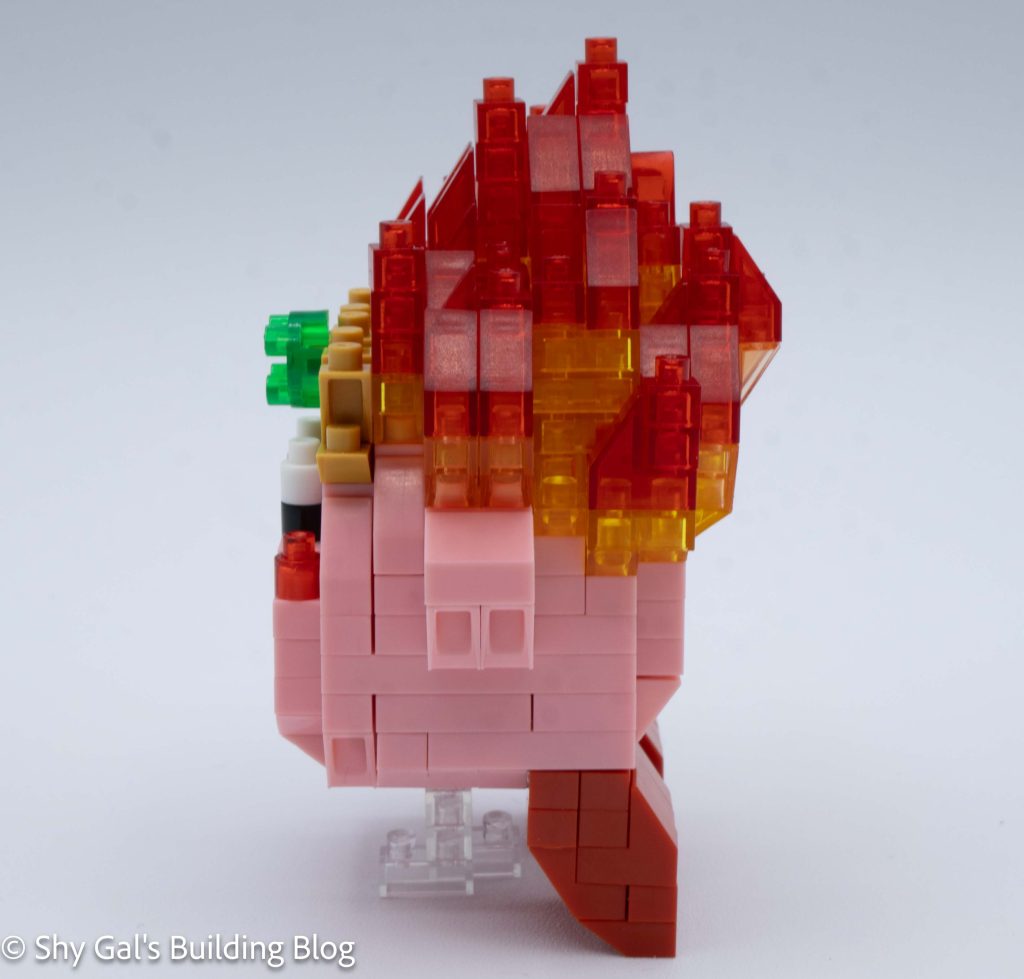
The next step is to build Kirby’s fire crown. This proved to be surprisingly tricky. Each step included adding a ton of bricks, and sometimes, it was hard to tell when to add a 1×1. Even when I could tell to add a brick, it was tricky to tell where exactly to add it. I wish the instructions had been more spread out so there would have been more steps.
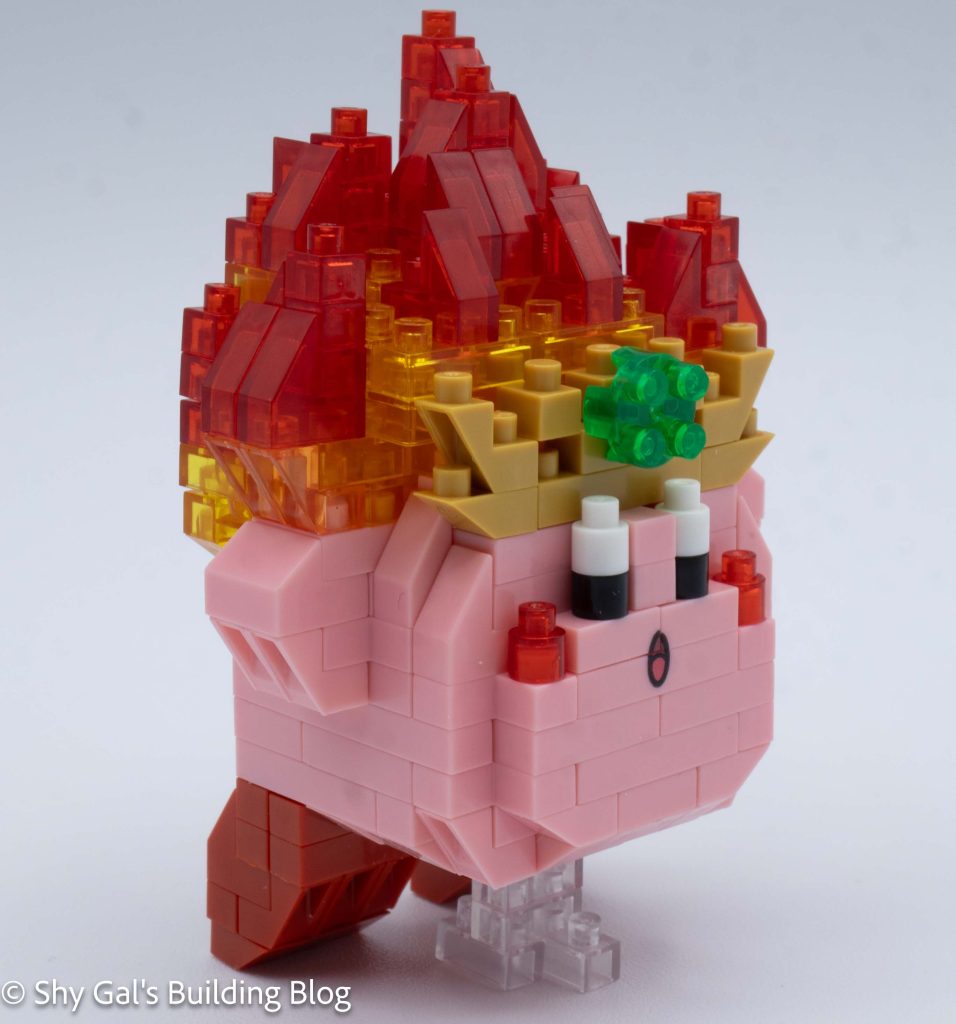
Next is to build Kirby’s feet. They are very straightforward.
The final step is to build the stand since Kirby’s feet hang below the body but can’t hold him up.
Things I liked:
I really like the use of clear bricks to create the fire crown
Things I didn’t like:
I wish the instructions for the fire crown had been more spread out
This post is a review of the nanoblock Kirby Ice build. Kirby Ice is part of the nanoblock Character collection. Wondering what else is part of the Character collection? Click here for a list.
Number: NBCC_199
Number of Pieces: 250
Difficulty Rating: 2/5
The build begins by creating the base of the Kirby. It takes several steps to make the base.
After the base is created, the main body of Kirby is built. These steps use the custom-printed blocks, which I much prefer to stickers. In the steps to make the body, you add Kirby’s arms, cheeks, and eyes.
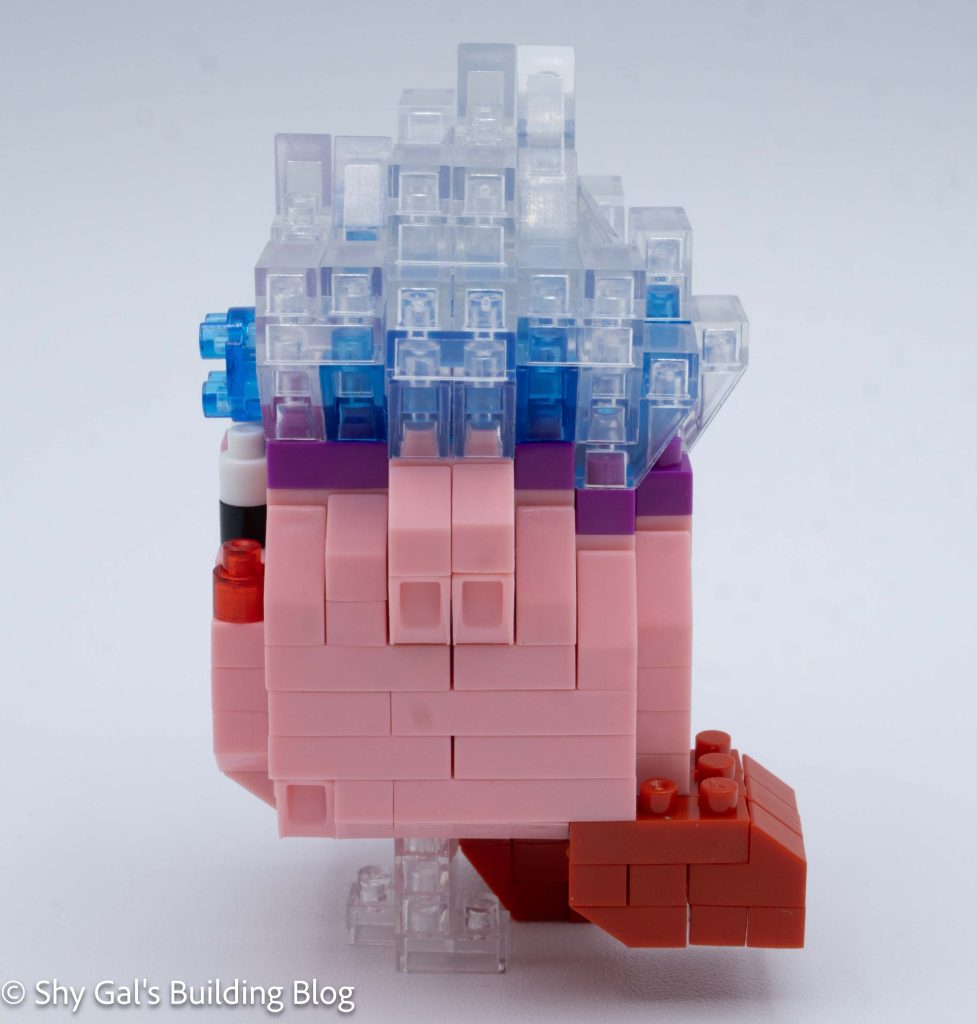
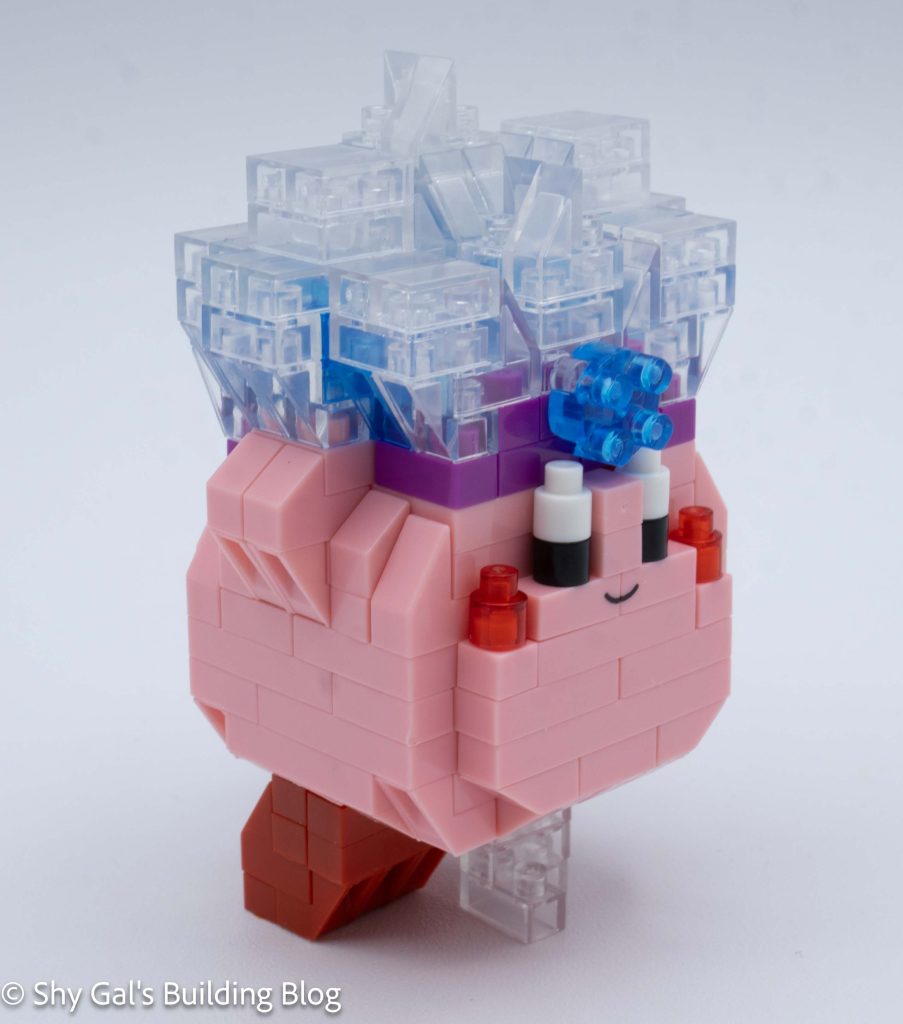
The following section is about building the ice crown. First, a purple base is built around Kirby’s head. Then, the clear blue and clear bricks create the spiky crown.
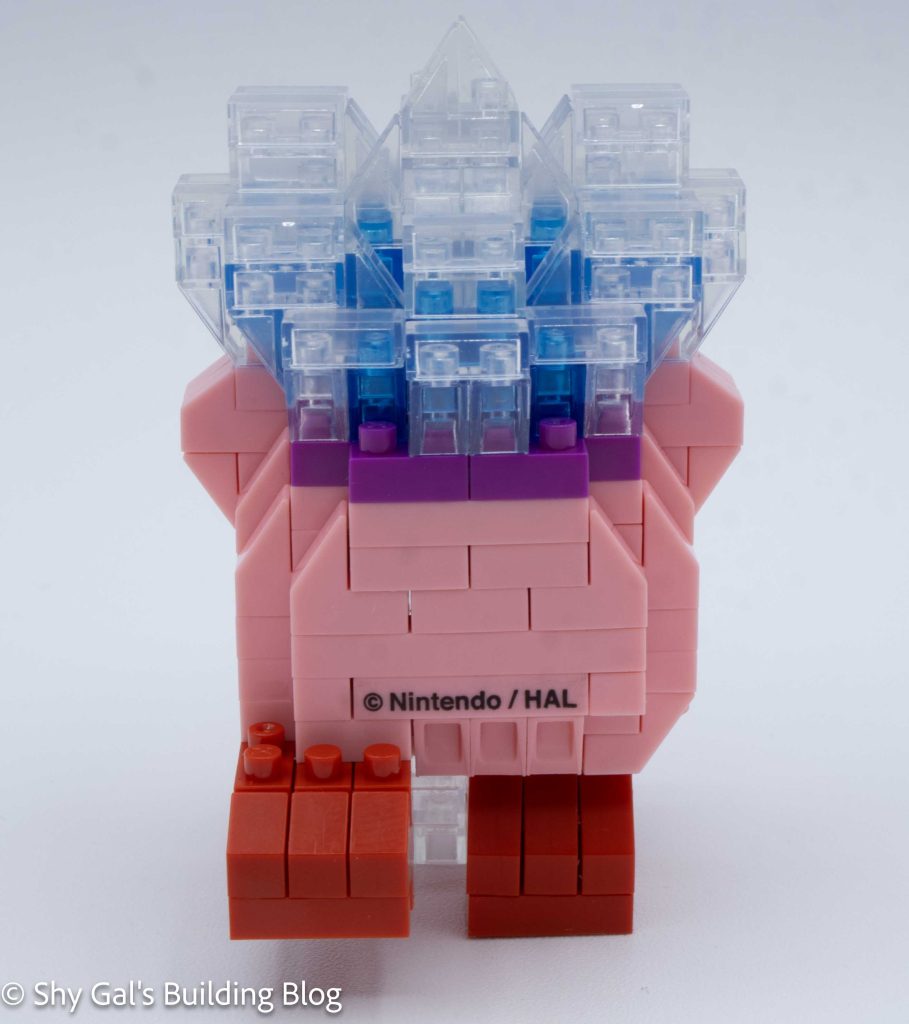
The next step is to build and attach Kirby’s feet. Since they are in an action pose, the legs aren’t identical.
Things I liked:
I really like how dynamic the pose is for Kirby. He really does appear to be midstep
Things I didn’t like:
I wish there was a light blue clear brick instead of using clear bricks to create the crown
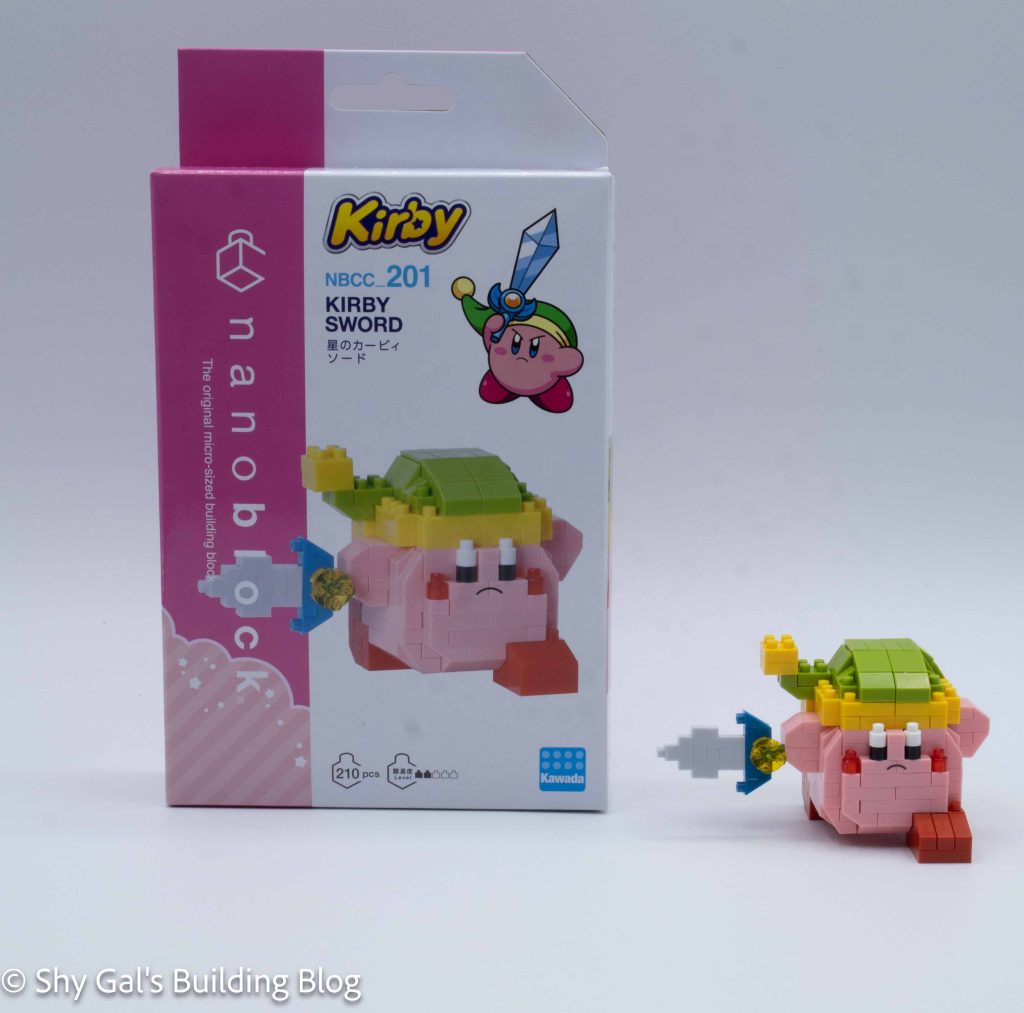
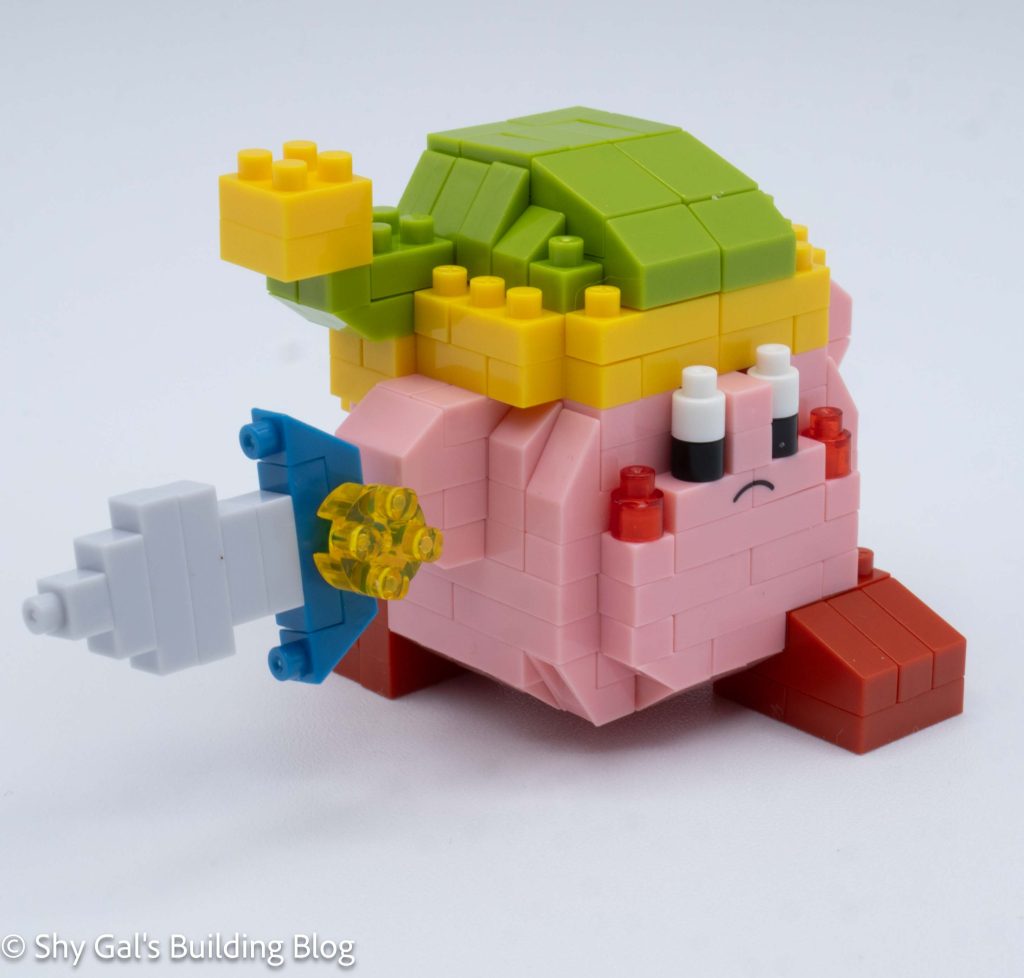
This post is a review of the nanoblock Kirby Sword build. Kirby Sword is part of the nanoblock Character collection. Wondering what else is part of the Character collection? Click here for a list.
Number: NBCC_201
Number of Pieces: 210
Difficulty Rating: 2/5
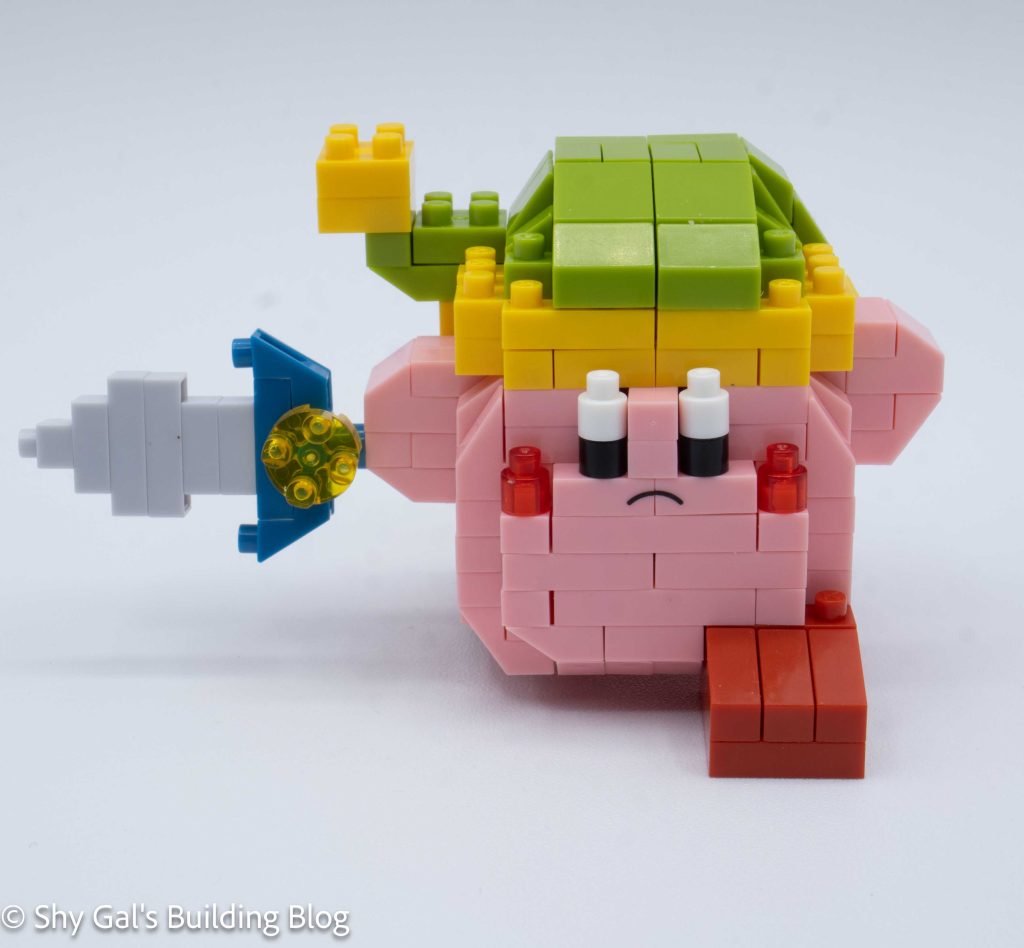
The build begins by creating the base of the Kirby. It took several steps to make the base, which looked a little odd. I decided it was likely because Kirby had his feet spread out mid-step.
After the base is created, the main body of Kirby is built. These steps use the custom-printed blocks, which I much prefer to stickers. In the steps to make the body, you add Kirby’s arms, cheeks, and eyes.
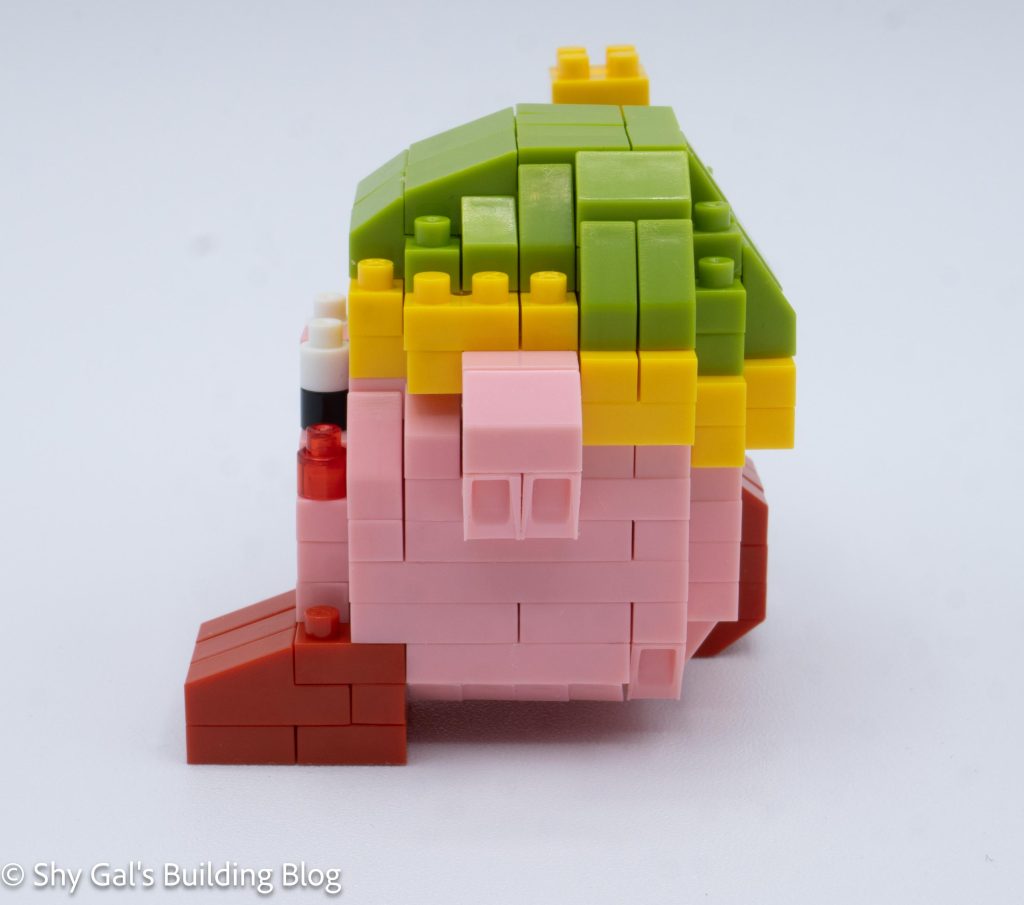
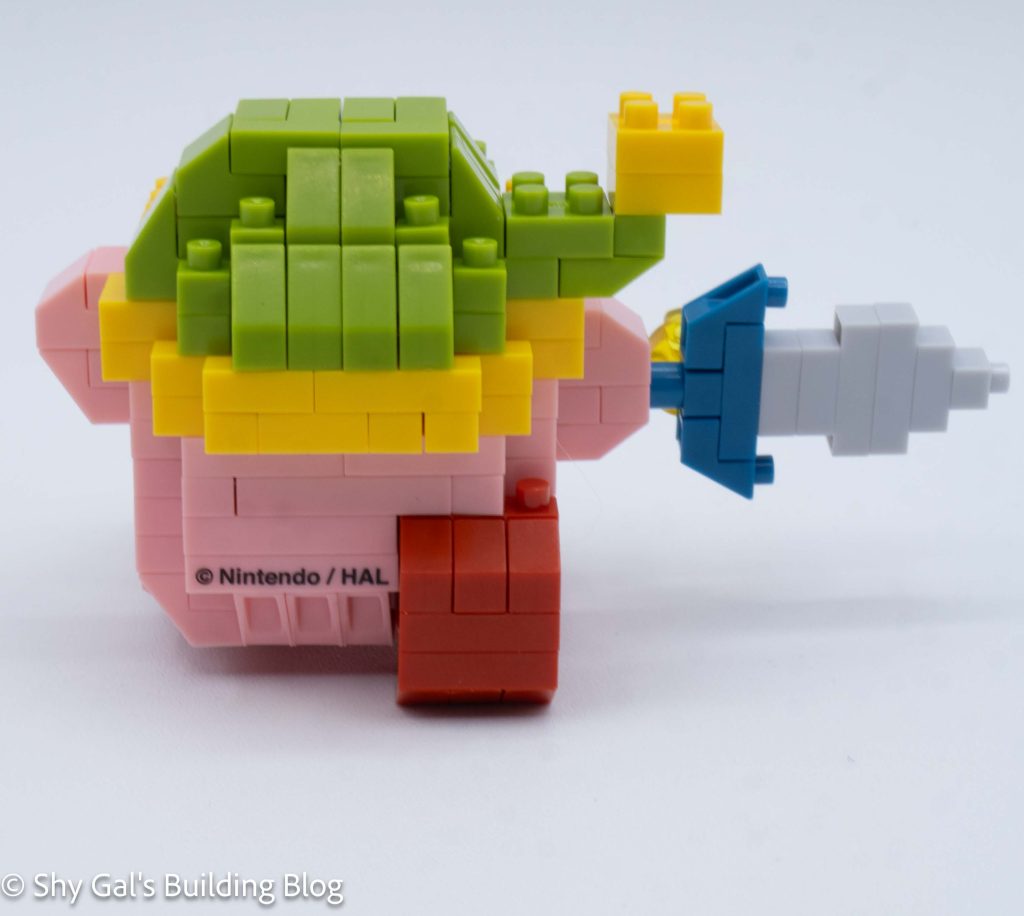
The following section is about building the green hat. First, a base of yellow is built around Kirby’s head. Then green is added, making smaller and smaller layers to close up the Kirby build. At the end, a yellow poof is added to the hat.
The next step is to build and attach Kirby’s feet. Since they are in an action pose, the legs aren’t identical.
The final step is to build the sword. The sword was very straightforward. Once the sword is built, it is placed in Kirby’s hand.
Things I liked:
I really like how dynamic the pose is for Kirby. He really does appear to be midstep
Things I didn’t like:
I feel that his hat still looks a bit chunky for how dynamic the rest of the pose is
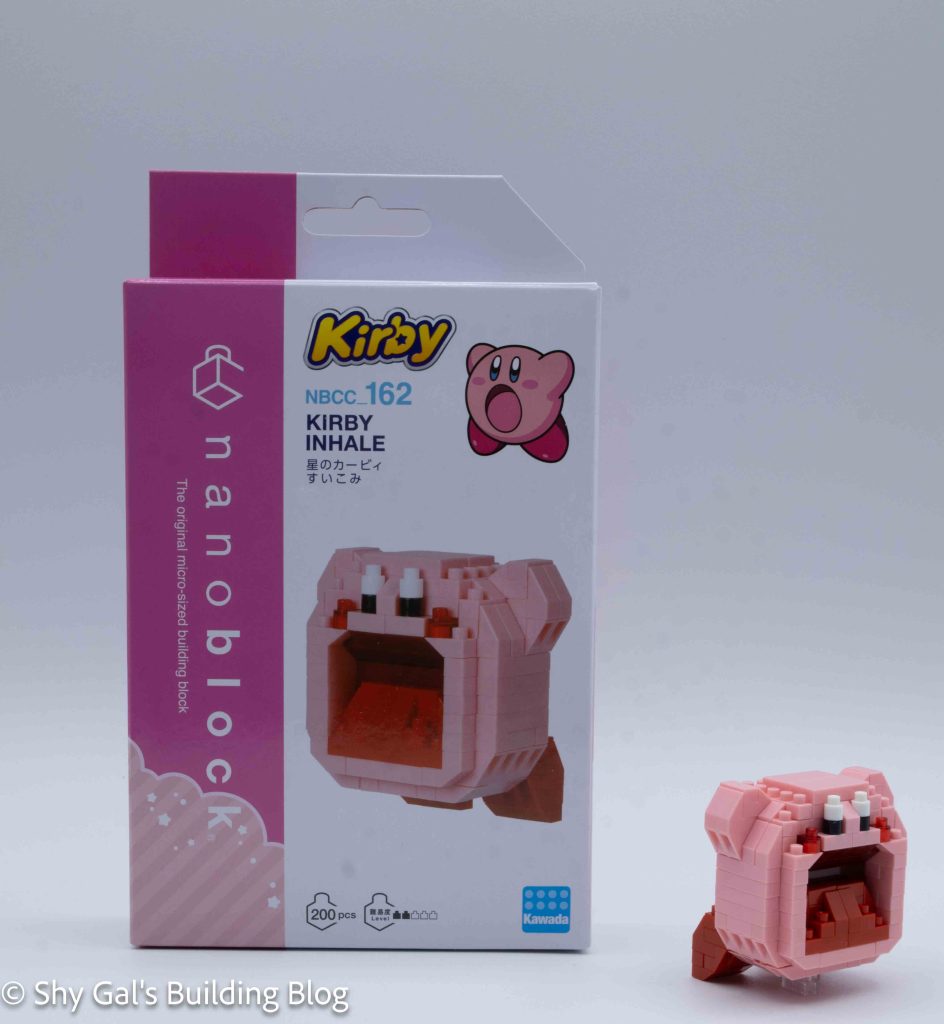
This post is a review of the nanoblock Kirby Inhale build. Kirby Inhale is part of the nanoblock Character collection. Wondering what else is part of the Character collection? Click here for a list.
Number: NBCC_162
Number of Pieces: 200
Difficulty Rating: 2/5
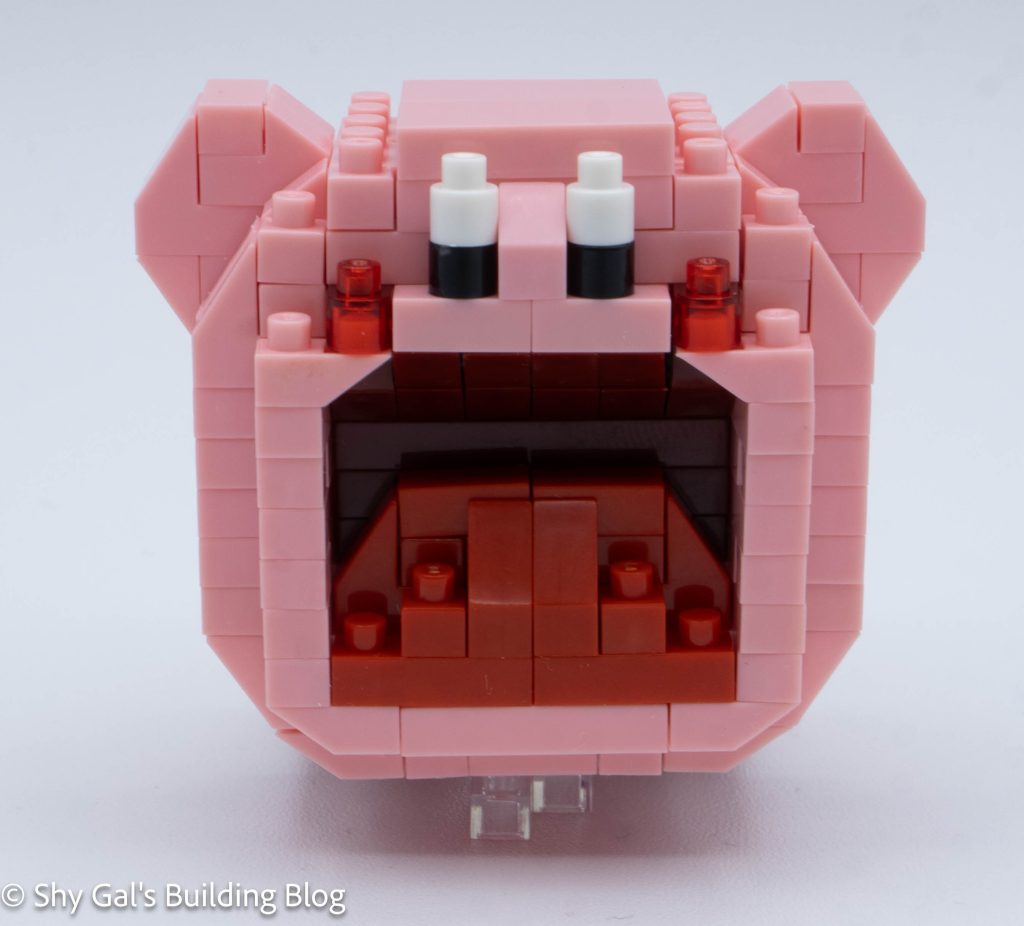
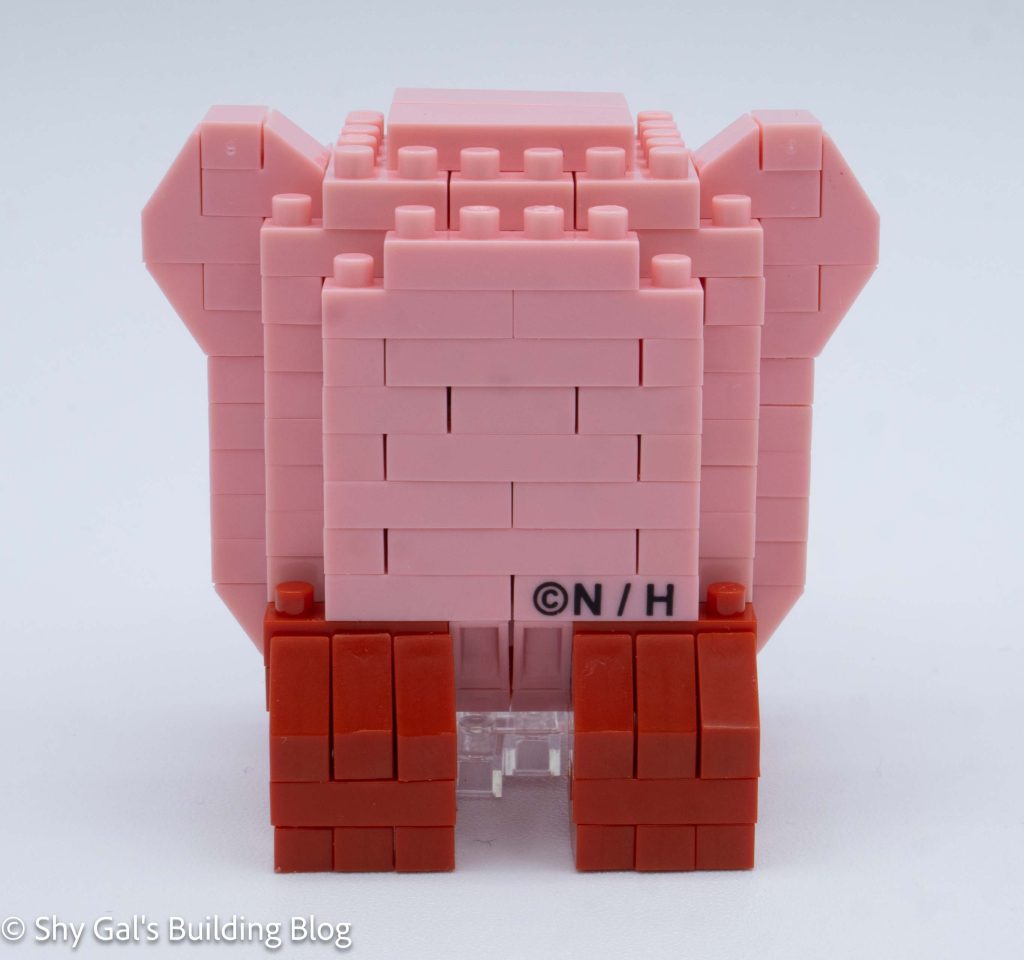
The build begins with building out the base layer of Kirby over 4 steps. This includes the bottom of the mouth and the top of Kirby’s shoes.
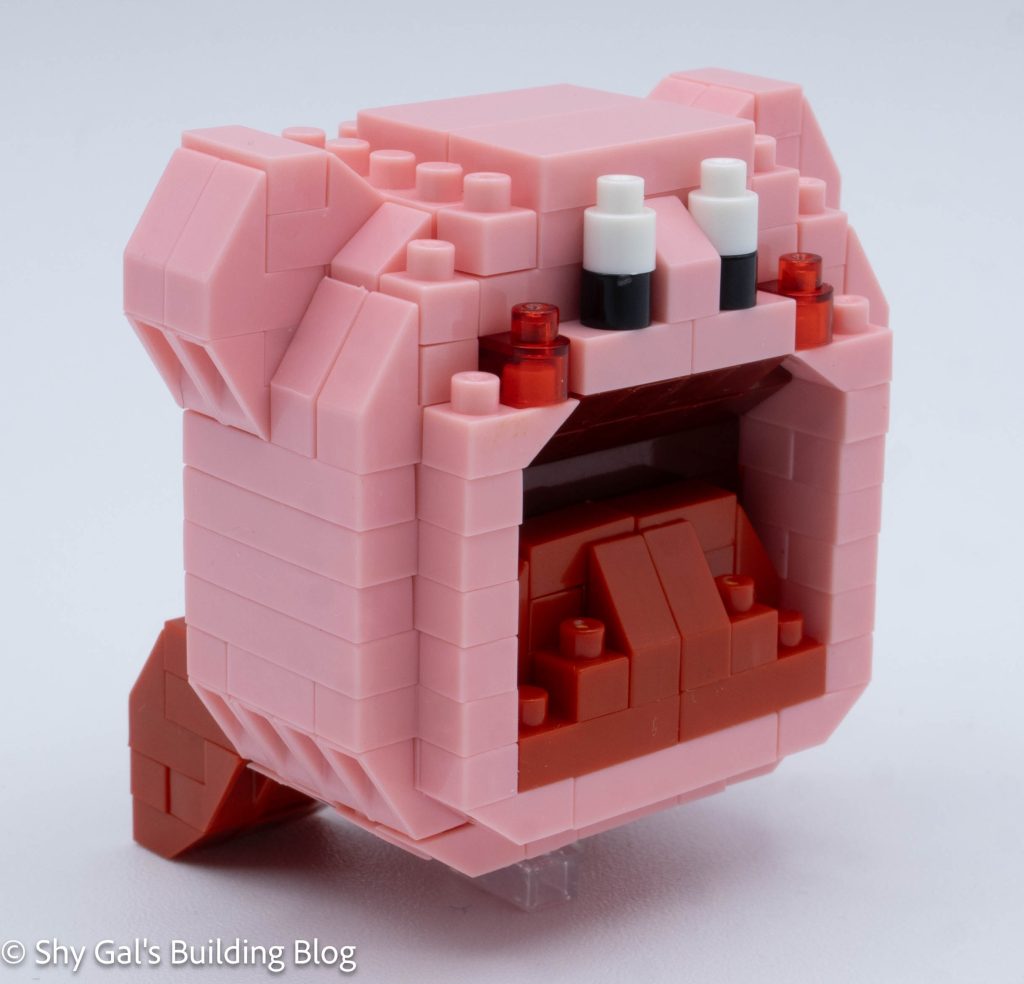
Kirby goes up in layers around the outside and builds the back of Kirby’s mouth.
After several layers, Kirby is closed up.
Next, Kirby’s top is built. This includes the arms, cheeks, and eyes.
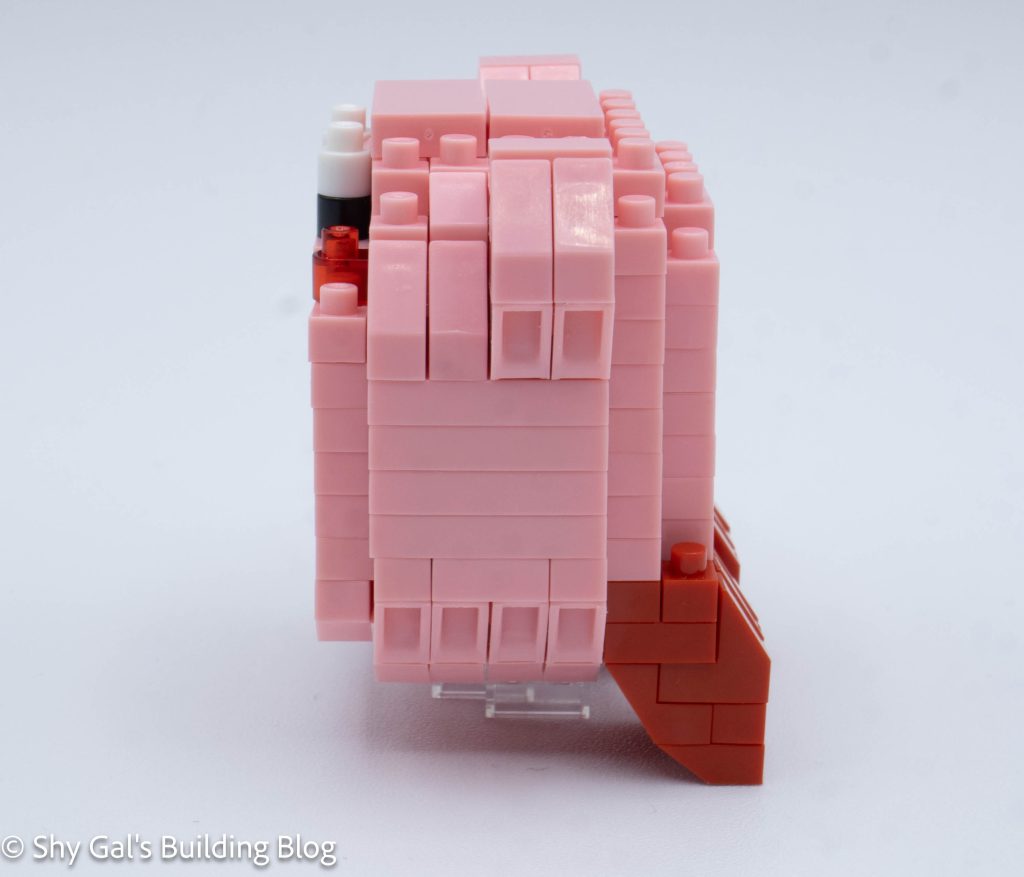
The next step is to build Kirby’s shoes. Then Kirby is rounded out on the bottom.
The final step is to build it to build the stand so that Kirby doesn’t fall over.
Things I liked:
I really like the use of the multiple shades of red to create the inside of Kirby’s mouth
Things I didn’t like:
I don’t have any real complaints about this build. It was very simple
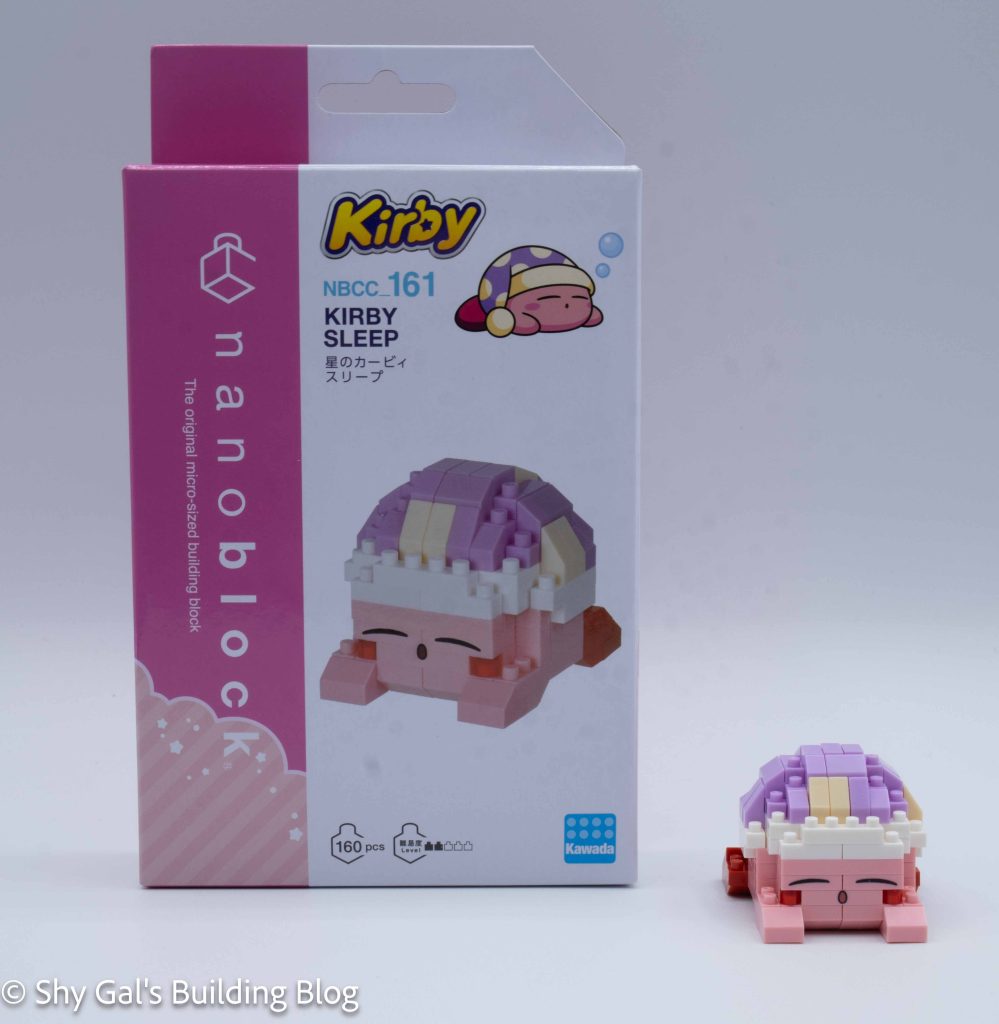
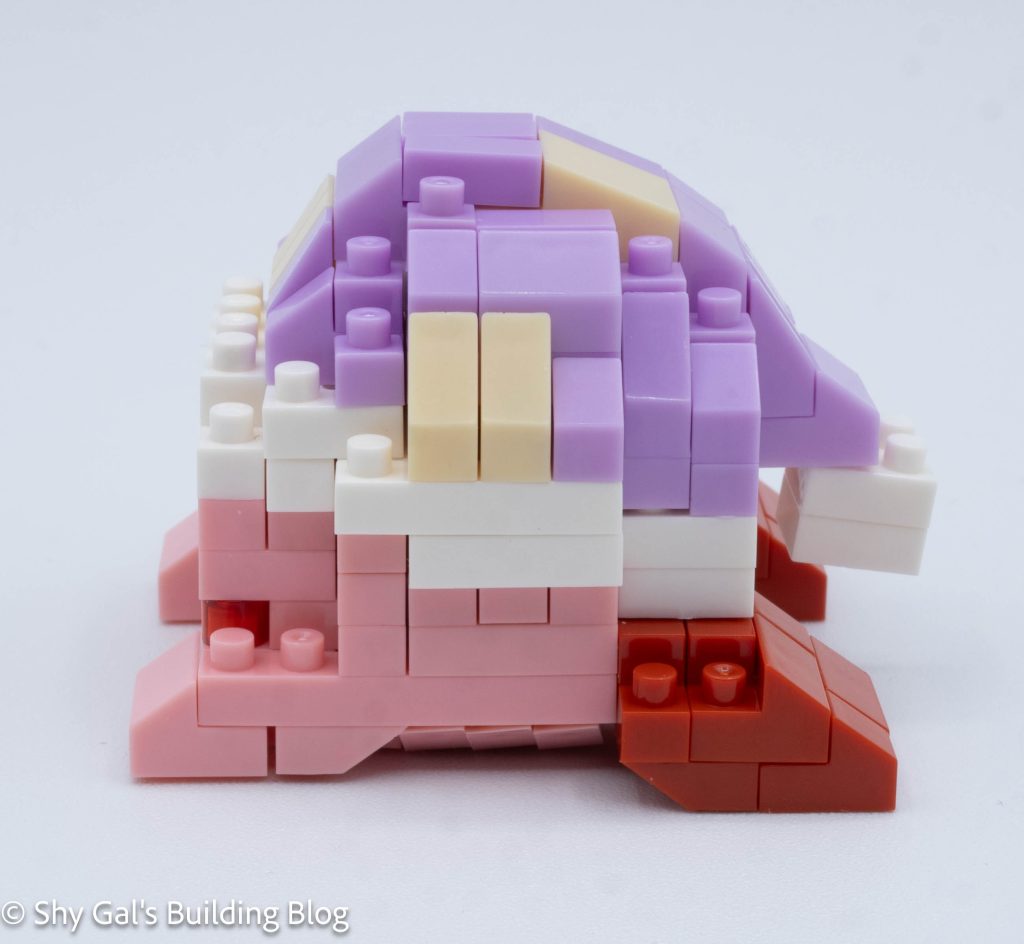
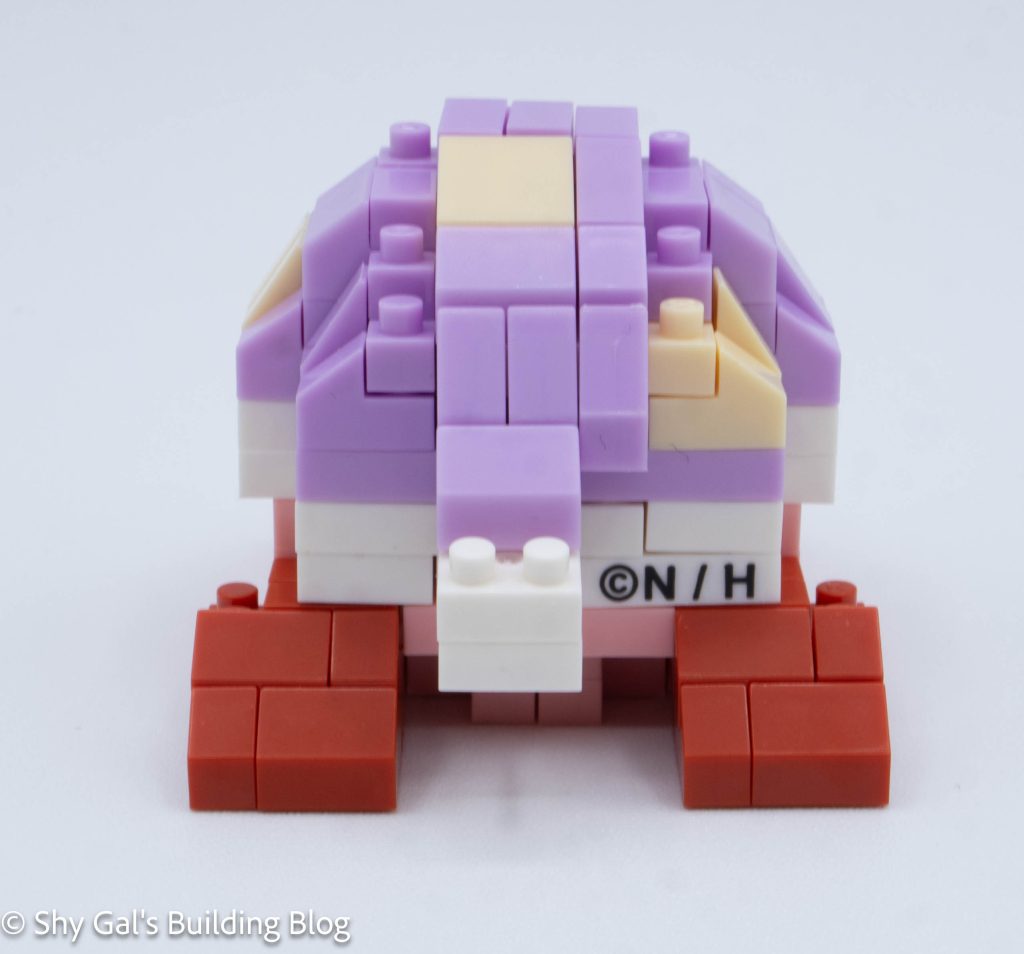
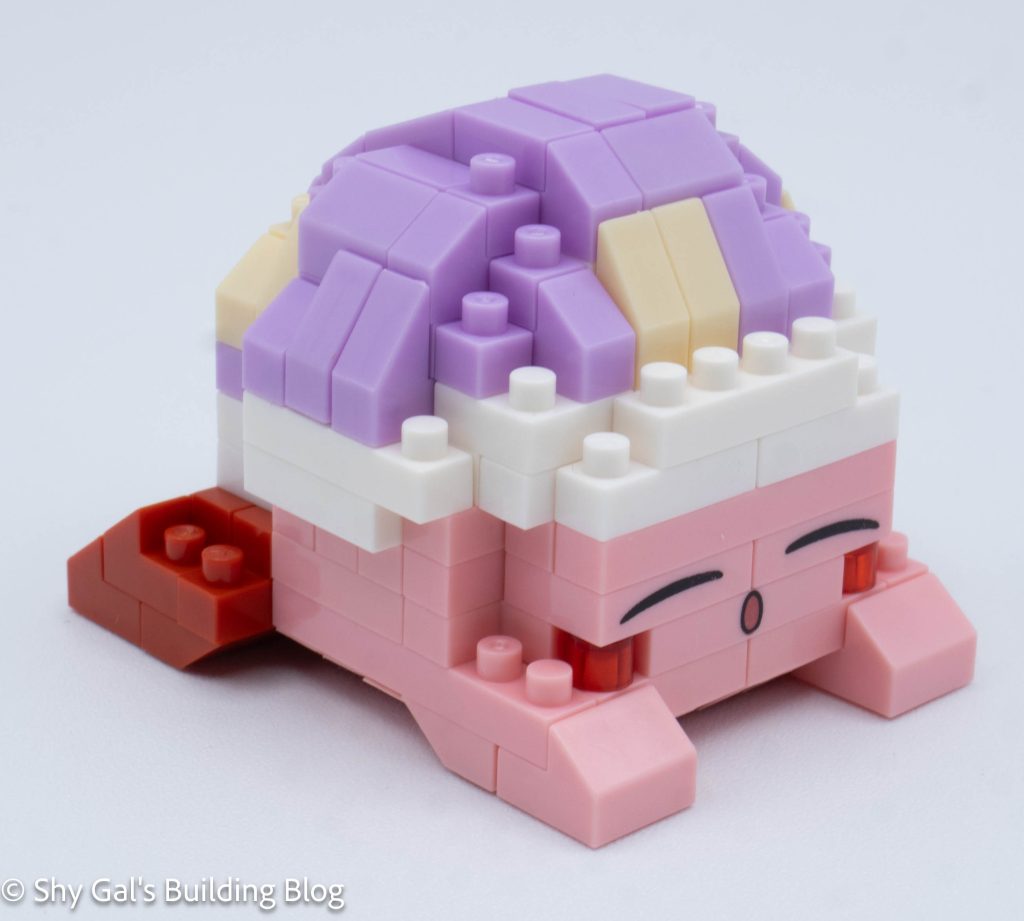
This post is a review of the nanoblock Kirby Sleep build. Kirby Sleep is part of the nanoblock Character collection. Wondering what else is part of the Character collection? Click here for a list.
Number: NBCC_161
Number of Pieces: 160
Difficulty Rating: 2/5
This kit begins with creating Kirby’s base. Over the first three steps, the entire base is created.
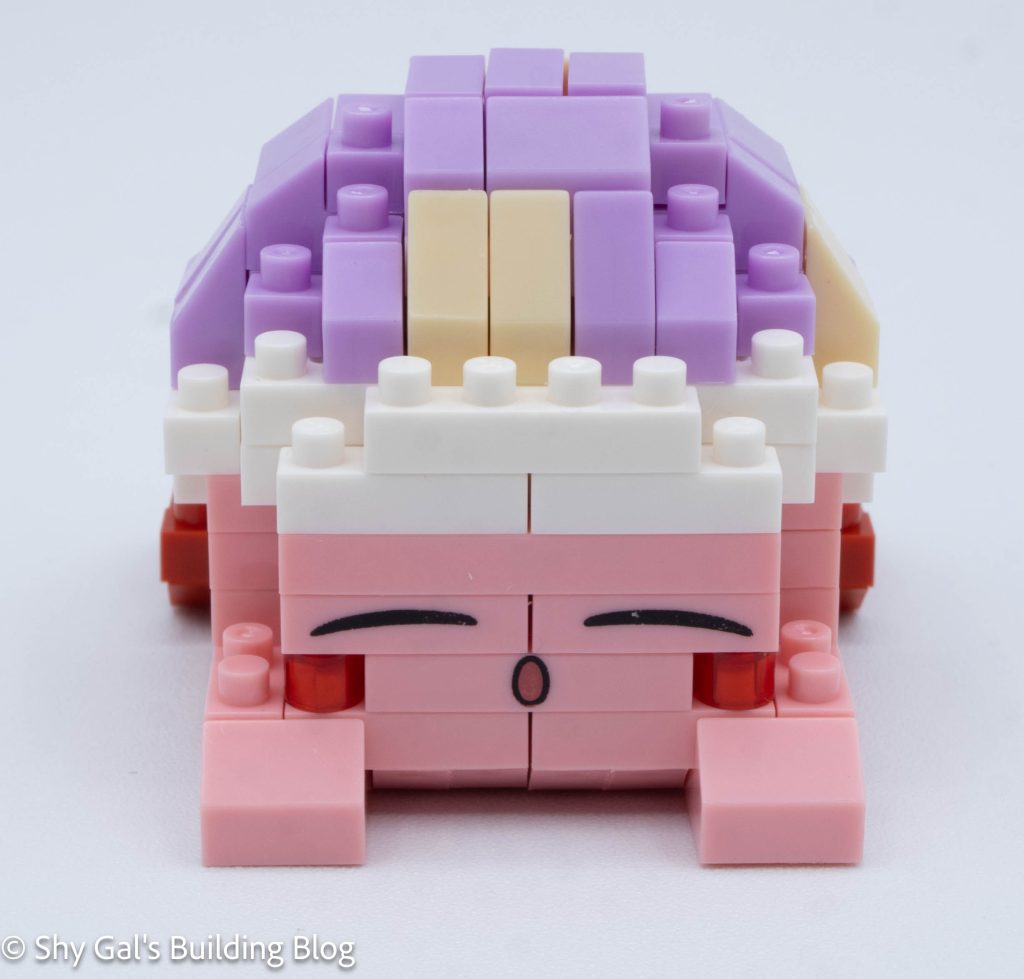
Step 4 adds the custom-printed face when the next layer is added.
Then, I began to build the hat from the back. Starting at that point, Kirby ends and the hat begins.
The hat was a little tricky because of all the slanty pieces. I needed to be careful to use the correct slanty pieces, which changed every brick. Other than the slanty pieces, the hat was pretty straightforward.
Then I flipped Kirby upside down to add the details to round out his bottom.
Next the tassel to the hat was added.
The final step is to build and add Kirby’s feet.
Things I liked:
I like the hat I feel that it looks like fabric
Things I didn’t like:
I didn’t find the instructions for adding the feet very clear
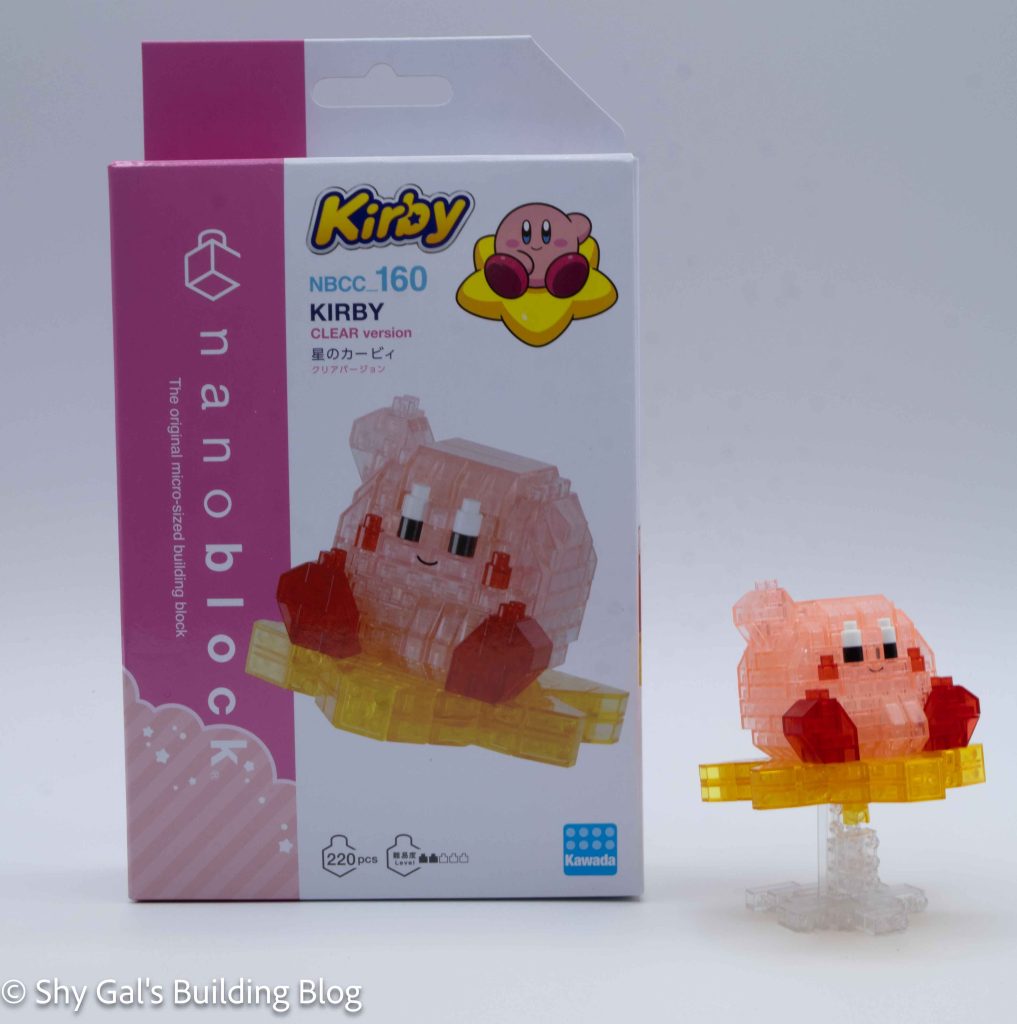
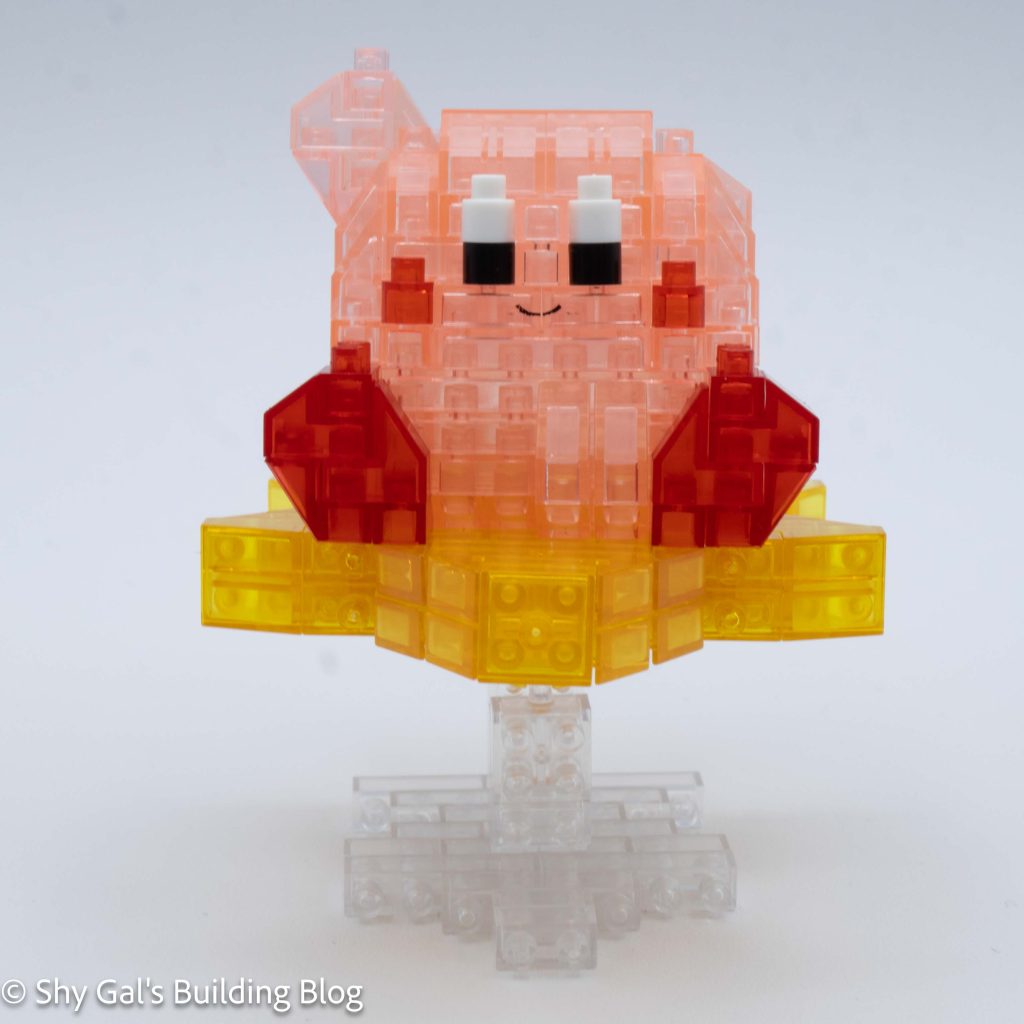
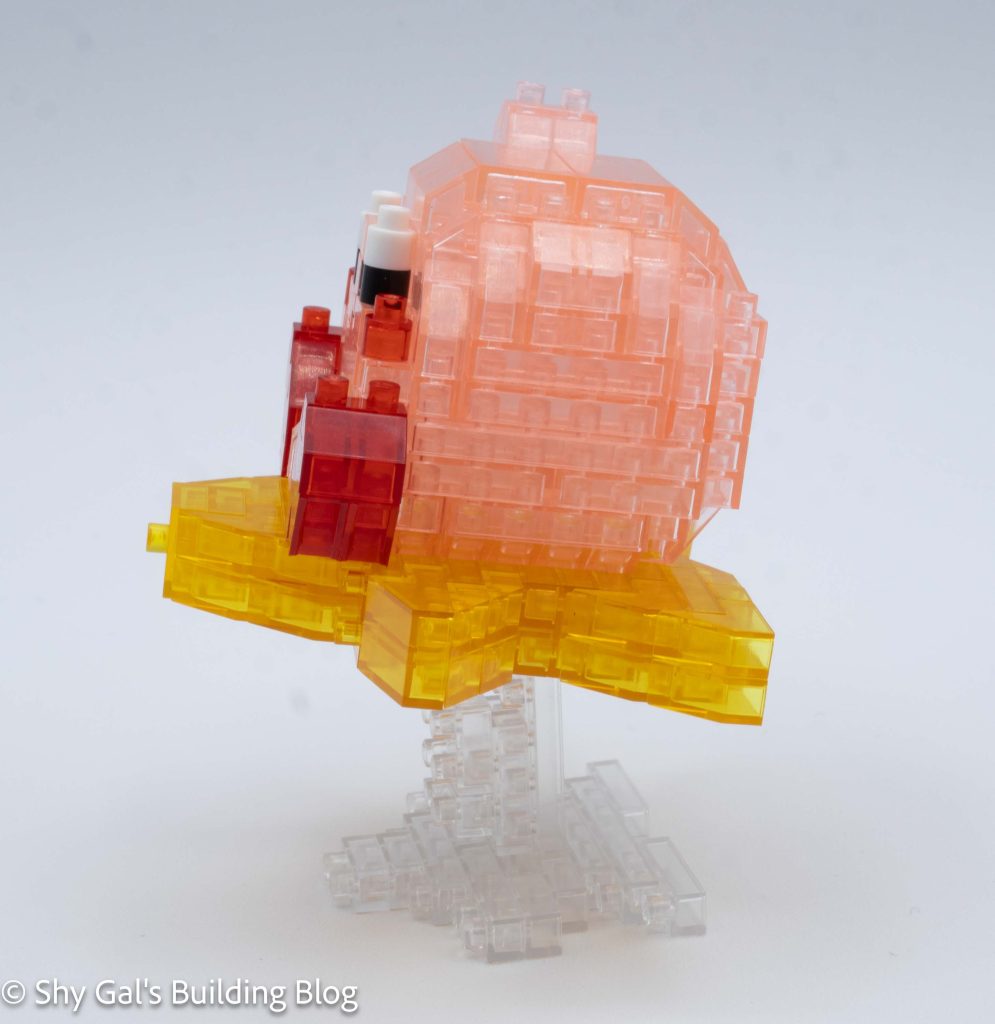
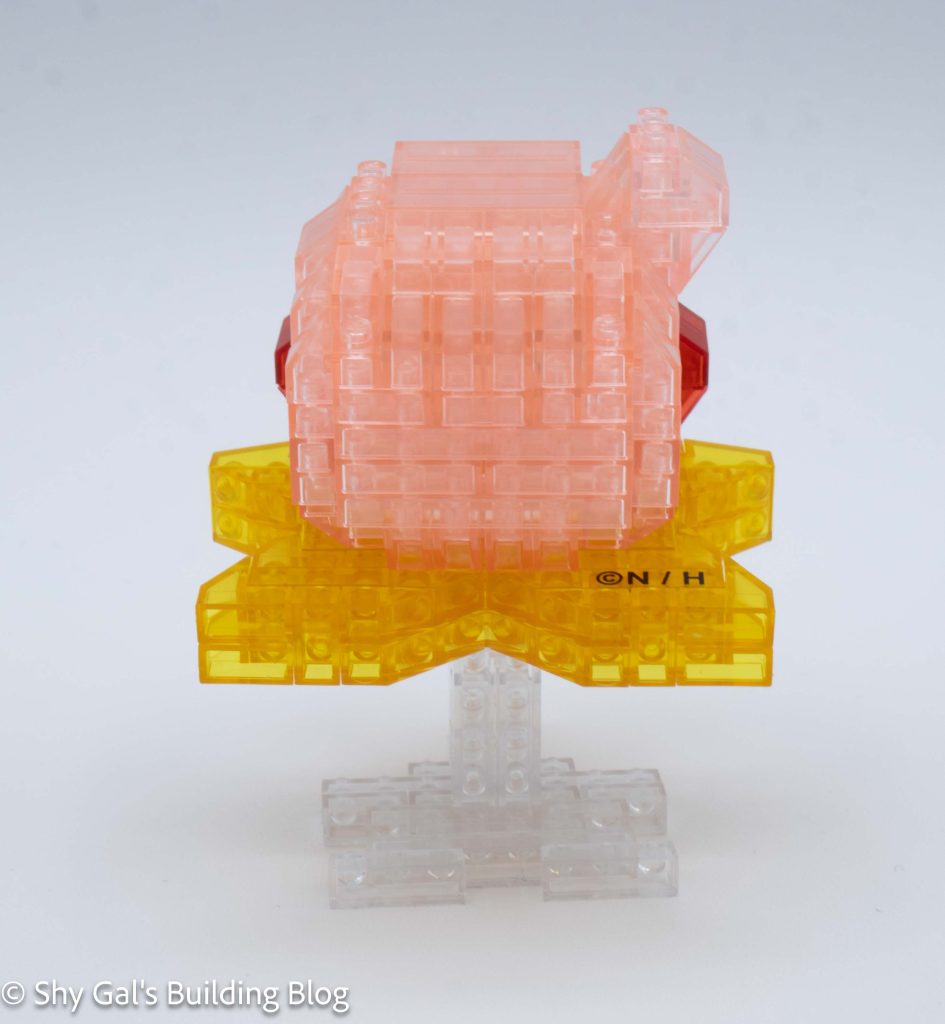
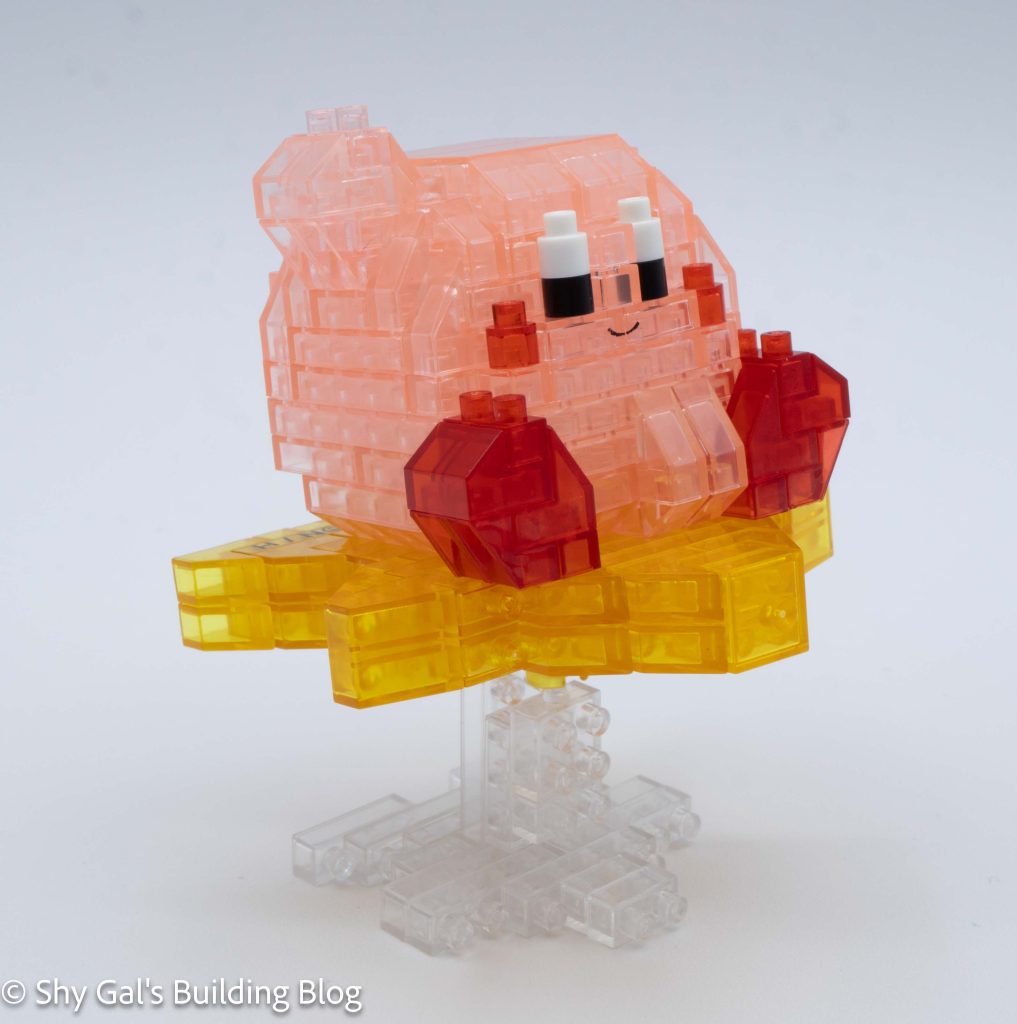
This post is a review of the nanoblock Kirby Clear Version build. Kirby Clear Version is part of the nanoblock Character collection. Wondering what else is part of the Character collection? Click here for a list.
Number: NBCC_160
Number of Pieces: 220
Difficulty Rating: 2/5
This kit is identical to NBCC_140, except it is made of clear bricks. Finding the correct bricks to use was a bit more difficult because the light pink and clear looked very similar, even on my white-backed tray.
This build is made up of 3 sections. There is Kirby, the star, and the stand.
Kirby begins by making a base in pink bricks. Then, the feet are added to the base. After that, Kirby begins going up in layers. Overall, things are fairly straightforward. In the step that adds Kirby’s mouth, I didn’t understand from the instructions that there was a custom piece with the mouth printed. Once I found the piece, the only other concern was the slanted pieces.
Kirby has 2 different slanted pieces. I appreciated that the colors in the instructions were different enough that it was very clear when to use which slanted piece.
The final step to building Kirby is to finish his hand and smooth out the top of his head.
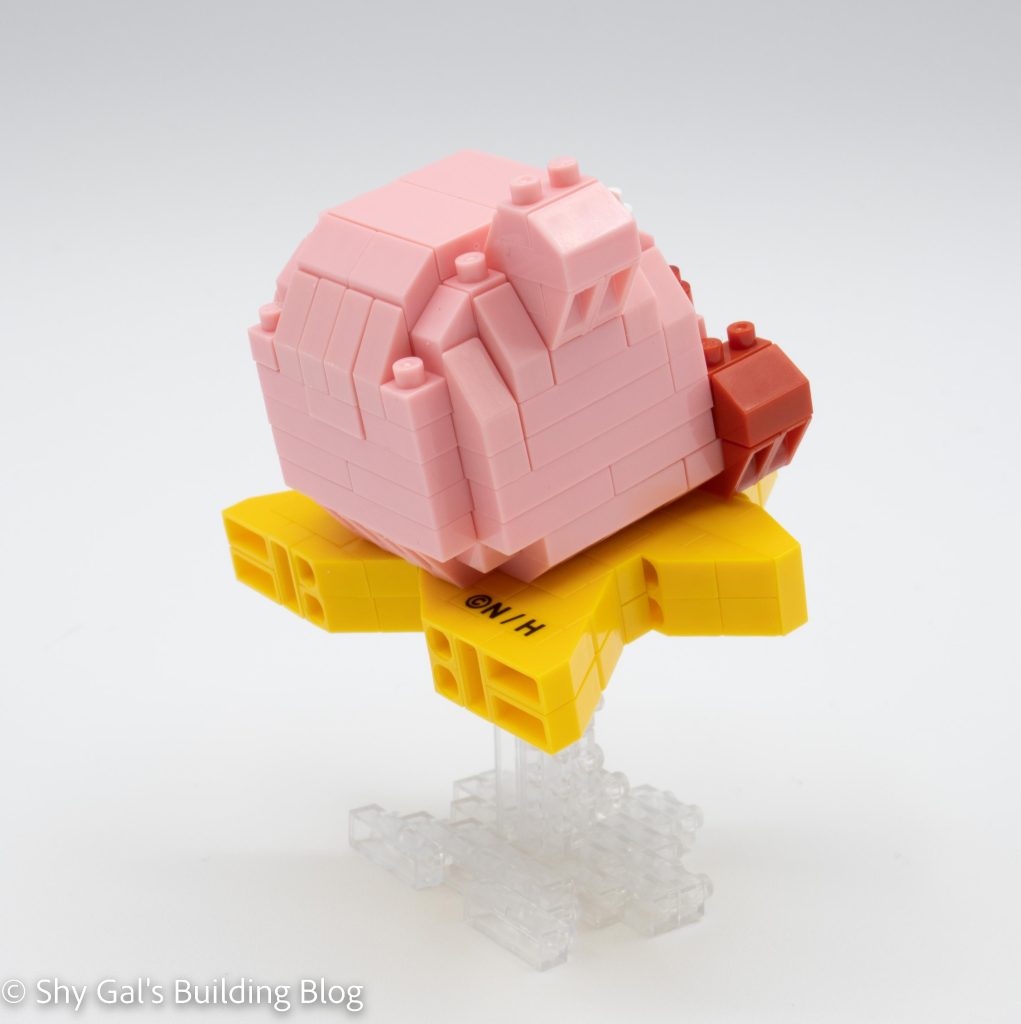
The star is created by several layers of yellow bricks with a width of 2, so the final build is 2 bricks tall. The first step creates a gap in the 2 depth. I wasn’t sure why there was a gap, but it became clear when I put the sections together. The second step adds the socket of the ball joint, which is needed to connect the star to the stand.
After adding the socket, the rest of the star is fairly straightforward until the final step. There are 2 notable things about the final step. First, there is a custom-printed brick. I think it is for copyright, but I’m not sure for what exactly. Secondly, it wasn’t clear that it mattered what order sections were added. It was pretty easy to fix when I realized the order did matter.
Kirby sits on studs that point out the star, so he is very stable.
The stand is fairly straightforward. It begins by building up several layers of clear bricks. After building the layers, some additional bricks are added to the bottom layer. The stand is then laid on its side so the ball joint is up in the air.
Kirby’s star attaches to the ball joint on the stand. The part sticking up above the joint goes into the hole in the star to allow the star to sit at an angle.
Things I liked:
I really like how the final build turned out, and it was worth all the work to find the bricks
Things I didn’t like:
I didn’t like how hard it was to tell pink from clear on my building tray and how much digging I had to find the right piece
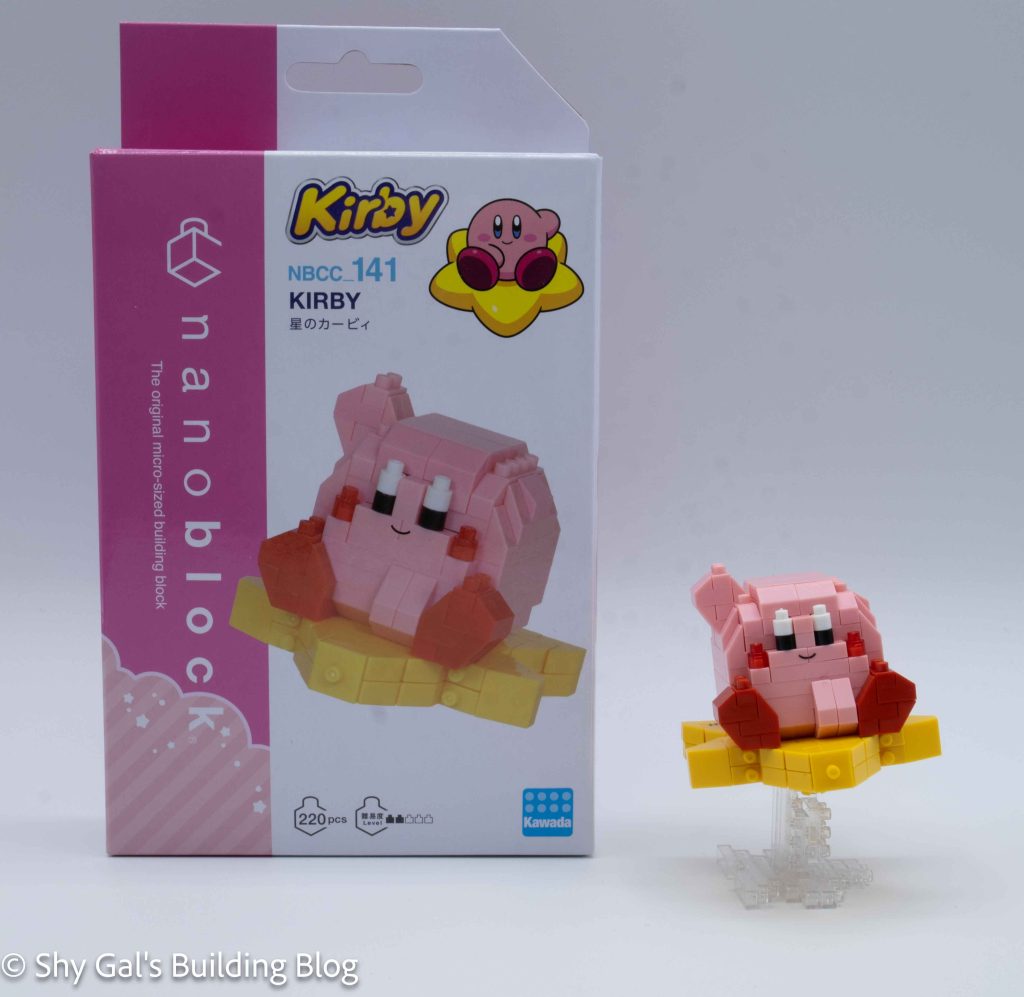
This post is a review of the nanoblock Kirby build. Kirby is part of the nanoblock Character collection. Wondering what else is part of the Character collection? Click here for a list.
Number: NBCC_141
Number of Pieces: 220
Difficulty Rating: 2/5
This kit is identical to NBCC_140 without the 30th sticker. There is also a clear version number, NBCC_160.
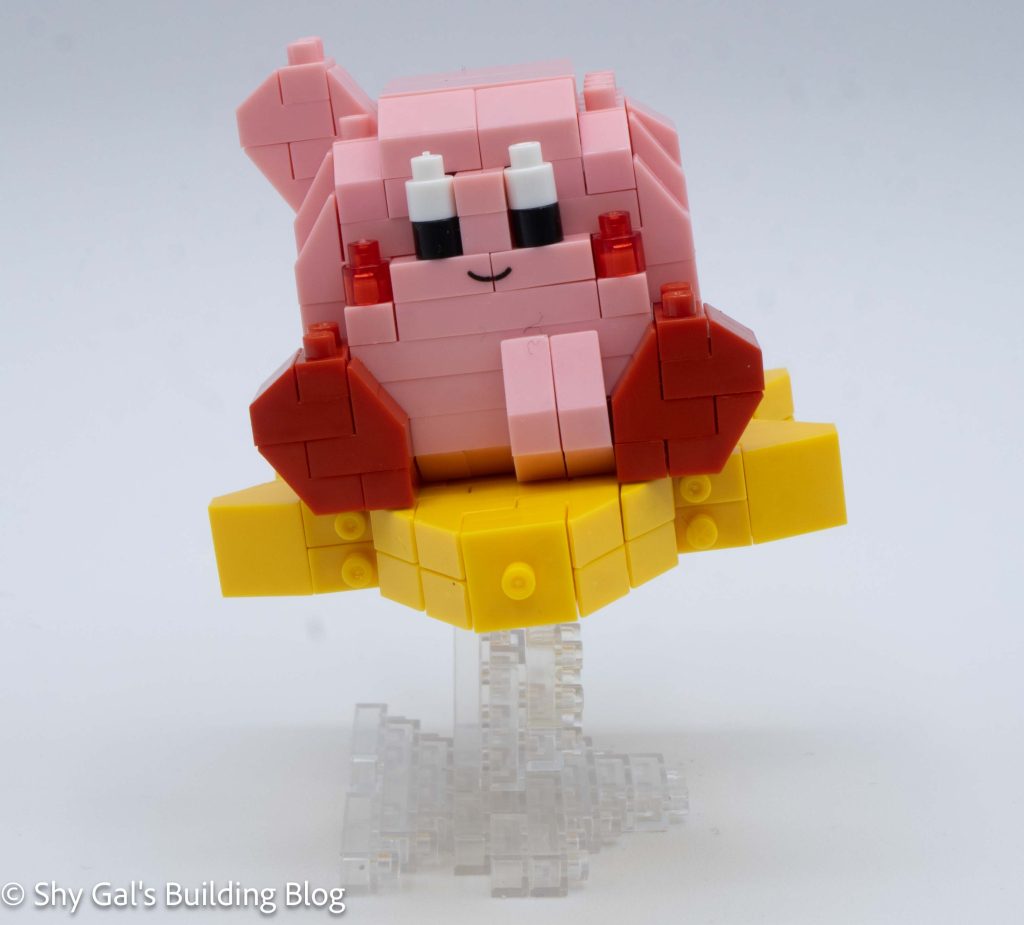
This build is made up of 3 sections. There is Kirby, the star, and the stand.
Kirby begins by making a base in pink bricks. Then, the feet are added to the base. After that, Kirby begins going up in layers. Overall, things are fairly straightforward. In the step that adds Kirby’s mouth, I didn’t understand from the instructions that there was a custom piece with the mouth printed. Once I found the piece, the only other concern was the slanted pieces.
Kirby has 2 different slanted pieces. I appreciated that the colors in the instructions were different enough that it was very clear when to use which slanted piece.
The final step to building Kirby is to finish his hand and smooth out the top of his head.
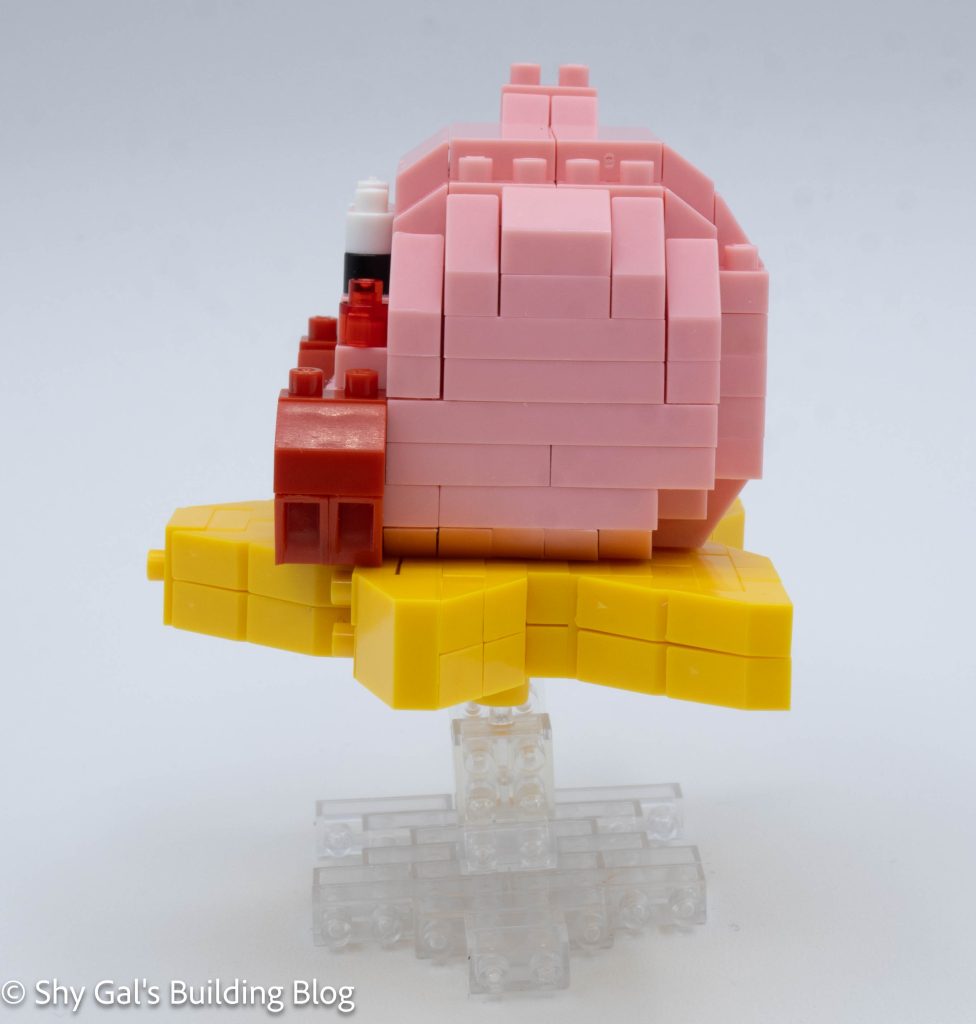
The star is created by several layers of yellow bricks with a width of 2, so the final build is 2 bricks tall. The first step creates a gap in the 2 depth. I wasn’t sure why there was a gap, but it became clear when I put the sections together. The second step adds the socket of the ball joint, which is needed to connect the star to the stand.
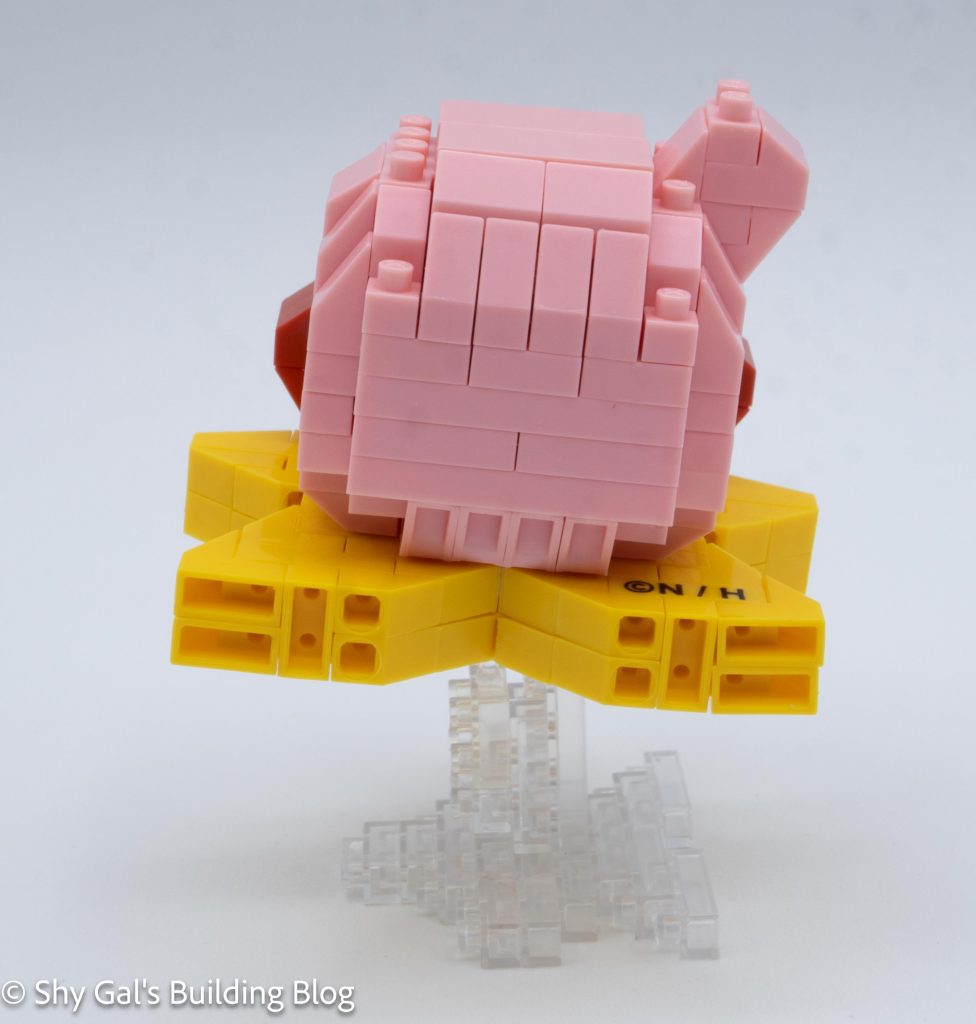
After adding the socket, the rest of the star is fairly straightforward until the final step. There are 2 notable things about the final step. First, there is a custom-printed brick. I think it is for copyright, but I’m not sure for what exactly. Secondly, it wasn’t clear that it mattered what order sections were added. It was pretty easy to fix when I realized the order did matter.
Kirby sits on studs that point out the star, so he is very stable.
The stand is fairly straightforward. It begins by building up several layers of clear bricks. After building the layers, some additional bricks are added to the bottom layer. The stand is then laid on its side so the ball joint is up in the air.
Kirby’s star attaches to the ball joint on the stand. The part sticking up above the joint goes into the hole in the star to allow the star to sit at an angle.
Things I liked:
The custom brick for Kirby’s mouth because it means there isn’t a sticker for the mouth
How Kirby sits at an angle on his star ride
Things I didn’t like:
It was really hard to tell about the special brick that had Kirby’s mouth was a special brick
This post is a review of the nanoblock Kirby Dream Land build. Kirby Dream Land is part of the nanoblock Sights to See collection. Wondering what else is part of the Sights to See collection? Click here for a list.
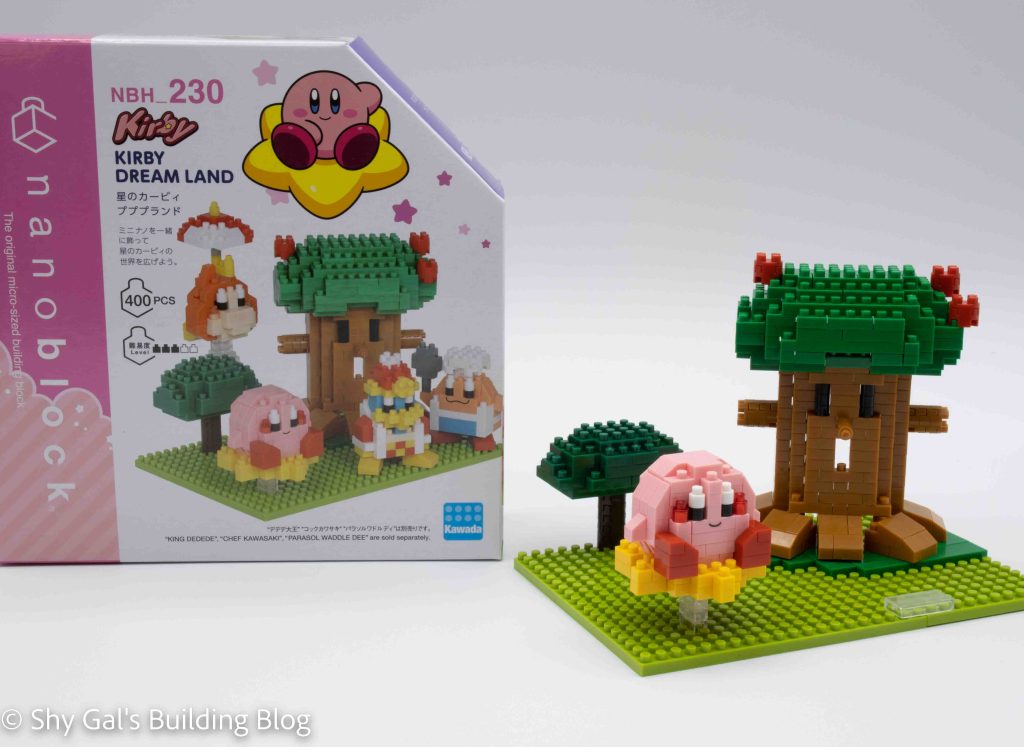
Number: NBH_230
Number of Pieces: 400
Difficulty Rating: 3/5
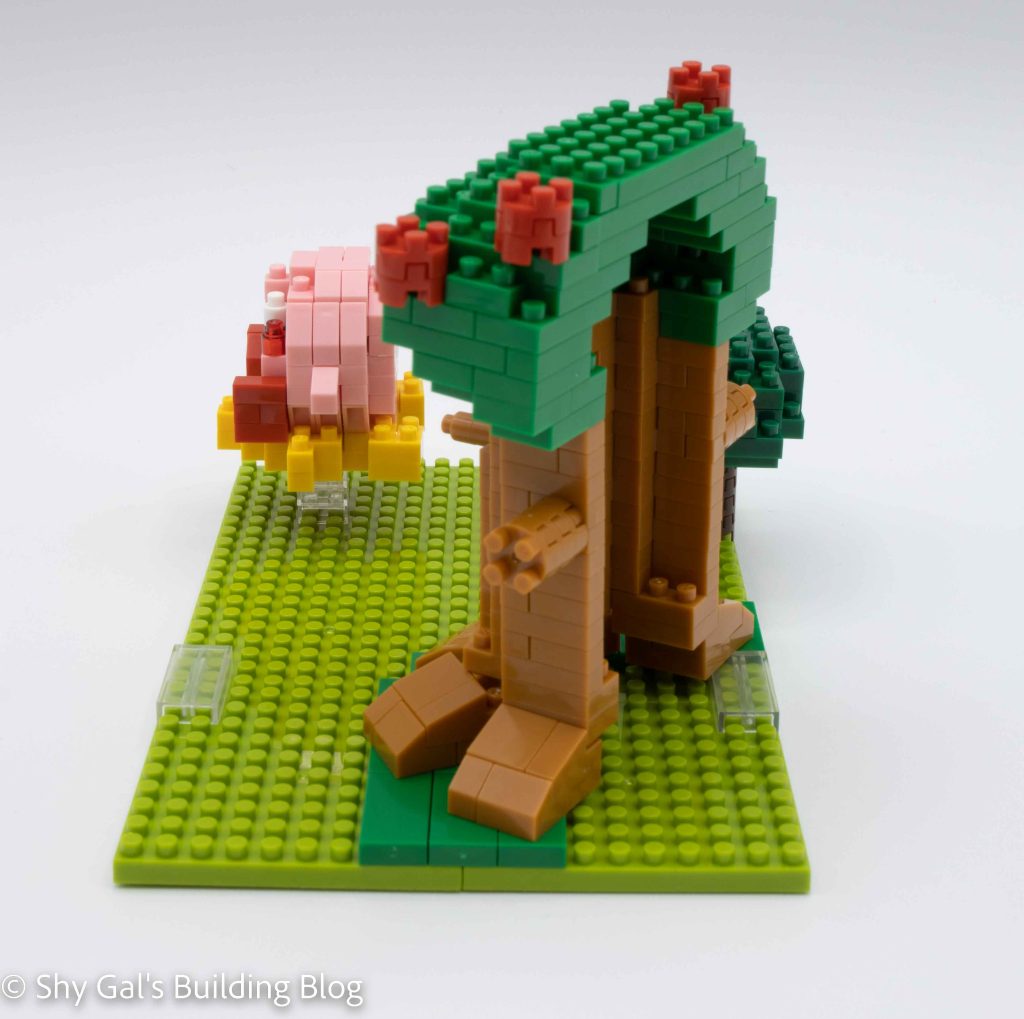
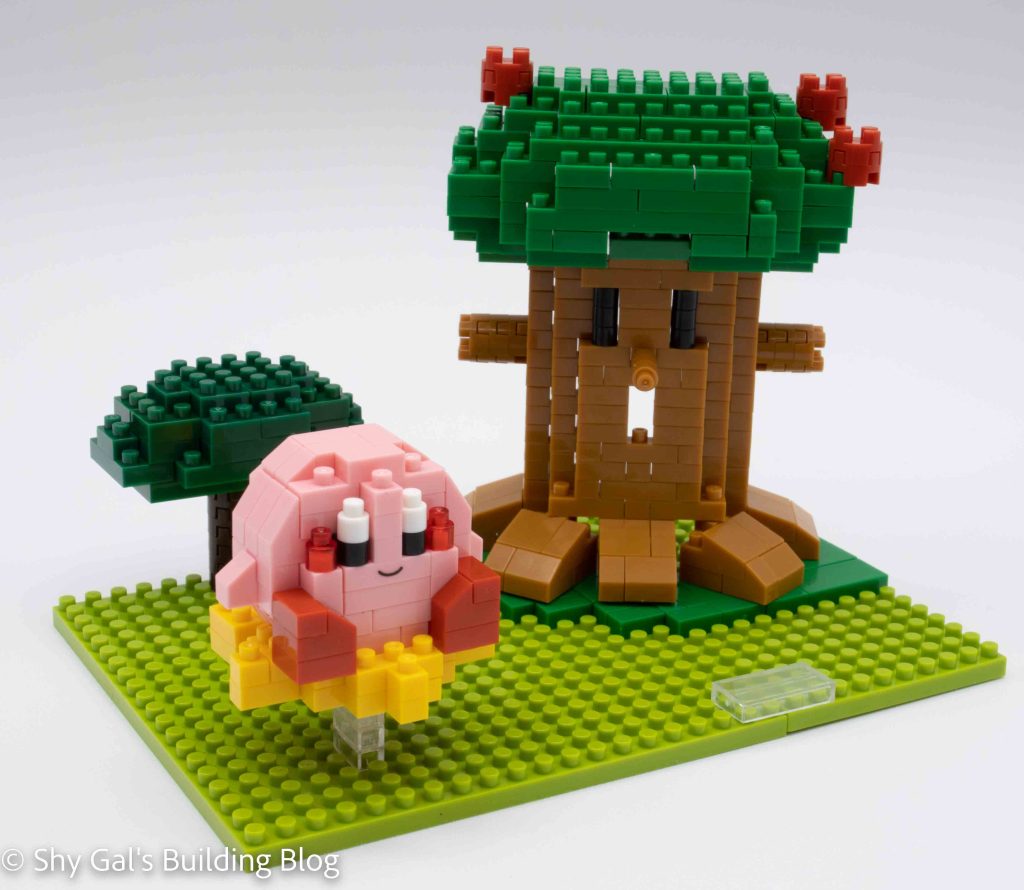
Please note that while several characters are on the box, the only characters that are actually part of the build are Kirby and Whispy Woods (the tree). The other characters shown are part of volume 2 of the Kirby mininano collection.
This build has 4 sections. There is Whispy Woods, the base, Kirby on a star, and a tree.
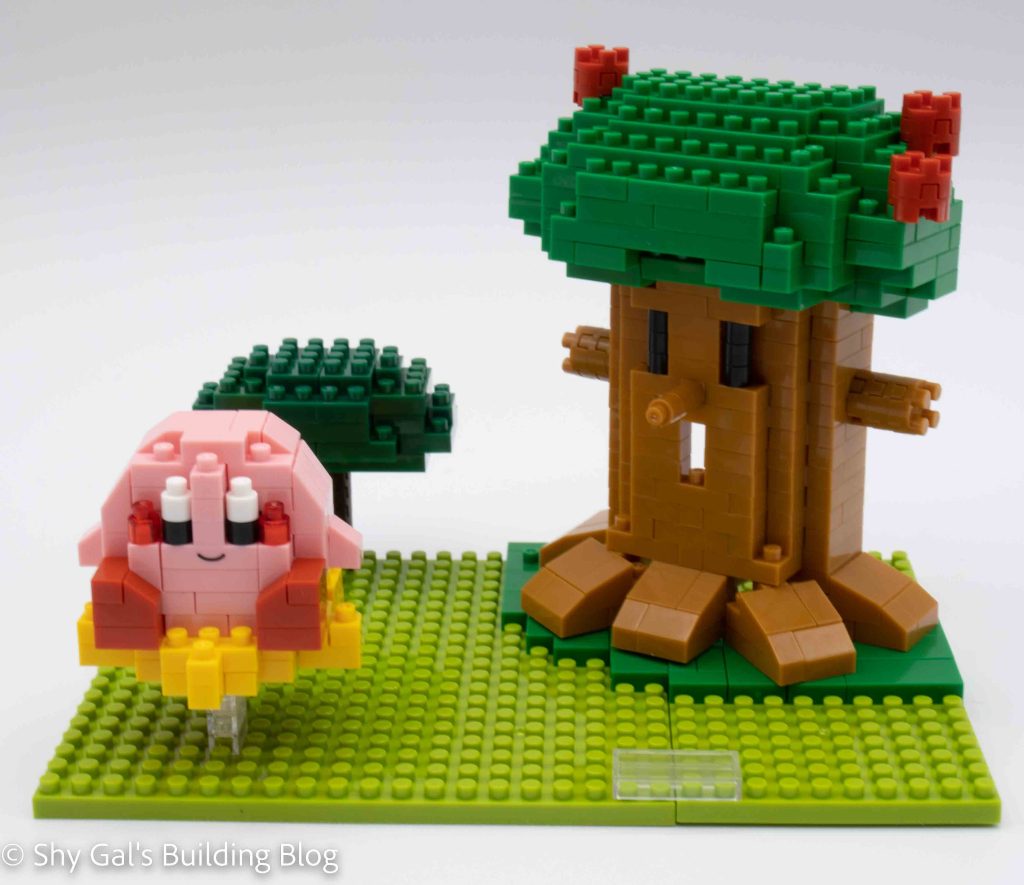
I think it is worth noting there are 2 shades of green (one used for each tree), but they are very similar in poor lighting, so be careful.
Whispy Woods is basically a semicircle of nanoblock. Until you add leaves, the build goes up in layers, with each layer covering the brick gaps from the previous layer. I was a little surprised that the mouth didn’t have anything behind it, but it is really just an opening that you can see through.
When adding the leaves to Whispy Woods, you need to be careful because there are several places where bricks are overhanging. This is tricky because if you push too hard, the bricks might collapse. After building the overhanging sections, the rest of the leaves are straightforward layers.
The final step for Whispy Woods is to add the details. This includes apples in the leaves. There are also the nose and arms added. The final step is to add the root details.
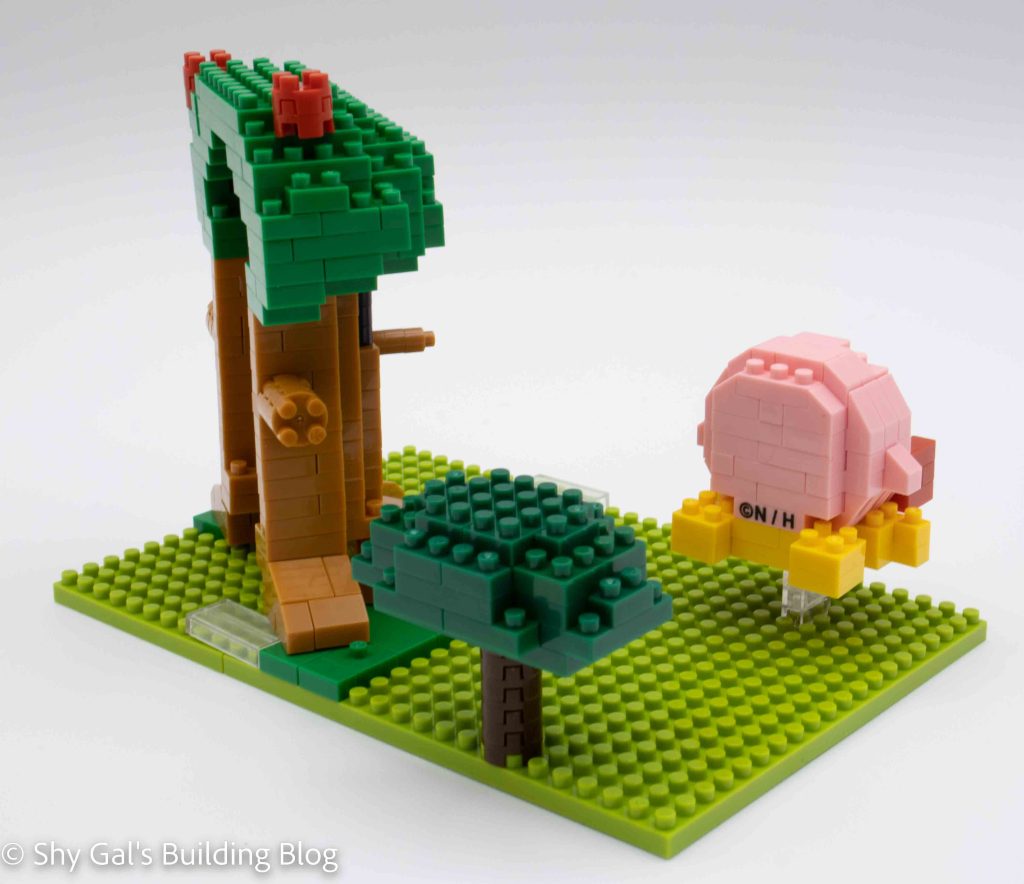
The second section in the instructions is the base. There is a misprint in the instructions. In step 27, the brick between the 2 10×10 plates is green. In step 28, the same brick is shown as clear. Based on extra brick counts and how it appears in steps 30 and 42, I determined the brick should be green. Other than the color typo setting up the base for Whispy Woods is very straightforward.
The third step in the instructions is the small tree in the background. The tree is very straightforward.
Next, you attach the smaller tree and Whispy Woods to the base. The studs for Whispy Woods are nicely lined up, so it was easy to attach him, which was nice and unexpected. I expected to need to turn the roots to attach Whispy Woods.
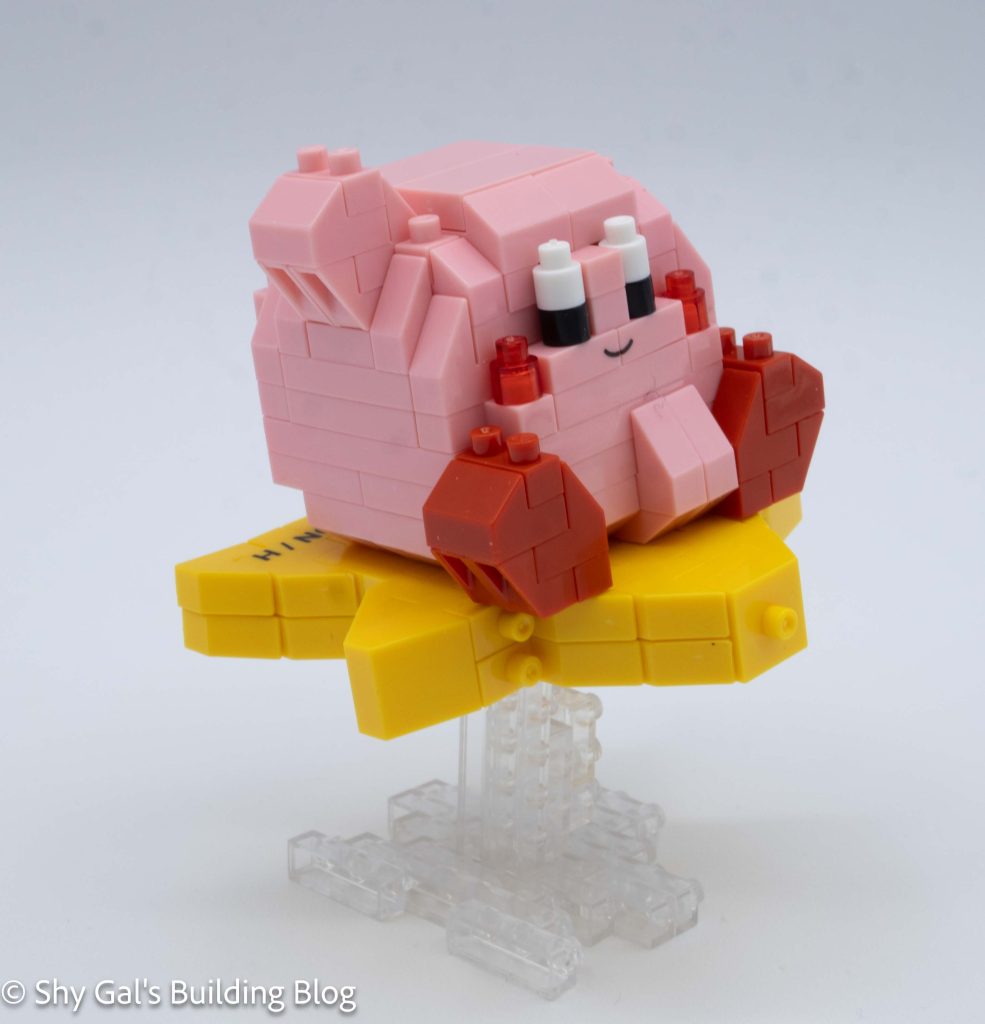
The final step is to build Kirby on the star. I built Kirby on my nanoblock pad. At some point, I picked up the build, which was very flexible, so I made sure to do the building on the pad.
First, you build Kirby. It begins with building the base couple of layers that create the entirety of Kirby’s base. The build then goes up in layers using slanted pieces to the arms and to create Kirby’s round shape.
The second step to building Kirby is to build the star he sits on. The star is 2 layers tall and very straightforward to put together.
The final step is to connect Kirby to the star. Then attaching Kirby to the base.
Things I liked:
That the build is the same scale as the mininano collection and it even comes with parts to attach those characters to the base
Things I didn’t like:
Kirby was really flexible while building him, so I was super glad that I had my pad
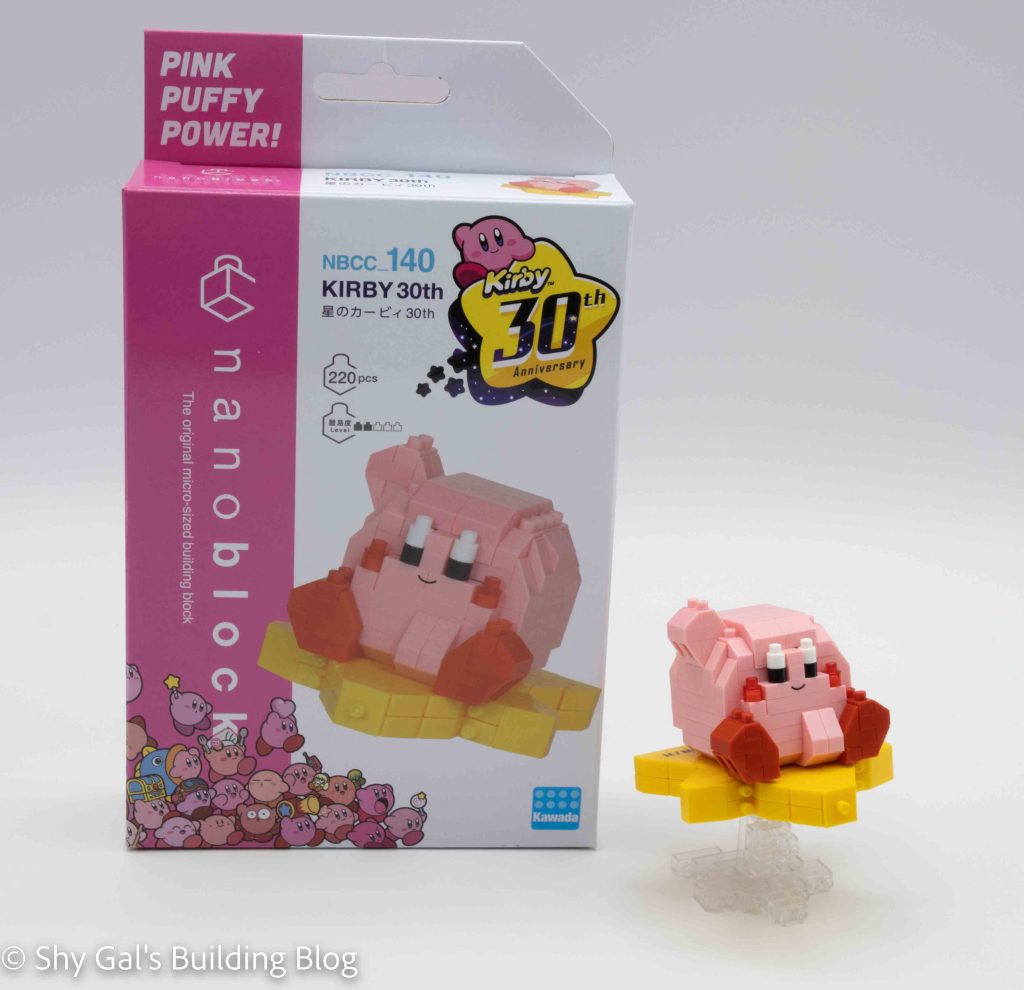
This post is a review of the nanoblock Kirby 30th build. Kirby is part of the nanoblock Character collection. Wondering what else is part of the Character collection? Click here for a list.
Number: NBCC_140
Number of Pieces: 220
Difficulty Rating: 2/5
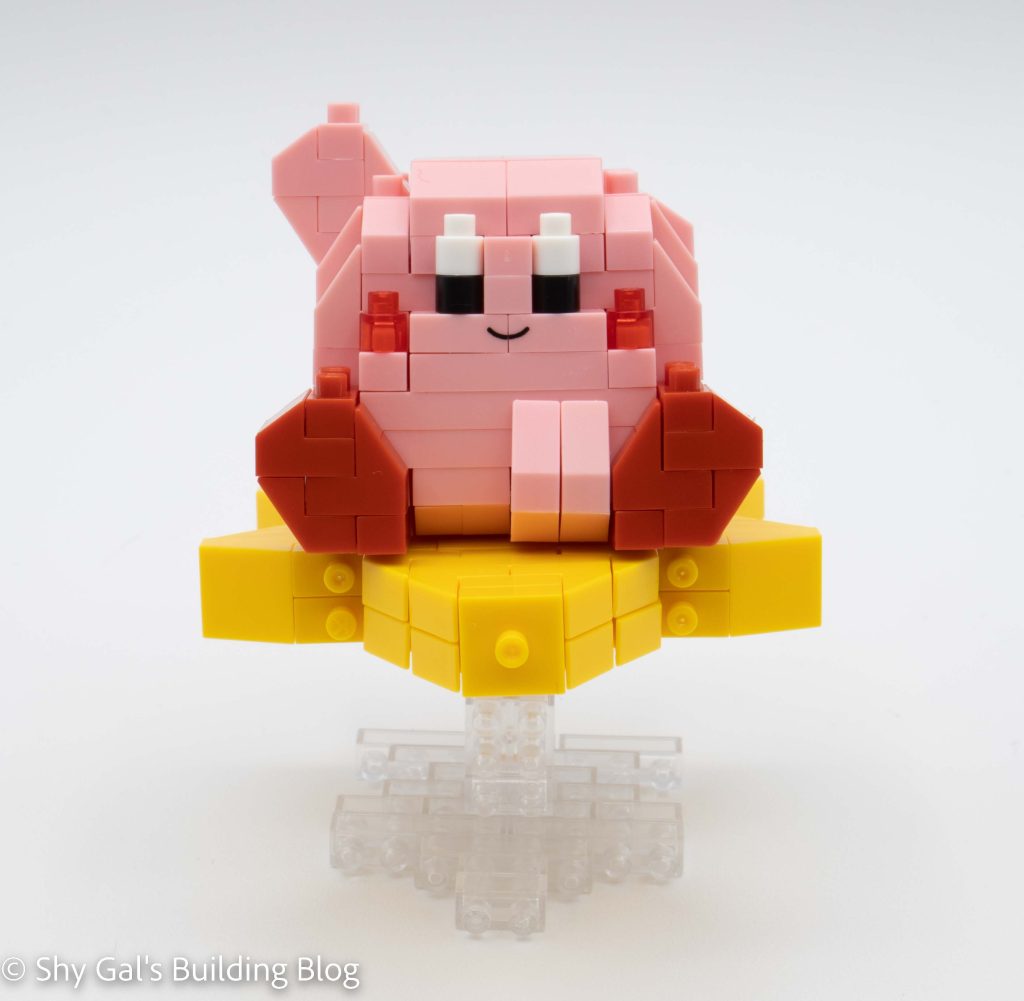
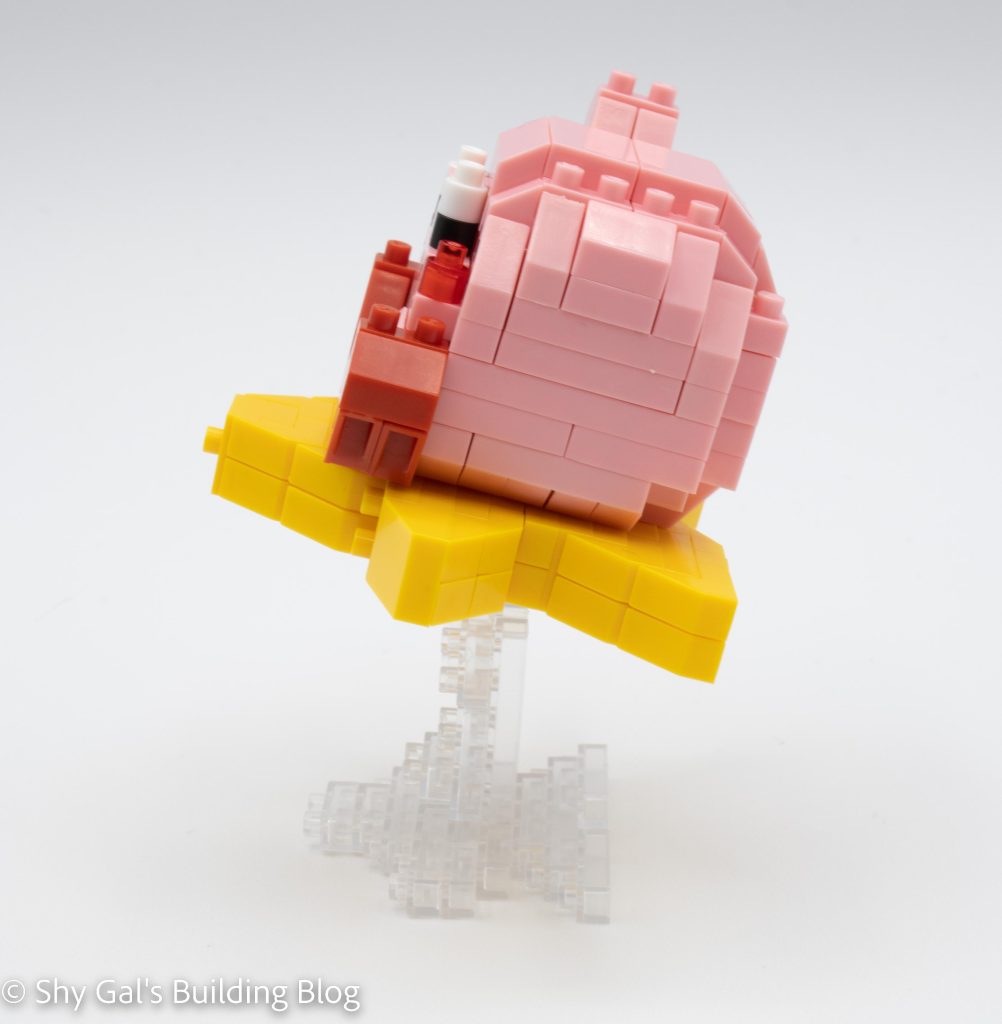
This build is made up of 3 sections. There is Kirby, the star, and the stand.
Kirby begins by making a base in pink bricks. Then the feet are added to the base. After that, Kirby begins going up in layers. Overall, things are fairly straightforward. In the step that adds Kirby’s mouth, I didn’t understand from the instructions that there was a custom piece with the mouth printed. Once I found the piece, the only other concern was the slanted pieces.
Kirby has 2 different slanted pieces. I appreciated that the colors in the instructions were different enough that it was very clear when to use which slanted piece.
The final step to building Kirby is to finish his hand and smooth out the top of his head.
Kirby comes with a big 30th sticker to put on his back. I didn’t use the sticker on this build because it would have meant that I wouldn’t be able to take Kirby apart.
The star is created by several layers of yellow bricks with a width of 2, so the final build is 2 bricks tall. The first step creates a gap in the 2 depth. I wasn’t sure why there was a gap, but it became clear when I put the sections together. The second step adds the socket of the ball joint, which is needed to connect the star to the stand.
After adding the socket, the rest of the star is fairly straightforward until the final step. There are 2 notable things about the final step. First, there is a custom-printed brick. I think it is for copyright, but I’m not sure for what exactly. Secondly, it wasn’t clear that it mattered what order sections were added. It was pretty easy to fix when I realized the order did matter.
Kirby sits on studs that point out the star, so he is very stable.
The stand is fairly straightforward. It begins by building up several layers of clear bricks. After building the layers, some additional bricks are added to the bottom layer. The stand is then laid on its side so the ball joint is up in the air.
Kirby’s star attaches to the ball joint on the stand. The part sticking up above the joint goes into the hole in the star to all the star to sit at an angle.
Things I liked:
The custom brick for Kirby’s mouth because it means there isn’t a sticker for the mouth
How Kirby sits at an angle on his star ride
Things I didn’t like:
It was really hard to tell about the special brick that had Kirby’s mouth was a special brick