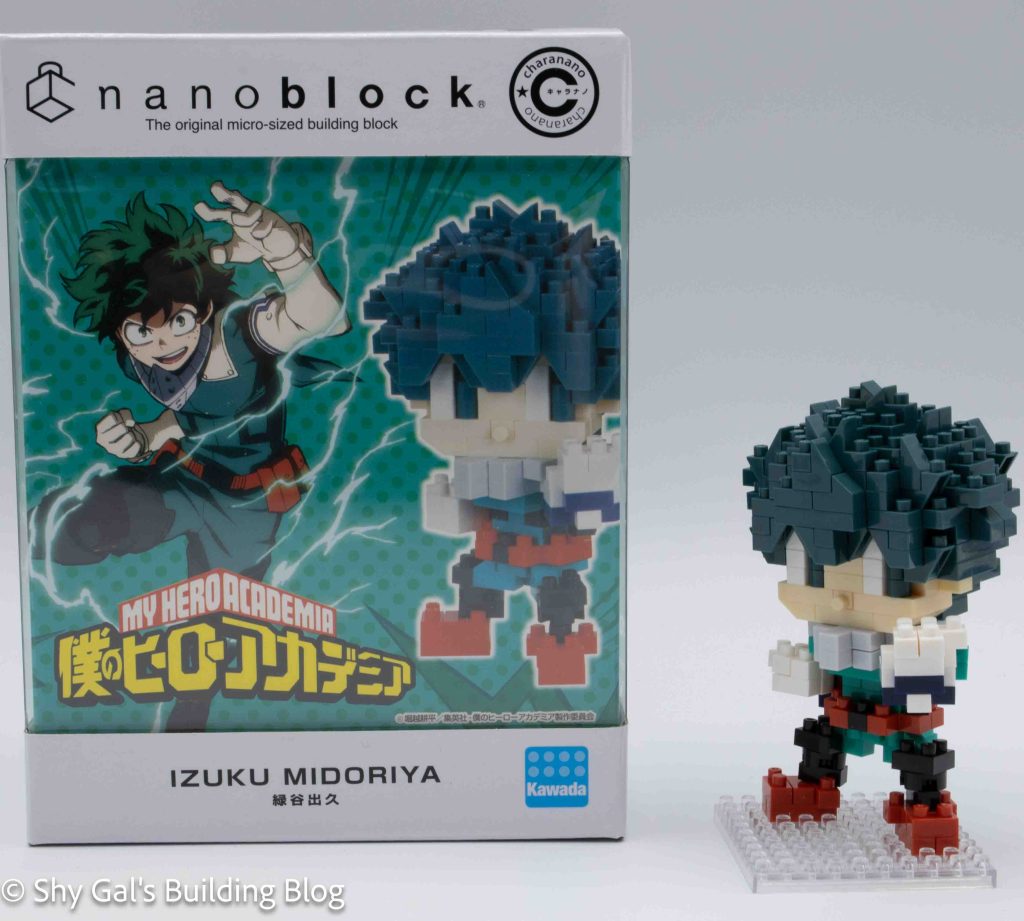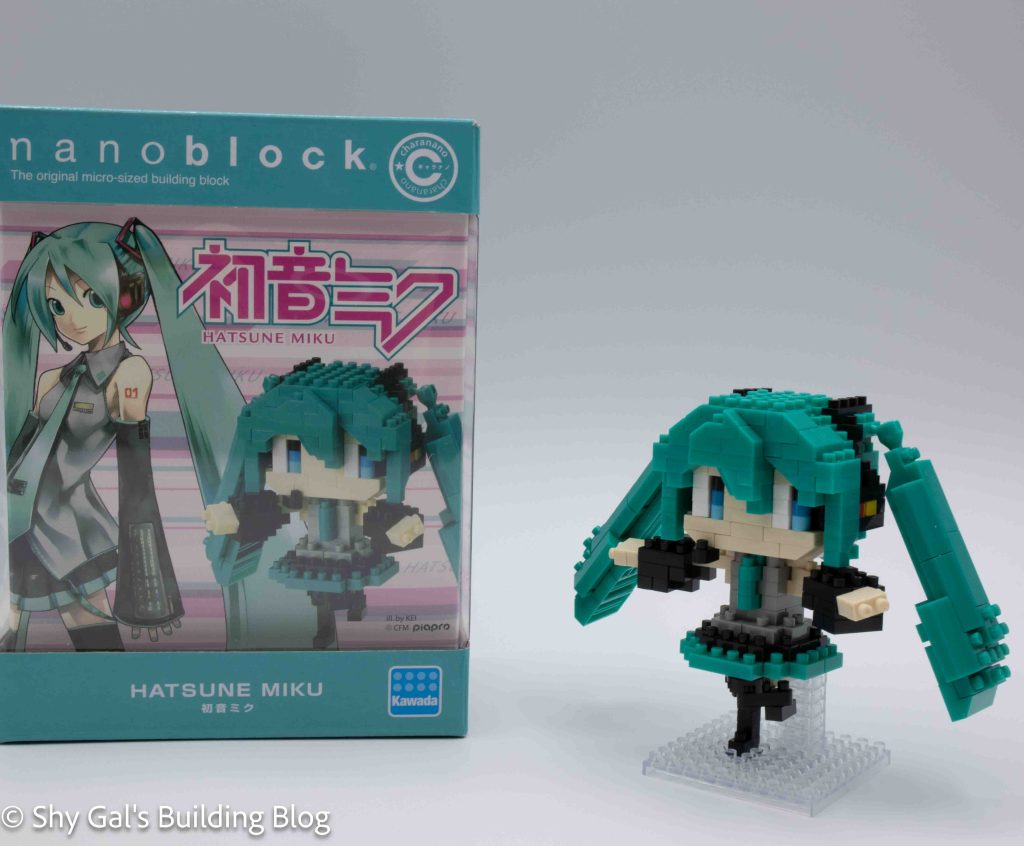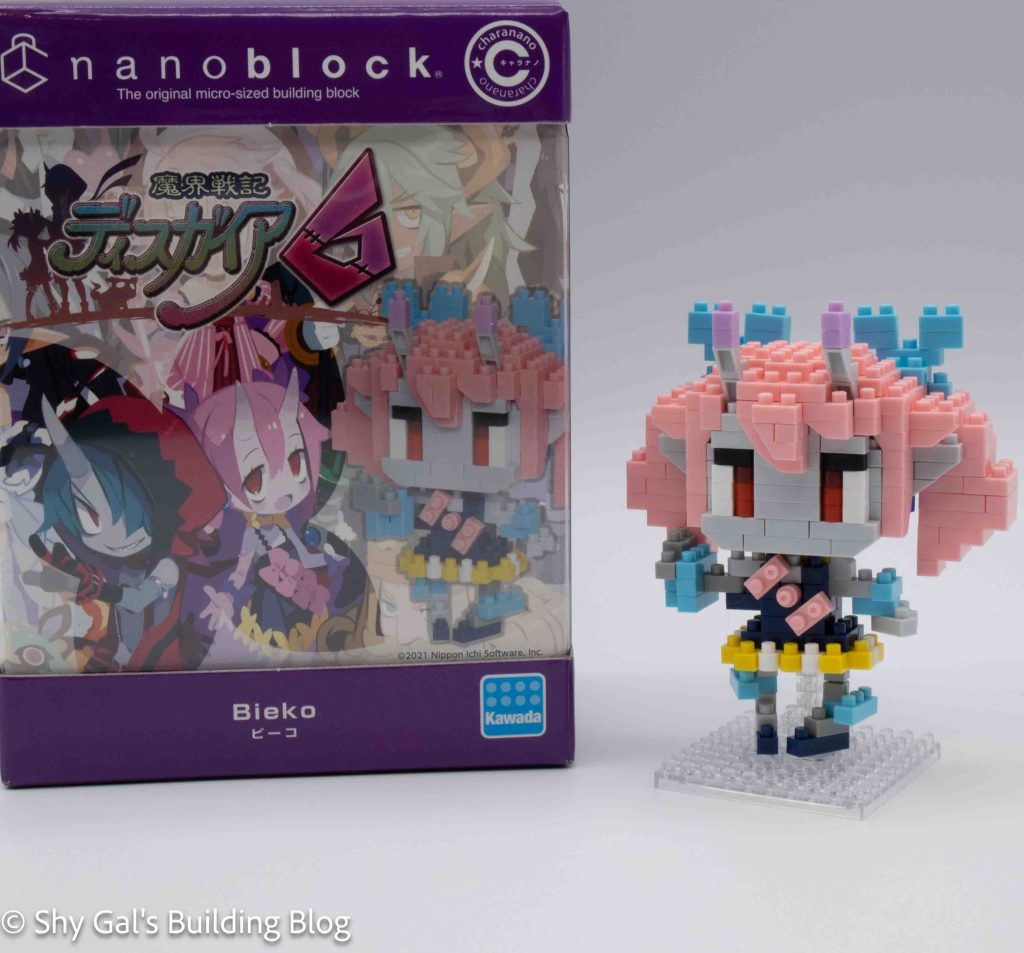
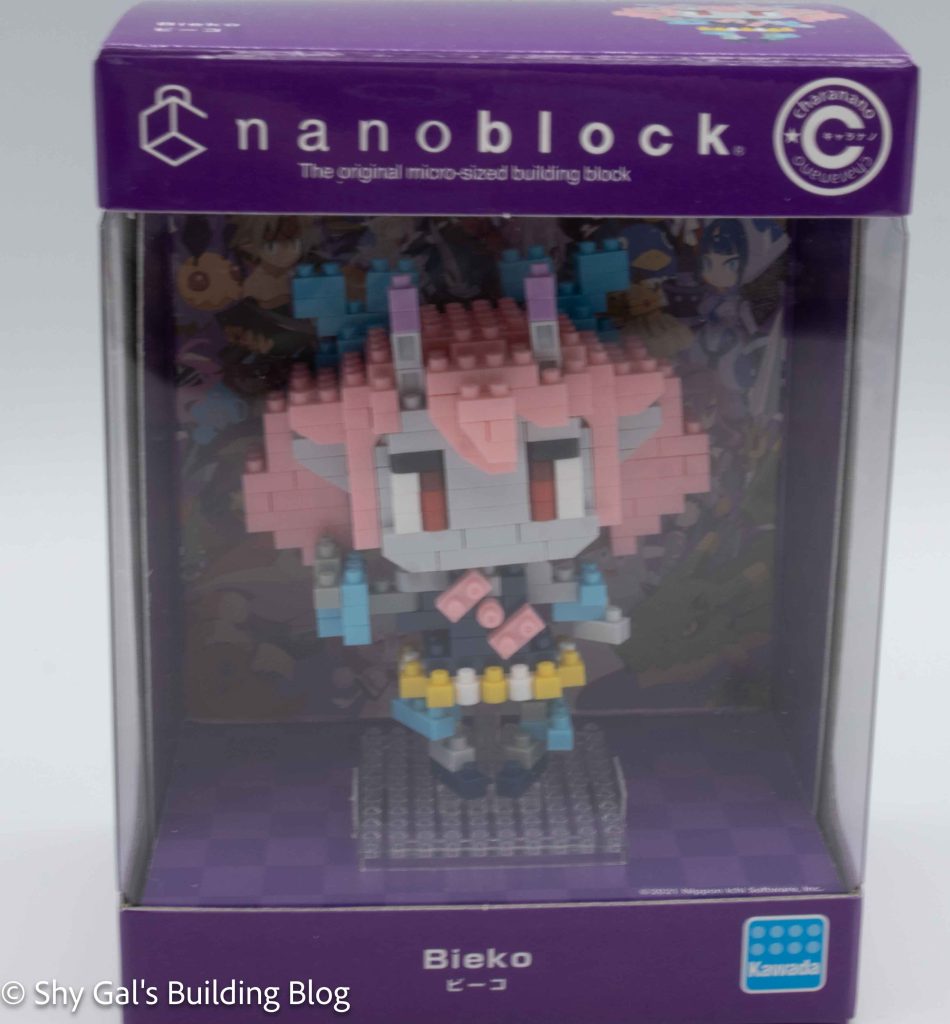
This post is a review of the nanoblock Bieko build. Bieko is part of the nanoblock charanano collection. Wondering what else is part of the charanano Collection? Click here for a list.
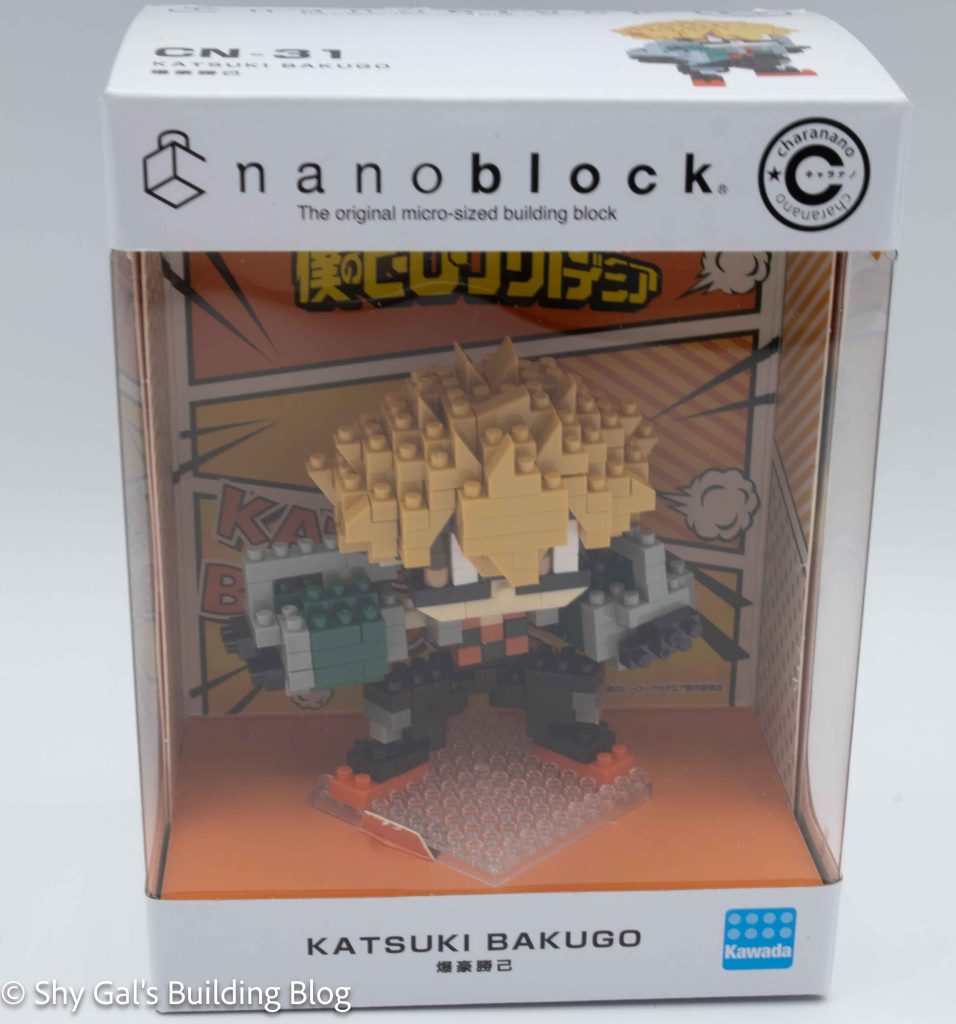
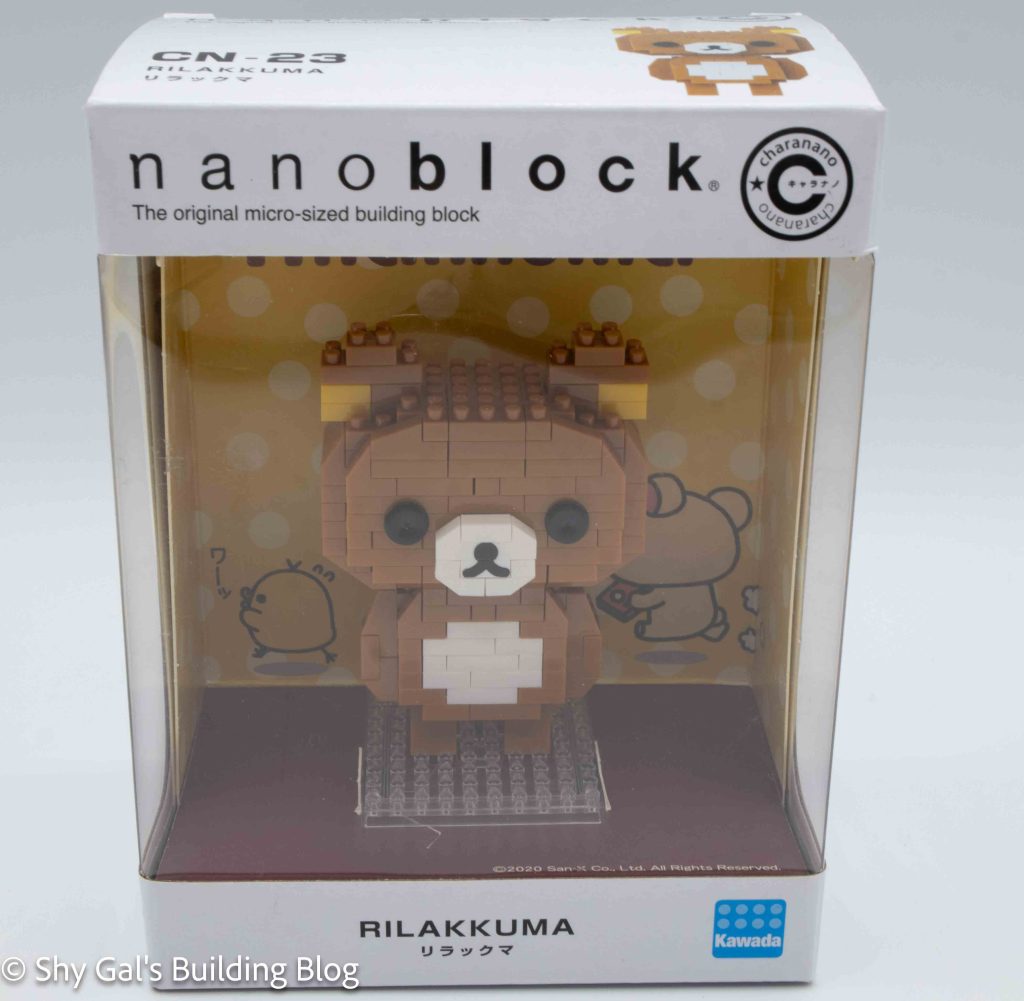
Number: CN-35
Number of Pieces: 290
Difficulty Rating: 3/5
Bieko is a playable character in Disgaea 6. She is the younger sister of the main character. For more information, check out her wiki page.
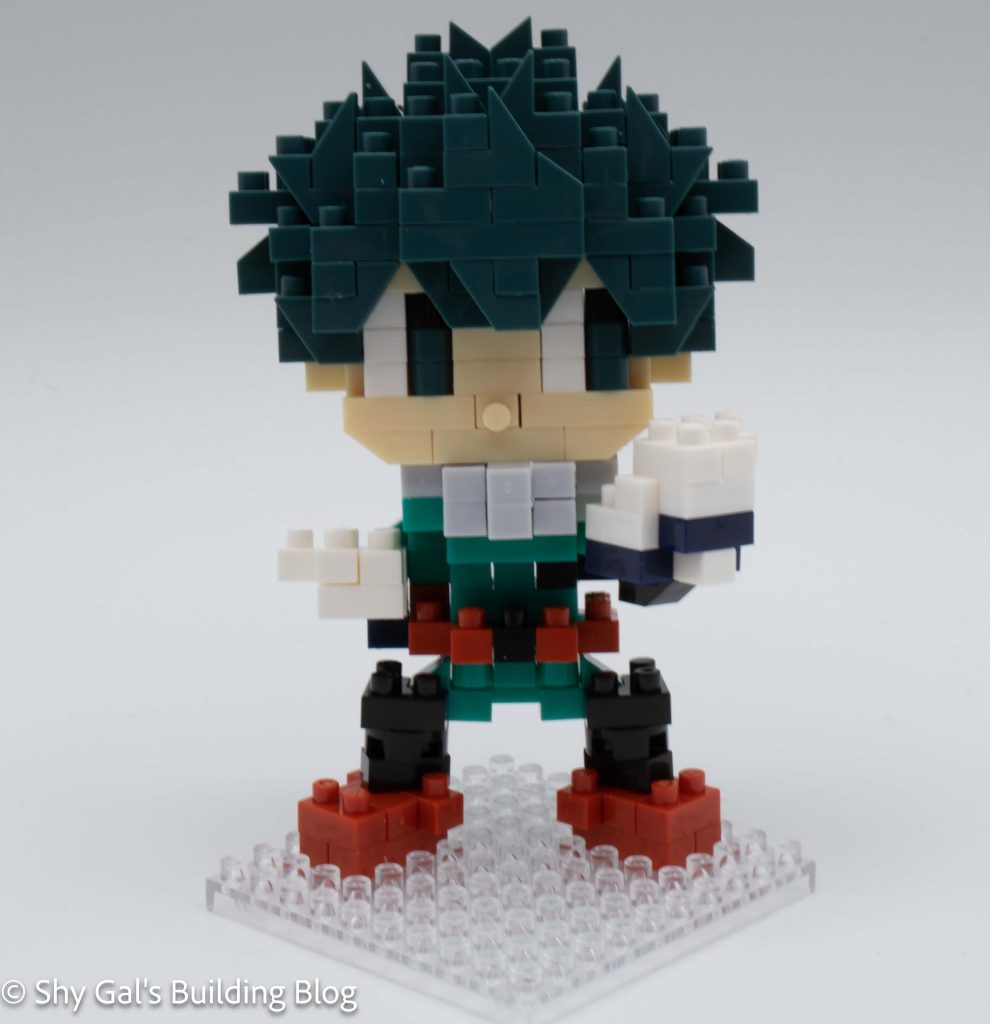
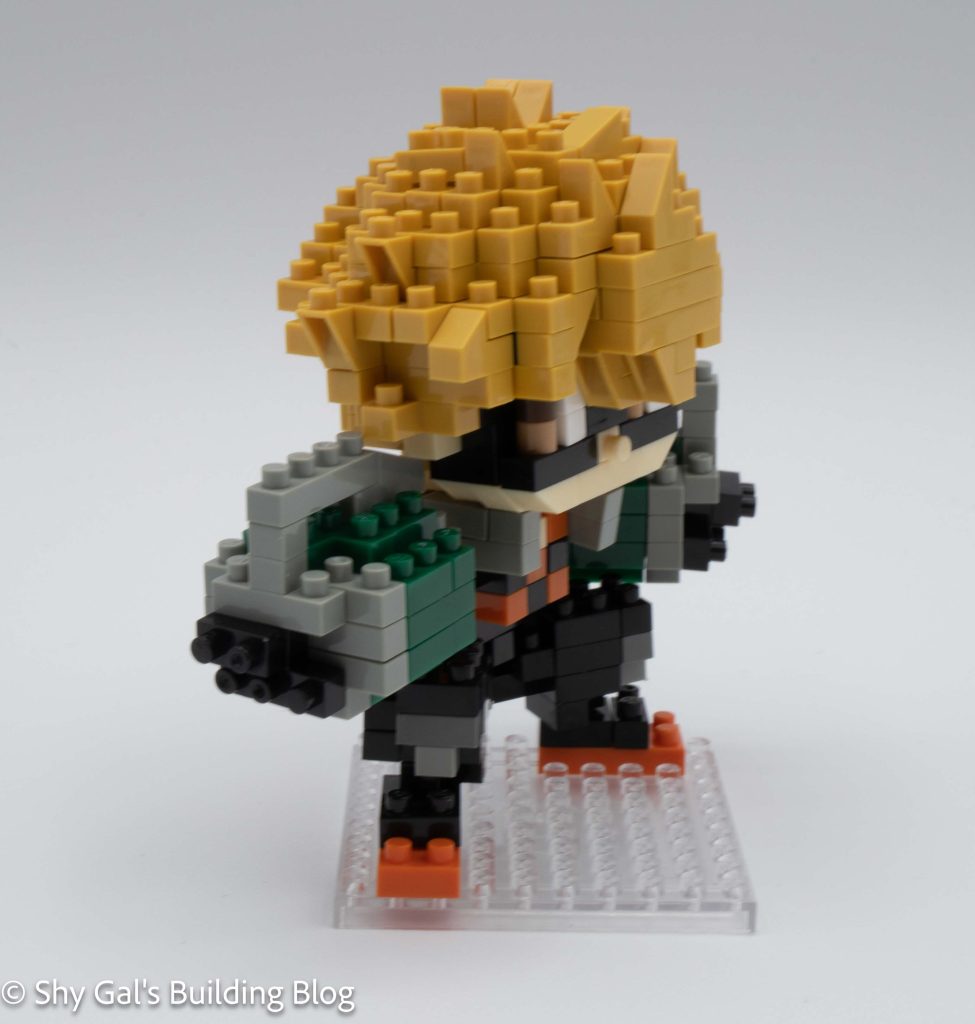
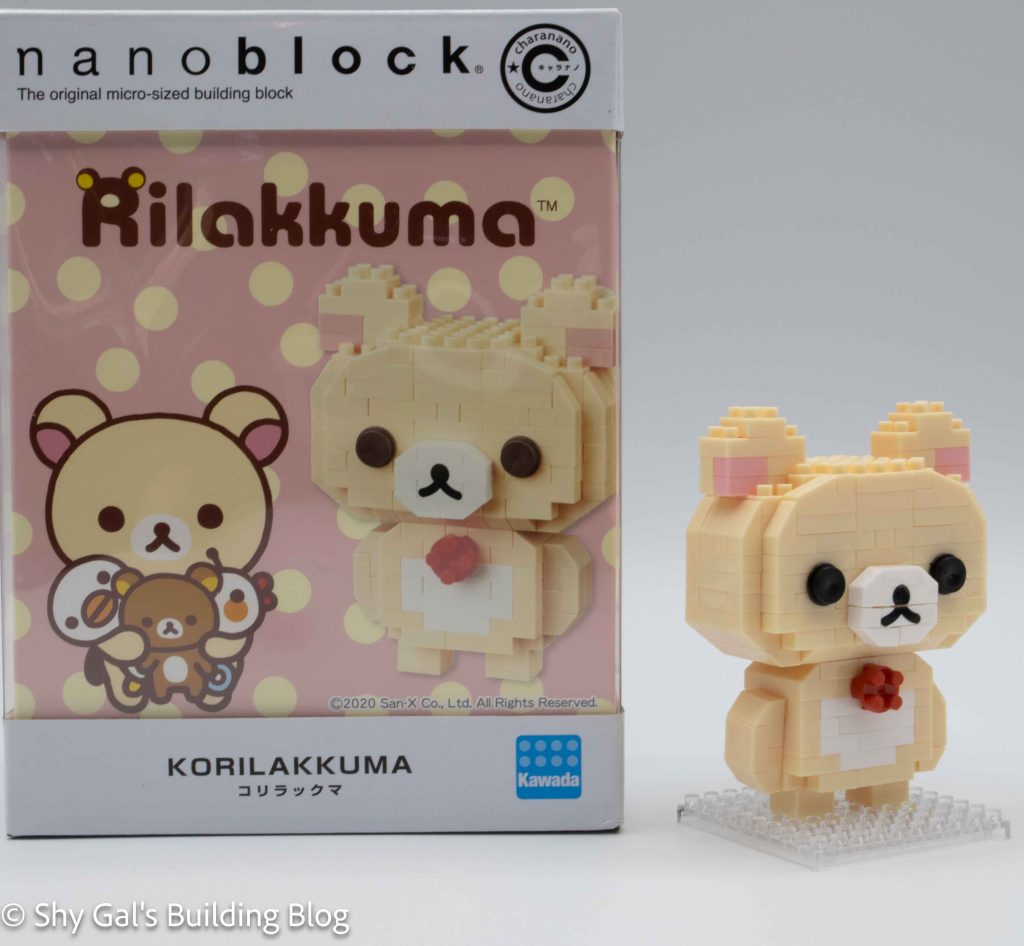
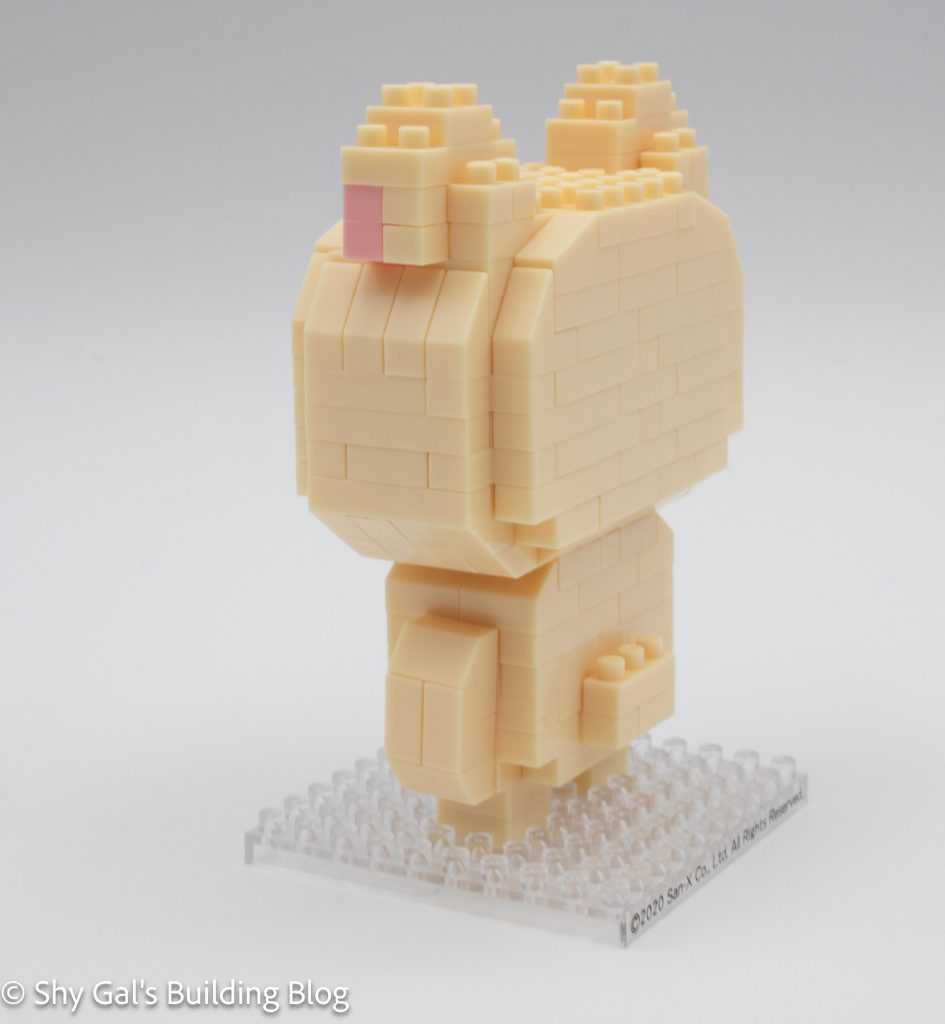
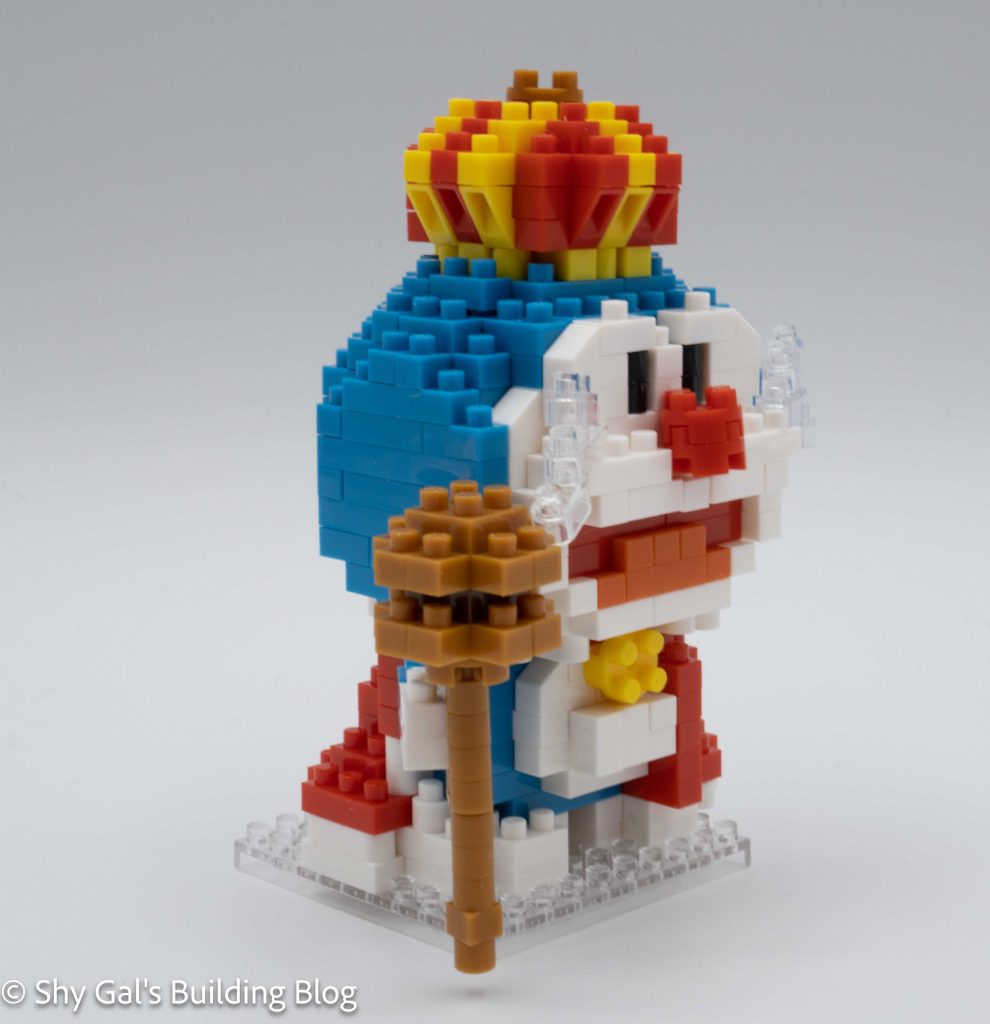
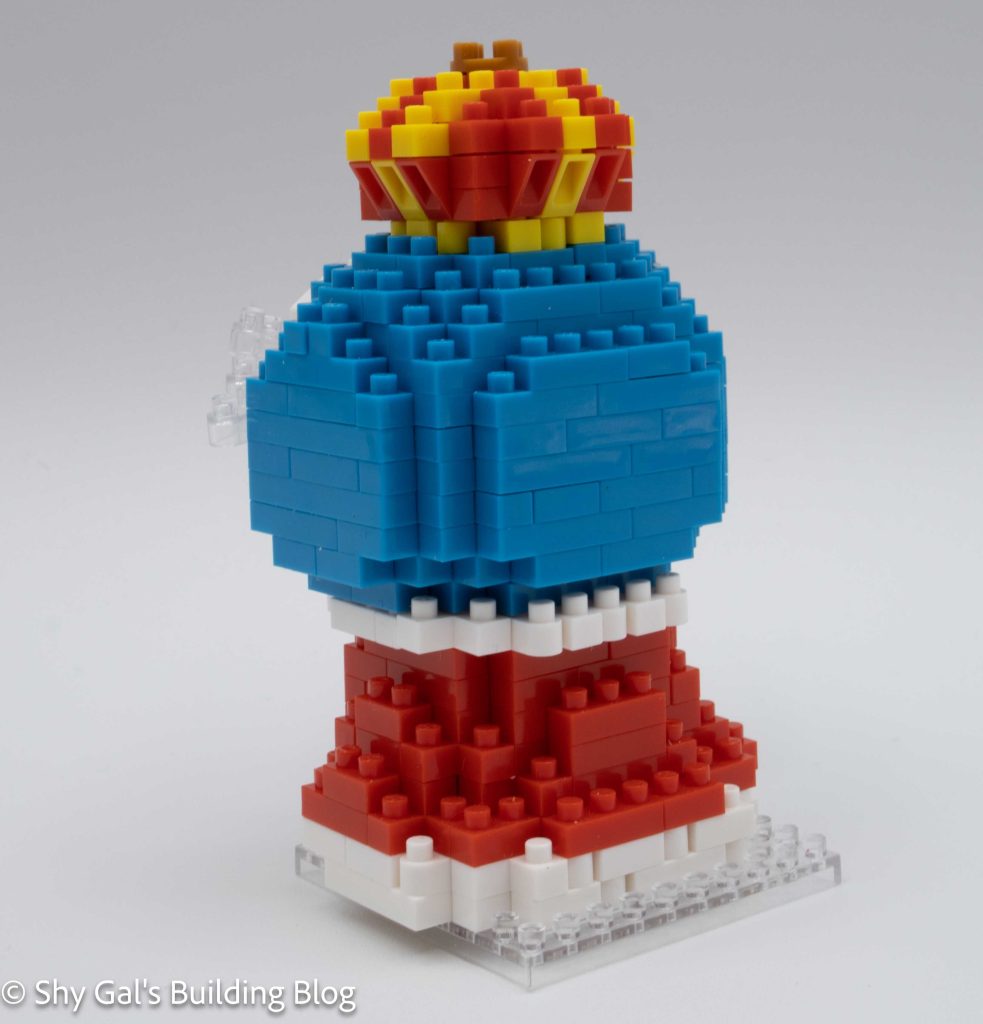
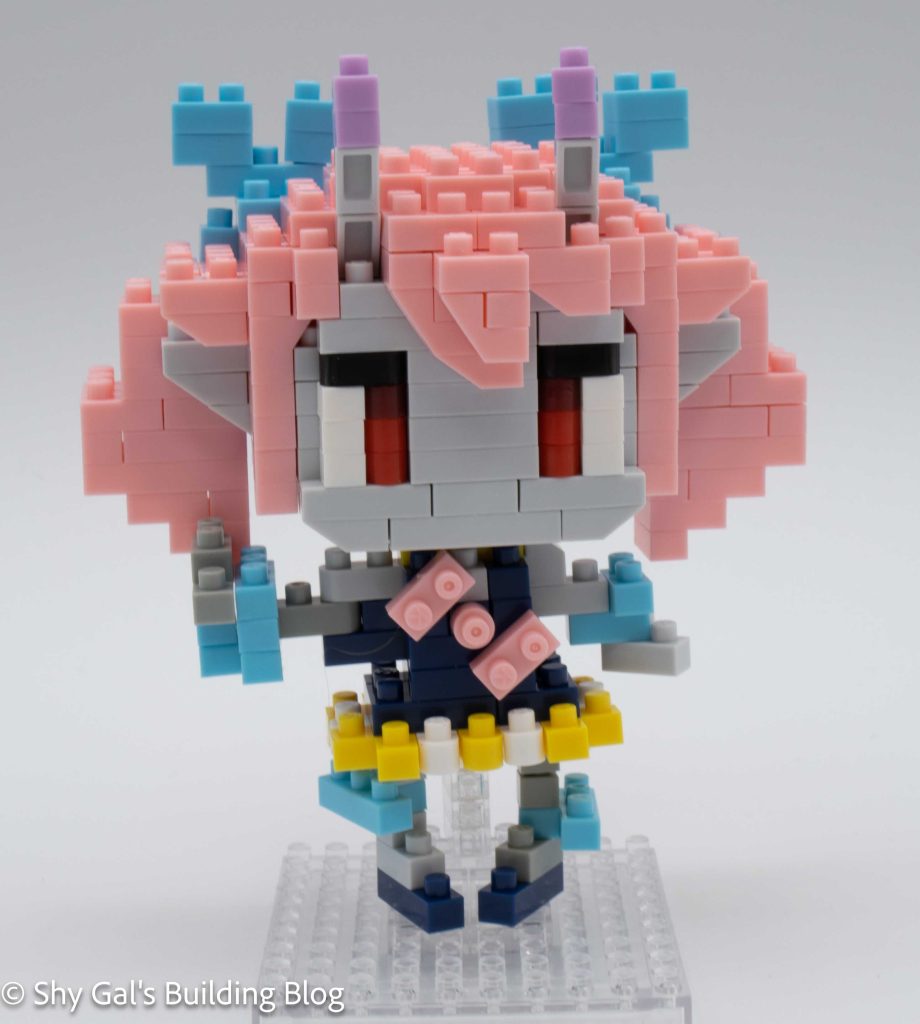
This nanoblock build consists of the head, the body, and the legs.
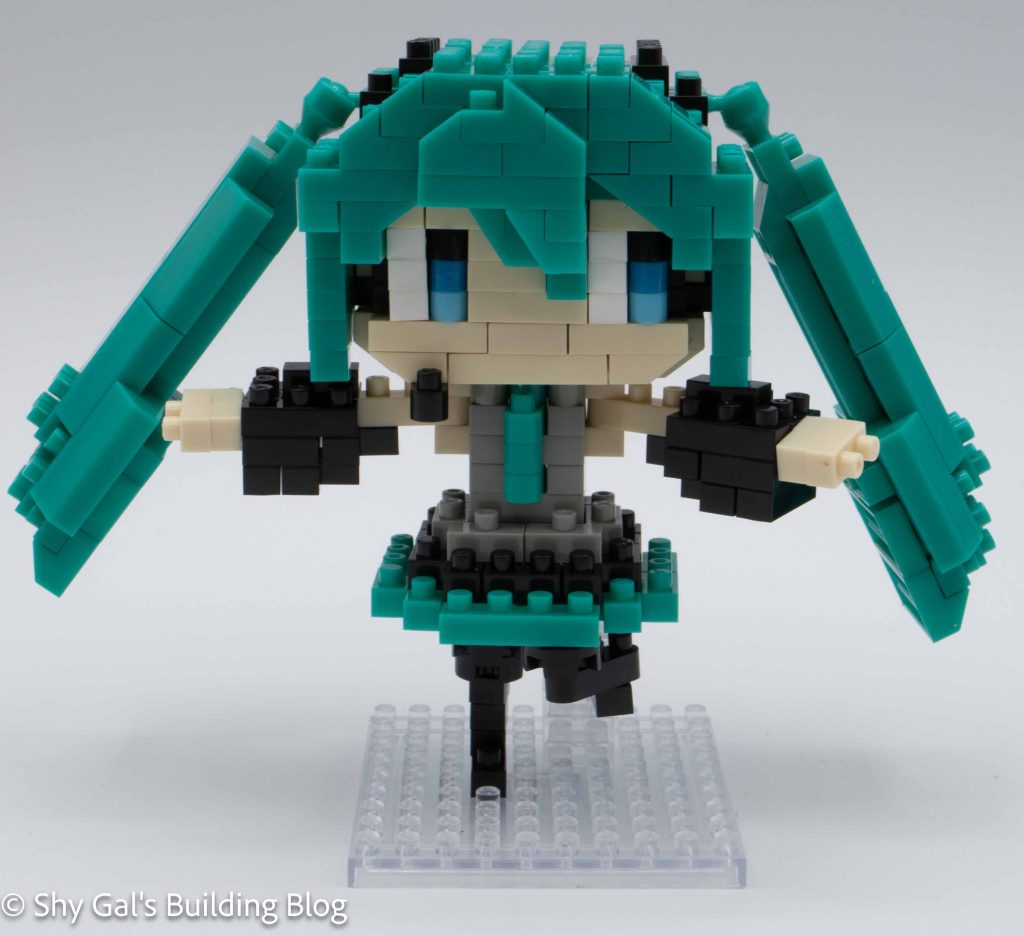
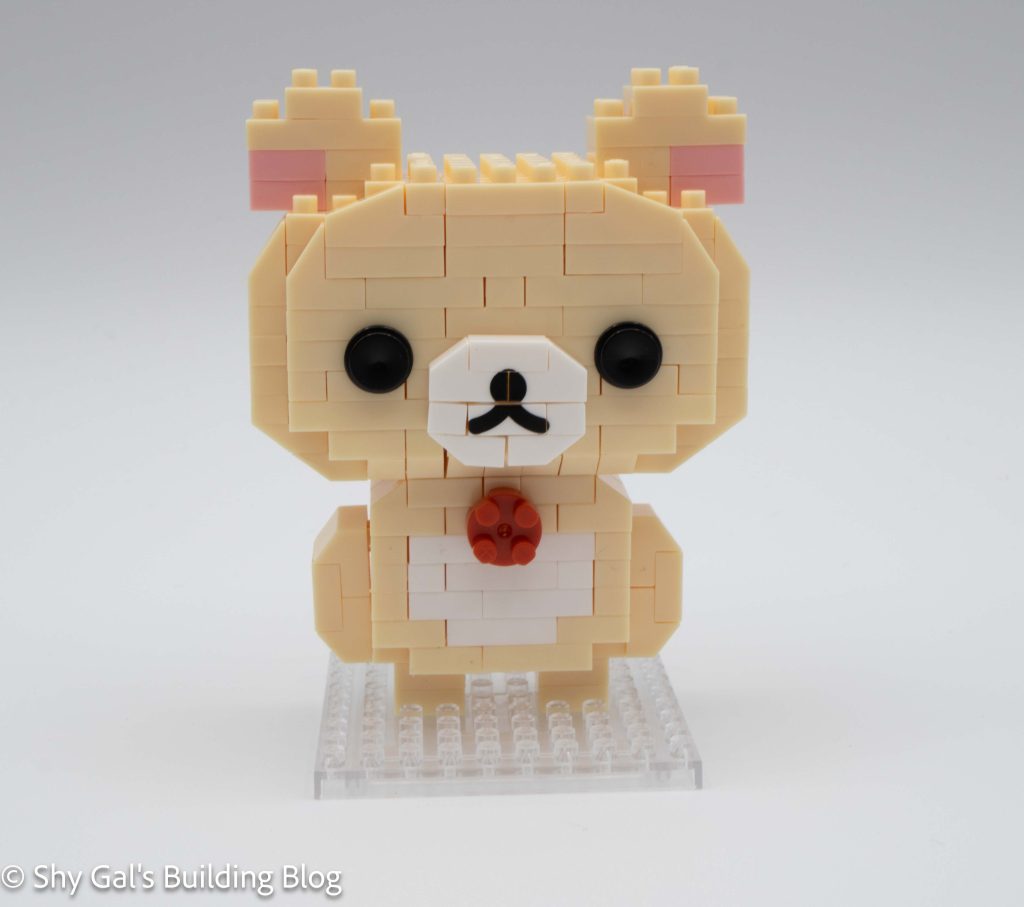
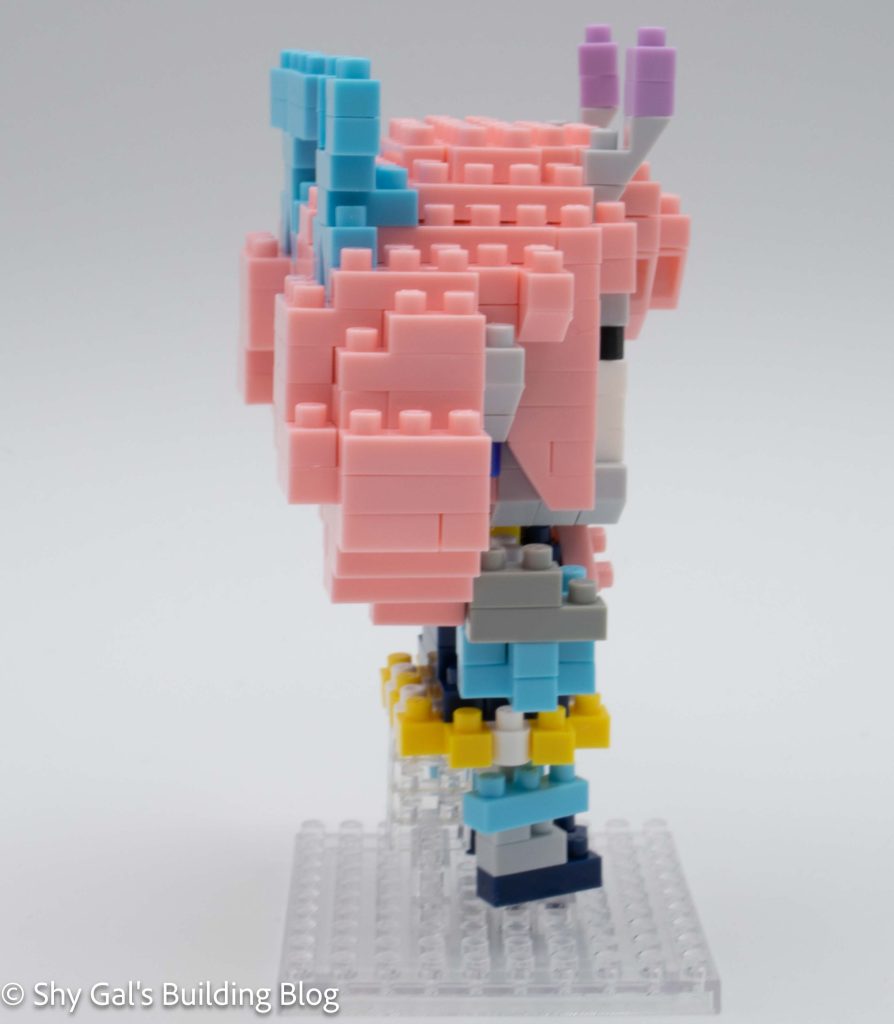
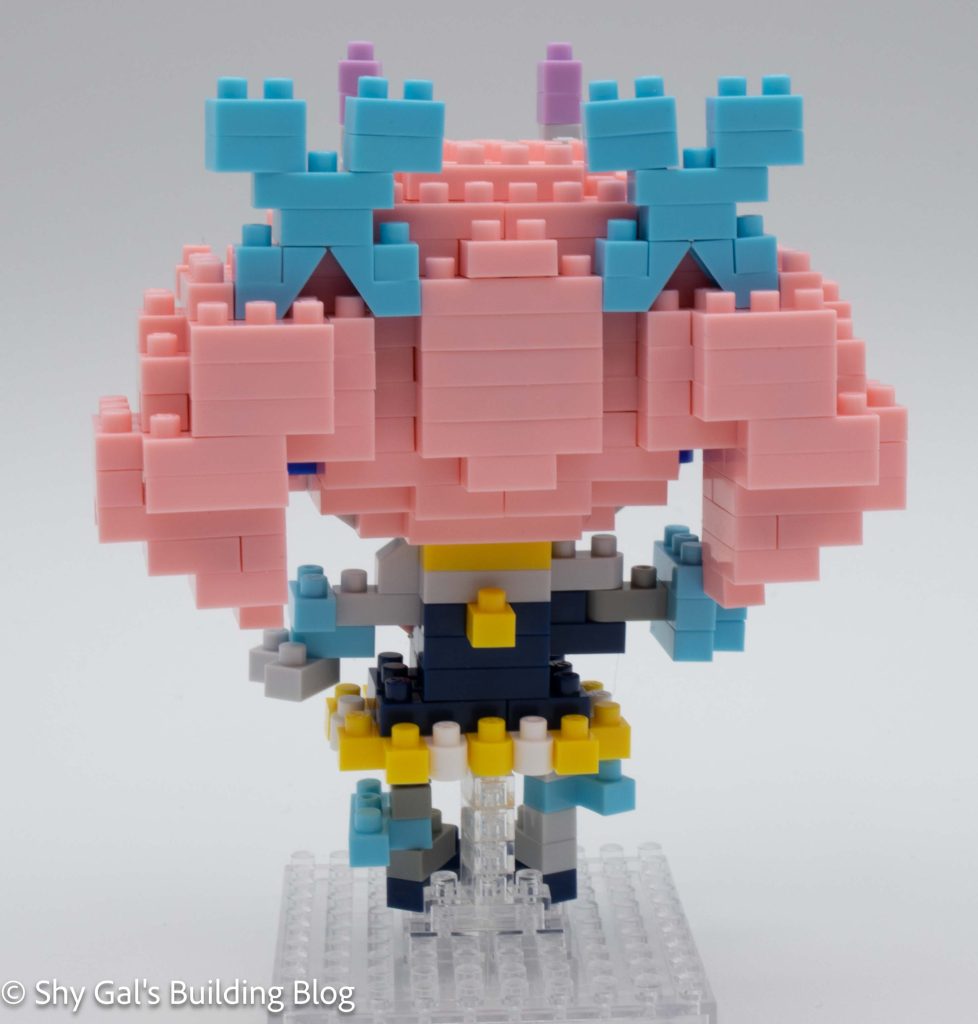
The Bieko’s head begins with a layer of light grey and pink. You have to assume that the colors are correct because the colors in the directions are pretty far from the colors of the actual bricks. The head builds up in layers, adding the ears, ears, and details in the hair. I really like how many layers are added to the hair to create depth and details.
I initially missed the light purple details in the horns, but it was easy to add them once the rest of the build was completed.
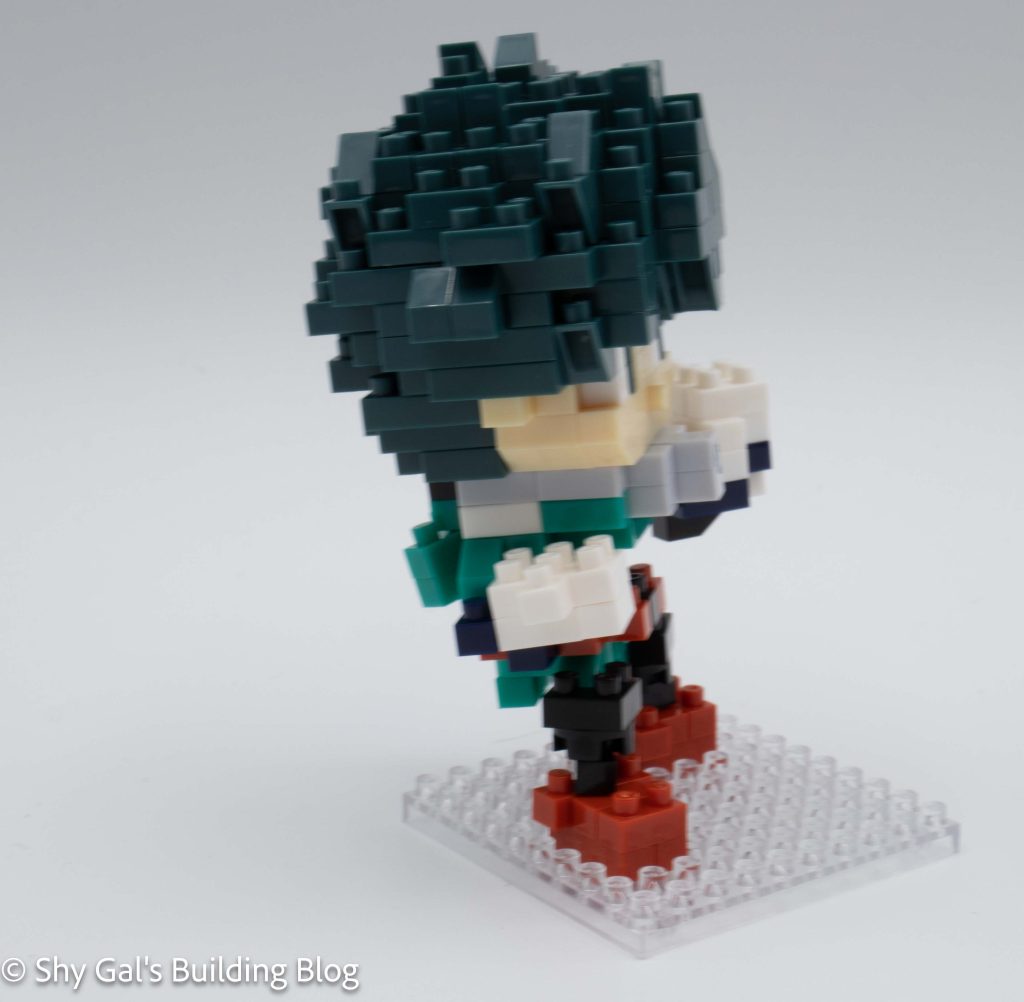
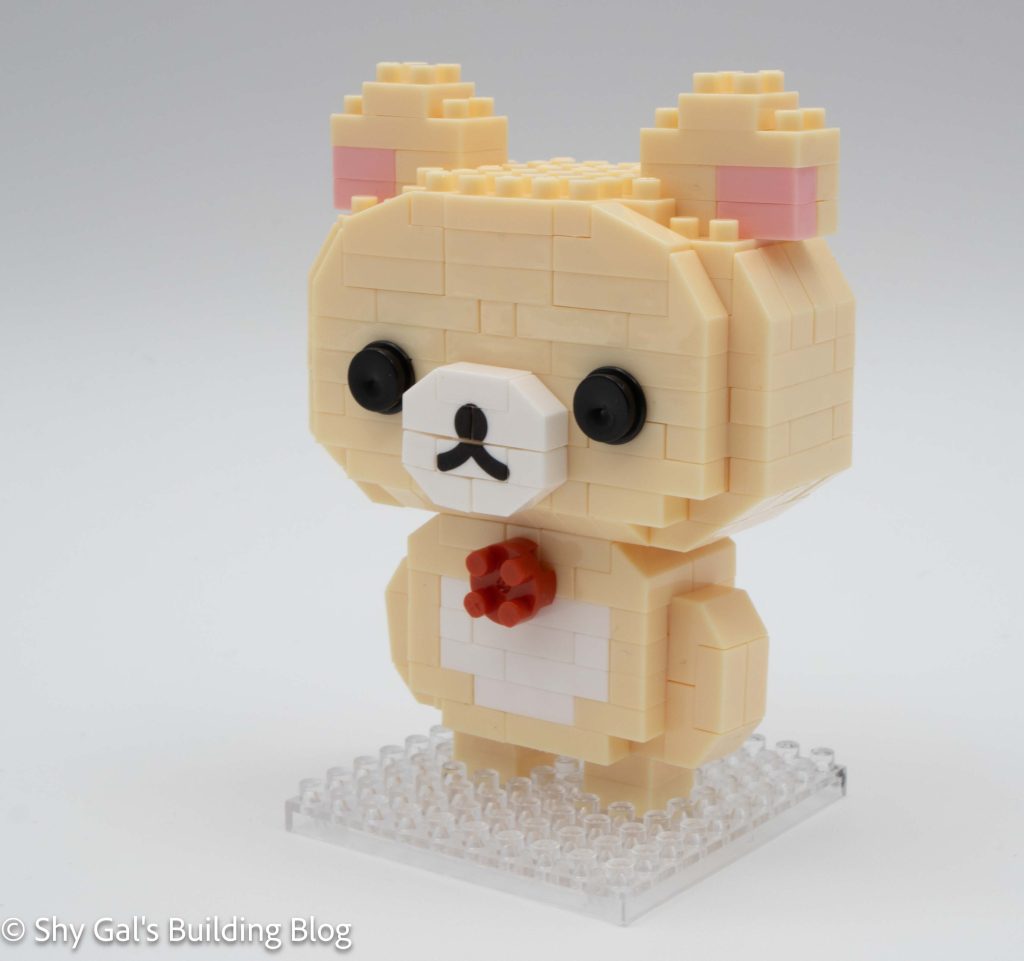
The body is challenging because of the brick chaining used for the arms, making it hard to keep the build together until everything was pinned down. The body begins with a base layer that creates the bottom of Bieko’s skirt. The body is then built up in layers while adding arms and hands. The last detail of building the body is to add the bows, which is a sweet detail.
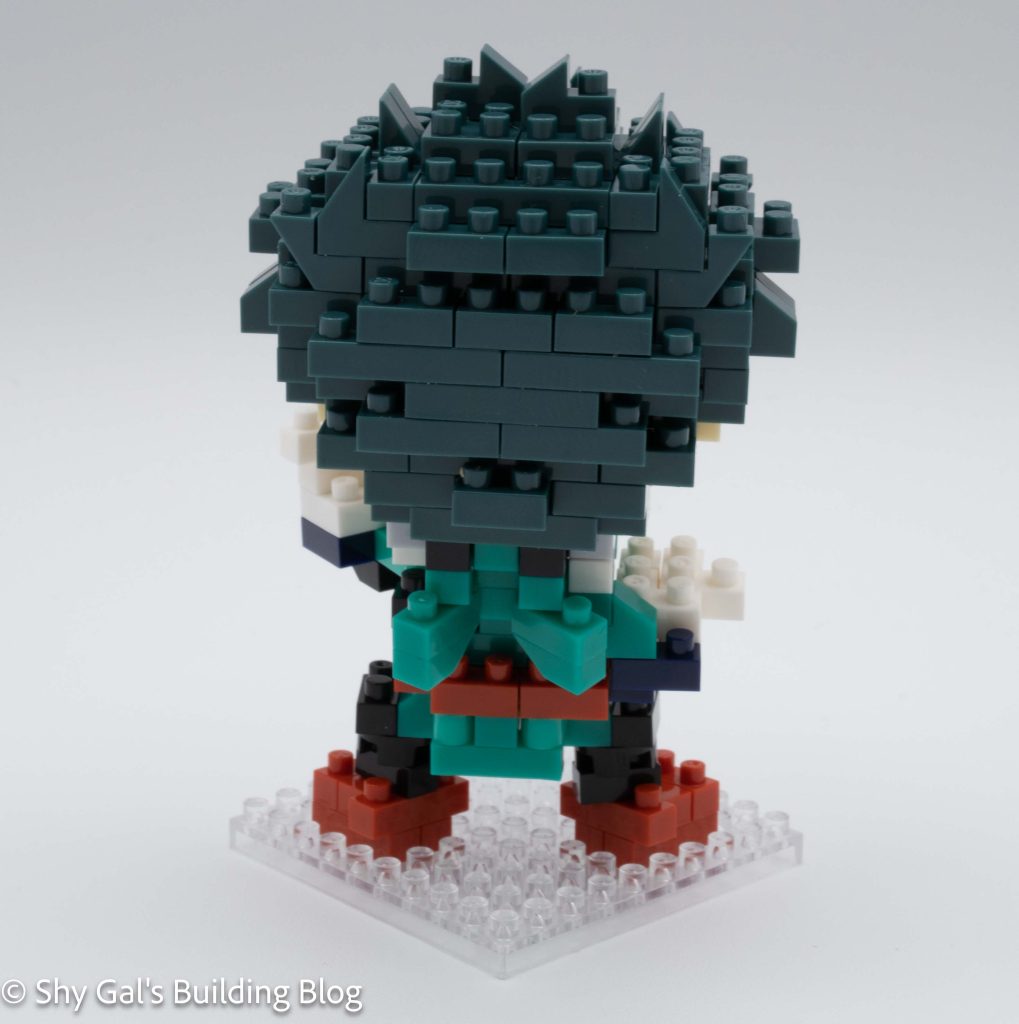
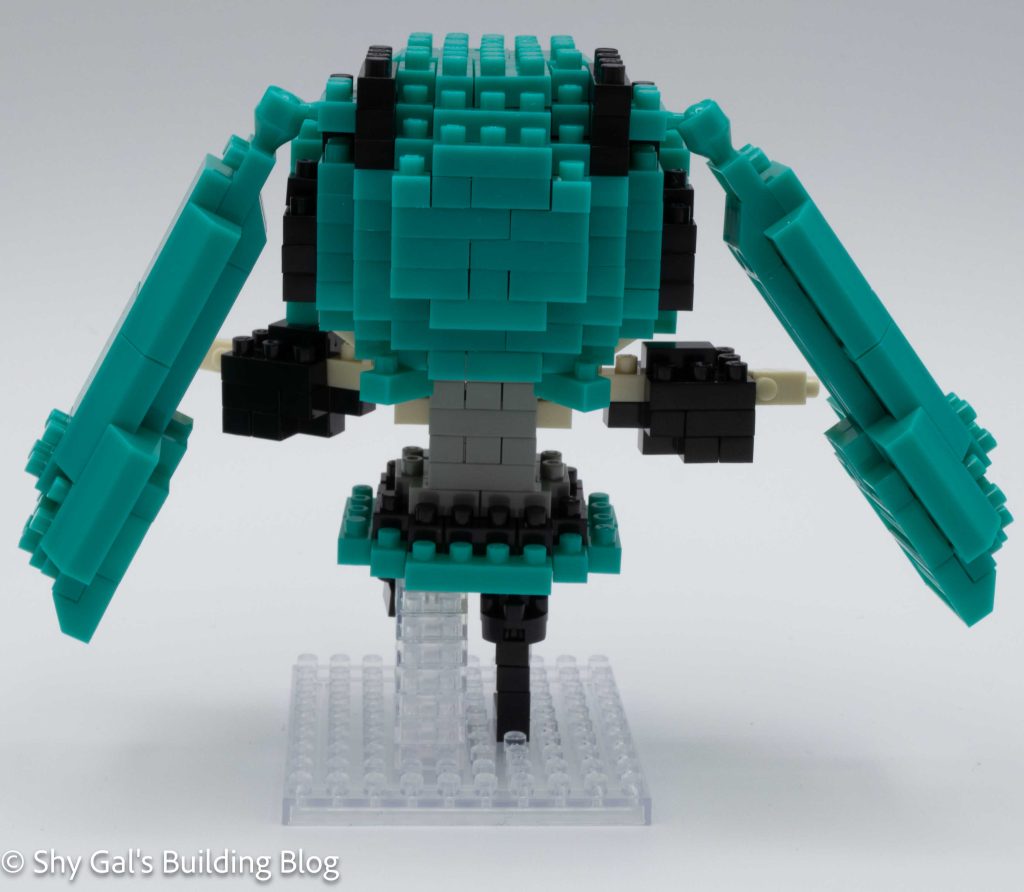
The final step is to build Bieko’s legs. It is a bit hard to tell the difference between light grey, grey, and clear in the instructions, but the legs are the same color going all the way up, so once you figure out the color, it is straightforward.
The final step is to put all the pieces together to create the complete nanoblock Bieko model, which is straightforward and has excellent directions.
Things I liked:
- The amount of detail in the build between the shades of grey and how many various colors are used to create details.
Things I didn’t like:
- Building the legs was a bit challenging because it was hard to tell what colors to use between the light grey and clear