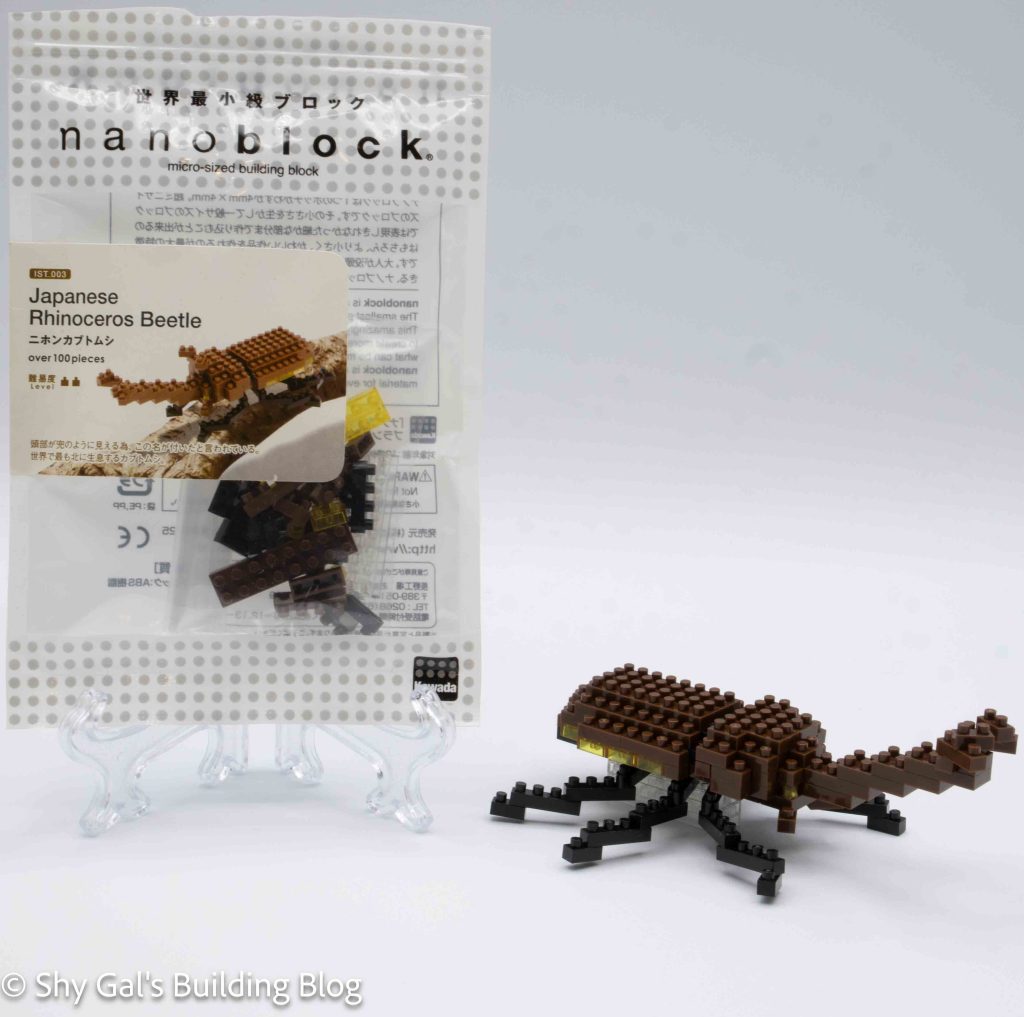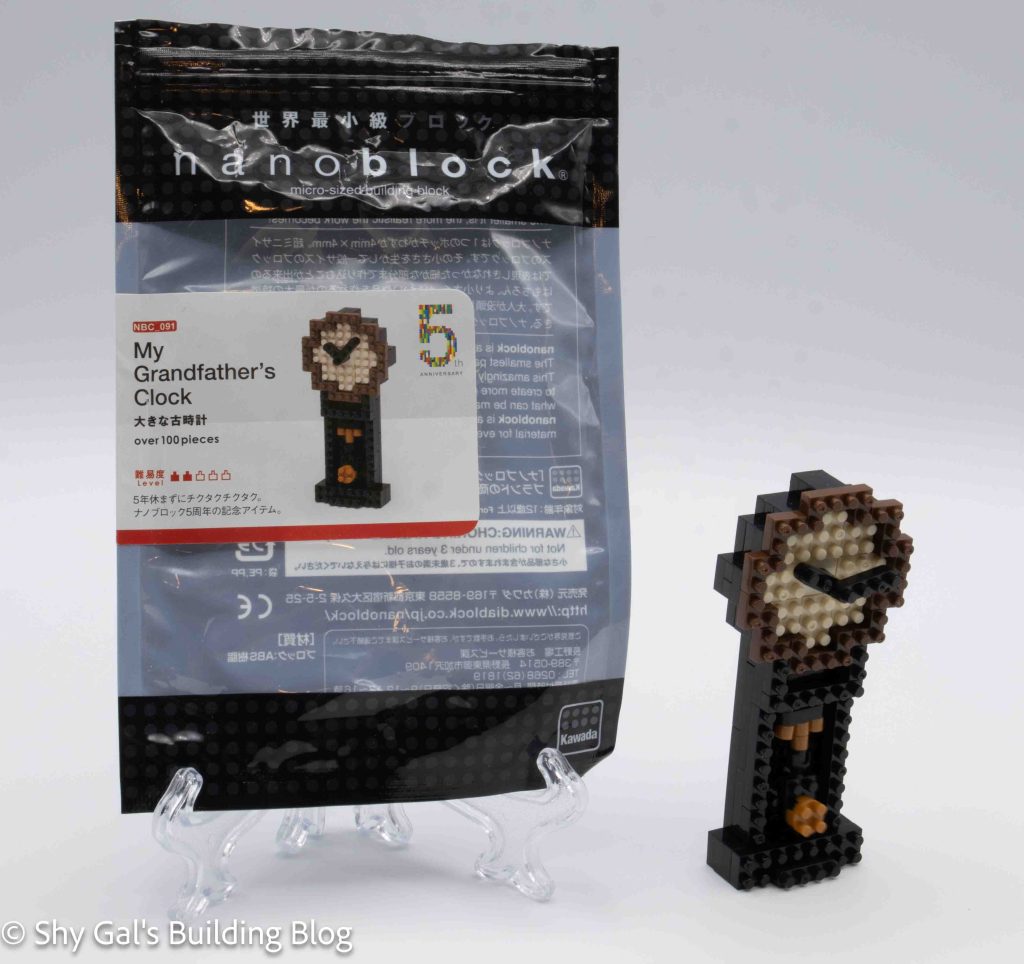
This post is a review of the nanoblock My Grandfather’s Clock build. My Grandfather’s Clock is part of the nanoblock Mini Collection series. Wondering what else is part of the Mini Collection? Click here for a list.
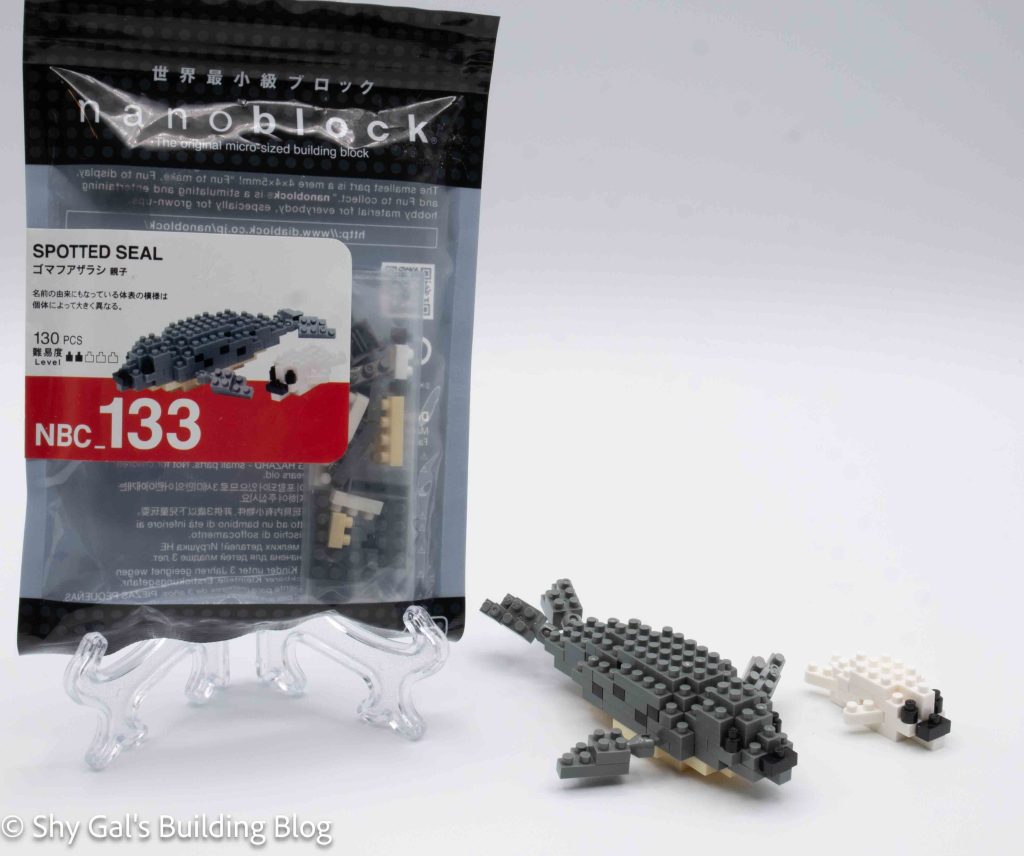
Number: NBC_091
Number of Pieces: 100
Difficulty Rating: 2/5

I bought this kit used, so it was missing a couple bricks. I was able to fill in the missing bricks with bricks from other kits.
This kit was part of the nanoblock 5th anniversary. The person I bought the kit from said they got it from the contest. I’m not sure if the kit was ever in shops or the type of contest the kit was awarded for.
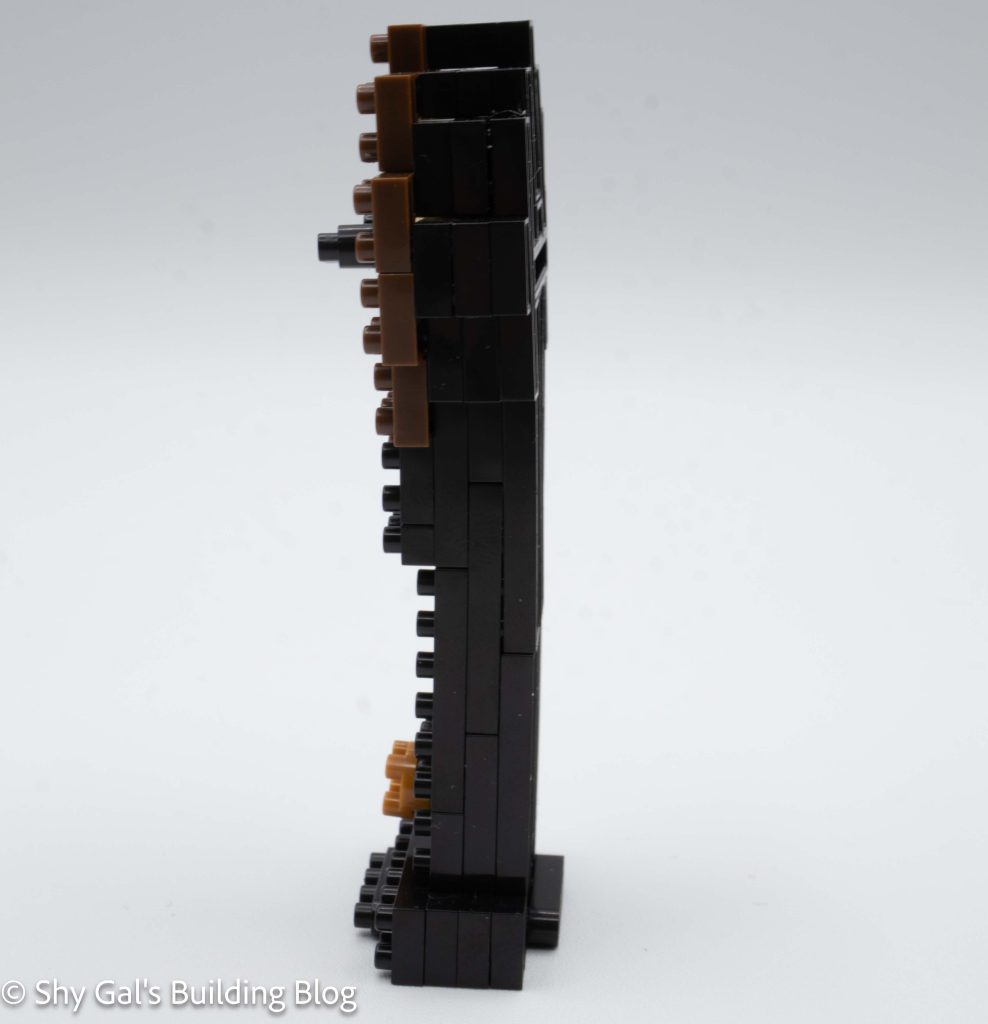
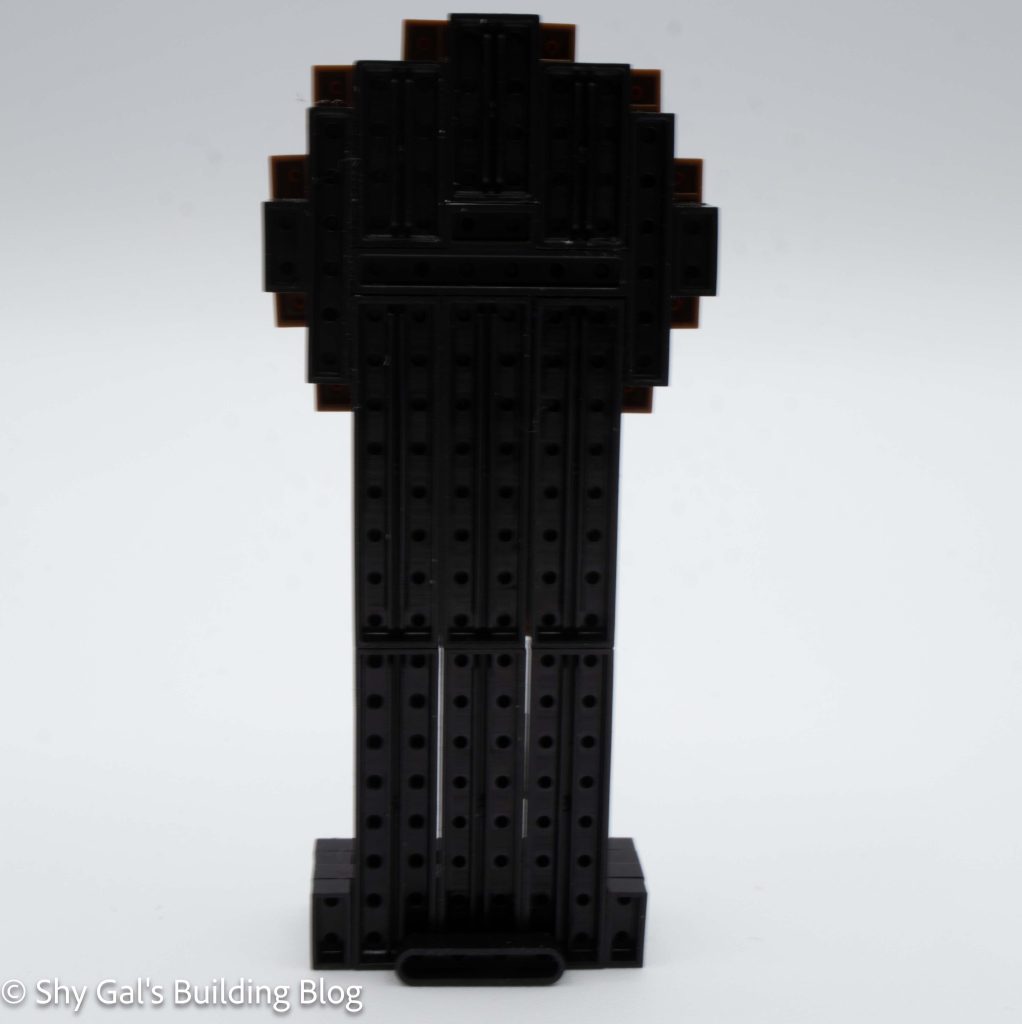
I began building the kit by laying out the back of the clock on my nanoblock pad. It took up most of my large nanoblock pad.
The clock is then built up in layers making the clock face and the cabinet for the pendulum.
The next step is to add the hands to the clock. The pendulum is also built. Because of the round bricks, getting everything lined up cleanly for the pendulum is a little tricky.
The pendulum is then connected to the clock body. The final step is to put the clock on its edge so that it looks like a regular grandfather clock. The pendulum is able to move freely in the cabinet.

Things I liked:
- Putting a finished build on its edge is fairly unique and is not very common
- I like how the pendulum is still able to move and is not locked in place
Things I didn’t like:
- I didn’t really enjoy building the pendulum because it was a bit tricky to get everything lined up properly