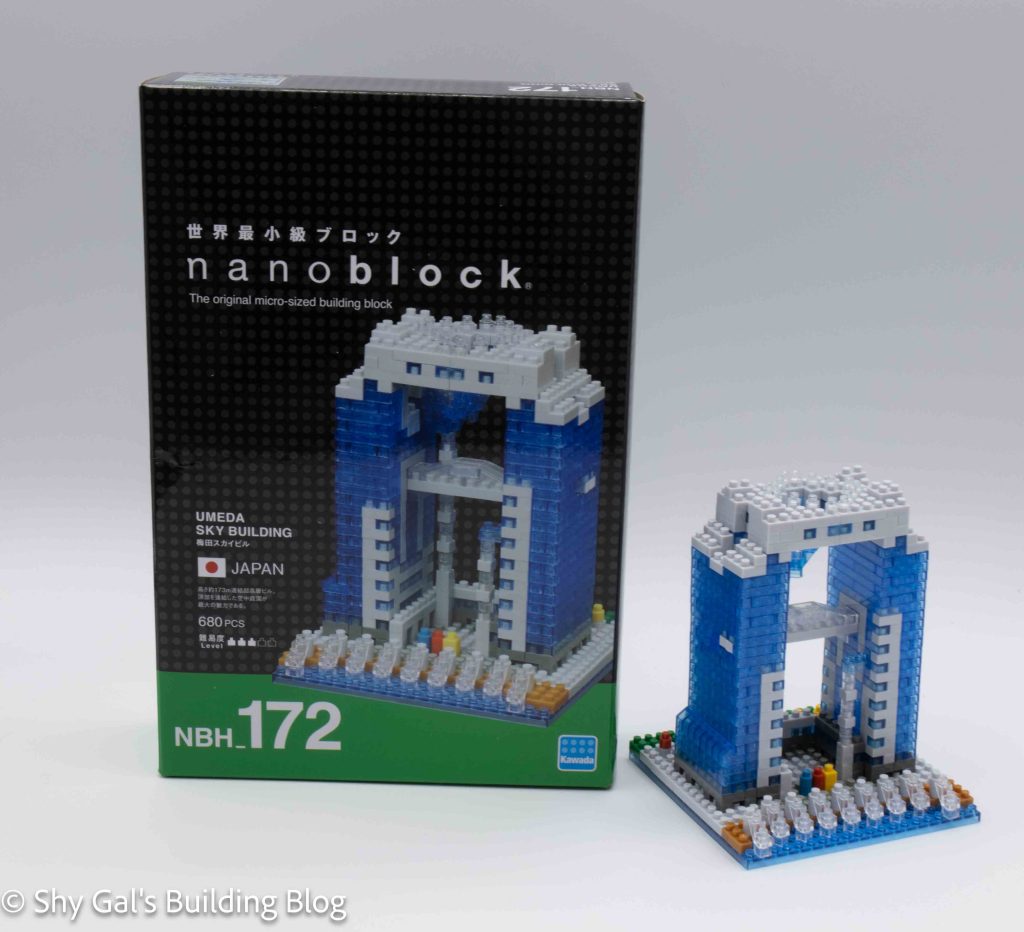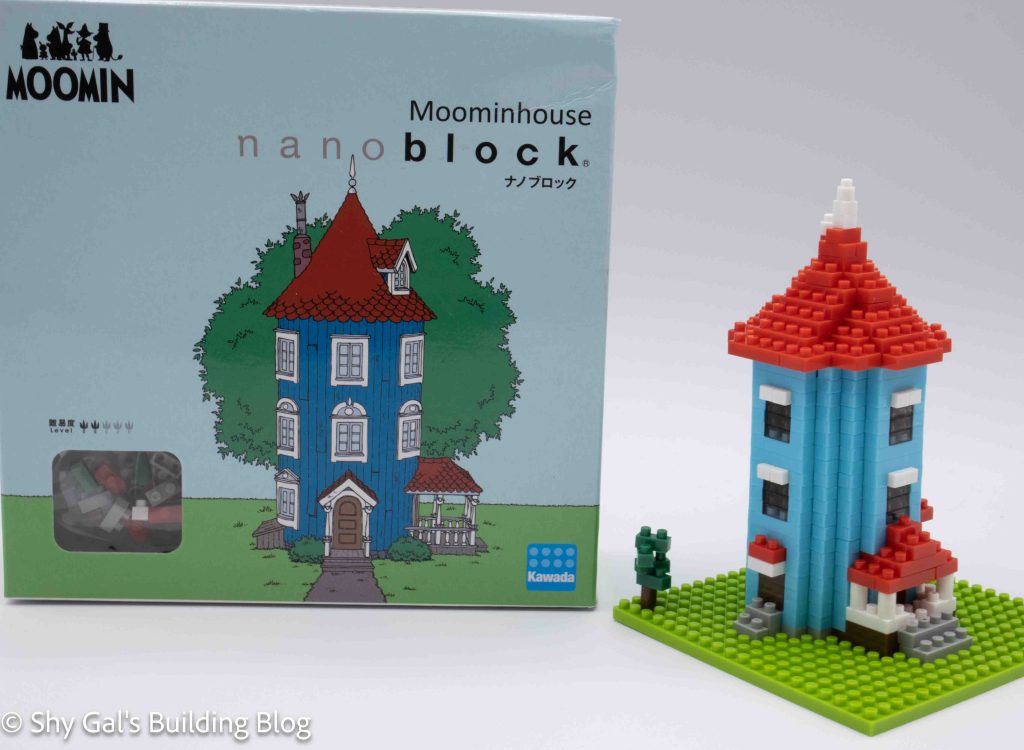
This post is a review of the nanoblock Moominhouse build. Moominhouse is part of the nanoblock Moomin collection.
Number: MOM-042 or NBH_062
Difficulty Rating: 2/5
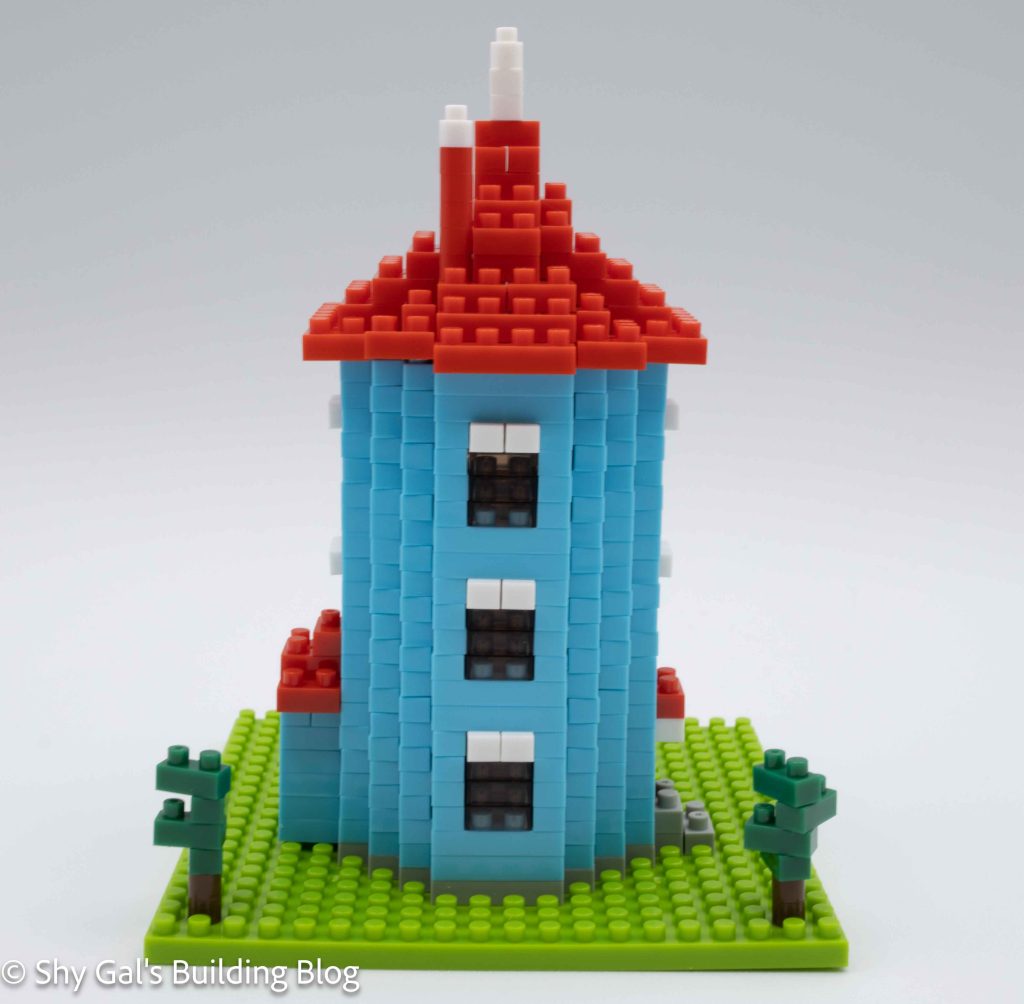
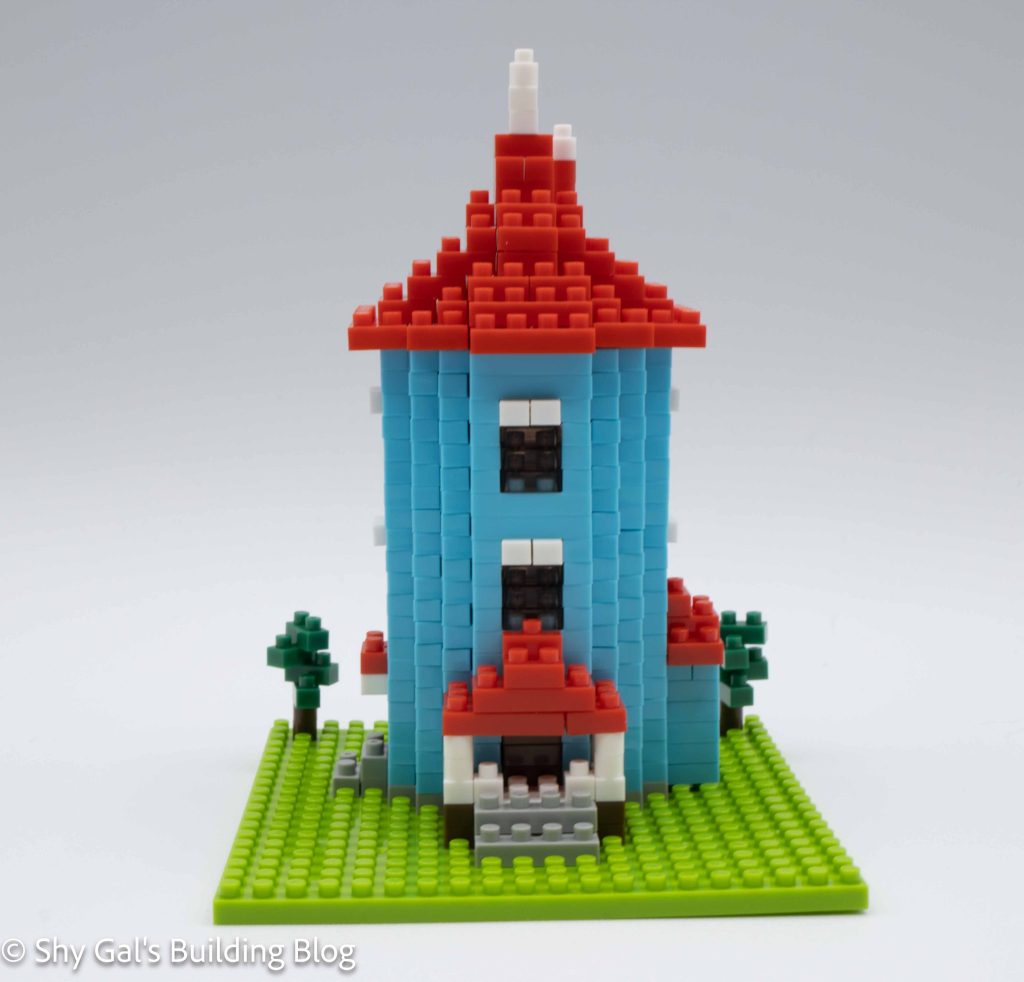
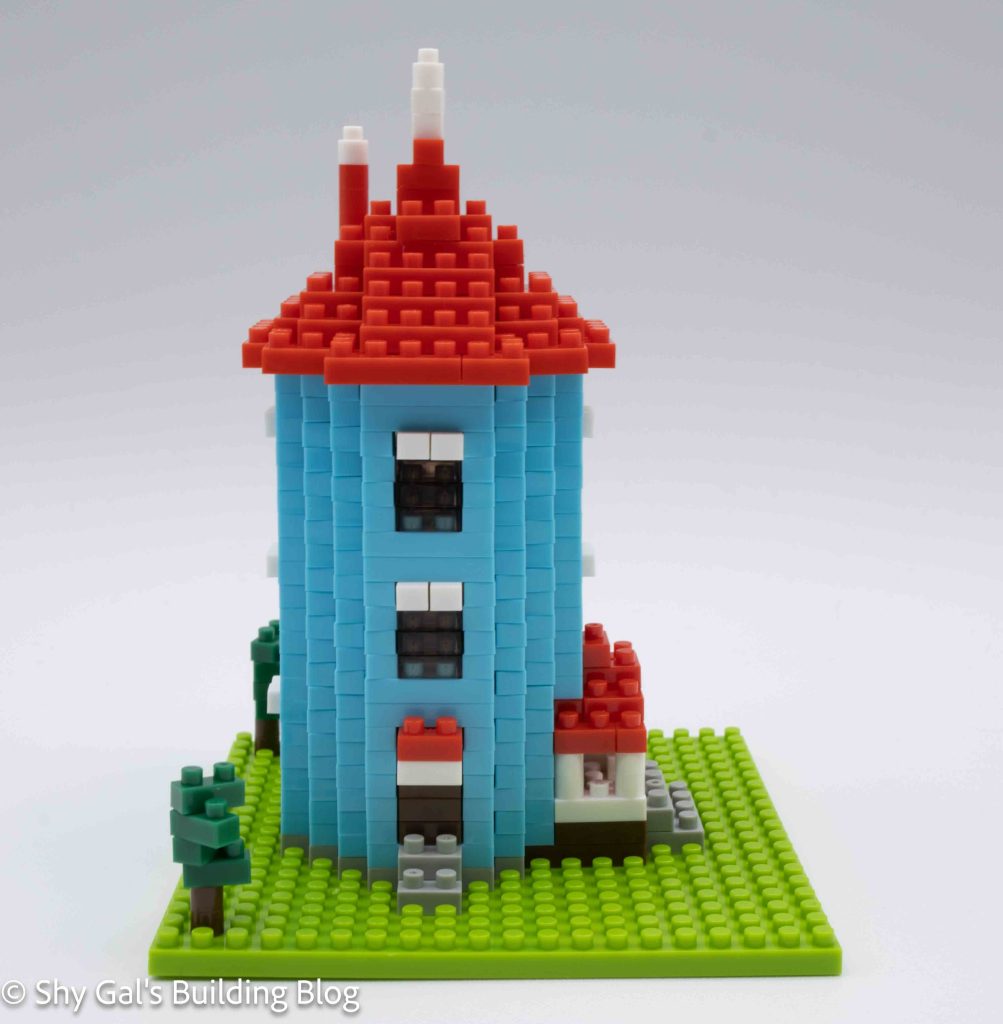
The Moominhouse is the home of Moominmama, Moominpapa, and Moomintroll. It is a multi-story blue cylindrical building with a red cone-shaped roof.
When I opened the kit, I was surprised that there were 2 bags of 1×2 blue pieces. I guessed after seeing that the build would be just building the outline of the house.
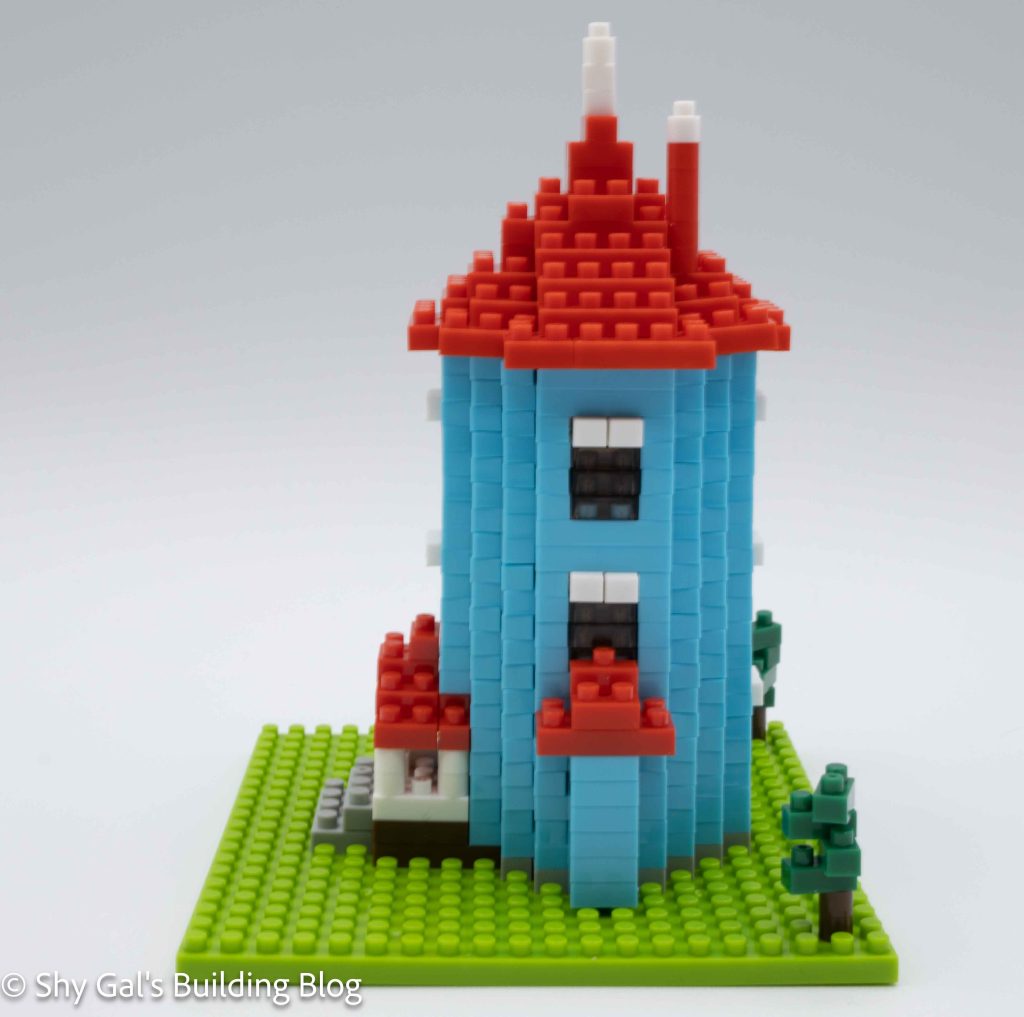
The build begins by laying the outline of the building. This outline includes the porch, which comes off the front of the building.
The building goes up in simple layers. The first few layers include the main body of the house and, the building on the porch, and other details of the house. After adding the details to the base layers of the house, all that is left is to finish building the main section of the house.
For the main house, it is all blue other than the windows. Because the sides are built stacking 1×2 that rotate each, it is hard to keep the build perfectly squared. This made adding the roof a bit tricky.
After adding 3 floors to the house, it’s time to add the roof.
The roof is very straightforward. Each layer makes the roof a bit smaller and creates a cone. Adding the roof is where you can see the cumulative effect of the main tower not being perfectly square. I was able to add on my roof, so I didn’t need to go back and square the main section.
Things I liked:
- How many little details there are in the house between the porch and the chimney on the roof
Things I didn’t like:
- How hard it was to keep the main tower of squared between floors