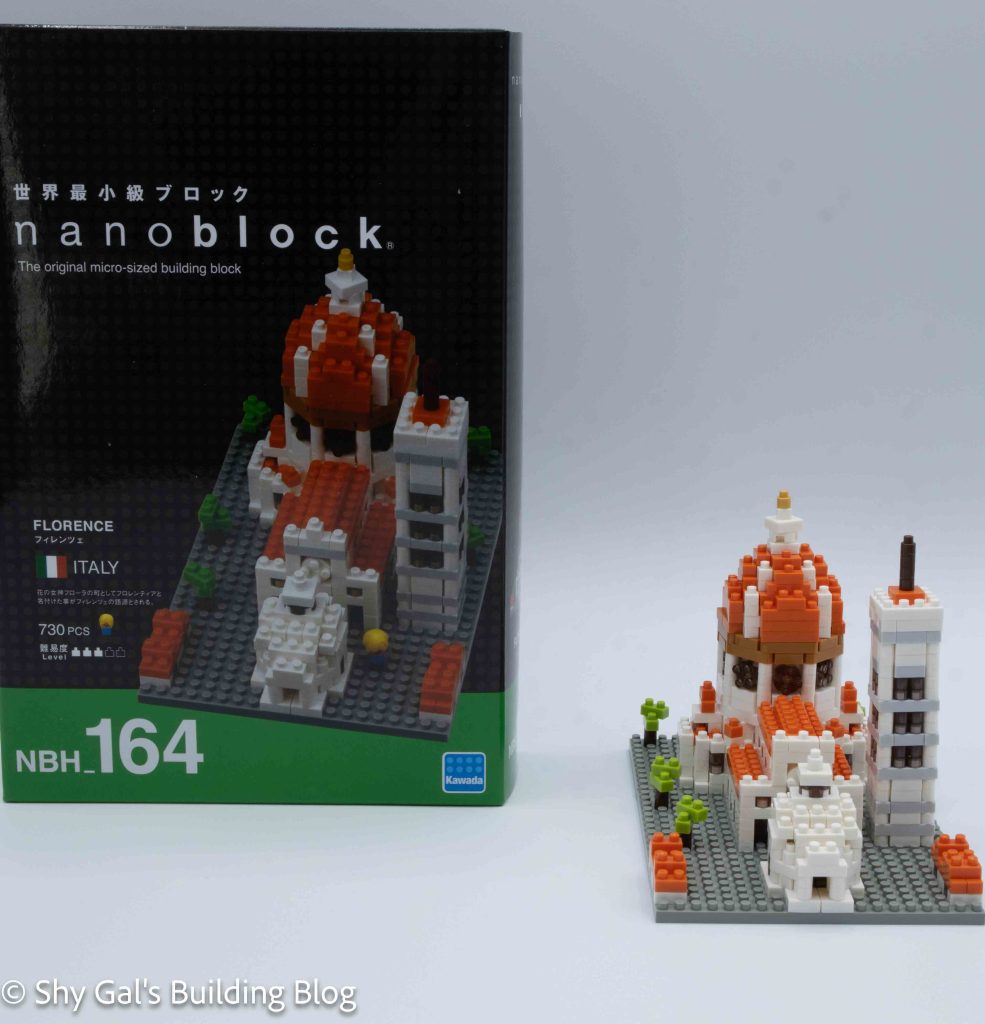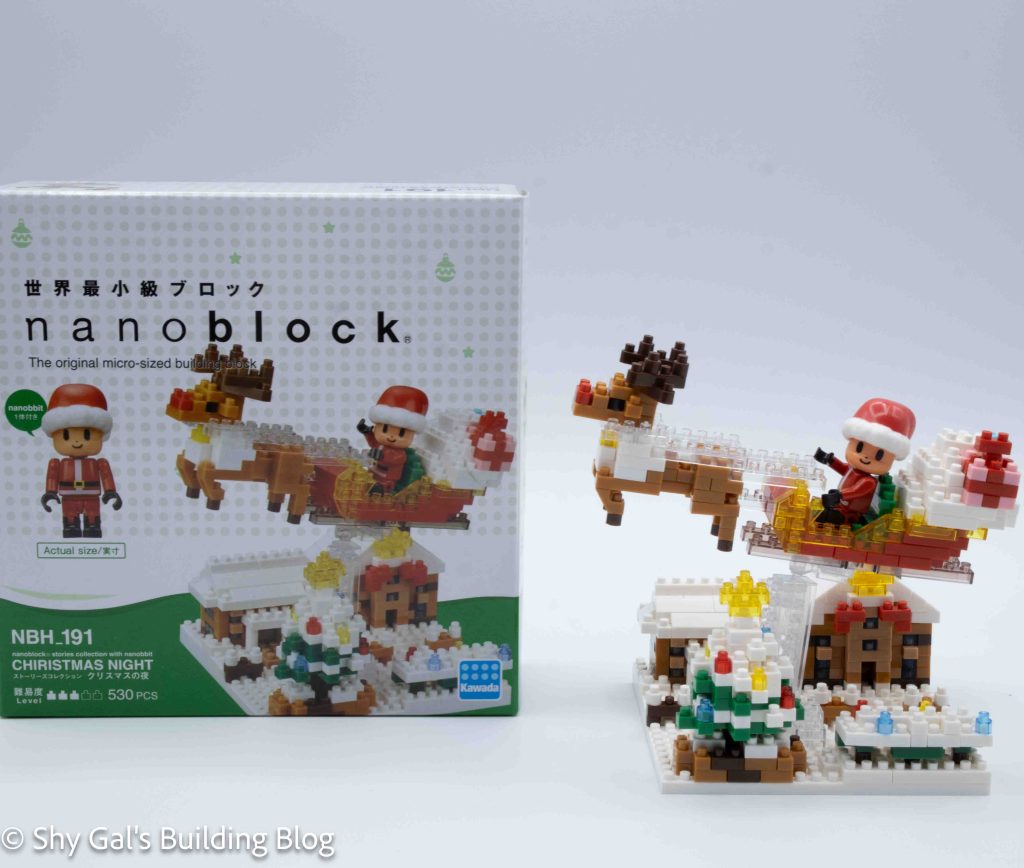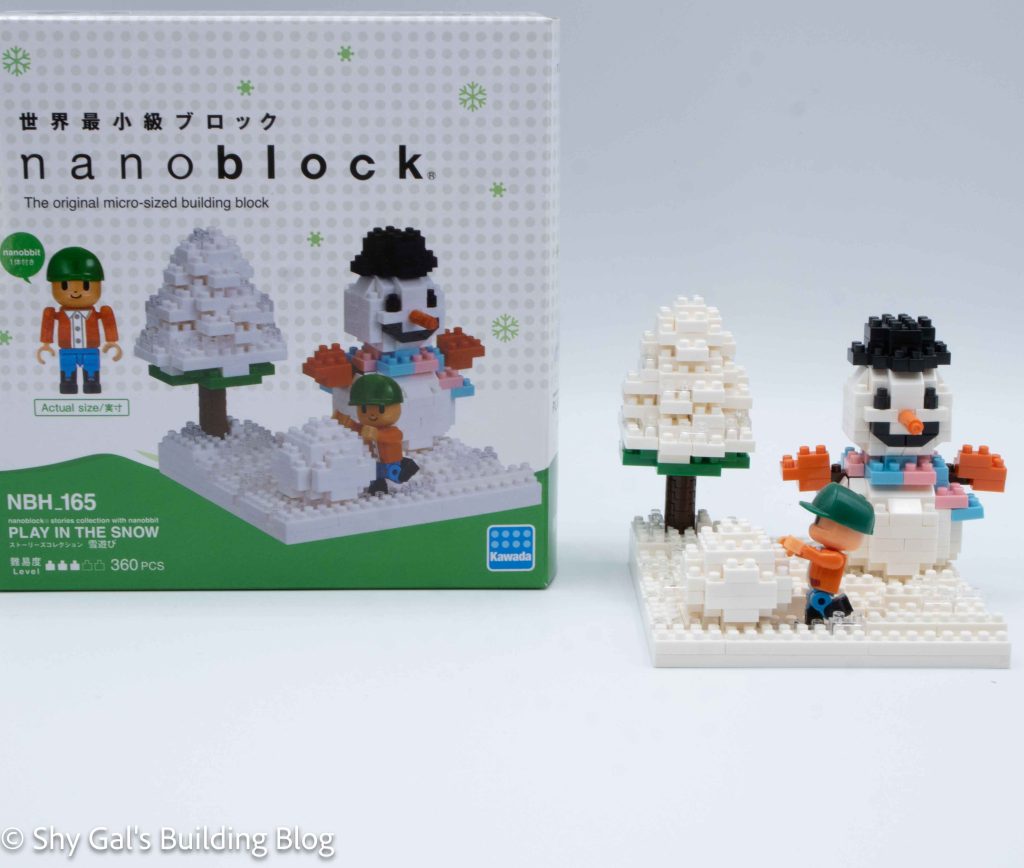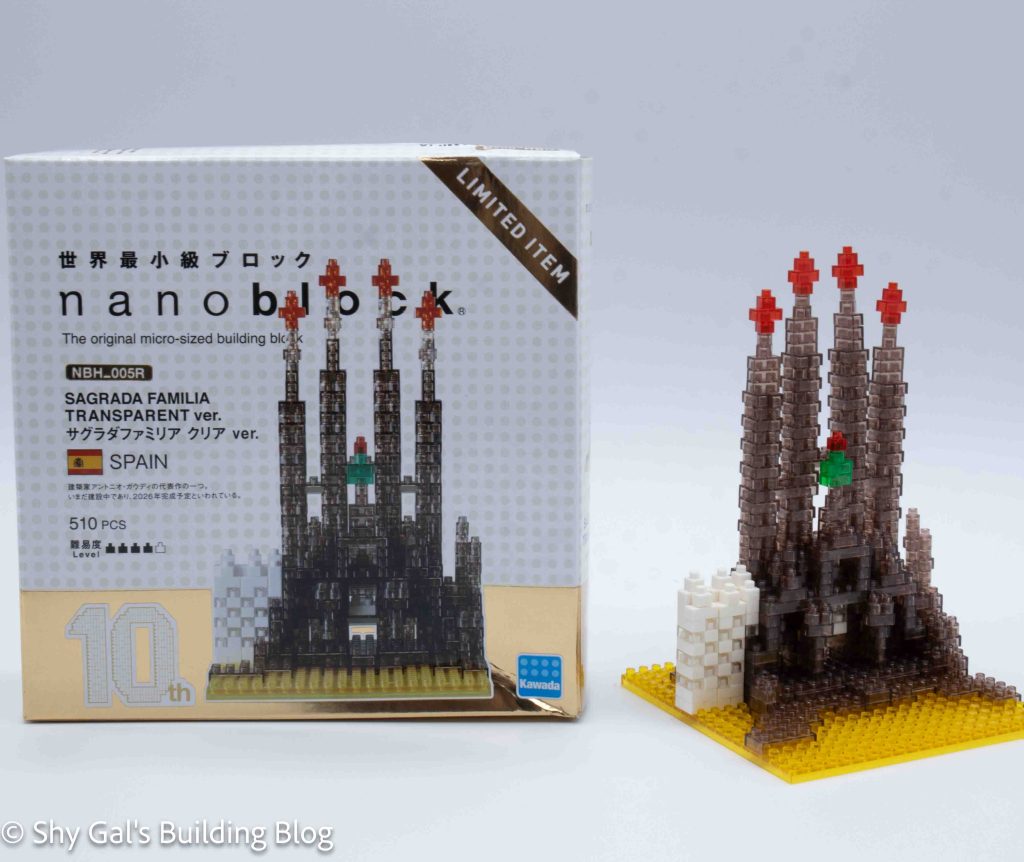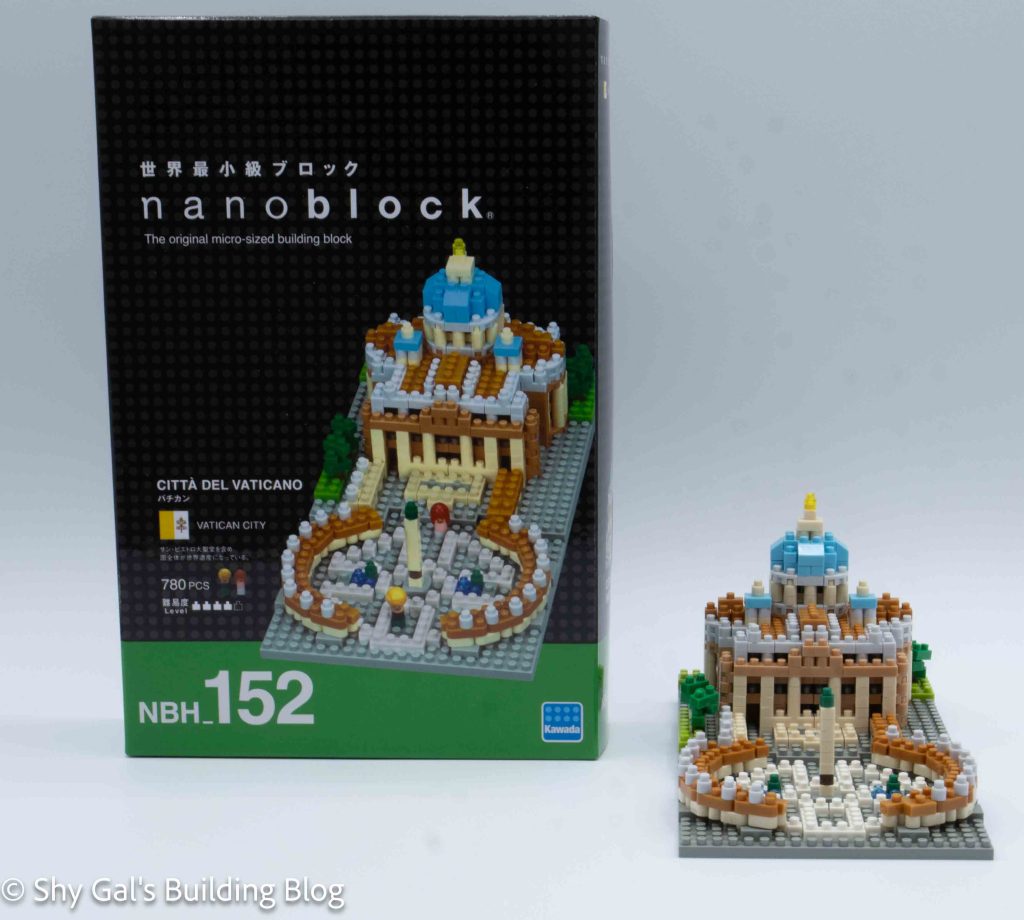
This post is a review of the nanoblock Citta Del Vaticano build. Citta Del Vaticano is part of the nanoblock Sights to See collection. Wondering what else is part of the Sights to See collection? Click here for a list.
Number: NBH_152
Country: Vatican City
Number of Pieces: 780
Difficulty Rating: 4/5
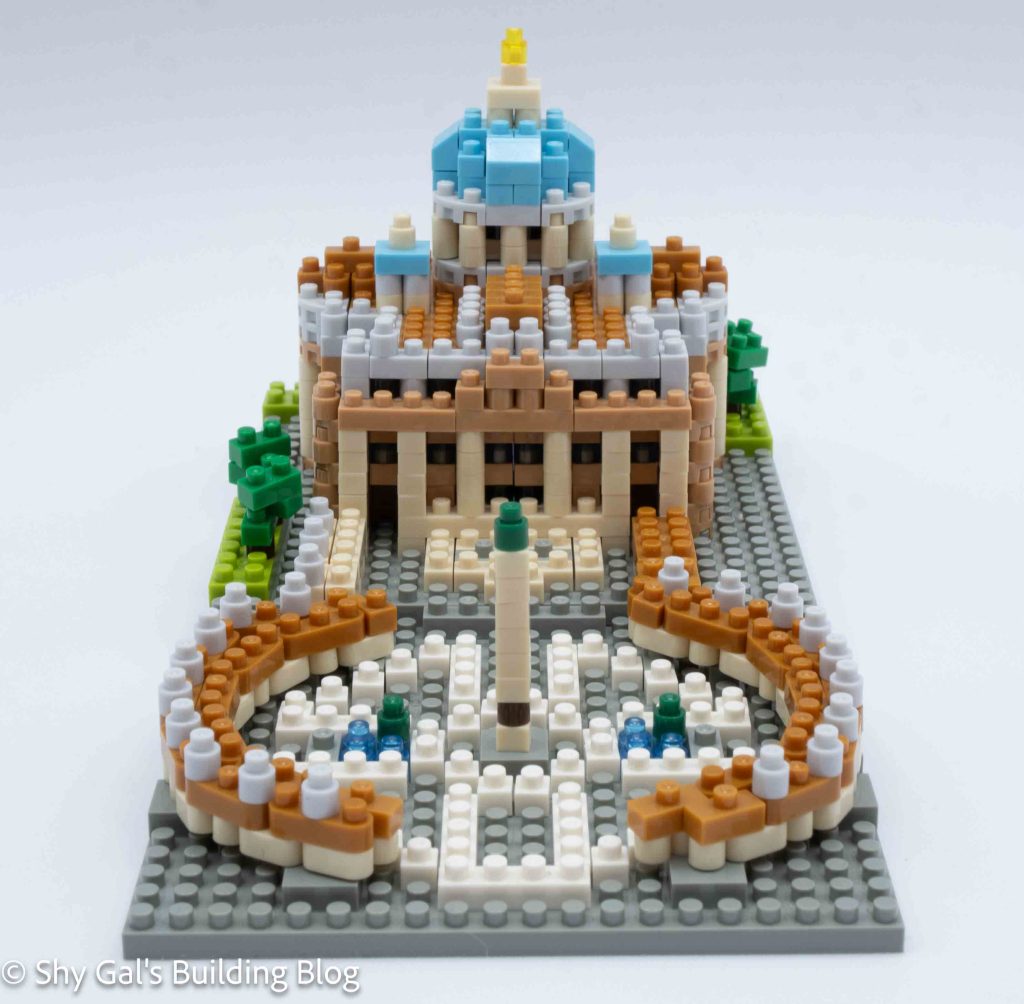
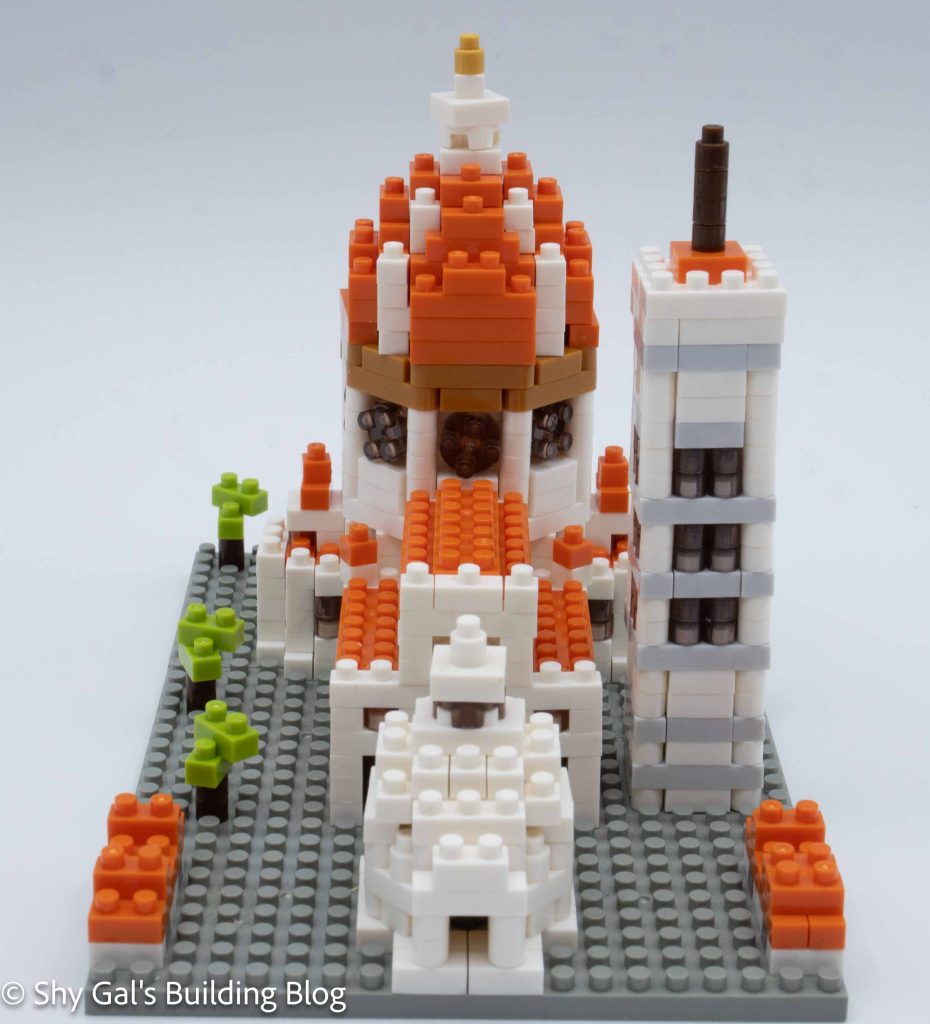
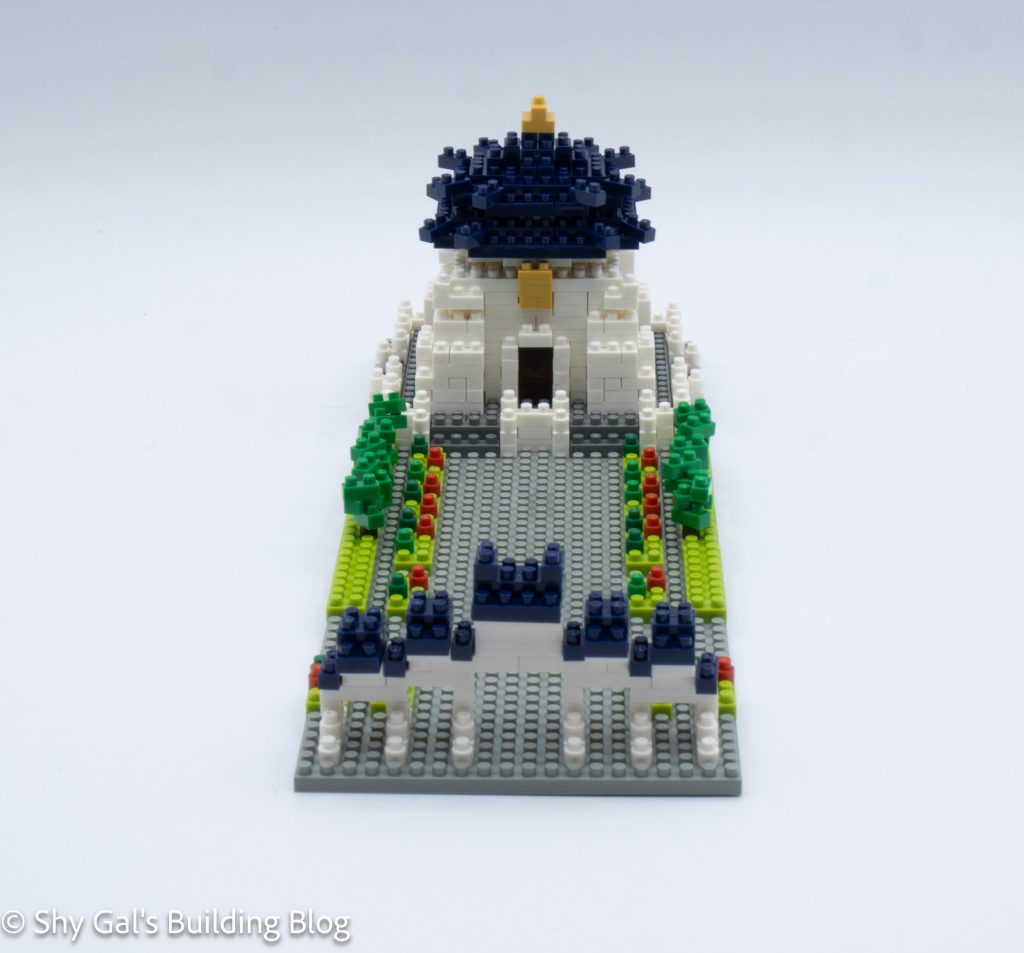
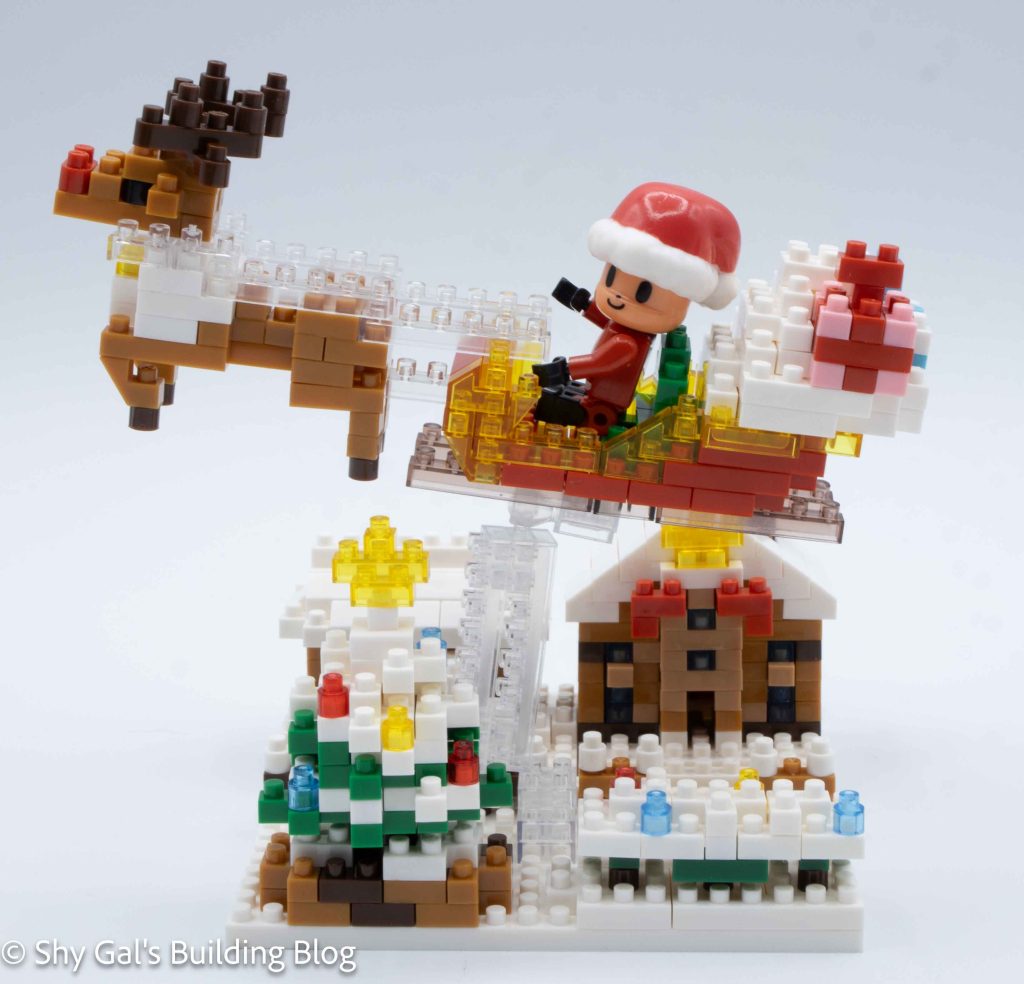
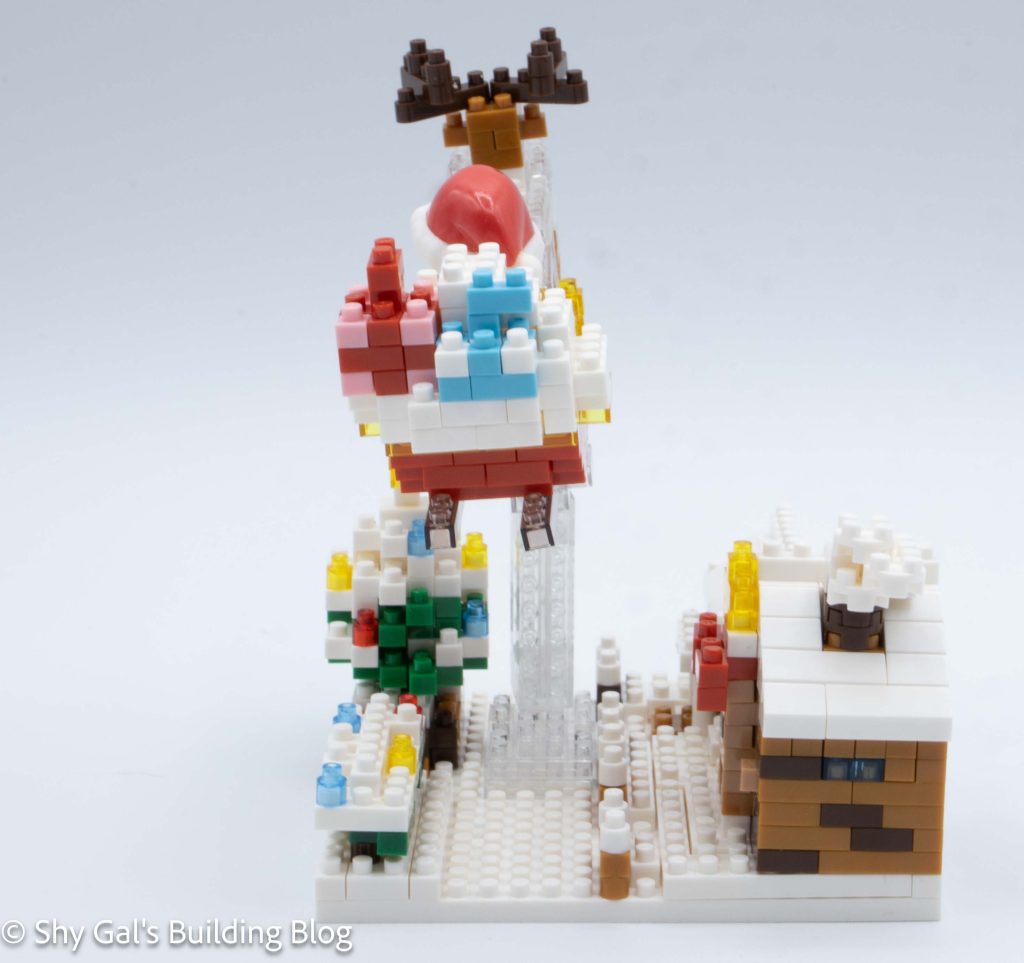
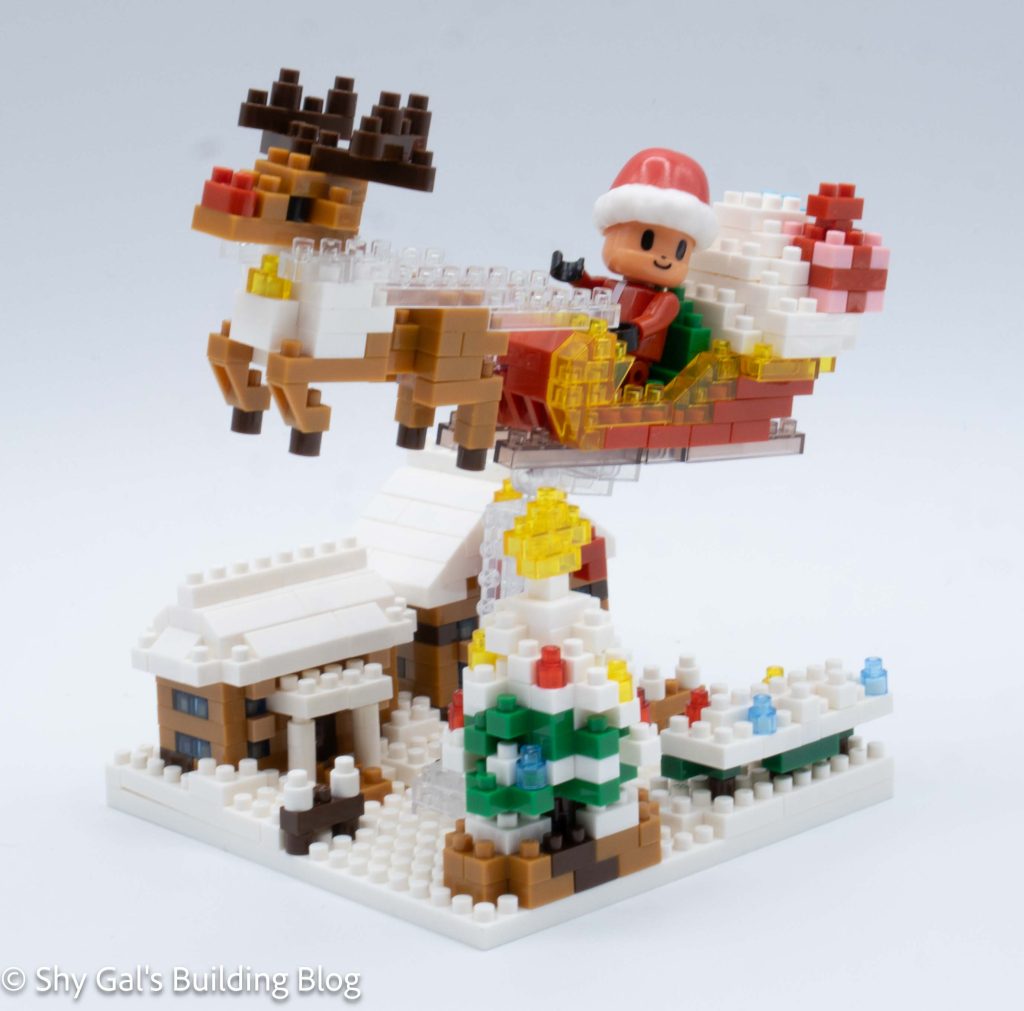
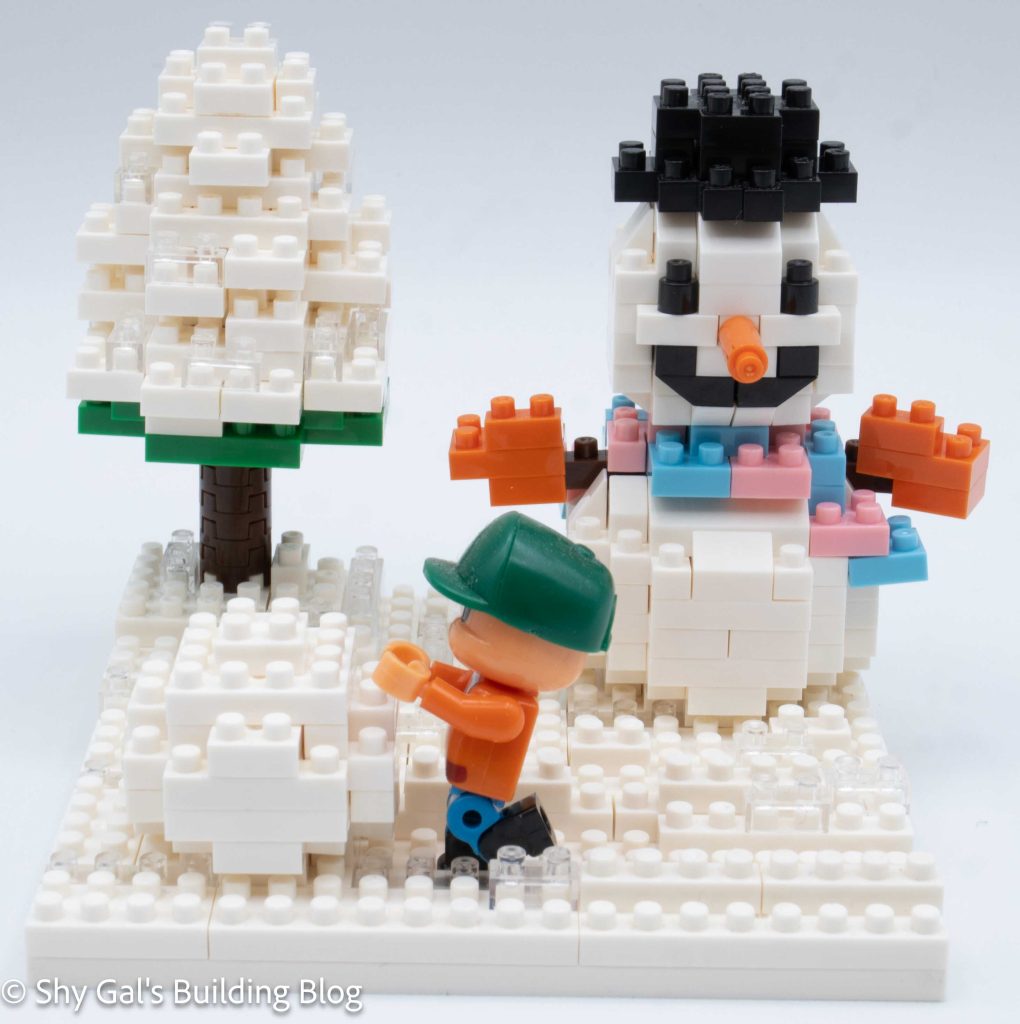
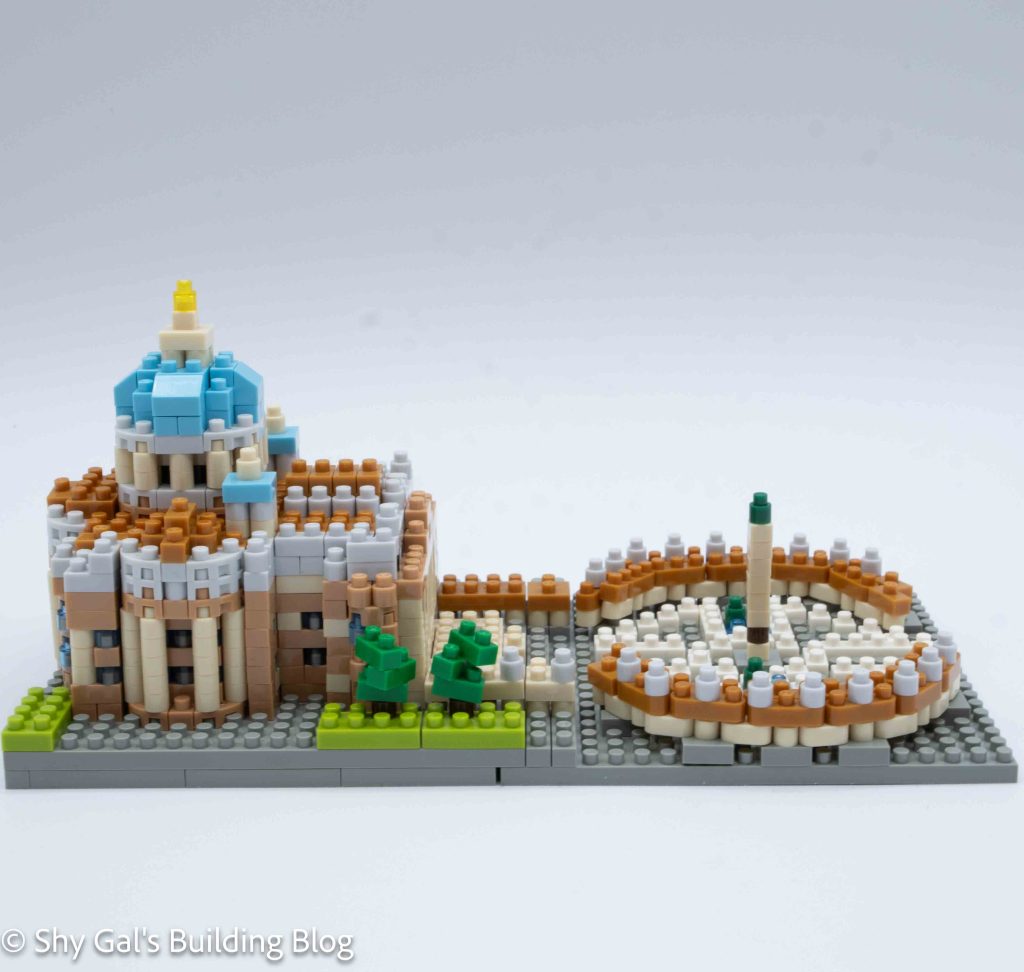
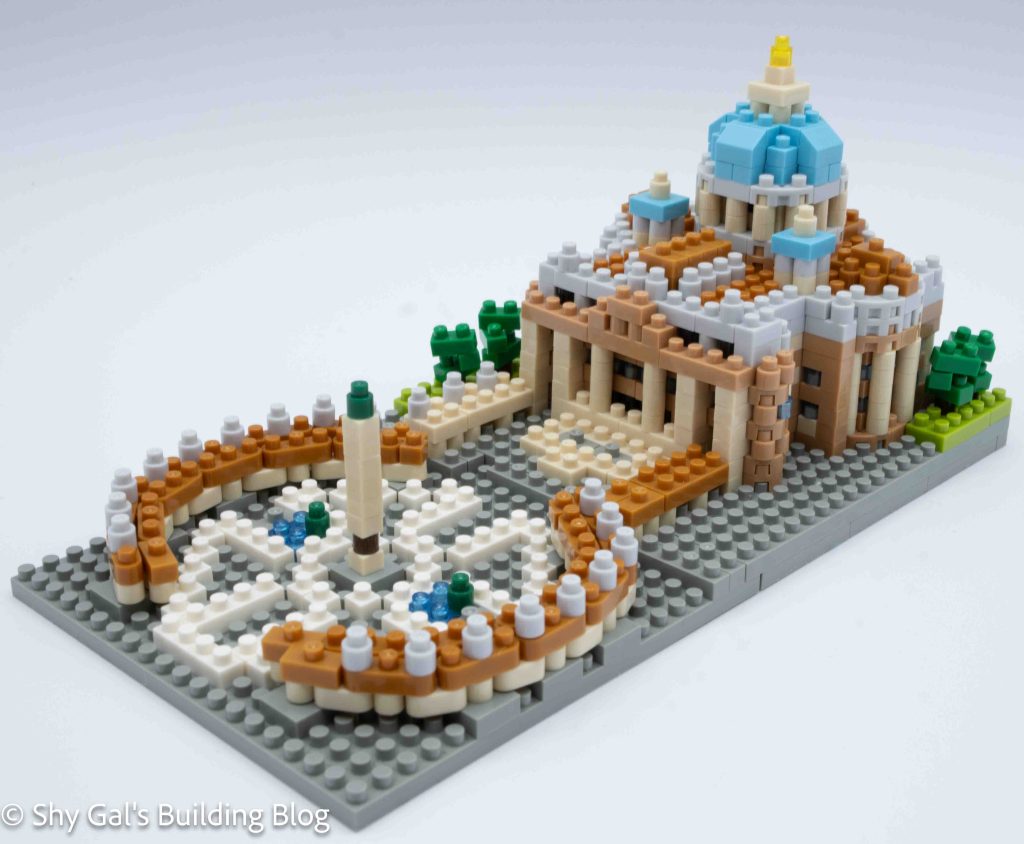
This build is split into 2 sections. There is the building and the plaza.
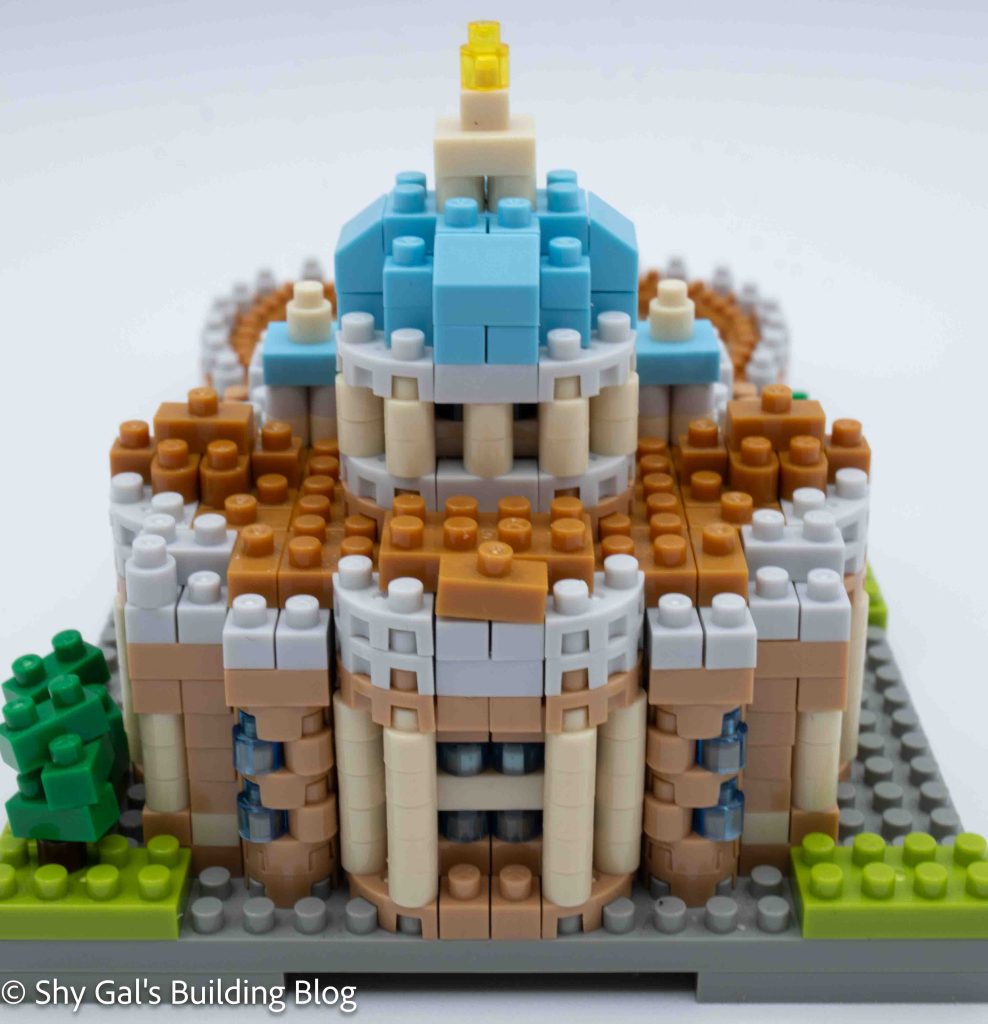
Overall, telling which brown to use was a bit tricky for the Camel and Gold Brown. Sometimes the instructions said which color to use, but other times, they didn’t tell me.
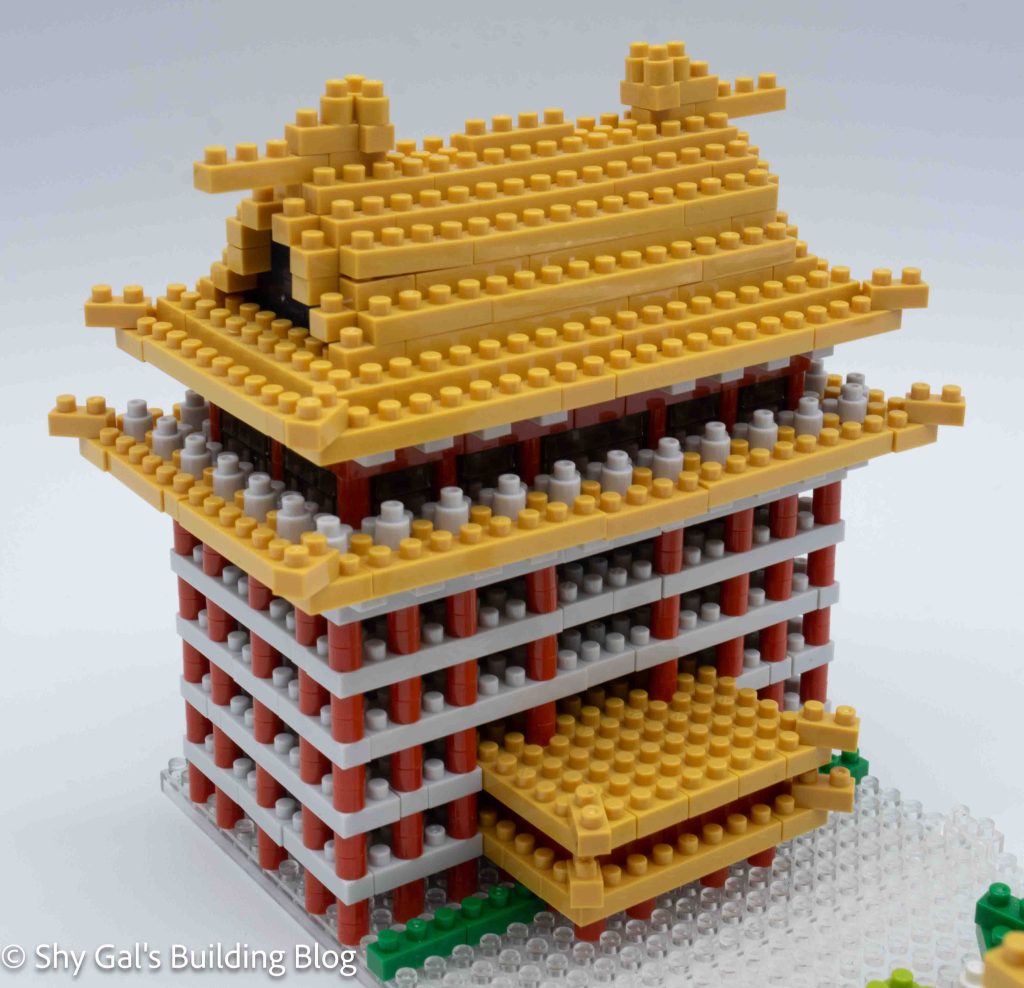
The first section that the instructions cover is the actual building. The first step was to raise the 20×20 by a level. This meant when I was connecting the 2 bases, I had a very solid connection.
The next step is to lay out the base layer of bricks on the 20×20 level.
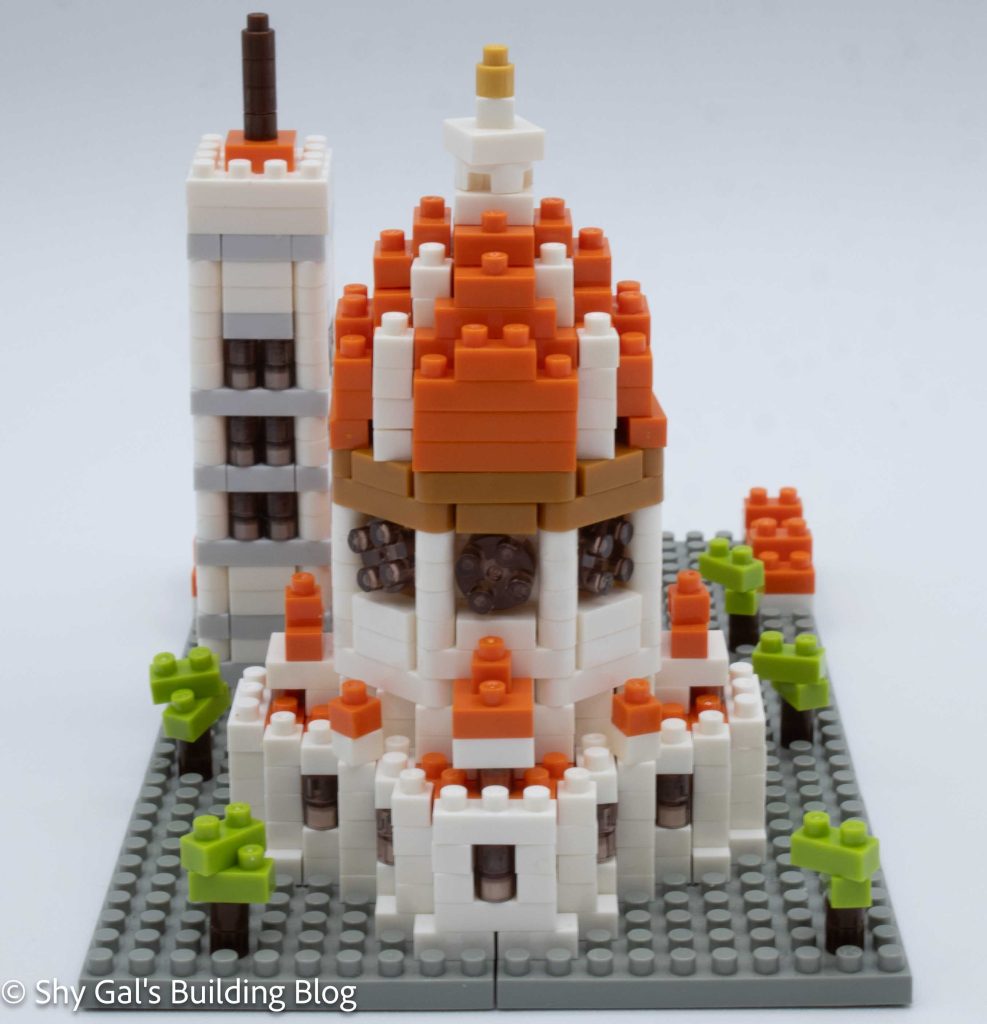
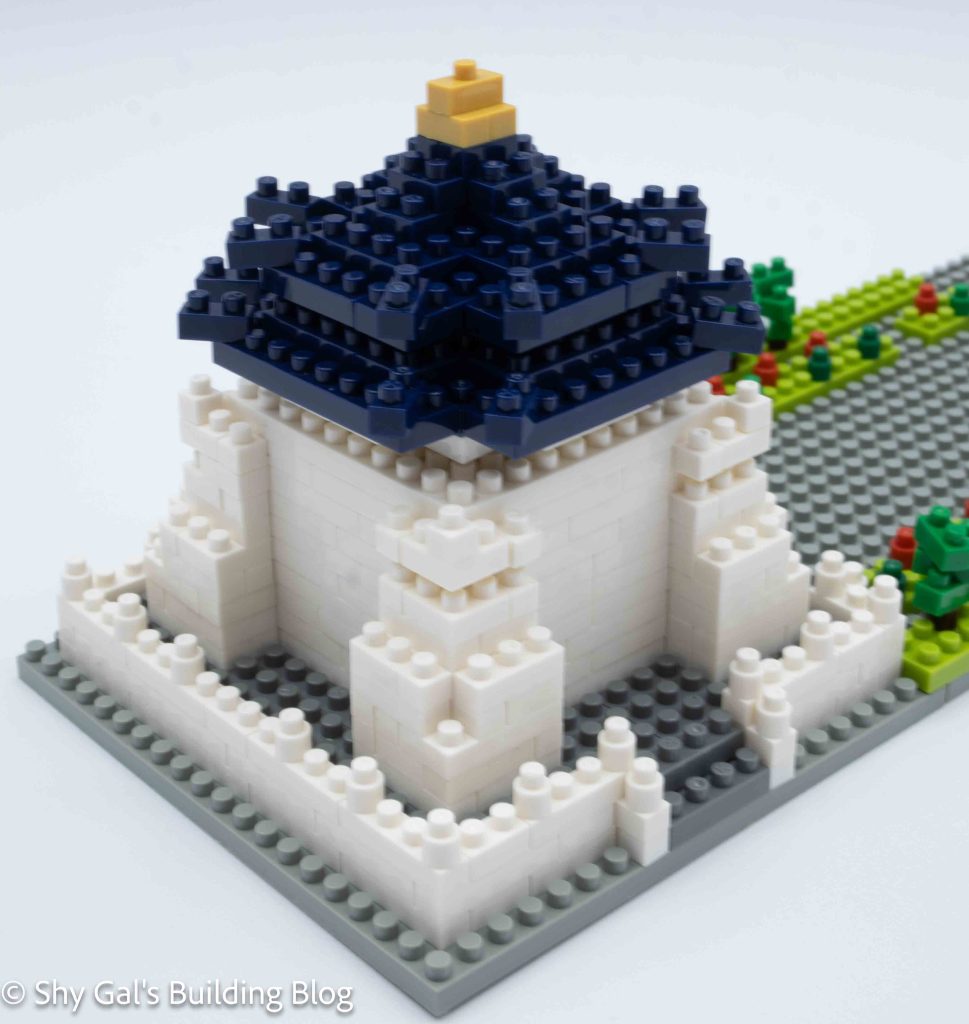
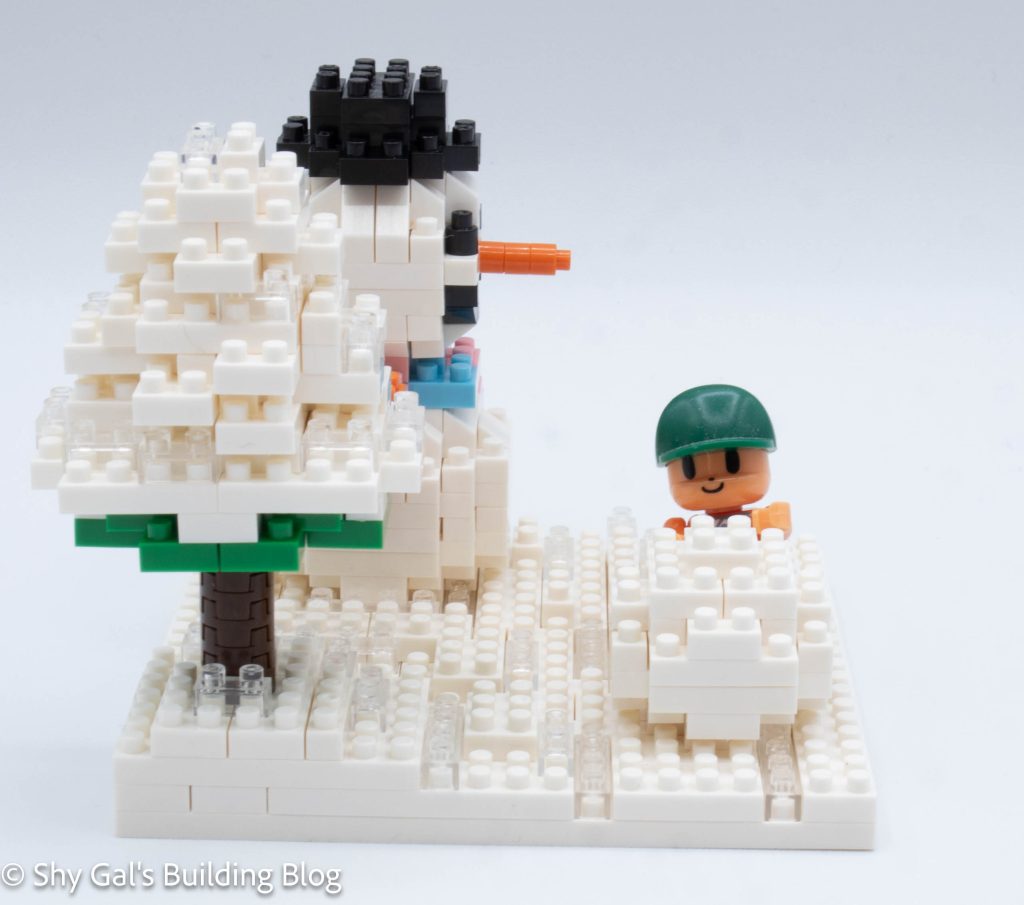
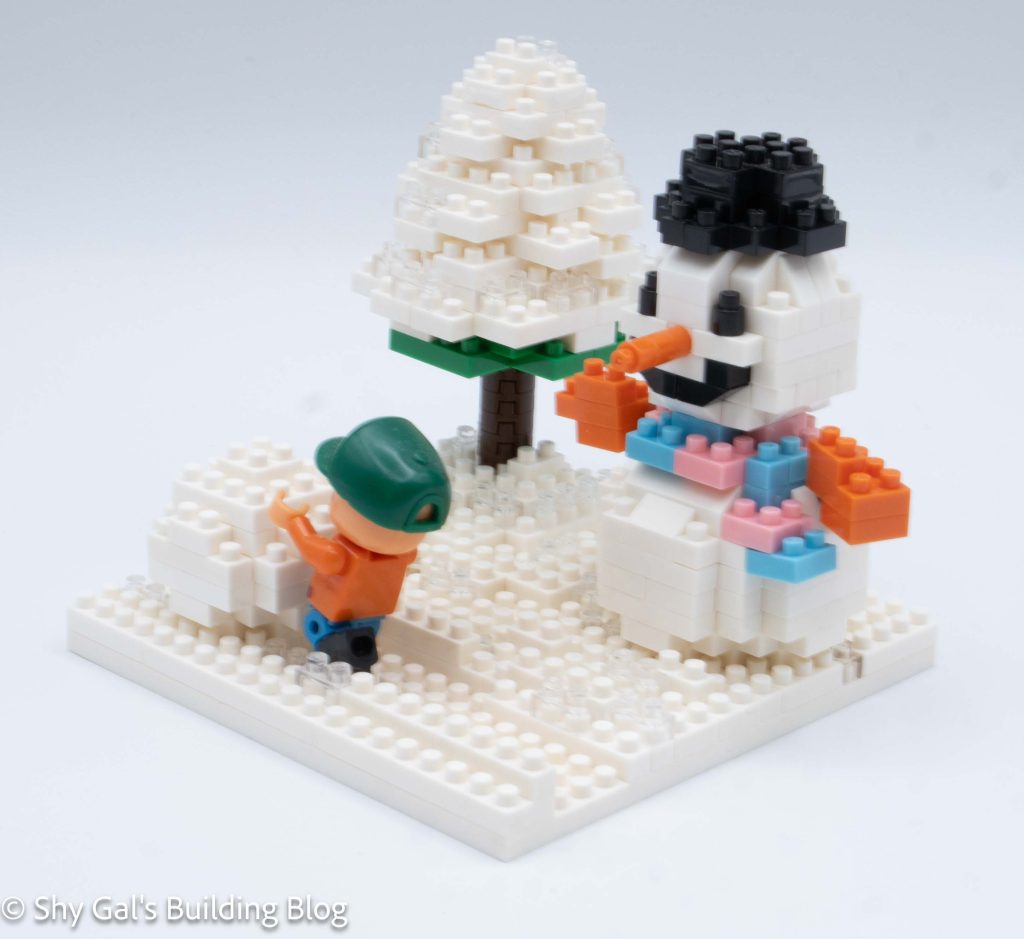
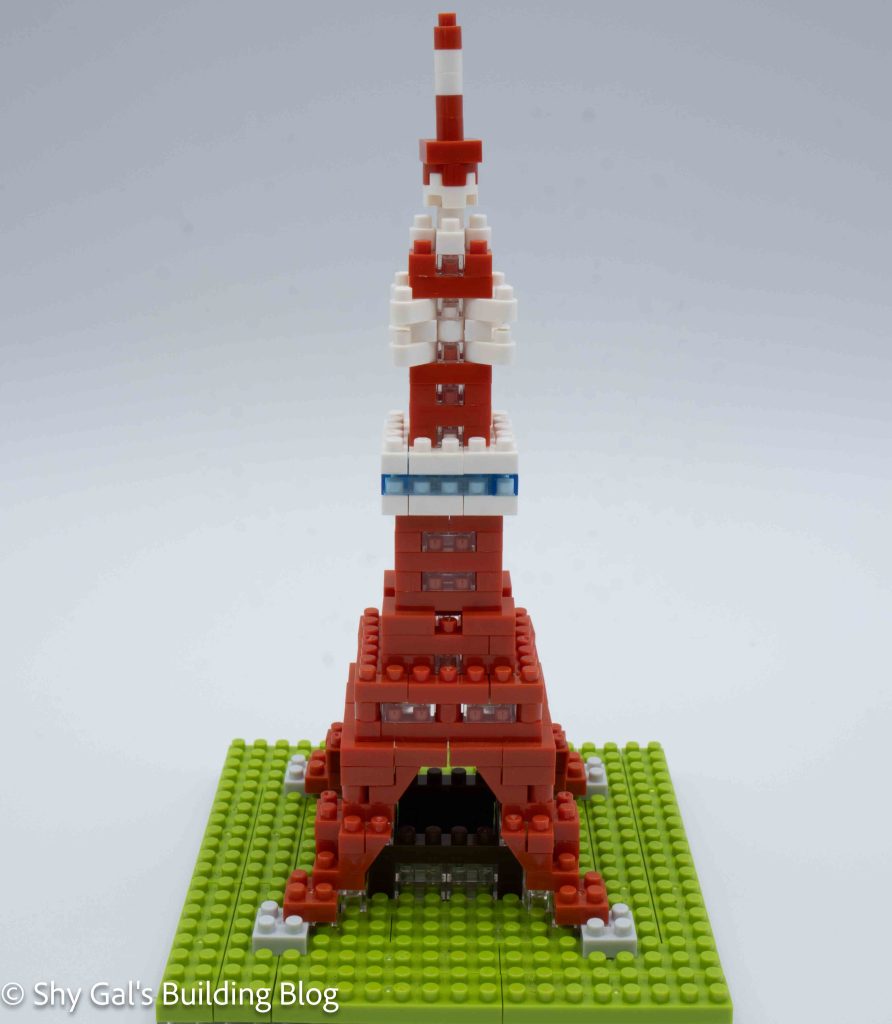
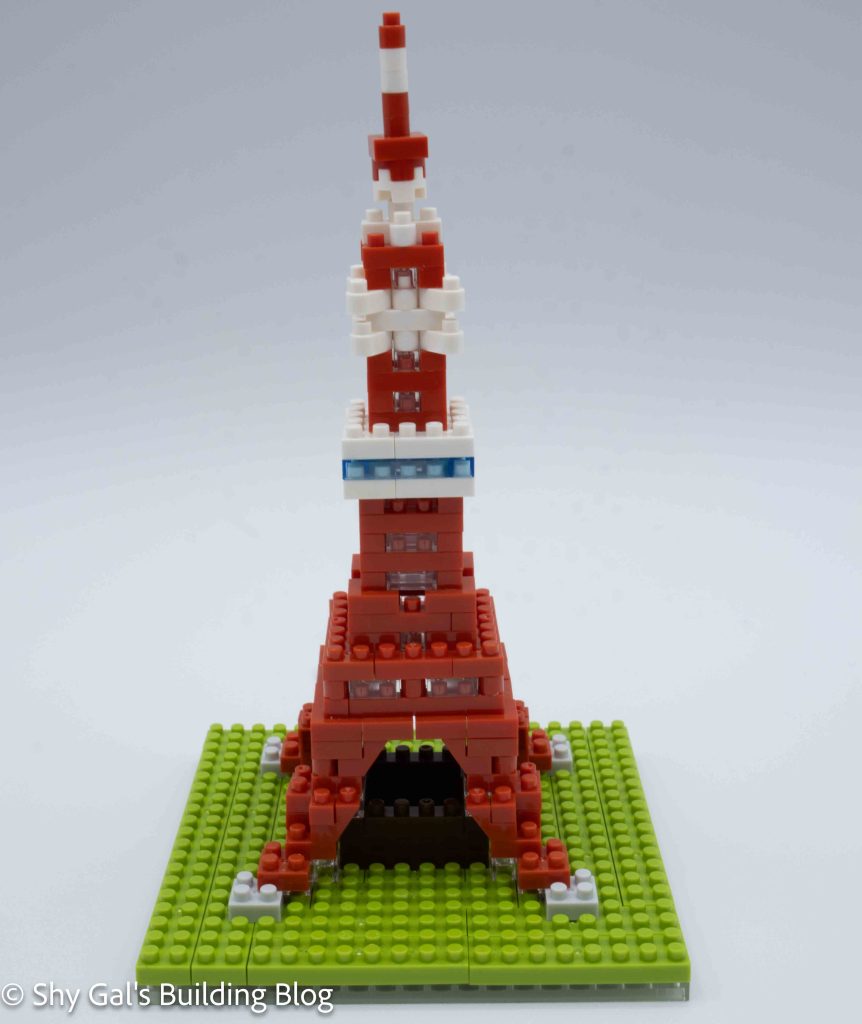
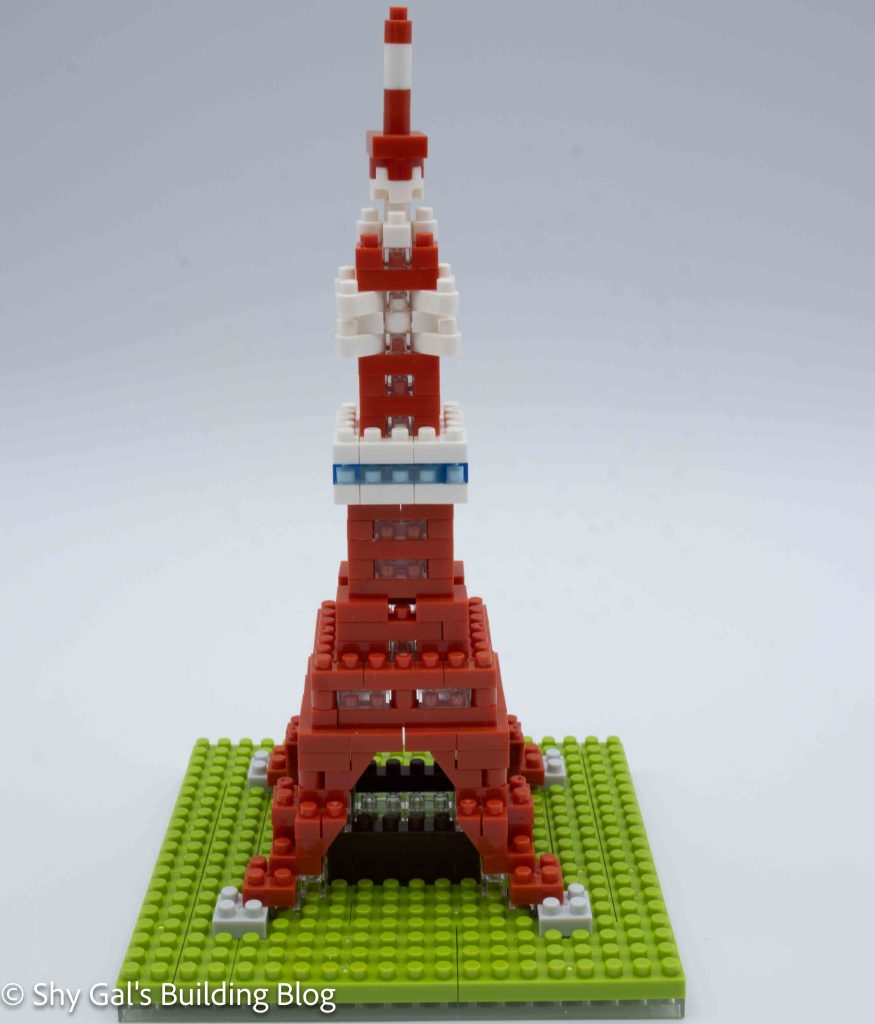
The building goes up in straightforward layers. I like the detail that goes into each layer so the building looks more detailed.
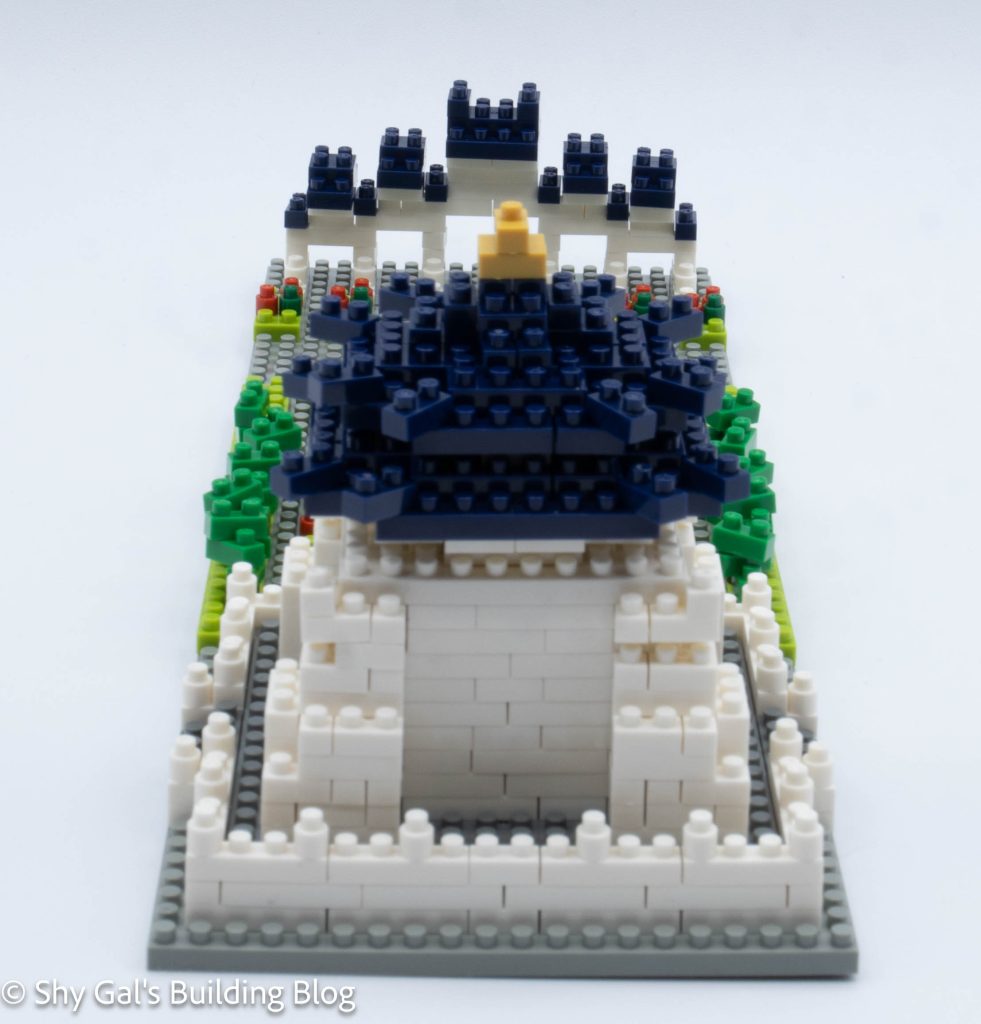
After adding several layers, I added the roof over a few steps.
Then, I added the blue dome to the roof.
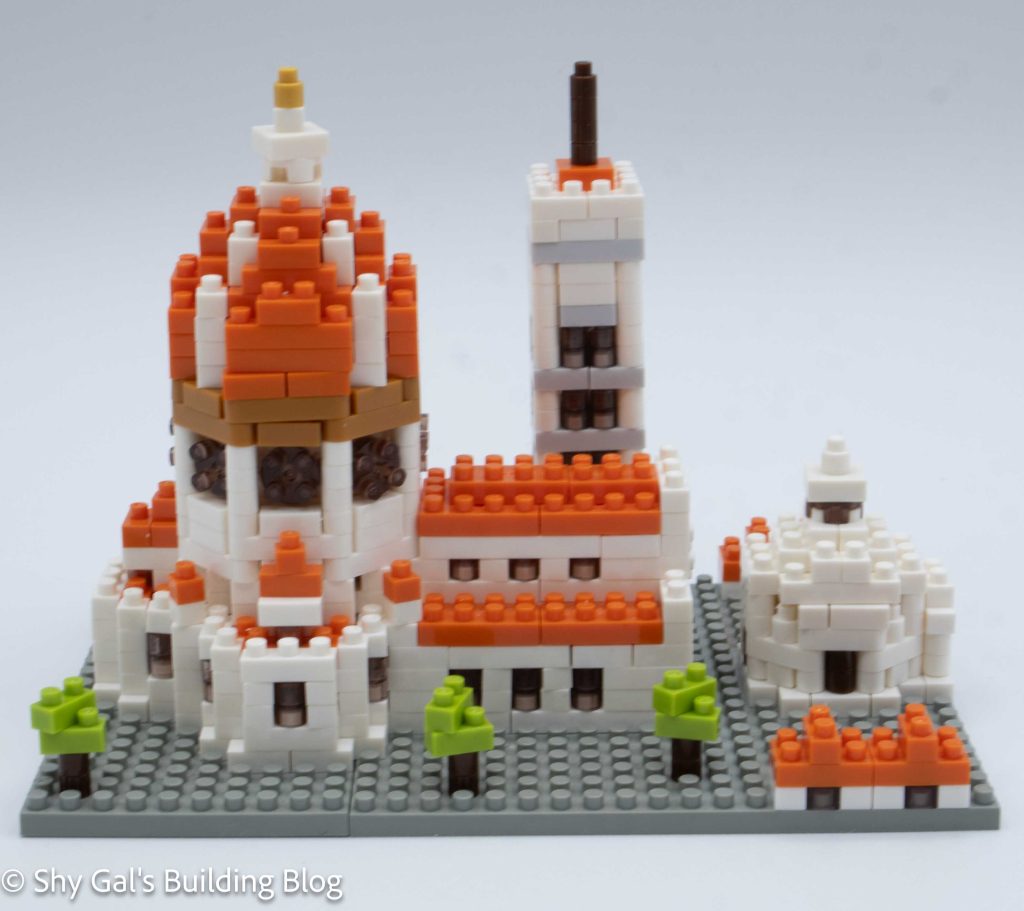
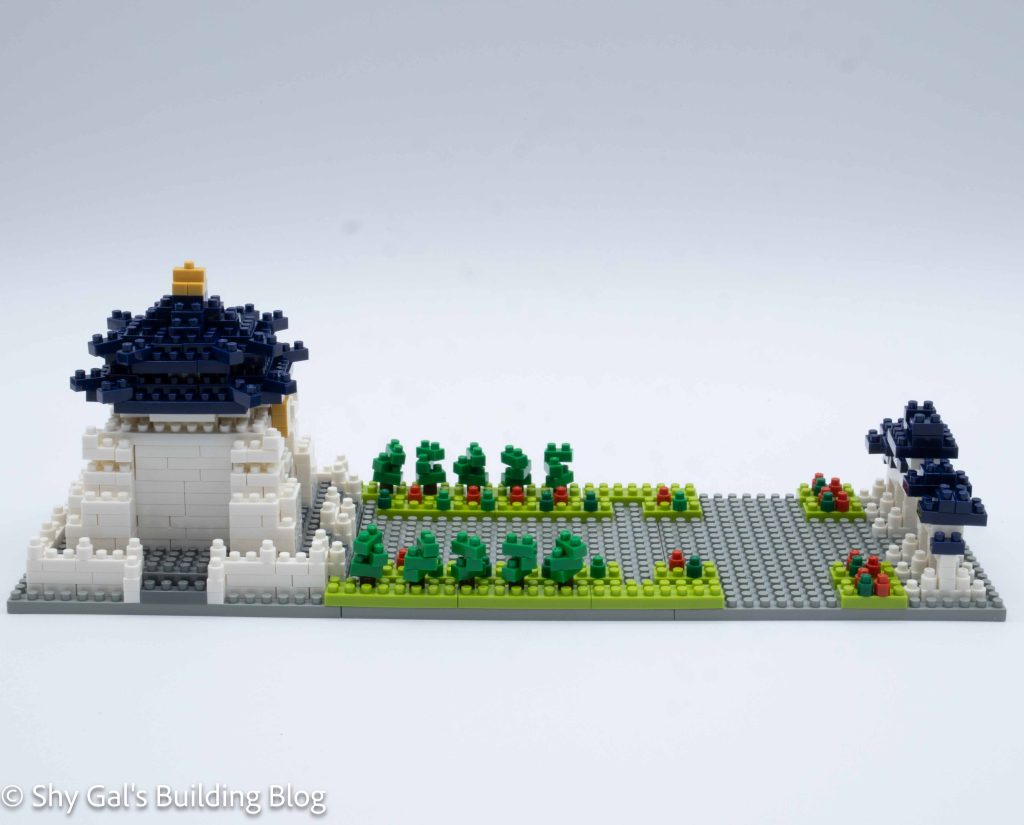
The next step is to build the plaza. I found the plaza surprisingly tricky.
The first step is laying out the white and grey brick base layer on the 20×20 baseplate.
Next, I added the semicircles around the plaza. Building the chains was pretty straightforward, but curling the bricks wasn’t very clear. I’m unsure I got things lined up properly when I attached them to the base.
The kit comes with a couple nanoids that I didn’t include because I’m relatively sure they don’t match the scale.
Things I liked:
- I like that one of the bases is raised, so when the bases were connected, there was a solid base
Things I didn’t like:
- I didn’t like how it wasn’t clear when to use which brown in some steps