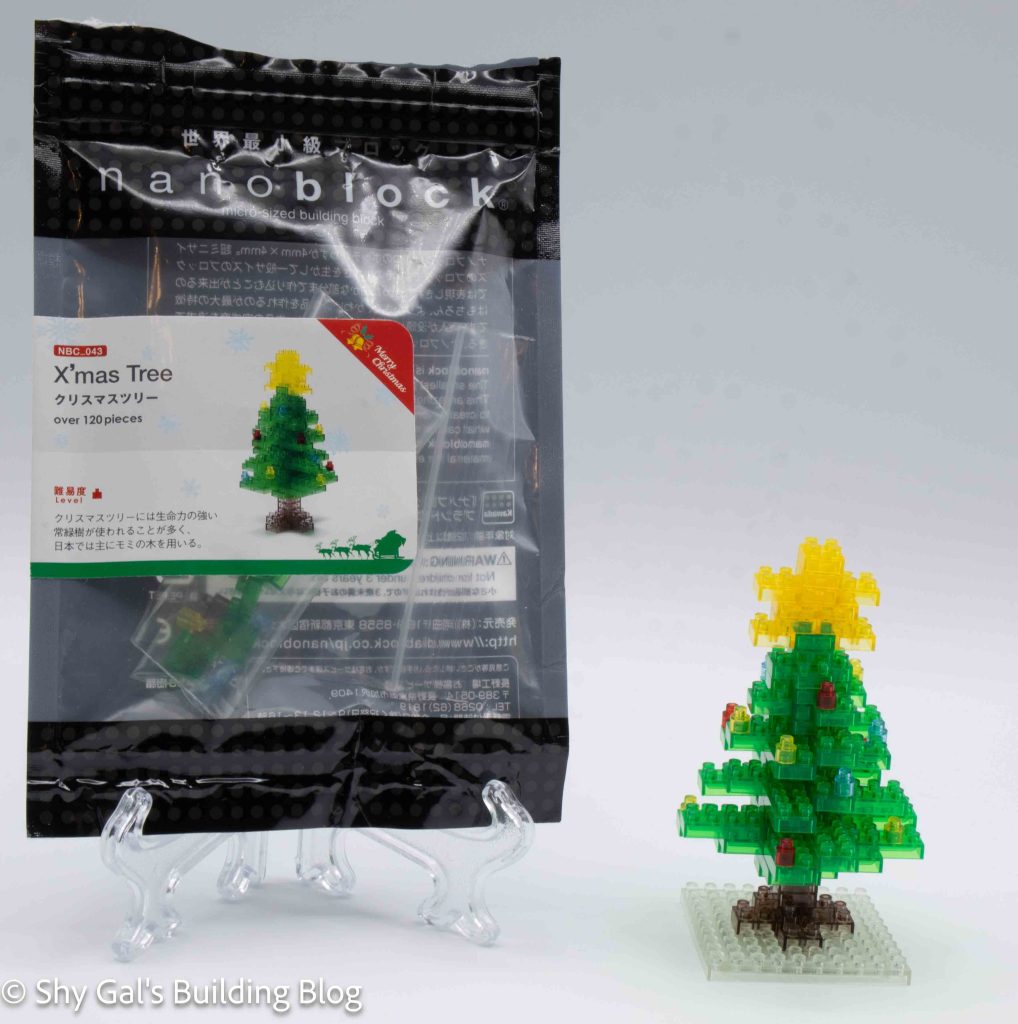
This post is a review of the nanoblock X’mas Tree build. X’mas Tree is part of the nanoblock Mini Collection series. Wondering what else is part of the Mini Collection? Click here for a list.
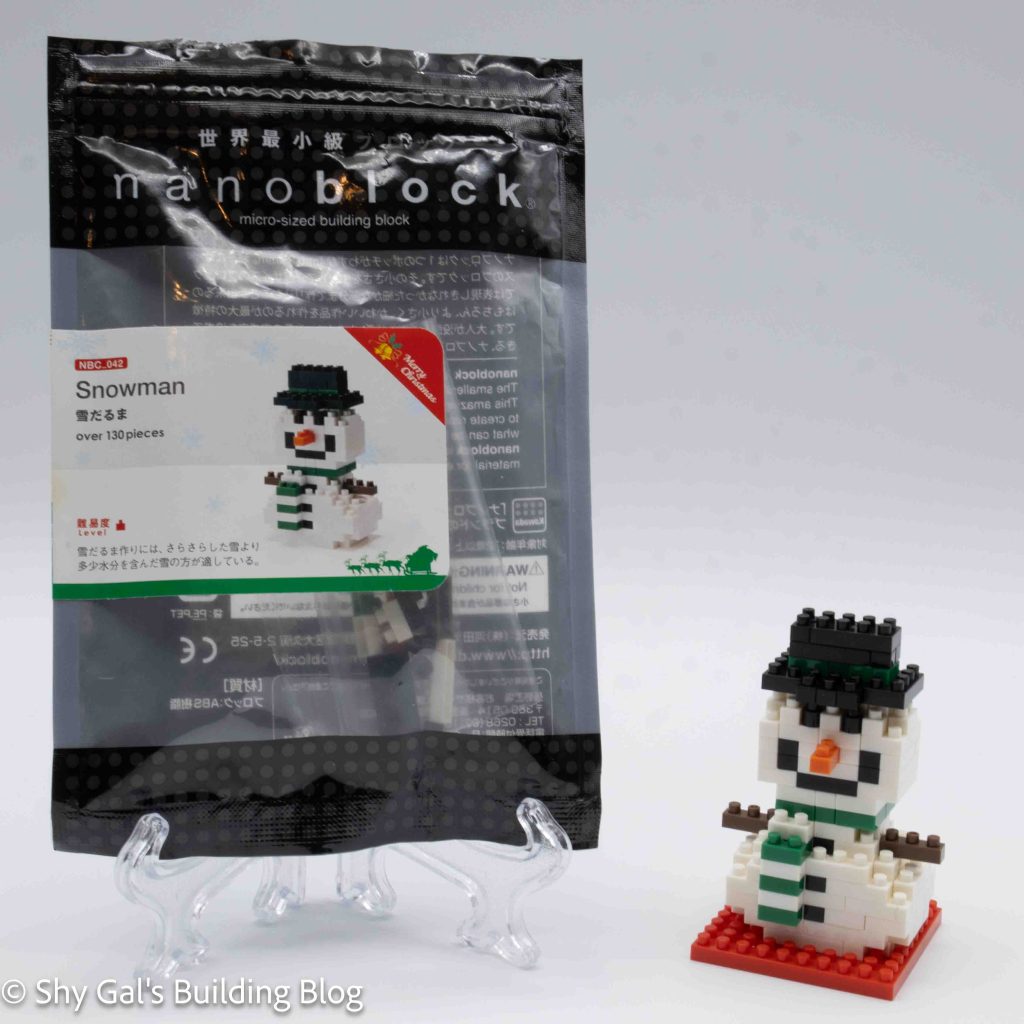
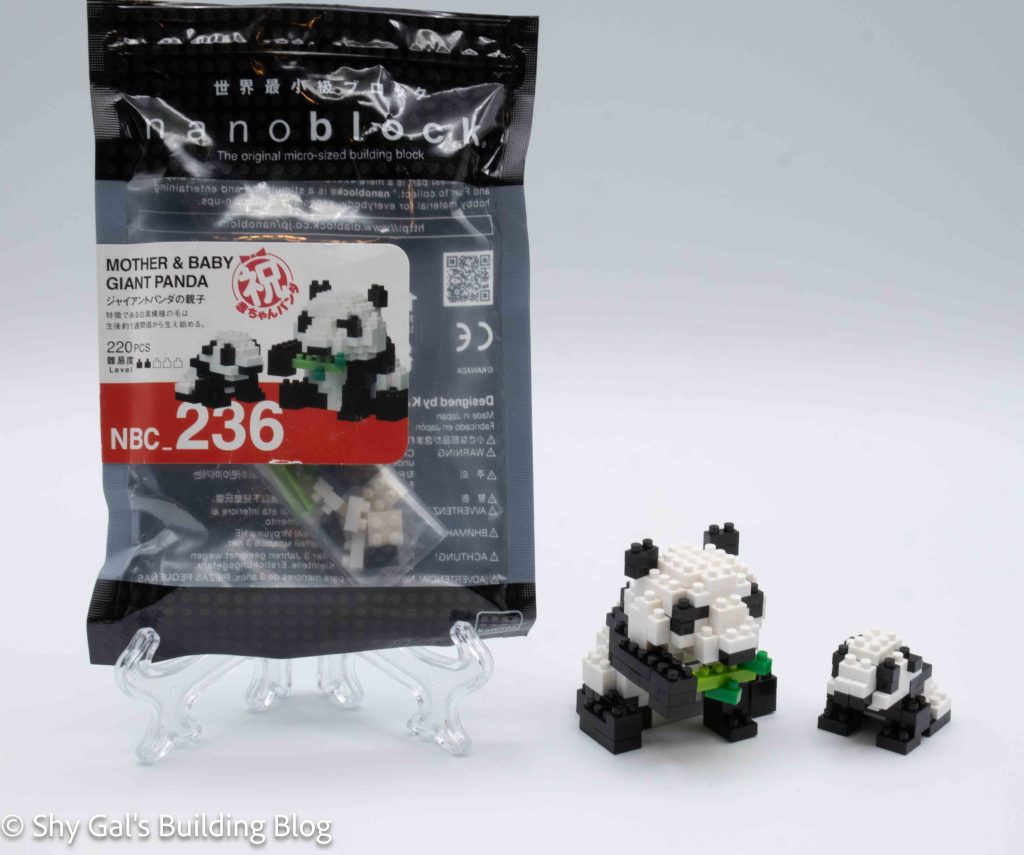
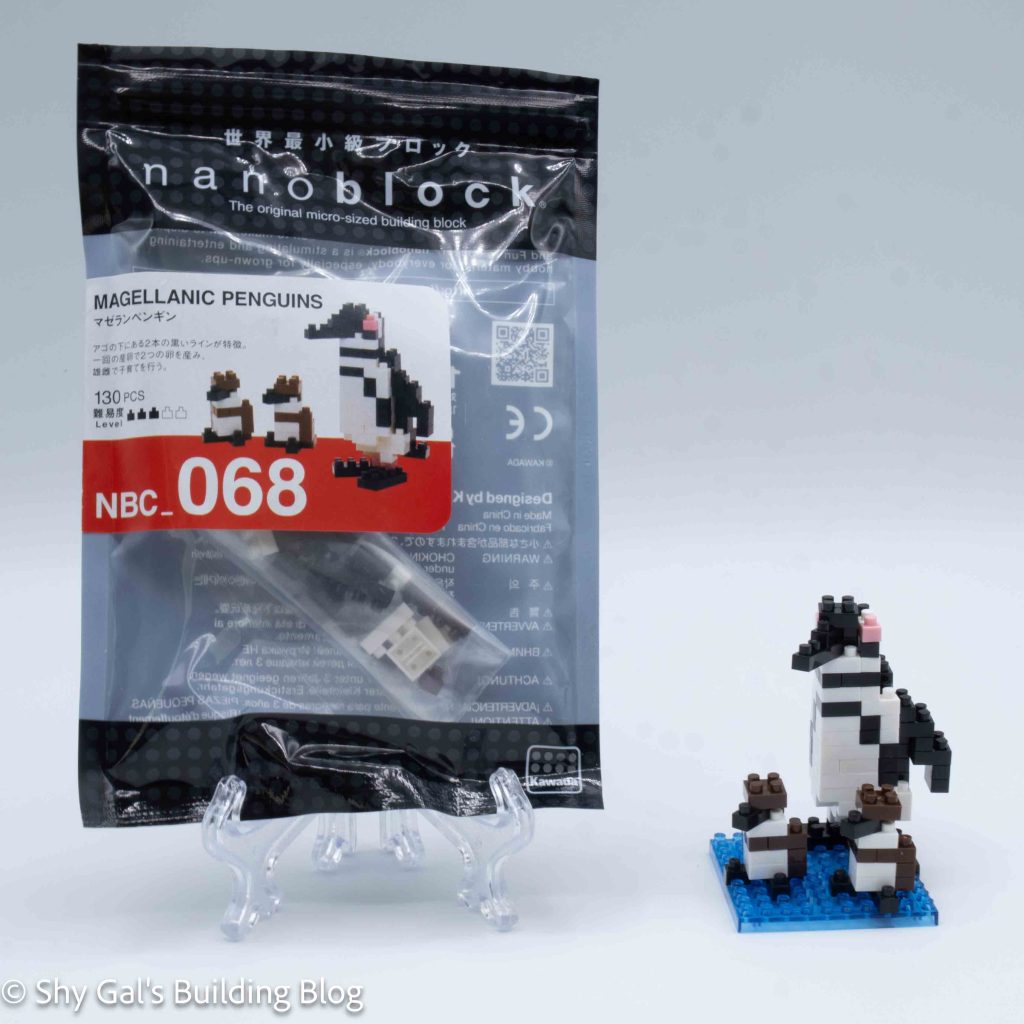
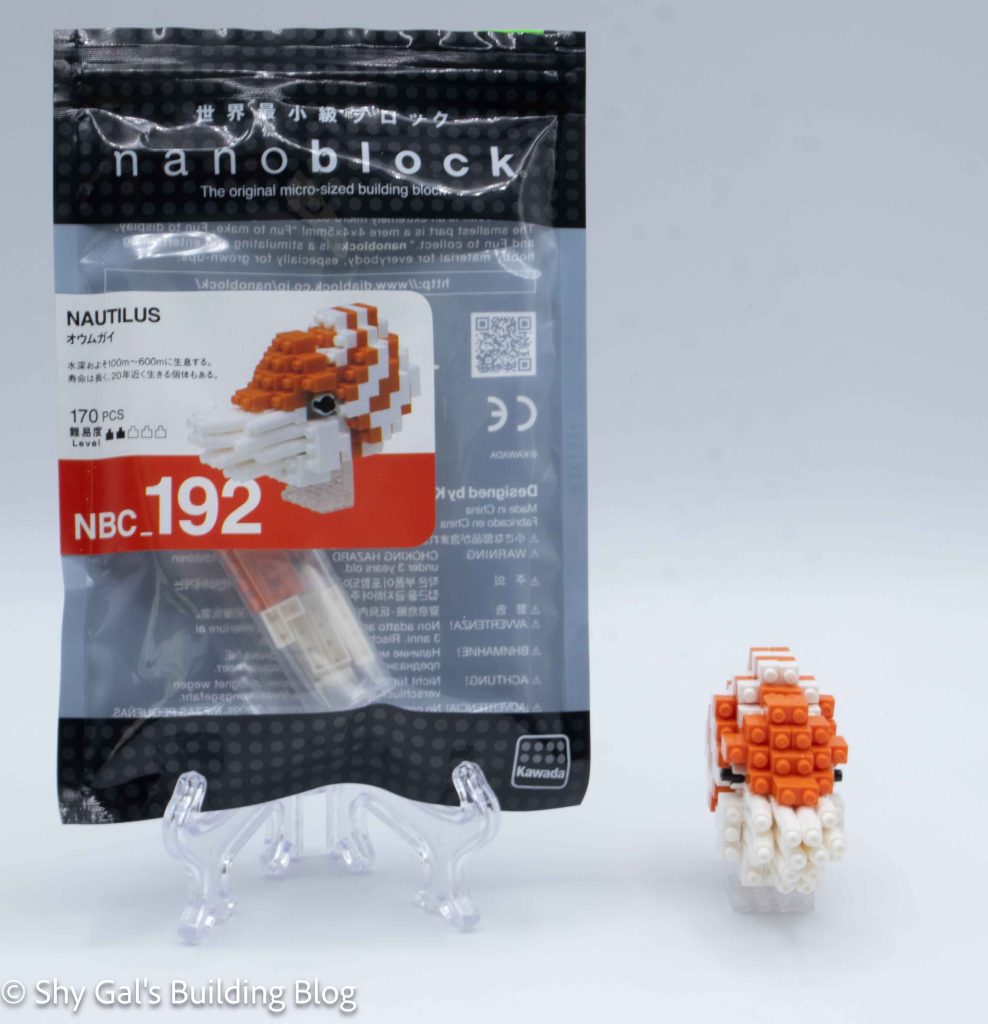
Number: NBC_043
Number of Pieces: 120
Difficulty Rating: 1
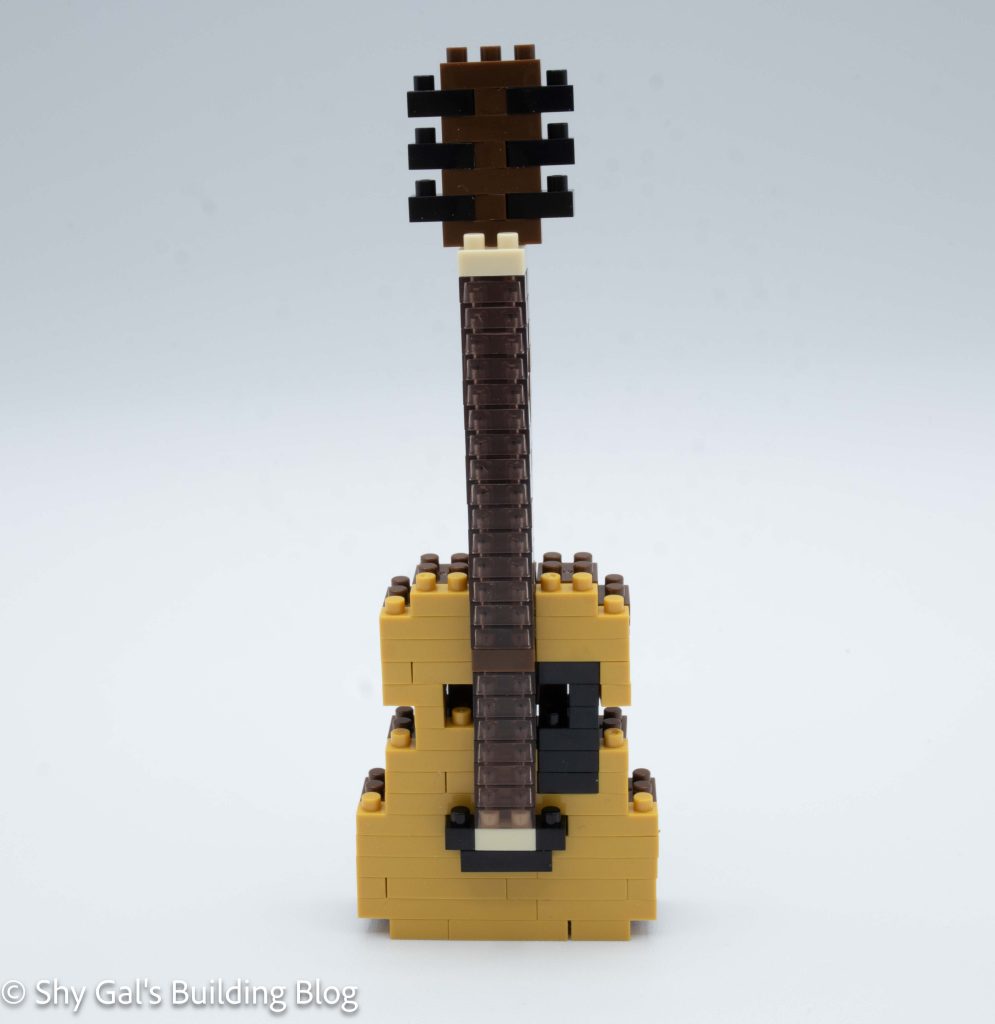
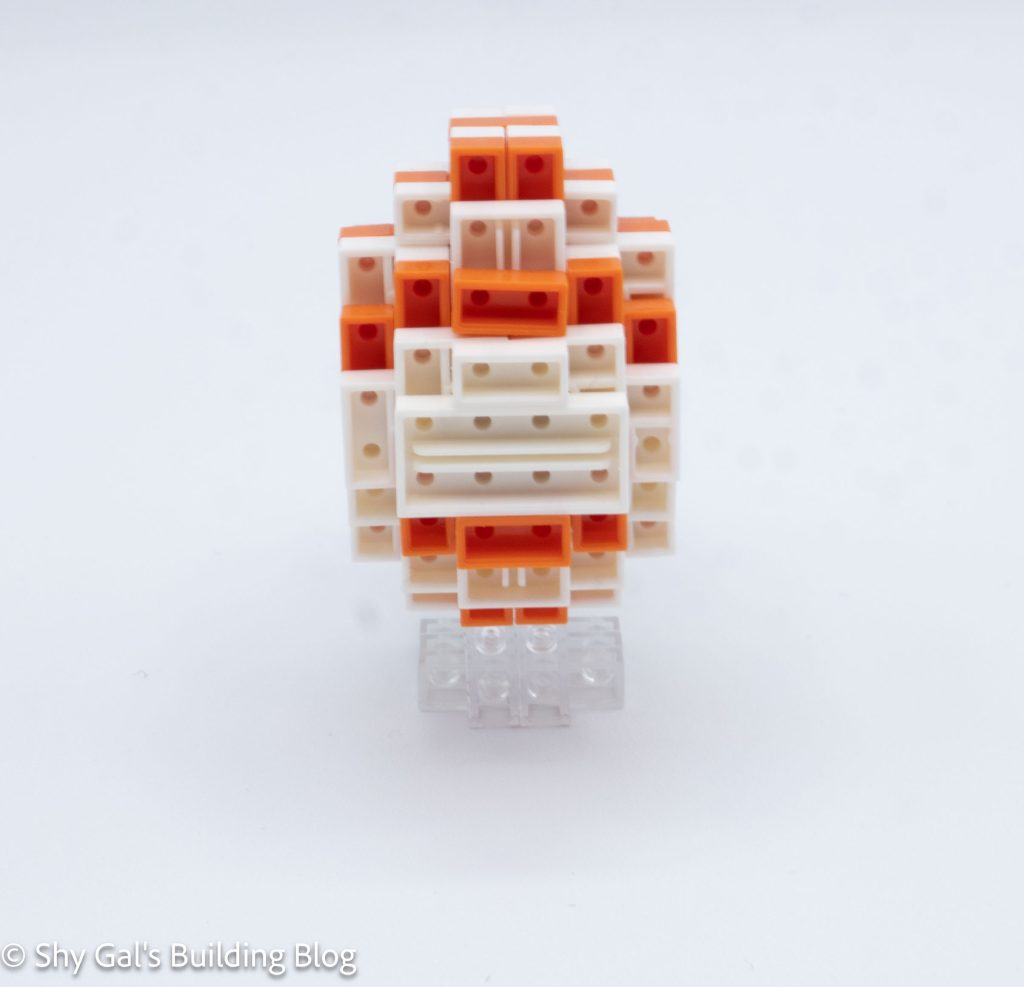
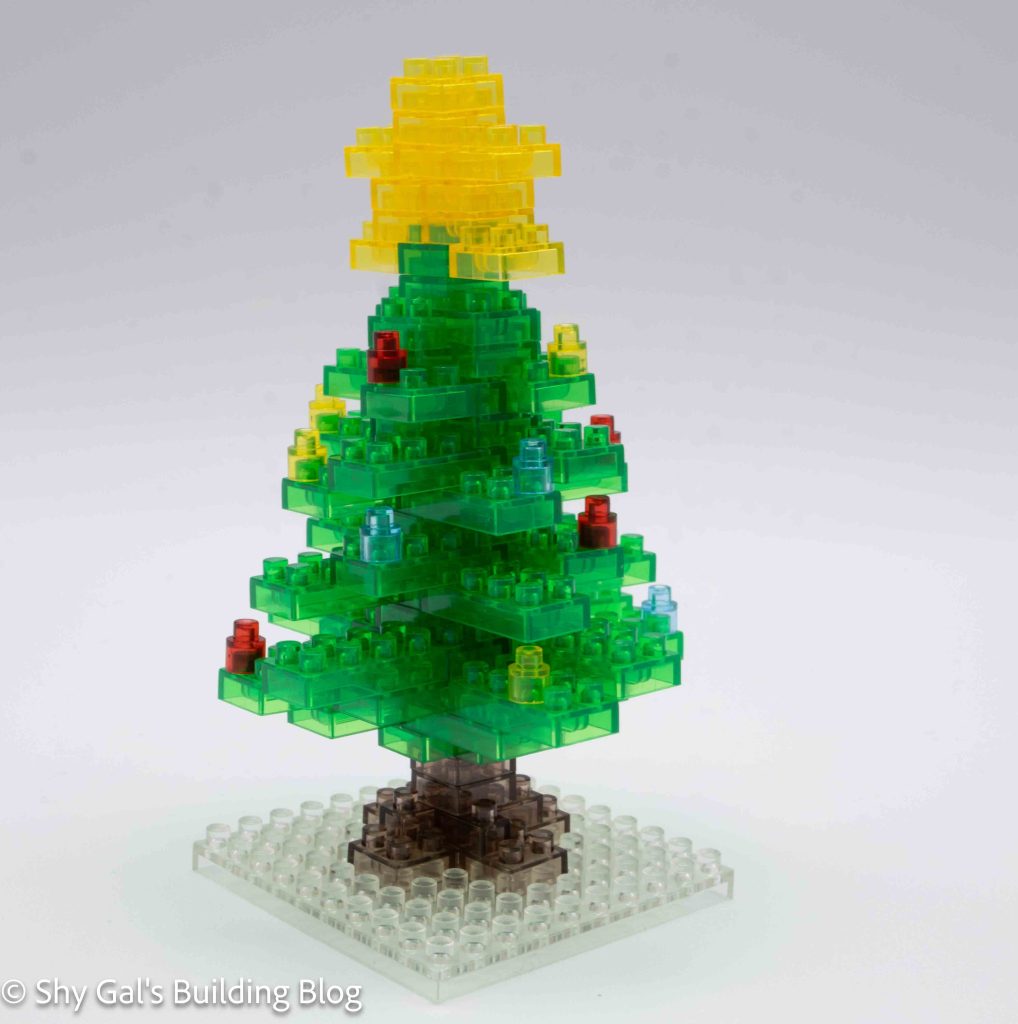
This tree is unique because it is composed of all clear blocks. Most of the other builds are built from opaque bricks.
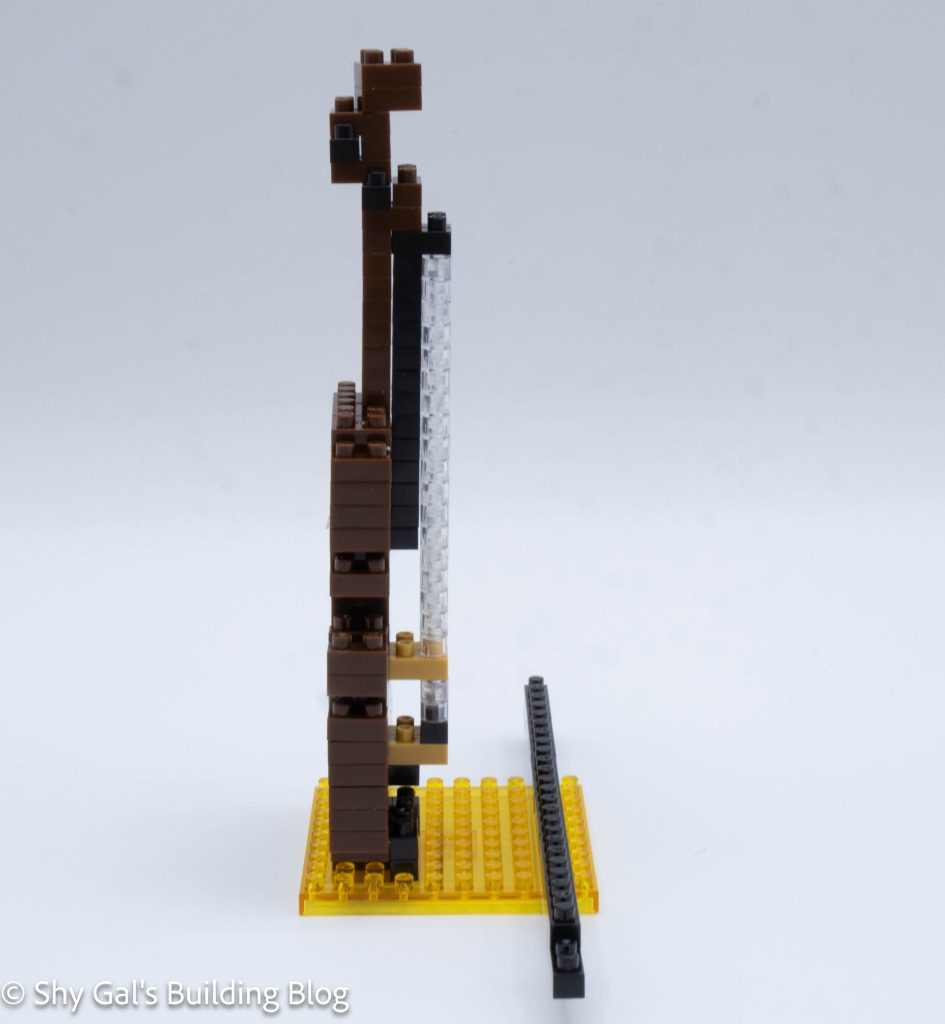
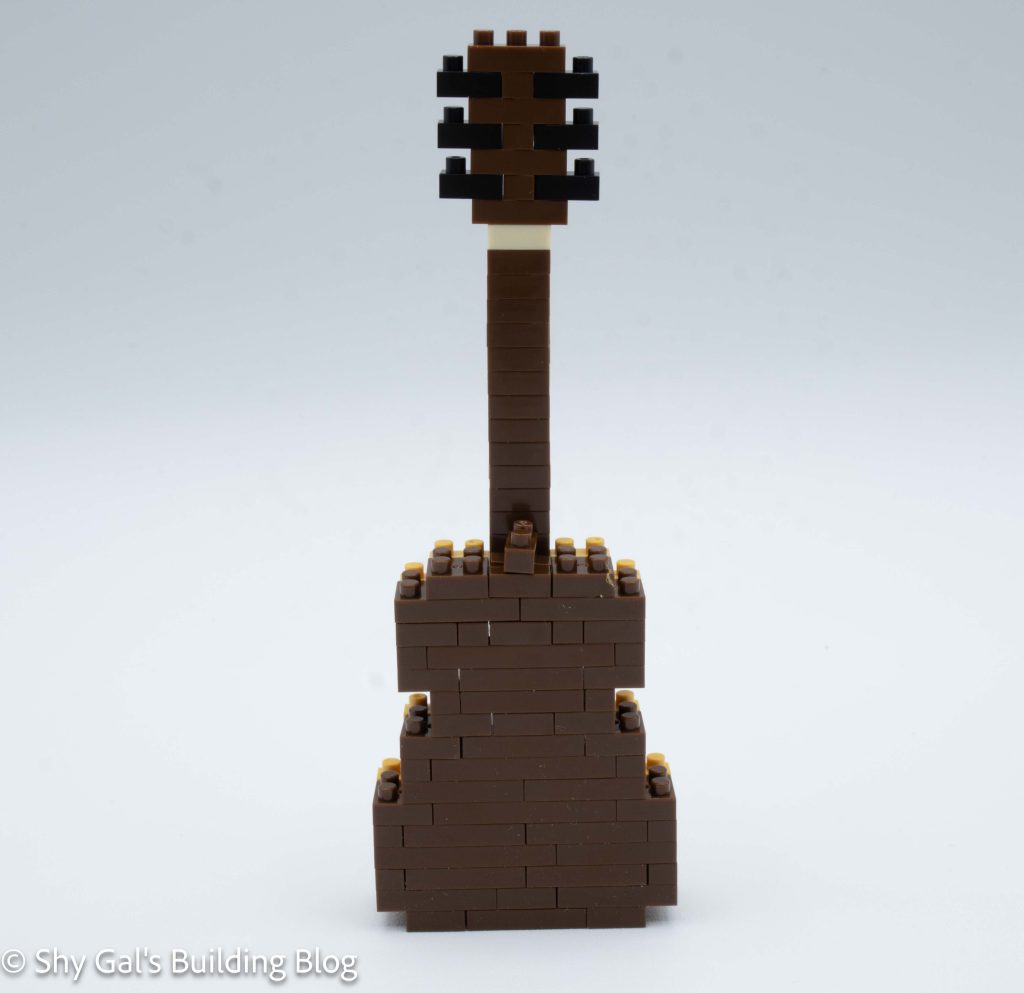
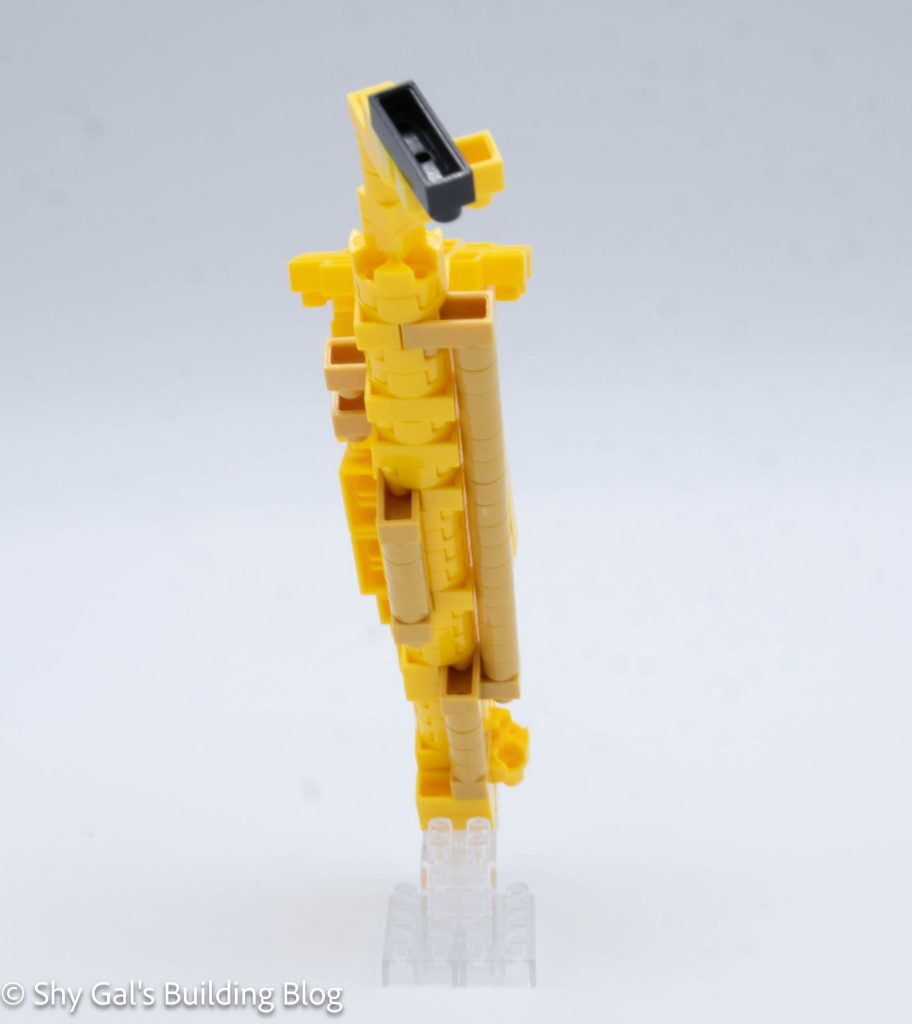
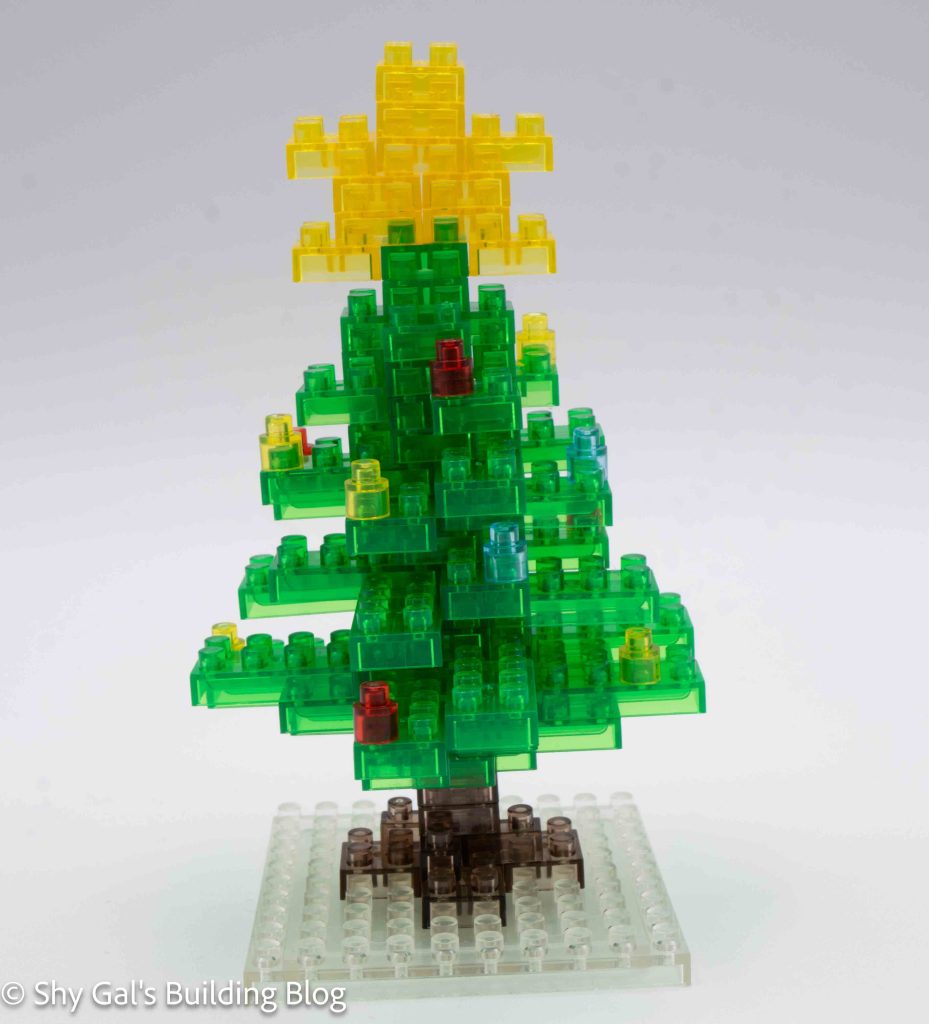
The build begins with building the trunk of the tree. There is a bit of detailing in the trunk.
The next step is to build the main section of the tree. Creating the base is difficult because the instructions aren’t very clear. I had a very hard time figuring out where each brick went. Normally, there are arrows saying where the studs are lined up, but the instructions don’t have the arrows to show between layers.
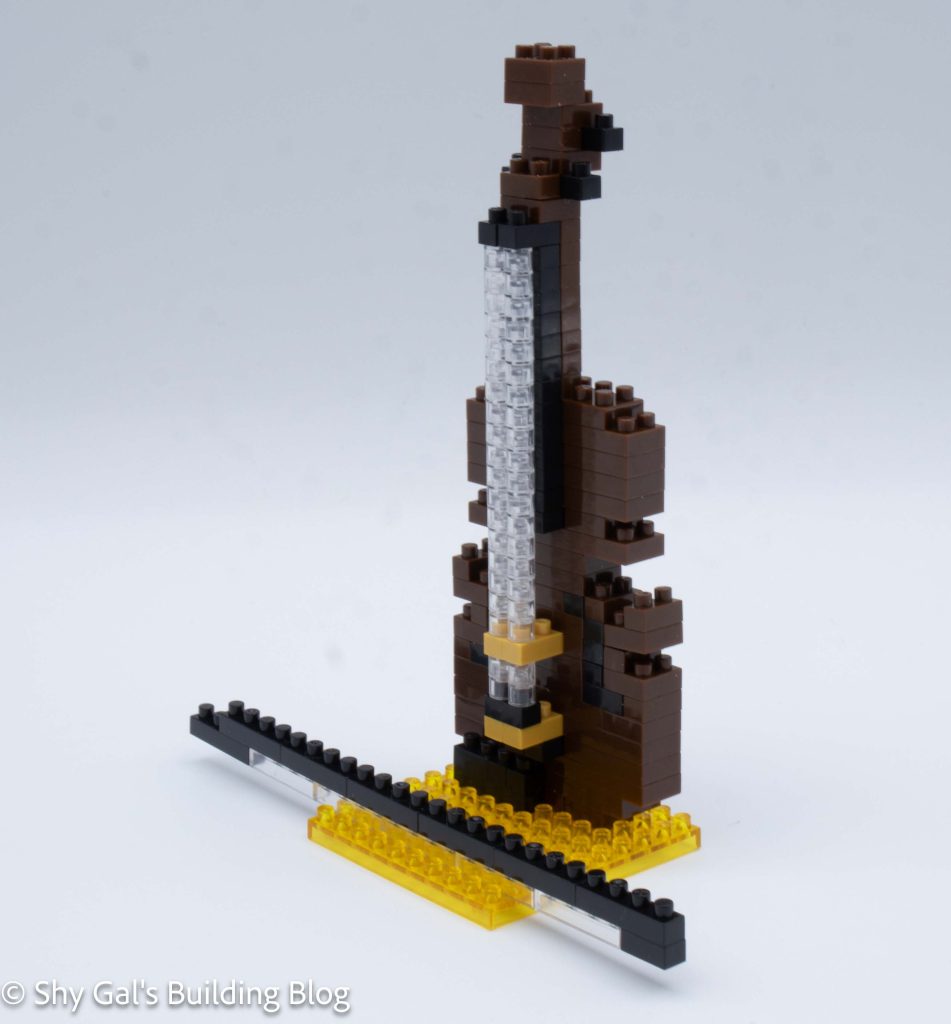
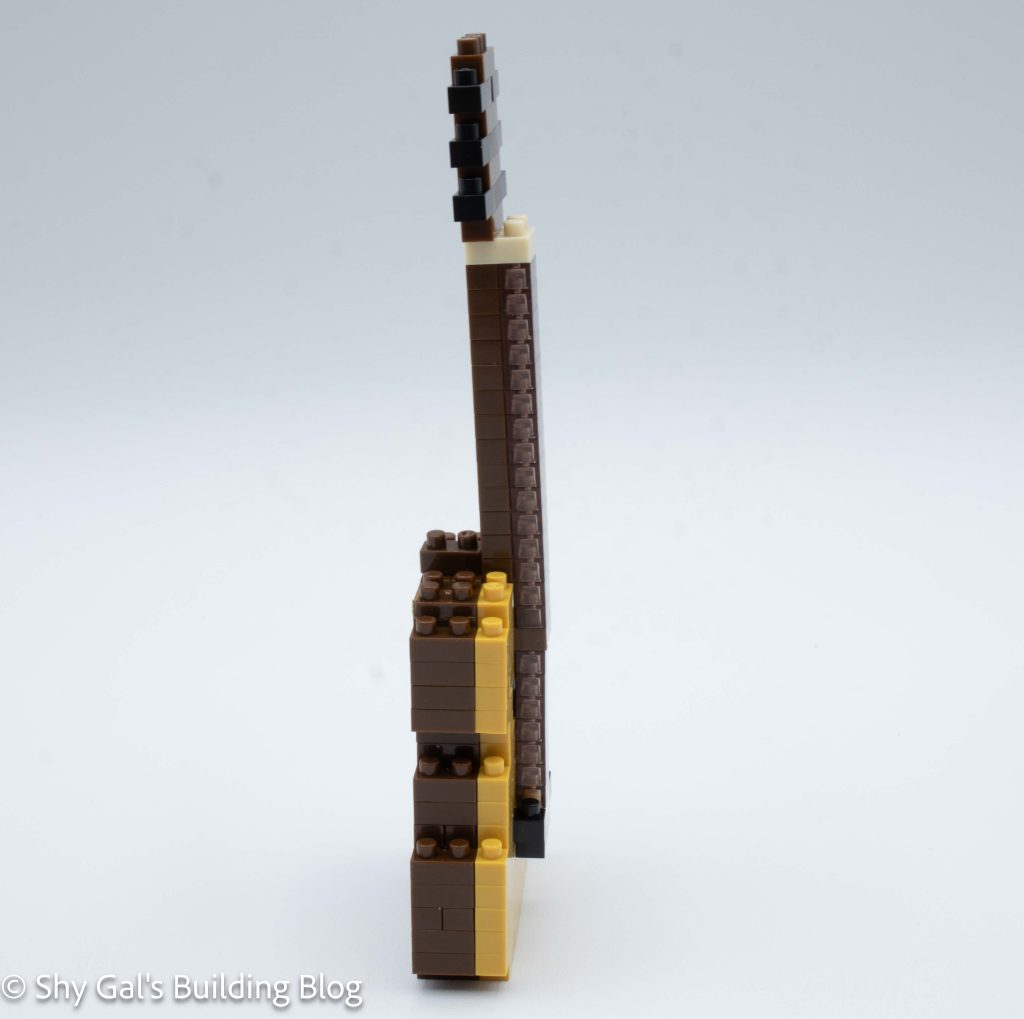
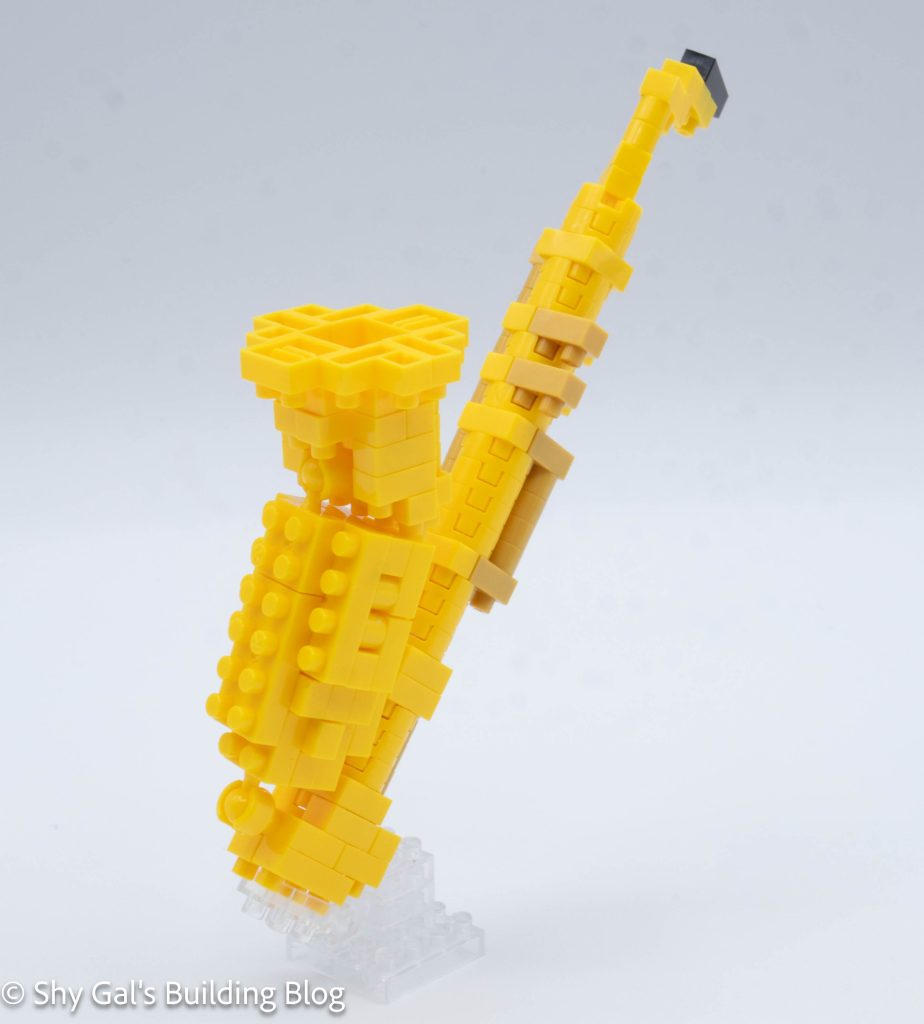
After finally getting the base layers built, it is time to build the height of the tree. The body of the tree goes up in straightforward layers that get smaller as you get to the top of the tree. Scattered throughout the layers are little lights made with round bricks.
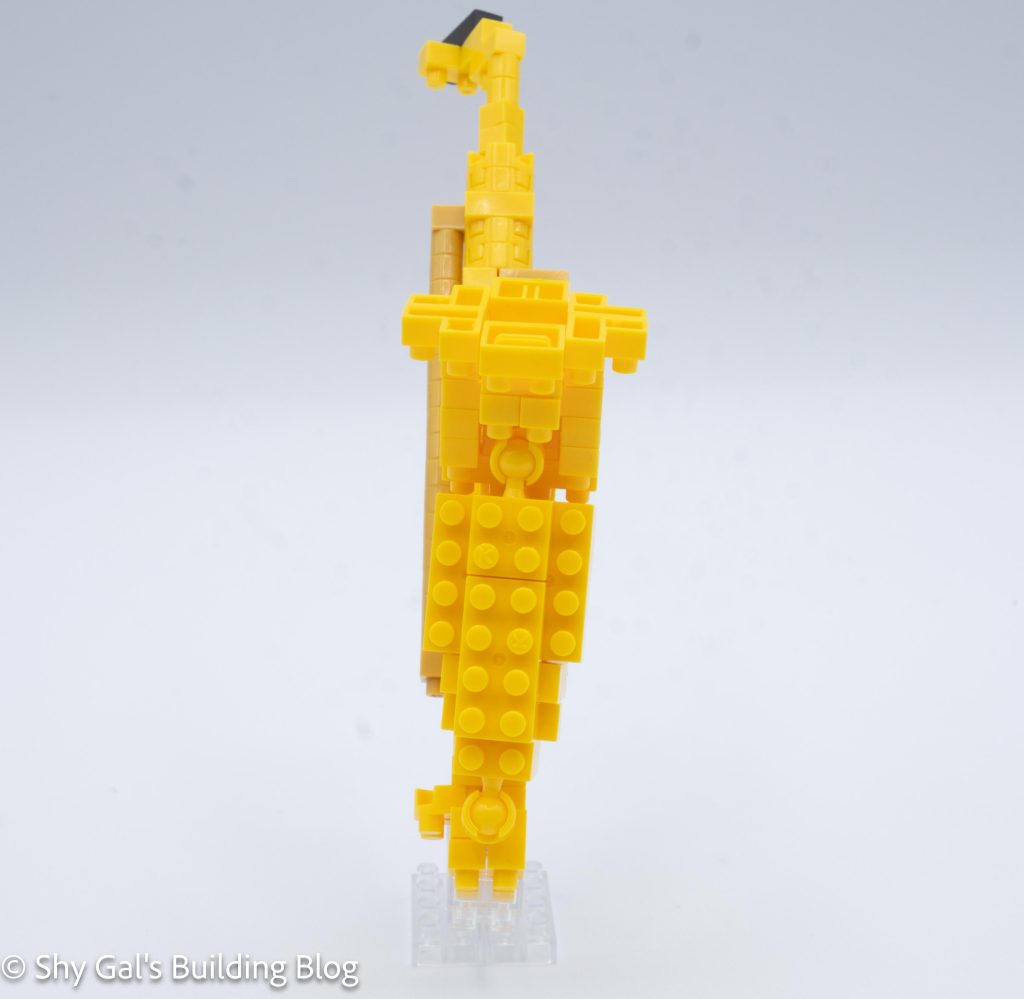
The final step is to build the star. The star is very straightforward.
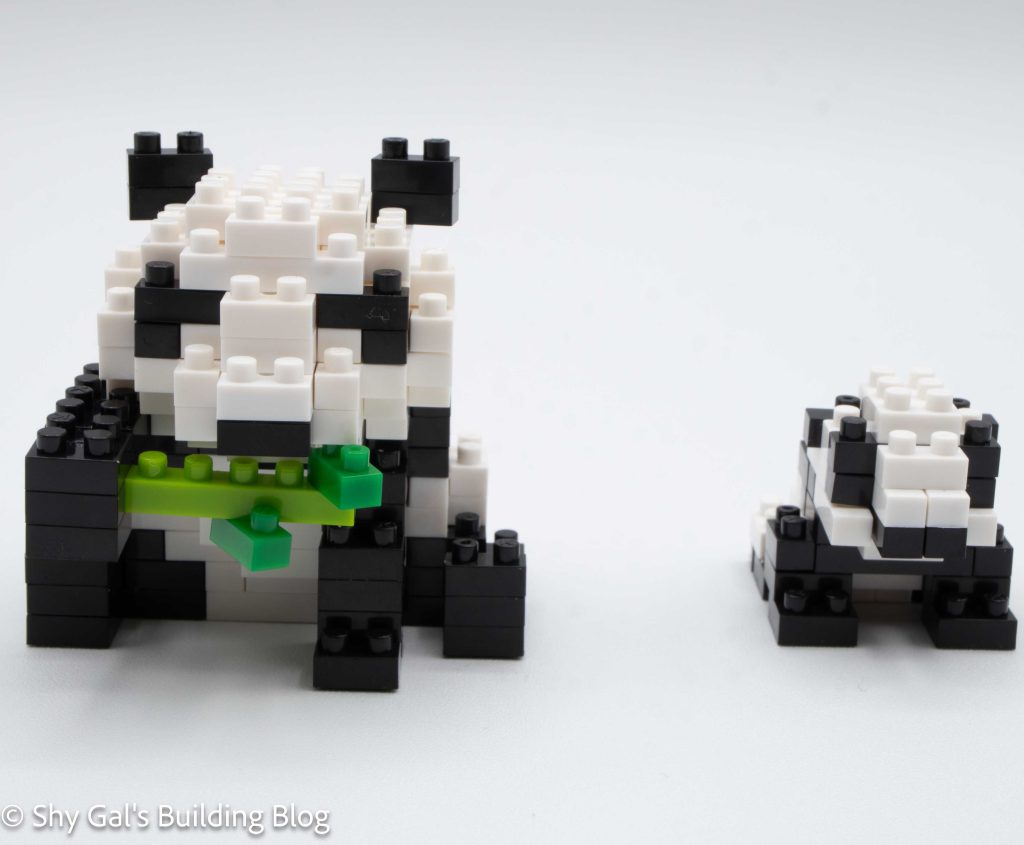
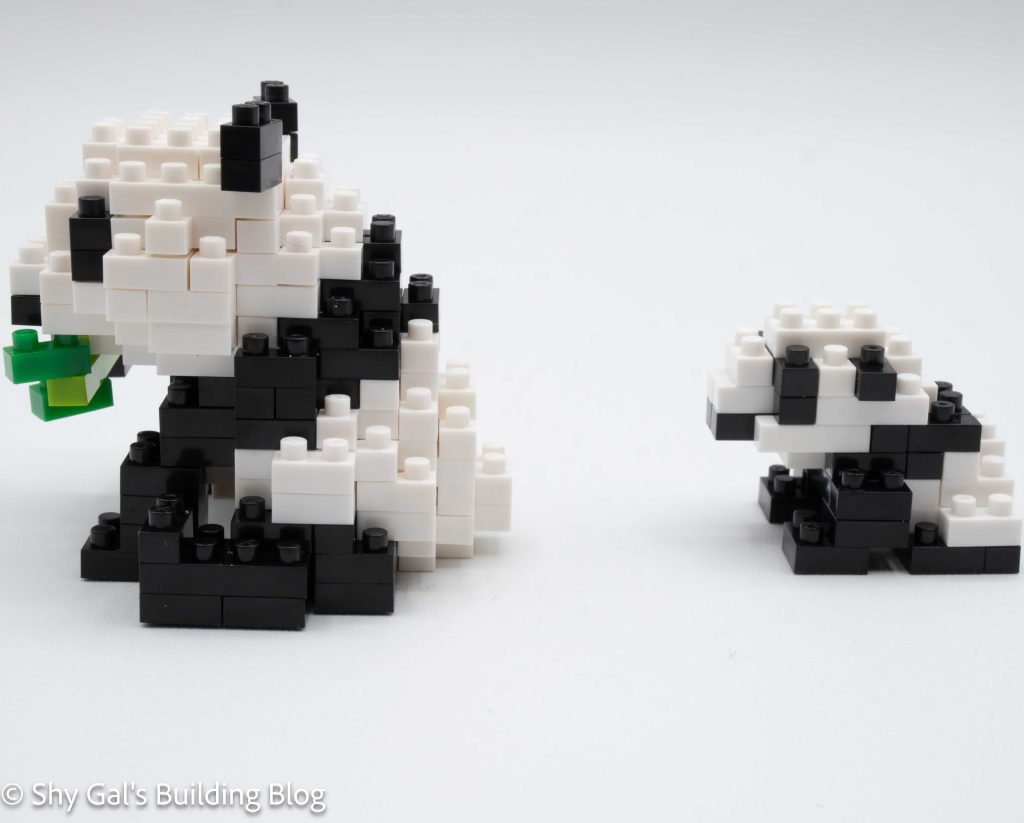
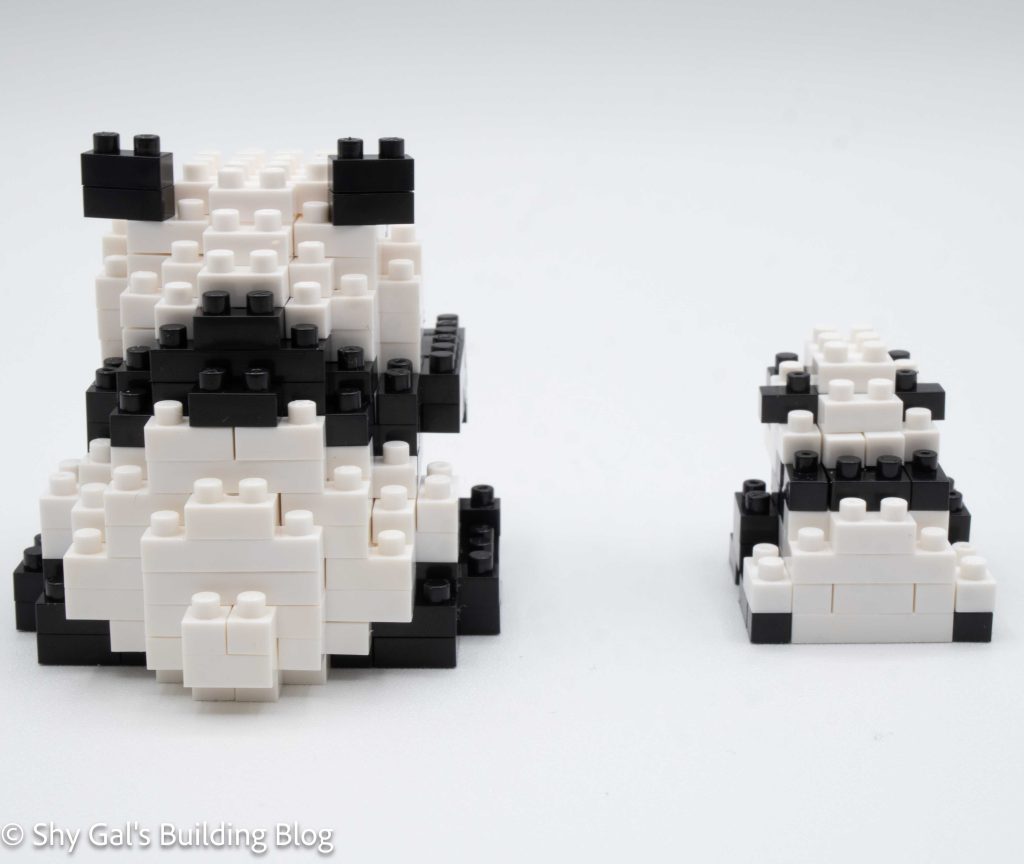
All three sections are connected together to build a tree.
Things I liked:
- I really like how the totally clear tree looks
Things I didn’t like:
- The instructions for the base layer of the tree are very unclear