Review of nanoblock Arc de tiomphe de l’Etoile NBH_075

Arc de tiomphe de l'Etoile build and box

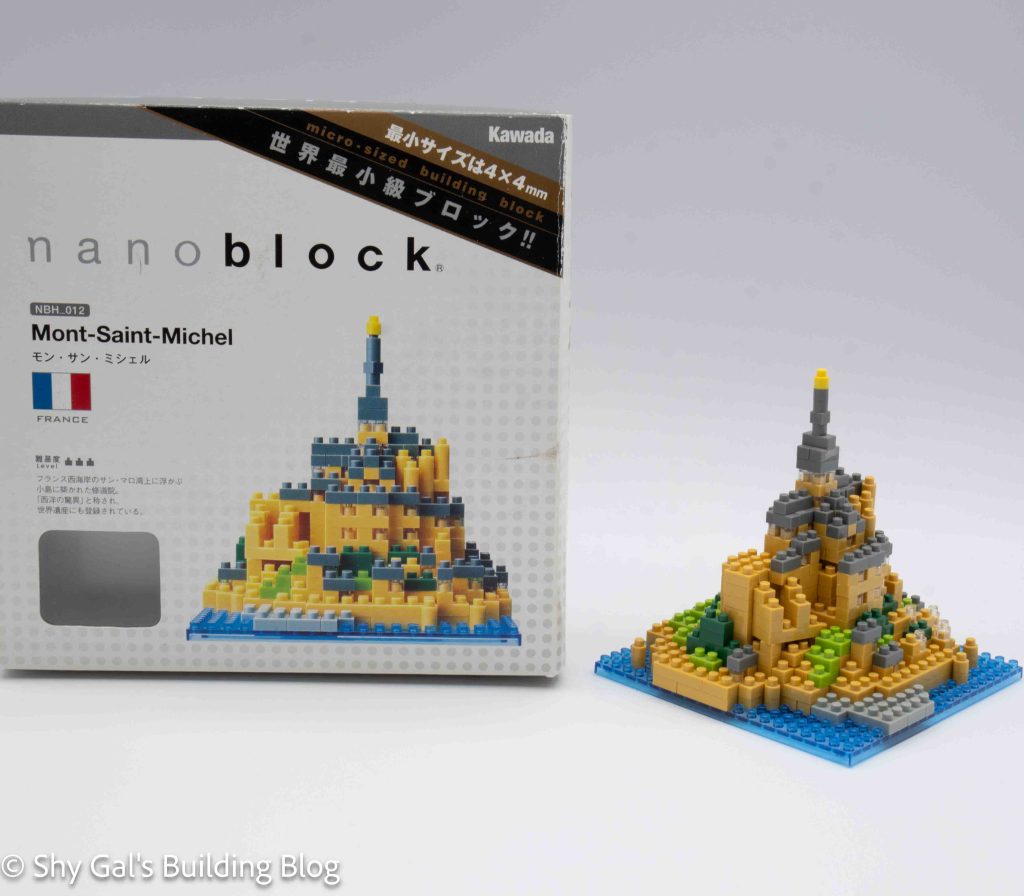
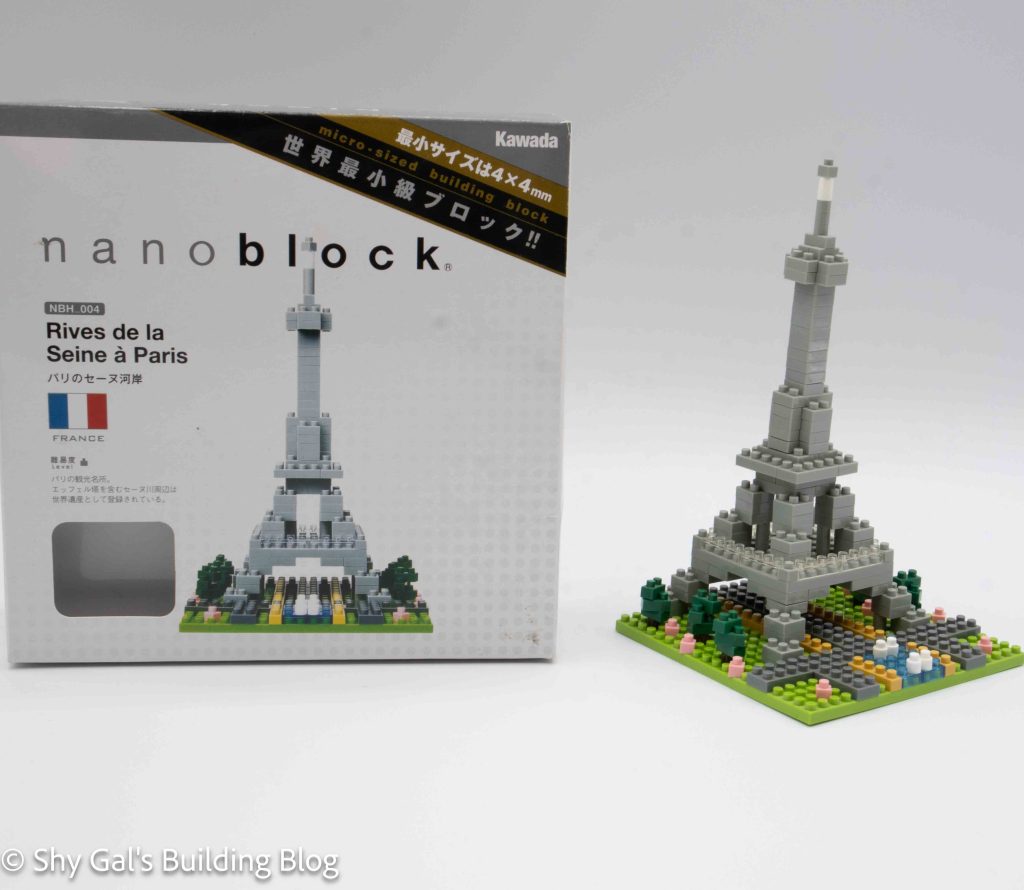
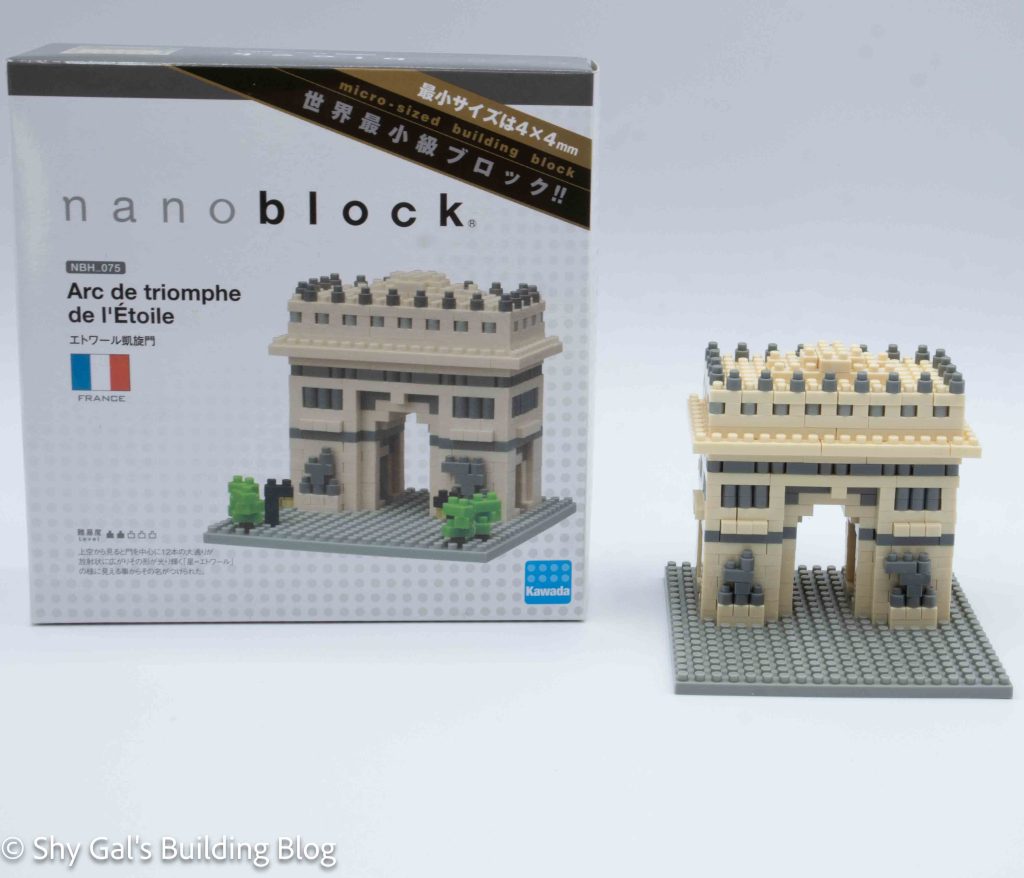
This post is a review of the nanoblock Arc de tiomphe de l’Etoile build. Arc de tiomphe de l’Etoile is part of the nanoblock Sights to See collection. Wondering what else is part of the Sights to See collection? Click here for a list.

Number: NBH_075

Country: France

Difficulty Rating: 2/5

Arc de tiomphe de l'Etoile build front view

I bought this kit used to all the bricks were combined into 1 bag. The fact that all the bricks were combined made building more difficult because it was hard to tell the difference between grey and dark grey. Most of the bricks are dark grey, and the grey is only used in 1 step.

The build begins by laying out the 4 base columns on the 20×20 base plate.

Arc de tiomphe de l'Etoile build side view

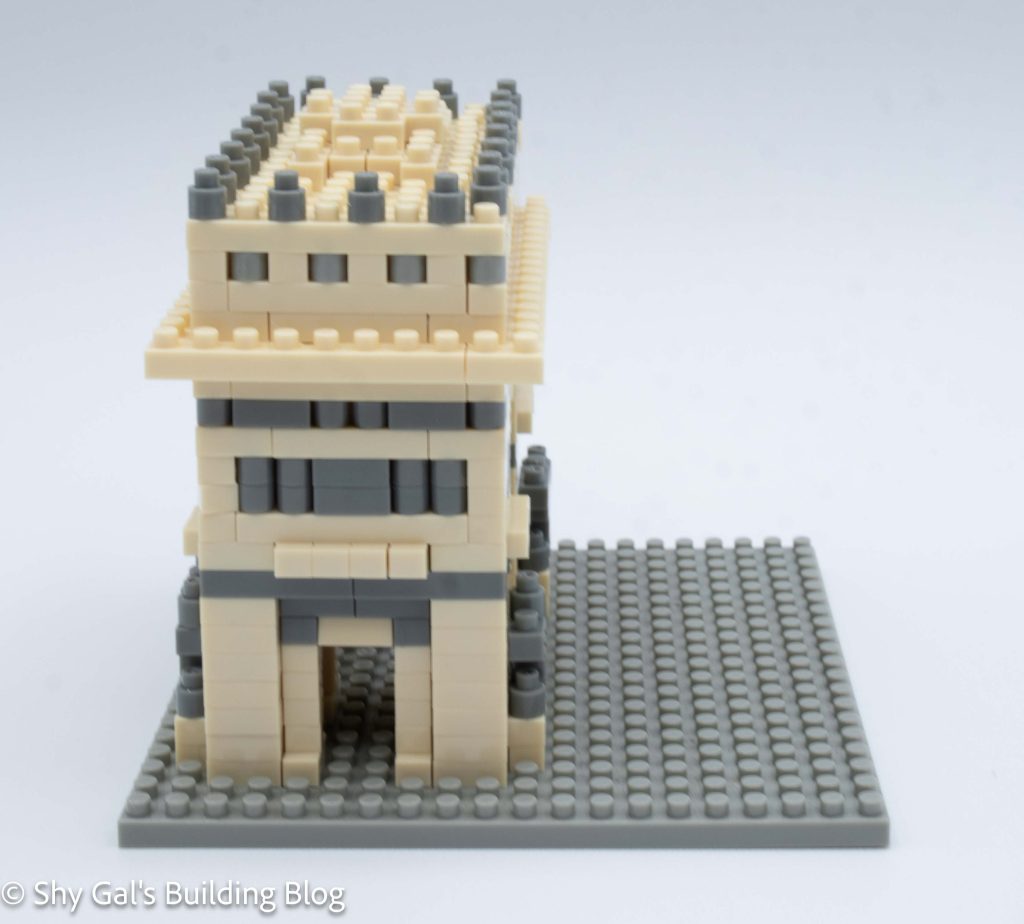
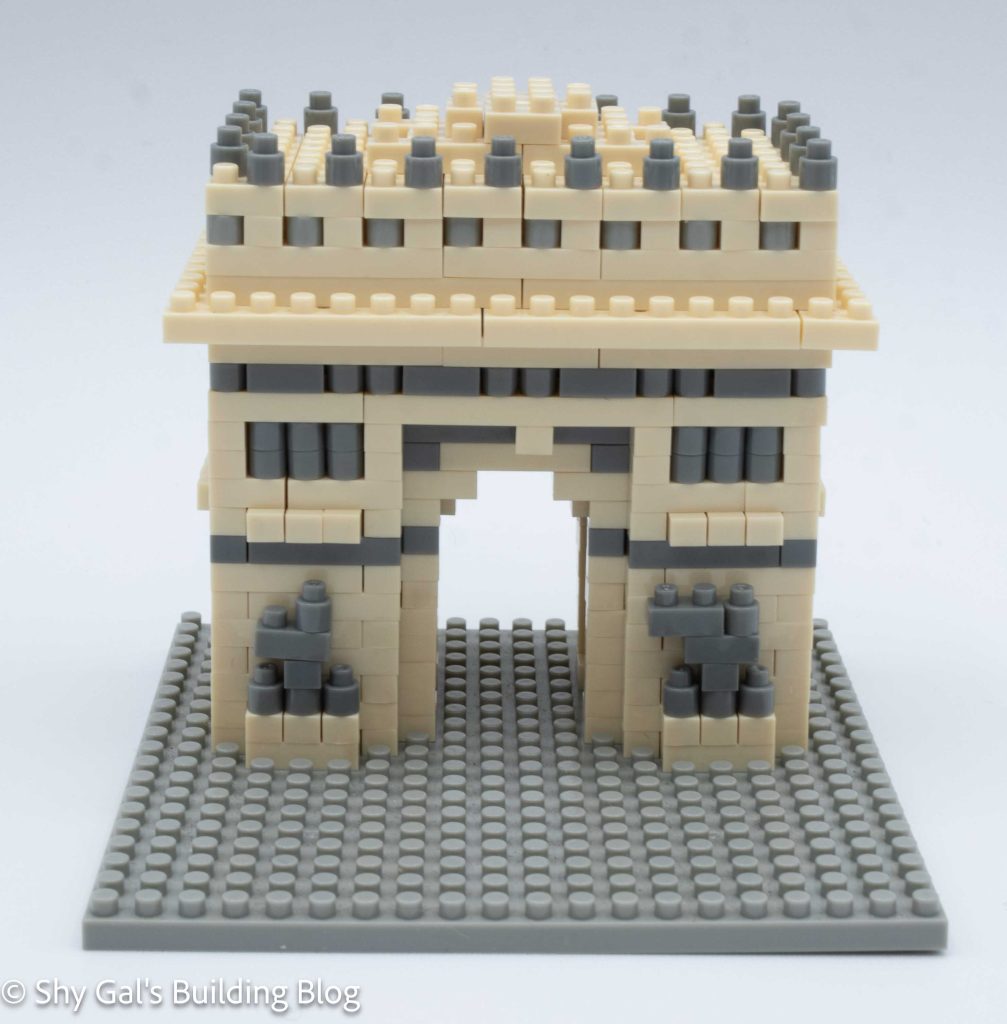
The 4 columns are built in very straightforward layers. In the layers, the details on the inside of the arch and statues around the outside.

Then, the columns are connected in pairs by building a structure for the main building. Then, there are 2 columns.

The 2 columns continue to go up. In several steps, the instructions say where to start the layer, which is unusual but a very nice detail.

Arc de tiomphe de l'Etoile build back view

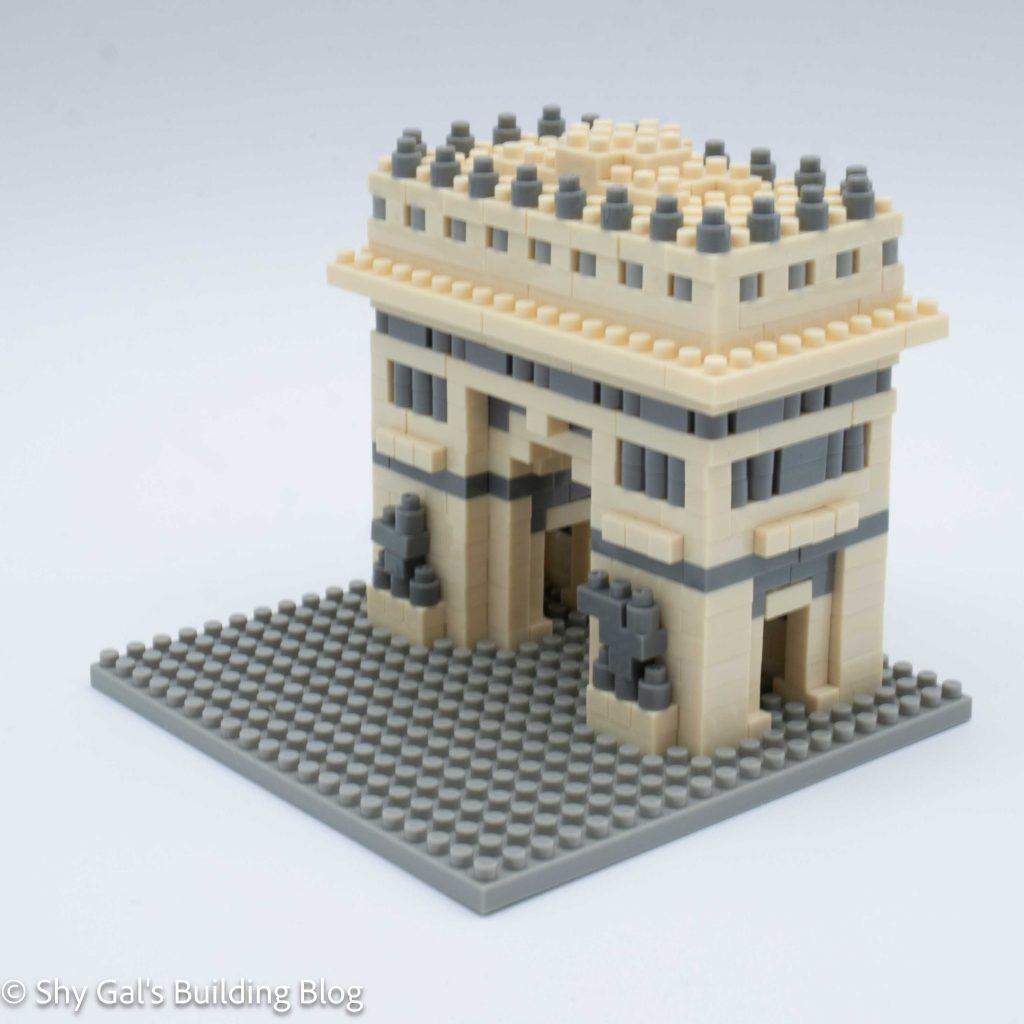
Then, the 2 columns are connected to create the roof of the Arch. It goes up in layers. The layers switch off between dark grey and cream. At one point, the layer uses grey bricks instead of the dark grey.

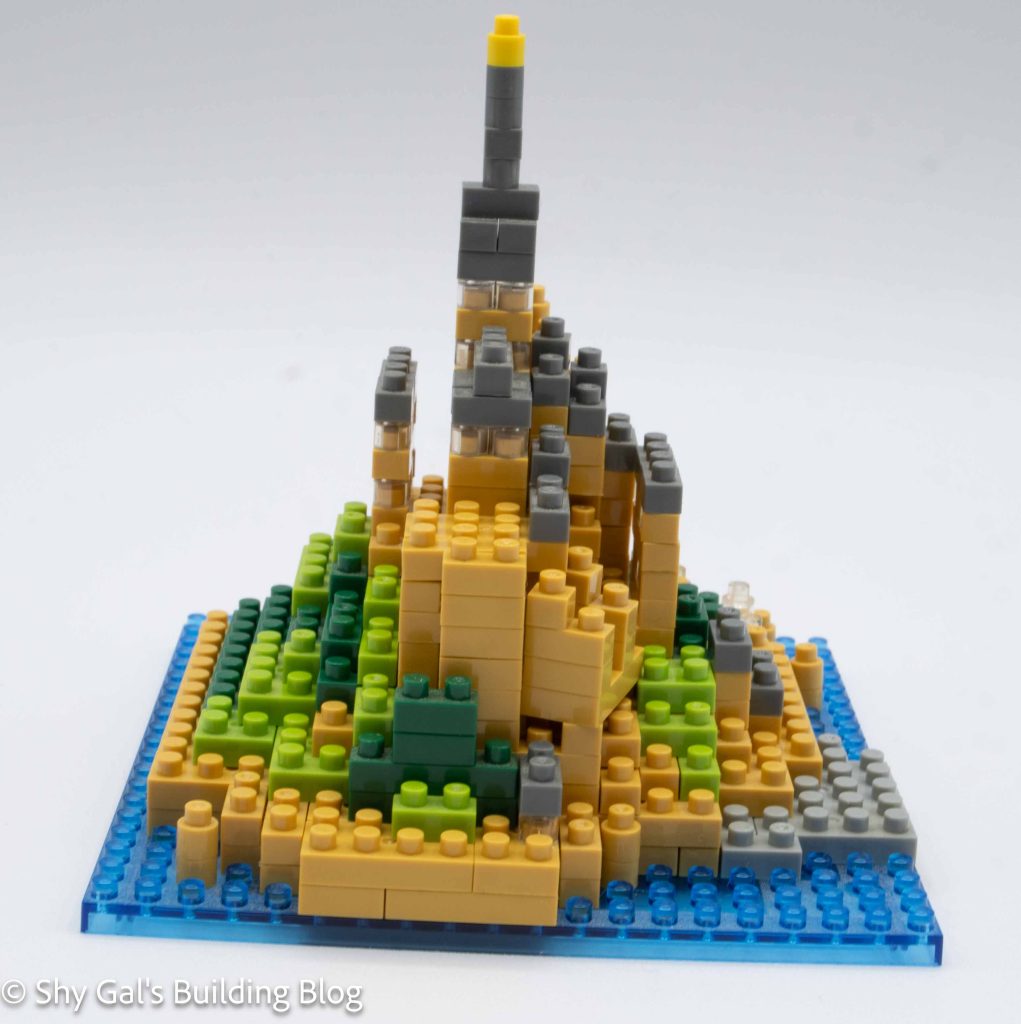
The Arc de tiomphe de l’Etoile is in the center of a giant roundabout. I don’t remember there being trees or street lights in the center of the roundabout, so I left them out of the build.

Arc de tiomphe de l'Etoile build front 3/4 view

Things I liked:

  • I liked how the instructions included where to start a layer. This made it easier to keep things lined up.

Things I didn’t like:

  • I found it hard to tell the difference between the 2 greys, which means rebuilding the kit would be hard unless I was super careful taking the build apart in the first place

Review of nanoblock Mont-Saint-Michel NBH_012

Mont-Saint-Michel build and box

This post is a review of the nanoblock Mont-Saint-Michel build. Mont-Saint-Michel is part of the nanoblock Sights to See collection. Wondering what else is part of the Sights to See collection? Click here for a list.

Mont-Saint-Michel build front view

Number: NBH_012

Country: France

Difficulty Rating: 3

Mont-Saint-Michel build side view

Mont-Saint-Michel is an island off the coast of Normandy, France. It looks like a walled city.

The build begins with outlining the island on a 20×20 clear blue baseplate. The next few layers are rings that make the outline smaller. Then, the ring is closed off by placing a 10×10 plate in the center of the ring.

Mont-Saint-Michel build back view

There are a couple more layers until there is another unique placement. A brick is placed at an angle. The studs on the layer below are properly placed so that when the angled brick is placed, the brick is sturdy.

The rest of the build is very straightforward, going up in layers.

Mont-Saint-Michel build side view

Things I liked:

  • I like the use of clear blocks creating gaps and windows

Things I didn’t like:

  • I’m not sure what the one random yellow brick at the top of the spire is supposed to be

Review of nanoblock Rives de la Seine a Paris NBH_004

Rives de la Seine a Paris build and box

This post is a review of the nanoblock Rives de la Seine a Paris build. Rives de la Seine a Paris is part of the nanoblock Sights to See collection. Wondering what else is part of the Sights to See collection? Click here for a list.

Number: NBH_004

Country: France 

Difficulty Rating: 1

Rives de la Seine a Paris build front view

Rives de la Seine a Paris translates to Banks of the Seine in Paris. This build is actually of the Eiffel Tower which is on the Seine.

Rives de la Seine a Paris build side view

The build begins with laying out the foundation bricks on the base plate. There are 2 images for how the baseplate should look after step one, which makes me confident I had the scattered bricks placed correctly.

The second step adds the trees and the second layer of bricks to the tower. I wish the trees had been added at the end because I kept knocking the trees as I added to the tower.

Rives de la Seine a Paris build front view

Then a smaller base plate is added to the tower to create the first viewing platform. I don’t really notice or see the clear the bricks on the outside of the tower so I’m not sure they add much to the build.

The rest of the tower goes up in very straightforward layers. The layers add the 2 additional viewing platforms and the radio antenna on the top of the tower.

Rives de la Seine a Paris build front 3/4 view

Things I liked:

  • I like that the base platform appears to be a complete scene instead of having random things as an afterthought because the base is bare

Things I didn’t like:

  • I wish the trees had been added at the end instead of the beginning because I kept bumping them as I built the tower