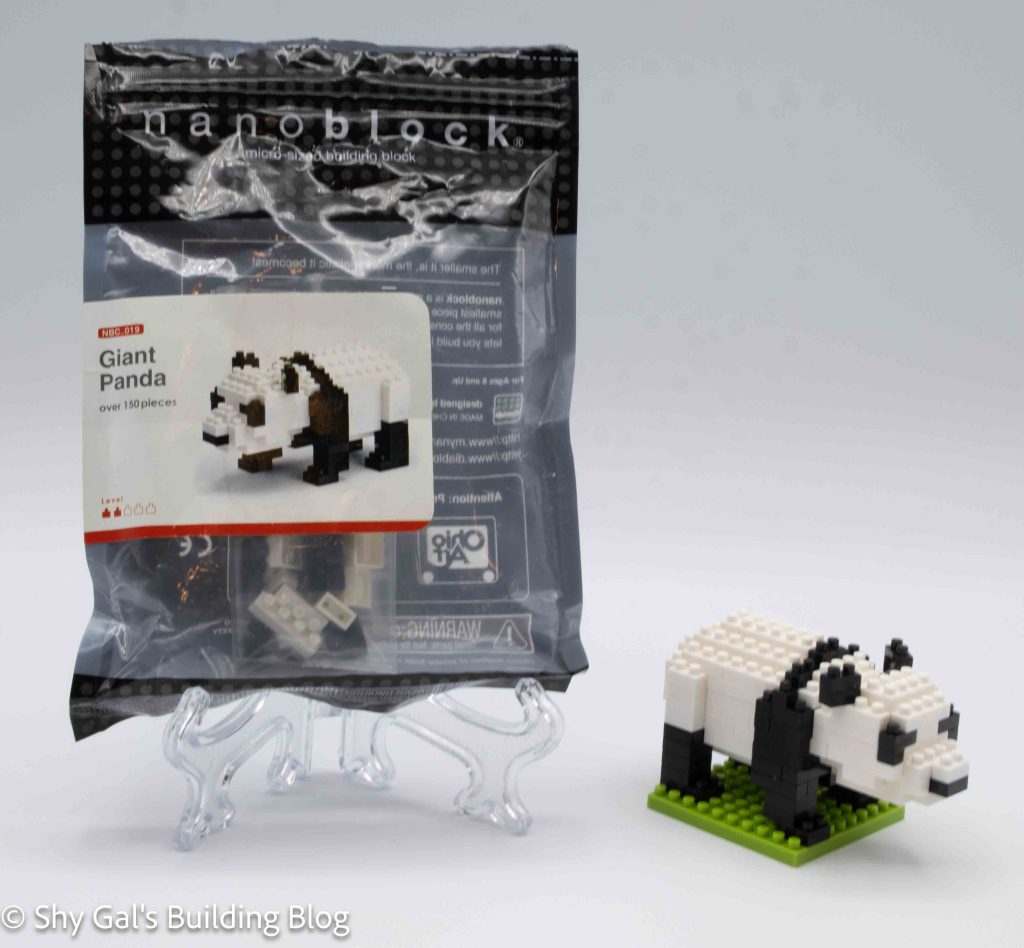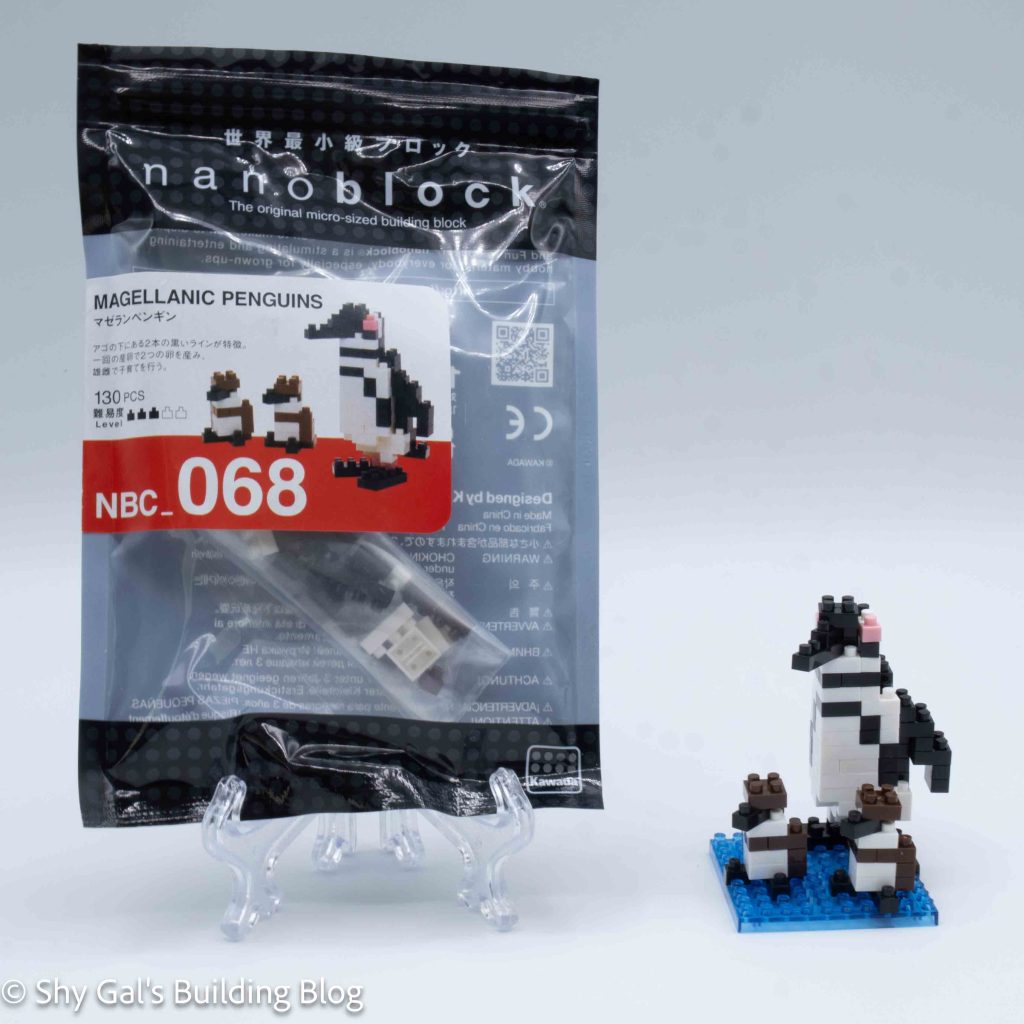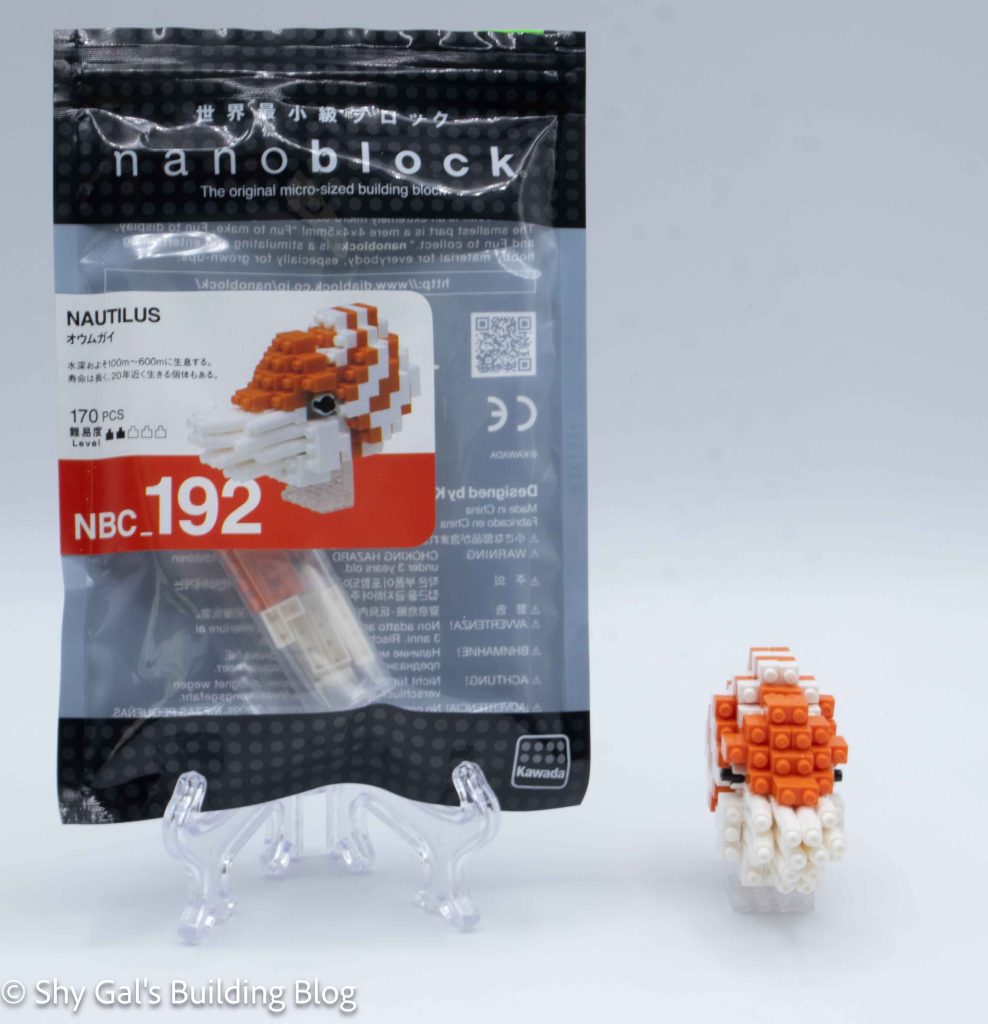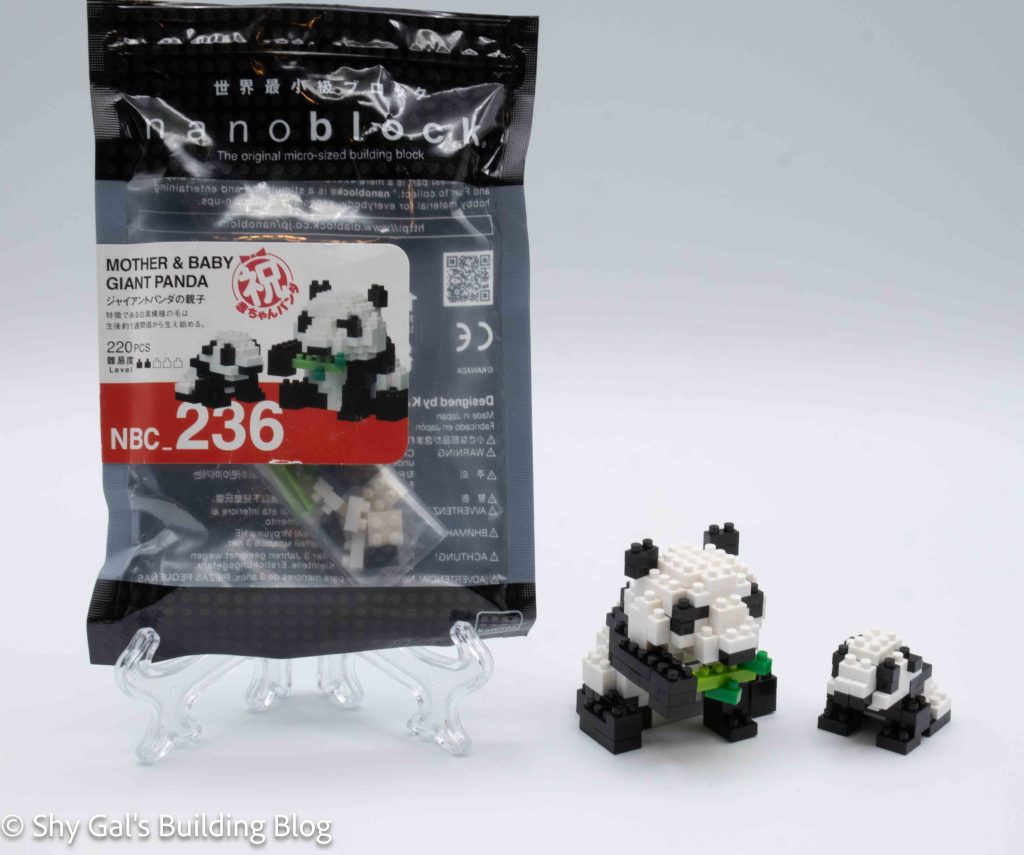
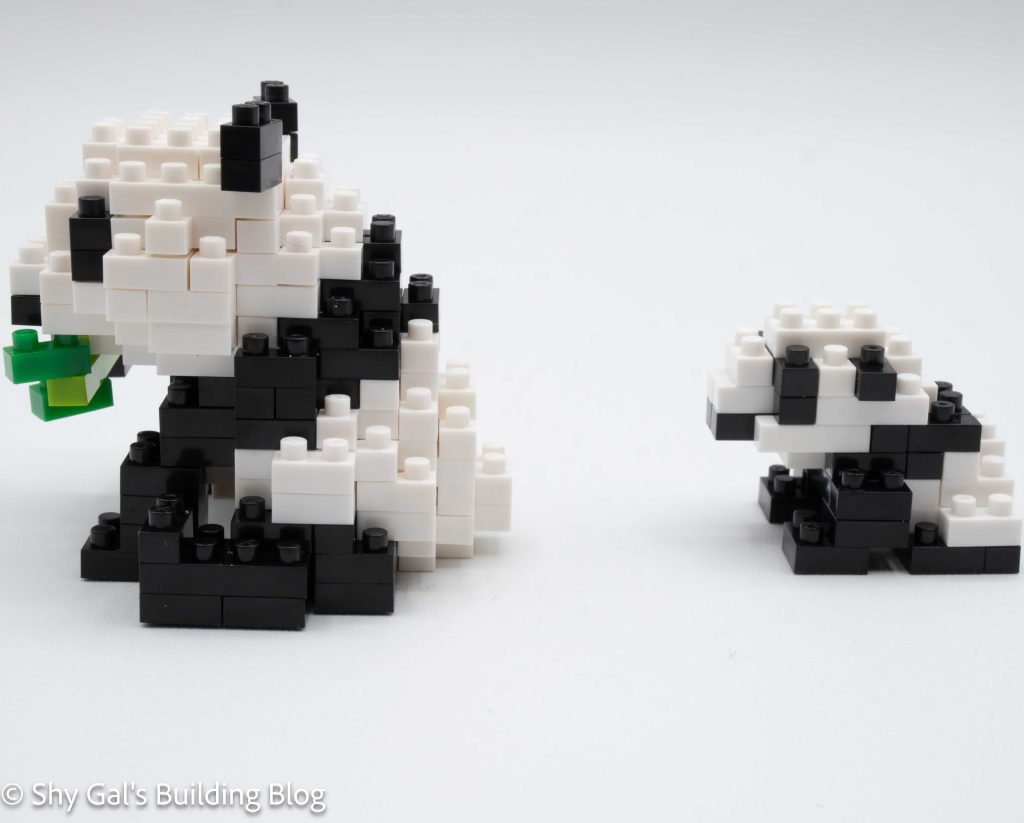
This post is a review of the nanoblock Mother & Baby Giant Panda build. Mother & Baby Giant Panda is part of the nanoblock Mini Collection series. Wondering what else is part of the Mini Collection? Click here for a list.
Number: NBC_236
Number of Pieces: 220
Difficulty Rating: 2/5
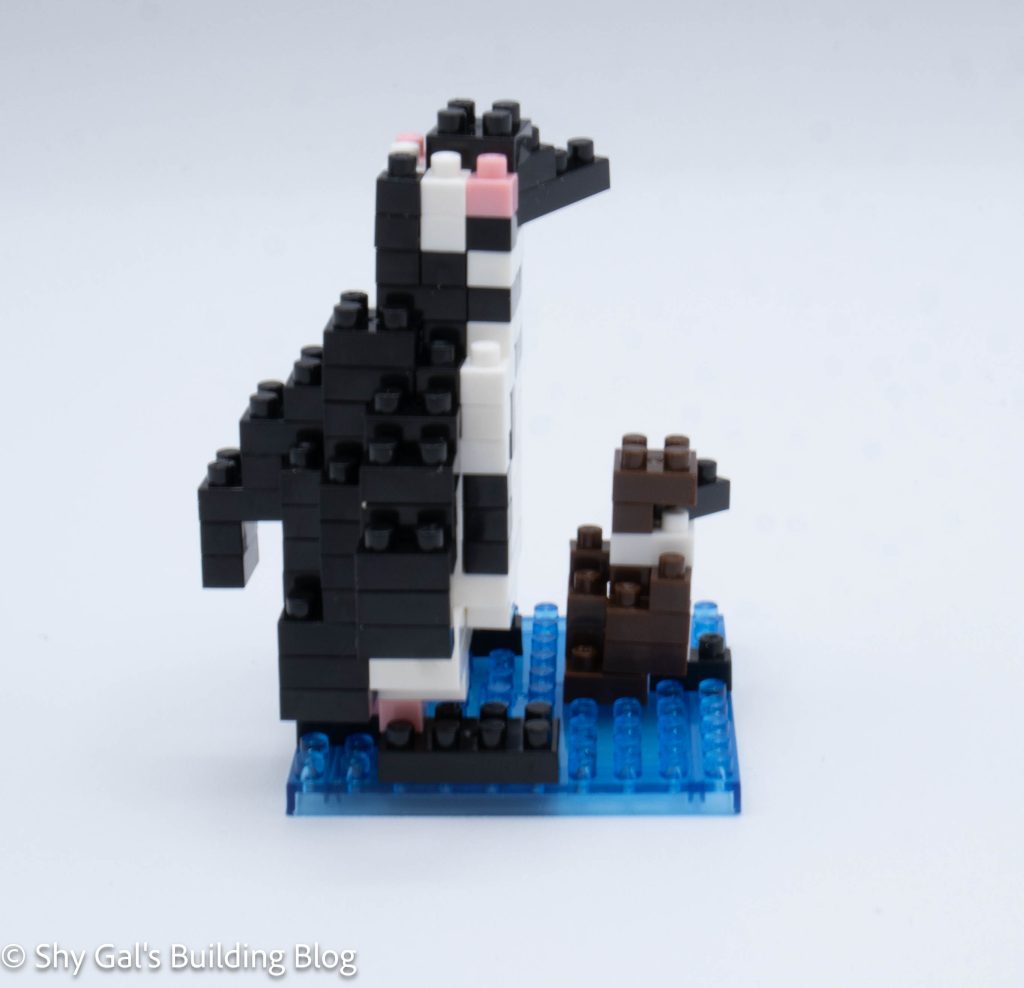
This kit contains 2 builds: the mother and the baby.
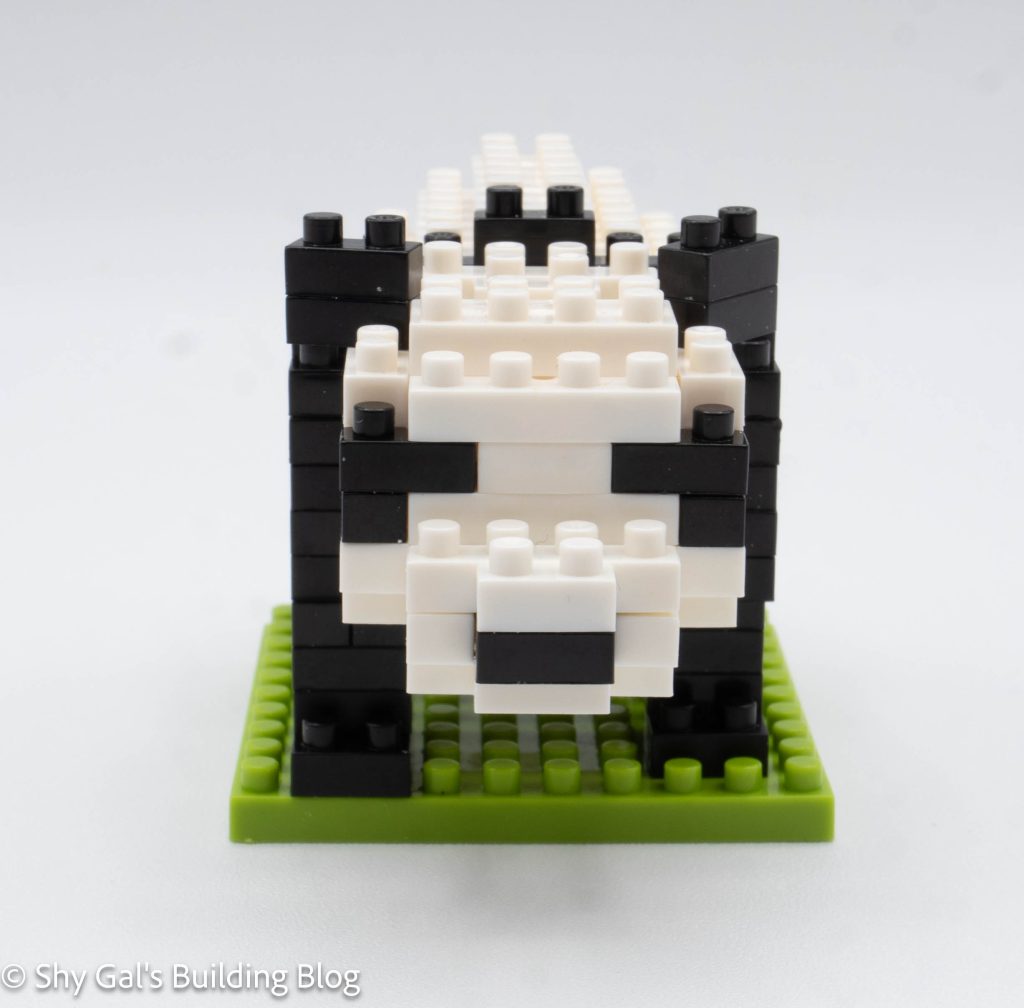
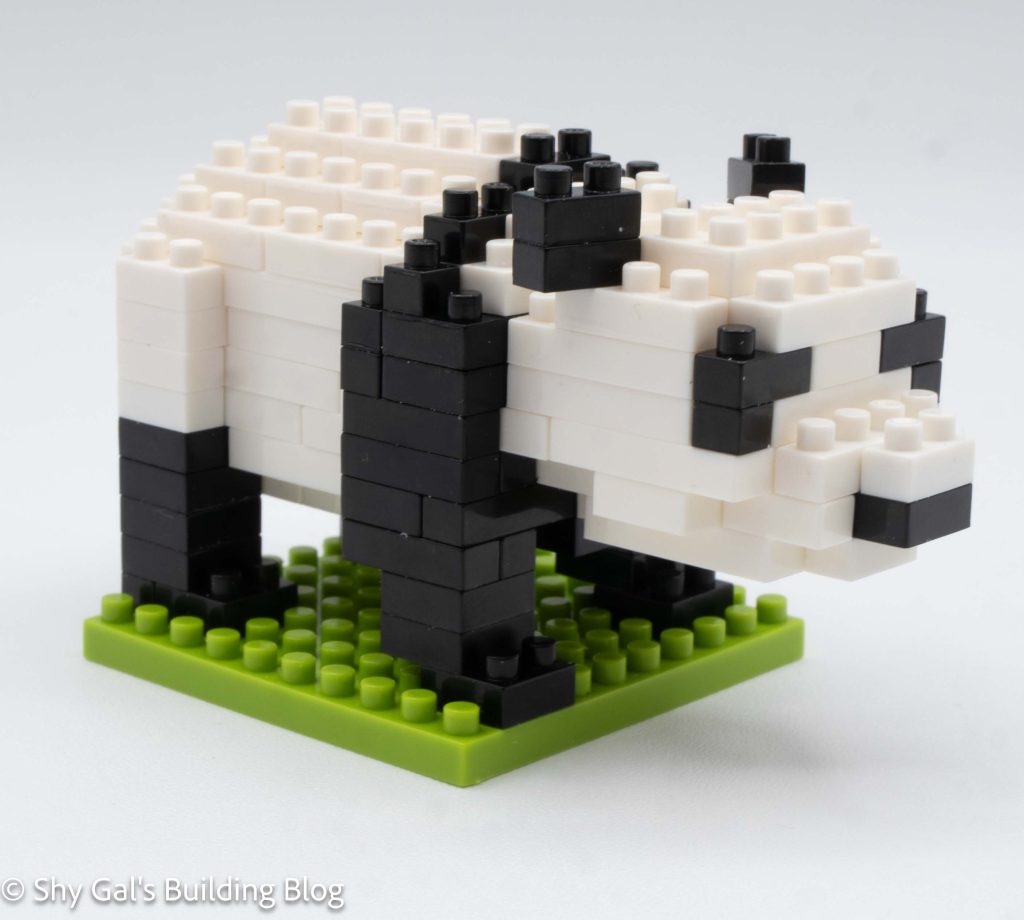
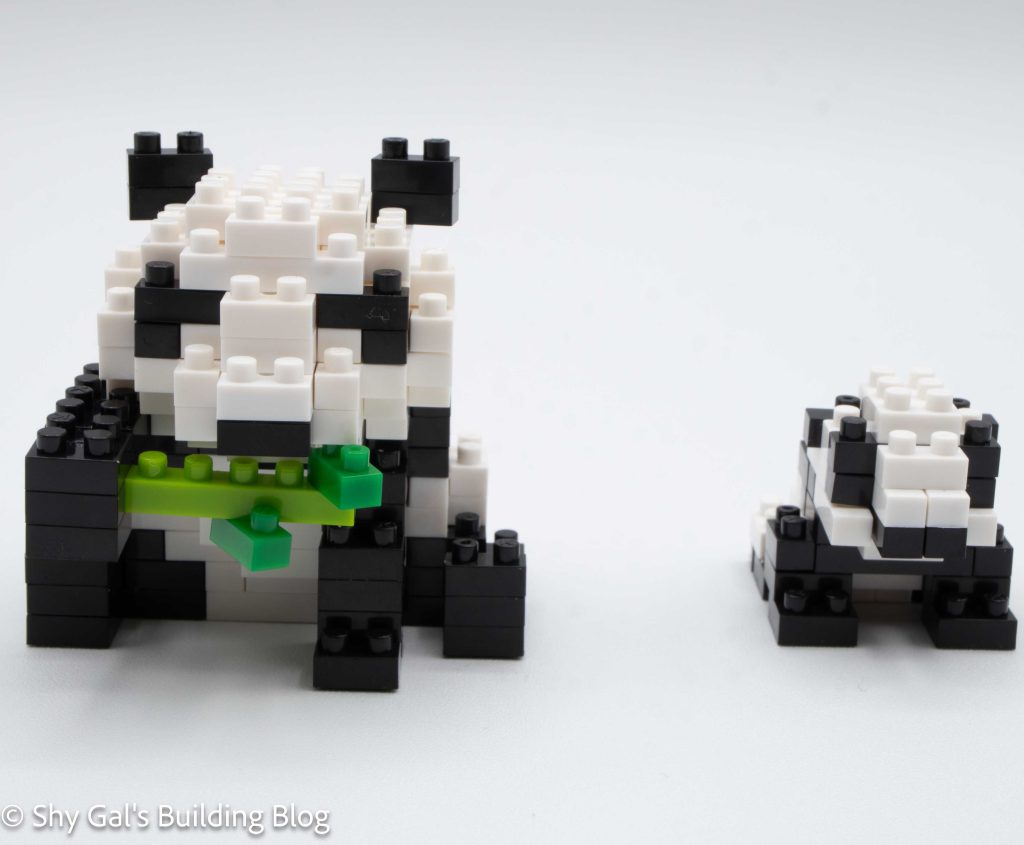
Mother
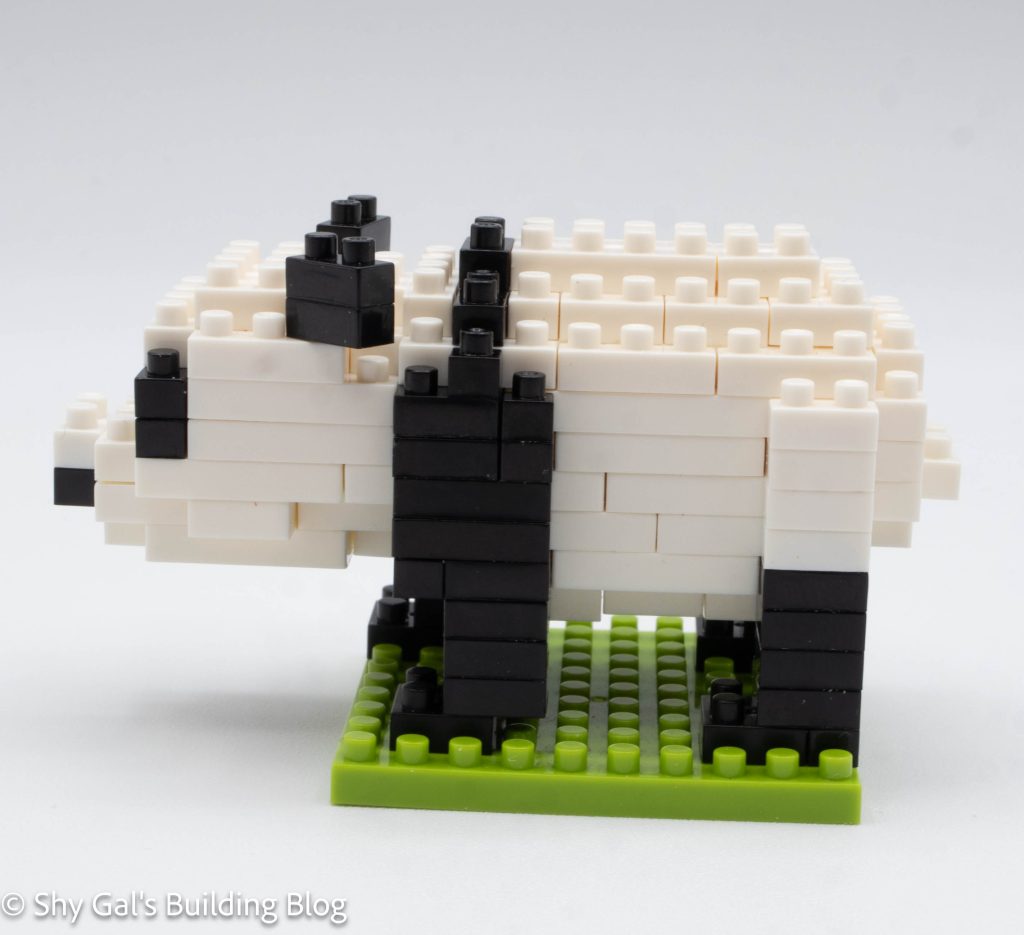
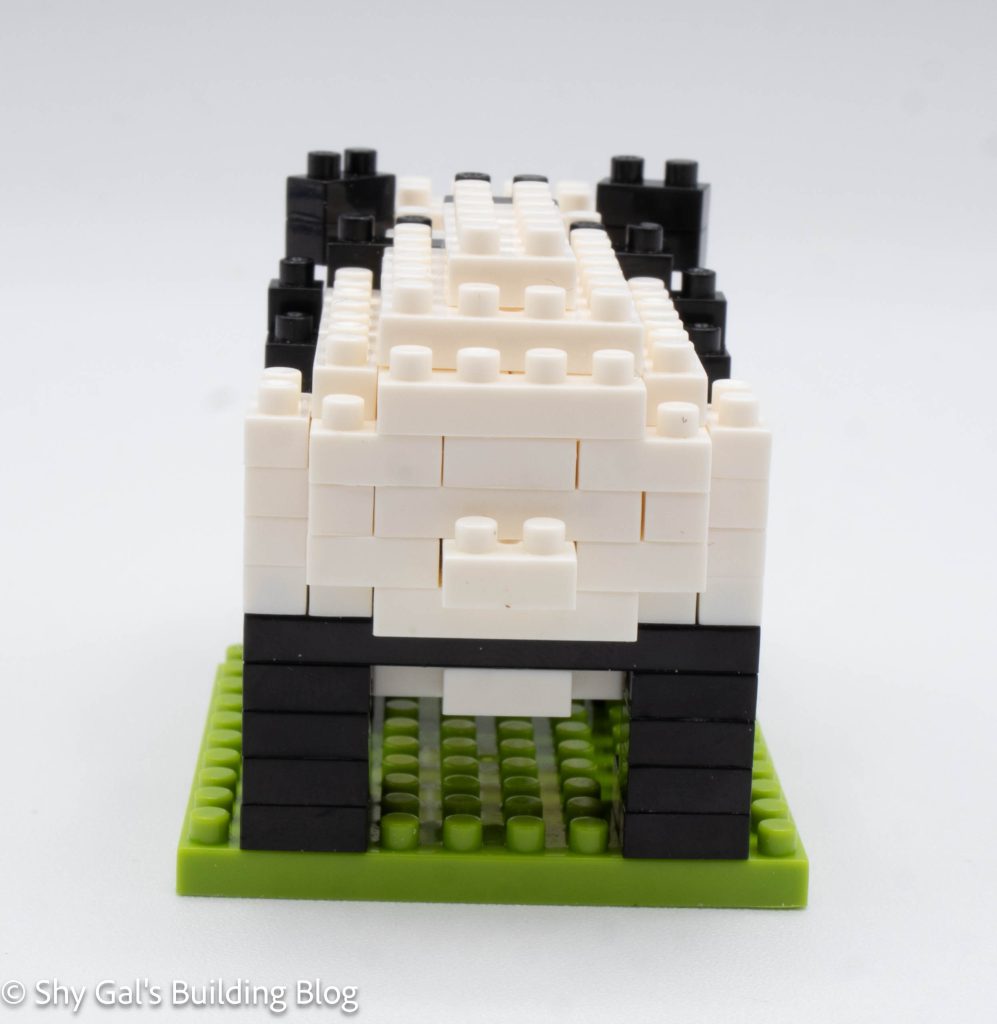
The mother panda begins with a layer of black and white bricks. I laid the base layer out on my nanoblock pad. Each direction adds 2 more layers to the build. I had to take my panda off the pad to add the front paw, but I was able to place it back on the pad to complete the build.
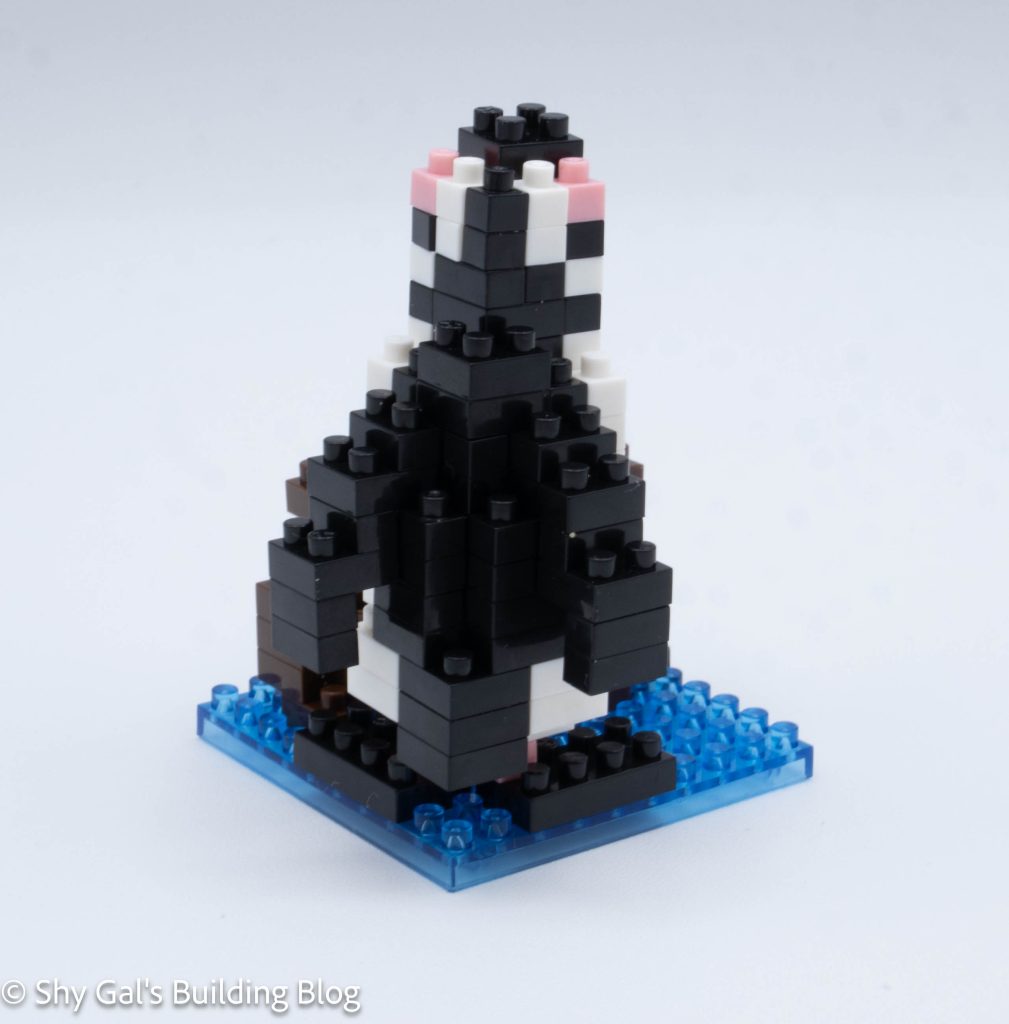
Overall, the mother panda is straightforward, with simple layers of bricks. I enjoyed how quickly I could tell I was building a panda instead of feeling like I was blindly placing bricks.
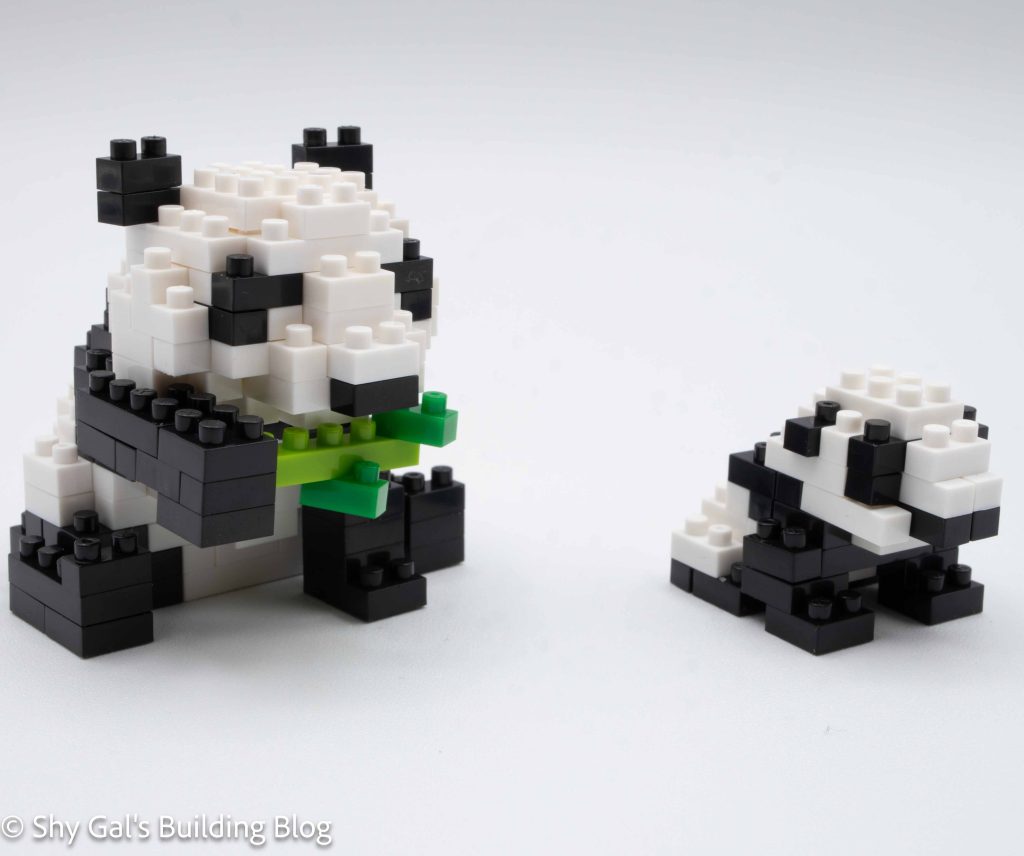
After the top layers of the panda were added I added the other front arm, which is holding bamboo.
Baby
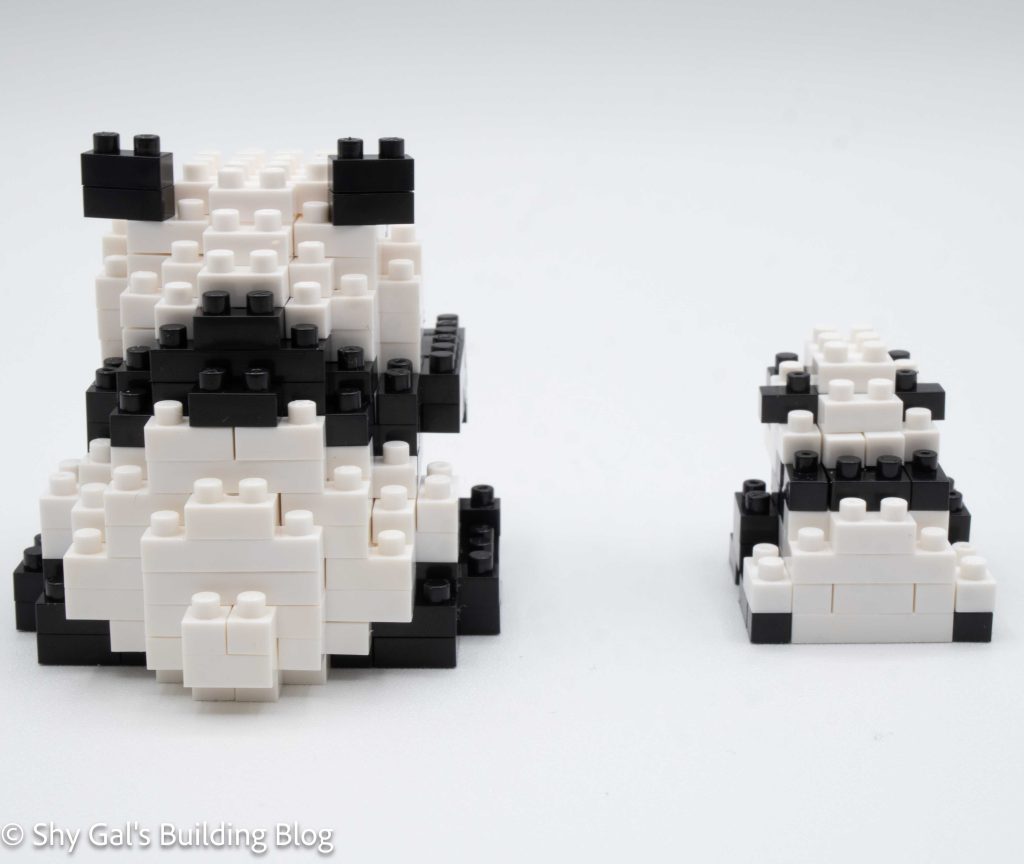
I actually found the baby harder to build than the mother panda. This is because, in the later steps, a lot of bricks with different sizes of tops and bottoms were used. Each time, I needed to make sure the top stud was lined up with with studs for the next layer, which meant stages weren’t always square.
Things I liked:
- I like that the mother is actually doing something active
- I liked the creative brick usage to create the compact build
Things I didn’t like:
- I don’t love how the baby panda looks. The black sections are simply too large