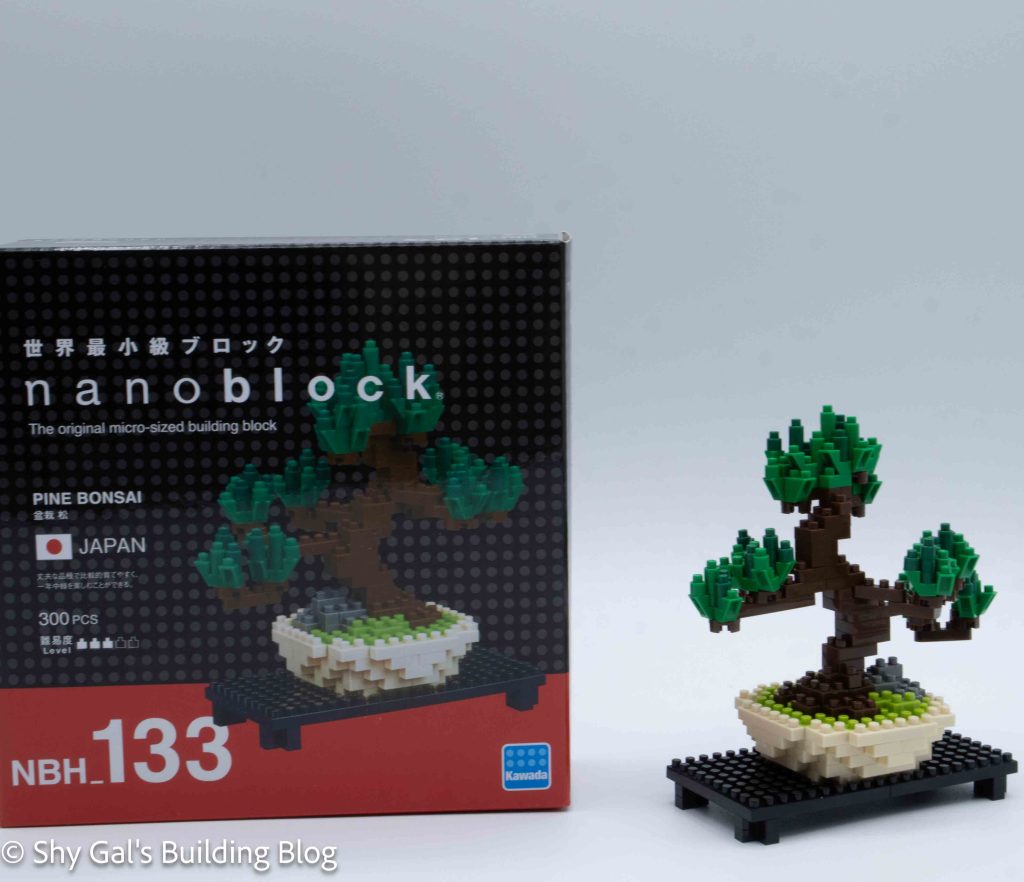
This post is a review of the nanoblock Pine Bonsai build. Pine Bonsai is part of the nanoblock Sights to See collection. Wondering what else is part of the Sights to See collection? Click here for a list.
Number: NBH_133
Country: Japan
Number of Pieces: Japan
Difficulty Rating: 3/5
This is the first and so far only kit I have been so frustrated with that I packed it up to build it another time. I think I had it put away for over a year. Making the branches was very difficult because bricks kept popping off as I added new bricks because the bricks were so tight.

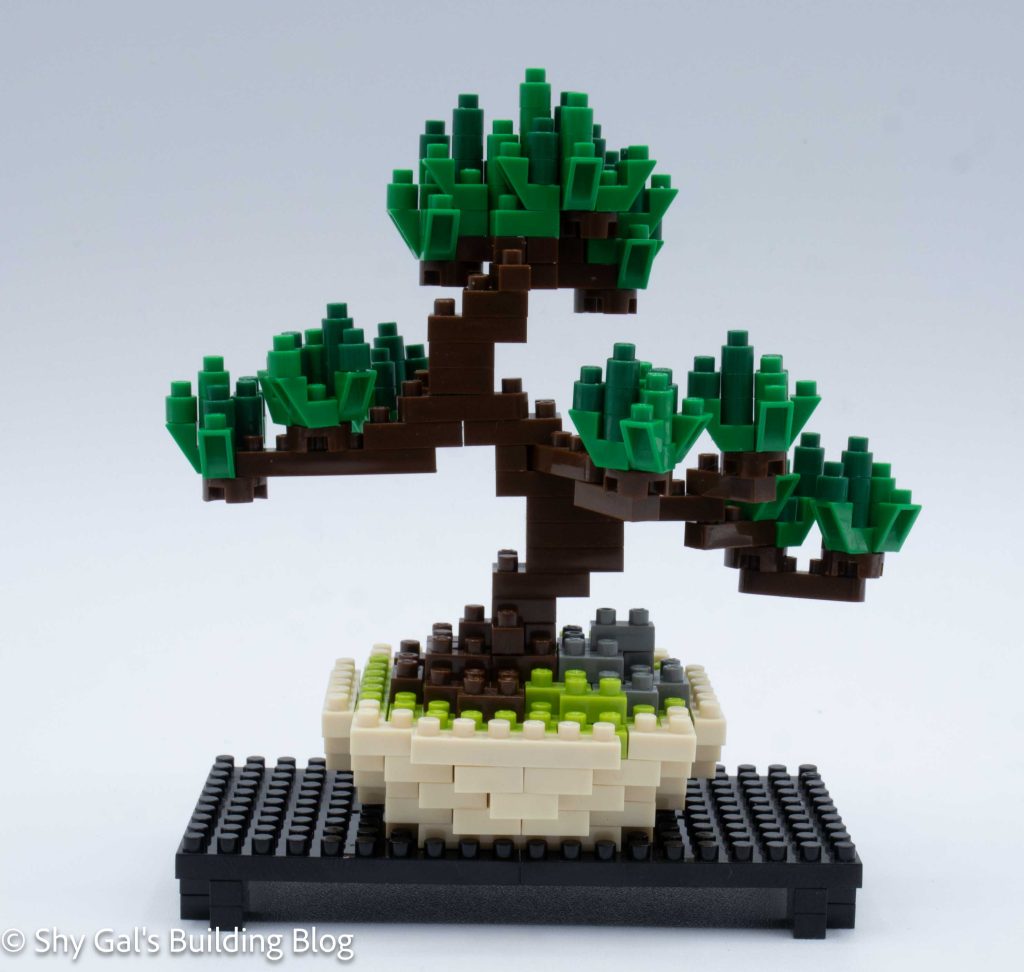
The kit begins by creating the table and the pot that the tree is sitting in. Building the pot was a little difficult because I was having to guess when bricks would overhang the base because it wasn’t super clear where the new clicked in depth wise.
After building the pot I added moss, a rock and the base of the tree. This was pretty straightforward.

Now for the main section of the build the actual bonsai tree.
Each step of the tree includes creating new branches and the pine needles.
Overall the branch instructions are very clear. This means that the support of the tree is solid and stable.
When it came to the pine needles, I personally had a hard time reading the instructions because the pieces in the instructions were at a different angle than my actual build was at. I had an additional struggle where my bricks kept falling off as I added new bricks to the pine needles.

The final step is to connect the roots in the pot.
Things I liked:
- I liked how clear it was when to use which shade of green in each step. This is because the coloring in the instructions is different enough that it is super helpful
Things I didn’t like:
- I don’t like that it looks like the finished base looks about ready to collapse. I think additional bricks on the bottom would have been helpful