
This post is a review of the nanoblock Pawmi RS build. Pawmi RS is part of the nanoblock Pokemon collection. Wondering what else is part of the Pokemon collection? Click here for a list.
Number: NBPM_R07
Number of Pieces: 470
Difficulty Rating: 3/5
The build begins with several steps to create the base layer. It takes 6 steps to make the entire base.
The main body goes up in layers. In general, it takes 2 steps to complete an entire layer. The spacing is nice, and it means that each step isn’t crammed.
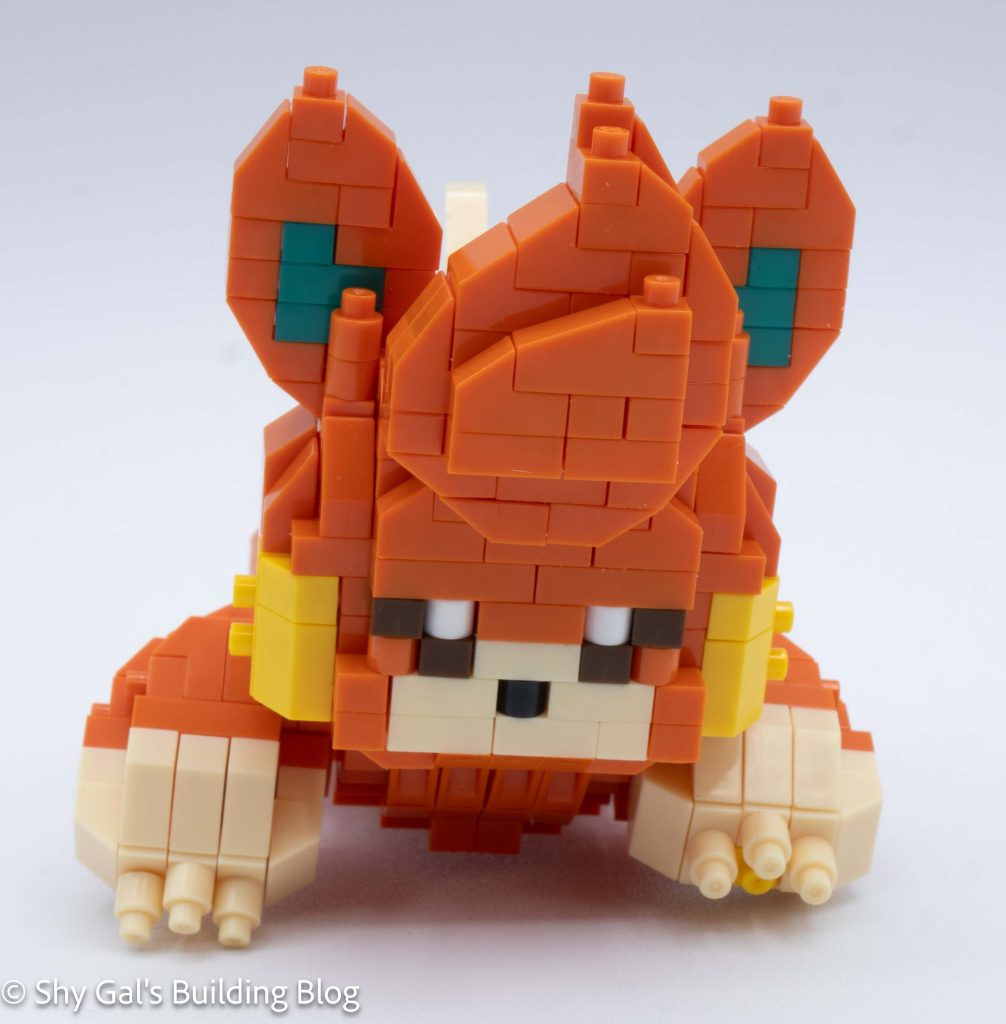
After adding several layers, the body is closed up. Then I began to work on the face. The first step is to add the nose.
After a few more layers, I added Pawmi’s great big eyes. They are huge for a nanoblock Pokemon build.
Then I built up the head. As I built the head, I added the puff at the front of Pawmi’s face and its ears.
The next step is to build the cheeks. I initially attached them to the wrong place, but it was easy to fix once I realized the error.

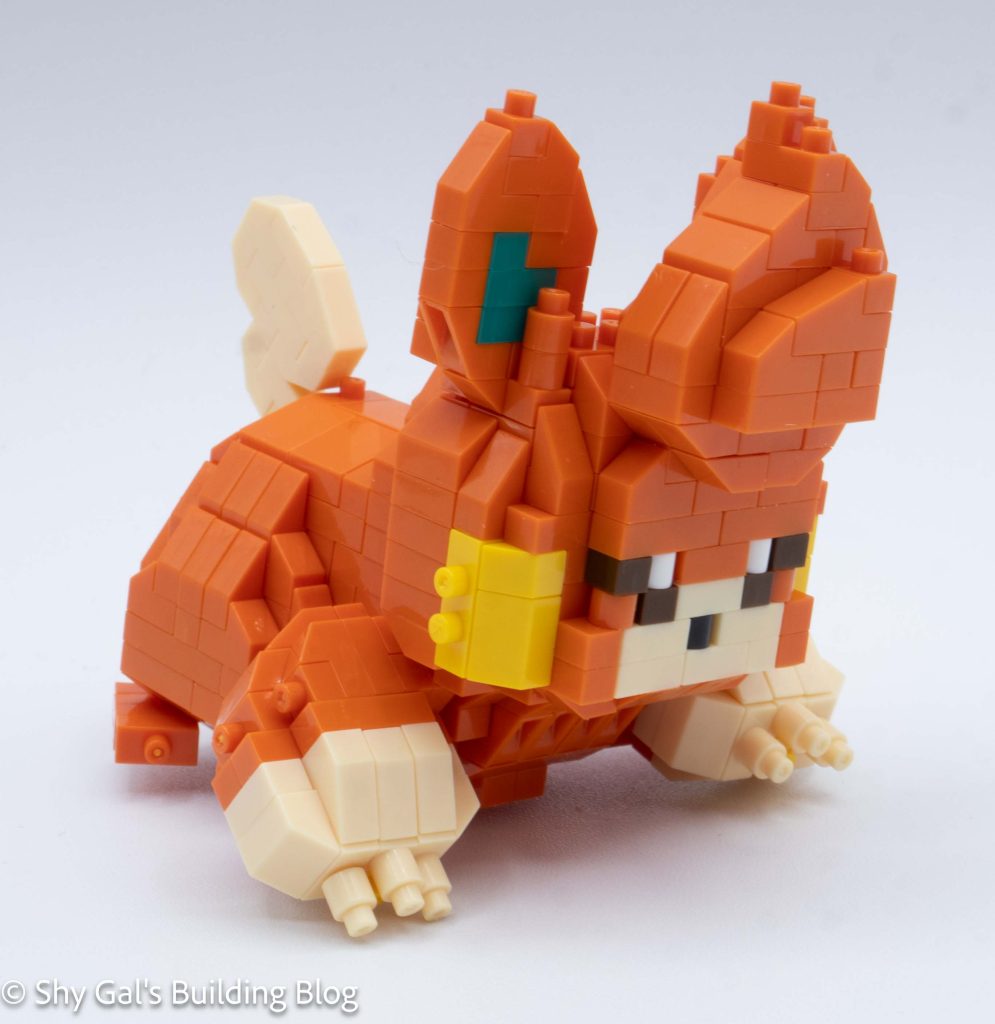
The next step is to build the front paws.
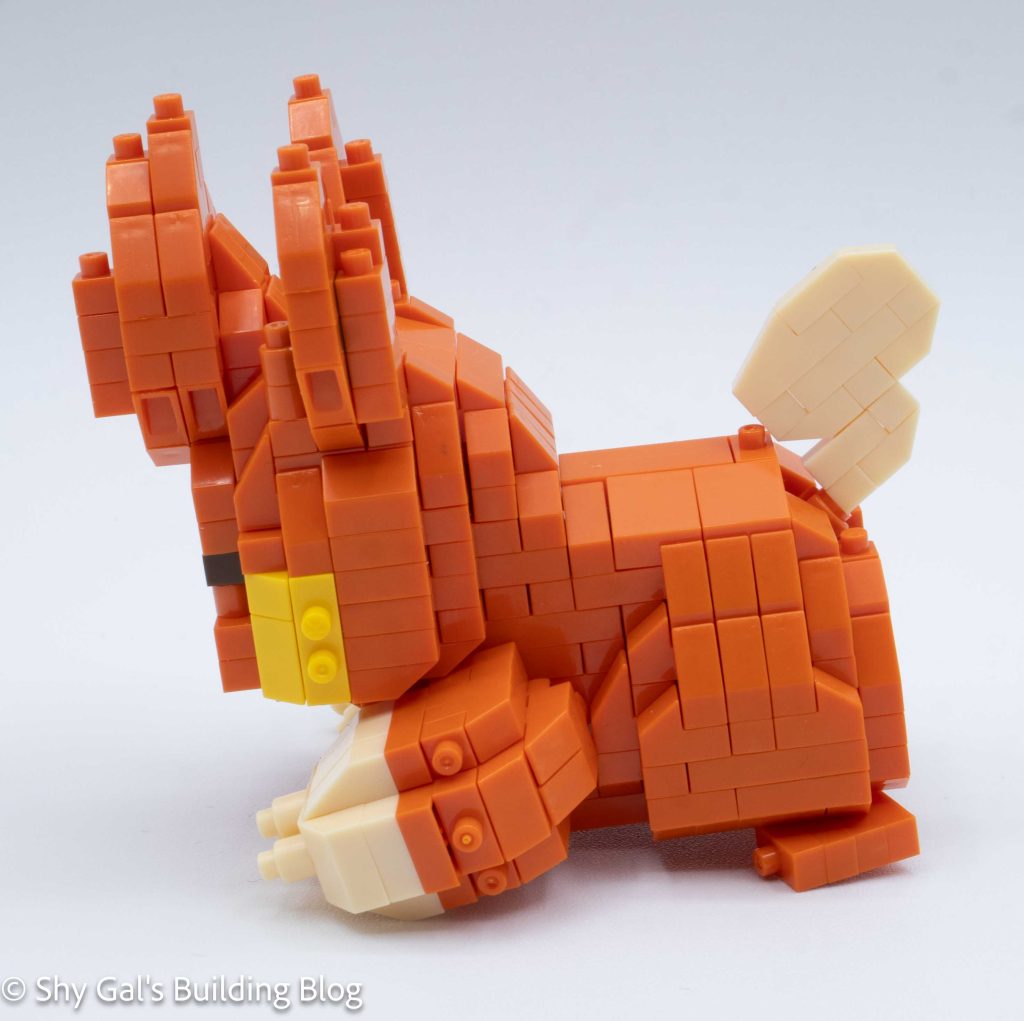
Then it was time to build the back paws. I was happy that the build still stood ok after the legs were attached.
The final step is to build the tail. The tail was straightforward. However, the tail is attached by sticking a round 1×1 into a socket joint. I don’t like it when nanoblock does this because it stretches out the socket, which makes it harder to reuse.
Things I liked:
- I think this is one of the cutest builds that nanoblock has built for the Pokemon line
Things I didn’t like:
- I don’t like it when round pieces are stuck into socket joints